
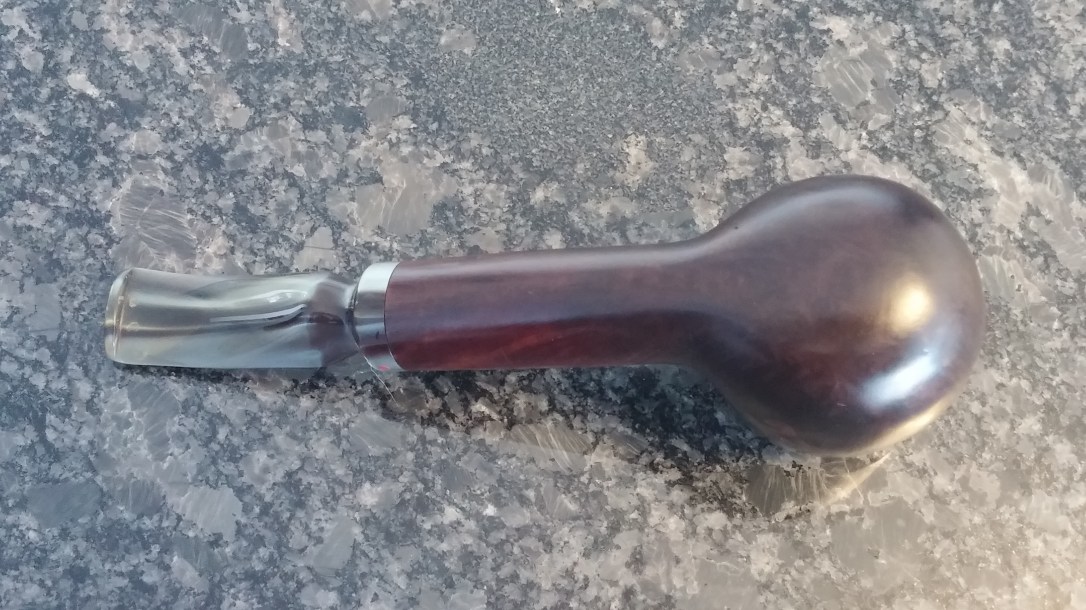
This is the second of two dilapidated Blatter pipes gifted to me by a pipe friend before Christmas. I wrote about the first restoration here. This pipe is somewhat larger in size and, as you will see, the restoration turned out to be similarly larger in scope.
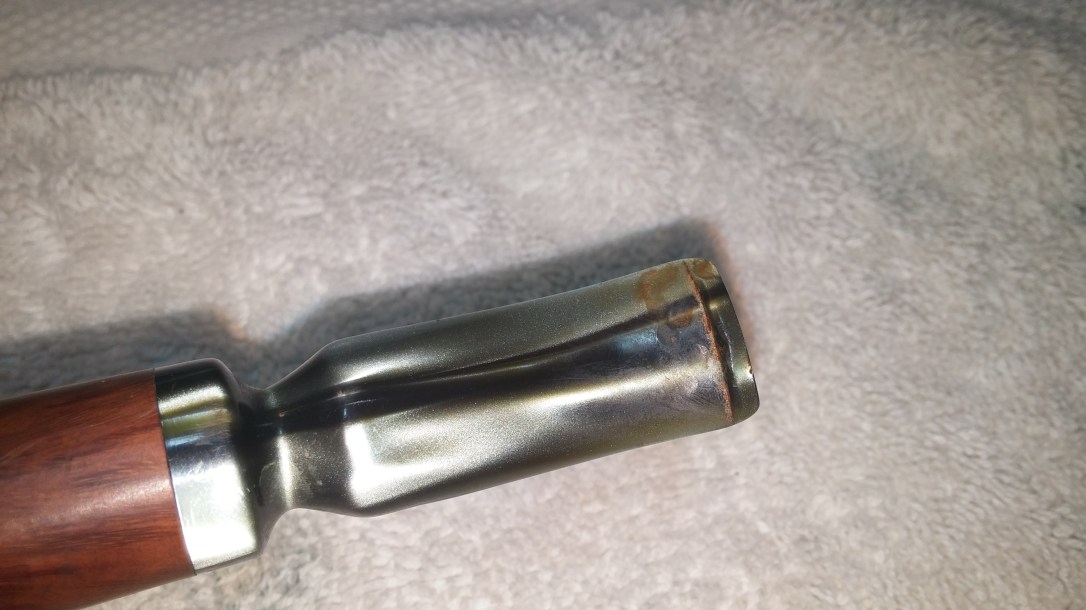
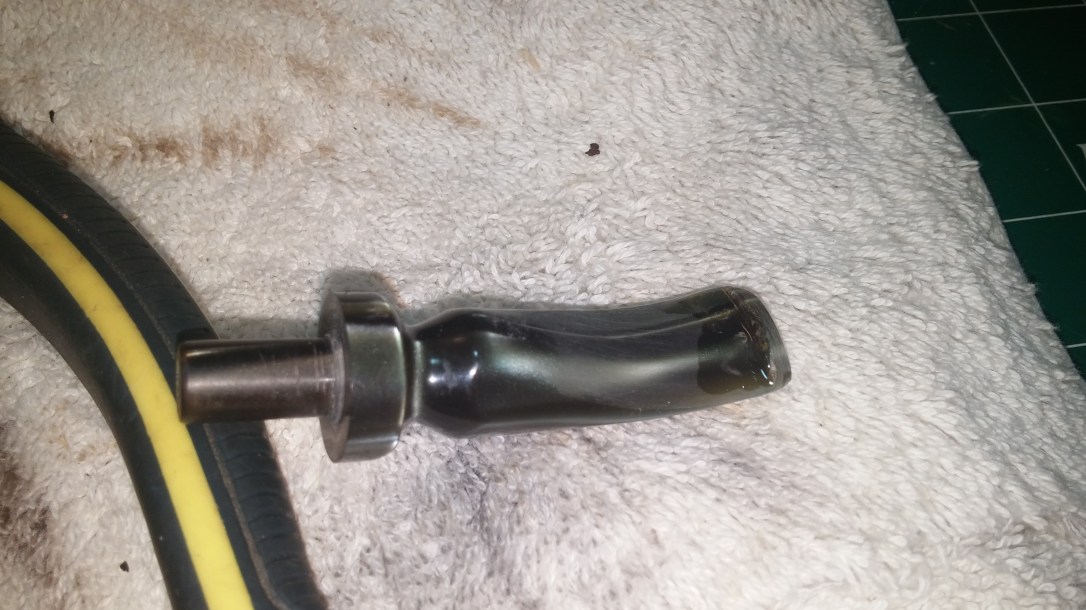
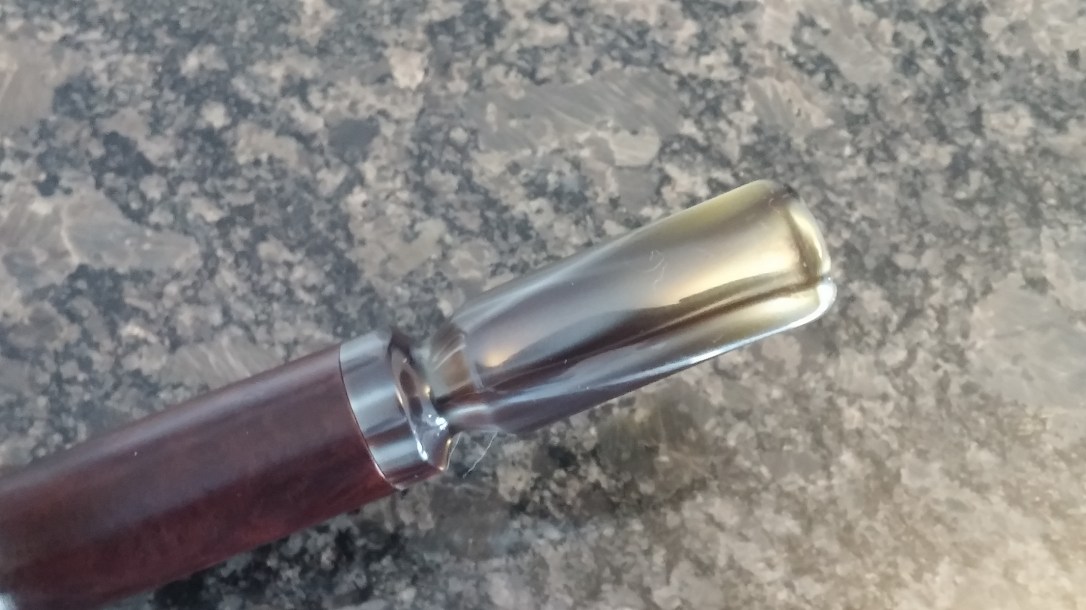
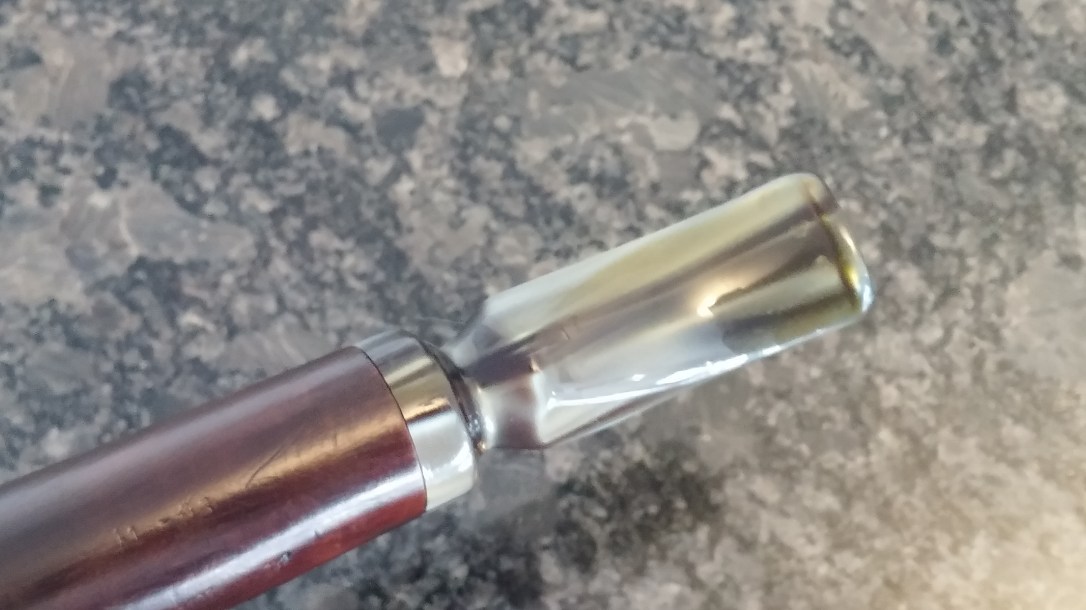
Unlike the first Blatter pipe, this one arrived with its original stem, a nicely cut swirled acrylic job complete with the Blatter Red Dot. The button end of the stem was pretty chewed up and would need some attention to make serviceable again. The stummel was in need of a good cleaning, but apart from some heavy lava crust stuck in the wide plateau rim, it appeared to be in pretty good shape.
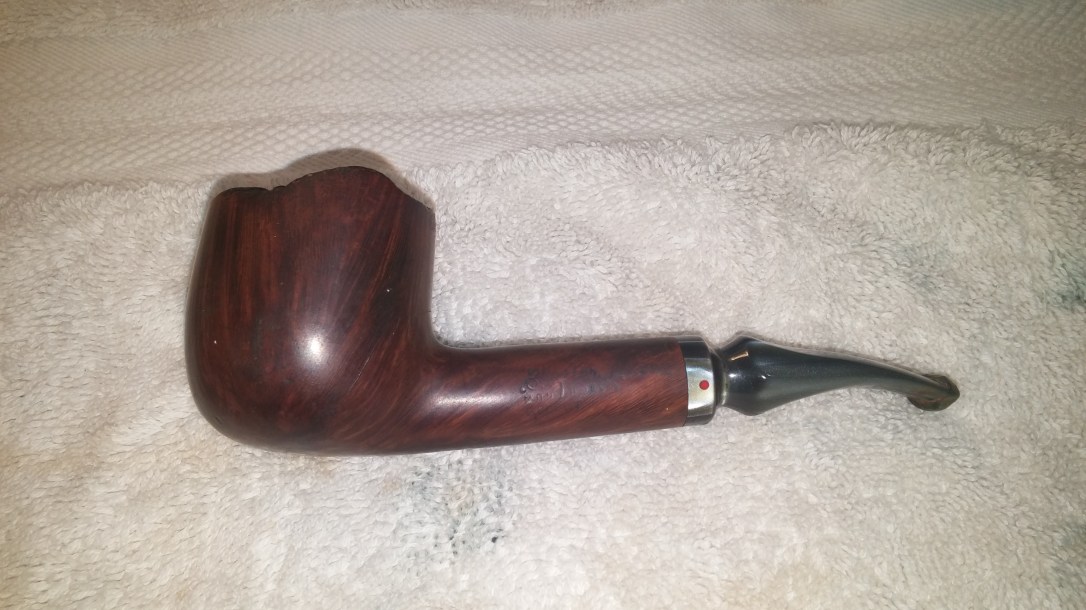
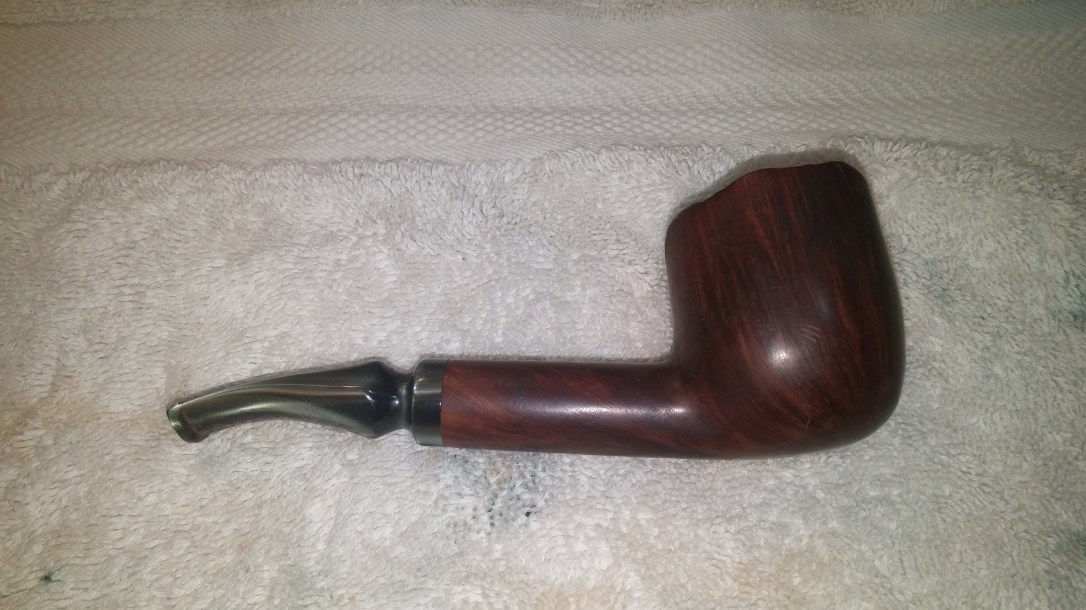


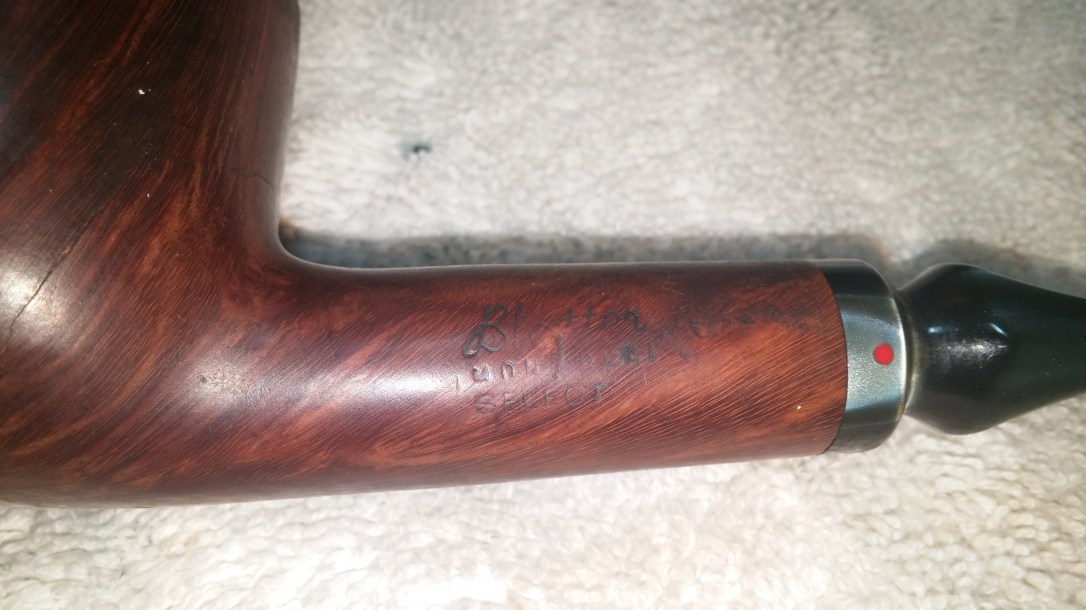
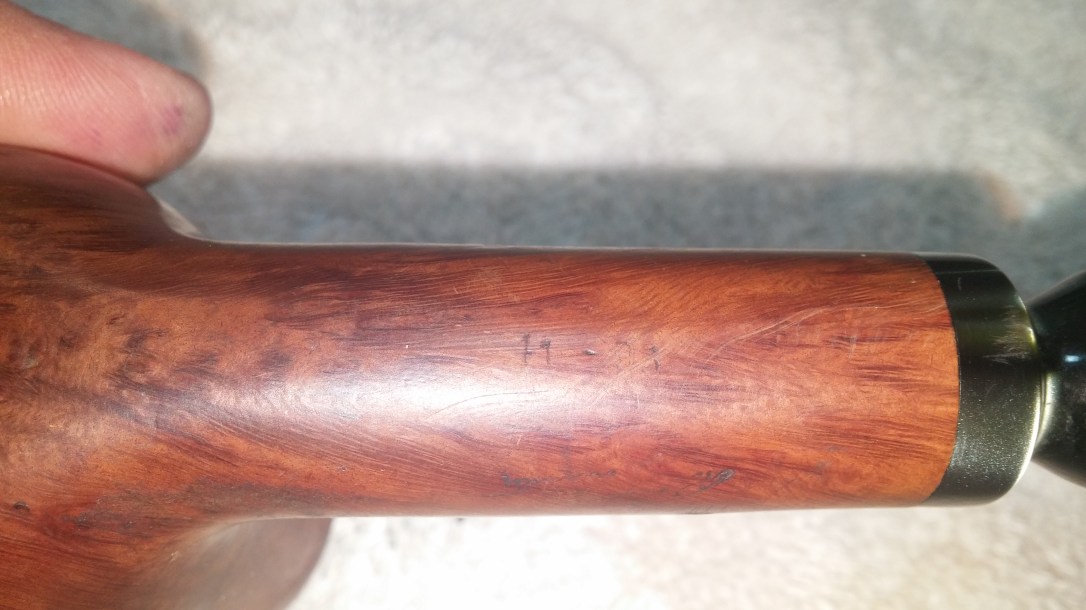
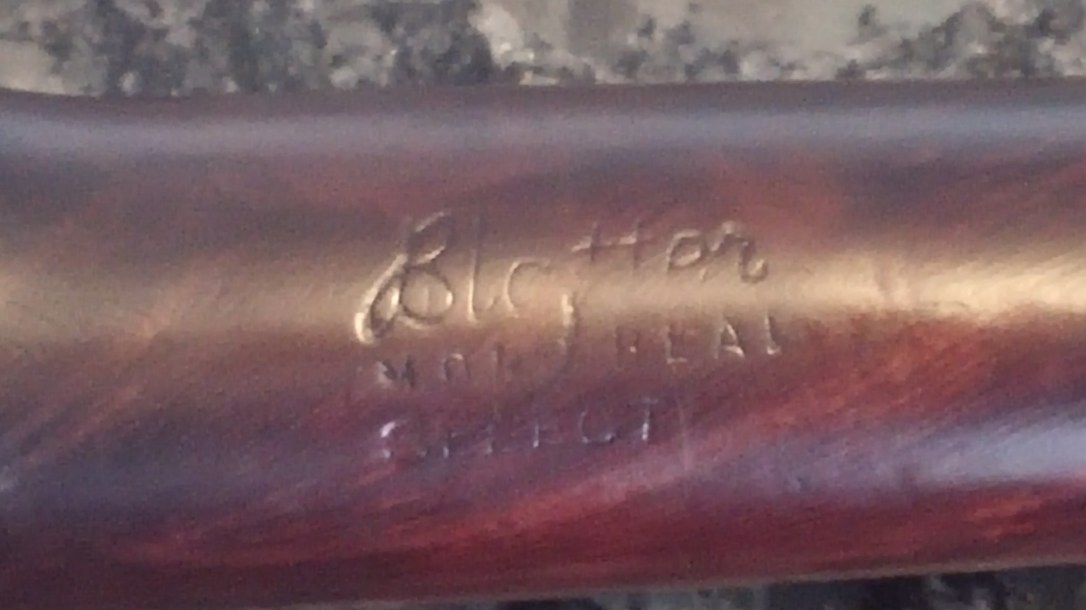
The stamps on this pipe are fairly worn but still readable. The left shank is stamped “Blatter” over “Montreal” over “Select”, while the underside of the shank carries the number “11-93”, indicating that this freehand pipe was the 11th to be produced by Blatter in 1993.
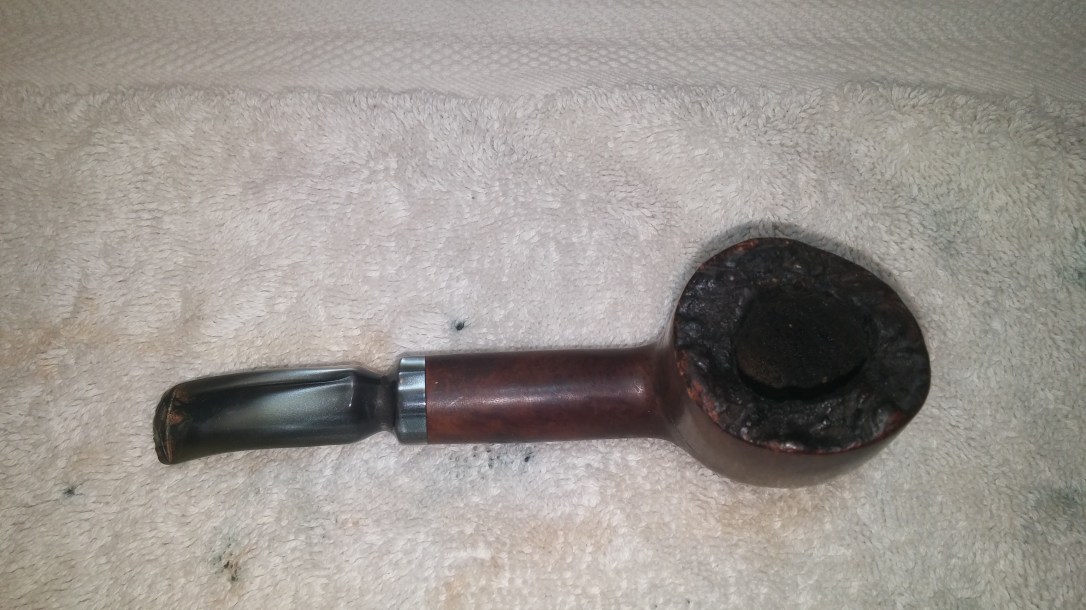
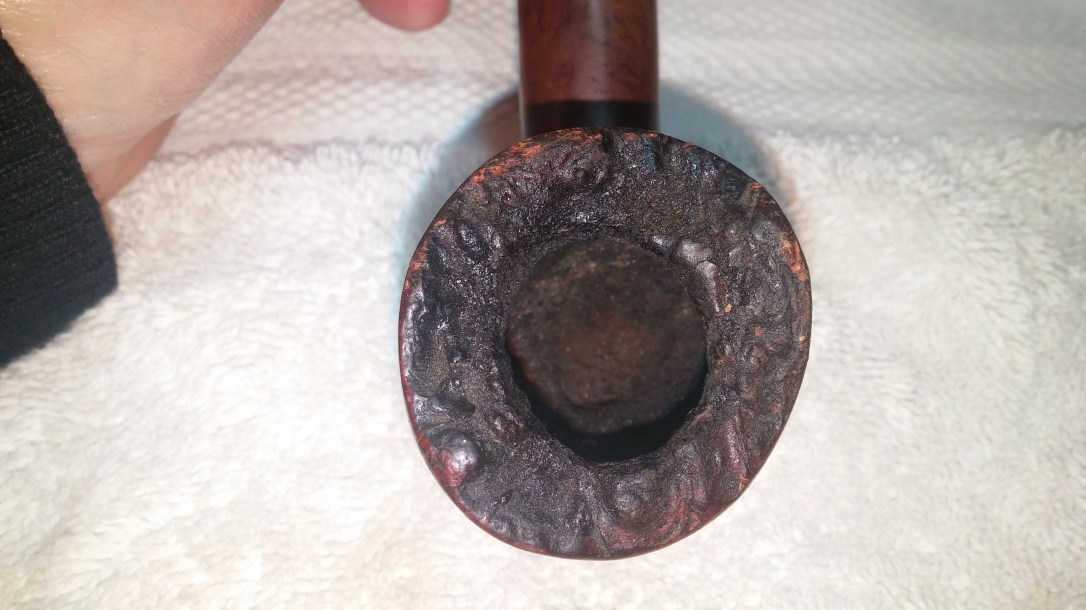
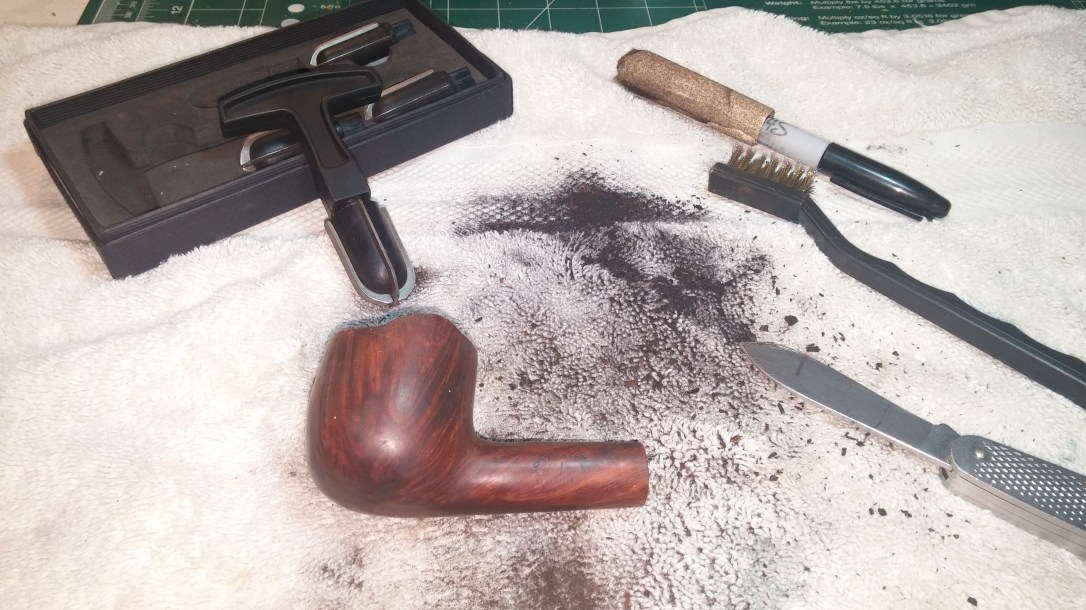
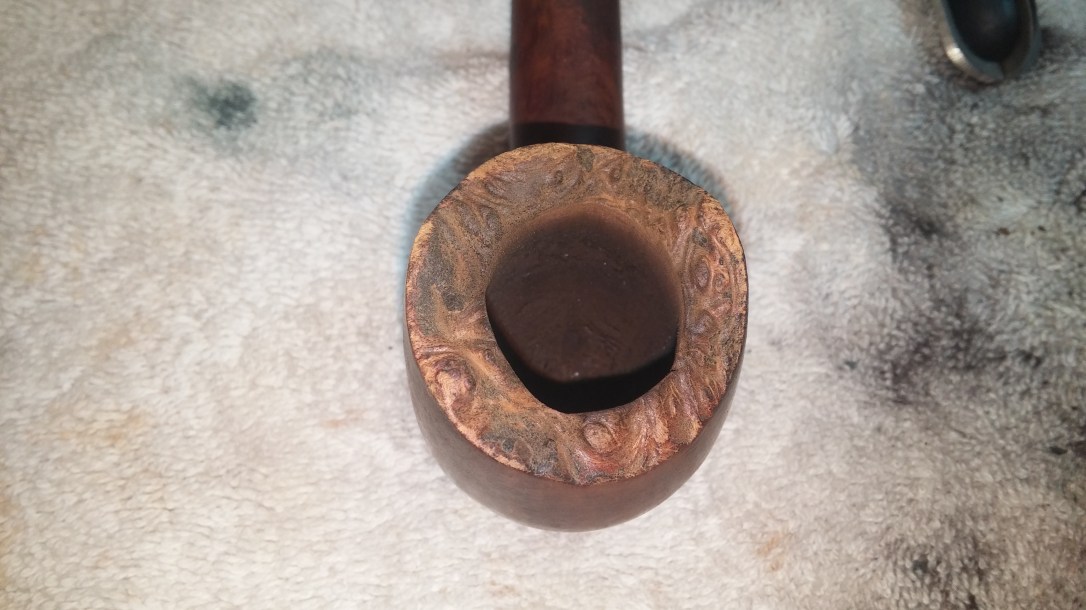
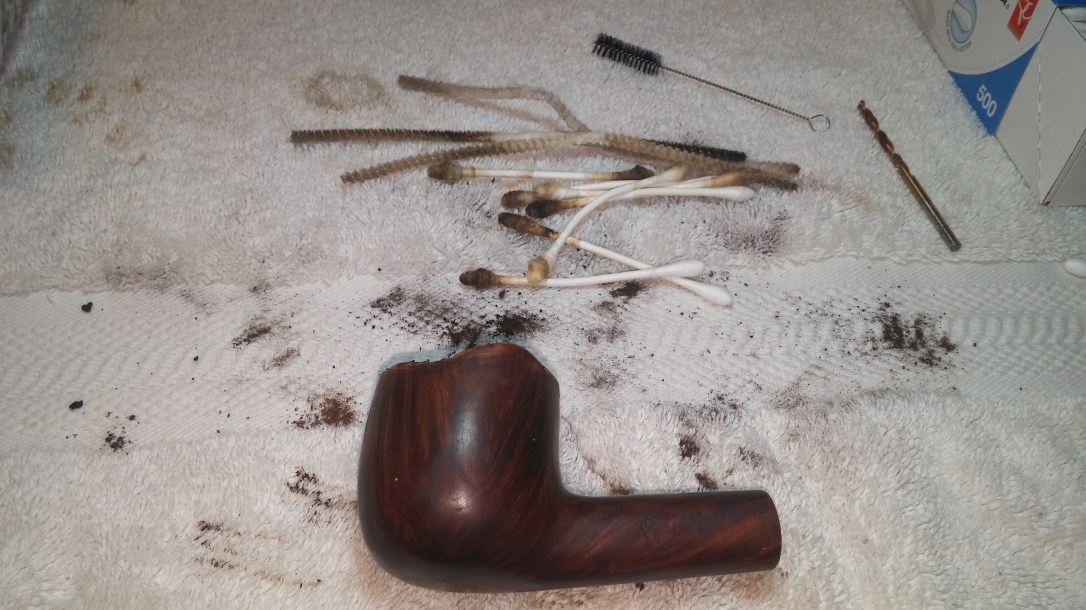
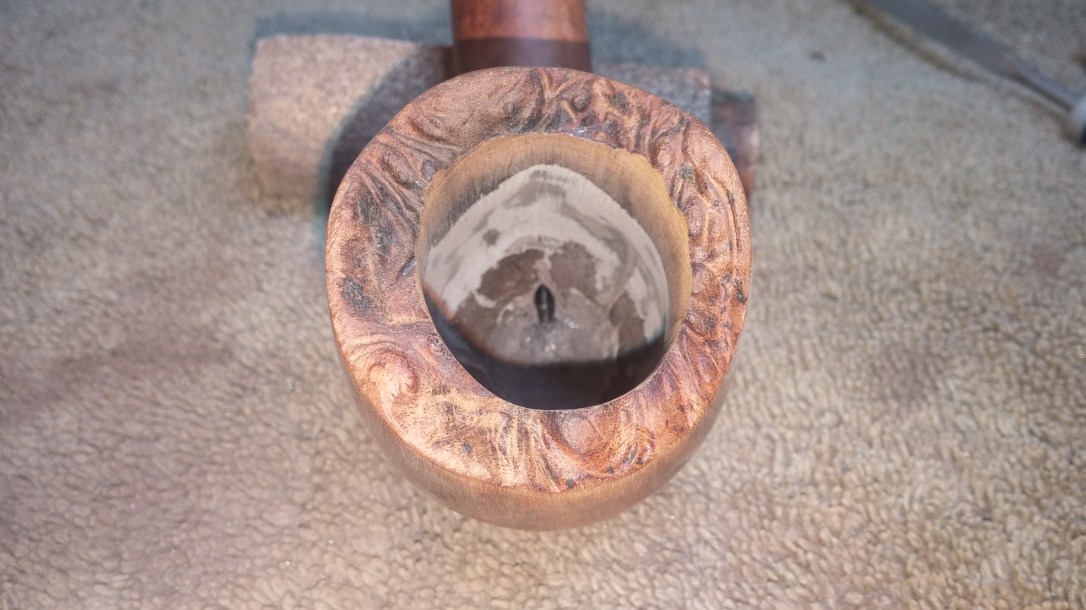
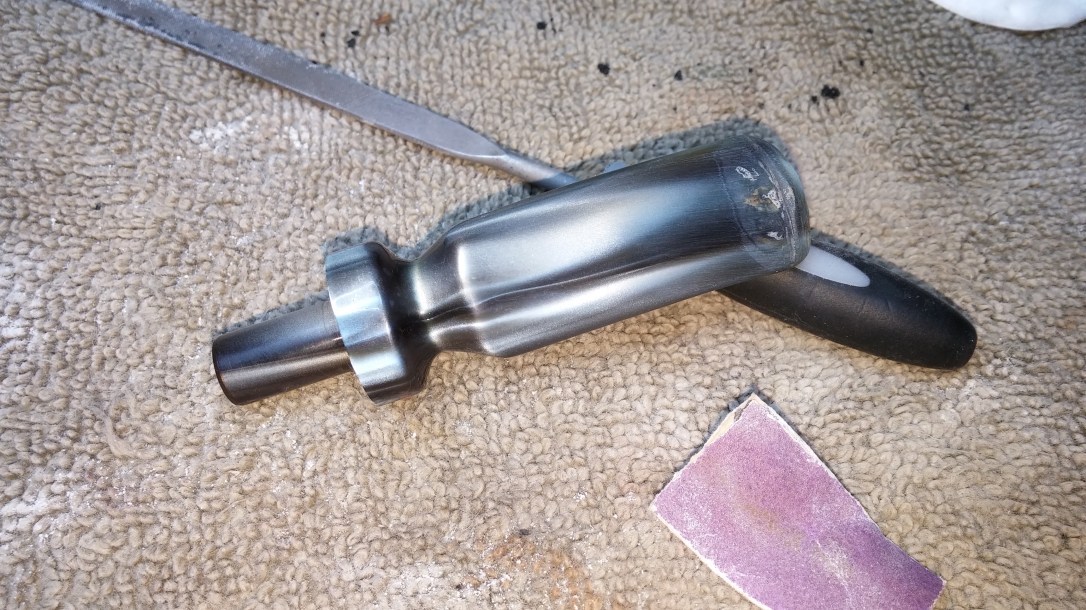
I started what turned out to be a rather lengthy cleaning process by reaming the wide tobacco chamber, removing years of buildup with my Castleford reamer, pen knife and sandpaper. I also scrubbed the plateau rim with a brass bristle tire brush to dislodge a surprising amount of hard, flaky “lava” (that odd crust of tar, soot and smoke residue that builds on the rim of regularly smoked but seldom cleaned pipes).
This series of pics show the pipe before cleaning, the sheer amount of crud removed from the stummel and the stummel after this basic maintenance work. Quite a difference!
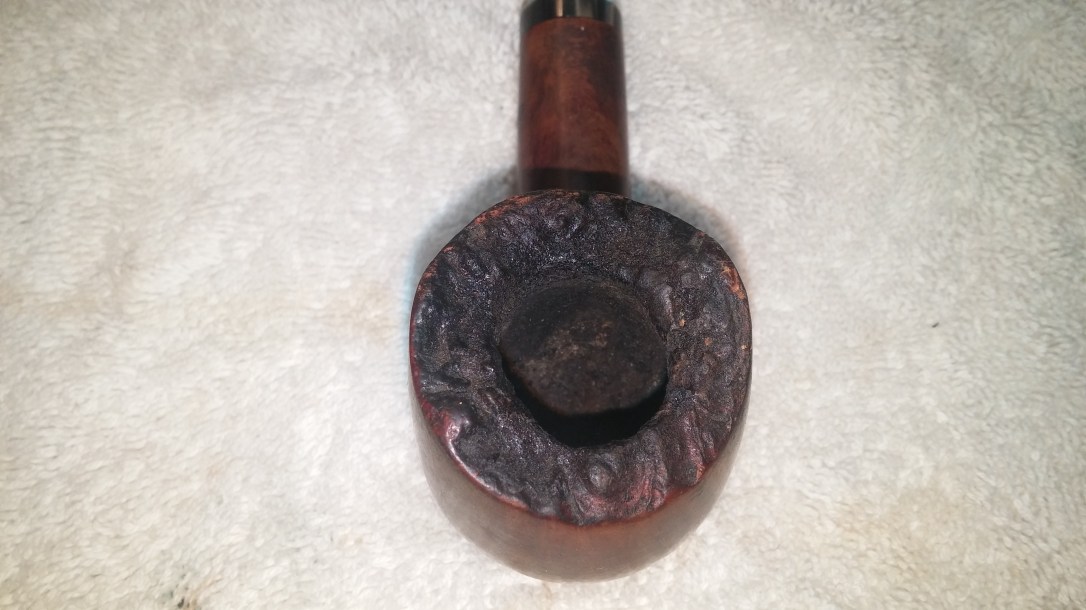
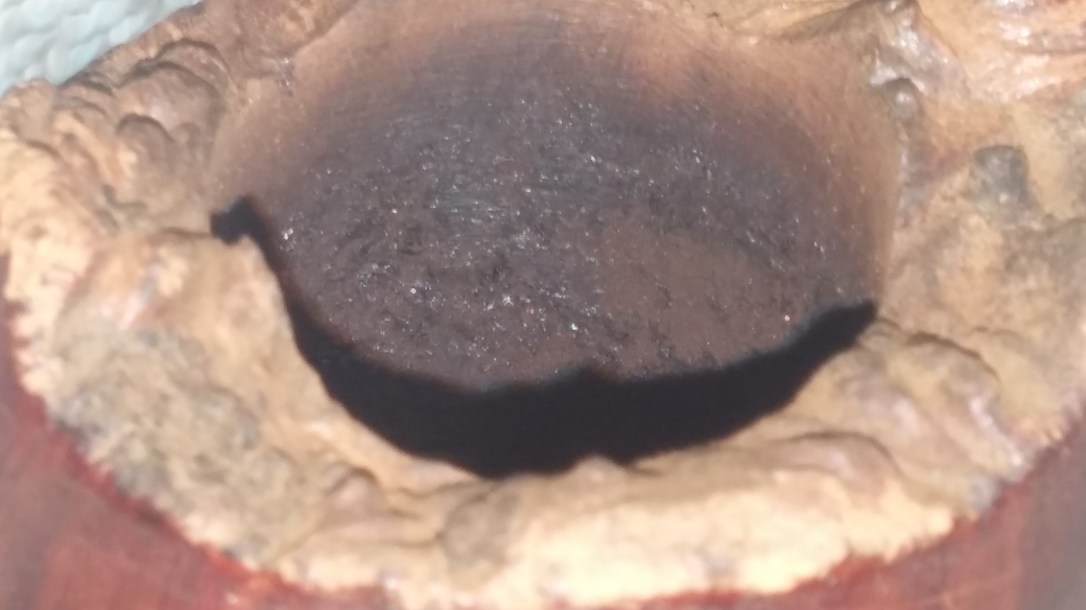
With the cake gone, it quickly became apparent that this pipe’s previous owner had been a hot smoker – regular and repeated, rapid puffing had overheated the chamber walls and burnt channels in the briar. It was difficult to get good, clear shots, but if nothing else, these pics illustrate the extent of the damage, which stretched up and around the entire chamber. Some of the burnt areas were quite deep, reaching nearly halfway through the chamber walls in several spots.

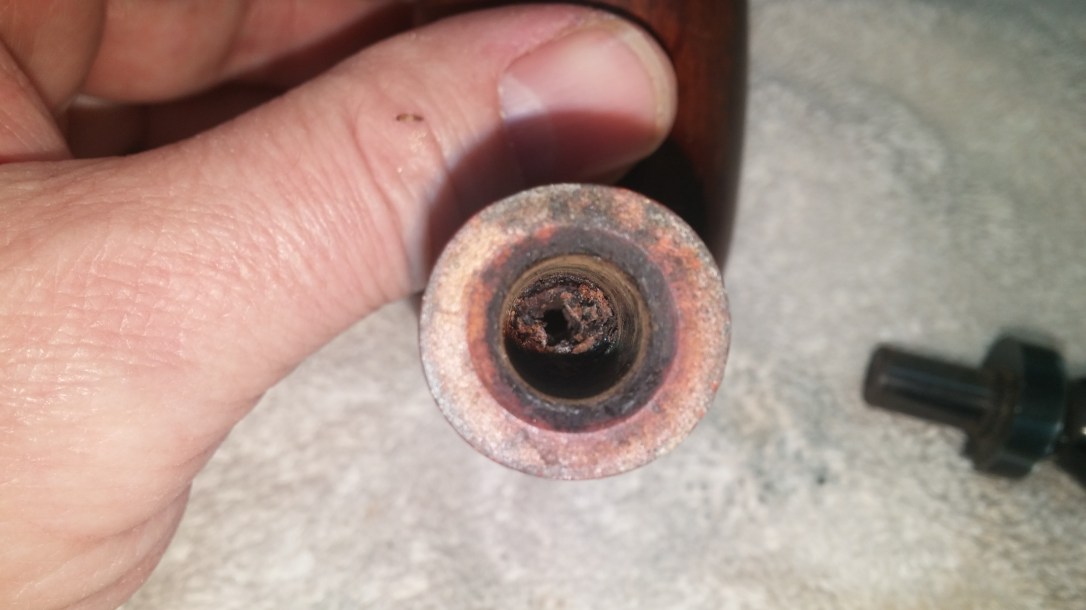
I completed the internal cleaning of the stummel by clearing another little pile of tarry crud from the shank and mortise. The airway was nearly blocked shut, so I used a drill bit, turned by hand, to auger out the worst of the buildup. Pipe cleaners, cotton swabs and alcohol removed the remainder.
These shots are another Before and After series, this time showing the blocked up mortise and airway, the worktable during the process and the freshly cleaned mortise. Regular maintenance cleaning was certainly not a feature of the original piper’s routine!

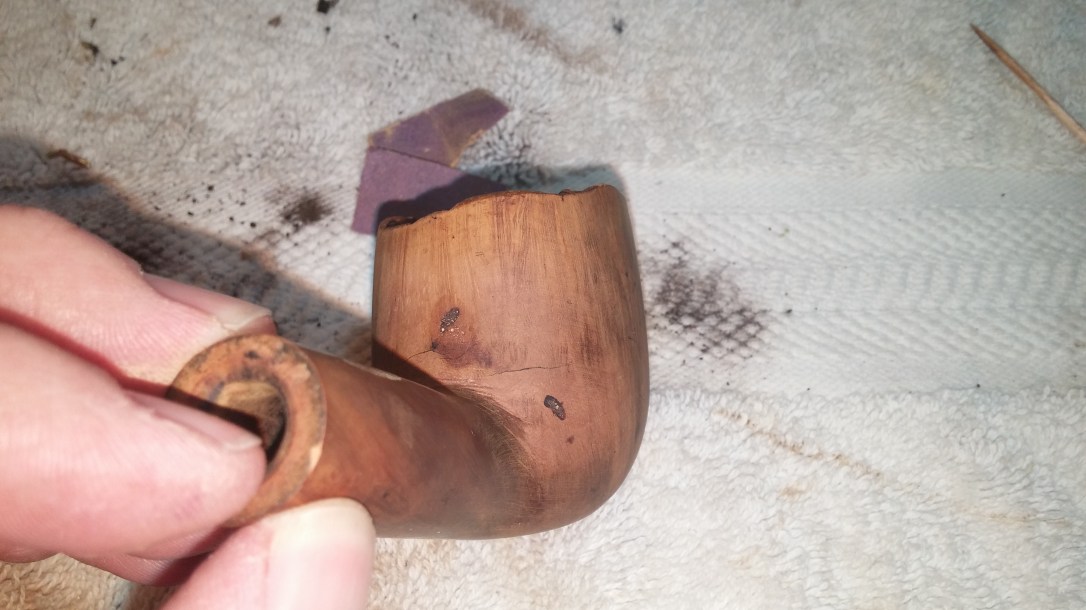
Moving to the exterior of the stummel, I wiped the briar down with alcohol on cotton pads to remove the dirt, dust and grime. It was only after this cleaning that I discovered the cracks that I had been expecting since I first saw the burn damage to the chamber. There were three cracks altogether, two running horizontally across the back wall of the bowl above the shank, and one vertical crack to the left of the shank, running about two thirds of the way up the bowl.
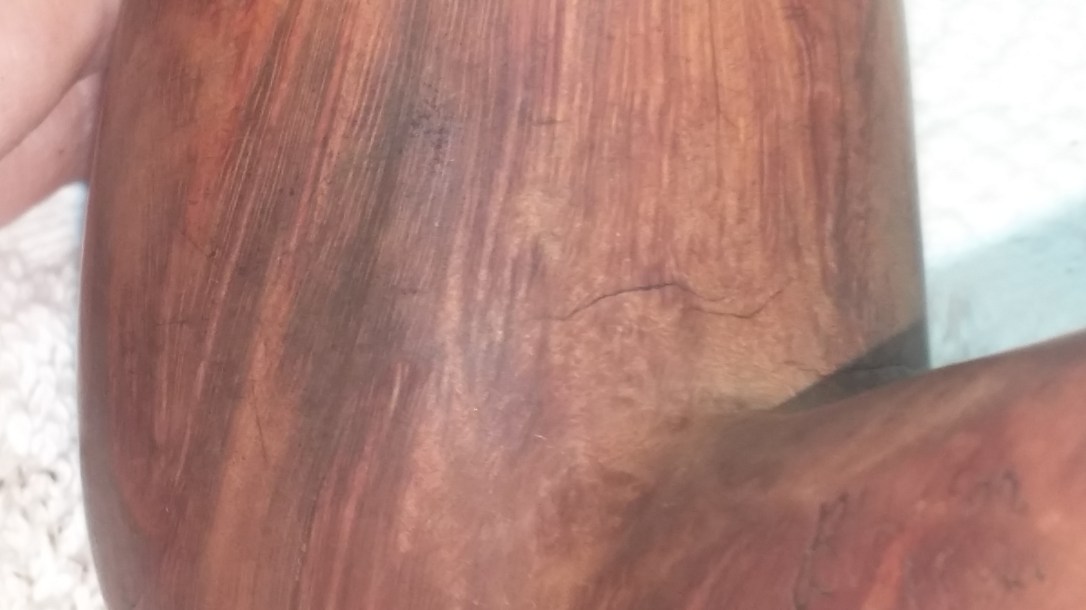
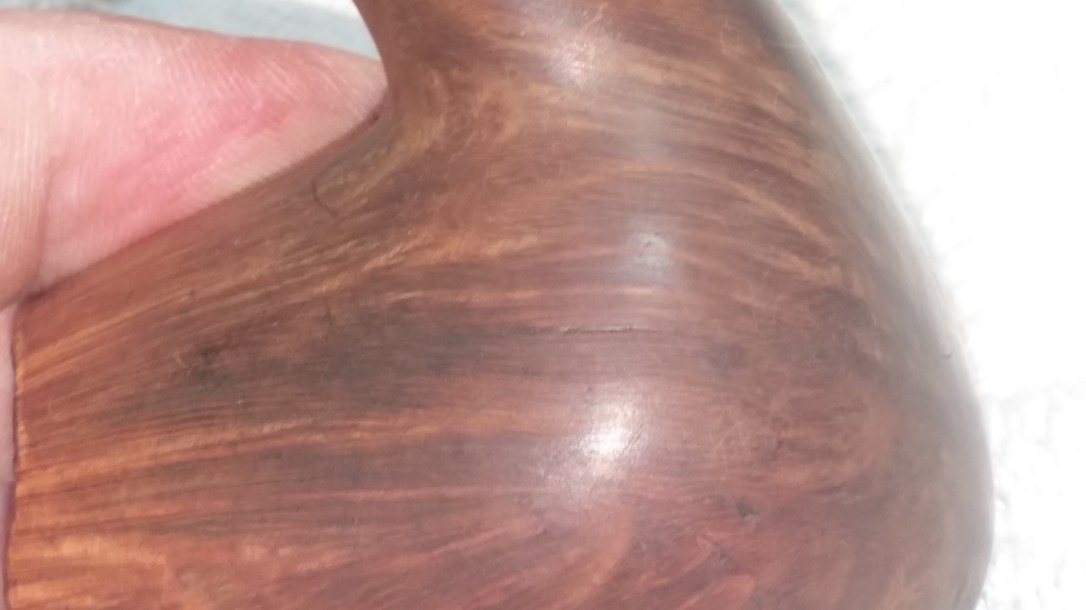

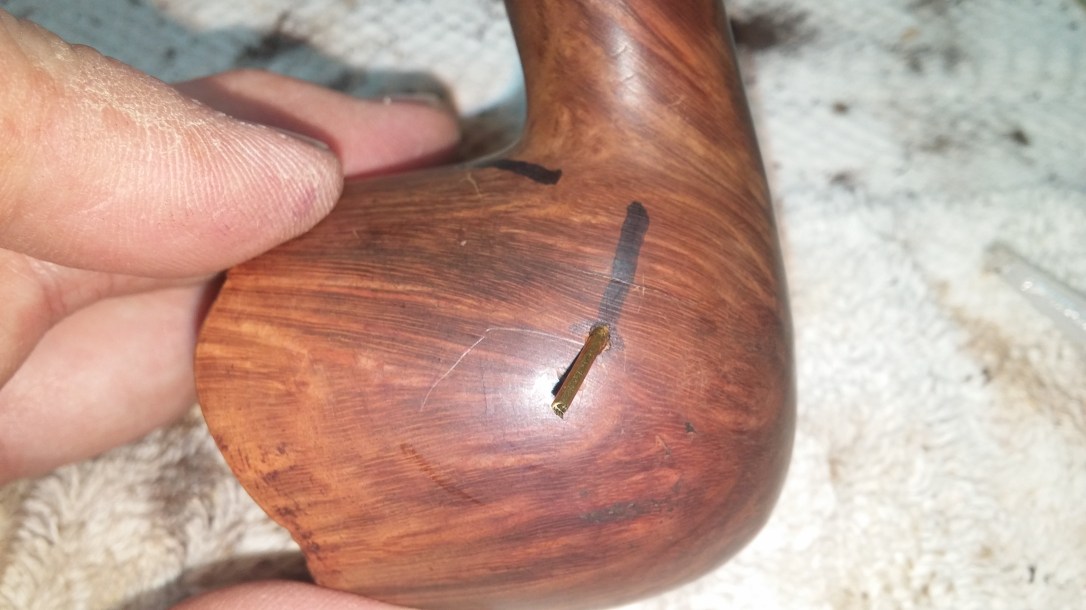
As you saw, the cracks were fairly tight. Without the burnouts in the chamber, I may have been tempted to simply glue the cracks up and carry on, but the combination of internal and external damage had weakened the briar to the point where I could flex the cracks open and shut with a bit of hand pressure. Not good. These would have to be pinned. These pictures show my proposed pinning layout, with the lines drawn in Sharpie on the briar representing the position and direction of drilling.
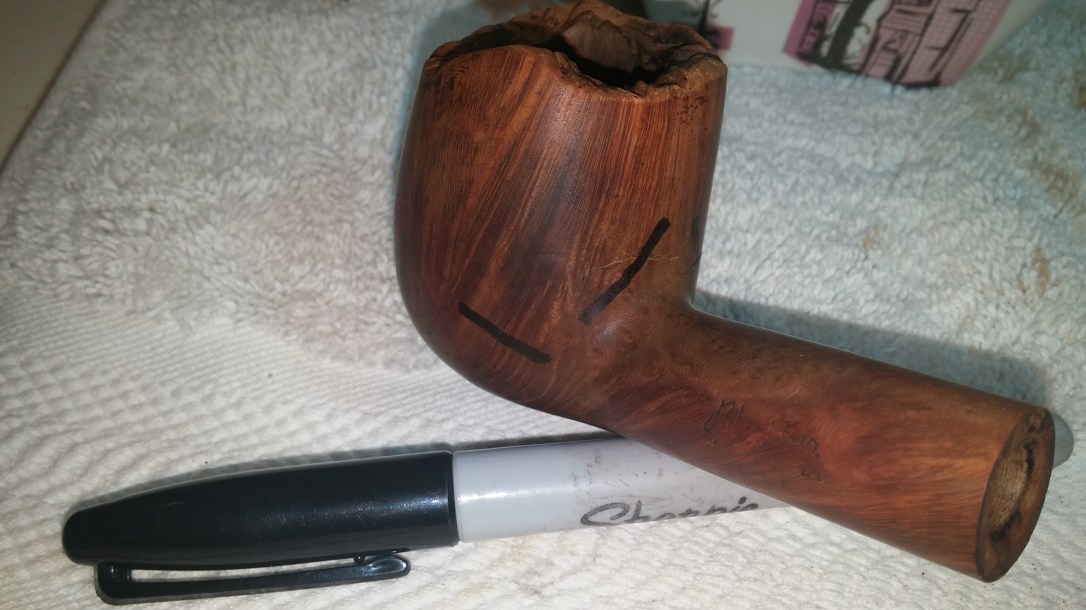

When pinning, I use the smallest rod stock and drill bit combination available to me to minimize the cosmetic work required afterwards. In this case, a 1.2mm drill bit and slightly smaller brass rod did the trick. This pic shows the first of the three pin shafts drilled and the first brass pin ready to slot home with a drop of CA glue. If you’d like to read a more in depth pinning tutorial, you can find it on the blog here.
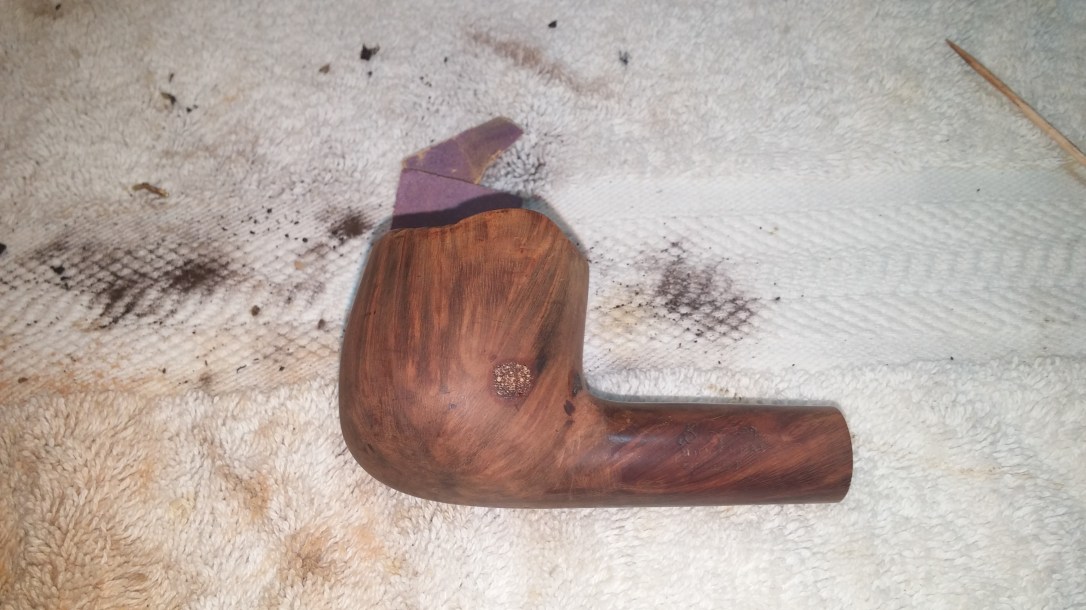
When I had all three pins in place, I filled the holes with CA glue and briar dust, filing and sanding the fills smooth after the CA glue had cured. As you can see here, the first two pins cooperated nicely, leaving only small fills in the briar. The third pin was a bit of a bear to get in place. The combination of a tricky drilling angle and a burnout directly in line with the pin made it difficult to get a viable pin shaft drilled in solid briar, and left me with a large and somewhat unsightly fill to deal with.
The last shot in this series shows the interior of the tobacco chamber after all three pins were in place. You can clearly see both CA glue that had wicked through the cracks and the end of one of the brass pins poking glinting from inside one of the burnt areas. The pin will be inside the chamber wall once the repair is complete.

To both fill the burnt out areas and reinforce the crack repairs, I mixed up a batch of JB Weld high-heat epoxy and smeared it around the inside of the chamber, pushing as much epoxy into the cracks and divots as I could.
Regular readers will know that I usually reach for JB-Kwik, the fast-setting version of JB Weld, for chamber repairs, but given the depth of the burnouts, I elected here to use the original formula. It stays wet for longer than JB-Kwik, but has a higher heat resistance rating. I propped the stummel up in such a way that if the JB Weld flowed a bit before setting it would stay in the areas of deepest damage.


When the JB Weld had cured sufficiently, I scraped and sanded away the excess material, leaving the epoxy fill in the burnt areas. In this case, there was quite a lot of epoxy left in the chamber, illustrating the extent of the burn damage.
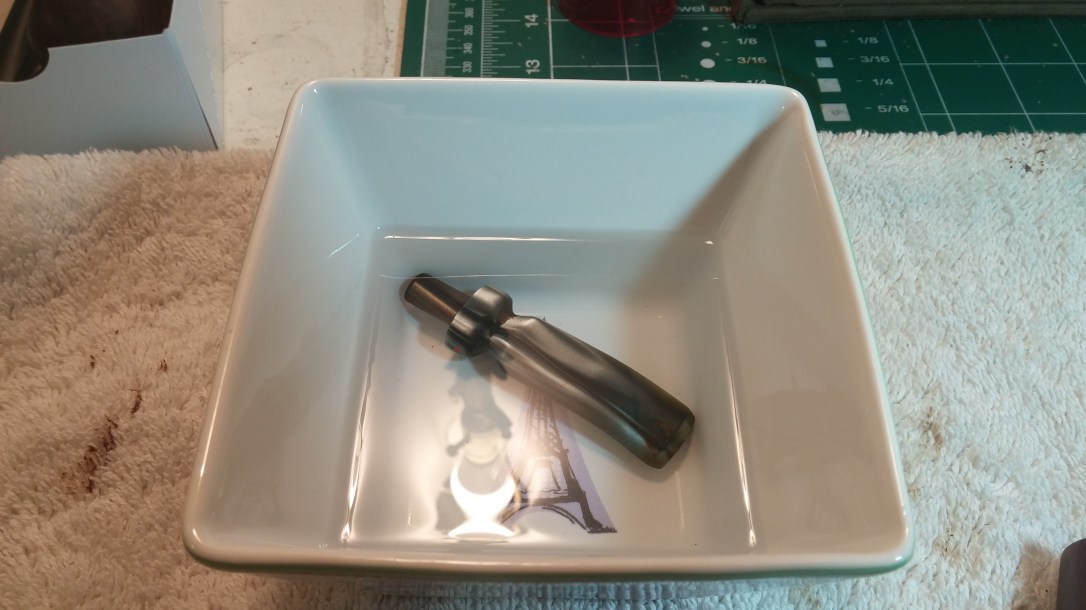
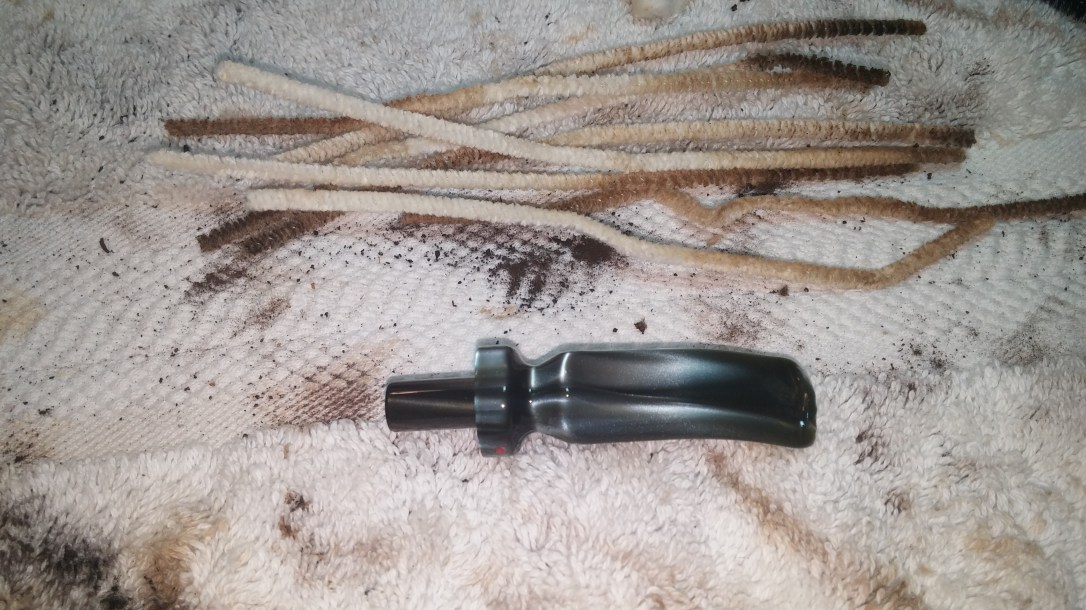
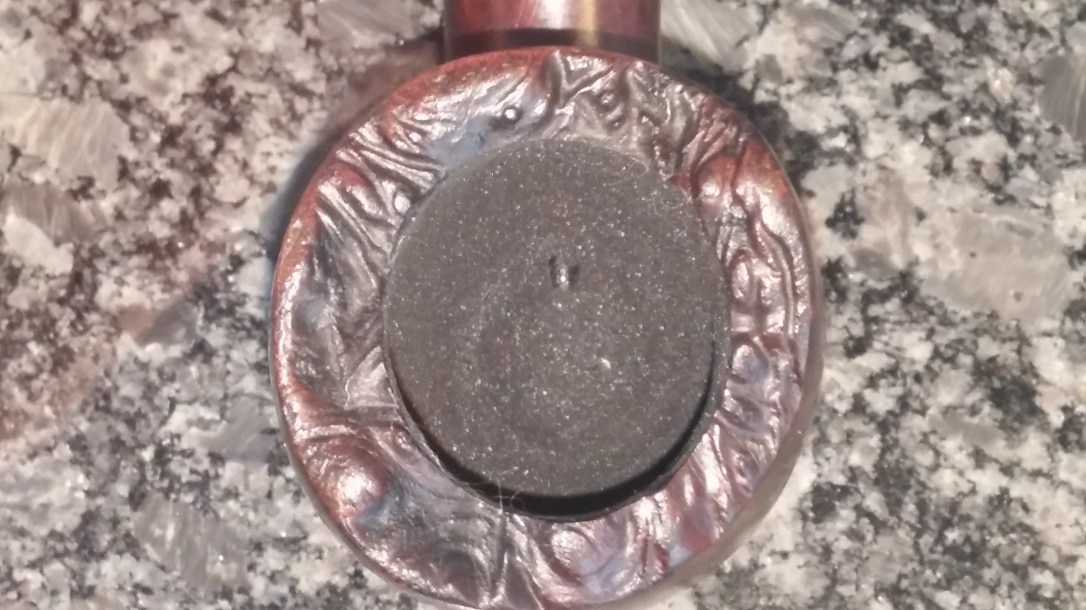
I applied a bowl coating of maple syrup and activated charcoal powder and set the stummel aside to rest while I dealt with the stem. Given the amount of tars and other goodies I had had to clean out of the briar, I first gave the stem a soak in alcohol to dissolve or at least soften any gunk lurking in the airway. Even with a 45 minute soak, there was still much work necessary with pipe cleaners and more alcohol to purge the stem completely of old tar.
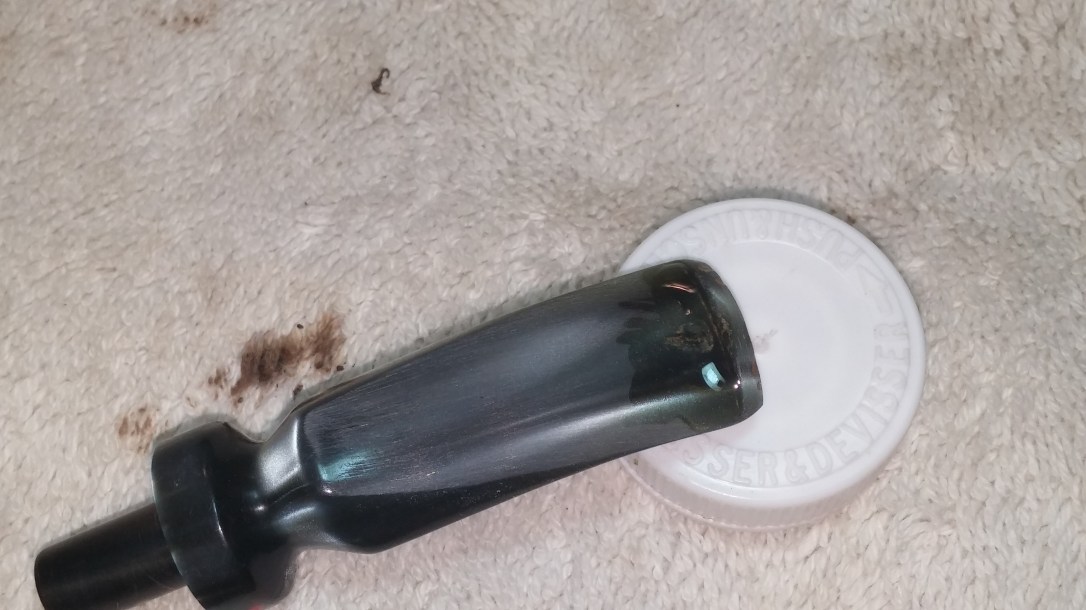
With the acrylic stem clean, I sanded it with 320-grit sandpaper to remove any superficial tooth marks and then drop-filled the deeper marks with clear CA glue. When the glue had cured, I filed and sanded the stem smooth. I had to reapply the glue several times to bring the patches up level with the surrounding material, but eventually the stem was returned to its original dimensions. CA glue (cyanoacrylate) is, as the name implies, an acrylic compound, so it works very well with acrylic (Lucite) stems.
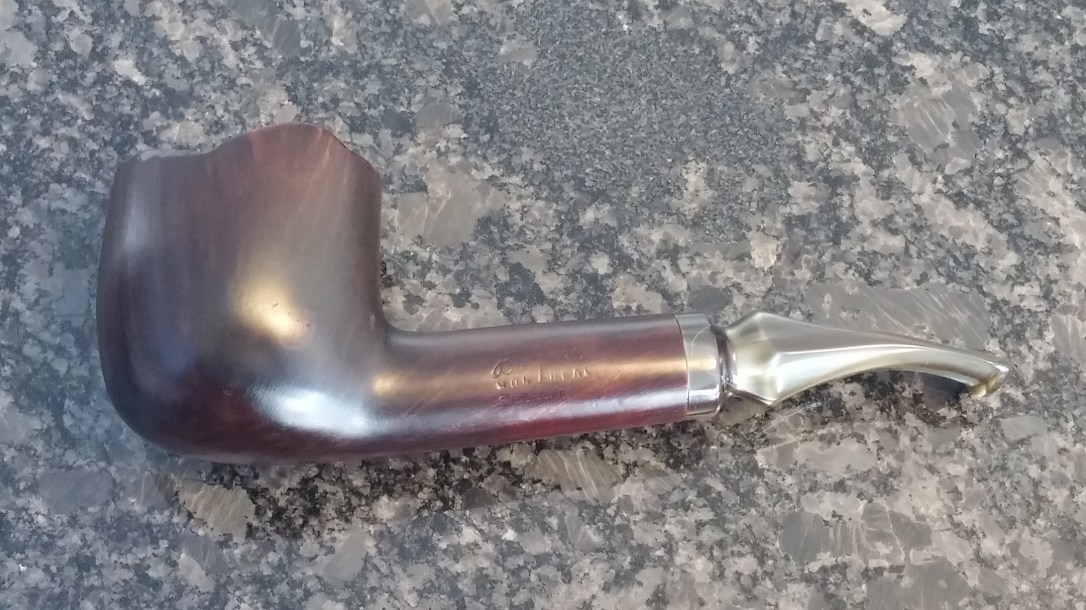
Repairs to stem and stummel complete, I stained the briar with a few coats of Fiebing’s Dark Brown leather dye – a bit of a shame, as the dark stain obscures much of the lovely briar grain Blatter is known for. On the other hand, the darker stain also does a decent job of hiding the fills from the pinning, so there is a trade-off to be made.
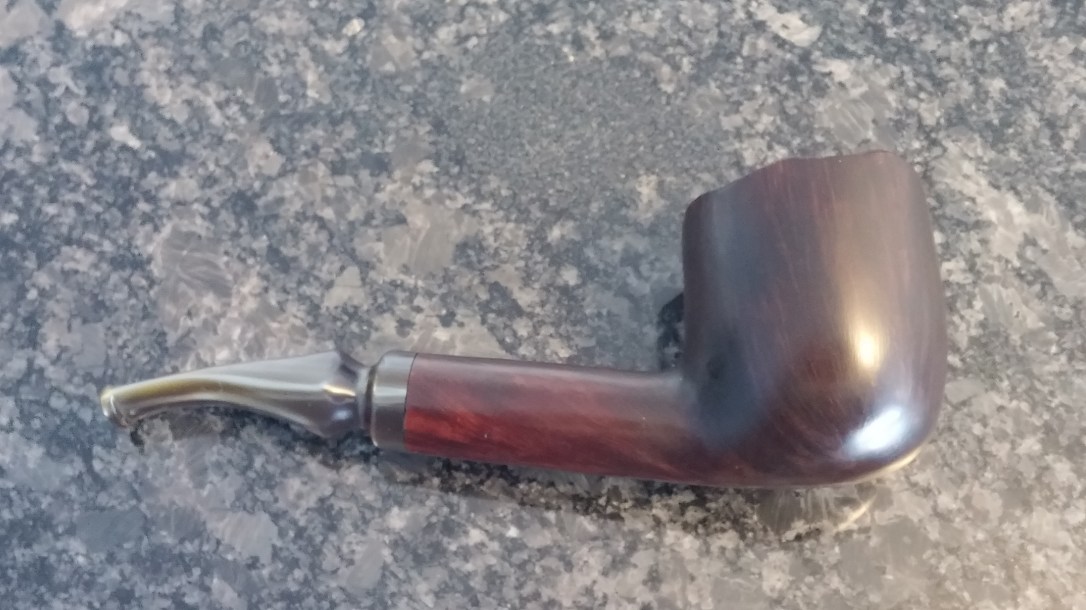
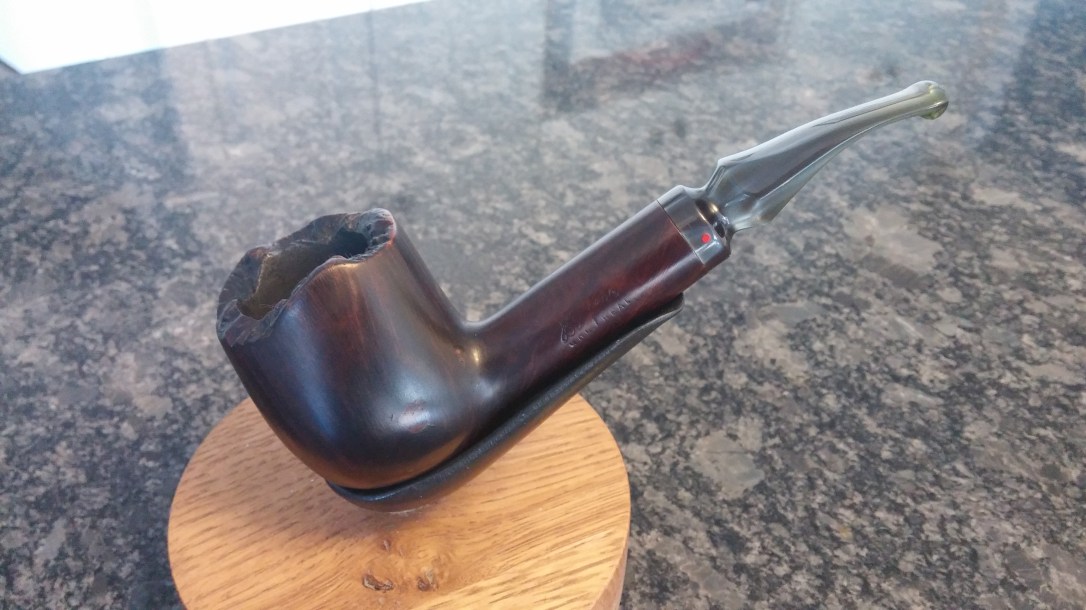
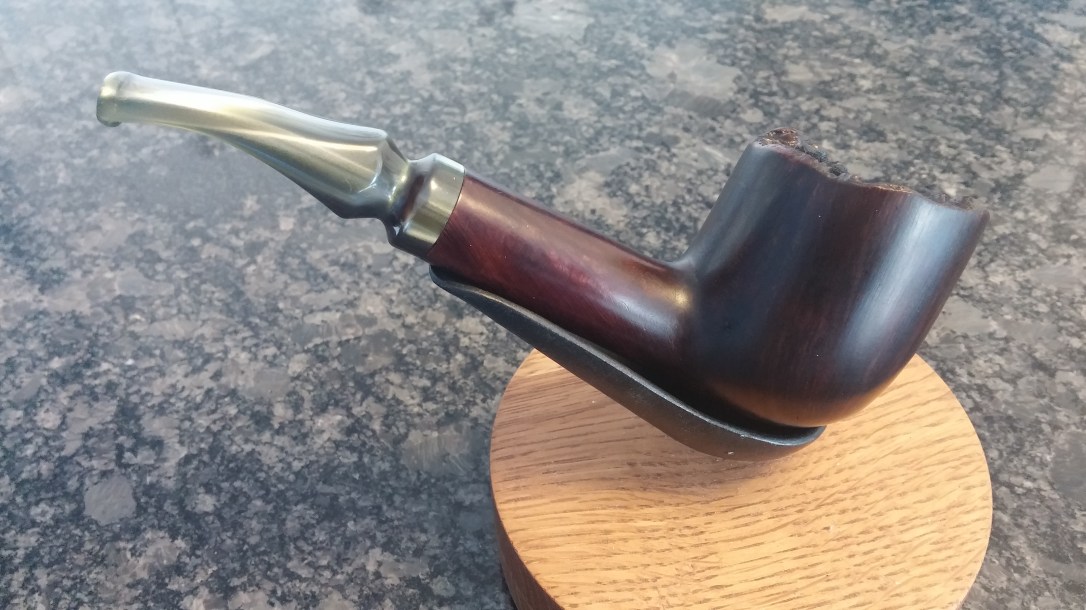
I gave both stem and stummel a run on the wheel with White Diamond compound and then several coats of Carnauba wax to wrap up this marathon repair. The finished pipe has come a long way since it first hit my worktable. Clean, whole and ready to smoke, this Blatter Select will find a new home in my own rack, where the copious bowl should prove ideal for lingering smokes around the campfire this summer.
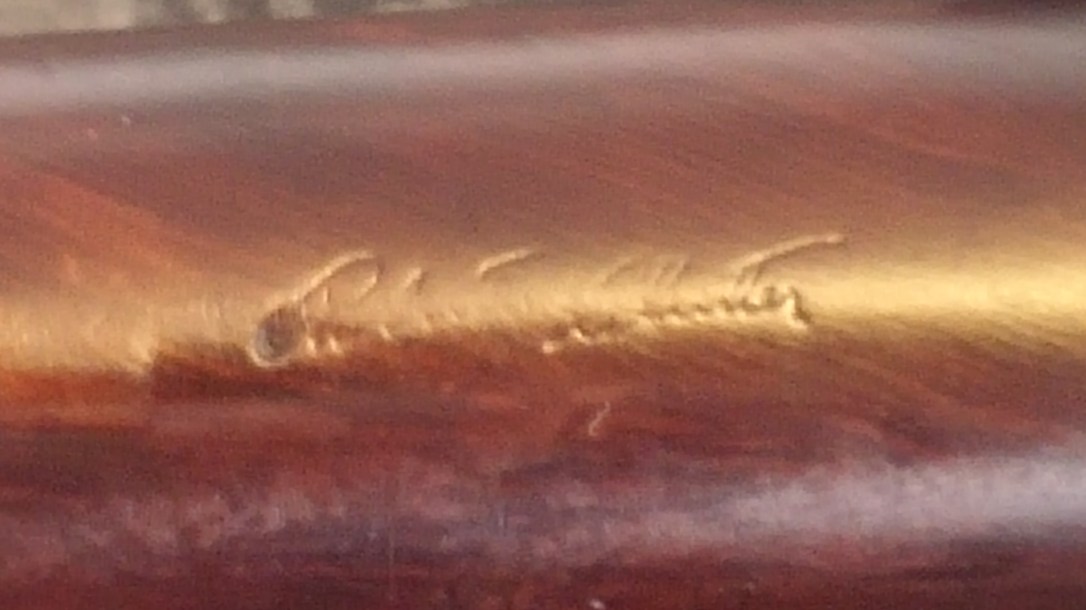
This pipe held one more surprise for me – after refinishing, I found one additional stamp that had been lurking under the dirt and grime – Robert Blatter’s signature. This stamp is shown in the pics below of the finished pipe.
I’m still not completely satisfied with the dark stain. I may at some point revisit this pipe and consider rusticating part of the bowl to cover up the signs of repair, but for now I’ll just enjoy it for what it is – a gift pipe, a fun repair, and a classic Blatter made by one of Canada’s most highly regarded craftsmen. I’m glad I could save it.
Thanks for following along on this rather involved repair and restoration. I hope you enjoyed reading it and perhaps picking up a tip or two to add to your own pipe repair arsenal. Until next time, Happy Piping!
Here’s the finished pipe.


Charles, another great save and technical essay for me. I have a cracked stummel that’s in my to do basket for some time – a Savinelli Autograph and I may be sending you (and Steve, too) a picture to see if it’s beyond simple gluing. I haven’t graduated to the masters level yet with pinning!
LikeLike
Great Save. Good to know she’ll live to smoke another day.
LikeLiked by 1 person
It’s a beautiful pipe. She certainly deserved the effort to rehabilitate! 😁
LikeLike