
The choice of a first pipe is an important decision. As a new pipe smoker, finding the perfect first pipe is often a balancing act between cost and quality, not to mention finding a pipe shape that speaks to you, is comfortable to hold and clench, and that is neither too large nor too small. New pipe smokers can struggle to get their sea legs under them with a first pipe, and I think it is partly this struggle that bonds a smoker to his or her first pipe in a unique way not often replicated with successive pipe purchases.
Many pipe lovers, myself included, still have and regularly reach for their first pipe in much the same way that people seek out and enjoy comfort foods. I own much nicer pipes now, but I will never get rid of my first briar, a humble 2-Dot Brigham Pear purchased during my undergraduate years. Similarly, the pipe on the bench today is another pipe steward’s first pipe, a well-loved and well-cared for Gulden Dansk Bent Dublin that needed just a bit of TLC to bring it back to its former glory.
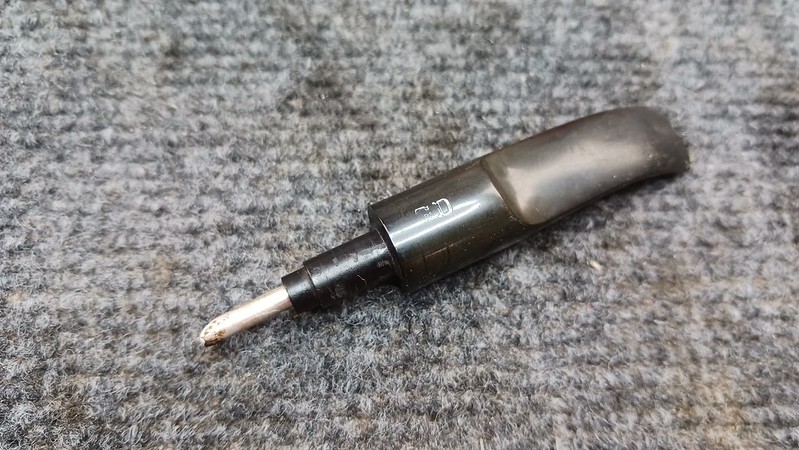
As this initial series of images shows, the pipe arrived in the shop in pretty good estate condition. The finish on the stummel was a bit worn on the edges and the pipe needed a good general cleaning, but the real issue was the stem, which was precariously loose in the shank mortise. At some point in its history, the button had been broken (or bitten) off and the end of the stem roughly squared off. The pipe’s steward had decided it was finally time to replace the damaged stem.
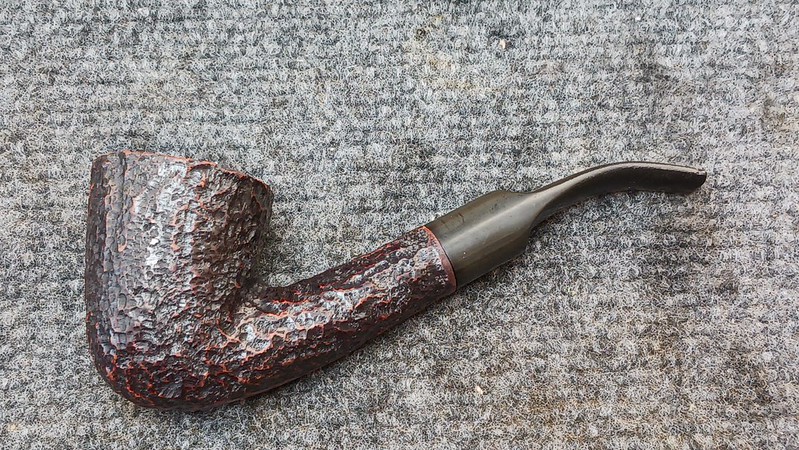


The bowl is stamped on the underside with “Gulden Dansk” followed by “6110” over “Italy”, which tells us that this is not a Danish pipe, regardless of the name. It is, in fact, made by Savinelli in Italy. Many familiar with the Italian marque will recognize this Gulden Dansk as a Savinelli 611 shape.

As I mentioned above, the original stem was overdue for replacement, but before the old broken Vulcanite went into the bin, I salvaged the aluminum stinger, which the pipe’s steward wanted installed in the new stem. A little heat and a gentle pull separated the stinger form the original tenon.

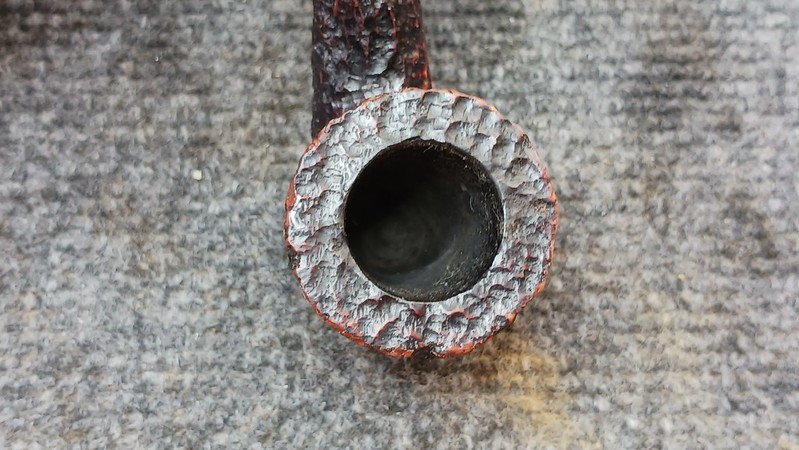
With the old stem dealt with, I moved on to cleaning the stummel, starting with a gently reaming of the chamber with sandpaper wrapped around a dowel to remove a light amount of old carbon cake. Underneath it, the briar was in excellent condition, with no heat damage or pits.

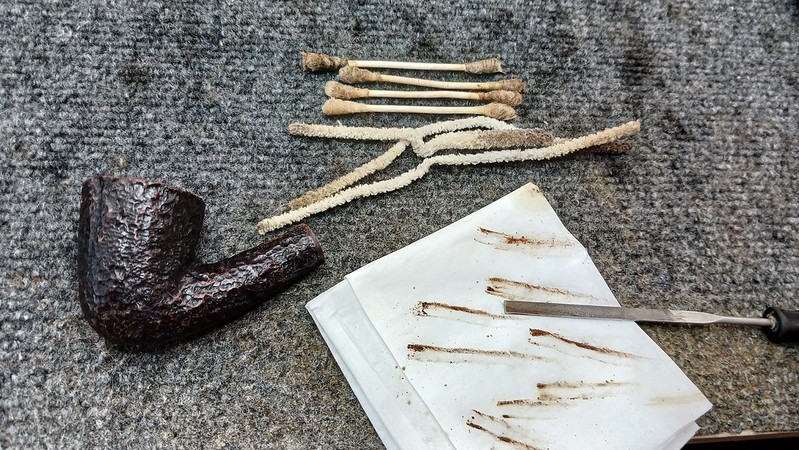
Similarly, the shank and airway were reasonably clean and only took a few pipe cleaners and cotton swabs dipped in 99% isopropyl alcohol to clear out some old tars and debris. I did find a buildup of tarry gunk at the end of the mortise, which I scraped out with the flat end of a needle file.
With the stummel clean, I moved on to fitting a new Delrin tenon I made up in-house on the lathe. Here is a shot of the stummel test-fit to the tenon.

Using my tenon-turning tool, I reduced the diameter of the stem end of the tenon to just under 7mm. In this pic, you can also see the pre-cast Vulcanite stem blank I had selected for the pipe. The new stem is a near-perfect match to the original, with the big difference being that the new stem still has a button!

It is important to rough up the exterior of Delrin tenons. The material is rather slippery by nature, which makes it great for tenons but can interfere with the glue bond between tenon and stem. A rough outer surface provides better mechanical grip for the epoxy in the next stage.

The new replacement stem came with an integral tenon, which I cut off flush with the stem face before drilling a 7mm mortise for the Delrin tenon to sit in.

And here is a quick shot of the pipe with the new stem dry fit over the new tenon – a nice, light-tight fit against the shank face.

I use a standard 5-minute two-part epoxy to glue tenons into stems. To ensure a good bond, I apply the epoxy to both the roughed end of the tenon and the inside of the stem mortise before sliding the parts together. A dab of petroleum jelly on the shank face helps prevent the epoxy from accidentally bonding the stem to the shank permanently.
After aligning the new stem with the shank, I held the parts in place for a moment while the epoxy took hold, then replaced my fingers with some masking tape and clamped the pipe upright to allow gravity to hold it in place while the epoxy cured overnight.

When I came back to the pipe the following day, I twisted the new stem out of the shank and chased the stem’s airway with a drill bit to clear out the excess epoxy. As you may have noticed in the previous pics, the new stem was slightly larger in diameter than the pipe shank, so I used a variety of files and sandpapers to remove the excess material for a smooth transition from shank to stem.

When I was happy with the fit of the new stem, I sanded the Vulcanite to 2000-grit to remove the file marks and prepare the stem for final polishing. I also took the opportunity to touch up a few of the more worn areas of finish with a stain pen before adding a slight bend to the new stem to match the original.
Then it was time to take the completed pipe to the buffer for a run on both the Red Tripoli and White Diamond wheels, followed by several light coats of Carnauba wax to add shine and a layer of protection for the refreshed pipe.
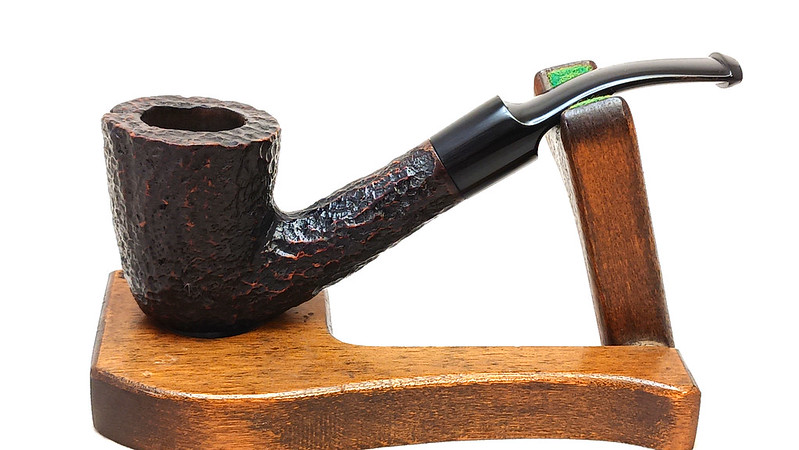
This refurbished Gulden Dansk 6110 Dublin has really come alive after its time on the bench. The briar is clean and fresh, and with the renewed finish and new stem, the pipe is looking great – almost as good as it did when its steward first purchased it new in the 1980s. That’s job done in my book!
The pipe has been returned to its steward’s rack and rotation, where it should continue to serve faithfully for at least another 40 years. Thanks for following along with me on this estate pipe restoration project. I hope you enjoyed the journey.
Until next time Happy Piping! Here’s the finished pipe.


Although I don’t have the first pipe I ever bough (a lovely 3 dot 1/2 bent Brigham – don’t recall the shape…went MIA) I do have a treasure the first pipe I smoked. It is a very short nose warmer – a Fisher brand (don’t have it in hand to recall the model). Fun memories of that. Yes, your first is special and I’m sure the steward is grateful to have it so nicely restored.
LikeLiked by 1 person
Thanks for sharing your story, Marlowe. I’m glad this post brought up some good memories!
LikeLike
Very nice Charles. I always enjoy your posts. One question. Why did you not use the original tenon that came with the delron stem?
I rather figured that perhaps the tenon width was small for the shank. Thanks Charles.
LikeLiked by 1 person
Hi Bill. I have found many integral tenons (ie those cast as part of a stem blank) that are misshapen, bent or otherwise poorly cast, especially on Vulcanite blanks. Acrylic tenons tend to chip or crack during turning. Rather than spend time trying to correct a poorly made part, it is faster and easier for me to get a good fit by gluing in a Delrin tenon. 👍
LikeLiked by 1 person
Nice job, Charles. I appreciate the descriptions in the write up. I still have my ‘first’ pipe – a cob I bought at a drug store to go bass fishing when in seminary in the late 70s. It spent several decades in the tackle box before being given a proper place in a rack on the shelf. It still smokes pretty well!
LikeLiked by 1 person
Sounds like a well aged cob, Dal. 😁👍
LikeLiked by 1 person
Yep, not doubts about that!
LikeLiked by 1 person