
As you might guess after reading a few blog posts here, I really like estate pipes. Beautiful and functional in their own right, estate pipes also have a direct connection to the past, an attribute prized by many collectors.
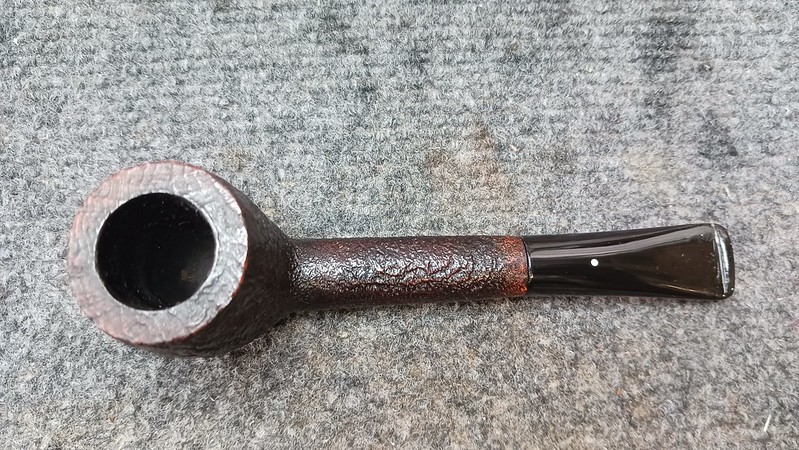
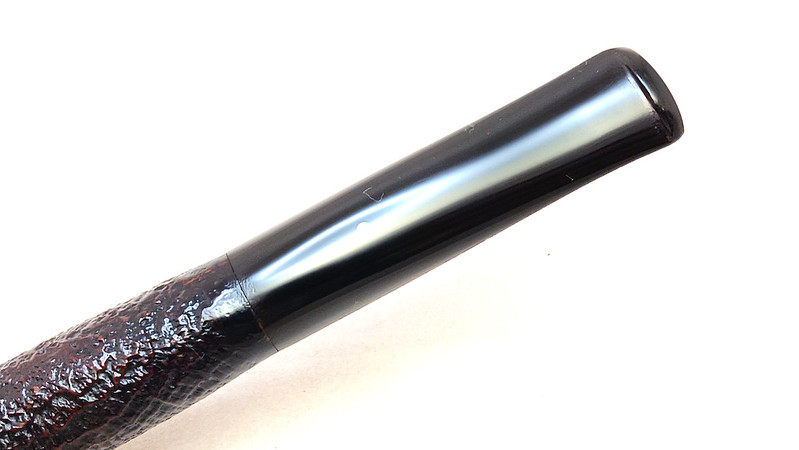
On the bench today is a lovely estate Dunhill, which arrived at DadsPipes with a rather complete set of accoutrements – original box, sock, Dunhill certificate of authenticity and a small brochure – which I don’t often see in the shop. As these initial photos show, the pipe was in pretty good estate condition, free of any major dents or dings, but showing signs of use and age including a cloudy finish, a light cake in the chamber and some tooth marks on the acrylic stem. There was also a band of worn finish around the end of the shank which warranted further investigation.


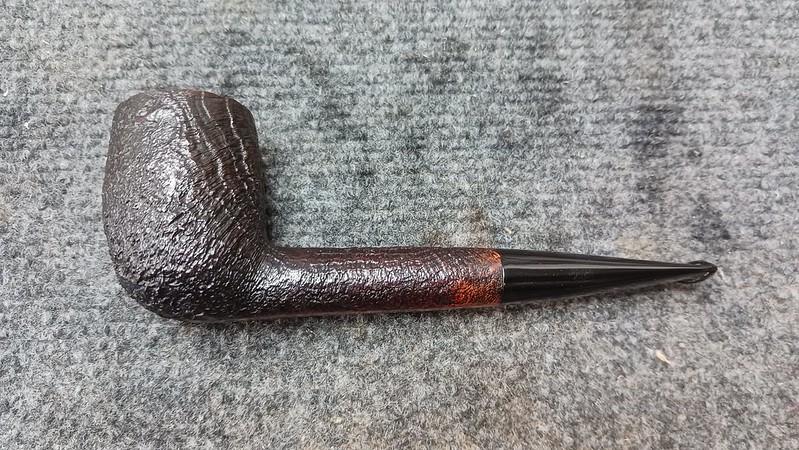


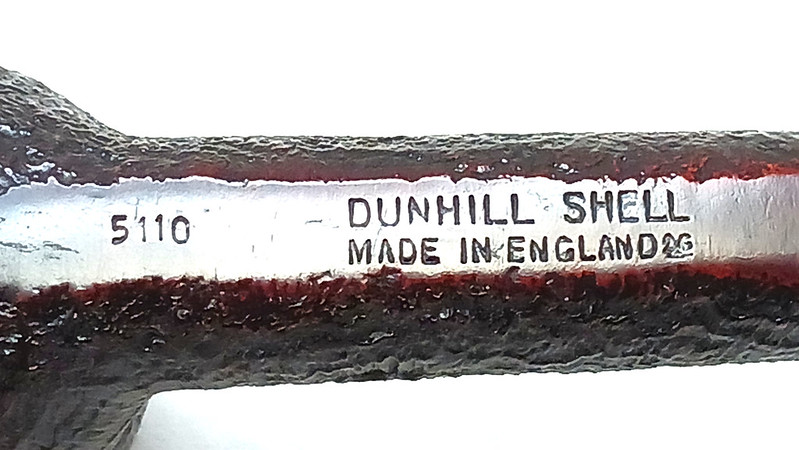
Along with the White Spot on the pipe stem, the pipe was marked clearly on the underside of the shank with a shape code, “5110” and “Dunhill Shell” over “Made in England 26“. The shape code breaks down as a Group 5 size, Taper stem, Shape 10 (Liverpool), while the rest of the stamp tells us that the pipe is part of Dunhill’s Shell Briar series, made in 1986 (1960 + 26).

The current pipe steward’s concerns about the pipe were twofold. First, the acrylic stem was not original to the pipe and the replacement flared out at the bit more than necessary. In the pics above you can see a slight mismatch between the stem and shank face and the exaggerated fishtail shape. Secondly, whoever had fit the acrylic stem had sanded down the shank to meet the smaller diameter of the pre-cast acrylic bit, leaving the finish paler in that area.
My task was to prepare the pipe for use, including a good cleaning and a new hand cut Ebonite stem. I’d also see what I could do to blend in the thinner section of shank.
To get the ball rolling, I started with the cleanup. I used cotton swabs and pipe cleaners dipped in 99% isopropyl alcohol to dissolve and remove the accumulated tars and other goodies built up in the shank and airway. The flat end of my flat needle file was useful in scraping out a heavier deposit of crud from the end of the mortise.
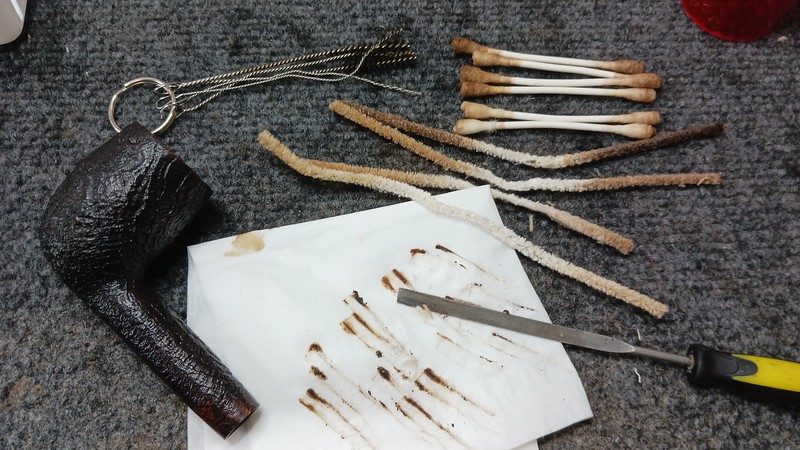
The light cake in the chamber surrendered easily to some sandpaper wrapped around a dowel, and a couple of cotton swabs moistened with saliva removed the small amount of carbon “lava” embedded in the nooks and crannies of the sandblast finish of the rim.

When the basic cleaning was complete, I packed bowl and shank with cotton wool and filled the stummel with more alcohol. I left the stummel to sit like this overnight to give the alcohol plenty of time to dissolve the deeply-seated tars and odors.

While the stummel sat with the alcohol treatment, I began work on the new Ebonite stem. After a quick bit of research, I realized that the acrylic replacement stem with which the pipe arrived was actually about 1cm shorter than stock. The new stem would restore the original dimensions of the pipe.
Here are a couple of shots of the rod stock at different points in the process. After mounting the rod in the lathe, I faced the tenon end square, then used a series of drill bits to create a 9/64″ airway that tapers to 1/16″ at the button.

This pic shows the rod stock after gluing in a Delrin tenon also made up in-house. Prefab tenons are available from the pipe supply houses, but if you use them as often as I do, it is more economical to buy Delrin rod and make the tenons yourself. You’ll also note that I turned the majority of the rod to just a hair larger than the diameter of the pipe shank. The final sizing would be done by hand with the stem mounted to the stummel.

When the lathe operations were complete, I brought the stem to the drill press to rough cut the slot at the button end. This little cutting wheel by Dremel makes the job quick and easy.

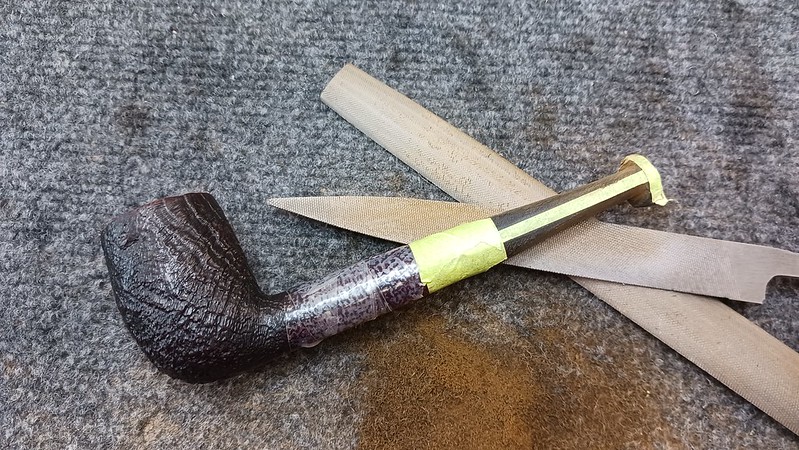
With the drilling and slotting complete, I fit the new stem to the shank and was rewarded with a nice light-tight fit against the shank face. This pic shows the restored length of the pipe. Note also the clear hockey tape wrapped around the shank. This is a precautionary measure to protect the shank from errant file strokes as I shape the stem to its final dimensions.

Before I got too far into the stem shaping process, I used the old stem as a template for drilling and installing the iconic Dunhill White Spot on top of the stem.


I used masking tape to lay out the contours of the new stem and provide a visual reference for the location and size of the airway and button. My belt sander removed the bulk of the excess material from the rod, after which the rest of the shaping was done by hand with files and sandpaper. This series of images shows the progress.


When I was happy with the overall shape and size of the new stem, I hand sanded it to 2000 grit in preparation for final buffing and polishing. I also used a black stain pen restore the original colour to the sanded area of the shank and a few worn spots on the rim. Touching up the stain obviously doesn’t add missing material back to the shank, but it helps divert the eye from the trouble area well enough.

Finally, I took the complete pipe to the buffer for a run of both Red Tripoli and White Diamond compounds followed by a few light coats of Carnauba wax to add shine and protect the new stem and refreshed finish.
The restored pipe is clean, fresh and looking every inch a classic Dunhill Shell Briar. It has been returned to its steward, ready to serve as a faithful smoking companion for another generation of pipe smoker.
I hope you enjoyed reading about this estate pipe restoration as much as I enjoyed doing the work. Thanks for joining me. Until next time, Happy Piping!
Here’s the finished pipe.


That is a great looking pipe. Nice refurb, Charles.
LikeLiked by 1 person