
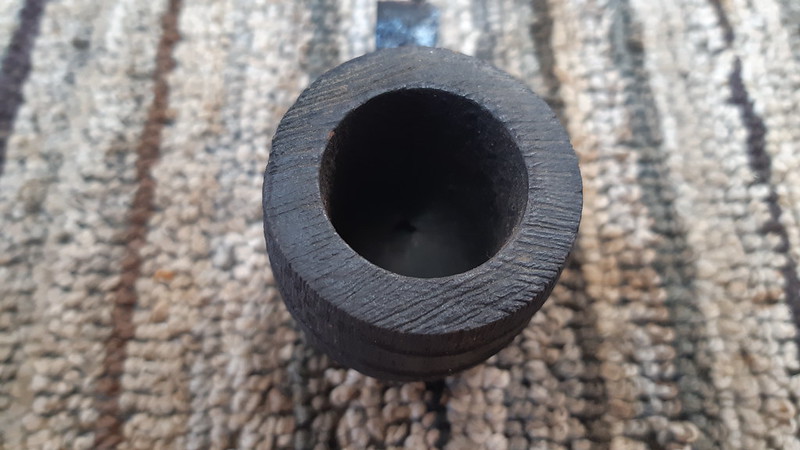
This is a restoration project I picked away at in between other jobs over the last few months. The subject is a French-made Kaywoodie Square Shank Pot with a large bowl and a handsome sandblast finish. Unfortunately, the aluminum fitment had been scavenged from the pipe, shattering the shank in the process. The broken shank had been glued back together somewhat coarsely and bundled up with the stem, sans tenon. That’s where I started, as shown in these pics.
There was a chunk of briar missing from one corner of the shank, which was also covered in quite a bit of excess glue. The original Nylon stem had a few tooth dents. The chamber showed signs of light use but the rim of the bowl was clean.


The pipe is stamped on the flat underside with “Kaywoodie” over “La Roche” over “St. Claude – France”. A shape number, 412″ was stamped at the shank face. As you can see in this pic, the stamps were mostly over-written with crosshatching, indicating that this pipe was rejected by the factory for some reason, likely aesthetic rather than structural.

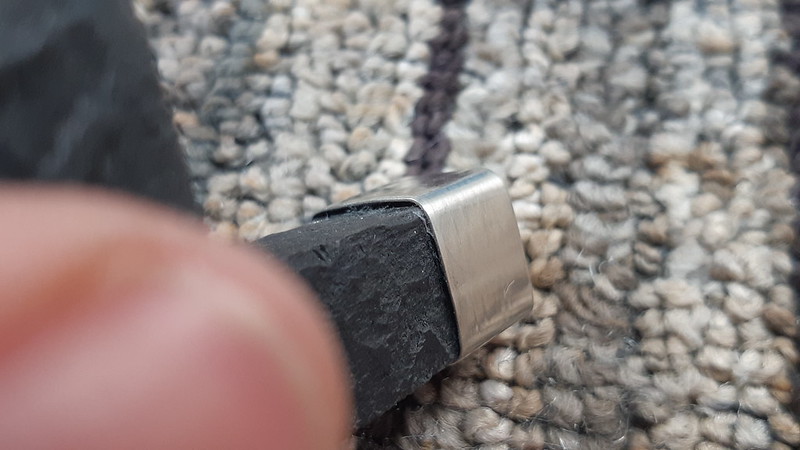
My original plan was to band the shank to reinforce the glue joints, fit the stem with a new push tenon and give the pipe a quick tidy-up. That plan, however, fell through almost immediately when I attempted to fit the shank band. Bending sharp corners into a round shank band is always a bit problematic without a specialized mandrel. My corners came out more round than square, and as you can see, the sides of the shank weren’t exactly even to begin with.

I could live with slightly rounded corners on the shank band, but not with the poor fit of the band against the shank. After looking at things for a few minutes, I changed course and gathered a few parts together to repair the shank from within with a Delrin sleeve.
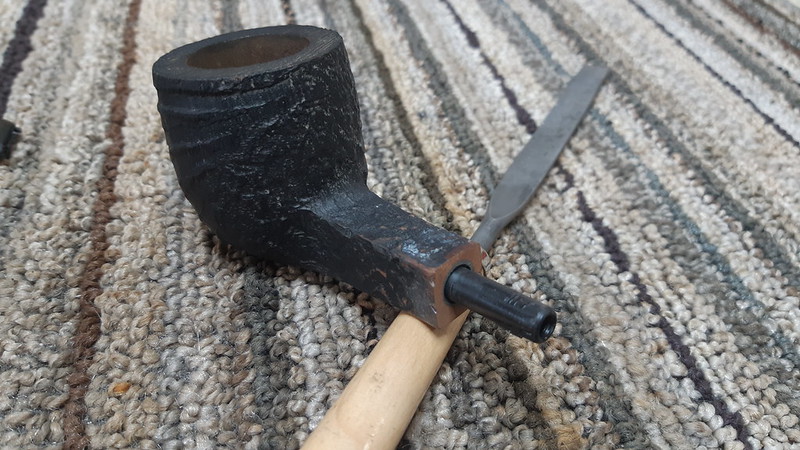
This pic shows all the parts laid out on the bench – the stummel, stem, and two Delrin tubes. The smaller tube would become the new push tenon while the large would be used to sleeve the shank. After the sleeve was installed I could remove the band.

The first stage of installing the shank sleeve was to open up the mortise to accept the Delrin tube. I left the shank band in place to hold the broken shank together while I drilled out the mortise to the correct size. Here is the shank with the Delrin sleeve dry-fit in the shank.

I scored the sleeve with a half-round needle file to give the glue a better grip on the slippery Delrin, then applied some two-part epoxy to both the sleeve and the inside of the mortise before sliding the Delrin tube into the shank. My mucking about had opened one of the cracks , so I added a clamp to keep everything tight while the epoxy cured.


I removed the excess Delrin and dealt with the chipped corner in one step by setting the stummel up in the drill press and refacing the shank with a Forstner bit.

As previously mentioned, the original stem was made from Nylon – a popular Space Age material in the 1960s, but a pain in my backside as a restorer. I have developed a firm antipathy towards Nylon stems recently. The softness of the material feels nice in the teeth, but that same softness makes it nearly impossible to achieve a high gloss shine.
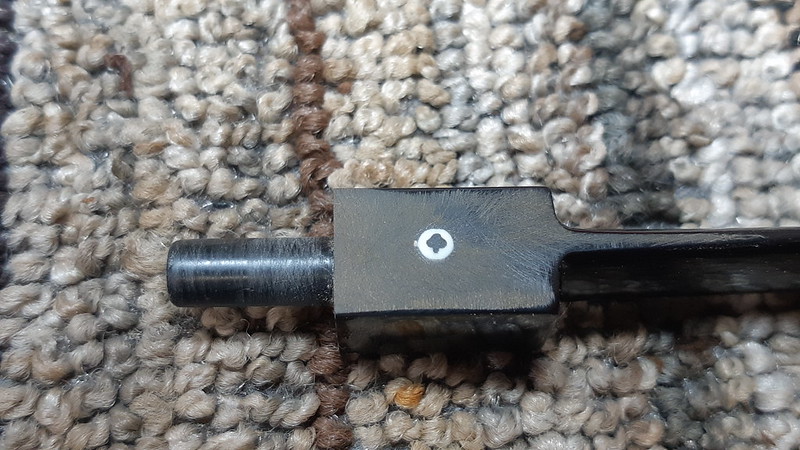
Given the amount of effort going into the shank rebuild, I decided to fit a new Vulcanite stem instead of rehabbing the old Nylon one. I did, however, take a minute to extract the cloverleaf logo from the Nylon stem to transplant into the replacement stem.

I find it much easier and faster to remove the tenon from precast stem blanks in favour of using a Delrin tenon. This lets me sand the stem face flat and true to achieve a tight fit at the shank/stem junction. The first step in this process is to fit the replacement tenon to the shank mortise. I drilled the Delrin shank sleeve out to accept a 1/4″ Delrin tenon.
As I did with the shank sleeve, I scored the stem end of the tenon with a needle file to give the epoxy some extra grip, then drilled a mortise in the face of the replacement stem. After a test fit to ensure a good shank to stem fit, I applied the epoxy and held the parts in place until the glue took hold. I left the pipe overnight to give it time to cure completely before continuing.


When I came back to the pipe, I checked to make sure I hadn’t glued the pipe together permanently, then settled into the process of shaping the new stem. The Vulcanite blank was larger than the shank. It took a fair bit of work with files and sandpaper to remove the excess material.


Sanding the stem/shank junction had flattened the sandblast finish. To restore some of the texture, I rusticated the shank lightly with a small round carving burr in the rotary tool. I finished up the work on the stummel by hitting the bare briar with some Fiebing’s Black leather dye and a bit of mineral oil.


All that was left to do was install the cloverleaf logo in the left flank of the new stem. This was straightforward enough. After drilling a shallow hole, I glued the logo in with a dab of CA glue. When the first bit of glue dried, I added more CA glue to fill the depression and encase the logo. After a bit of sanding, the logo was an integral part of the new stem.

After some final sanding to the stem, I took the completed pipe to the buffer and gave the stem a run on both the Tripoli and White Diamond wheels. The stummel received a light buffing with White Diamond compound only, after which I gave the entire pipe several light coats of Carnauba wax to add shine and a layer of protection.
The rebuilt pipe is looking good after its time on the bench. Though a few small marks are still visible on the shank, scars left by piecing the briar back together, the pipe is once again whole and functional. The stamps are a bit more worn than before due to the filing and sanding during repair, but as the pipe is a reject I wasn’t being particularly careful about them.
I put a lot of work into what is essentially a basket pipe, but I enjoyed the exercise and am pleased to put this old Kaywoodie back into service. I think I will add this pipe to my small rack of shop pipes. I’m curious to find out if the large chamber produces the long, cool smokes I think it should.
Thanks for following along with this restoration. It certainly tested both my patience and repair skills more than once, but it stands as a good example of what can be achieved with a broken pipe that might otherwise be discarded. I hope you enjoyed watching it unfold.
Until next time, Happy Piping! Here’s the finished pipe.


Reblogged this on rebornpipes and commented:
Charles did a masterful job on recrafting the cracked shank and the new stem for this French Made Kaywoodie. Give the blog a read and see how a master does his work!
LikeLiked by 1 person
Thanks very much, Steve. We know who the real master is here, though…. 😁
LikeLike