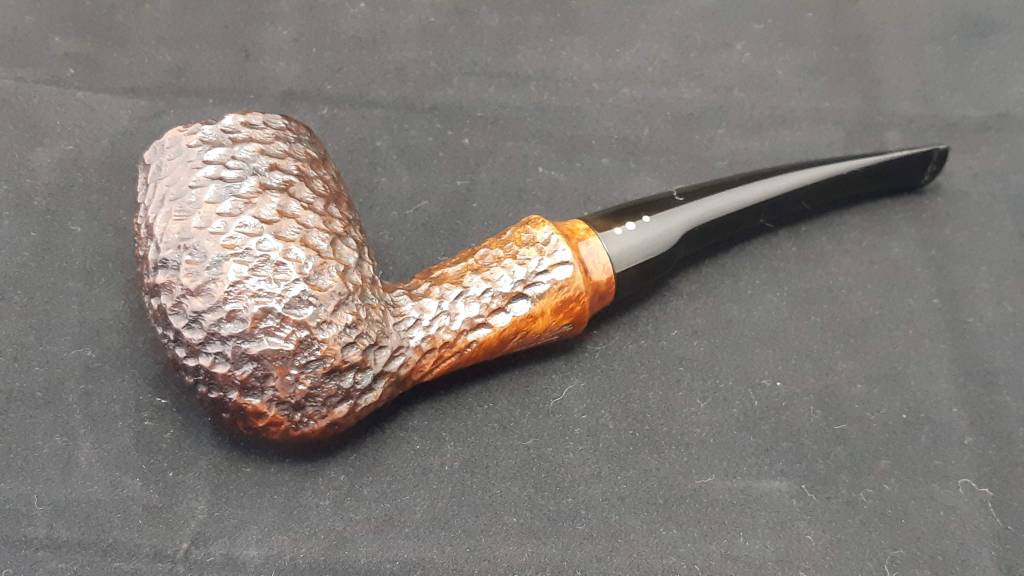
The Norseman series of “Scandinavian-inspired” freehand shapes was introduced to the Brigham lineup in the 1960s during the Danish Freehand craze and continued production until roughly 1980. The rusticated Norseman pipes were available in six shapes, stamped as 9W2 through 9W7. The first two shapes, 9W2 and 9W3, were the same Egg shape in two sizes, with the 9W3 shape larger than the 9W2.
The pipe on the worktable today is one of these Egg shaped Norseman pipes, though I don’t know exactly which one as the stamping is incomplete. I was excited to work on it regardless of shape code, though, as this pipe will be the fifth Norseman in my collection (I already own examples of shapes 4 through 7).
For more on the Norseman series (and its smooth cousin, the Valhalla series), please see my articles on Brigham Pipes – A Closer Look at Dots, Dates & Markings.
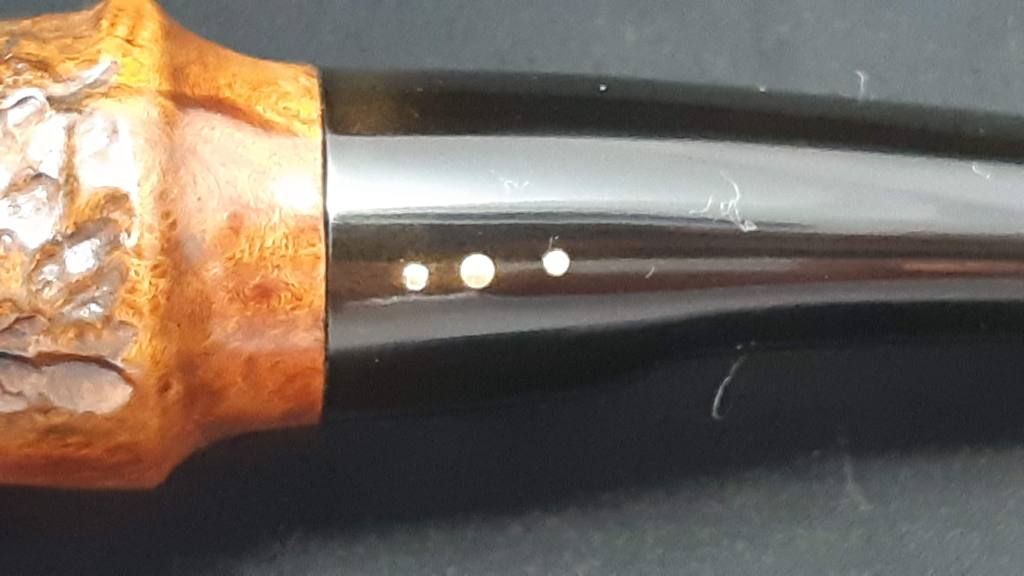
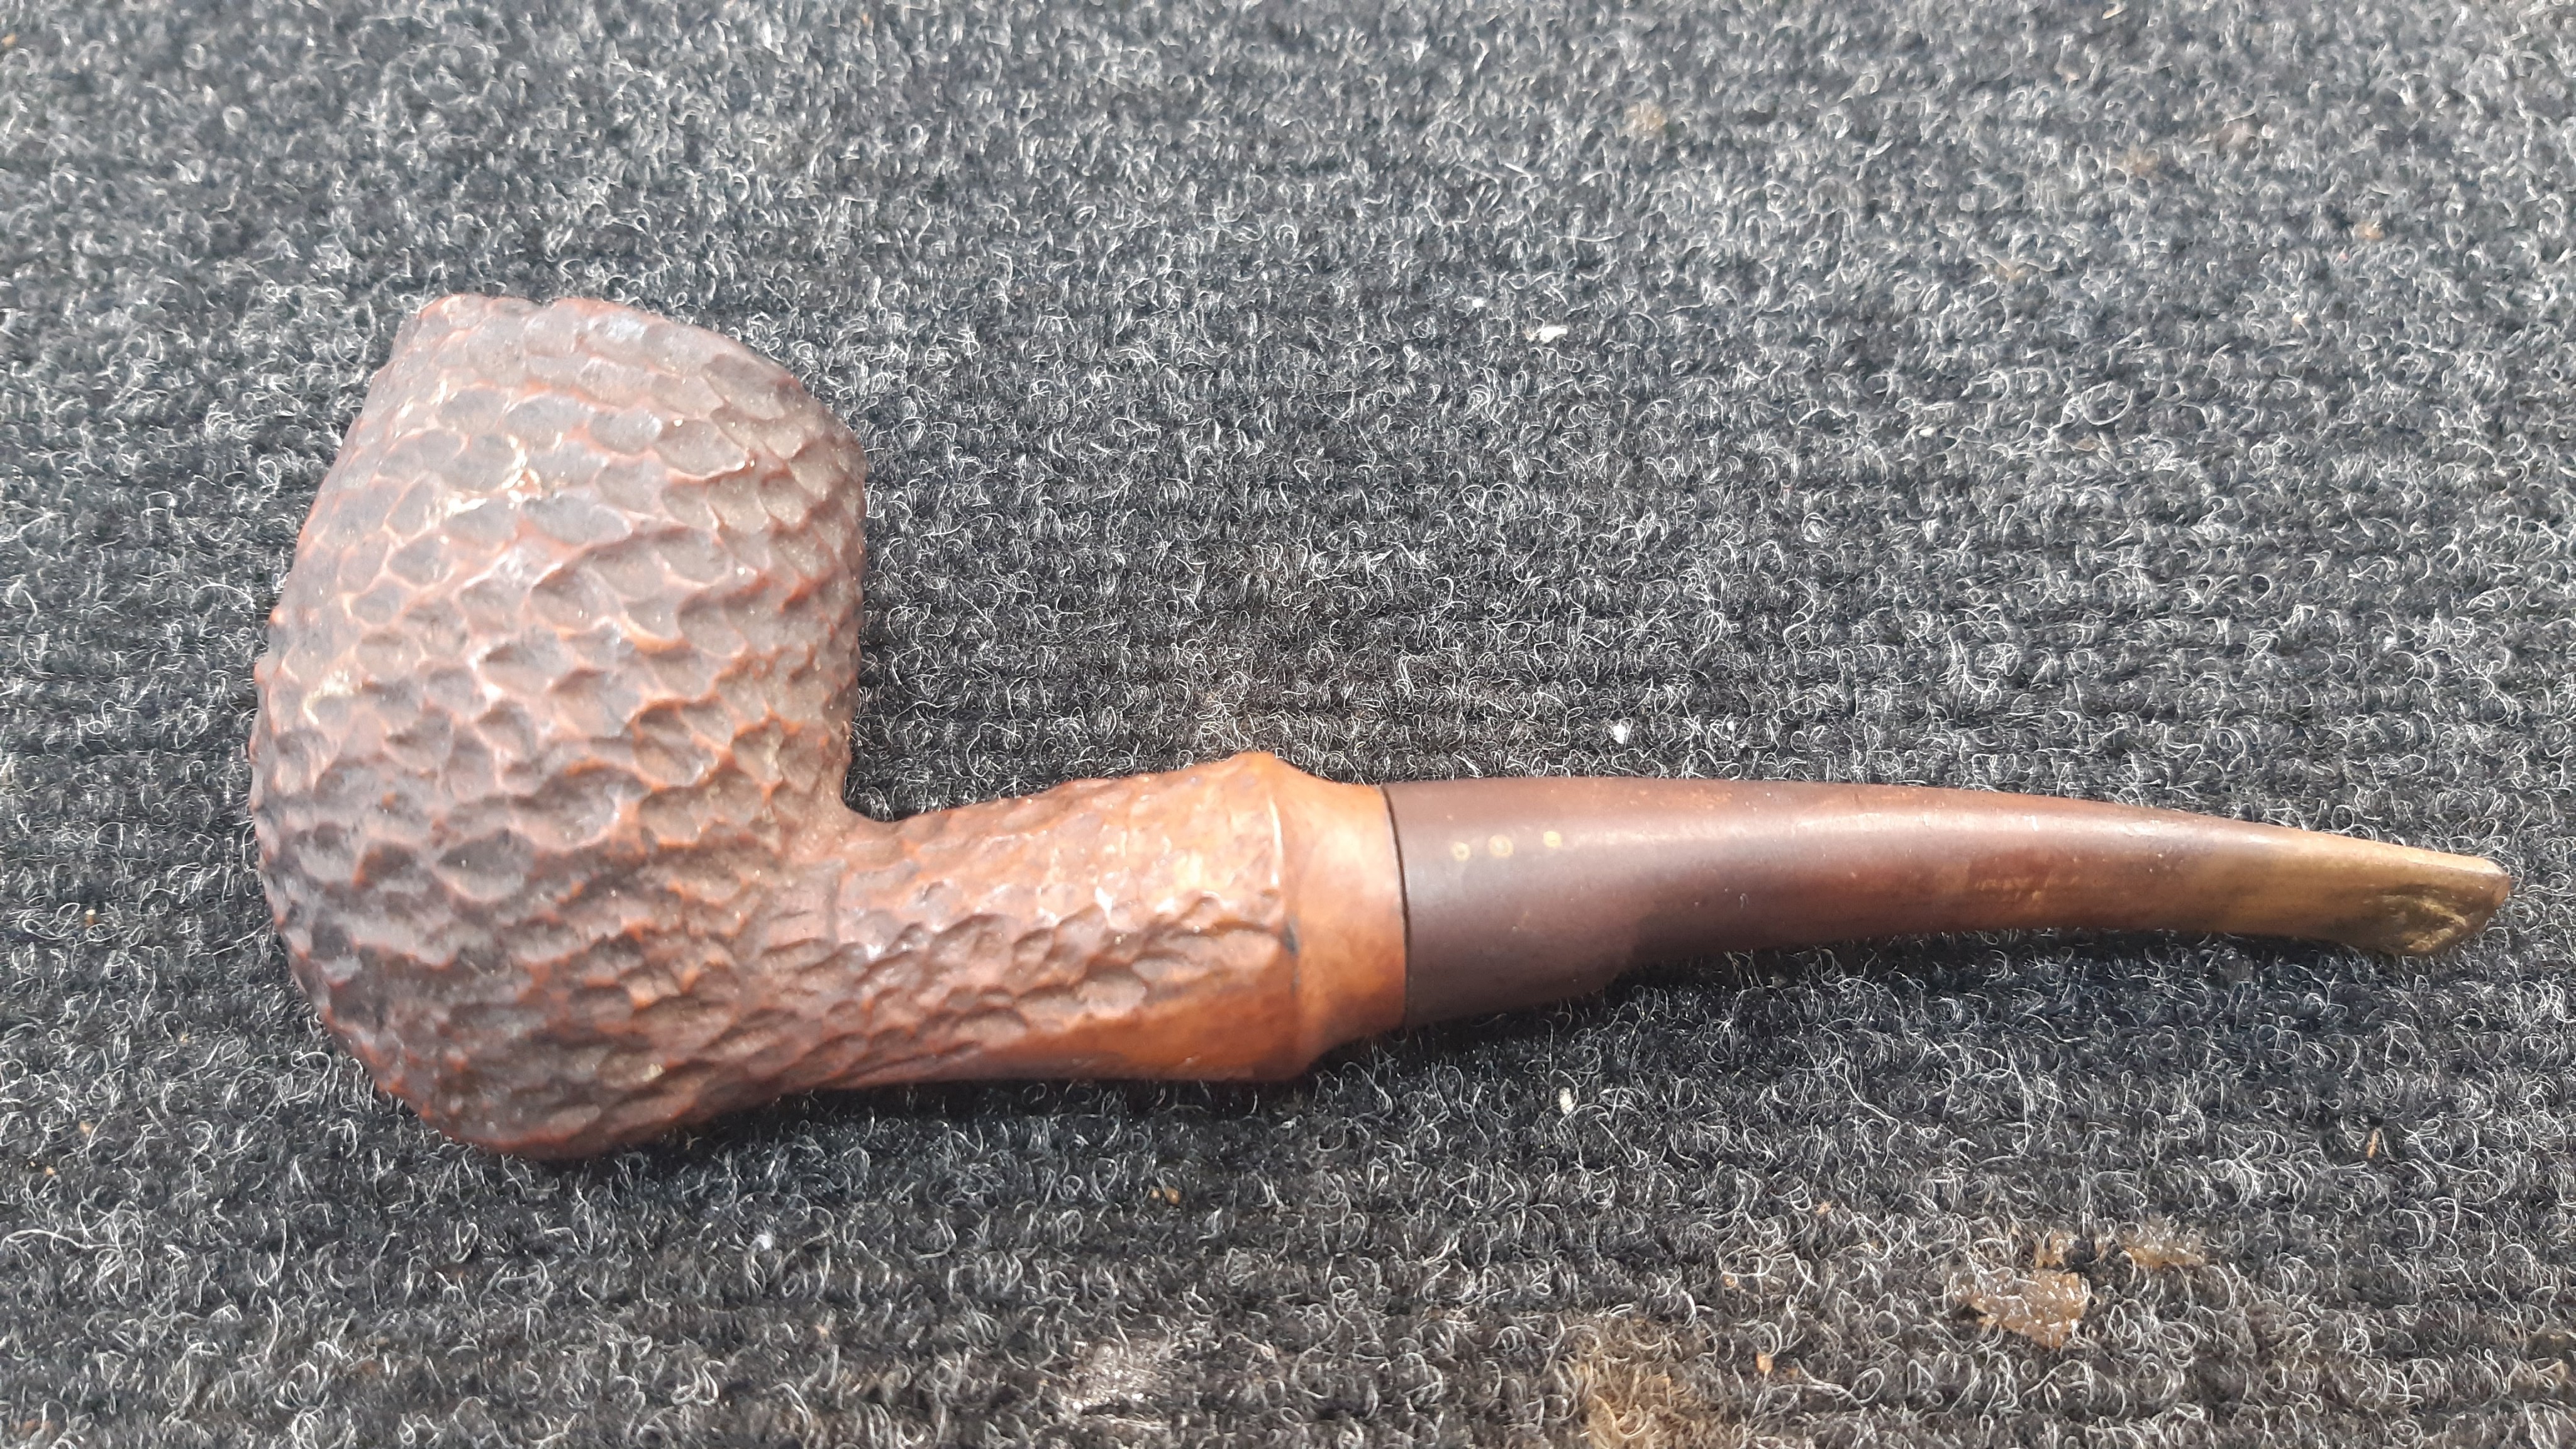
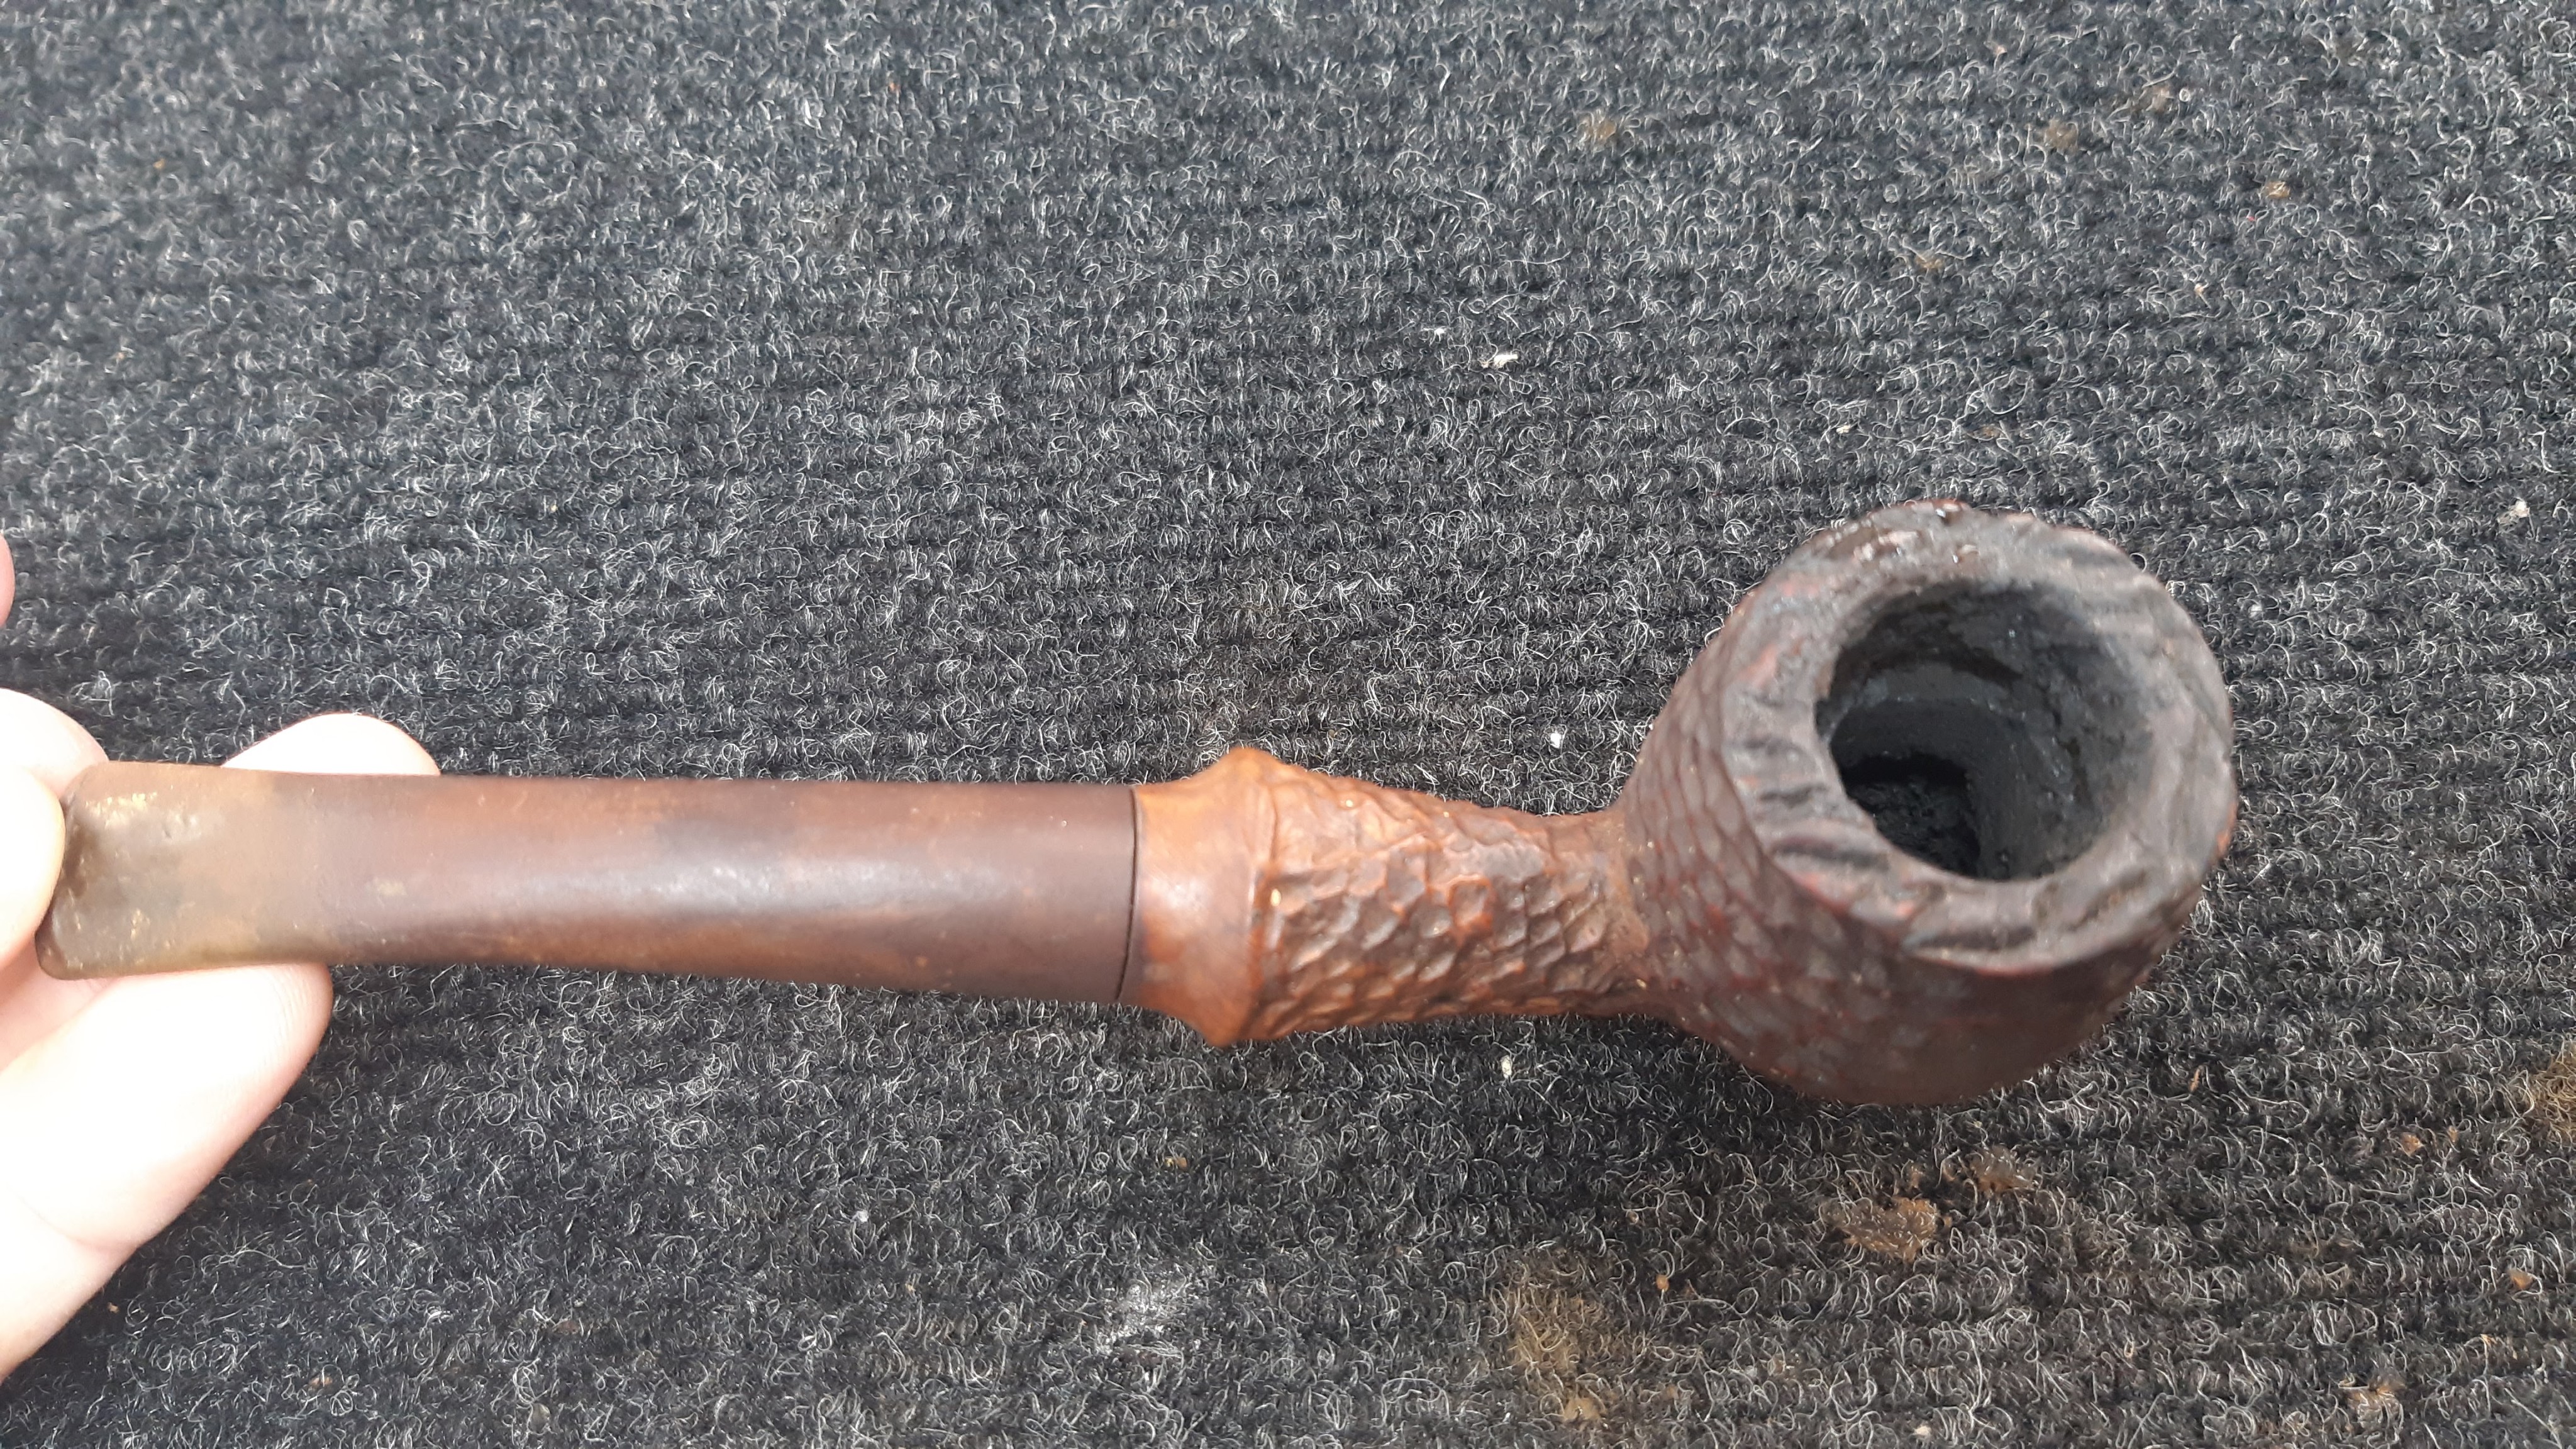
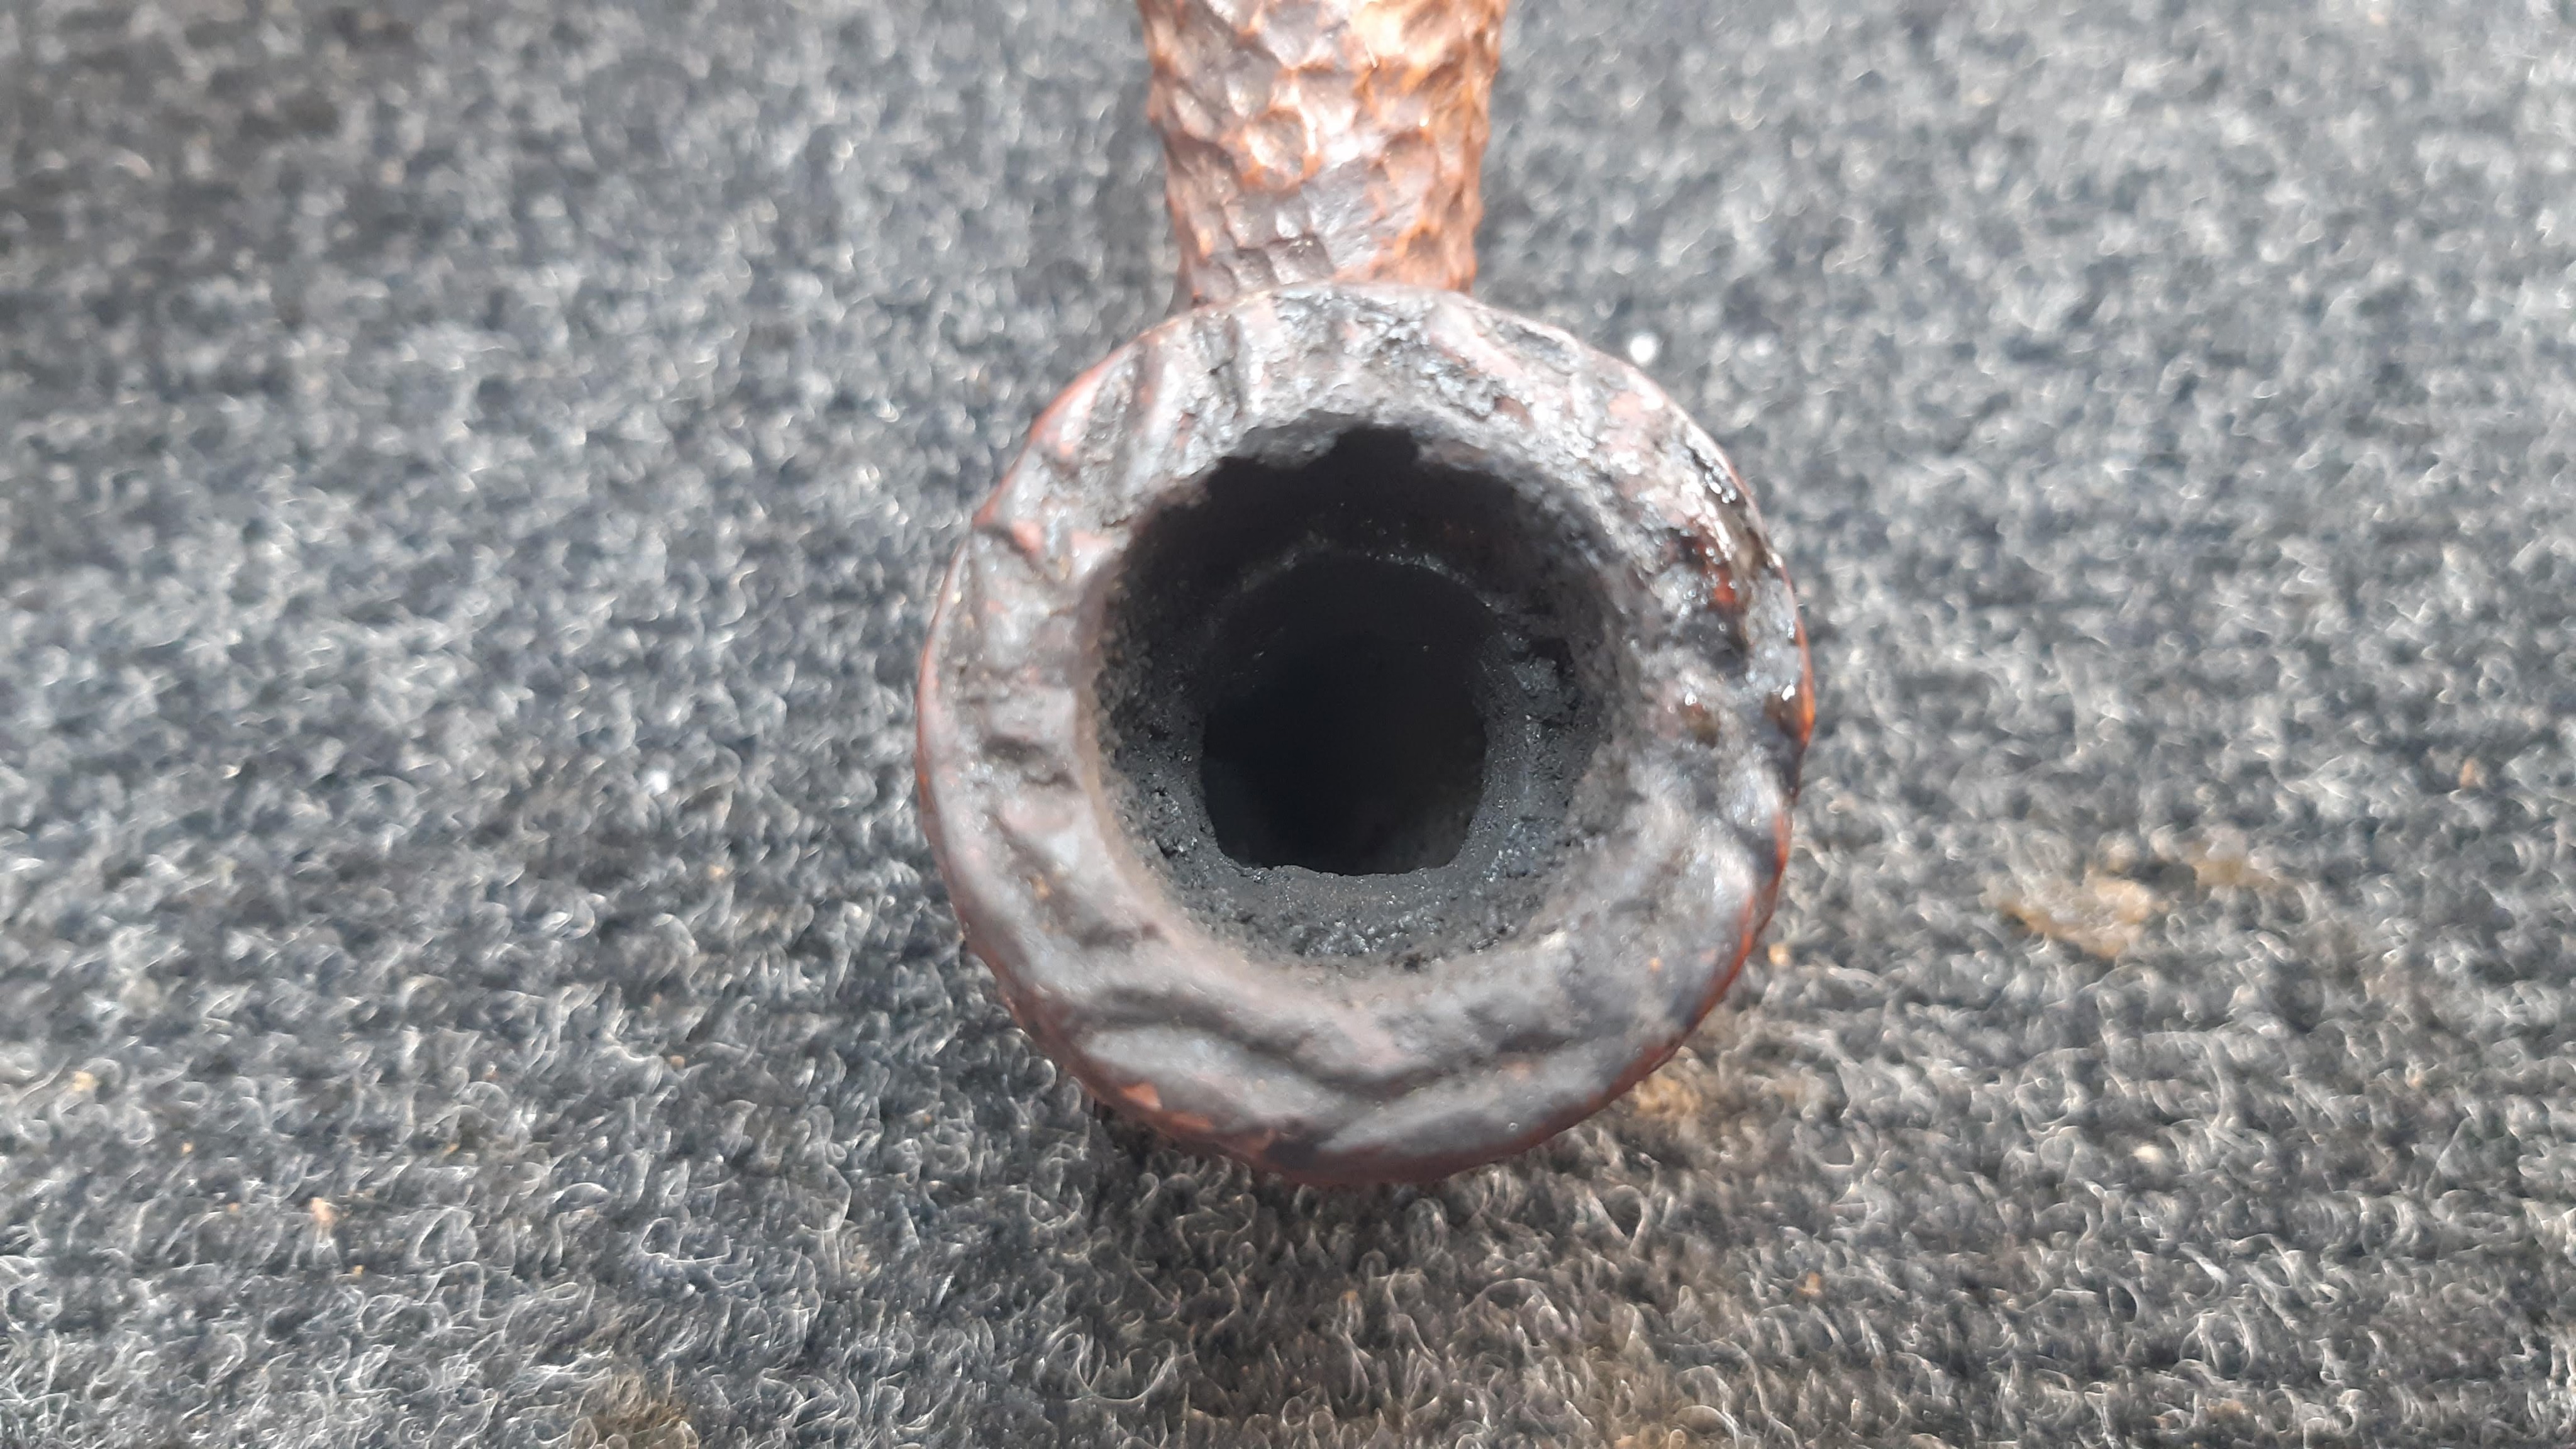
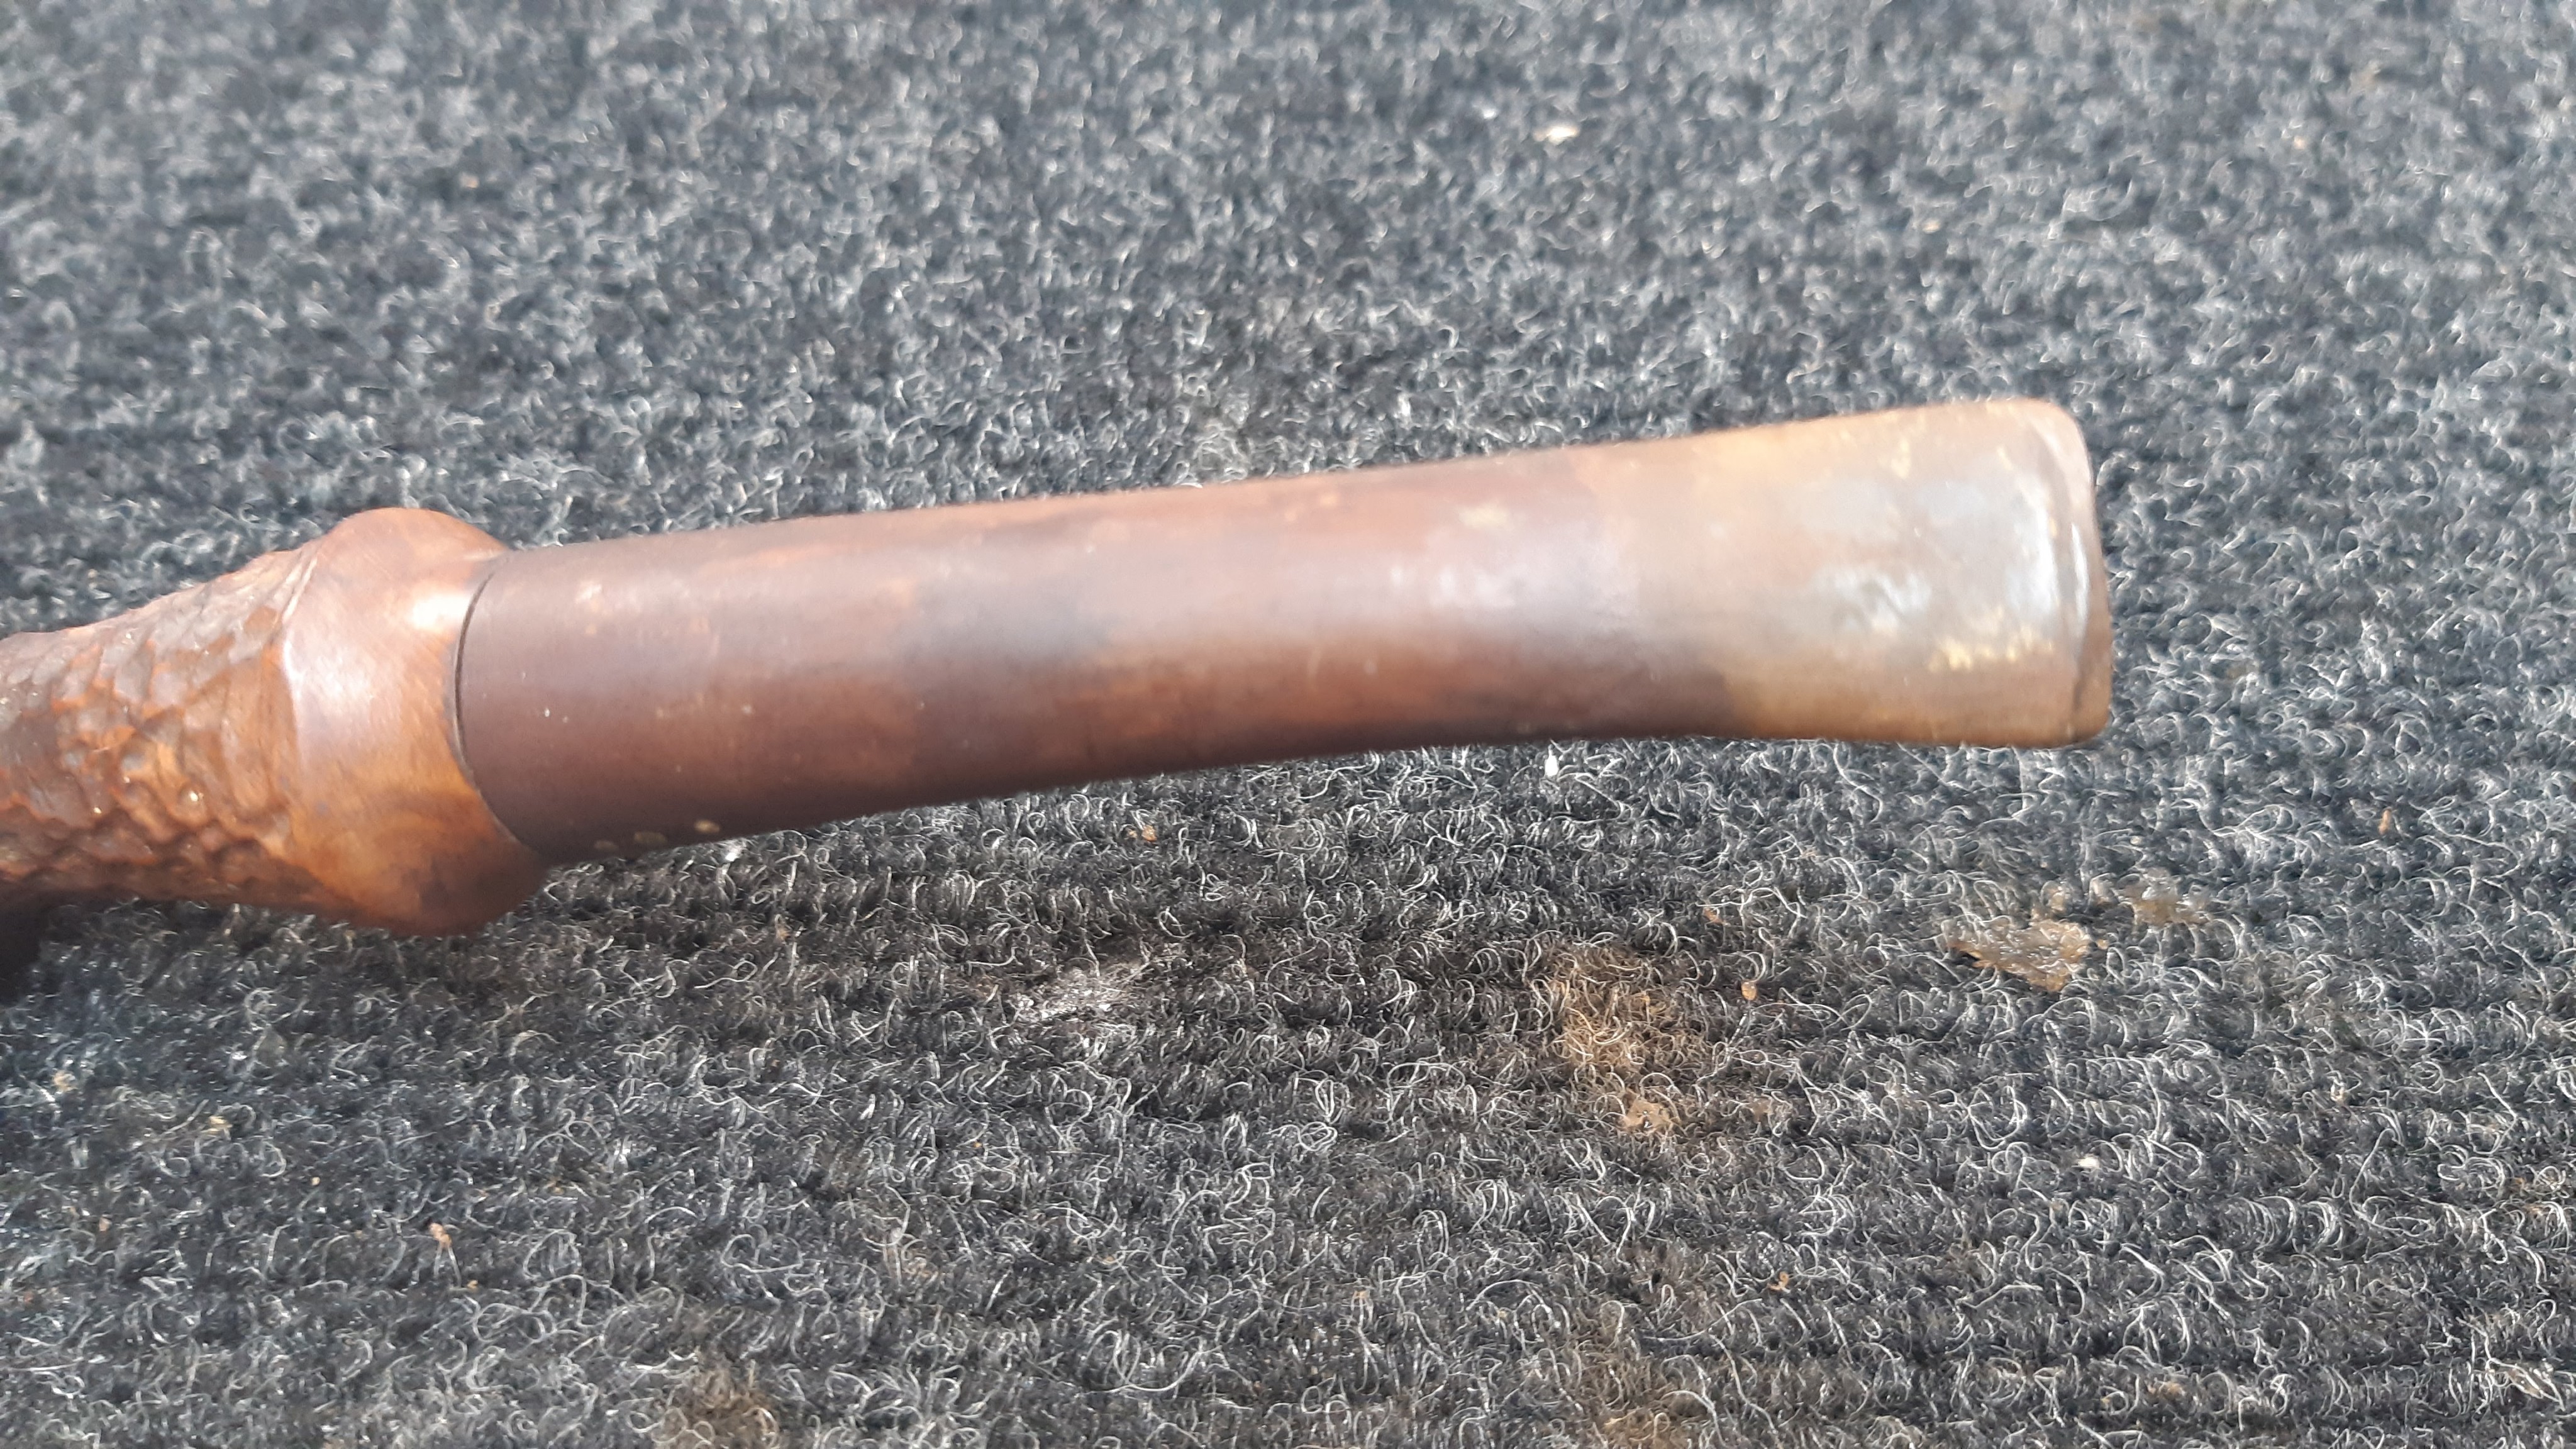
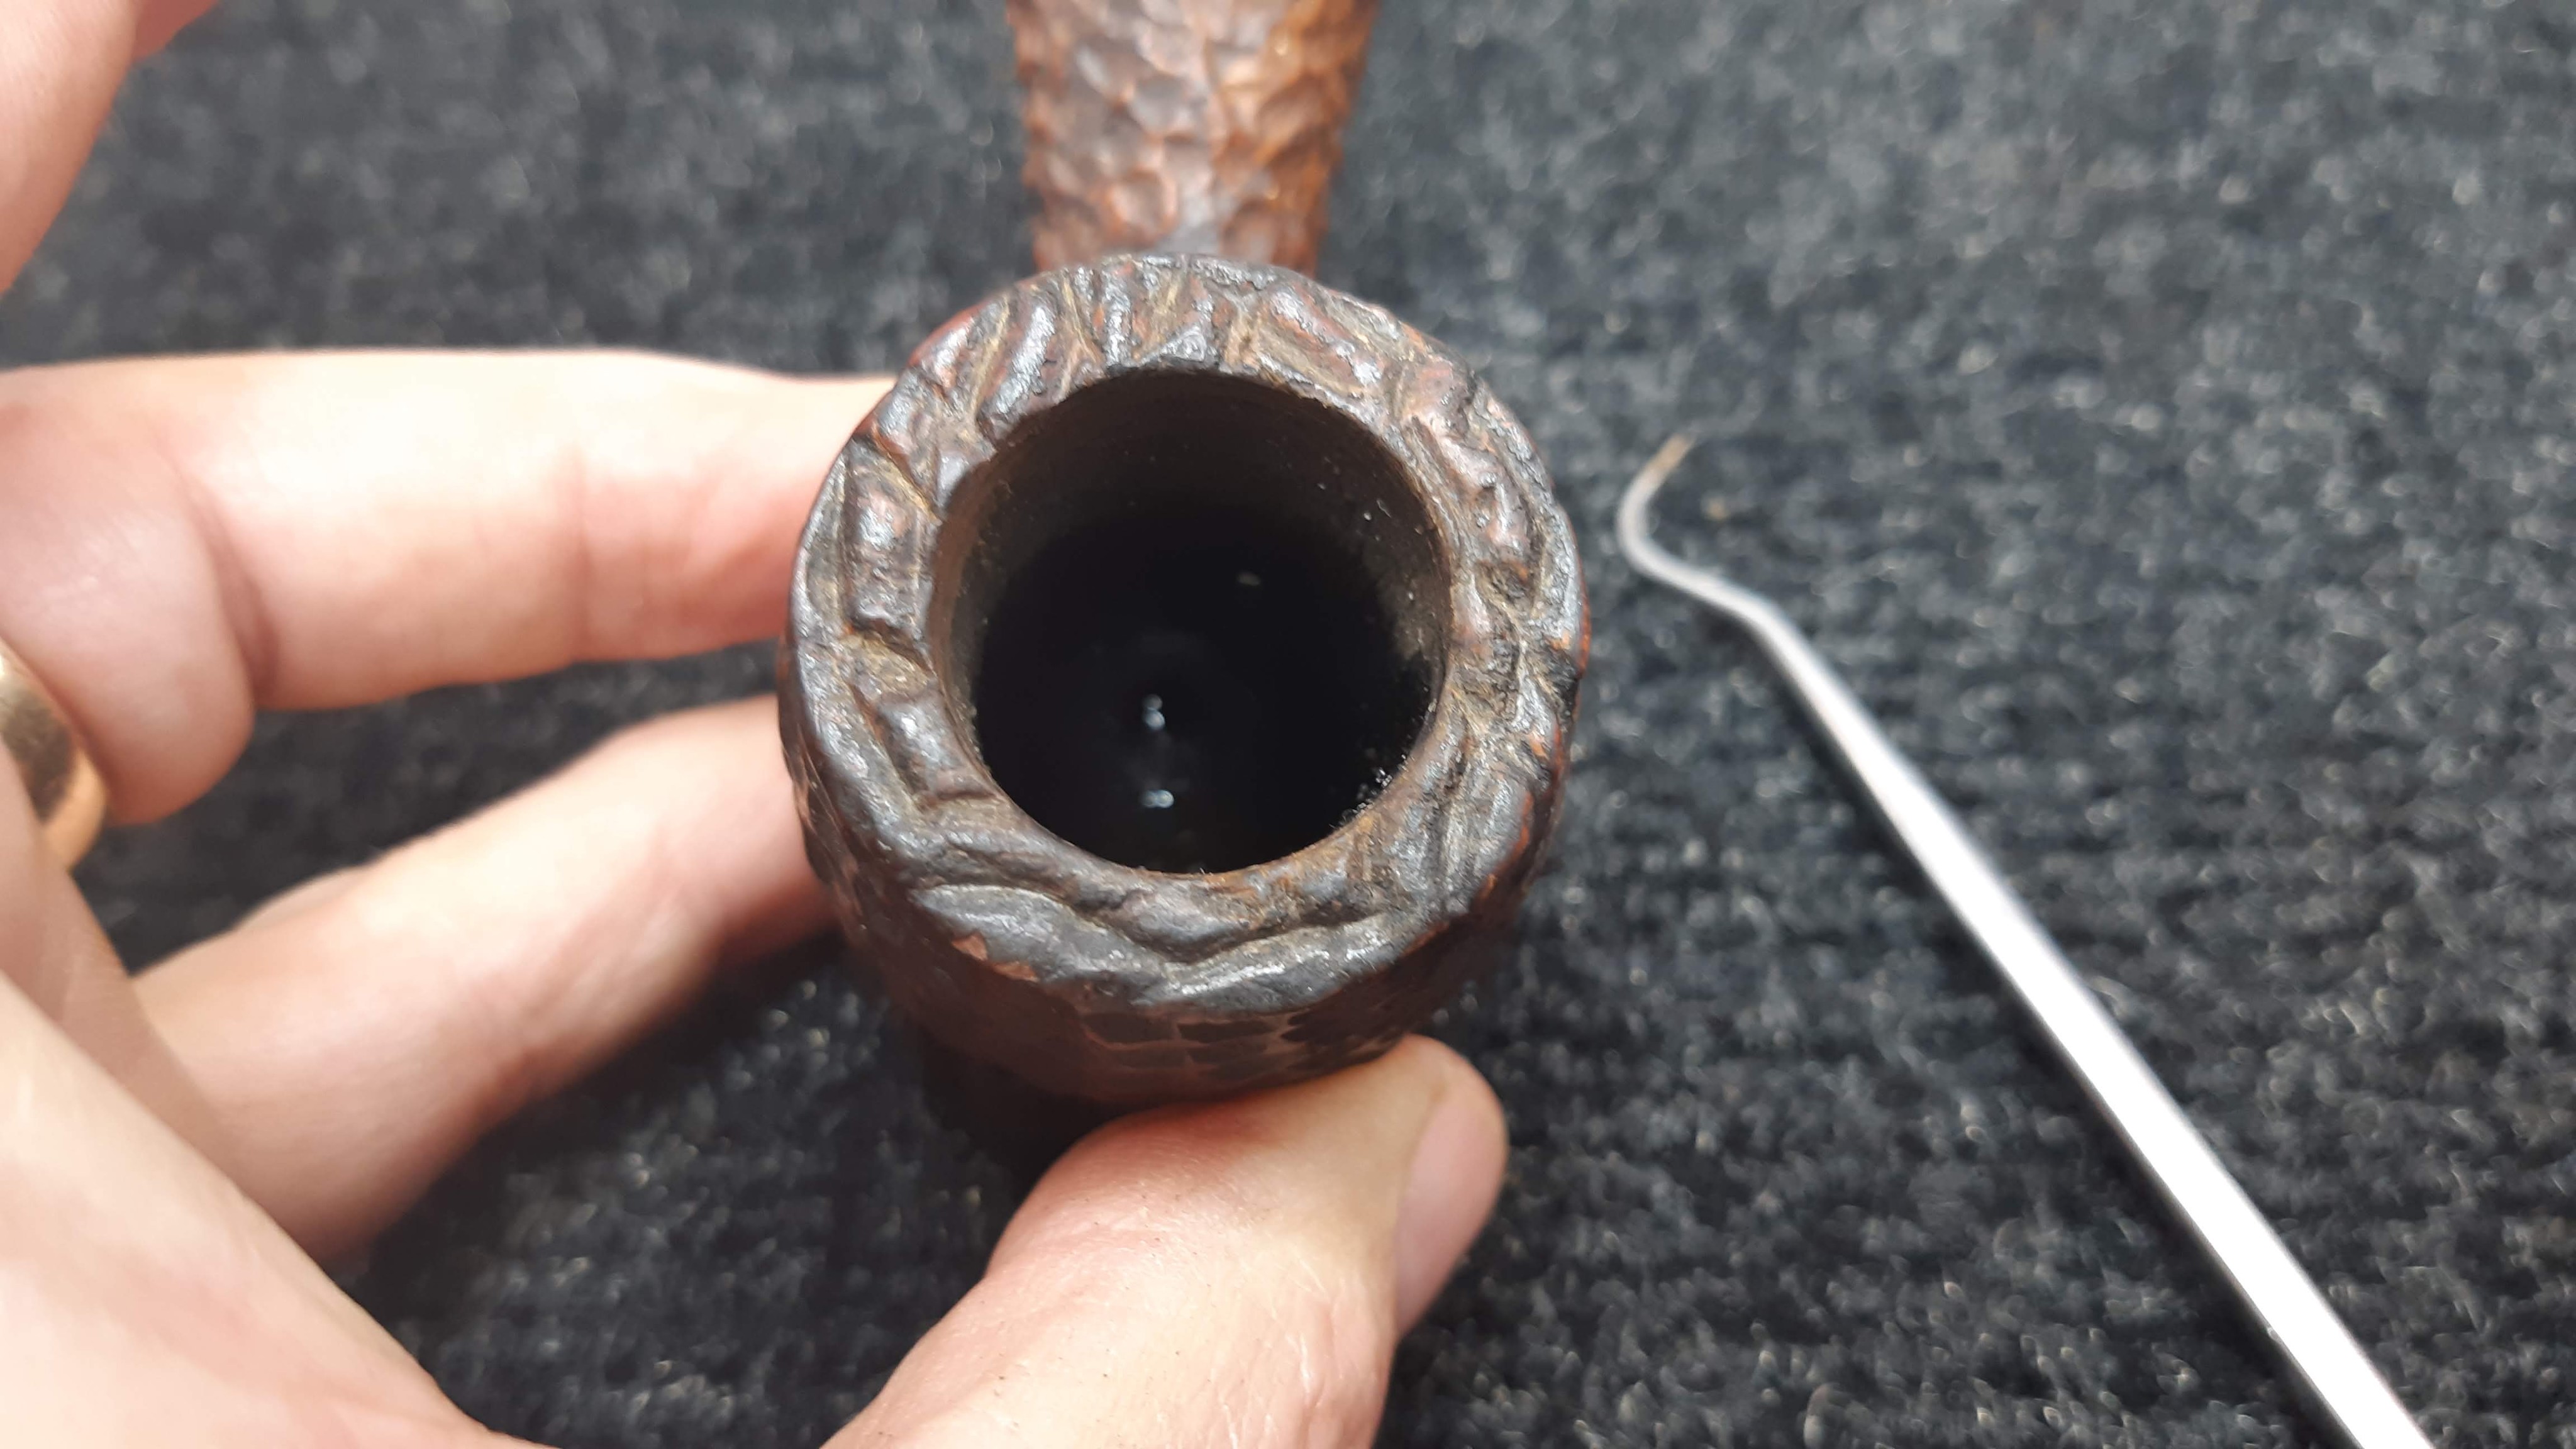
Here is the pipe as it looked when I brought it to the table to begin the restoration. As you can see, the stem was heavily oxidized to an unsightly yellow-brown colour that all but obscured the three brass pins, or Dots, in the stem’s left flank. The briar looked to be in good shape although it was very dirty and the finish had all but worn off. The chamber was heavily caked, and the rustication on the rim of the bowl was packed solid with carbon.
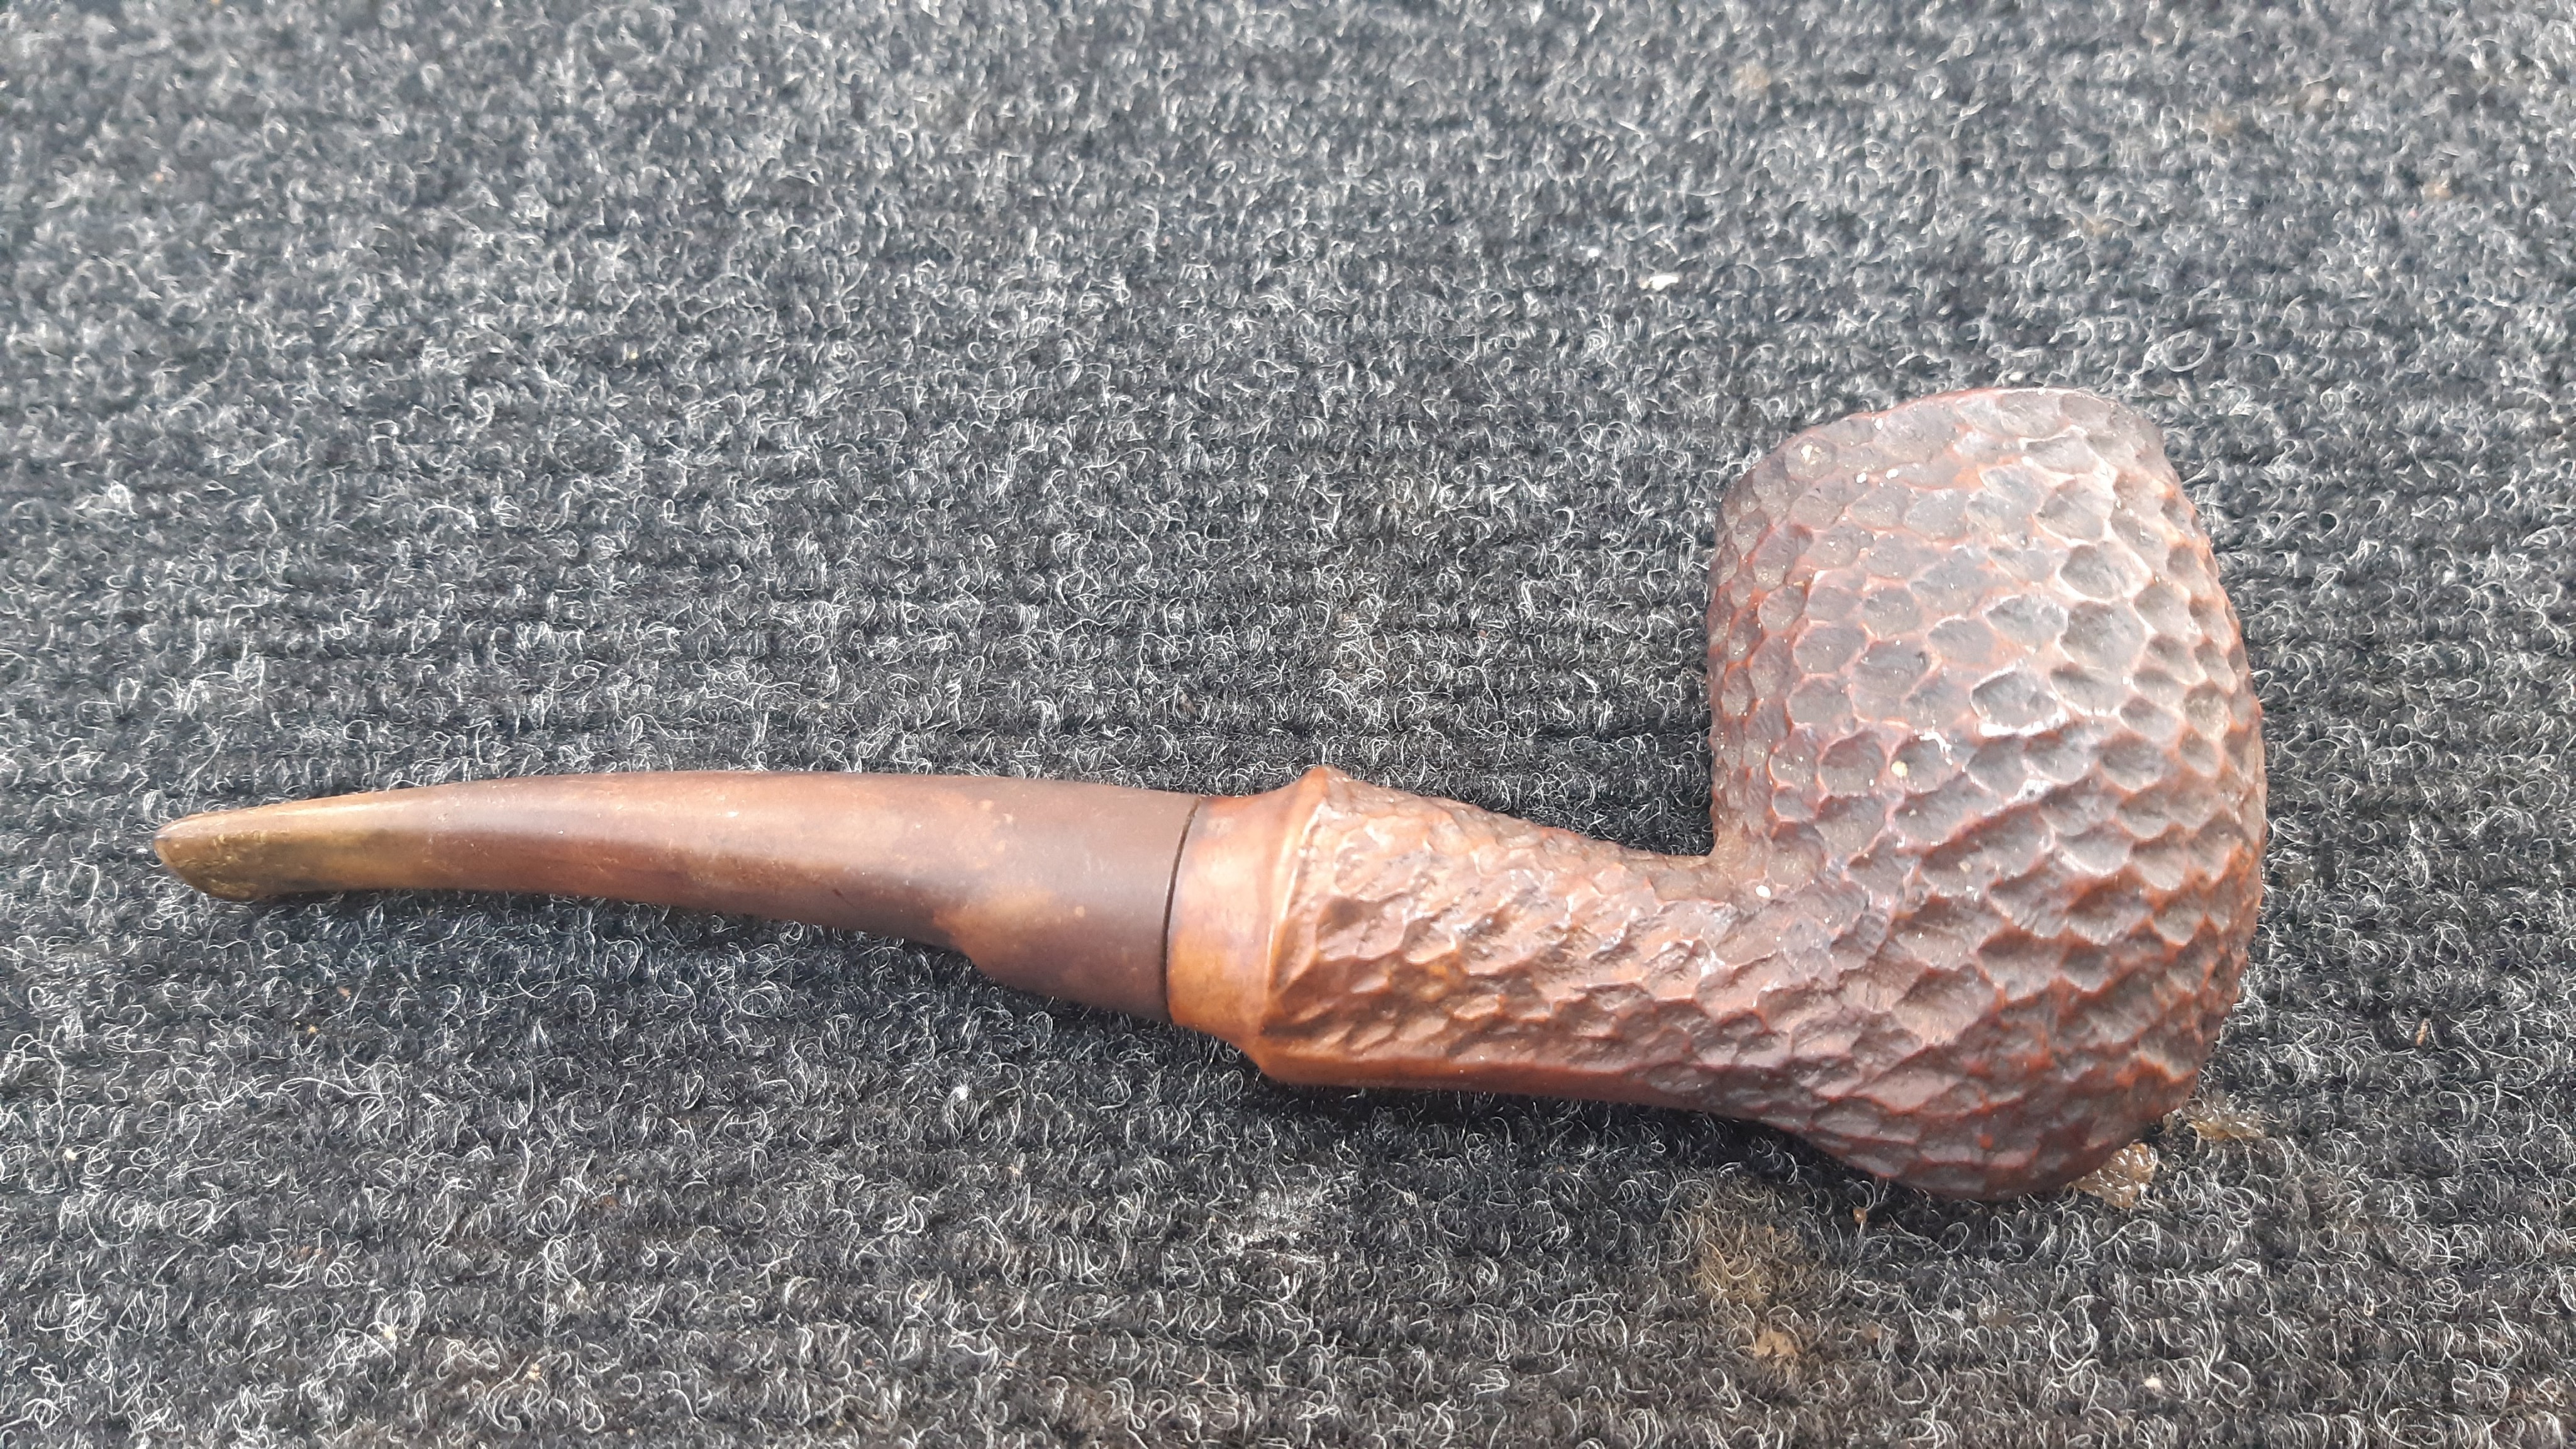
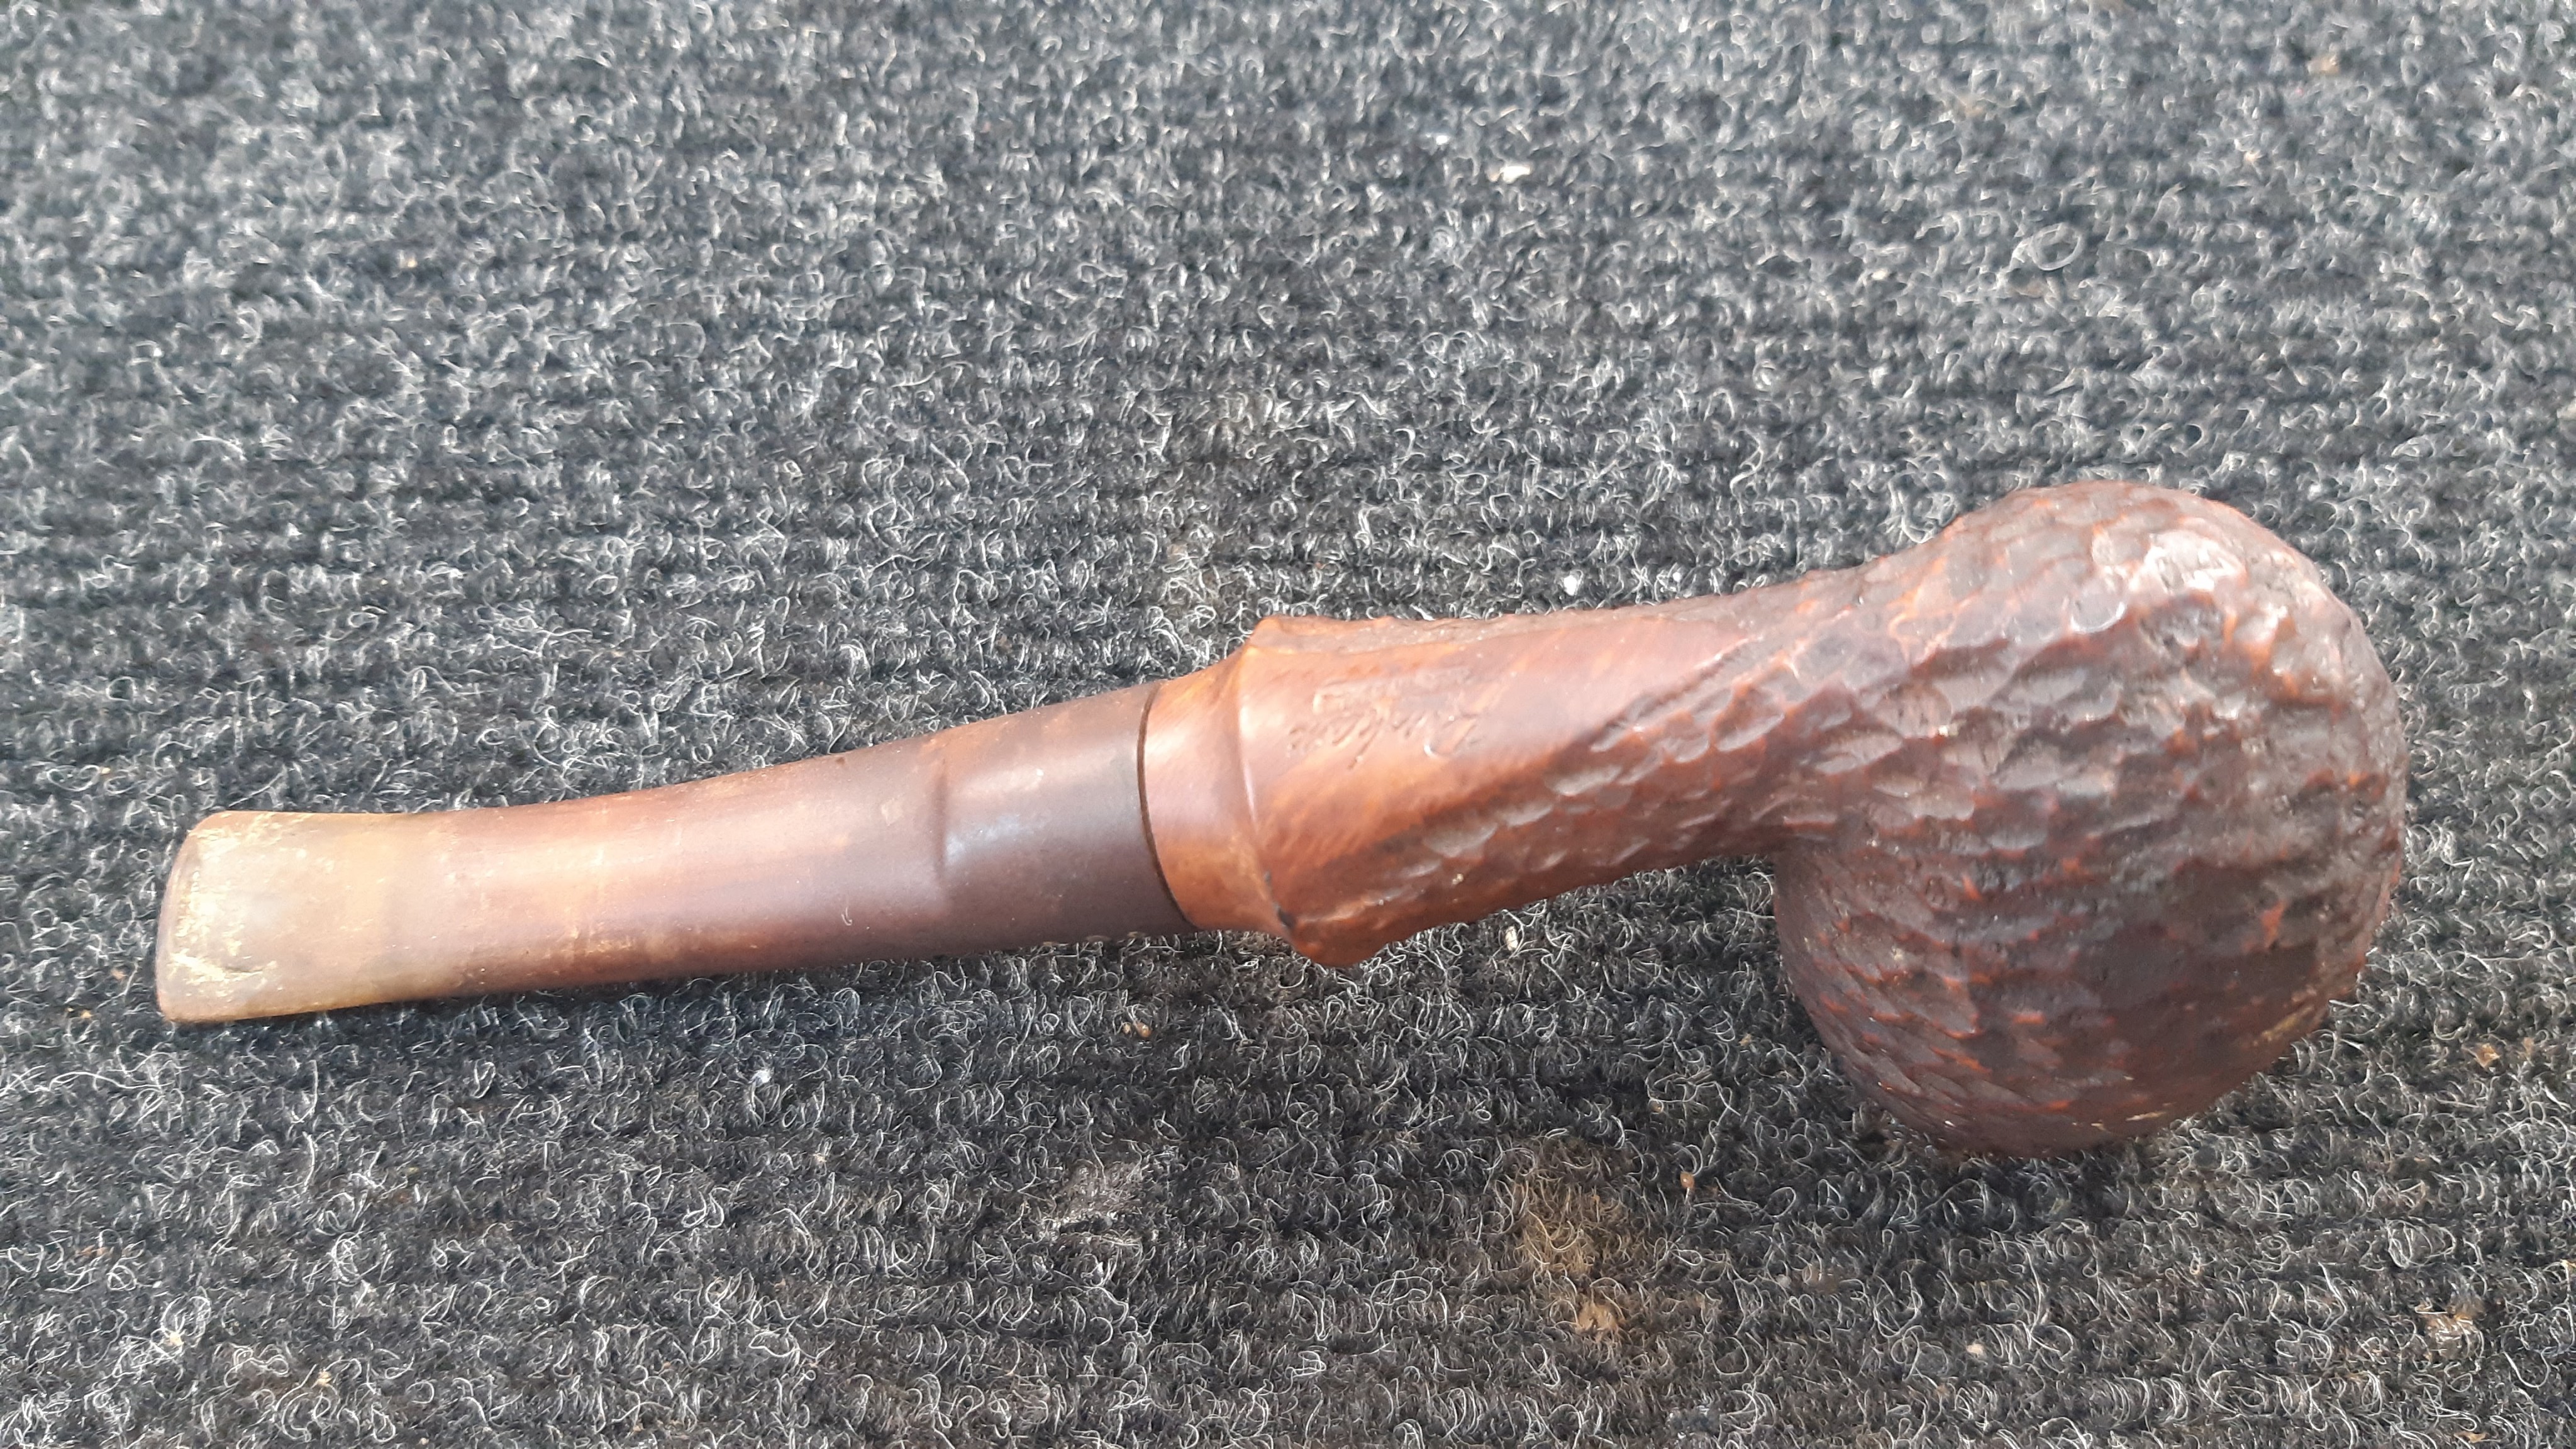

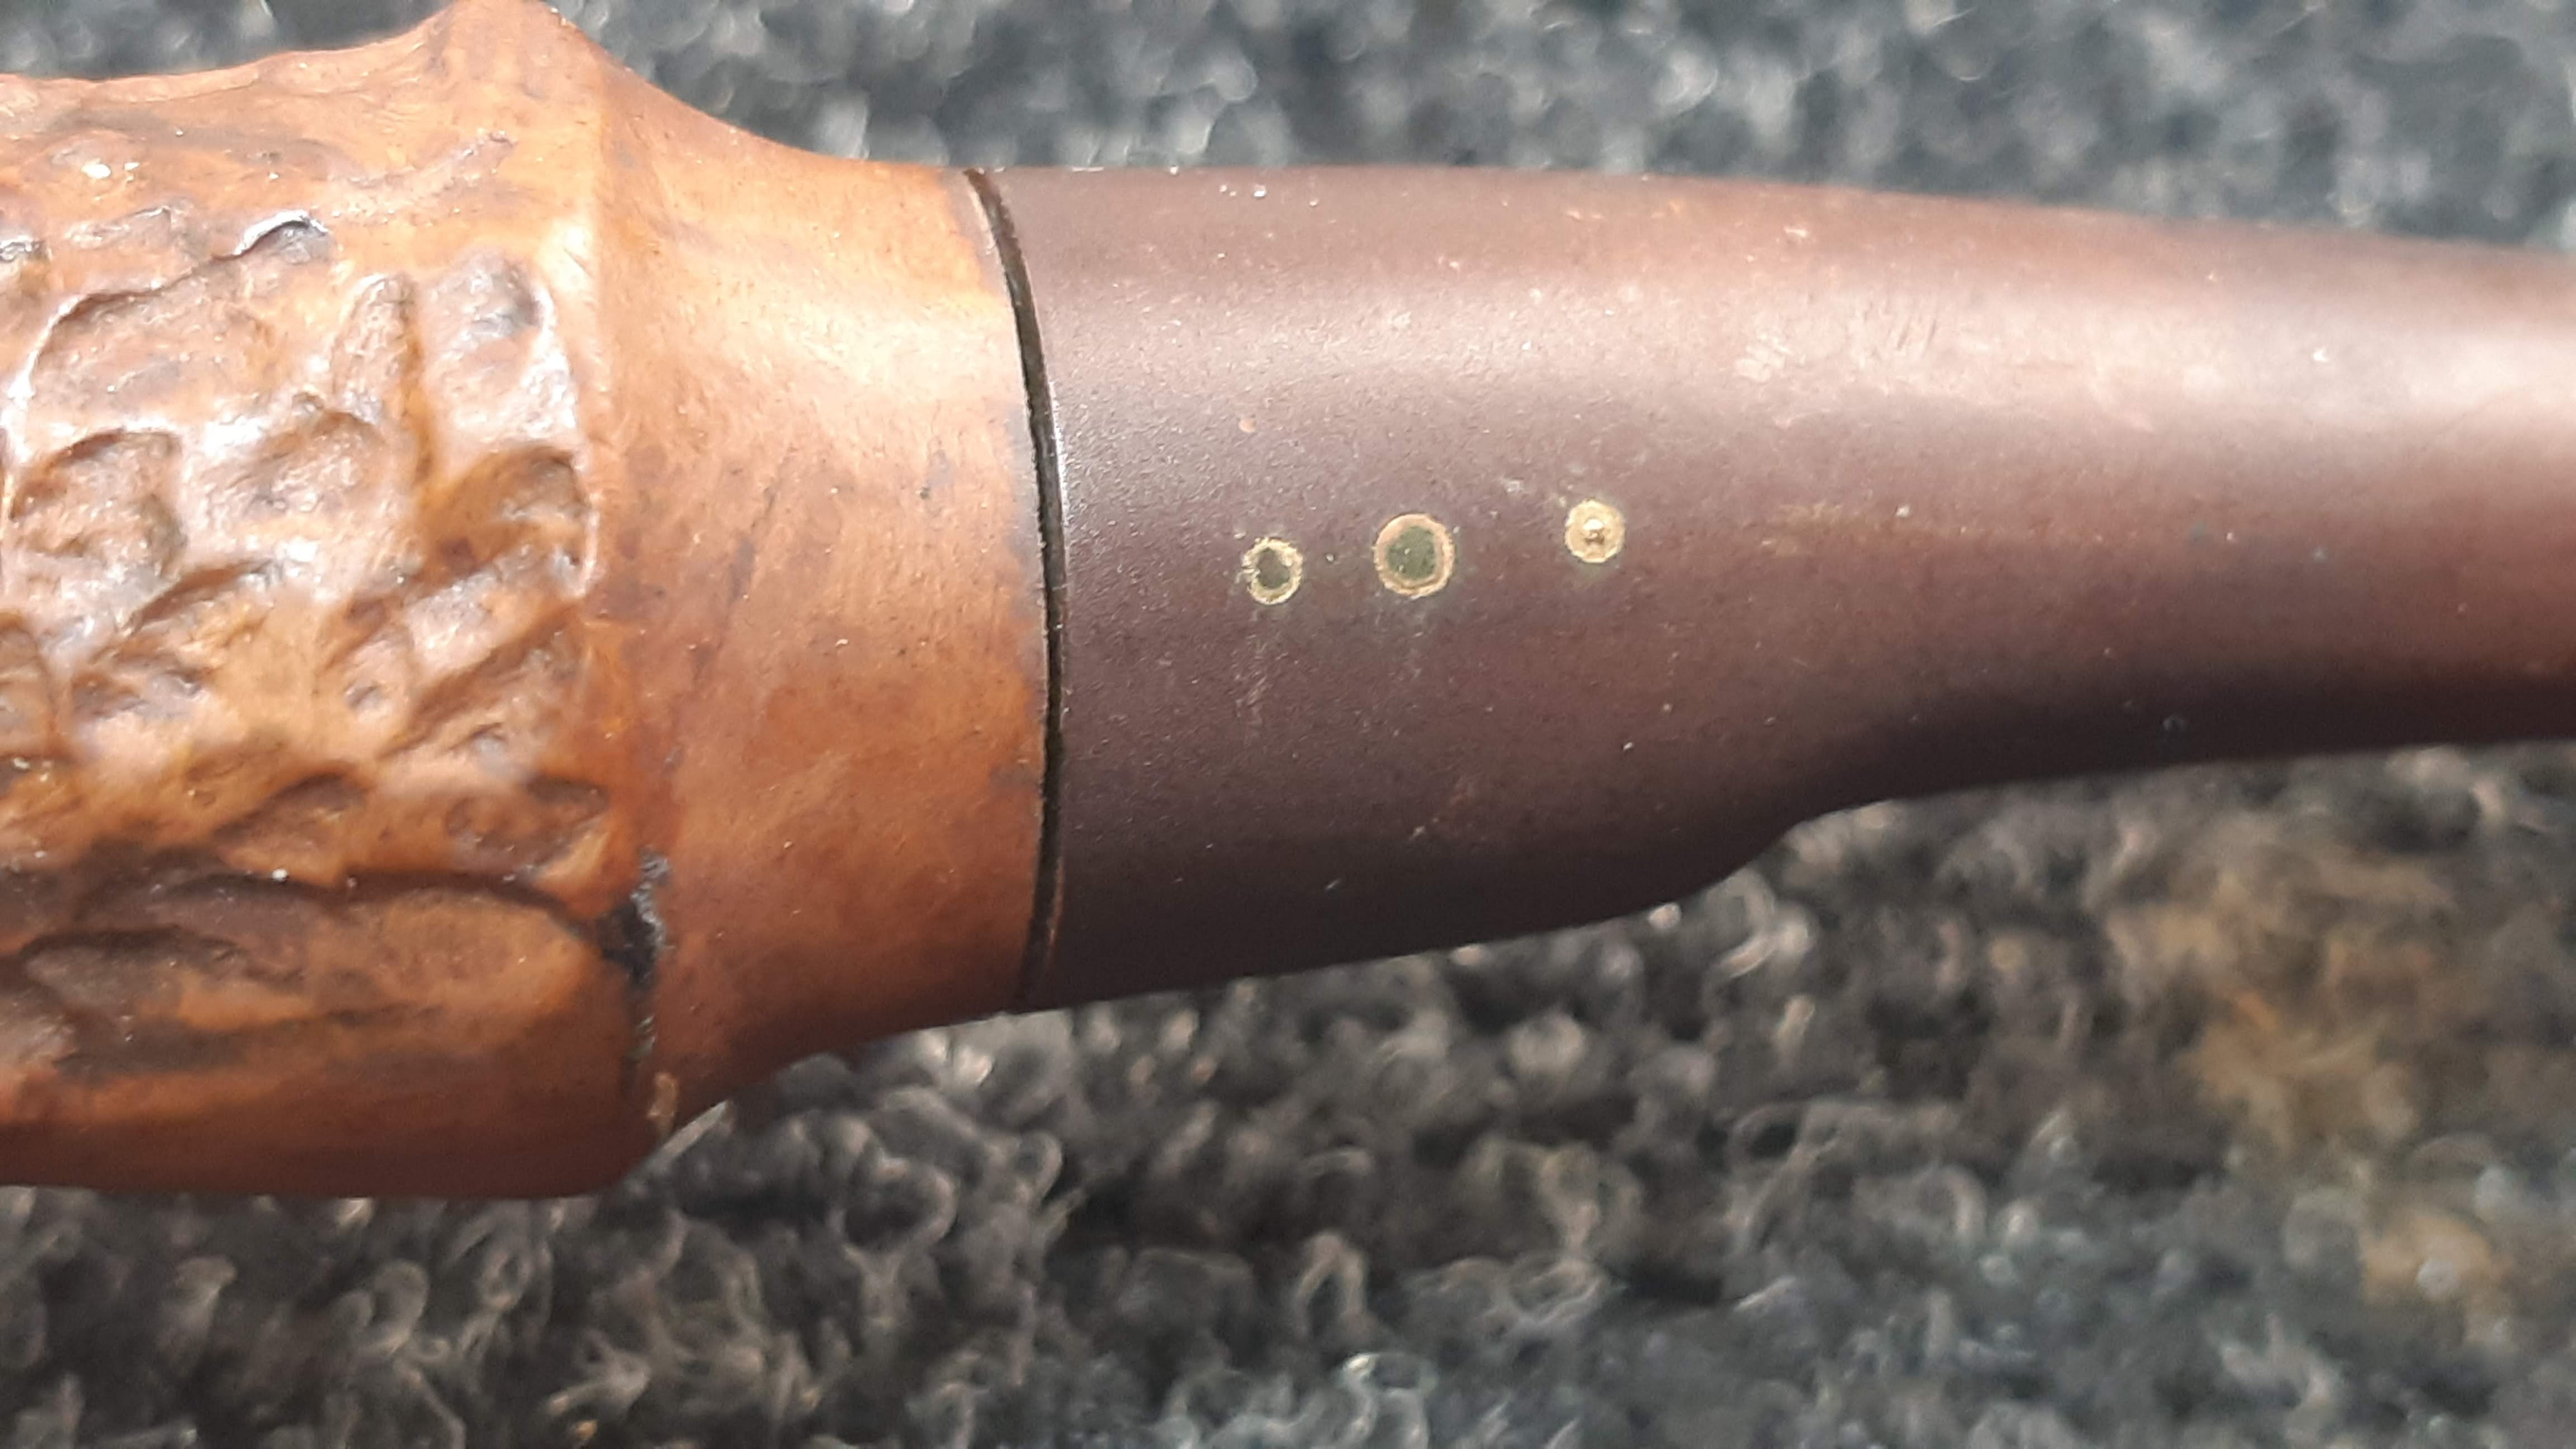
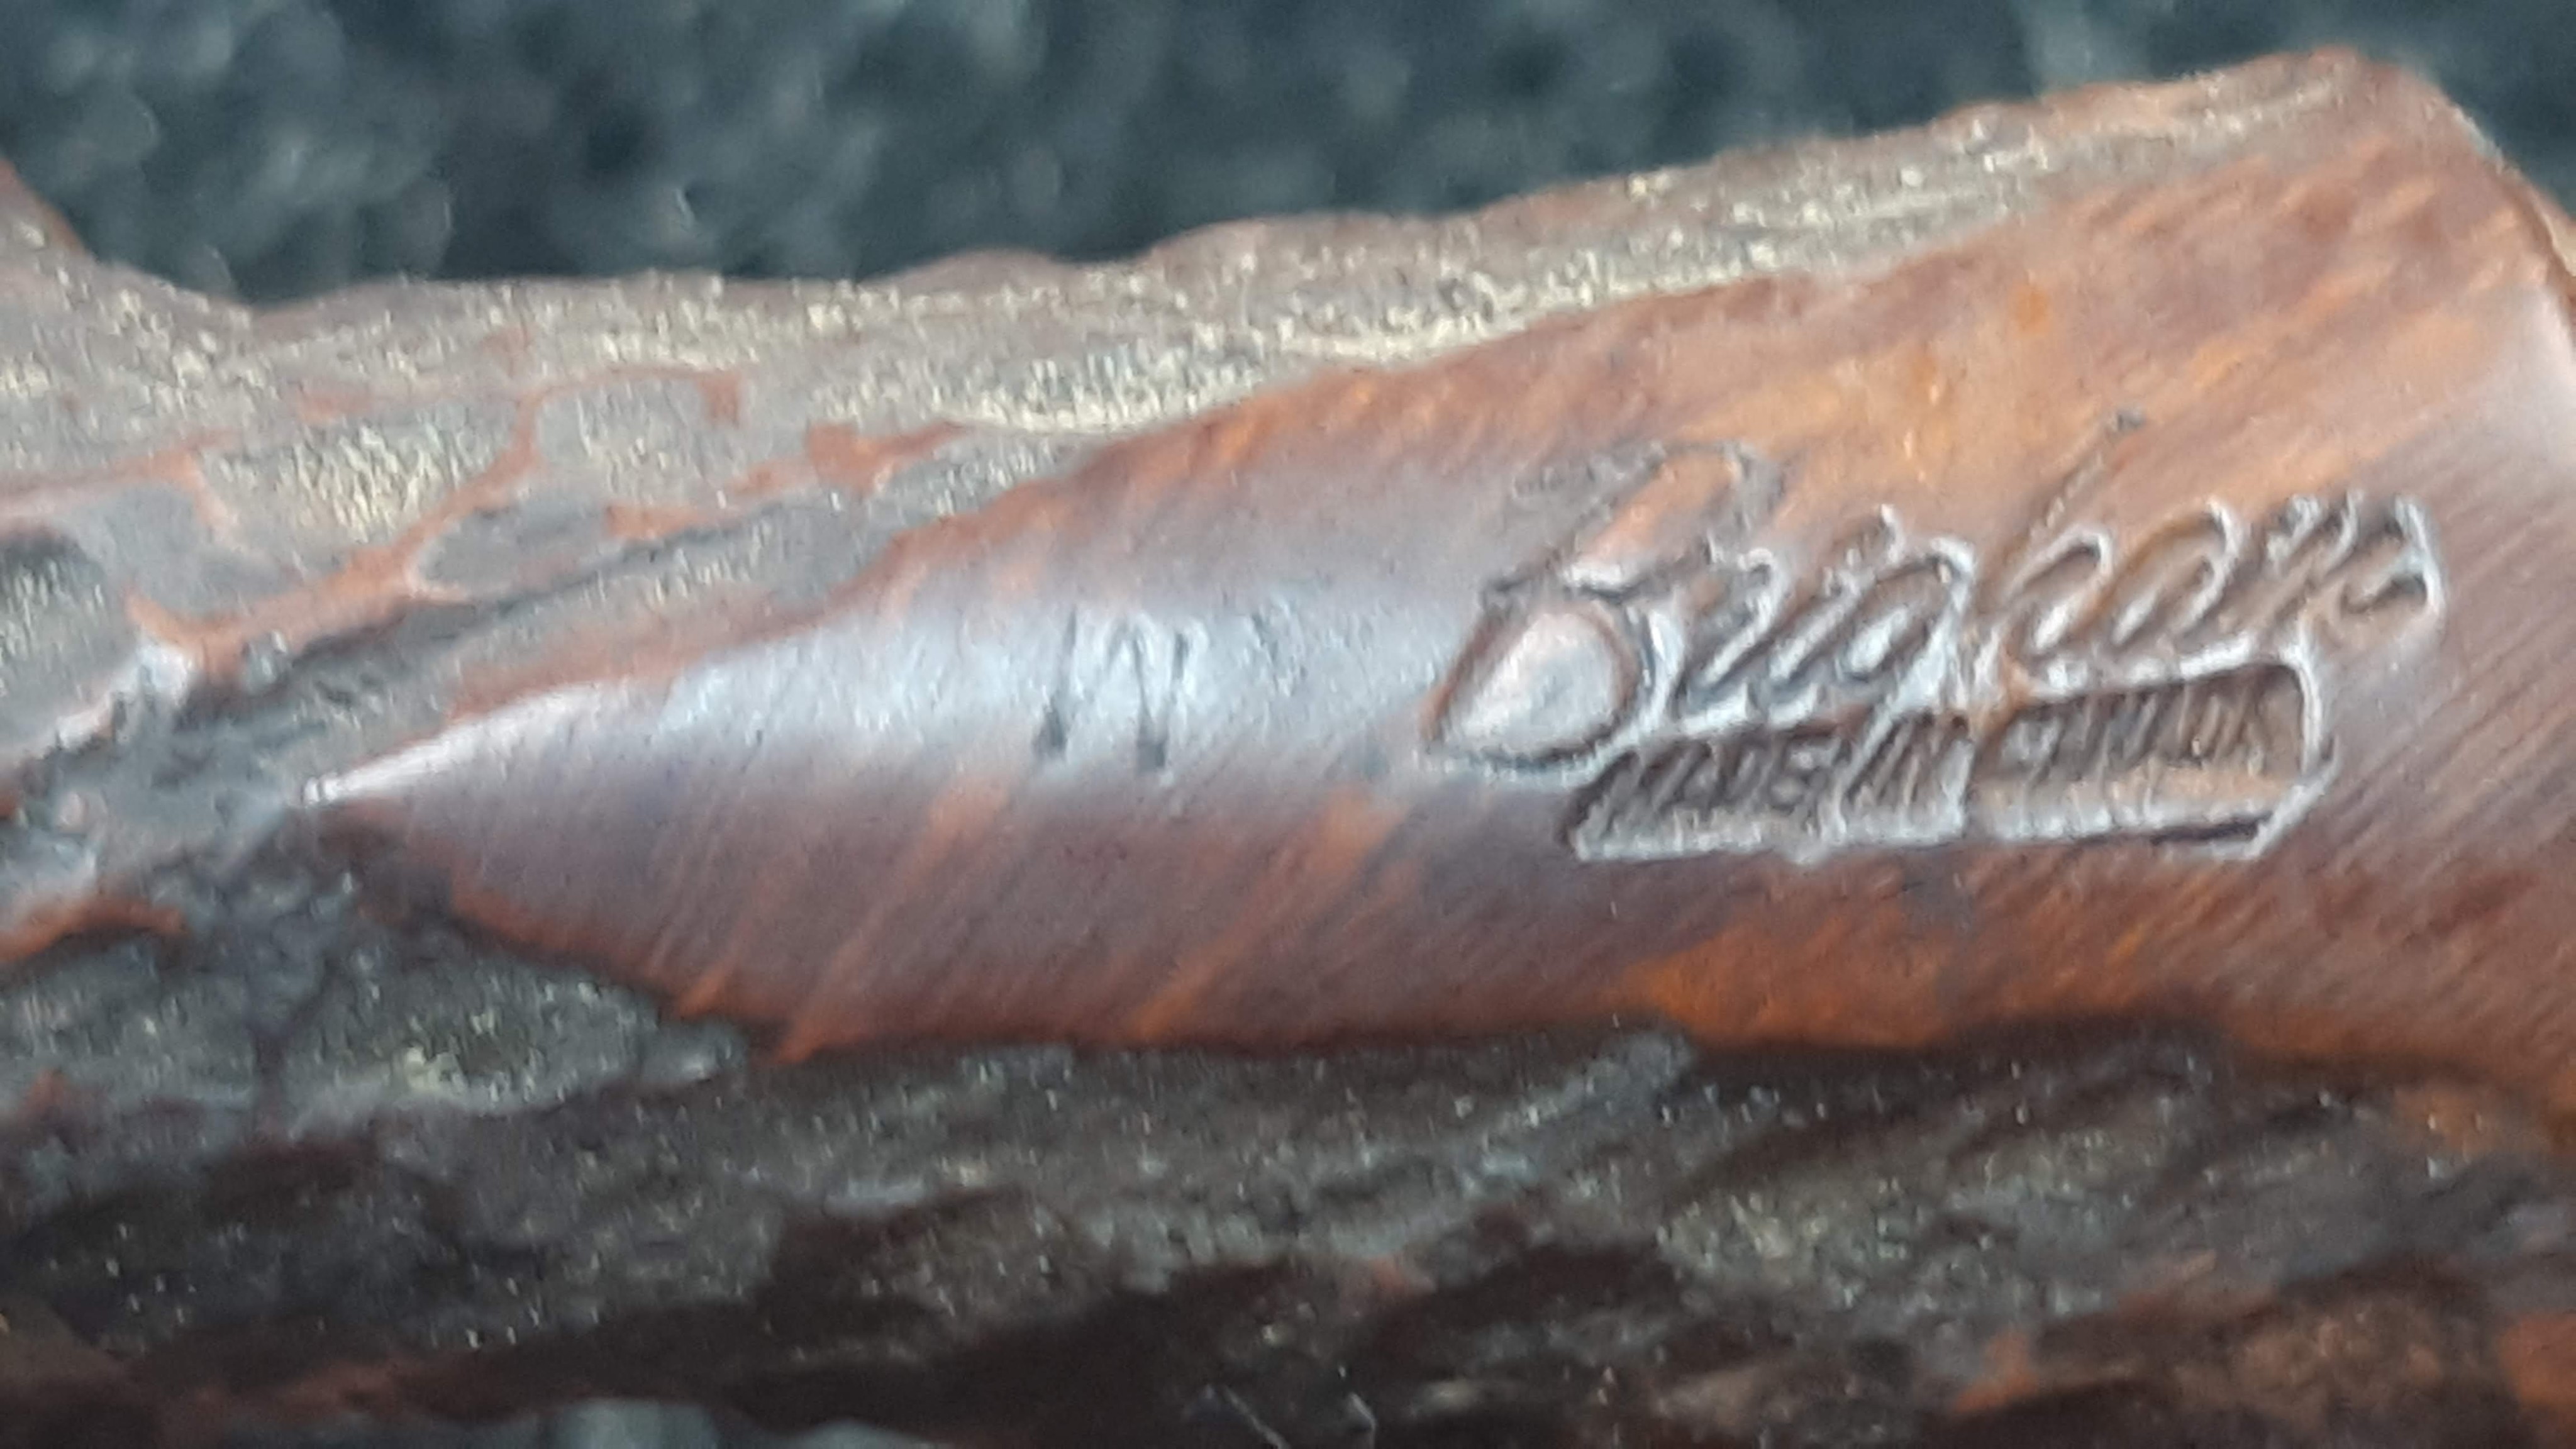
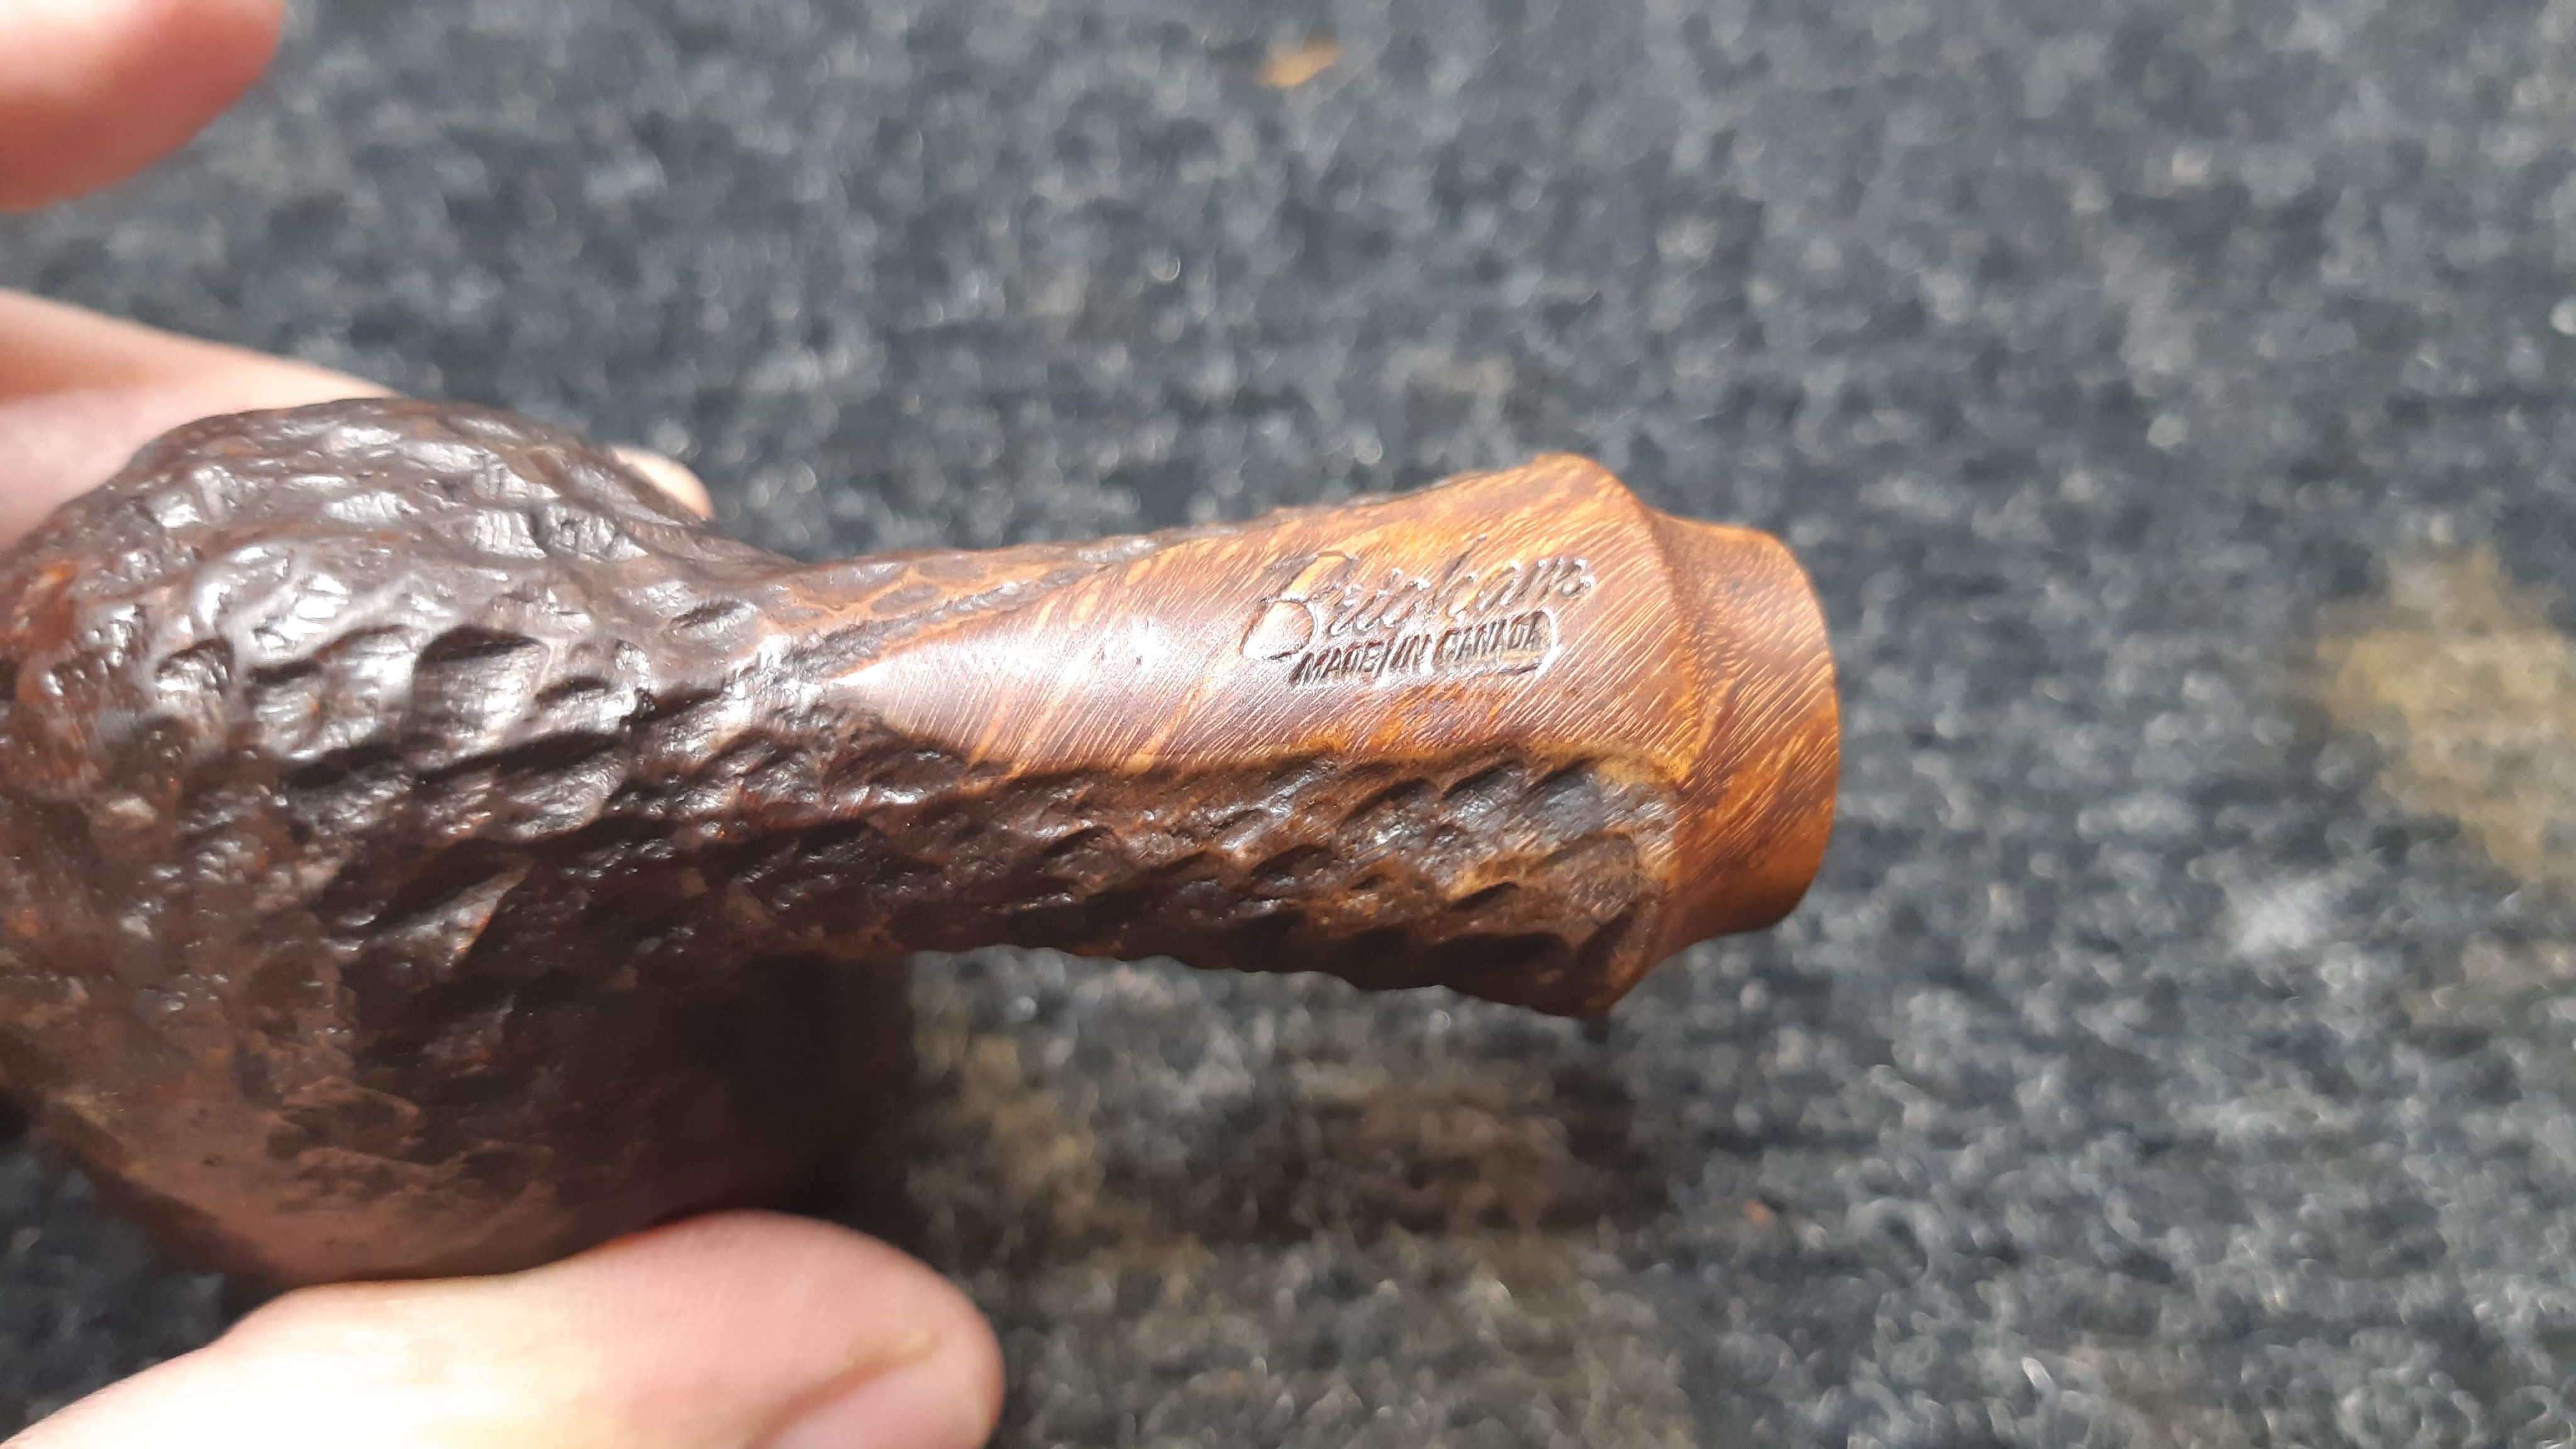
As the above pic shows, the stem is inset with three brass pins in a Small, Large, Small configuration. This pinning pattern was previously used on the Brigham VIP grade of pipes, which fell between the 4-Dot and 5-Dot grades in the original grading scheme. The shank is stamped “Brigham” over “MADE IN CANADA”, which dates this pipe to the 1970s. The shape code, as mentioned earlier, is incomplete – just the “W” is stamped into the briar.
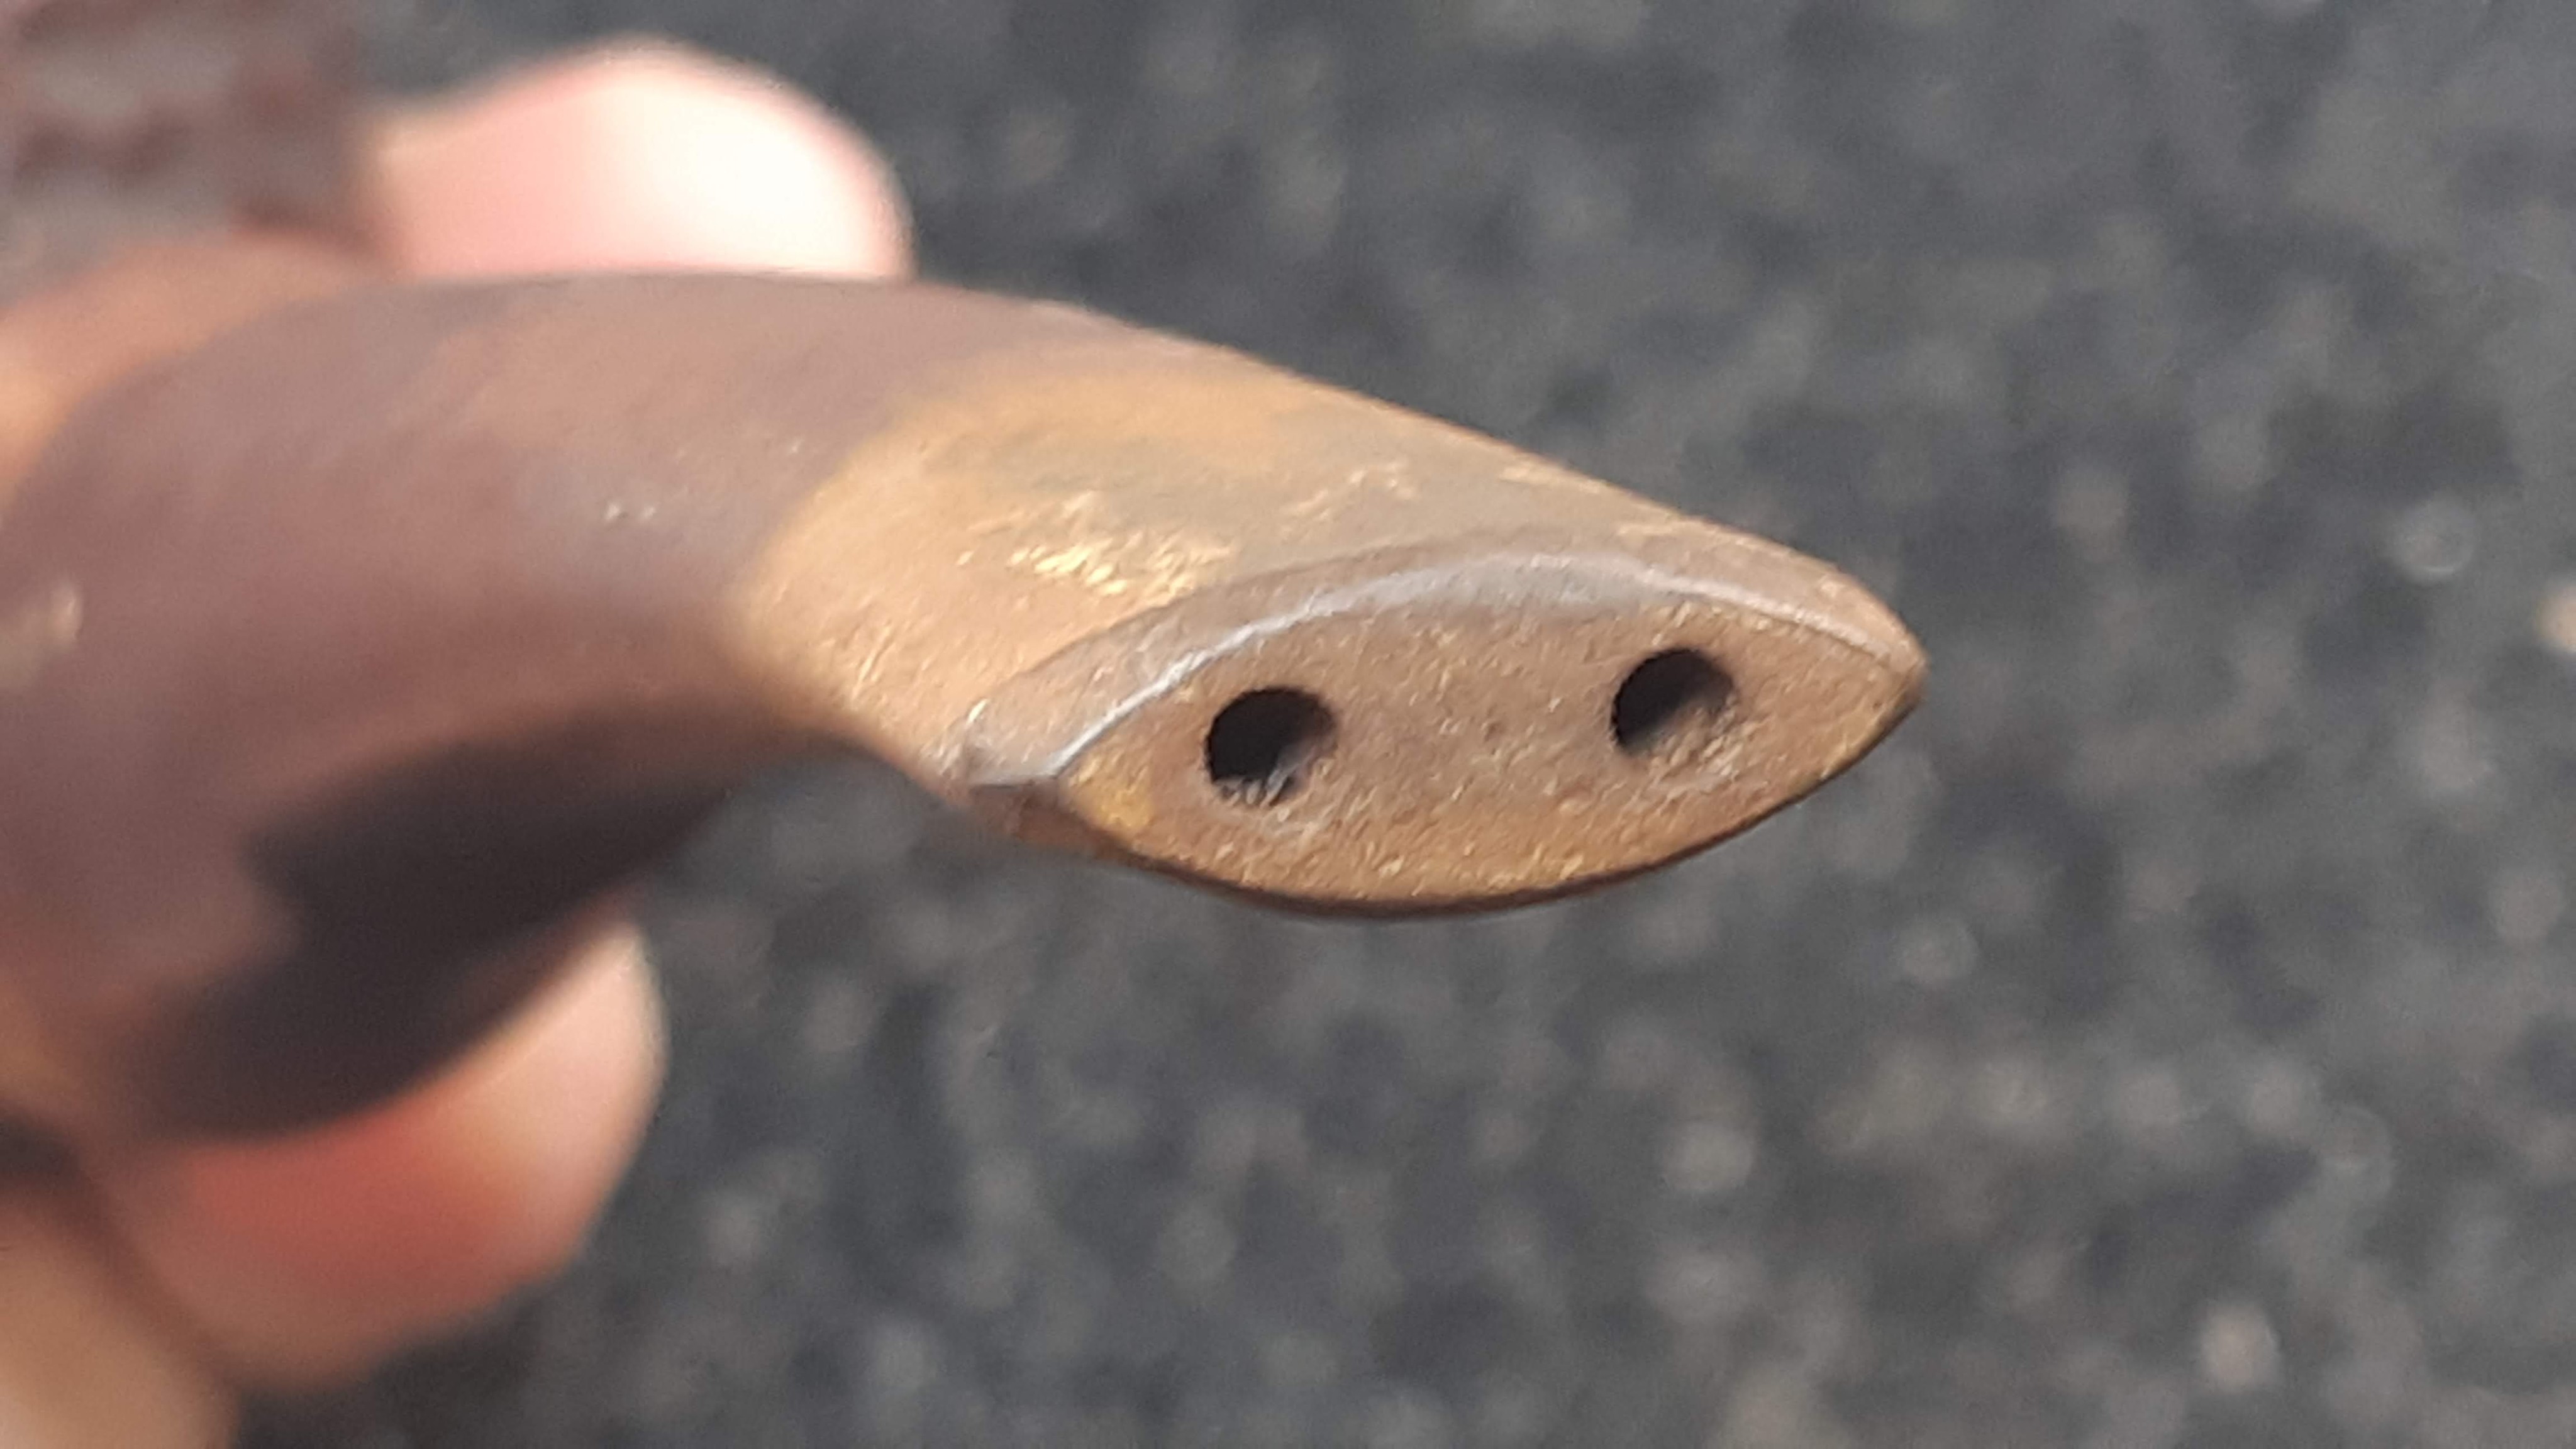
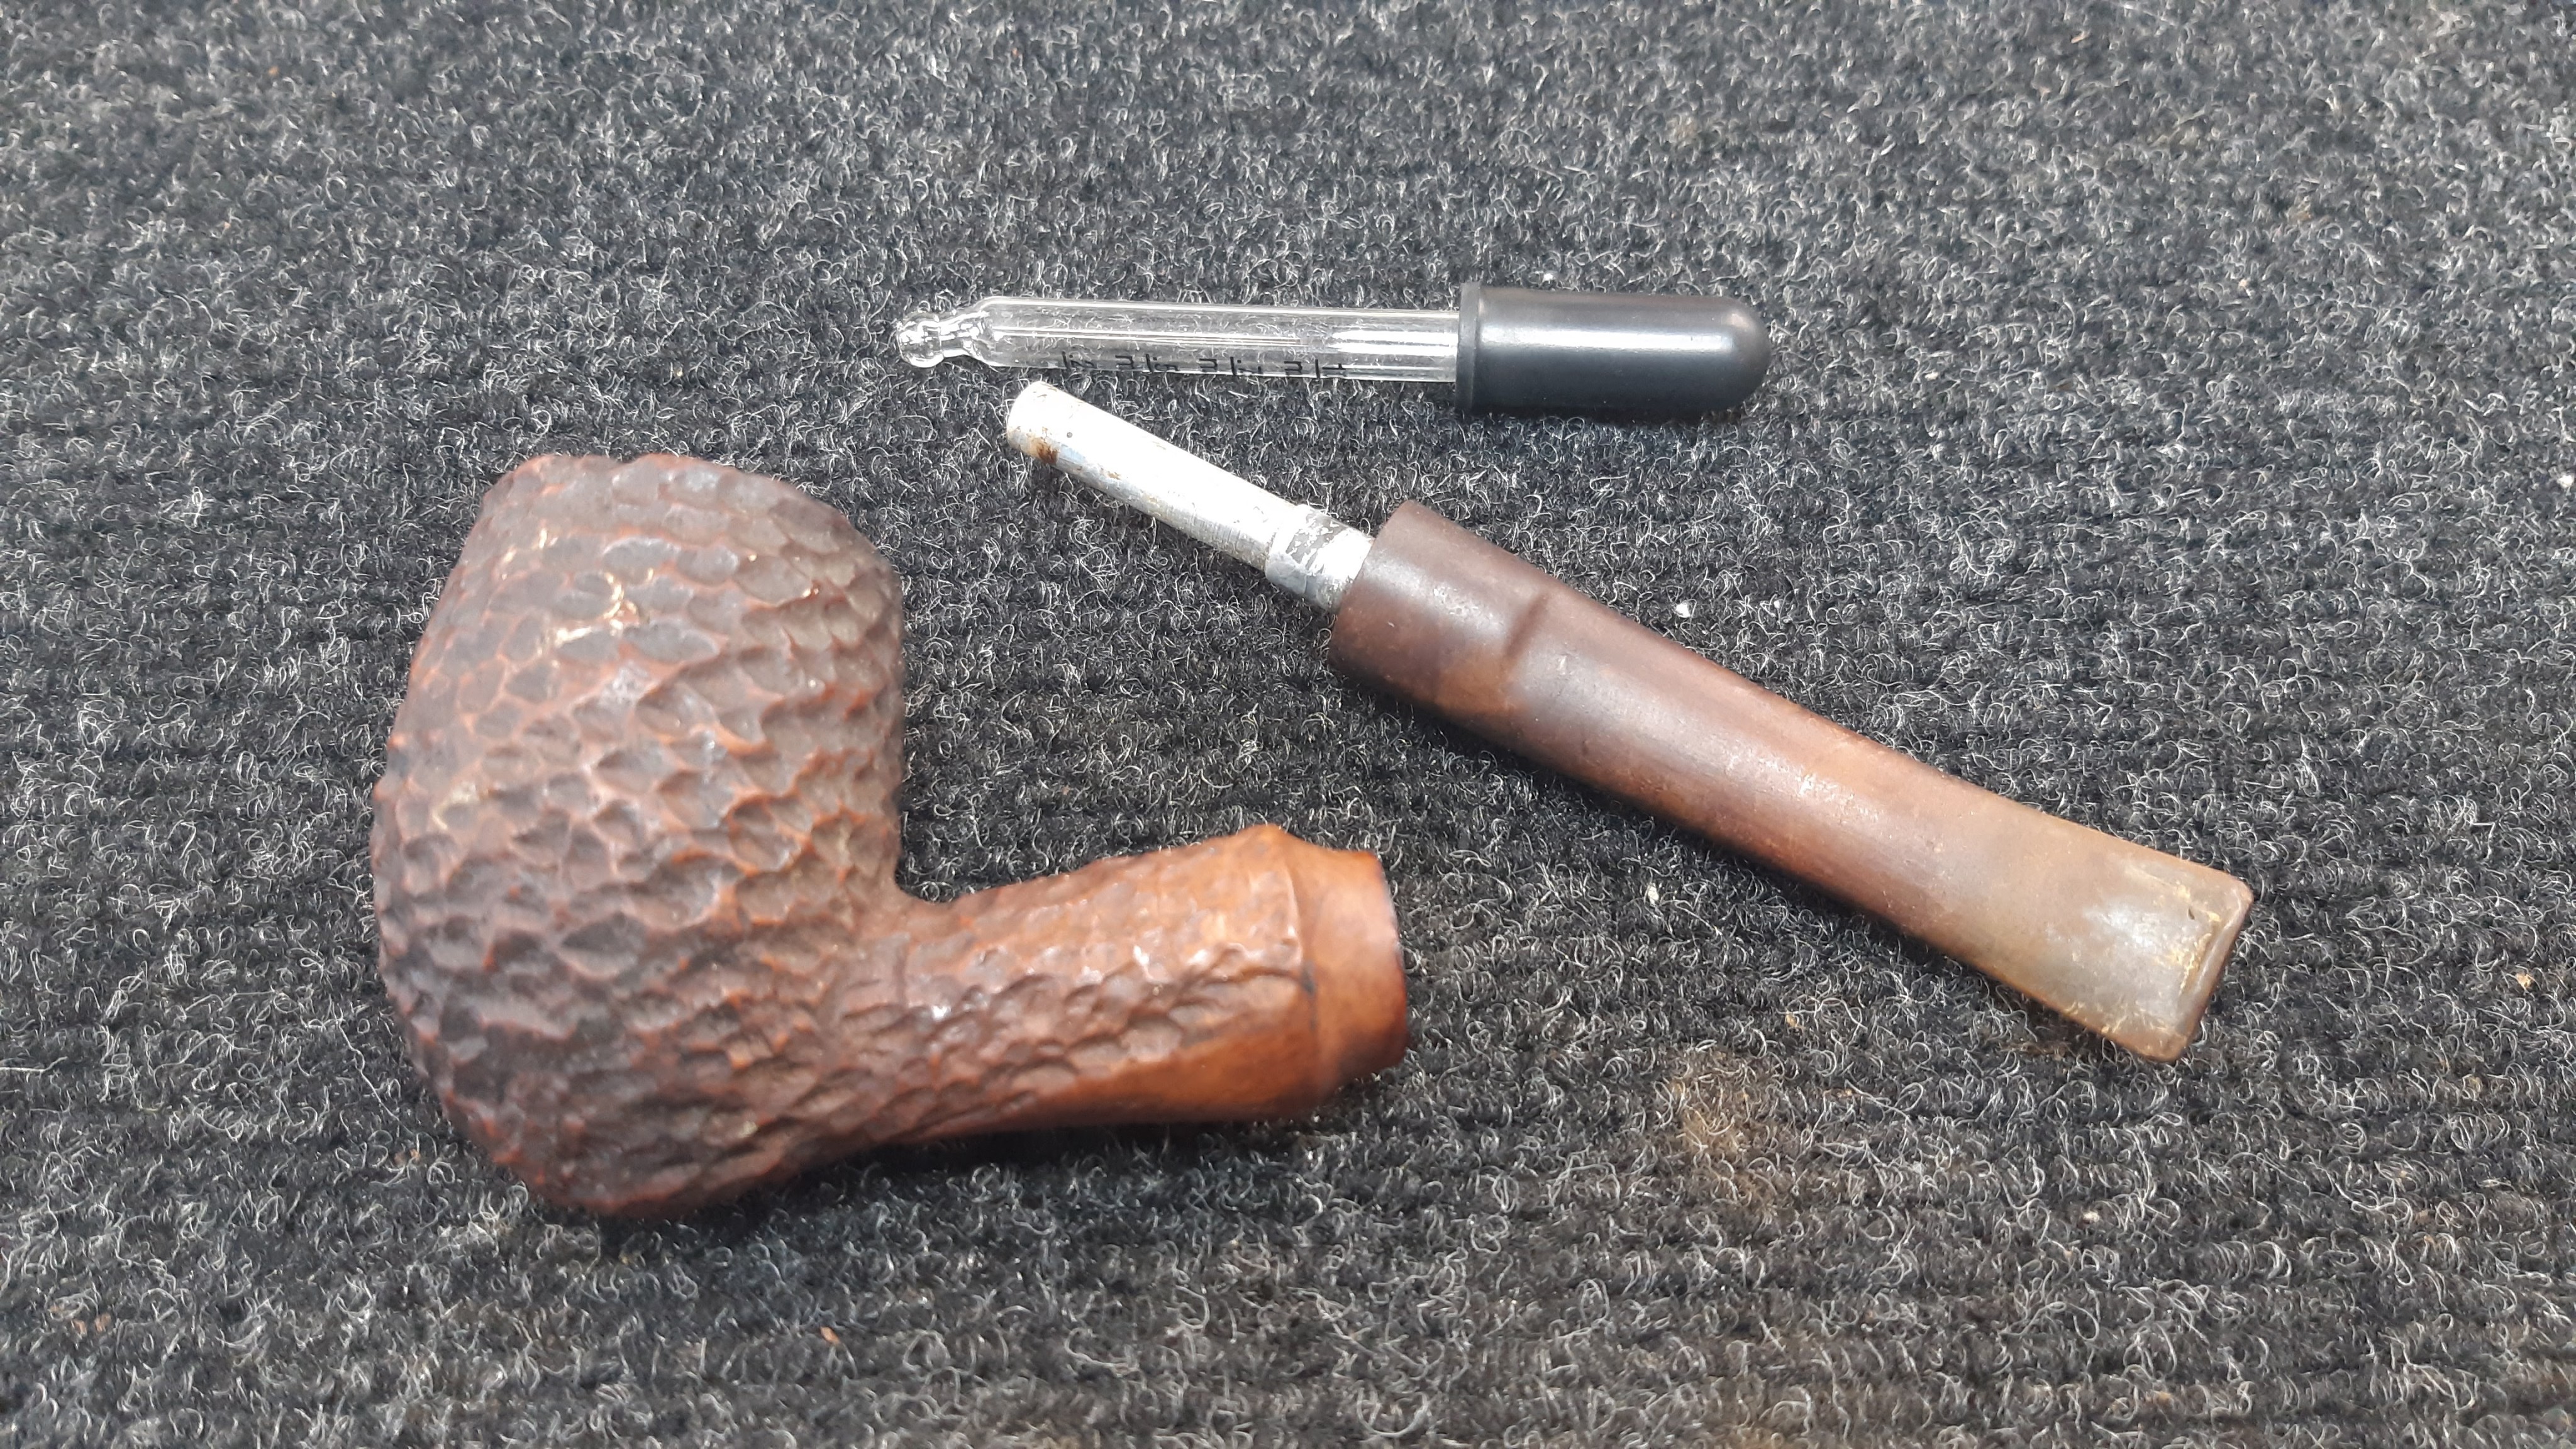
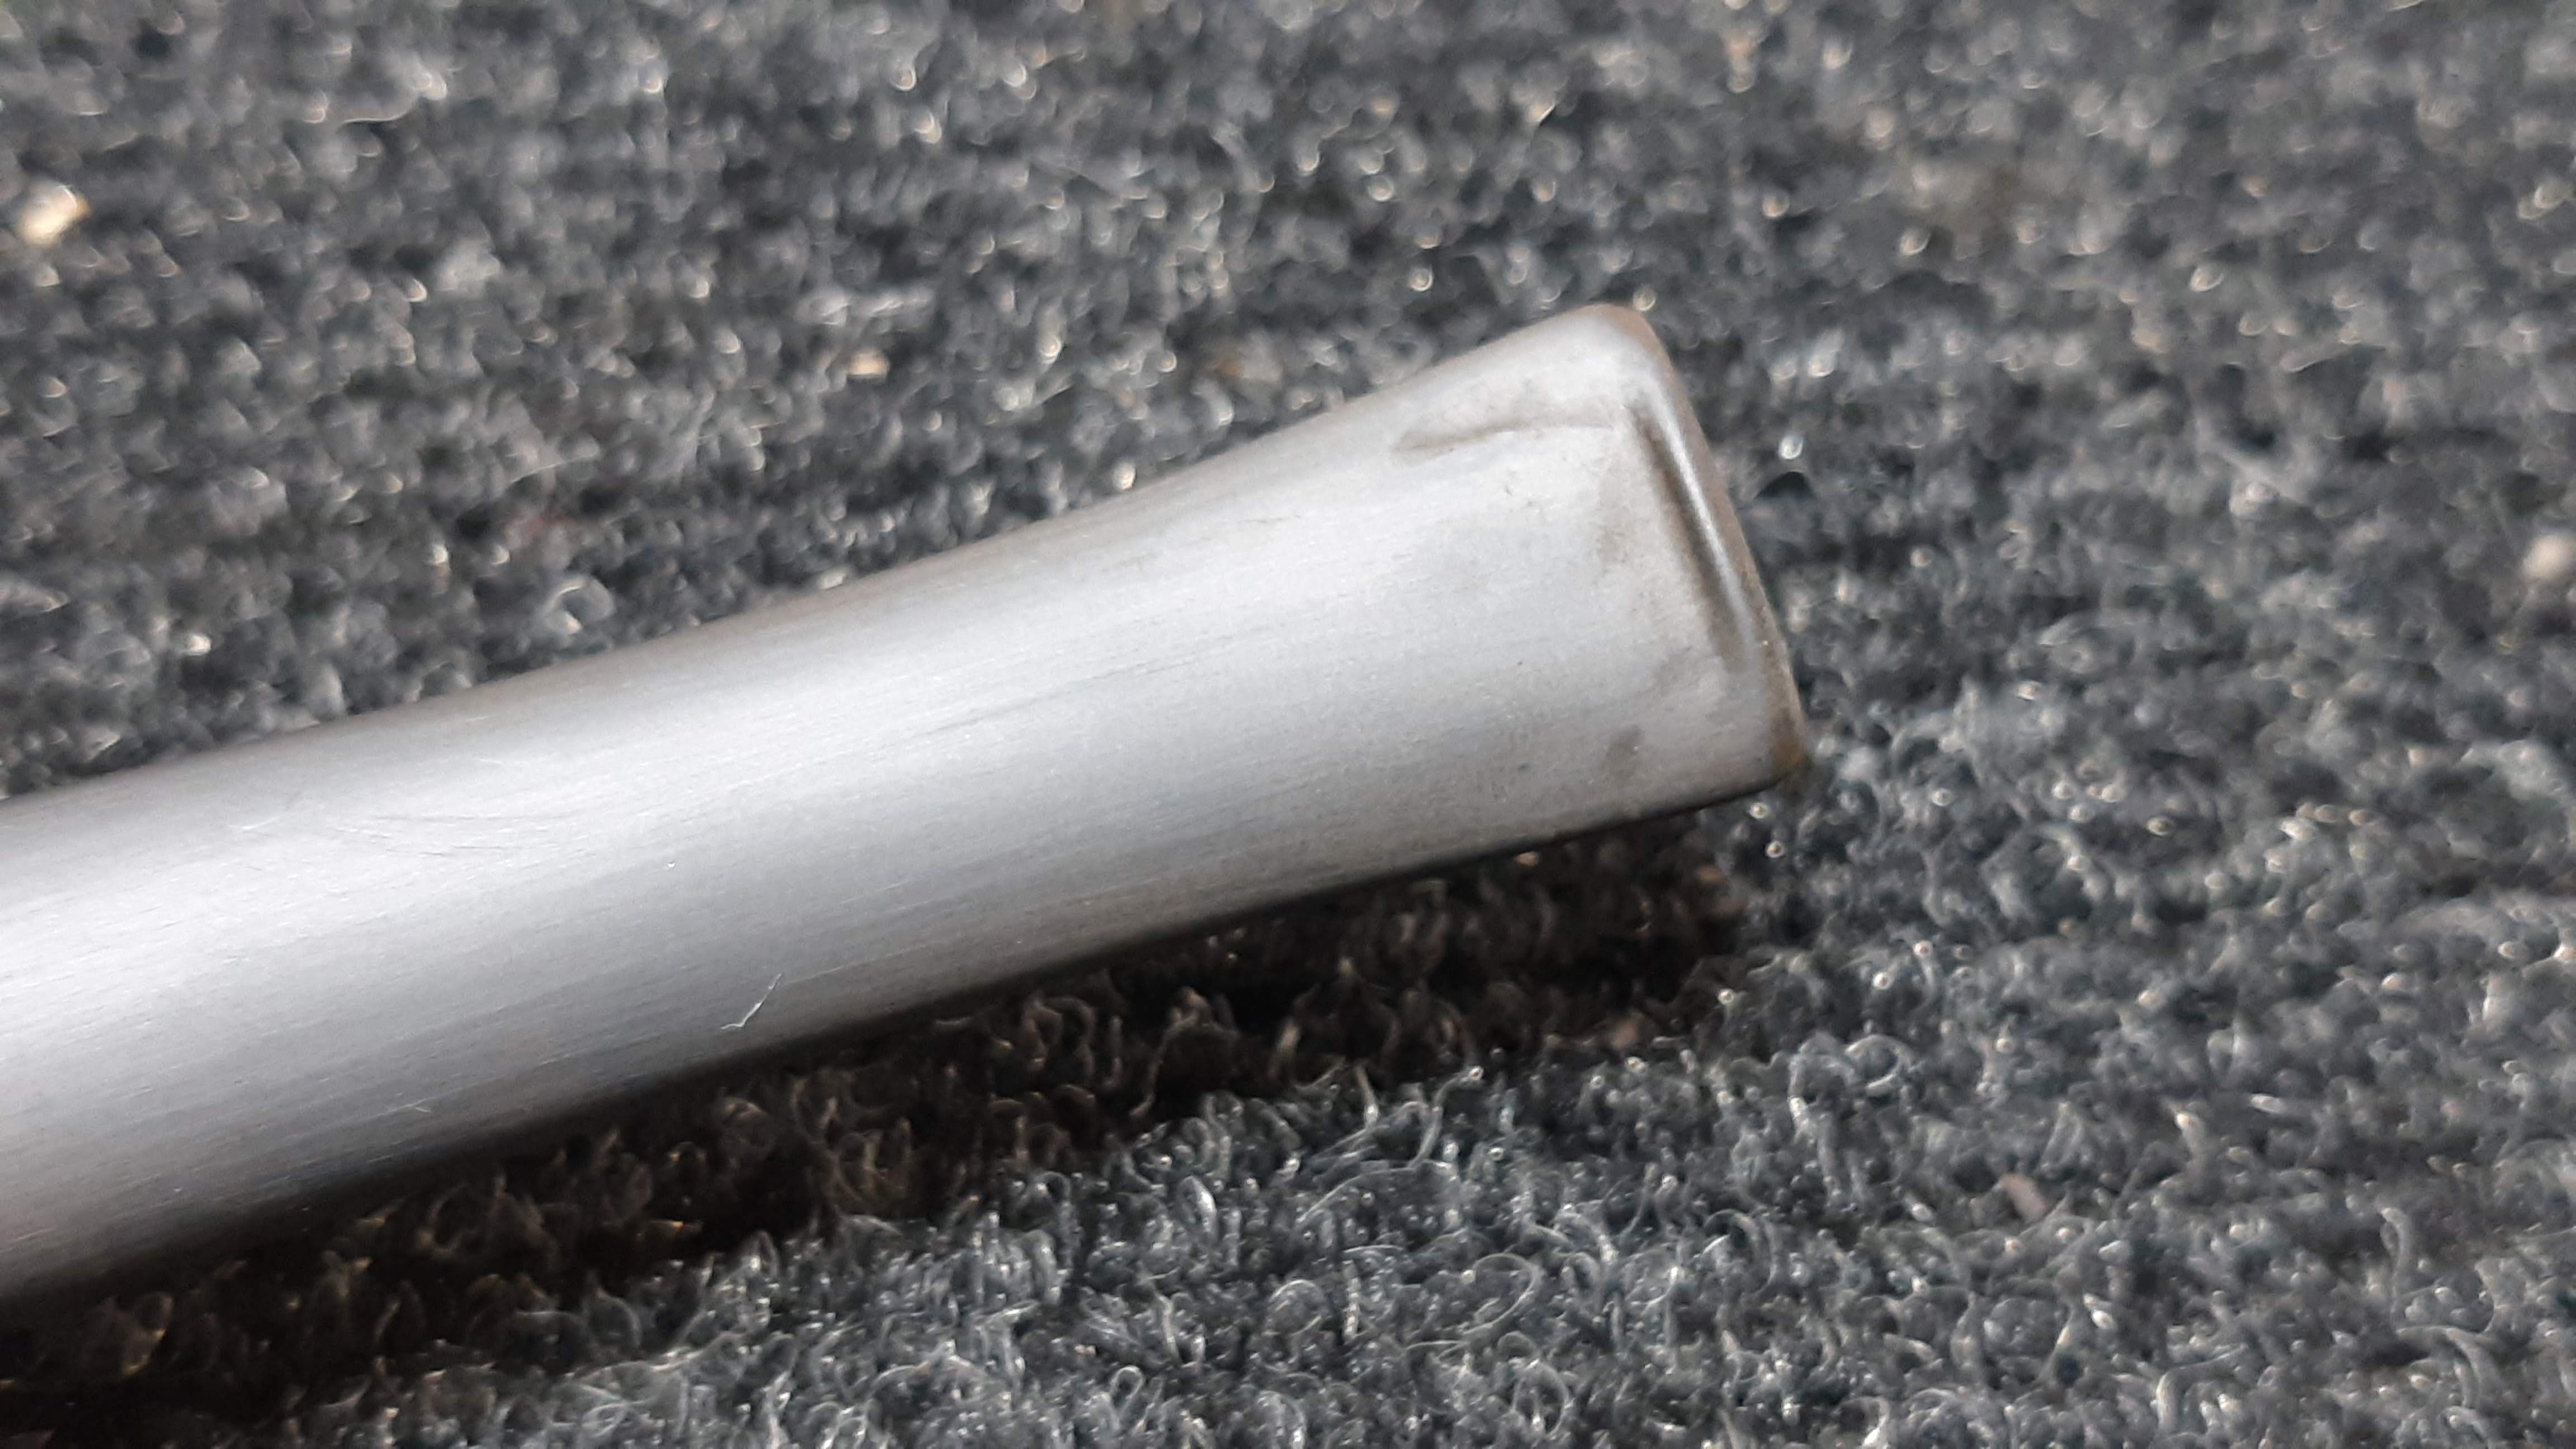
Interestingly, this Norseman was fitted with a twin-bore stem, which is a bit unusual. All of my other Norseman pipes have slotted stems.
When I first attempted to remove the stem from the shank I found it very difficult to move. I managed to back the stem out a hair’s breadth before it stuck fast. To loosen things up, I dribbled 99% isopropyl alcohol into the gap at the stem face and let the pipe sit for a few minutes to let the alcohol do its work.
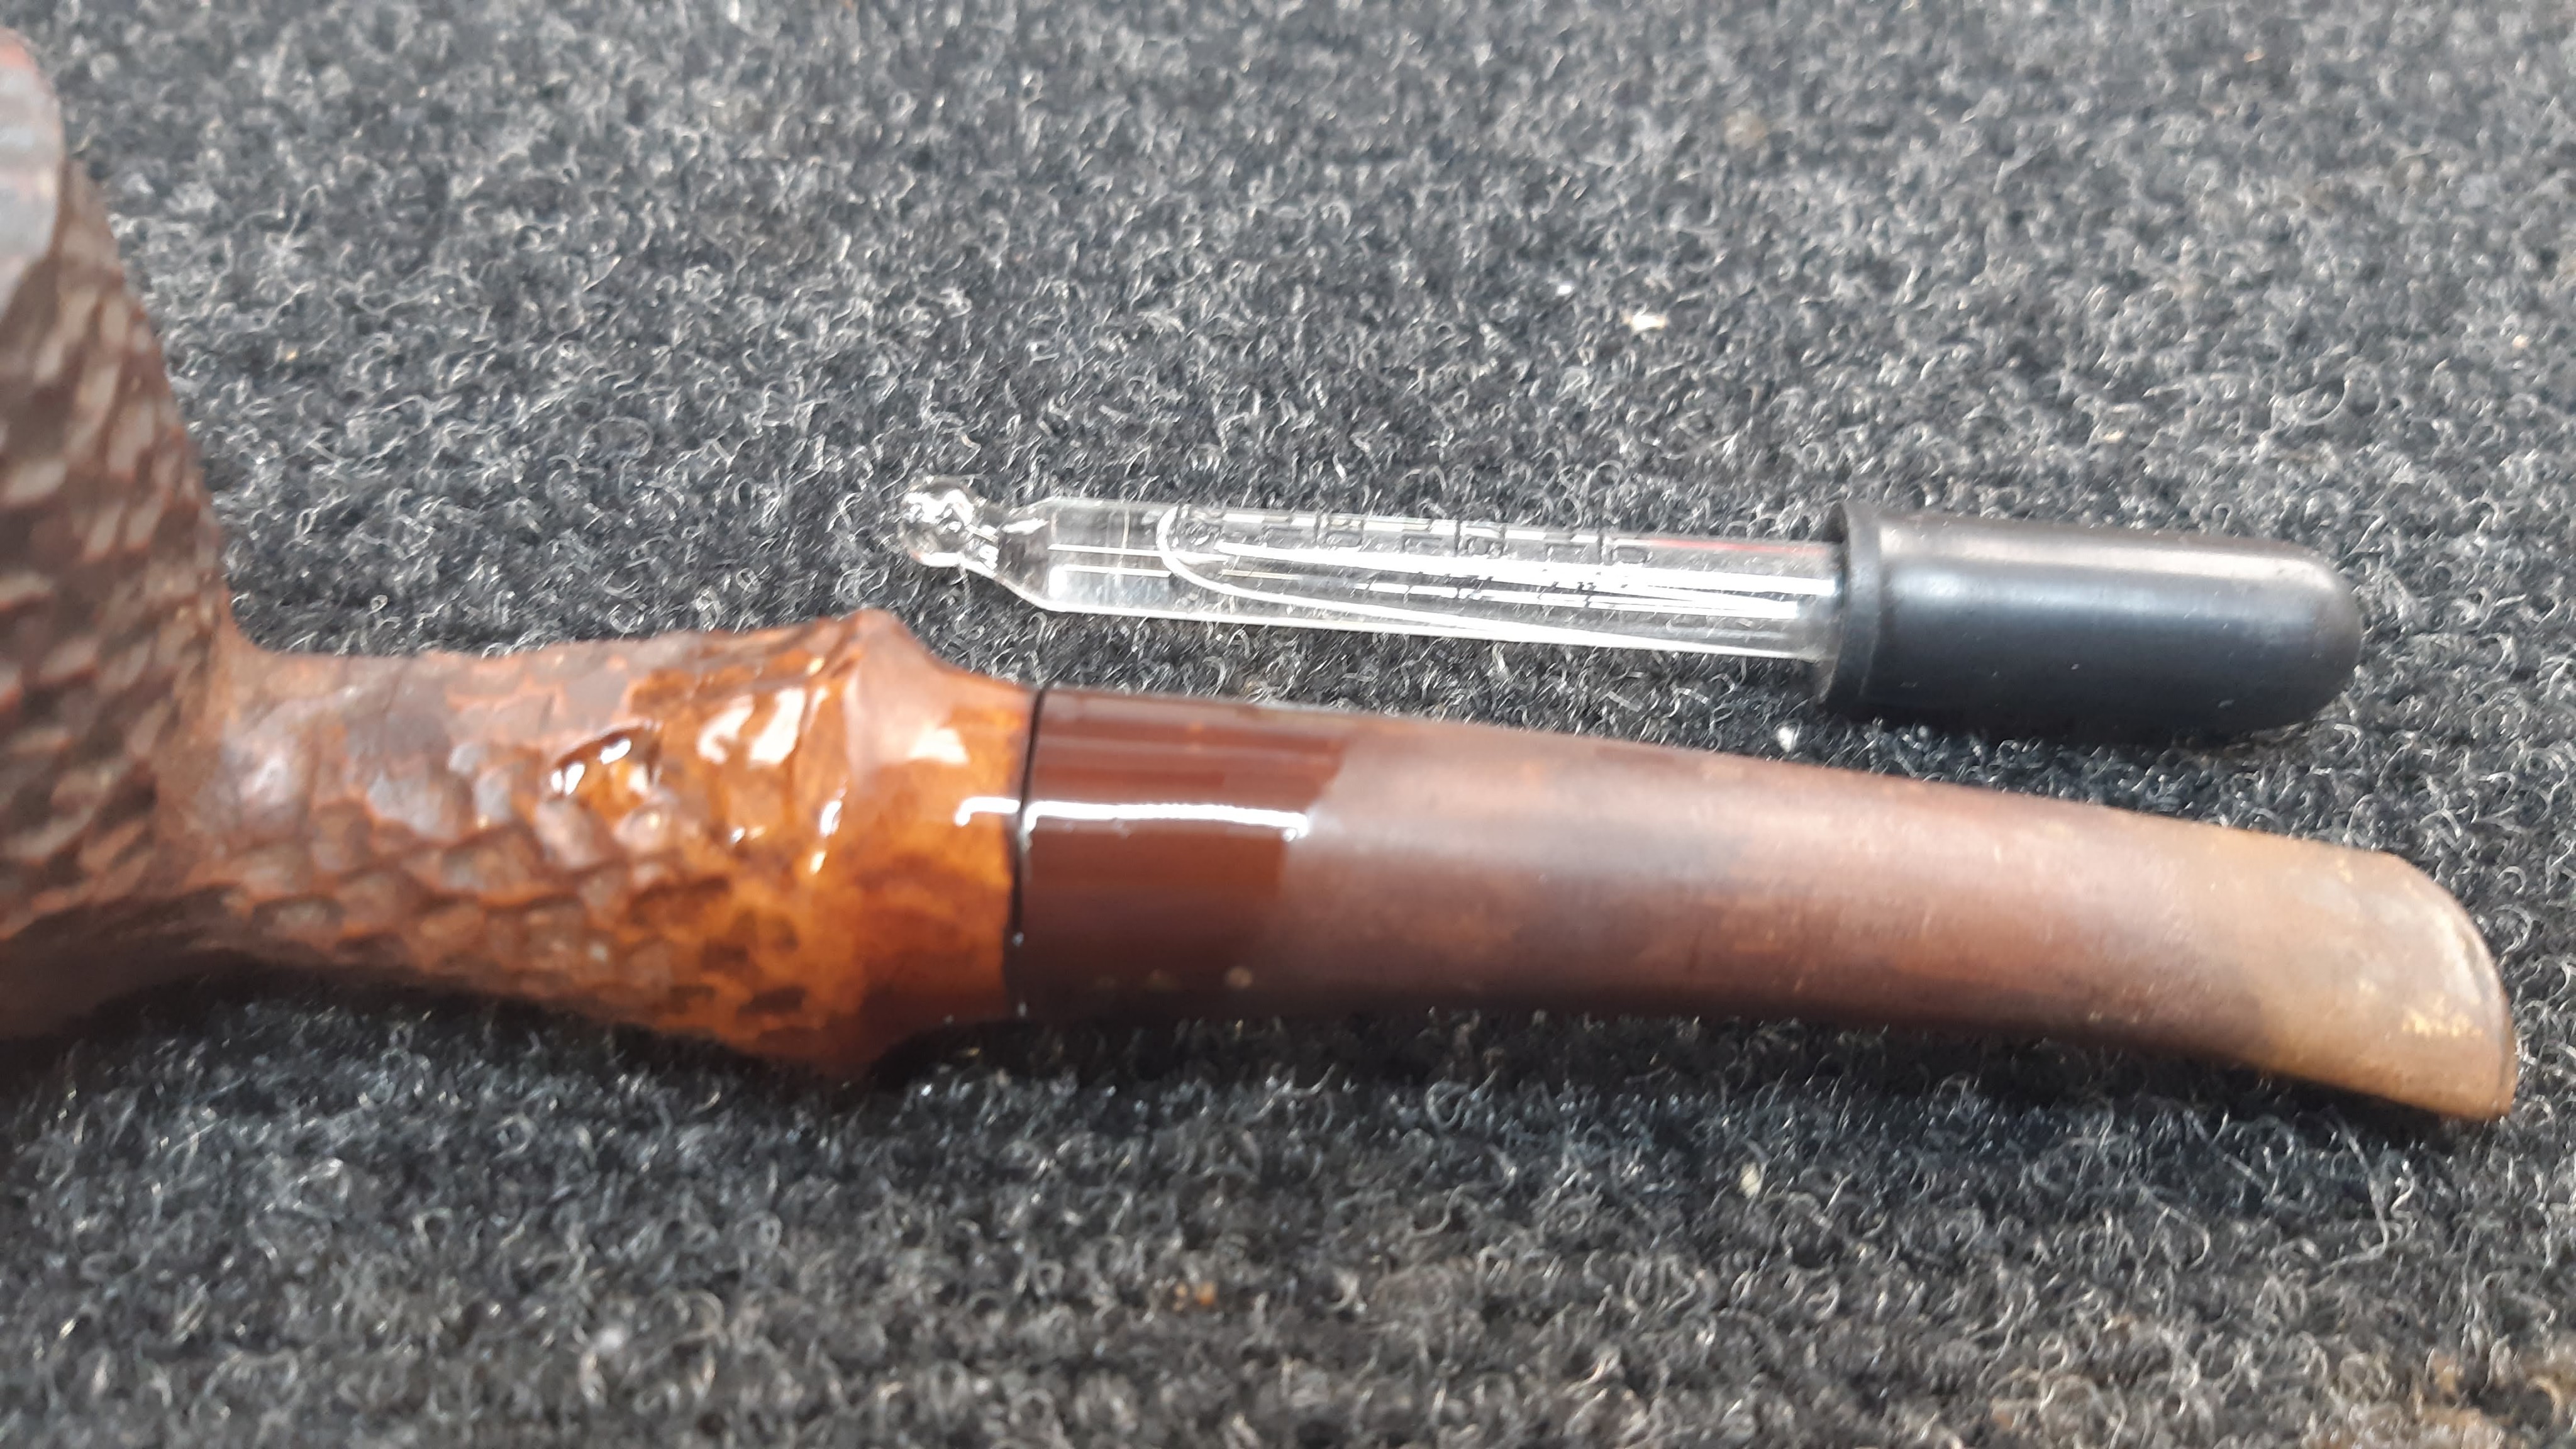
I had to apply alcohol a few times before whatever goop holding the stem in place let go but eventually the pipe separated into its two halves. As is common with older Brigham estate pipes, the aluminum tenon had corroded slightly, “gluing” the stem into the shank.
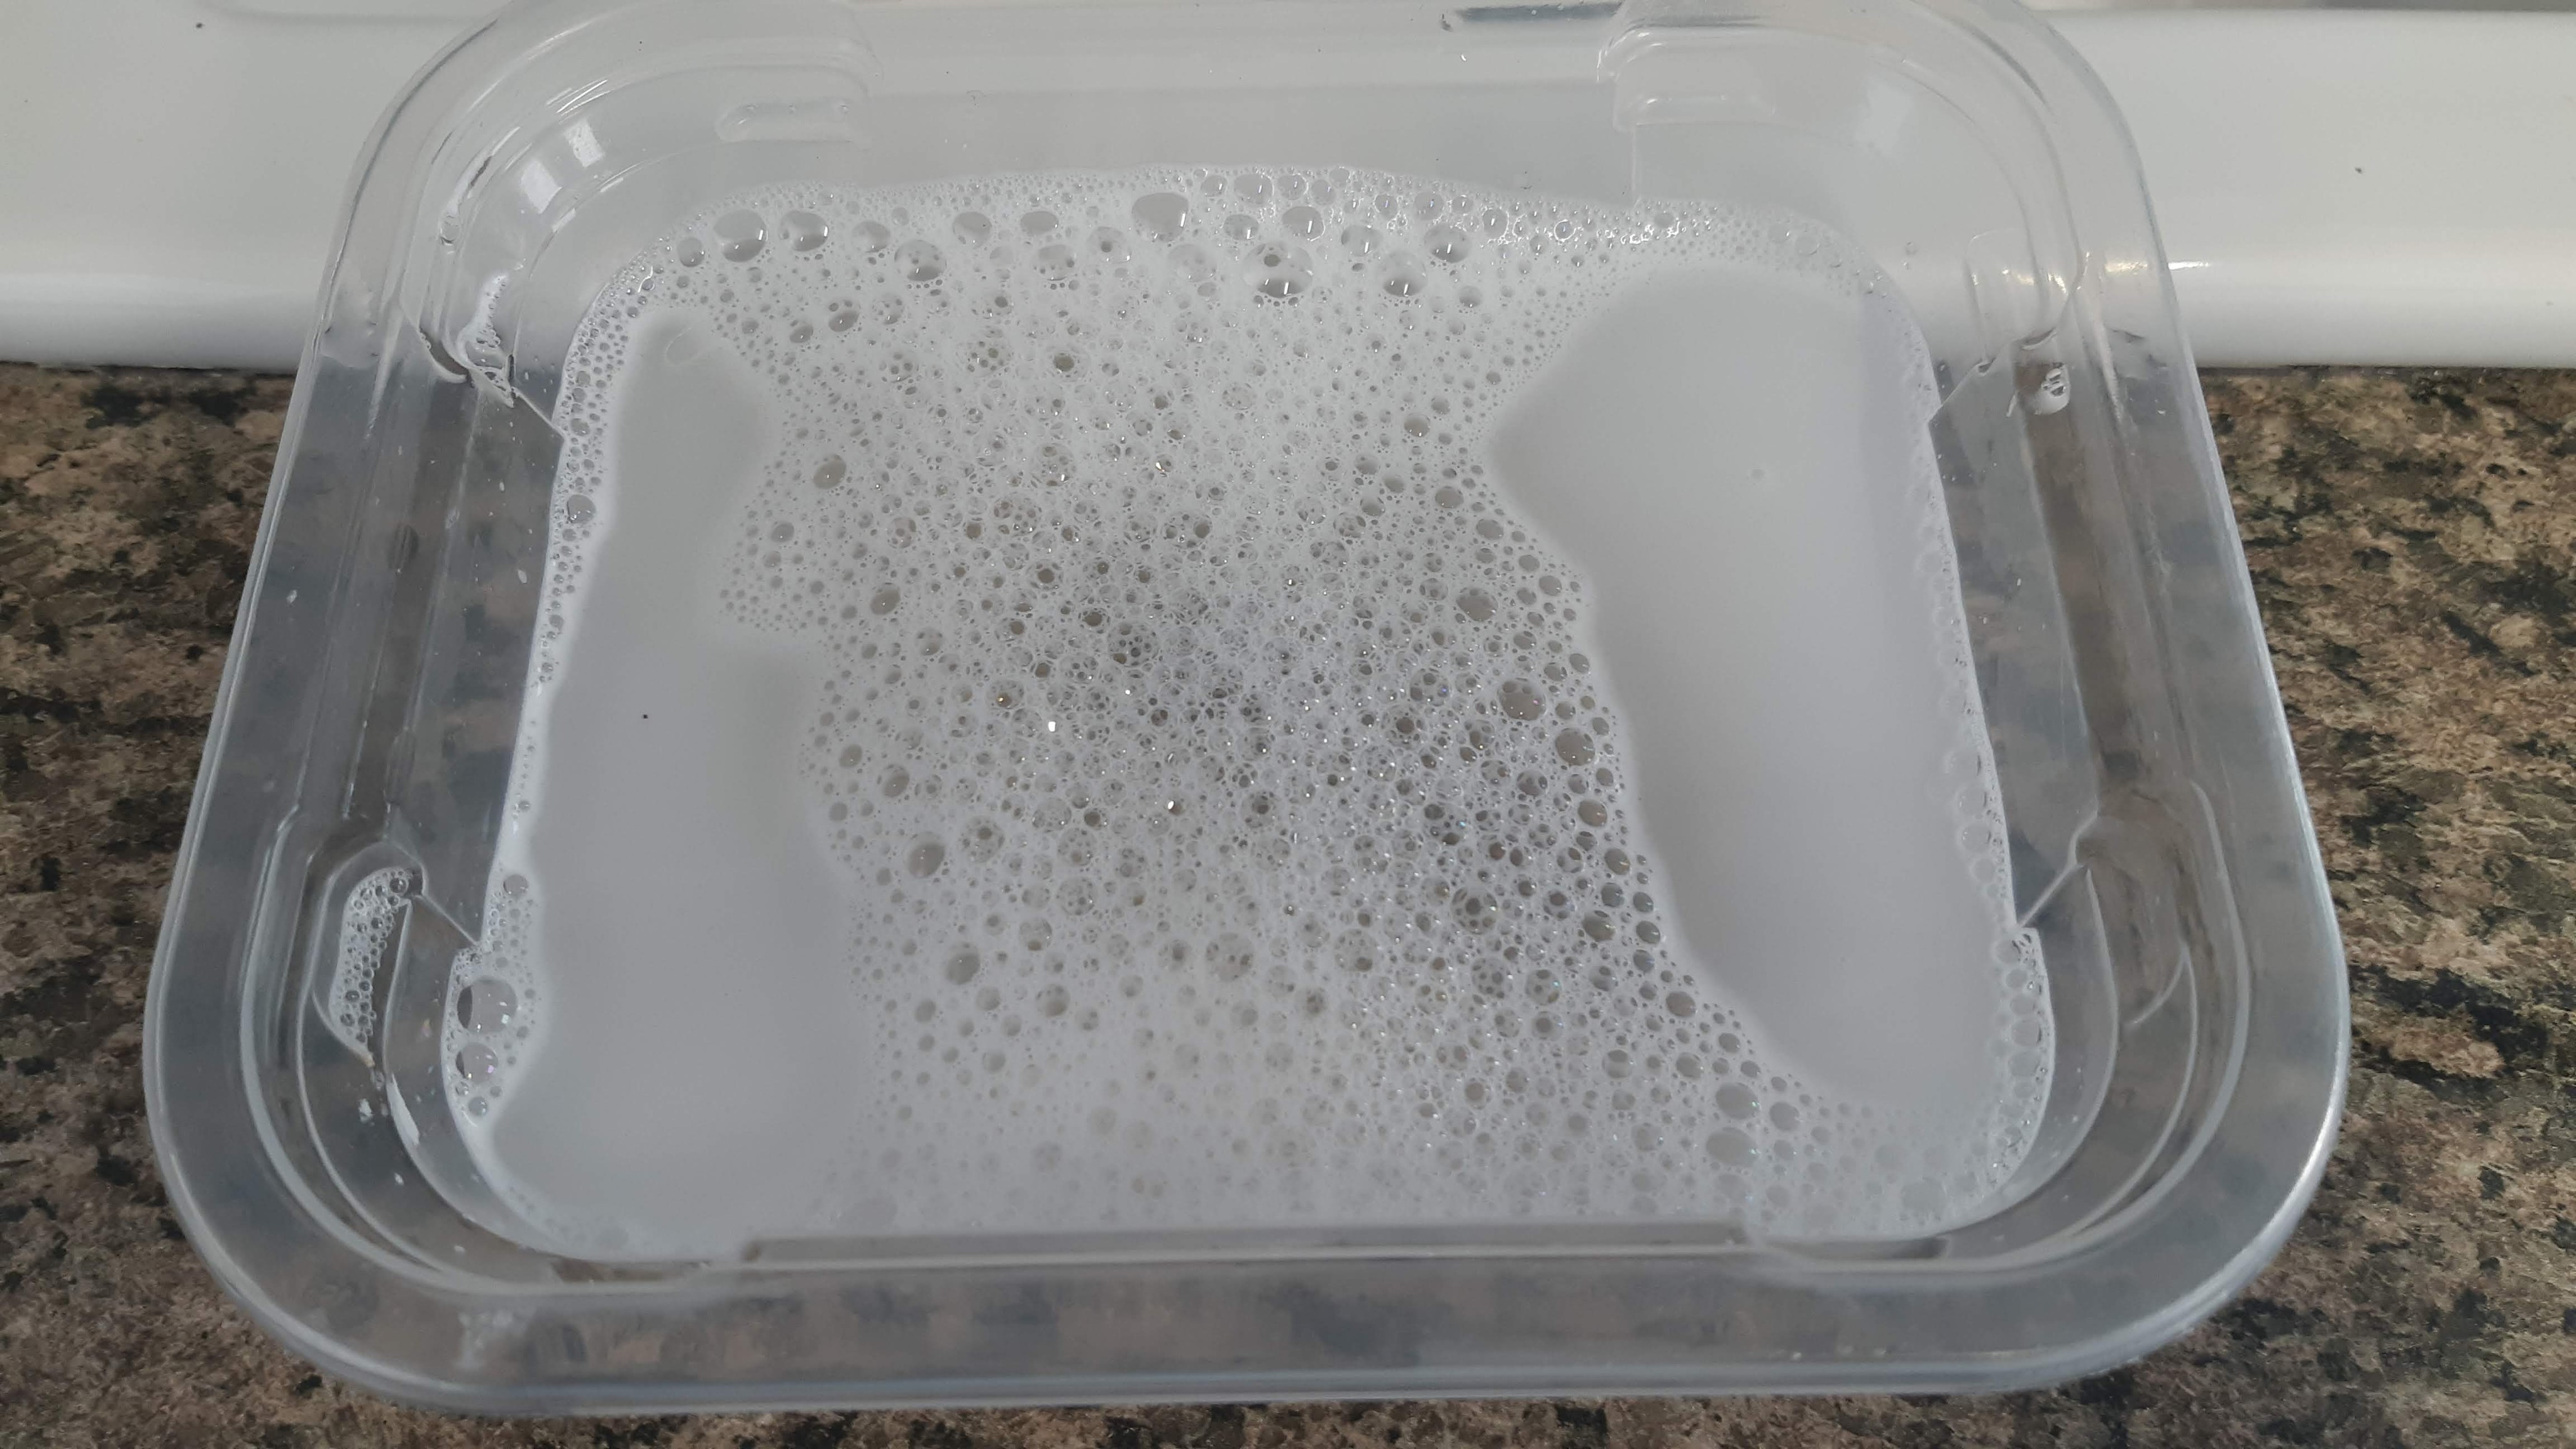
Without further ado, I dropped the stem into an Oxyclean bath to soften and raise the oxidation and to start the process of dissolving any tars lurking inside the stem. I let the stem soak for a few hours, during which I worked on the stummel.
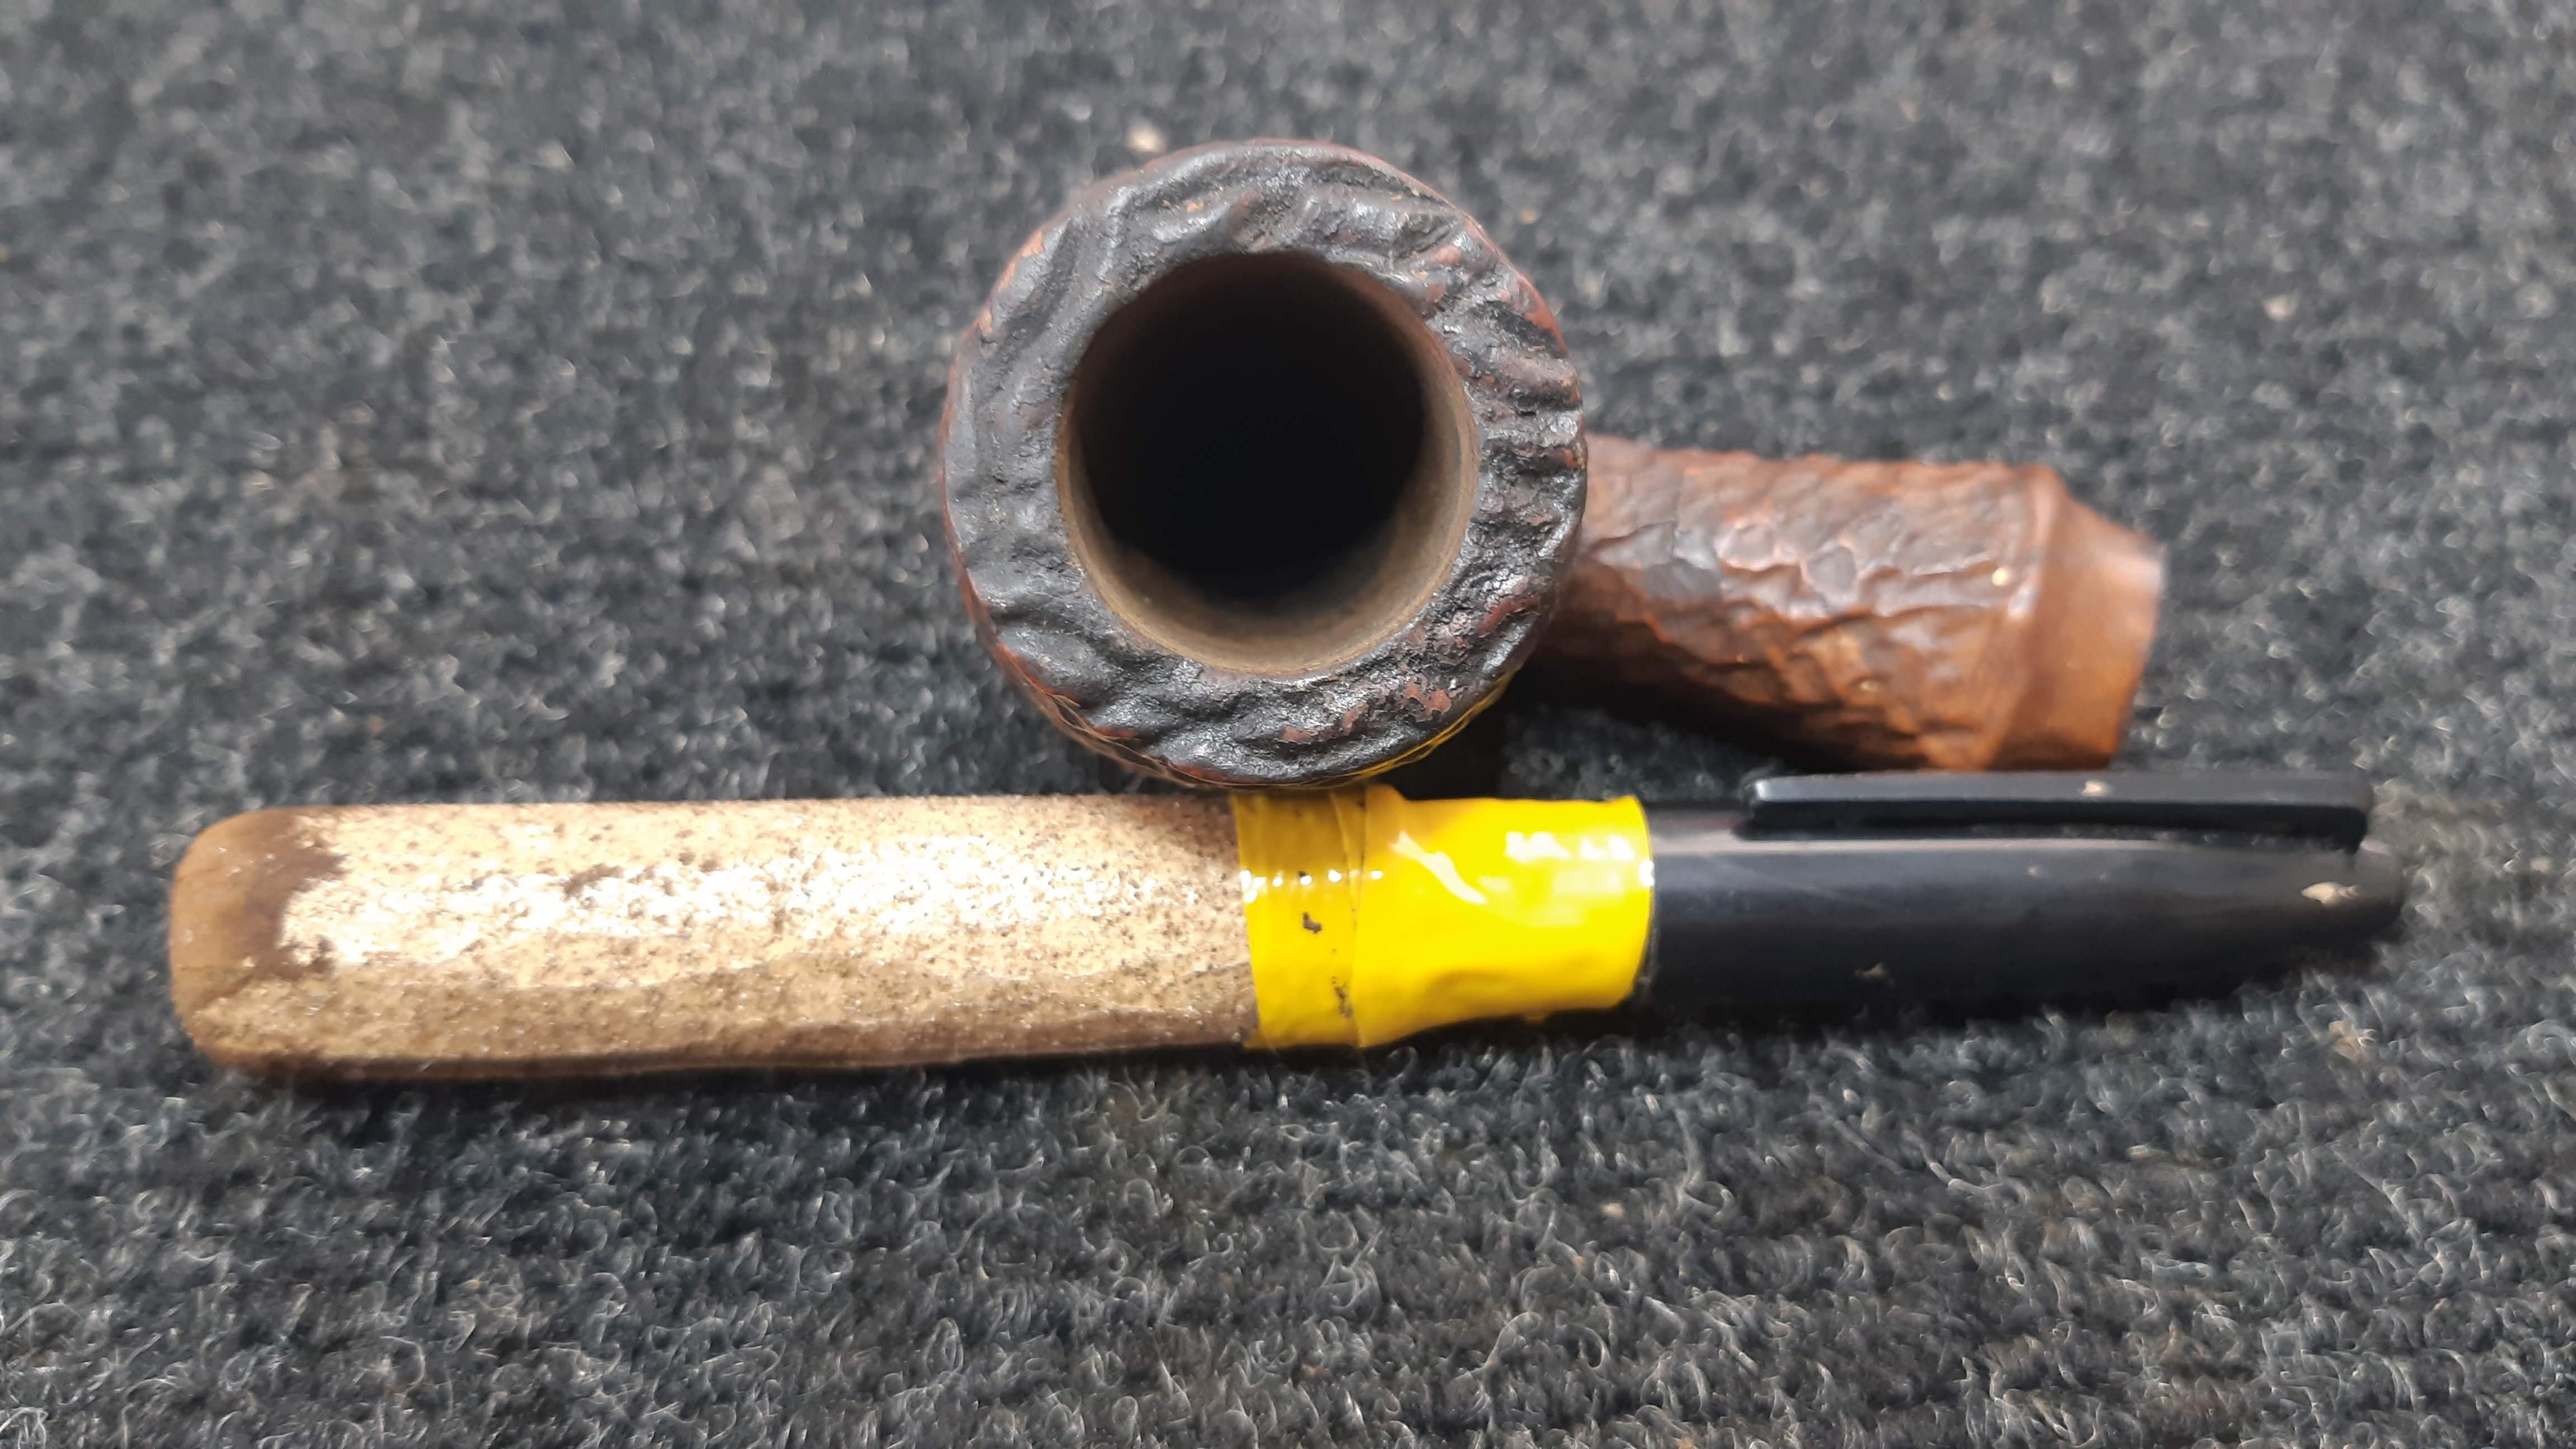
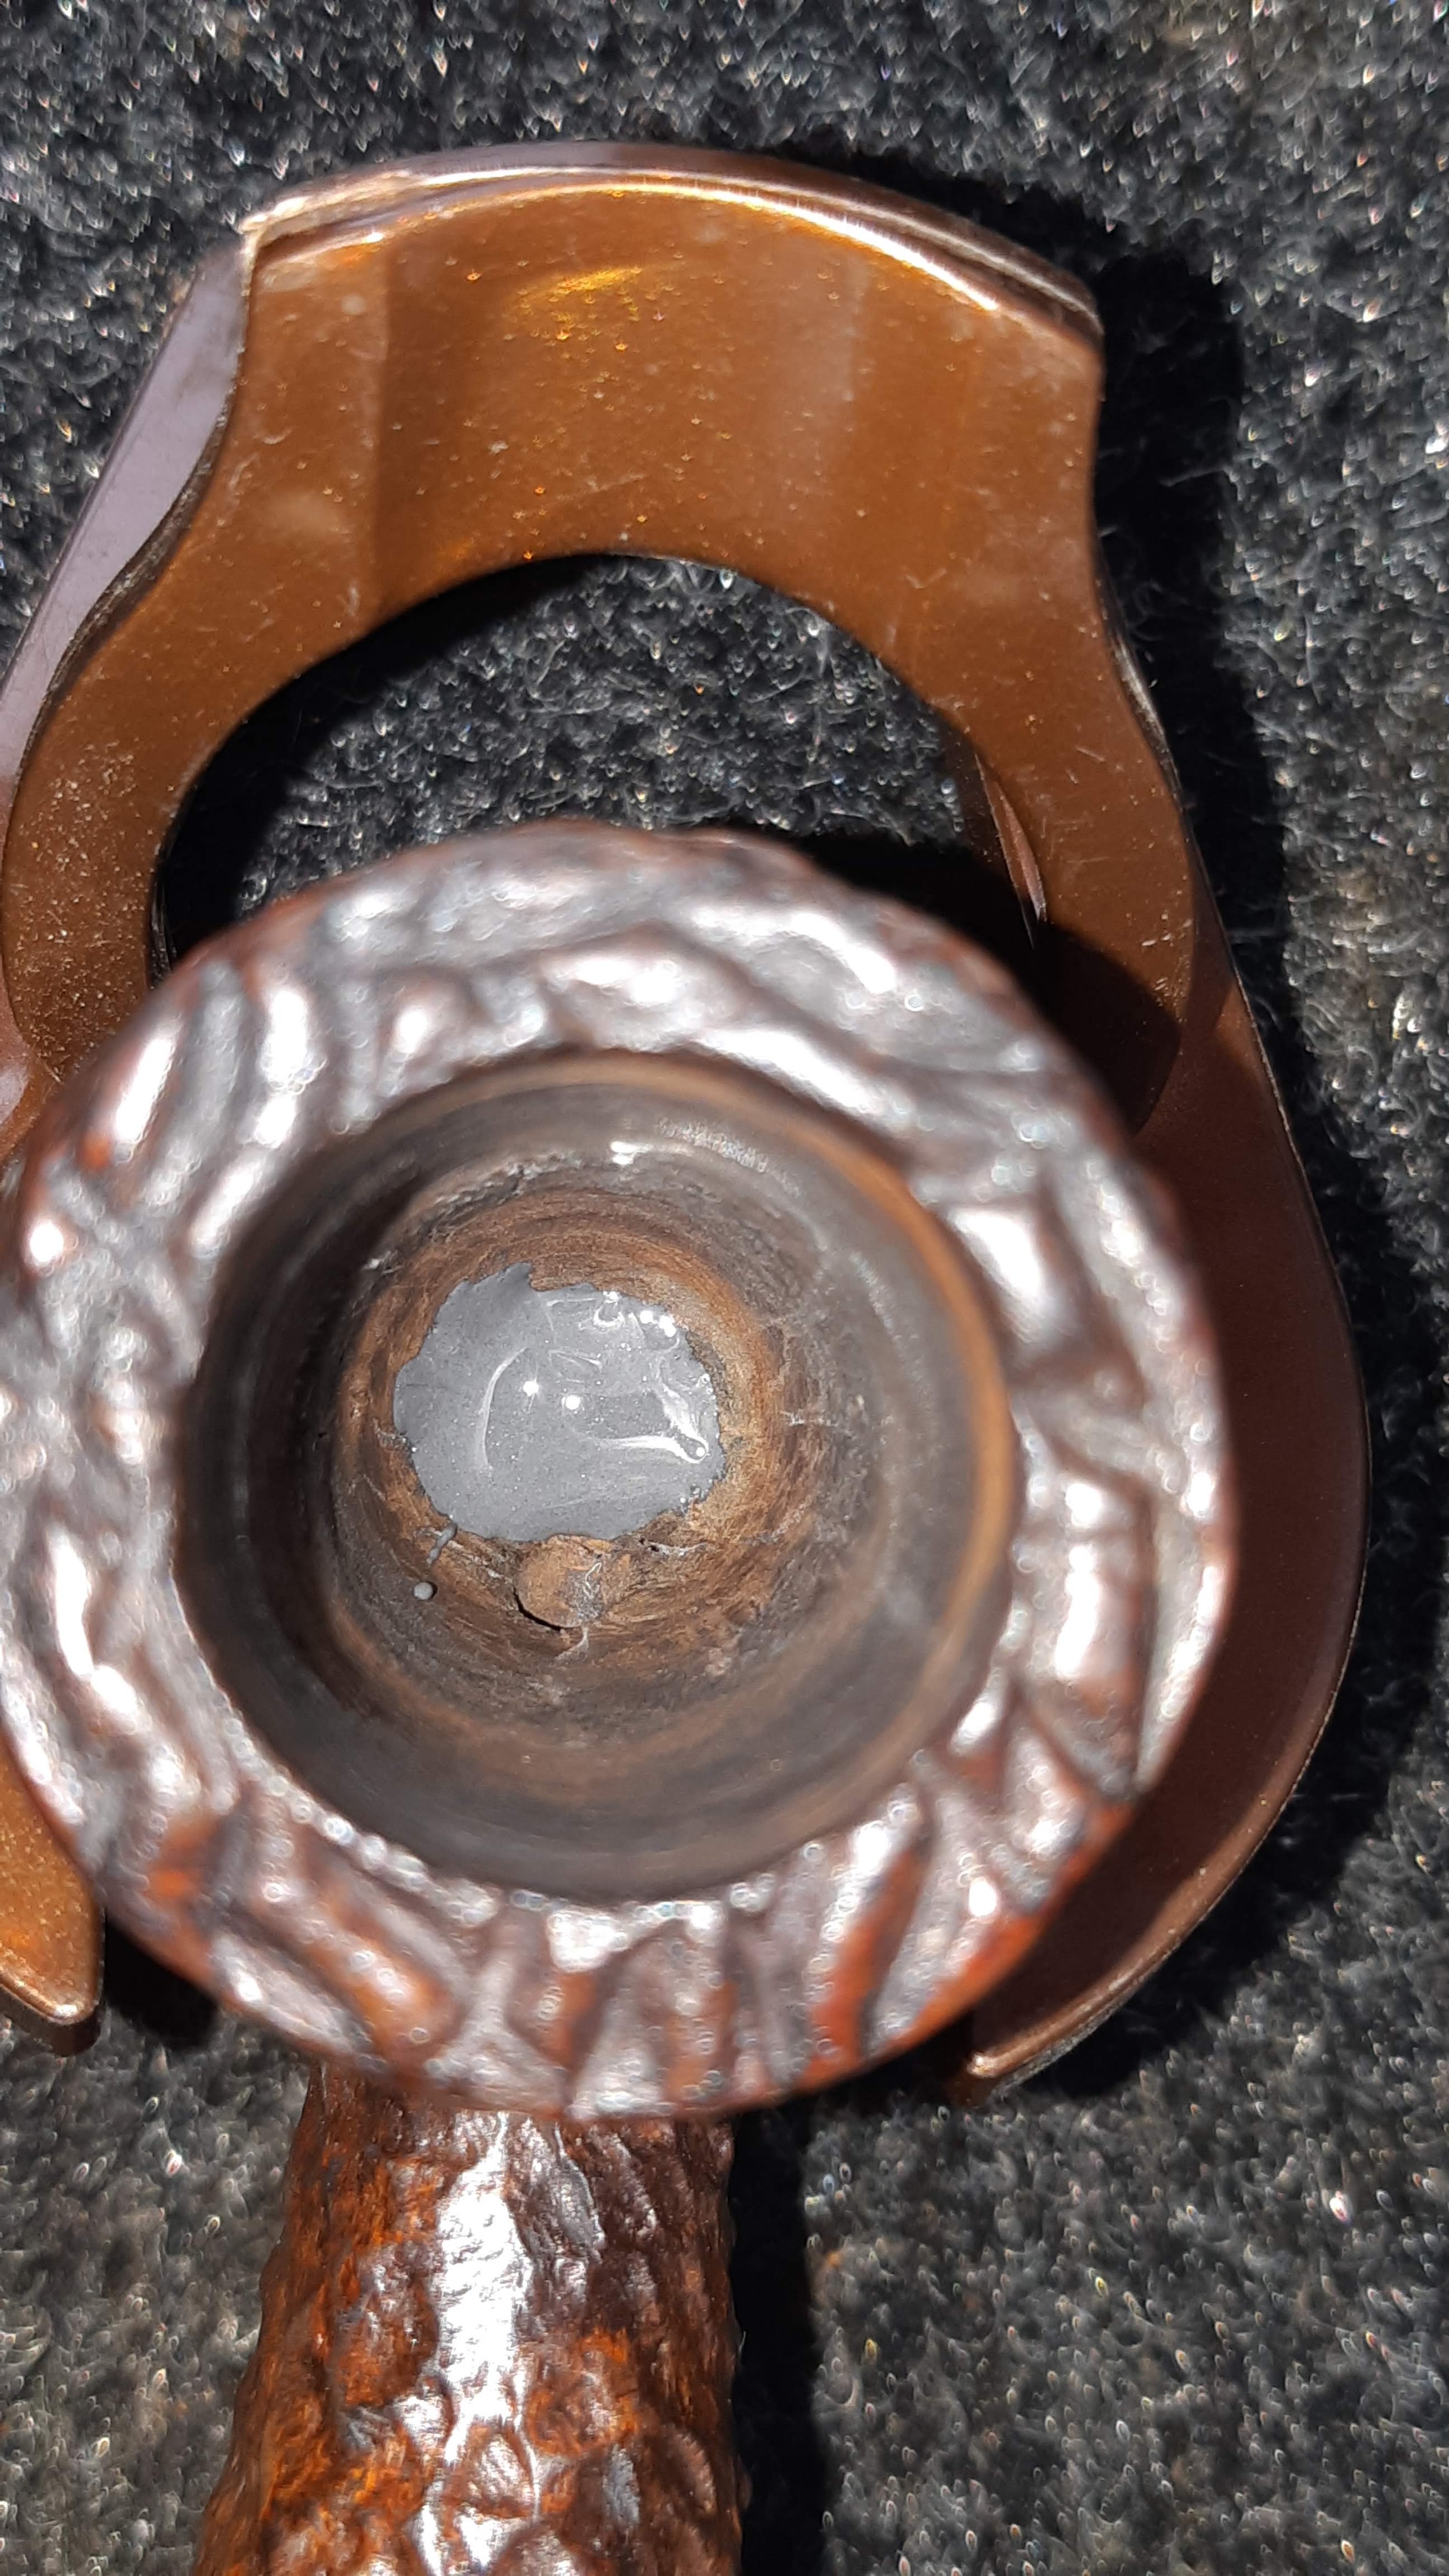
The first course of action was to ream out the copious carbon cake from the tobacco chamber. Thankfully, the cake was reasonably crumbly and succumbed to my reamer easily.

I tidied up the chamber walls with some sandpaper wrapped around a marker. This let me remove the last of the old cake and smooth out the chamber walls. As the second pic below shows, the chamber was in pretty good shape, although slightly over-reamed in the centre of the chamber floor.

Next up was cleaning the stummel’s mortise and airway. I used a couple of drill bits, turned by hand, to remove a layer of carbon coating the airway walls and followed up with pipe cleaners and cotton swabs dipped in alcohol to complete the cleaning process.

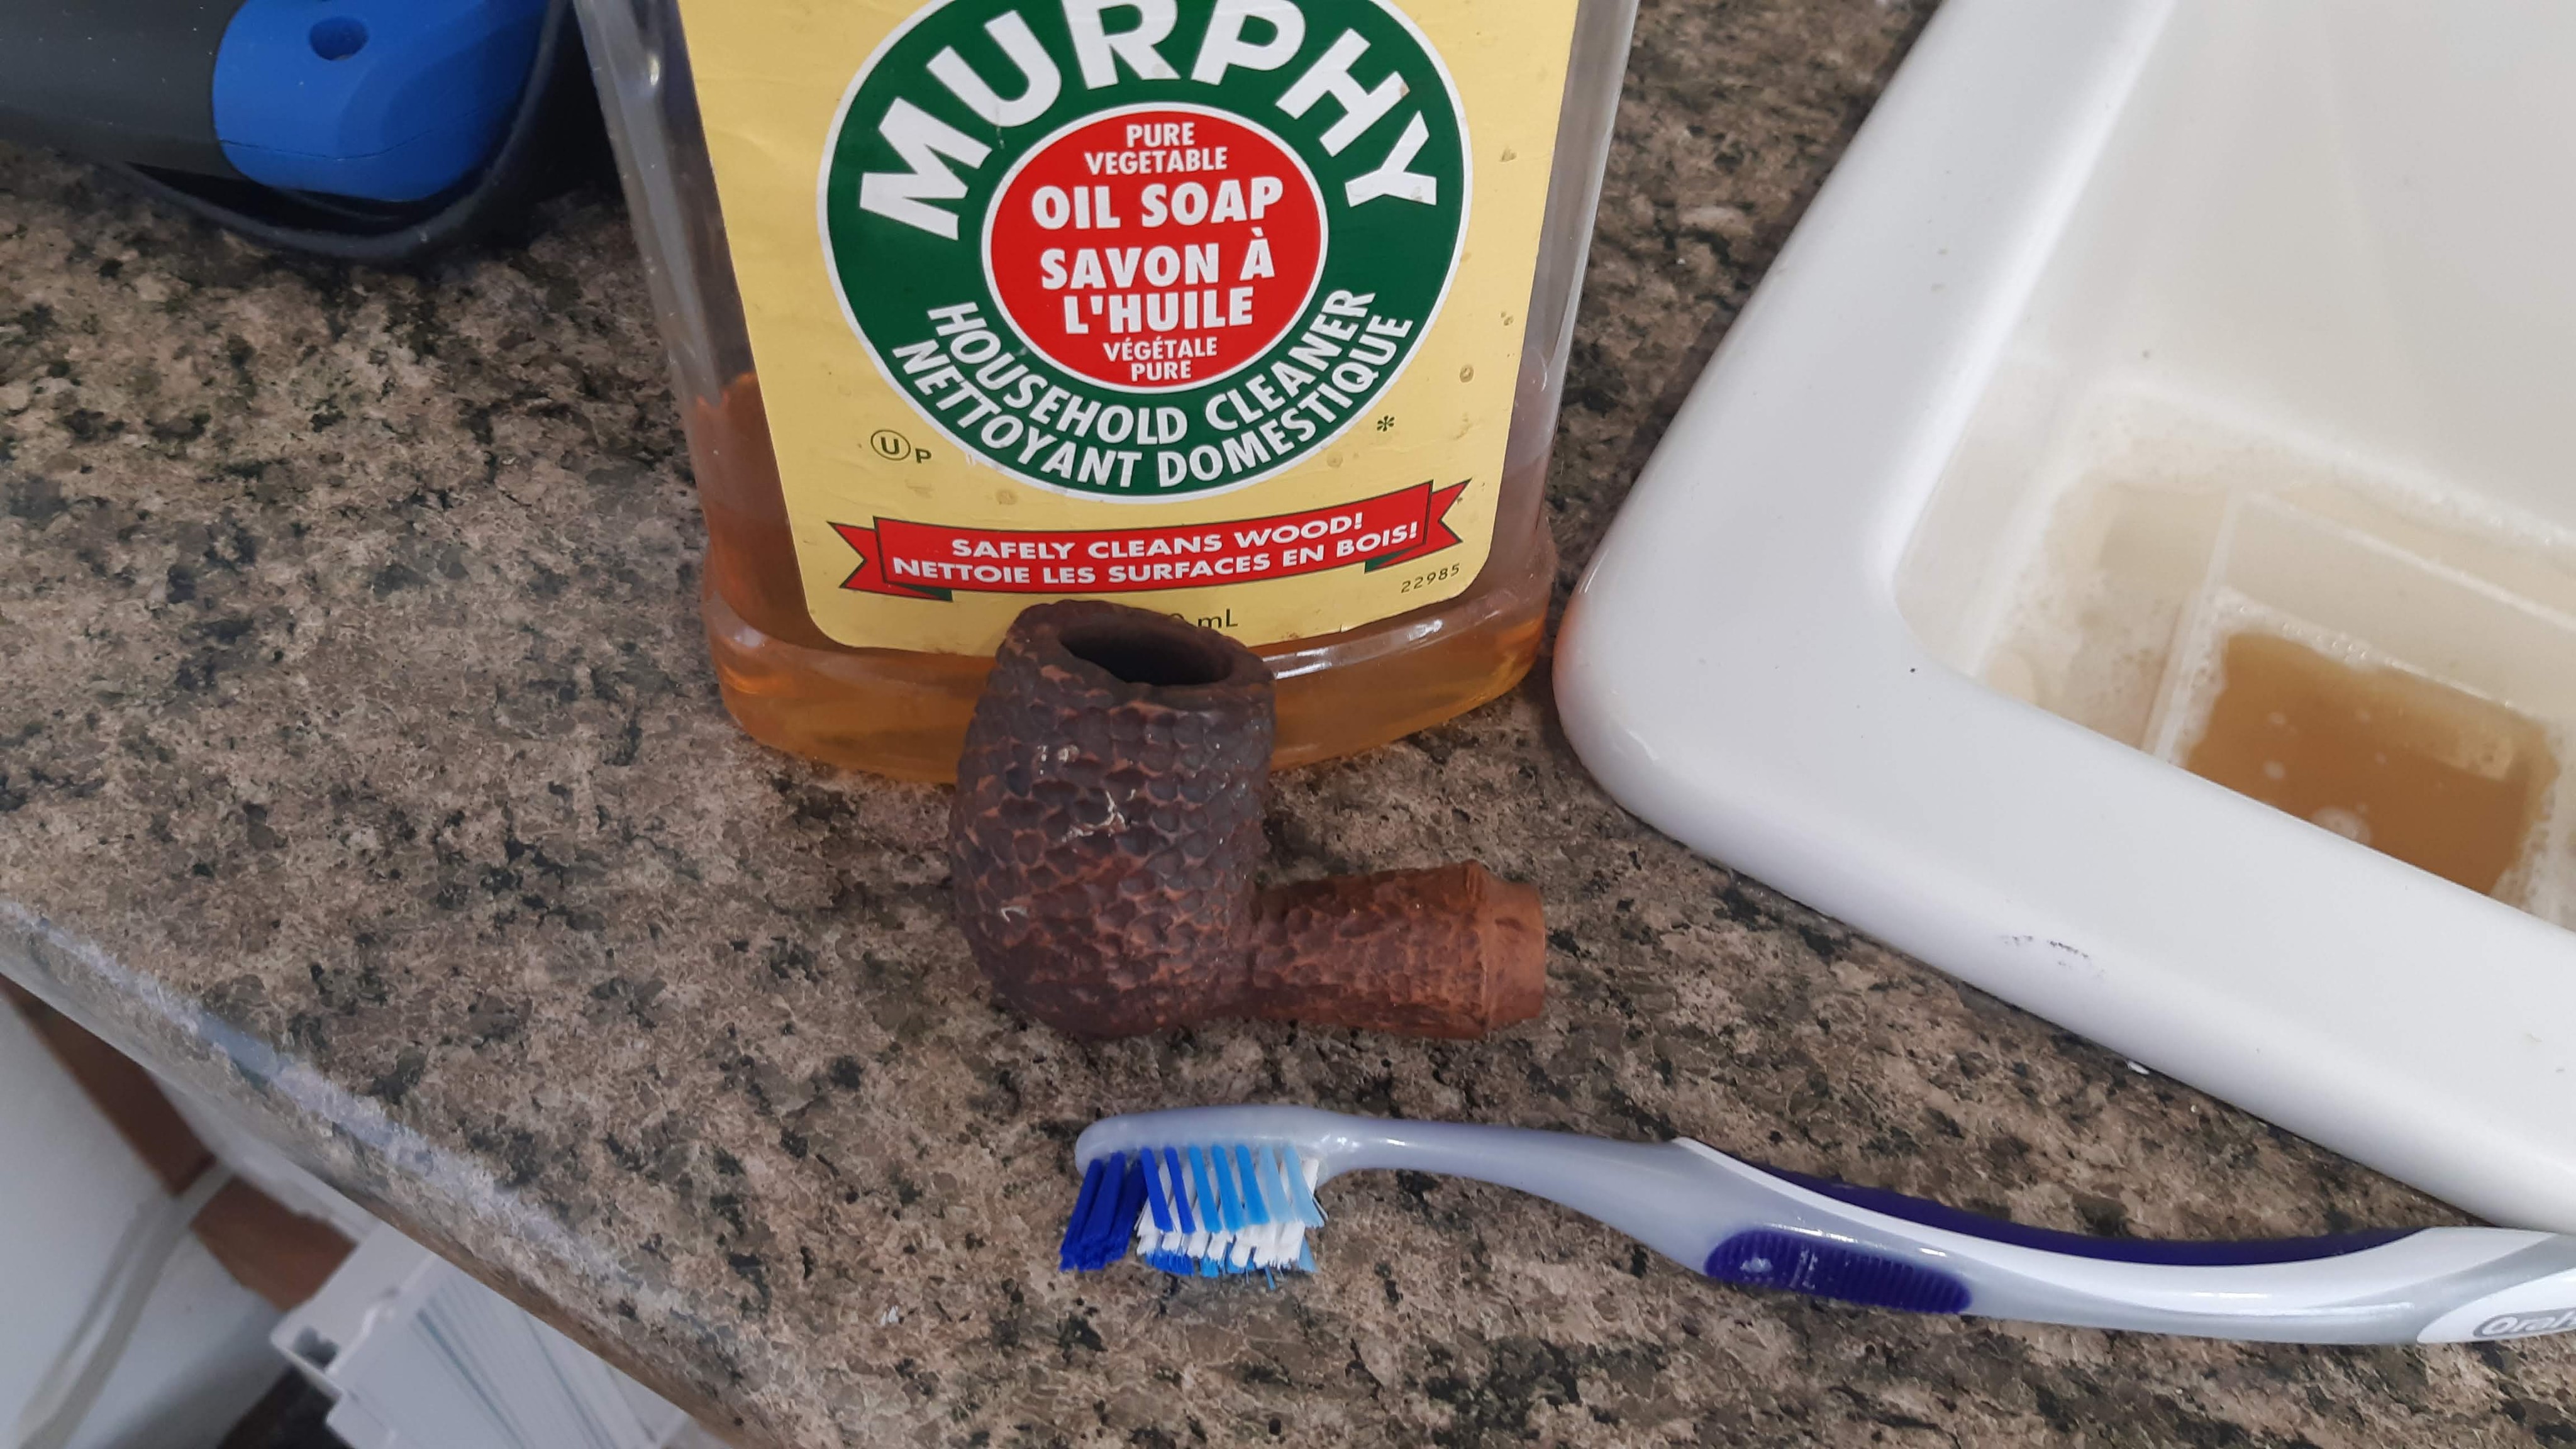
Moving on to the exterior of the stummel, I spent a few minutes with a dental pick carefully scraping the carbon deposits out of the rim rustication before giving the briar a good scrubbing with Murphy’s Oil Soap and a toothbrush to remove decades of dirt, grease and wax from the finish.
I dried off the stummel and brought it back to the worktable for inspection. This is when I discovered a constellation of paint spots scattered over about two thirds of the bowl’s sides and back. Ugh. These are the things that make me question humanity. Why smoke a premium pipe while rolling paint on a wall? That’s what cobs and basket briars are for!
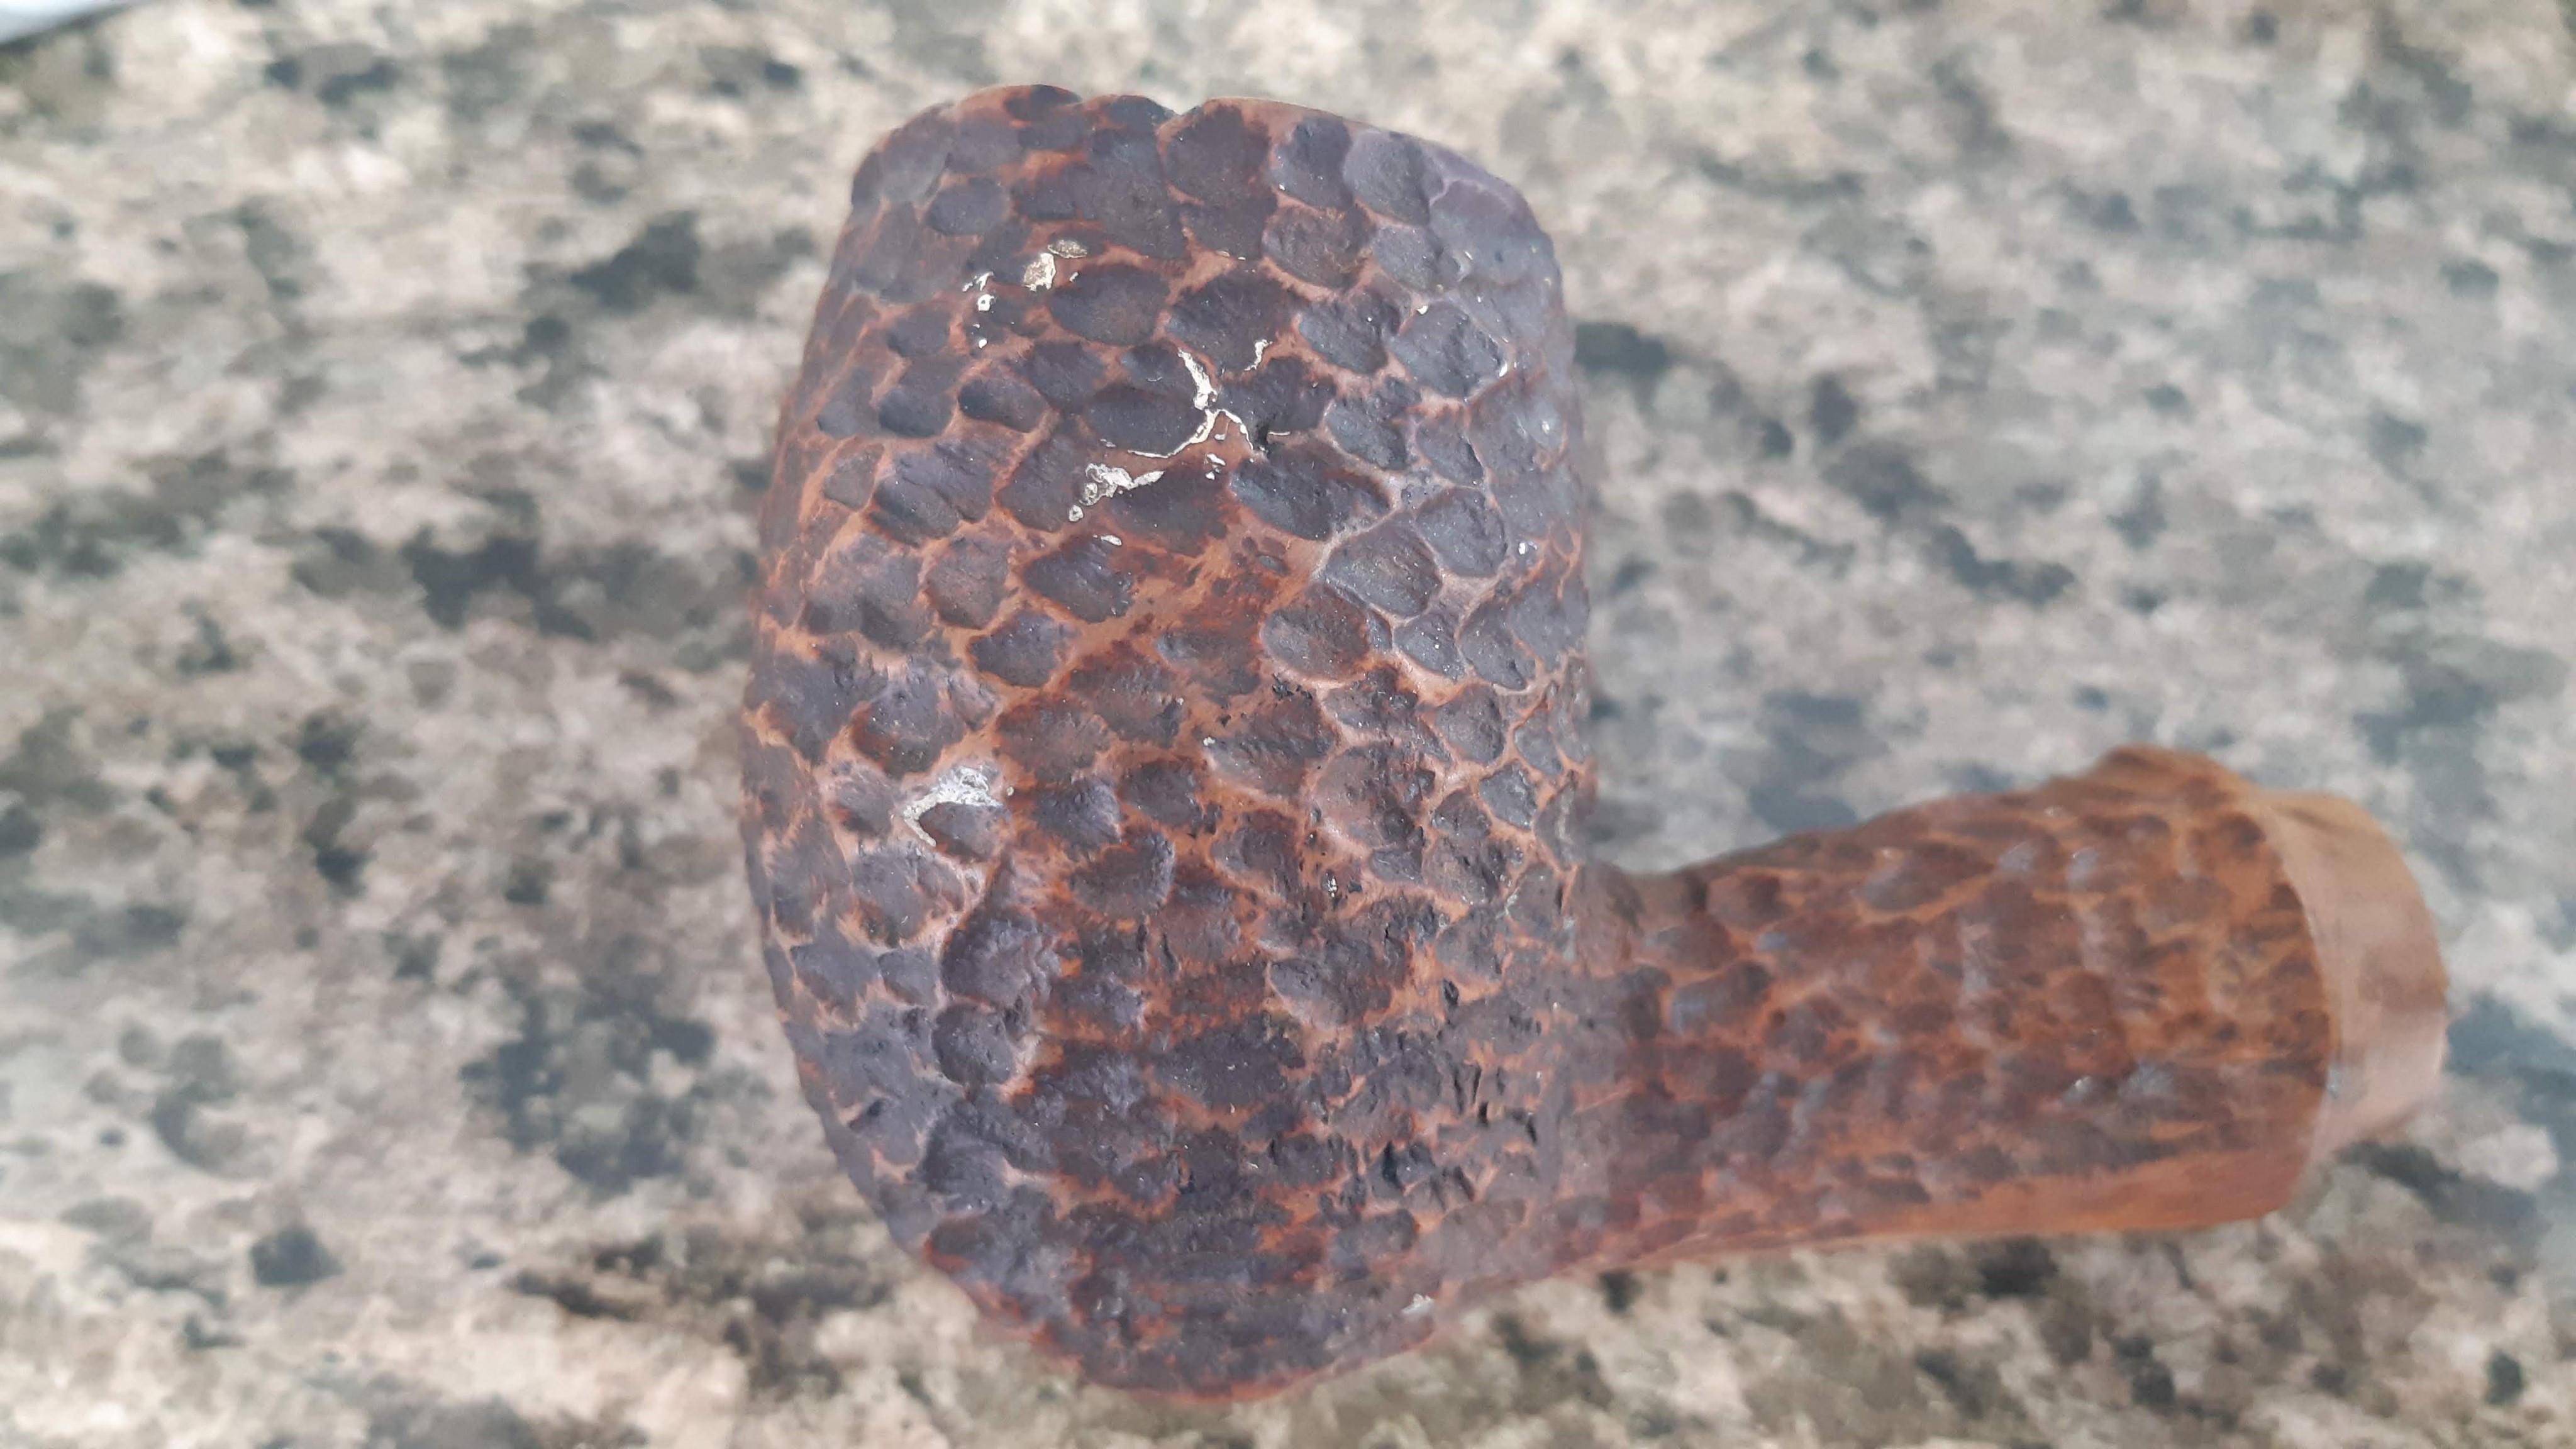
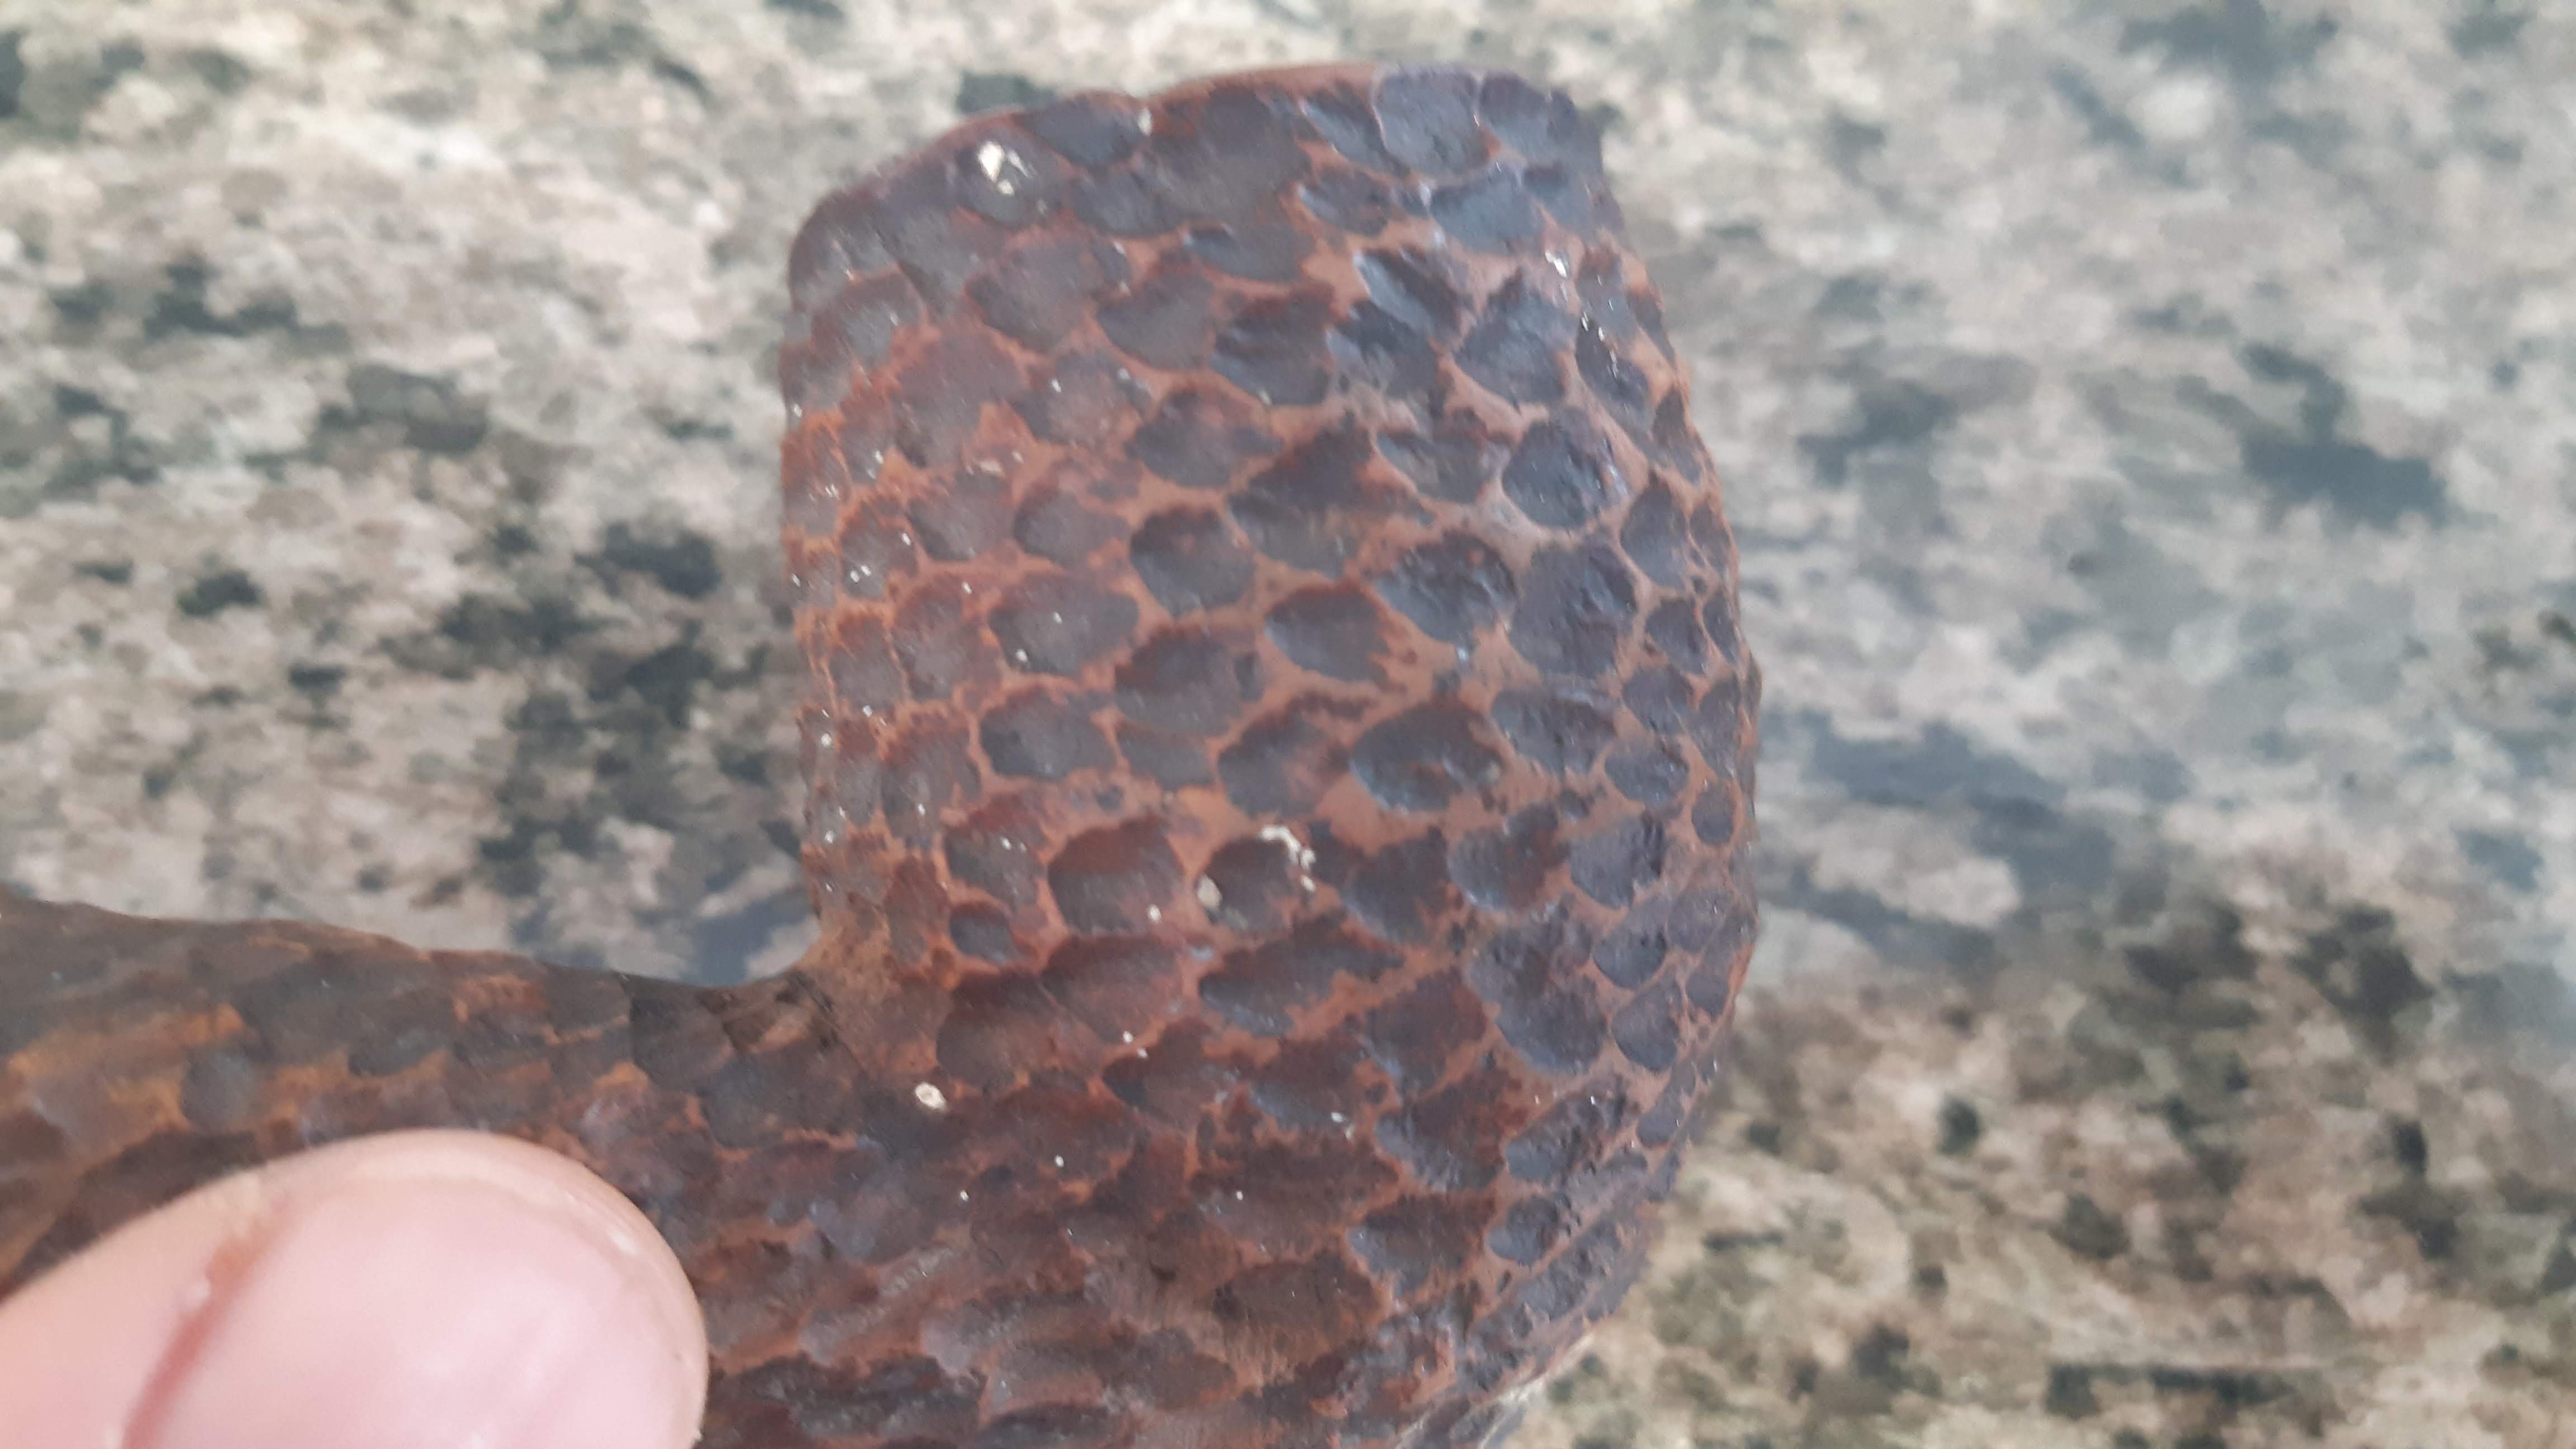
Still muttering to myself about this unknown piper’s poor life choices, I spent the better part of an hour carefully cleaning the paint from the deep rustication. I’d wipe the surface of the pipe with a cotton pad dipped in alcohol, which both softened the paint and highlighted the white specks against the briar, then pick at the paint with my dental pick to remove it. This was a tedious process, but eventually I had a clean stummel.
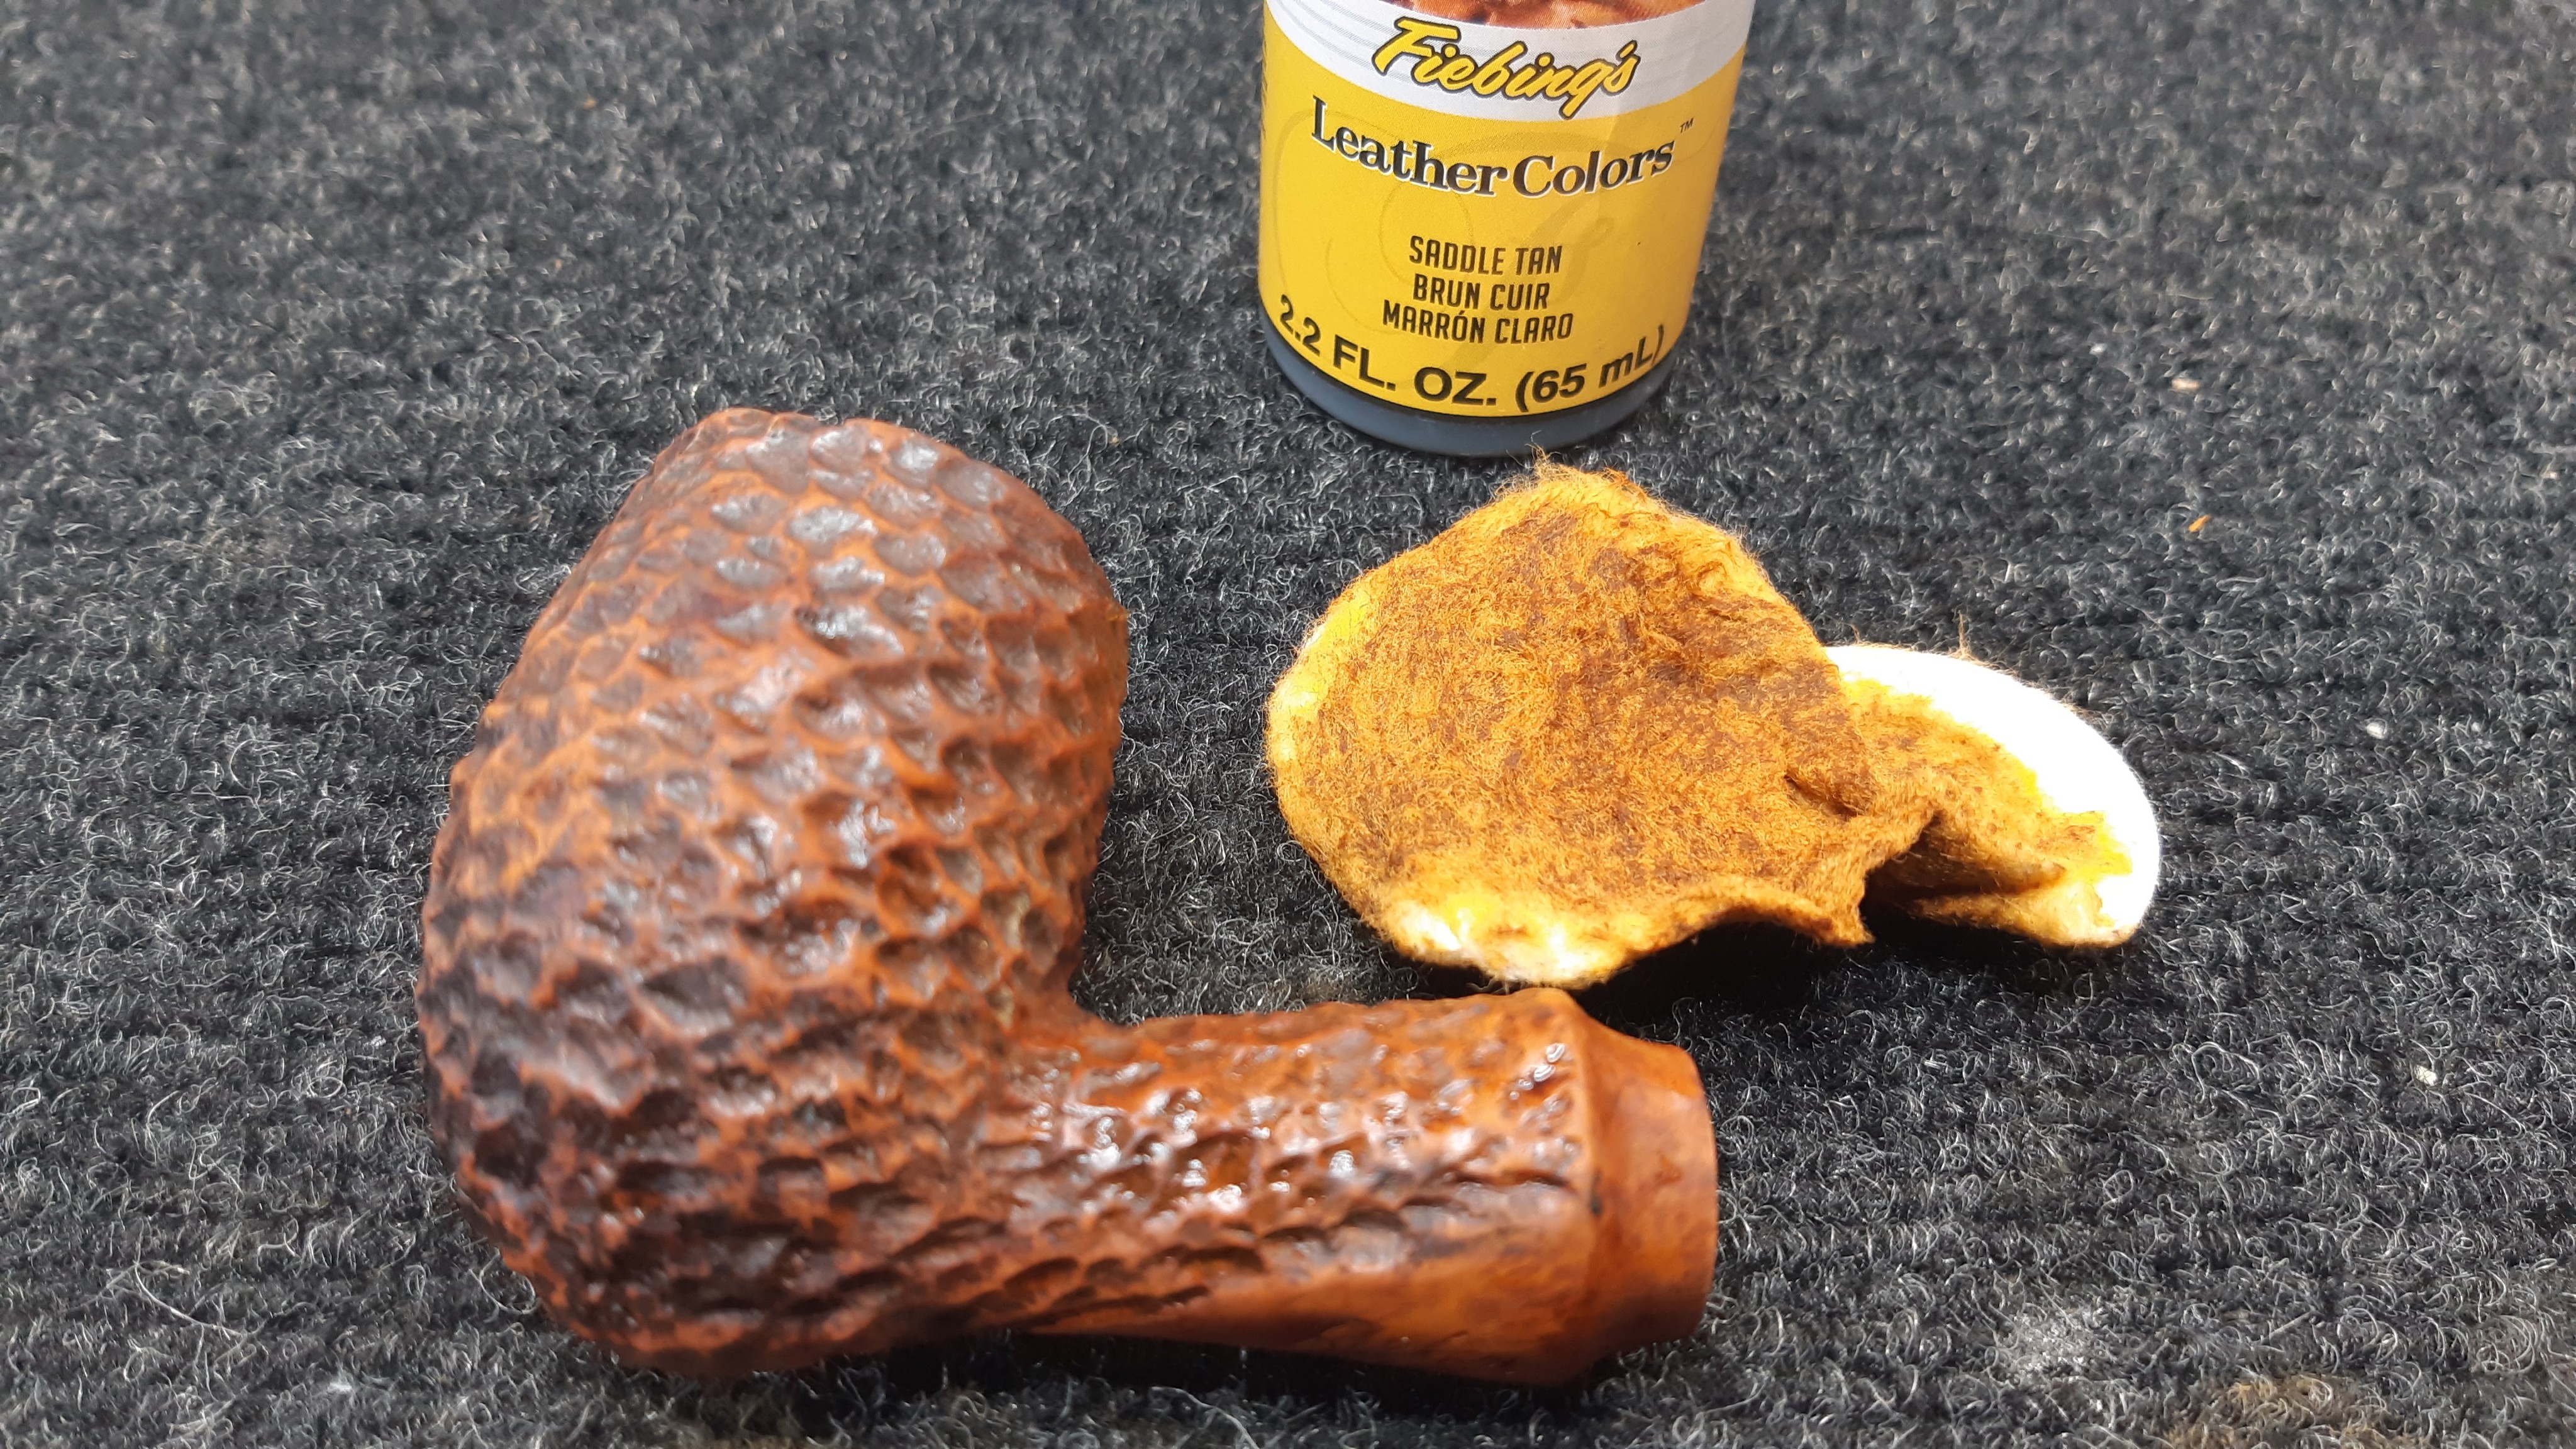
As I mentioned above, the original finish had worn off most of the stummel. I refreshed it by first staining the briar with a coat of Fiebing’s Saddle Tan leather dye followed by a coat of Black dye.
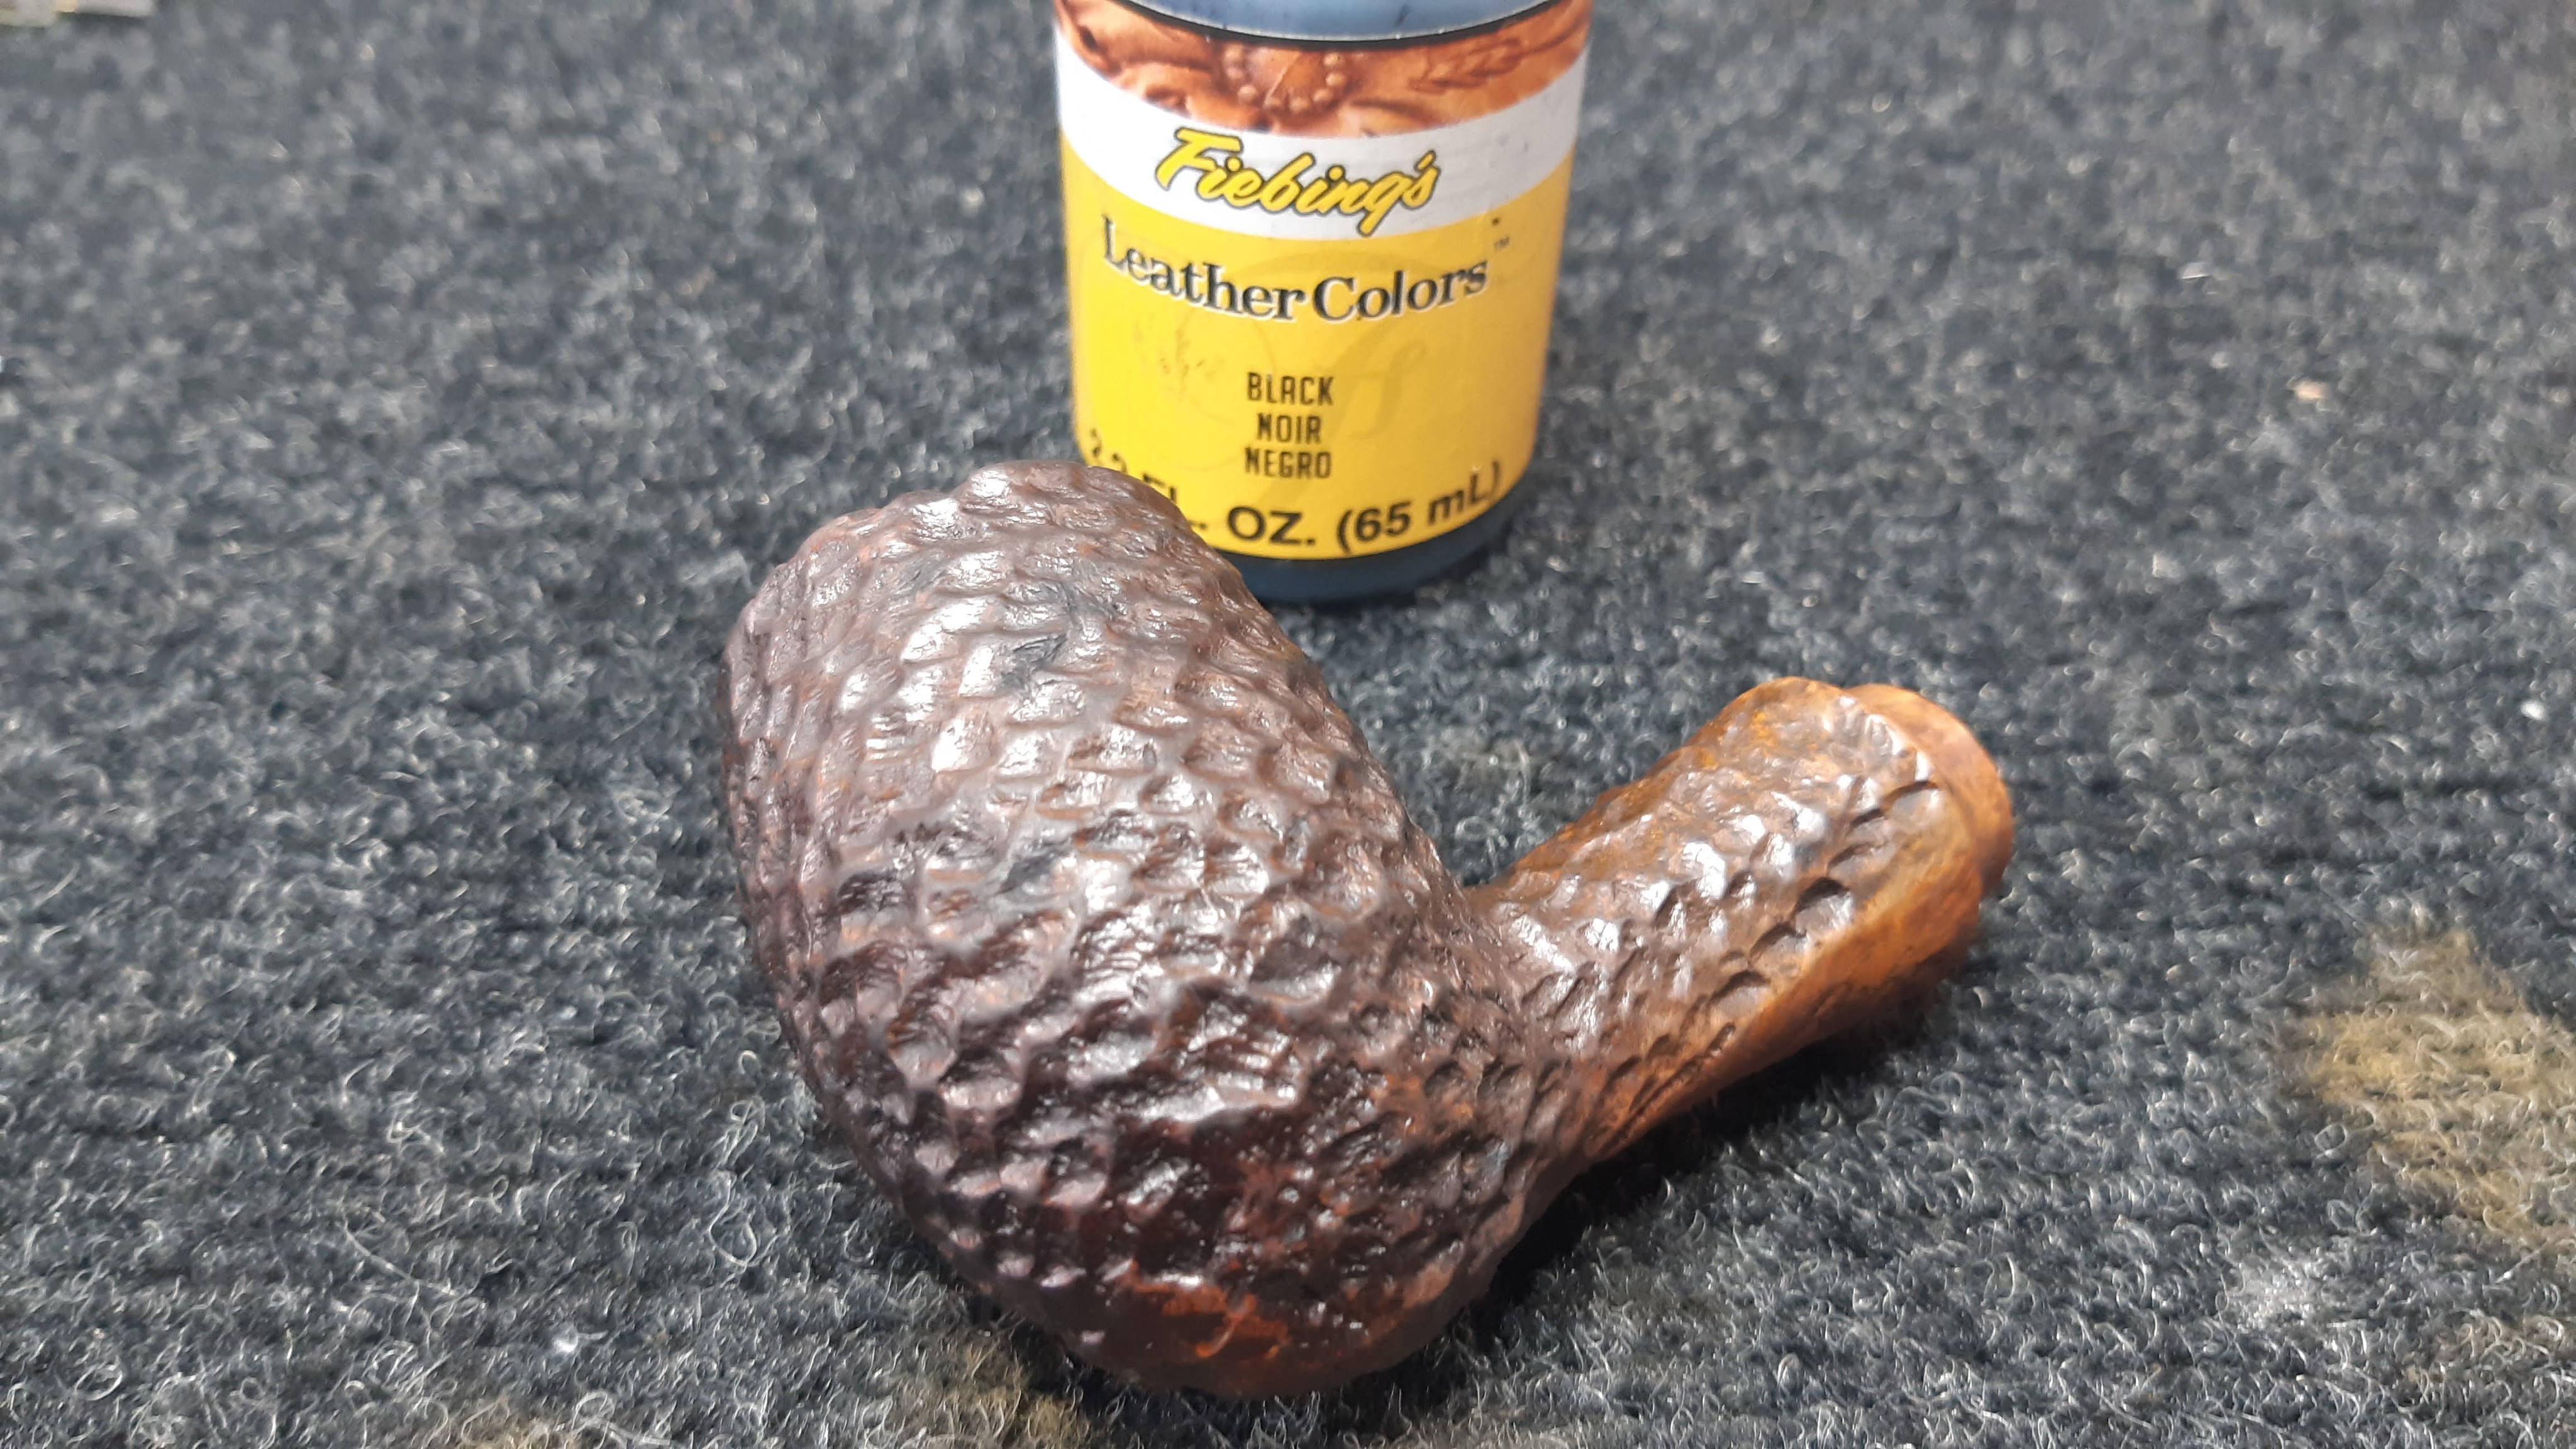
A quick scrub with Magic Eraser removed the black dye from the smooth areas of the shank, revealing the reddish stain below to produce a nice contrast.
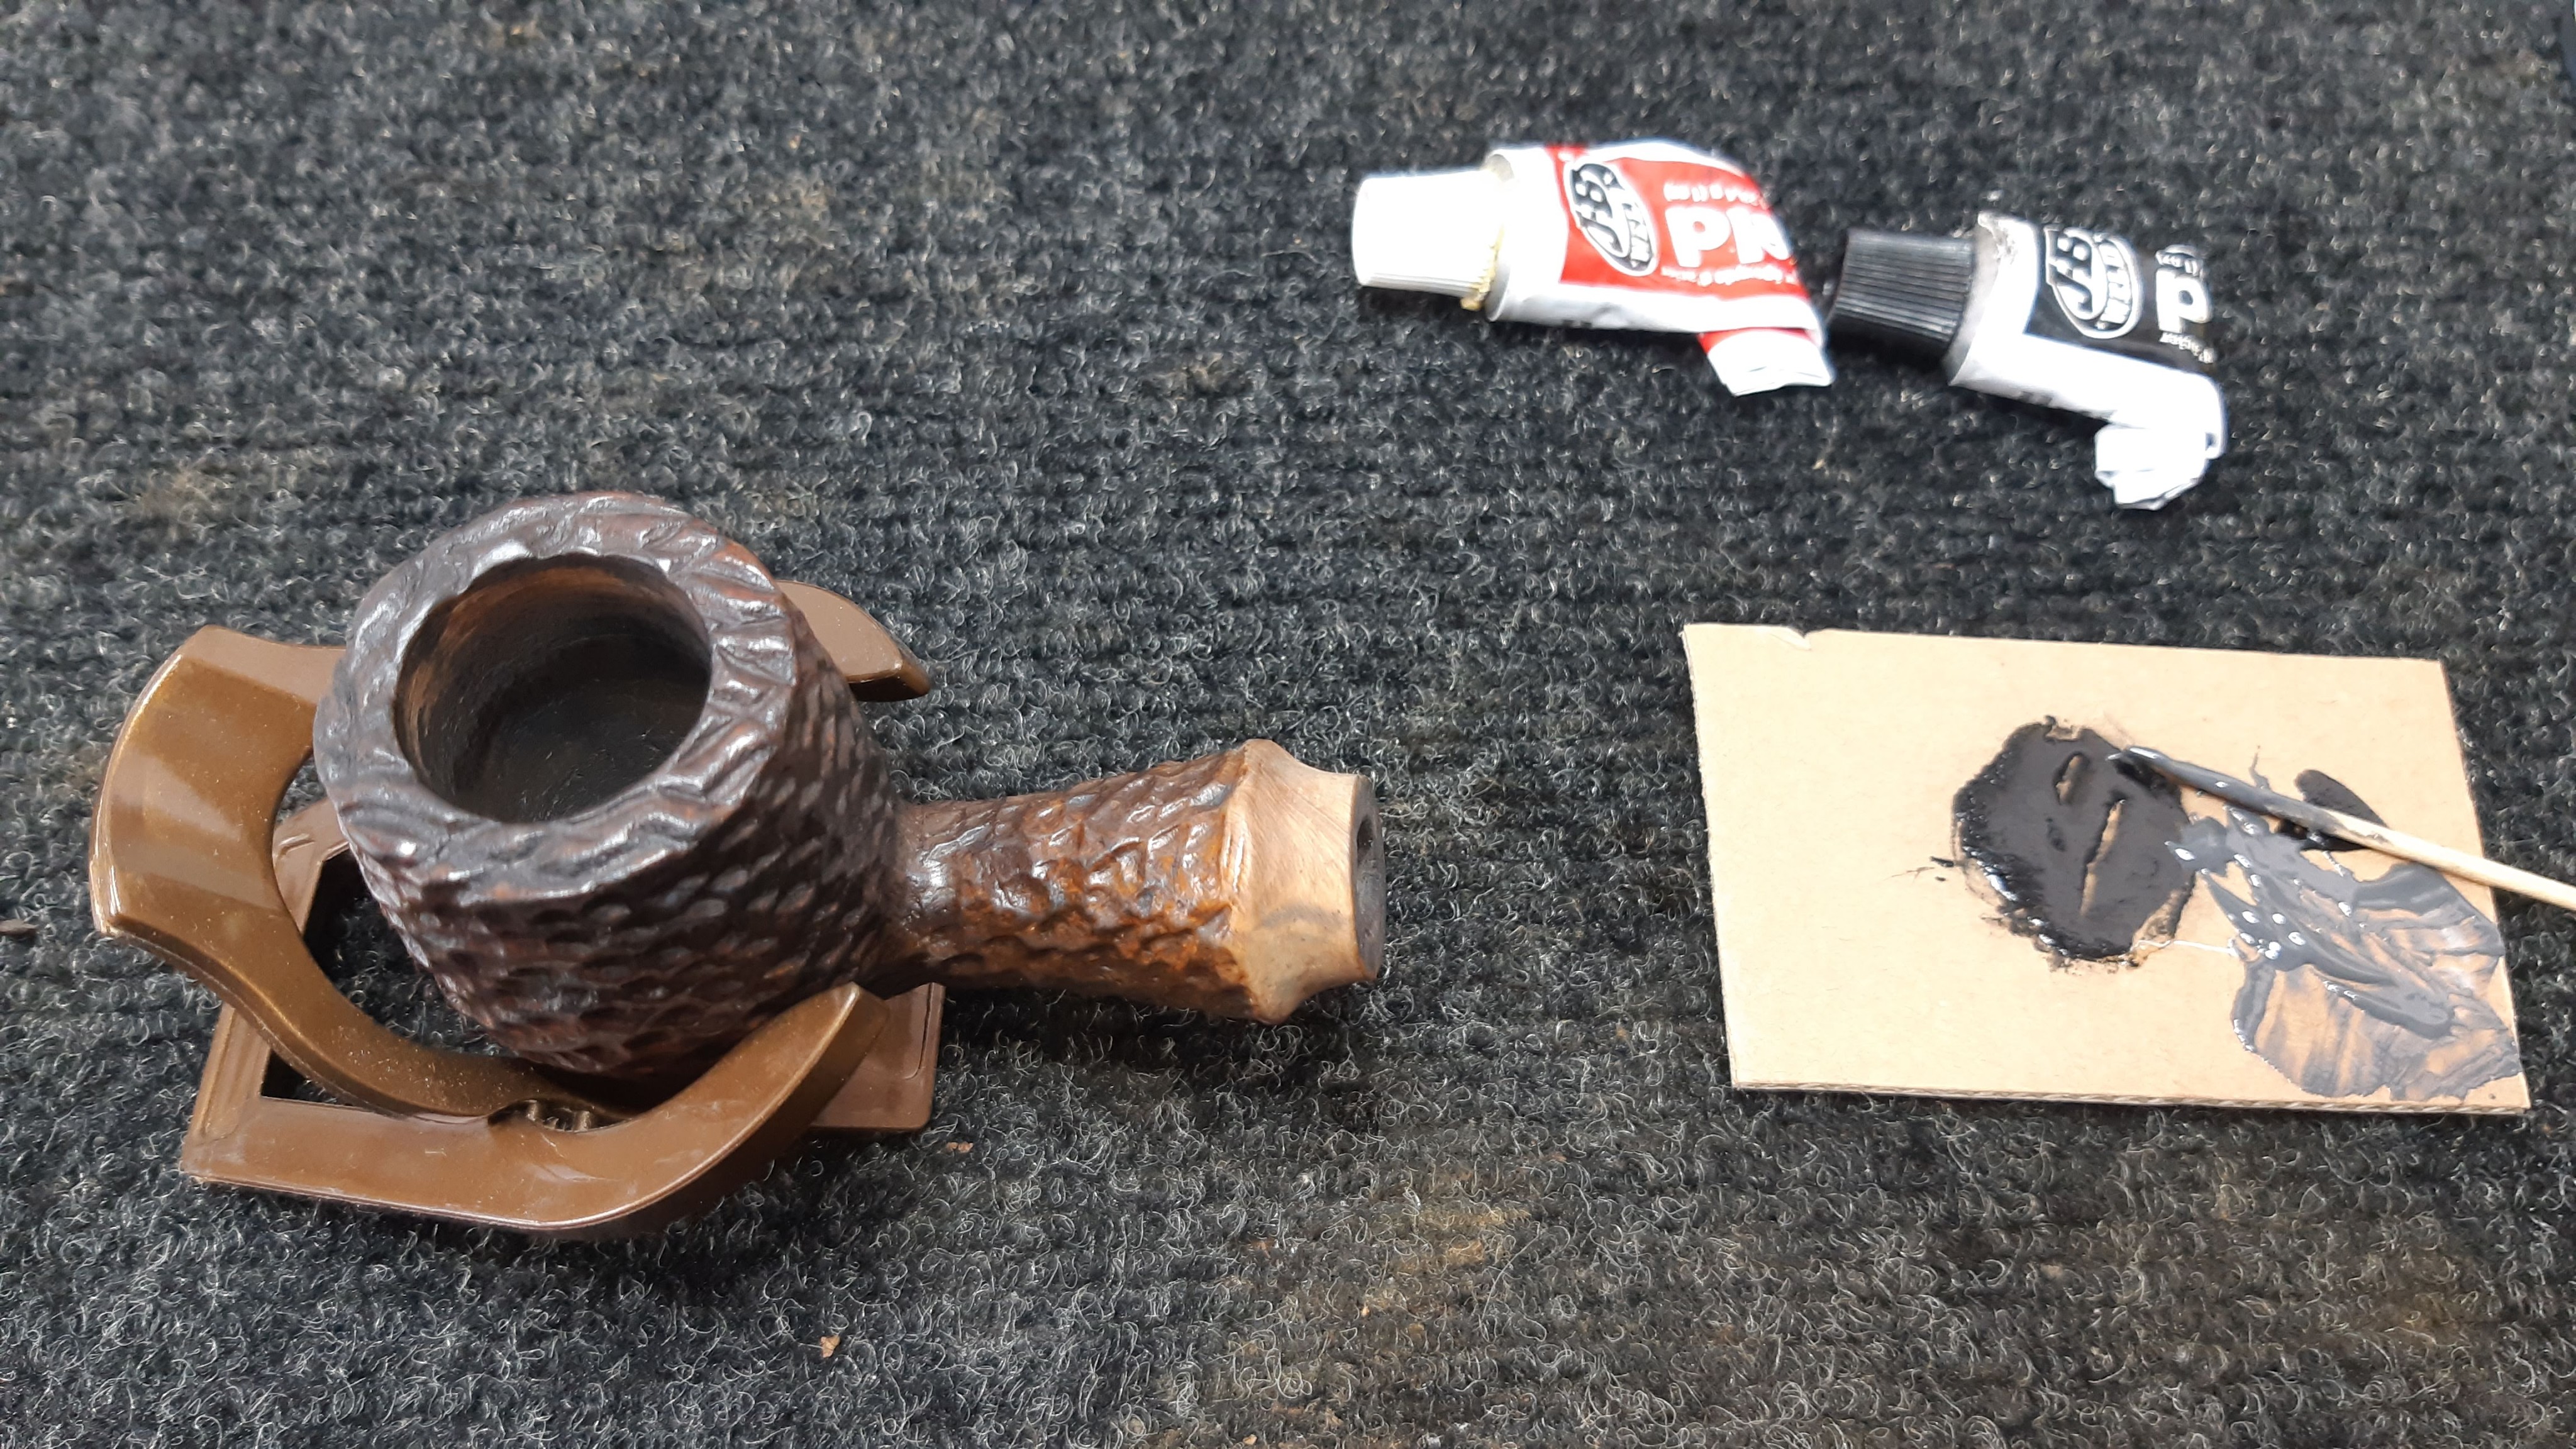
Before moving on to the stem, I sorted out the over-reamed chamber floor by dropping a bit of Original JB Weld into the dimple at the bottom of the chamber. A bowl coating will eventually cover the repair, but it works just fine without one too.
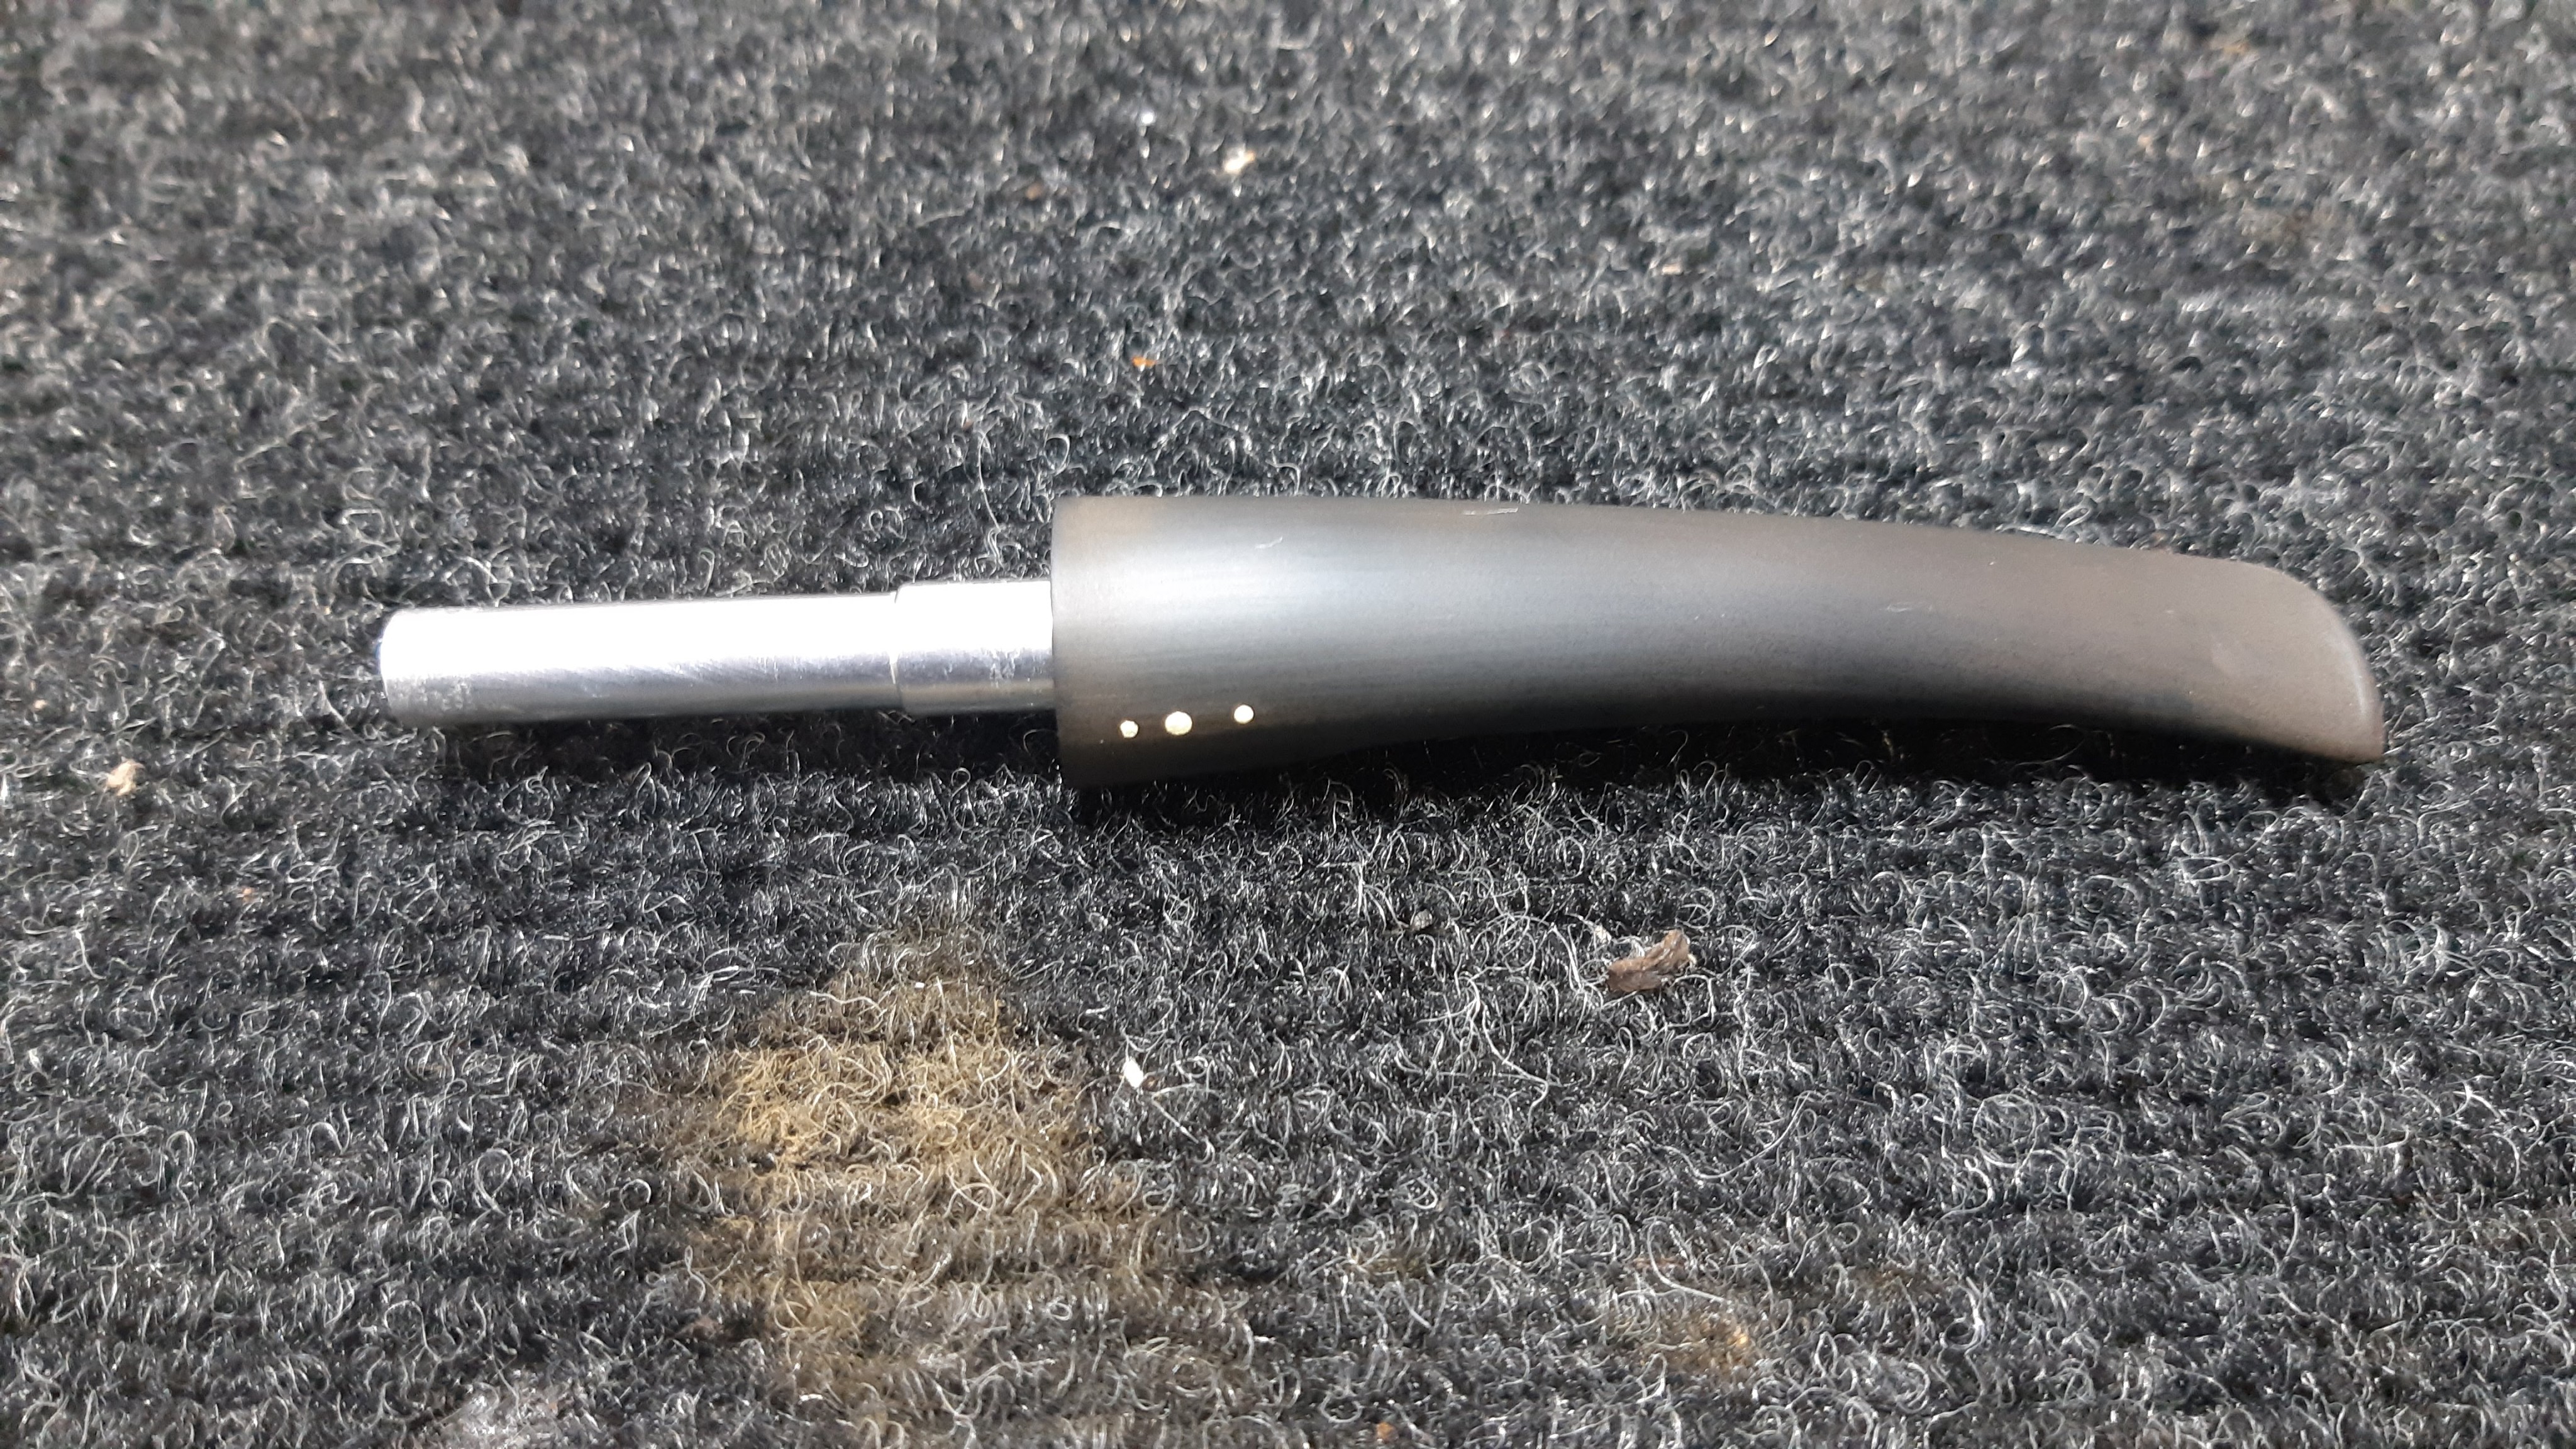
With the stummel now ready for final buffing and polishing, I set it aside and retrieved the stem from its Oxyclean bath. I scrubbed it with 0000 steel wool and Magic Eraser, which removed the worst of the oxidation. There was still some work to do to remove the remnants, as this pic shows.
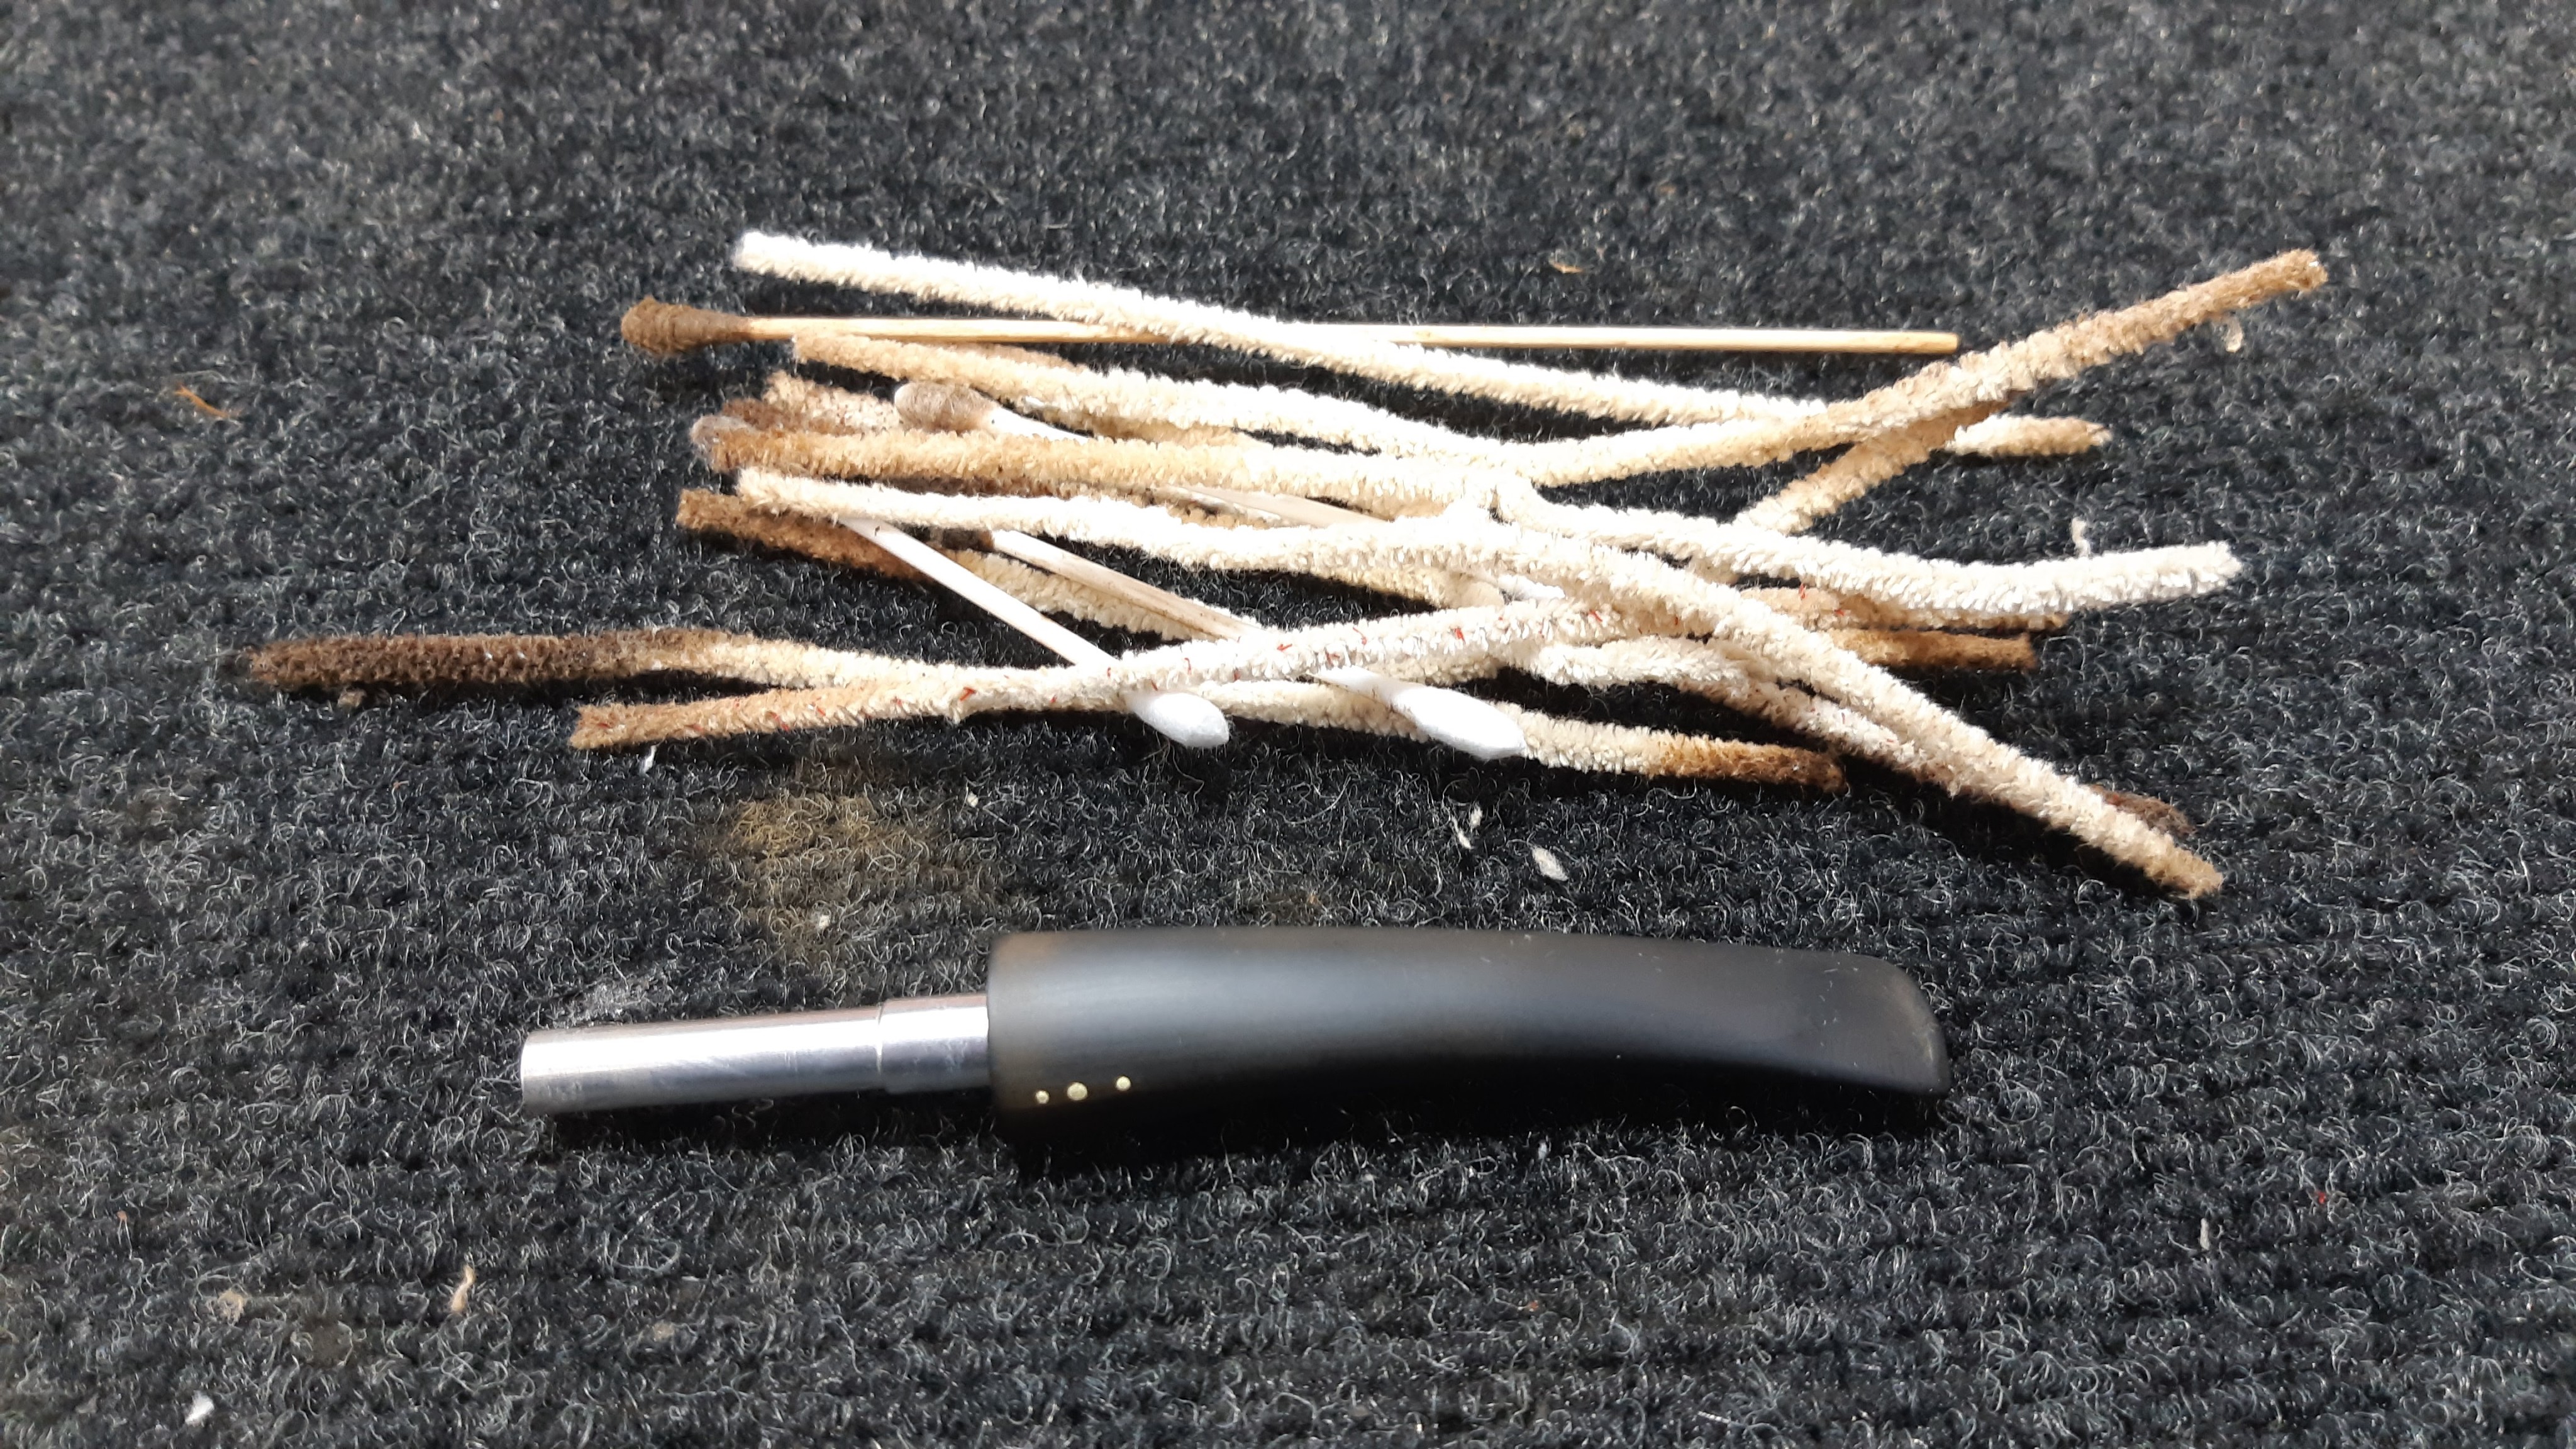
The Oxyclean bath had dissolved a lot of the tars and gunk lurking in the stem, but the twin-bore mouthpiece stubbornly held on to a pocket of muck. It took a fair pile of pipe cleaners, cotton swabs and alcohol to get the internals clean.
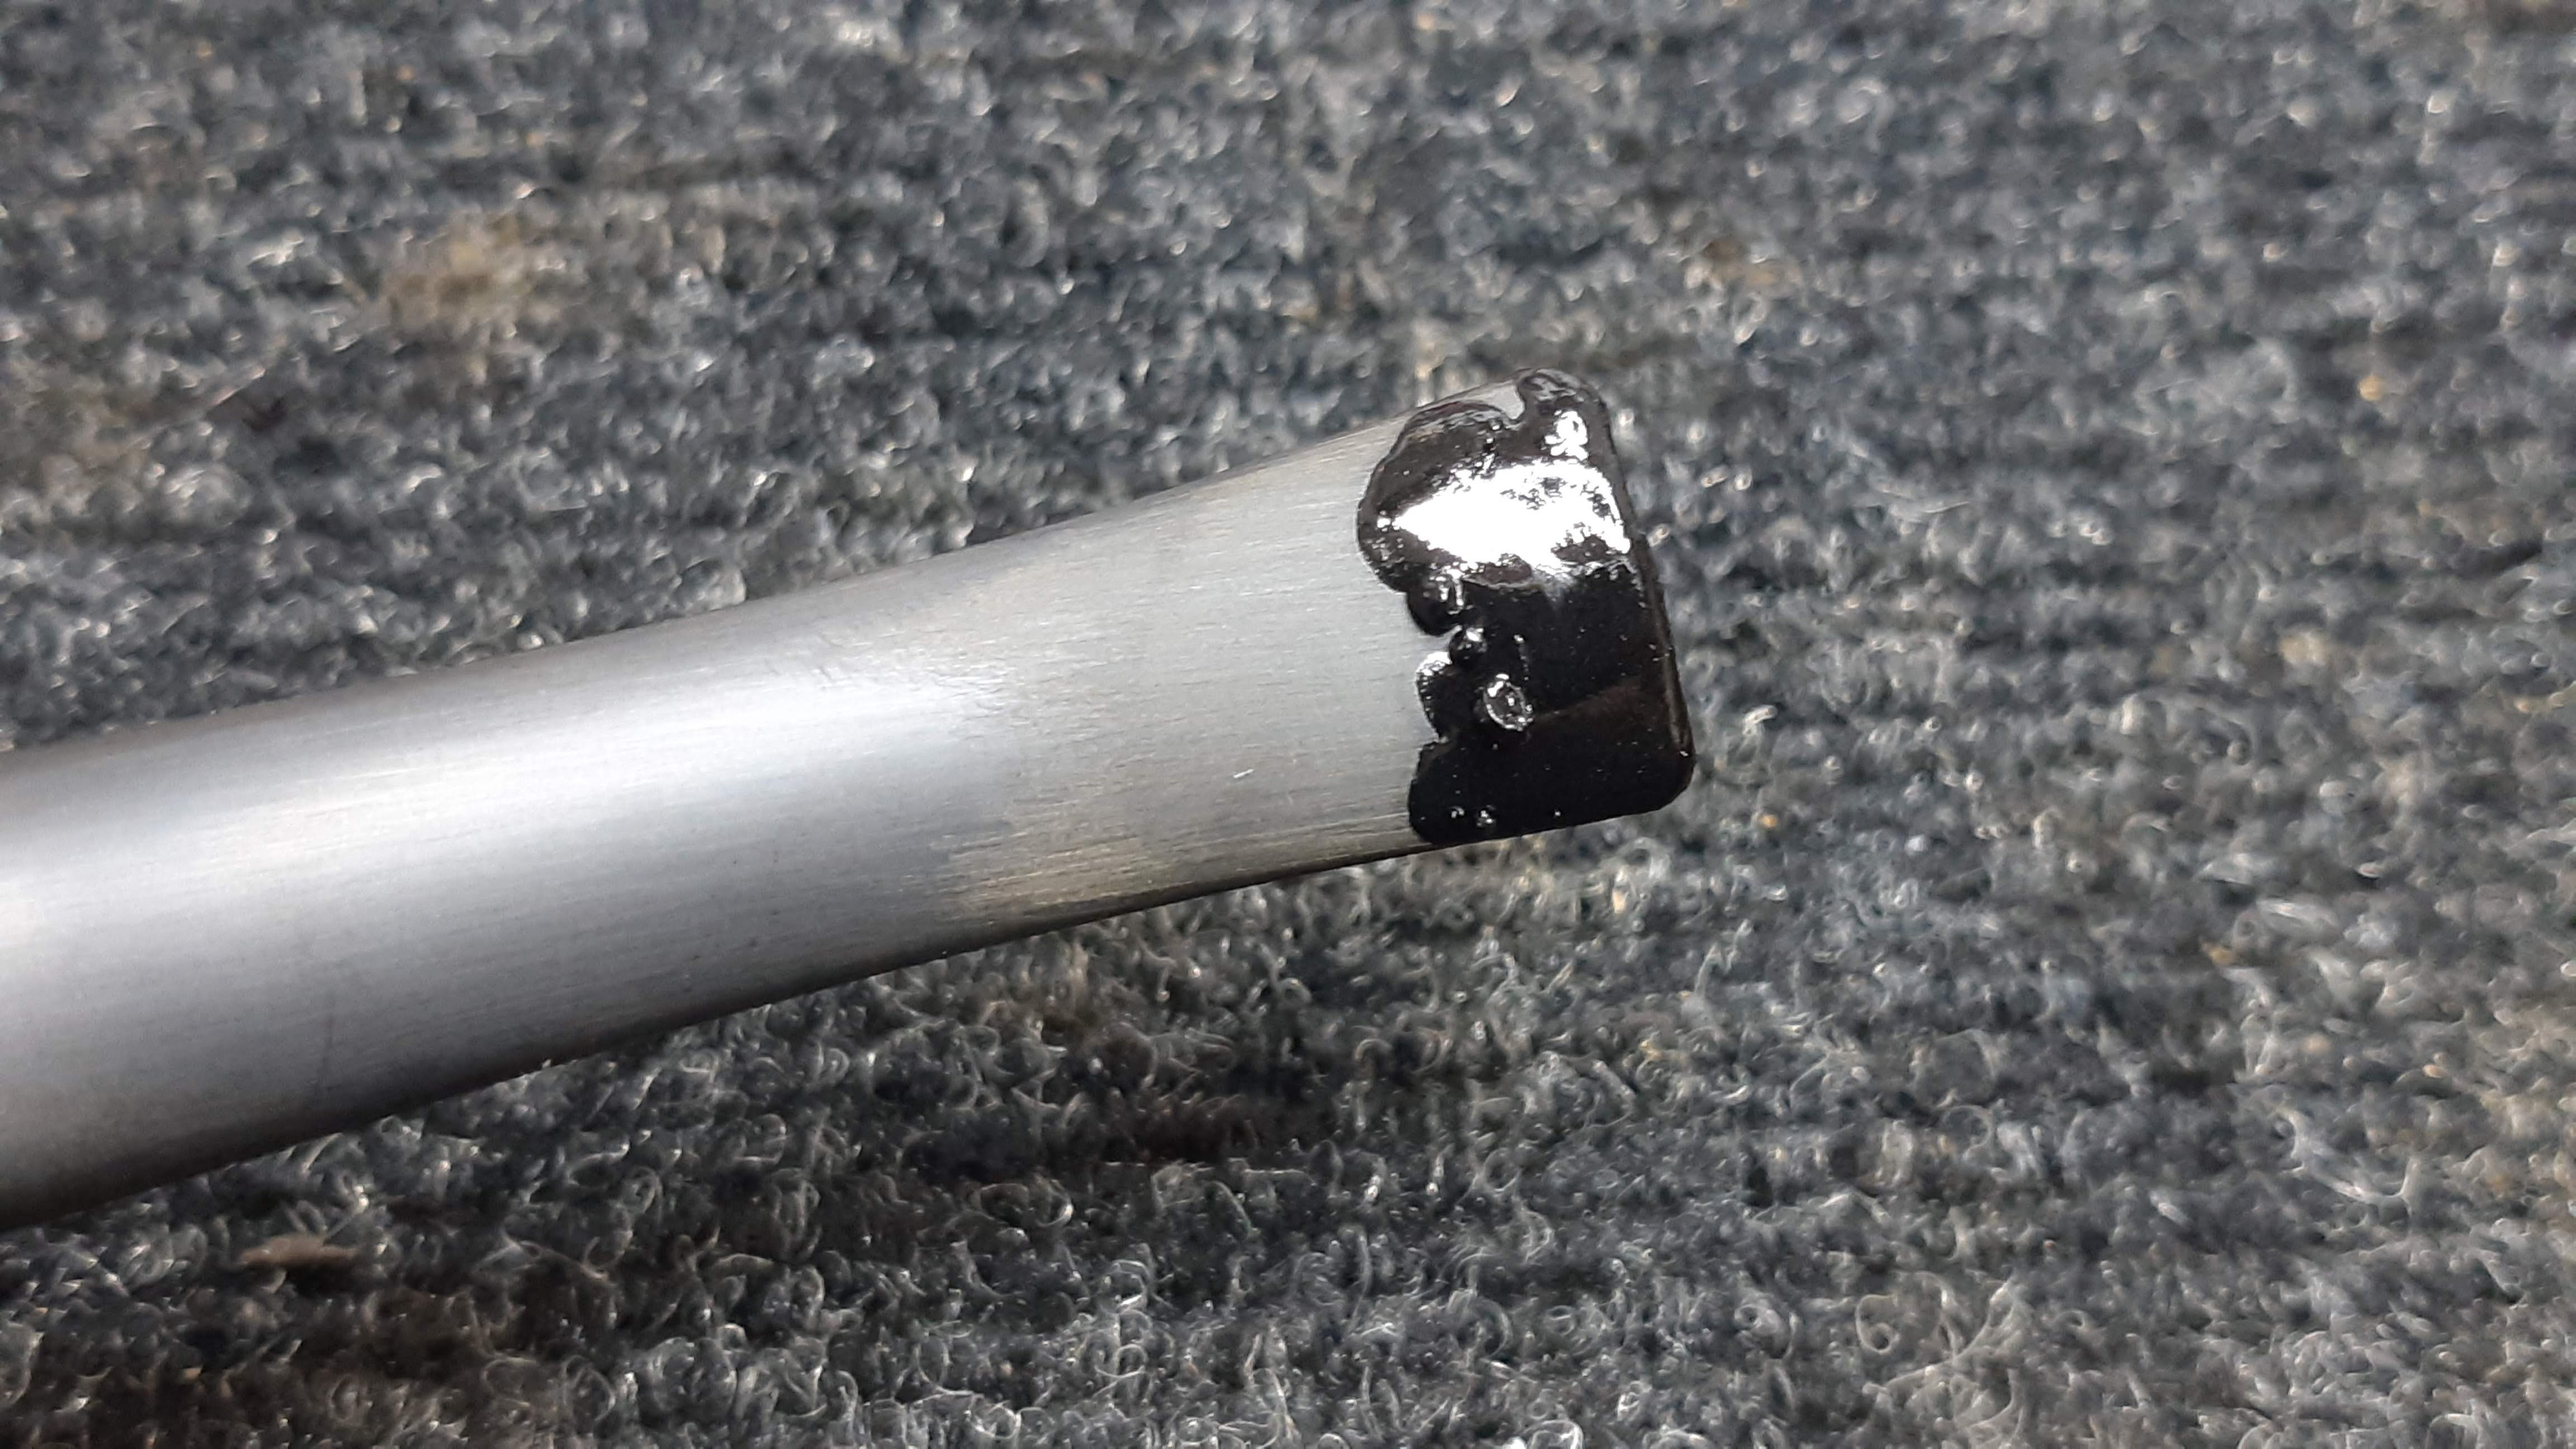
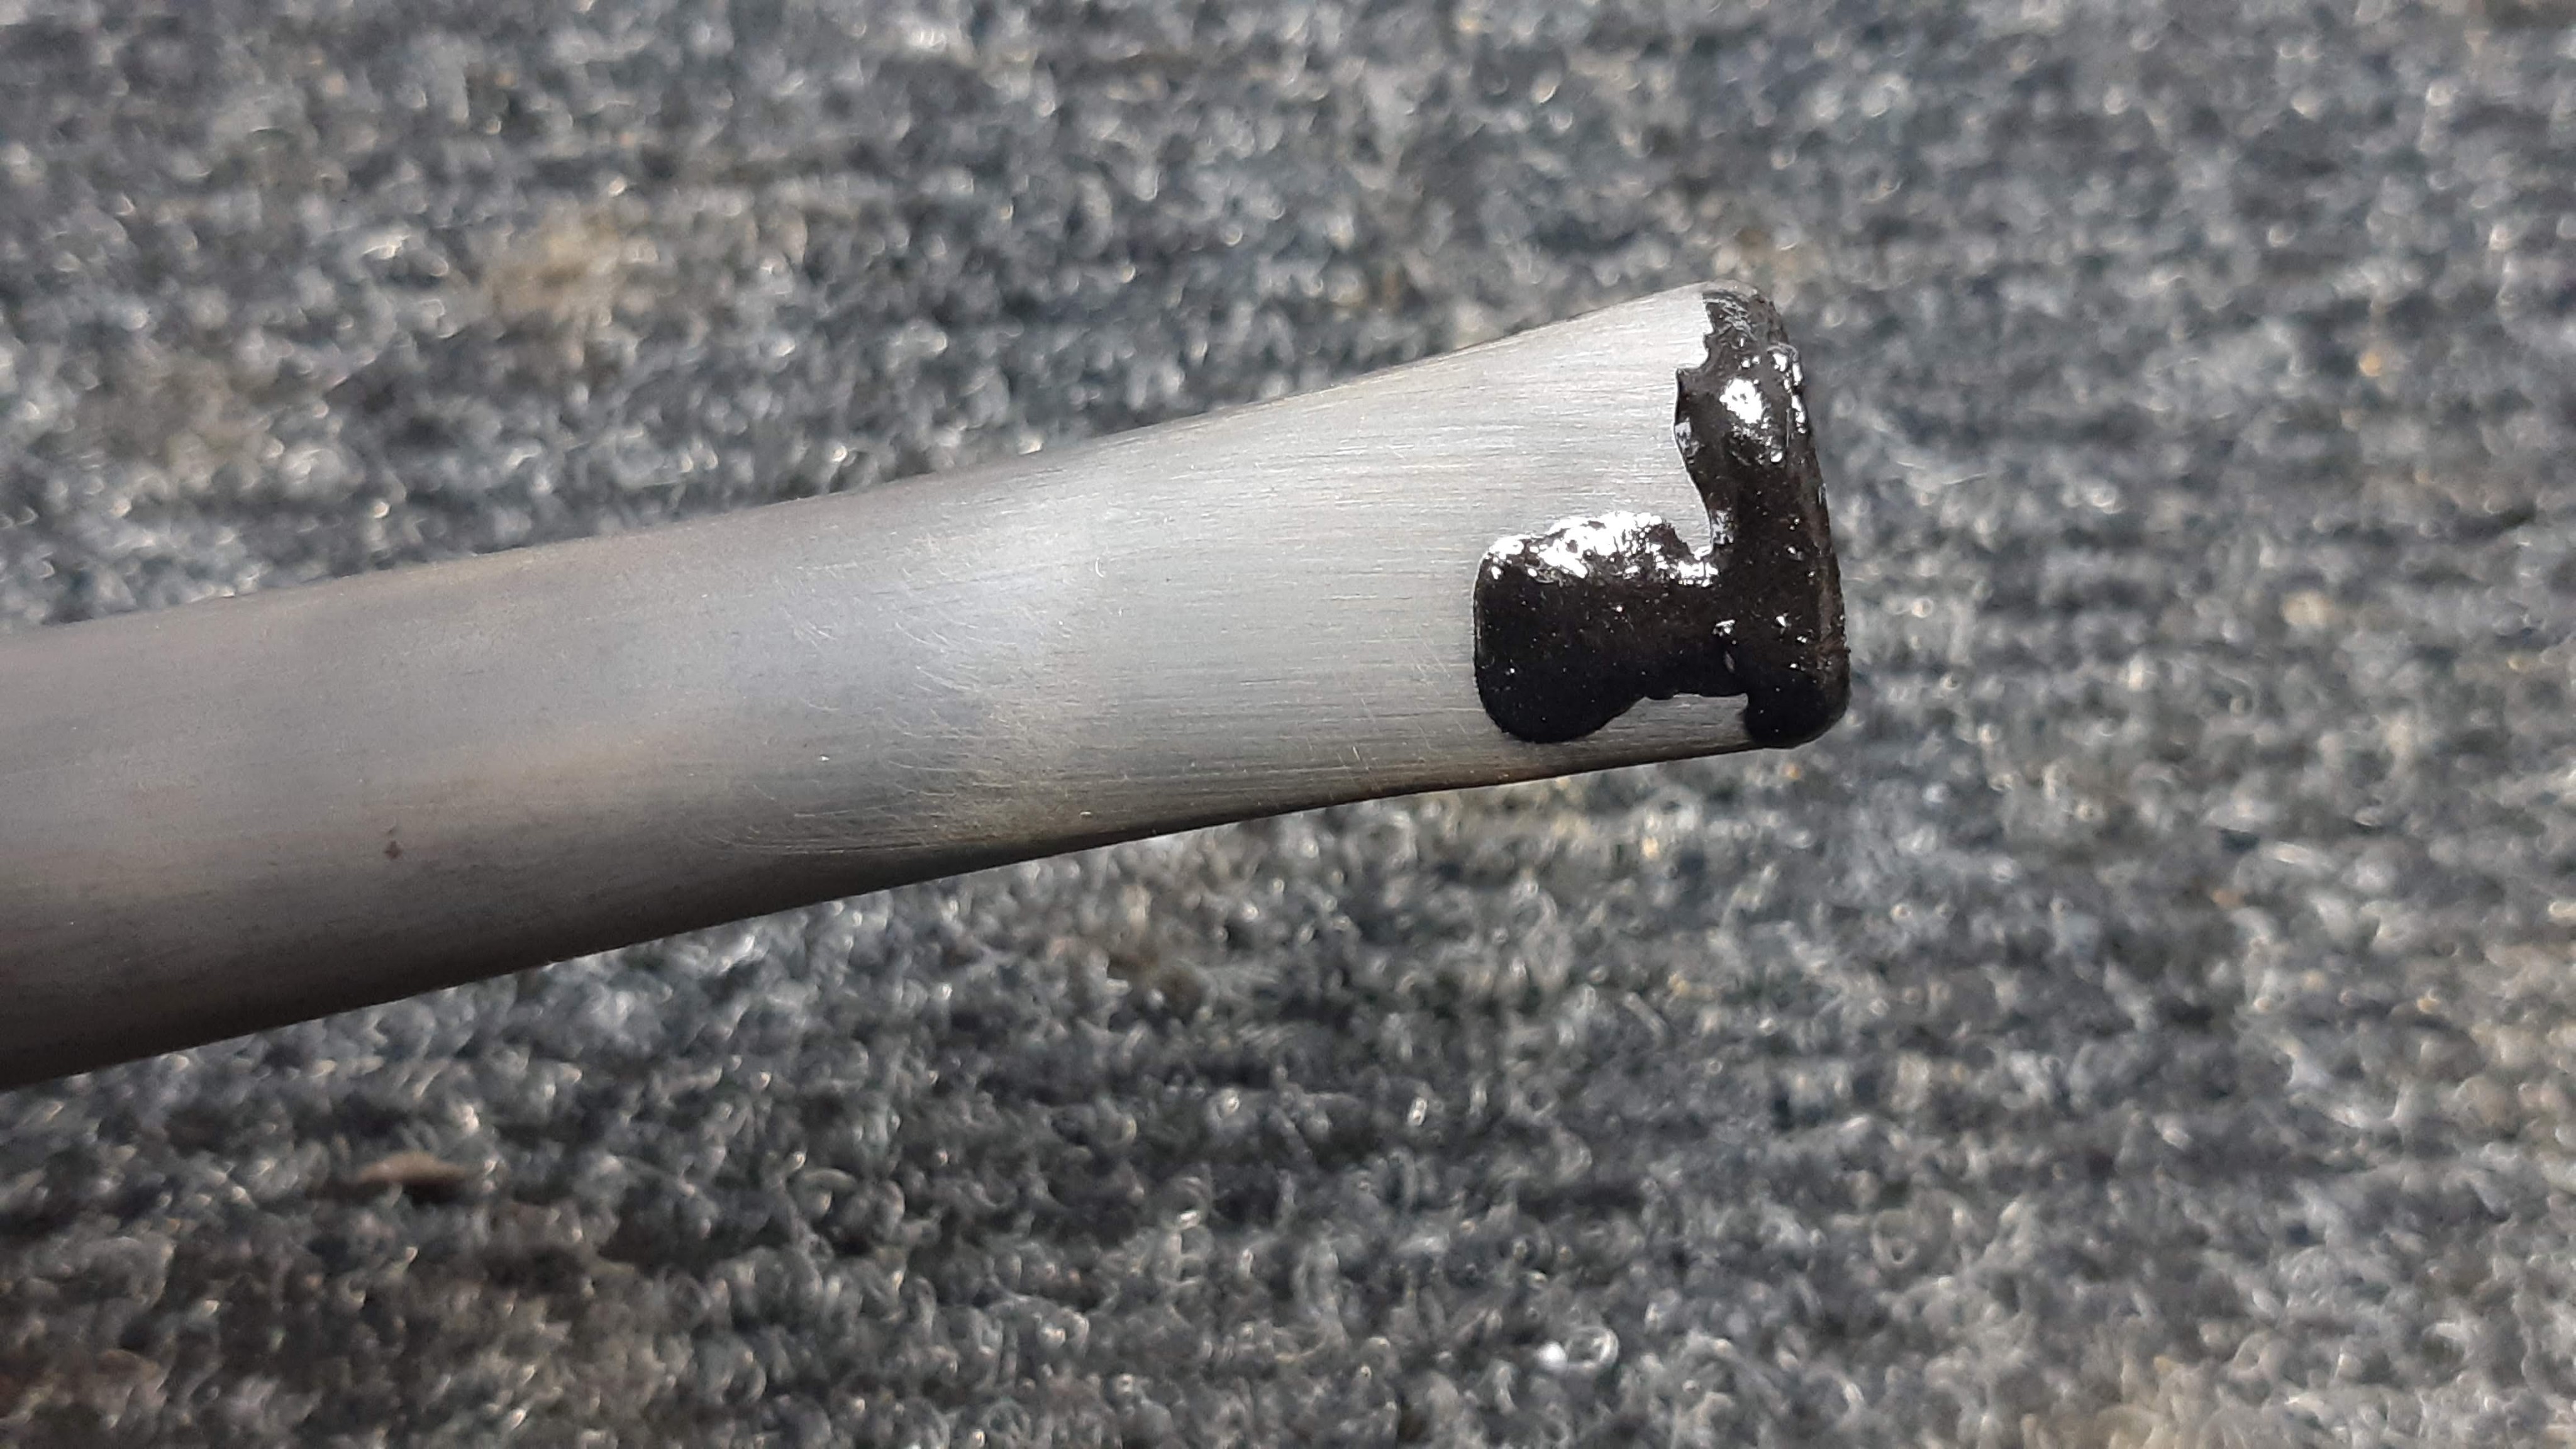
Apart from the oxidation, the stem had a couple of deep tooth dents to contend with. I attempted to raise them with heat, but, as is sometimes the case, to no avail.

To fill the dents, and build up the button at the same time, I mixed up a patching blend of thick CA glue and charcoal powder which I applied to both sides of the bit.
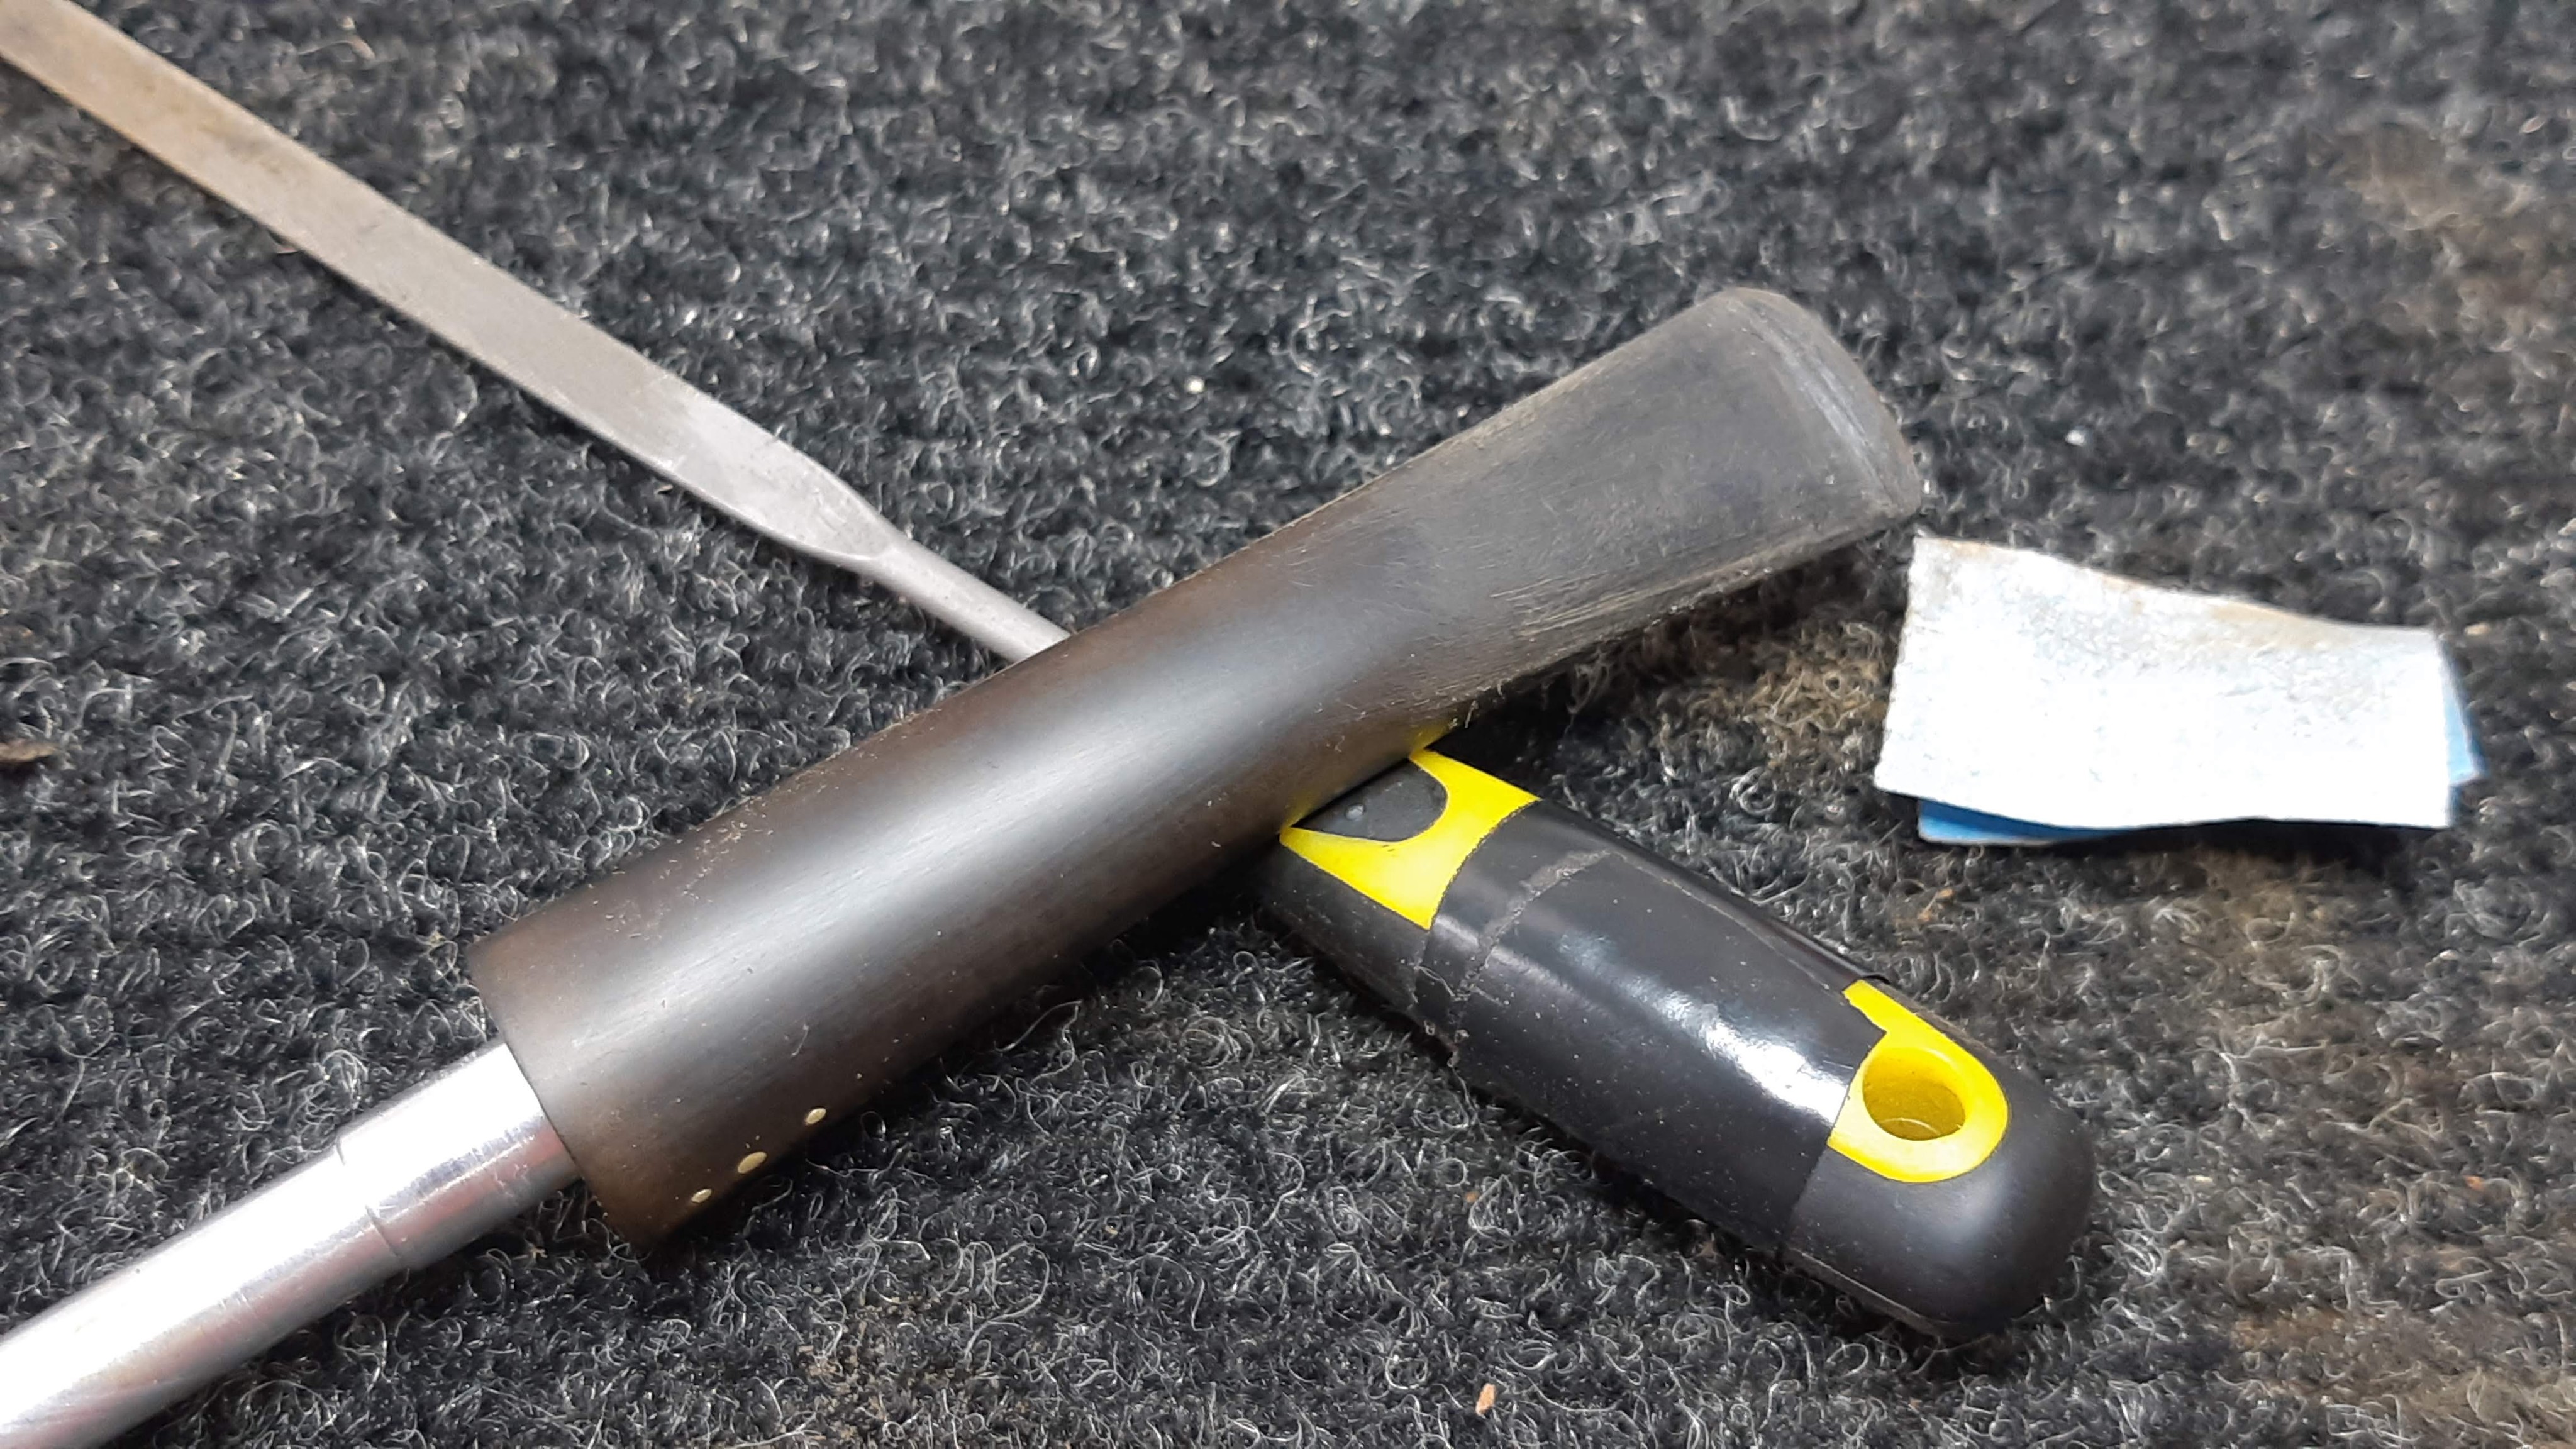
After the patch had cured completely, I used needle files and sandpaper to cut the new button profile and smooth out the patches.

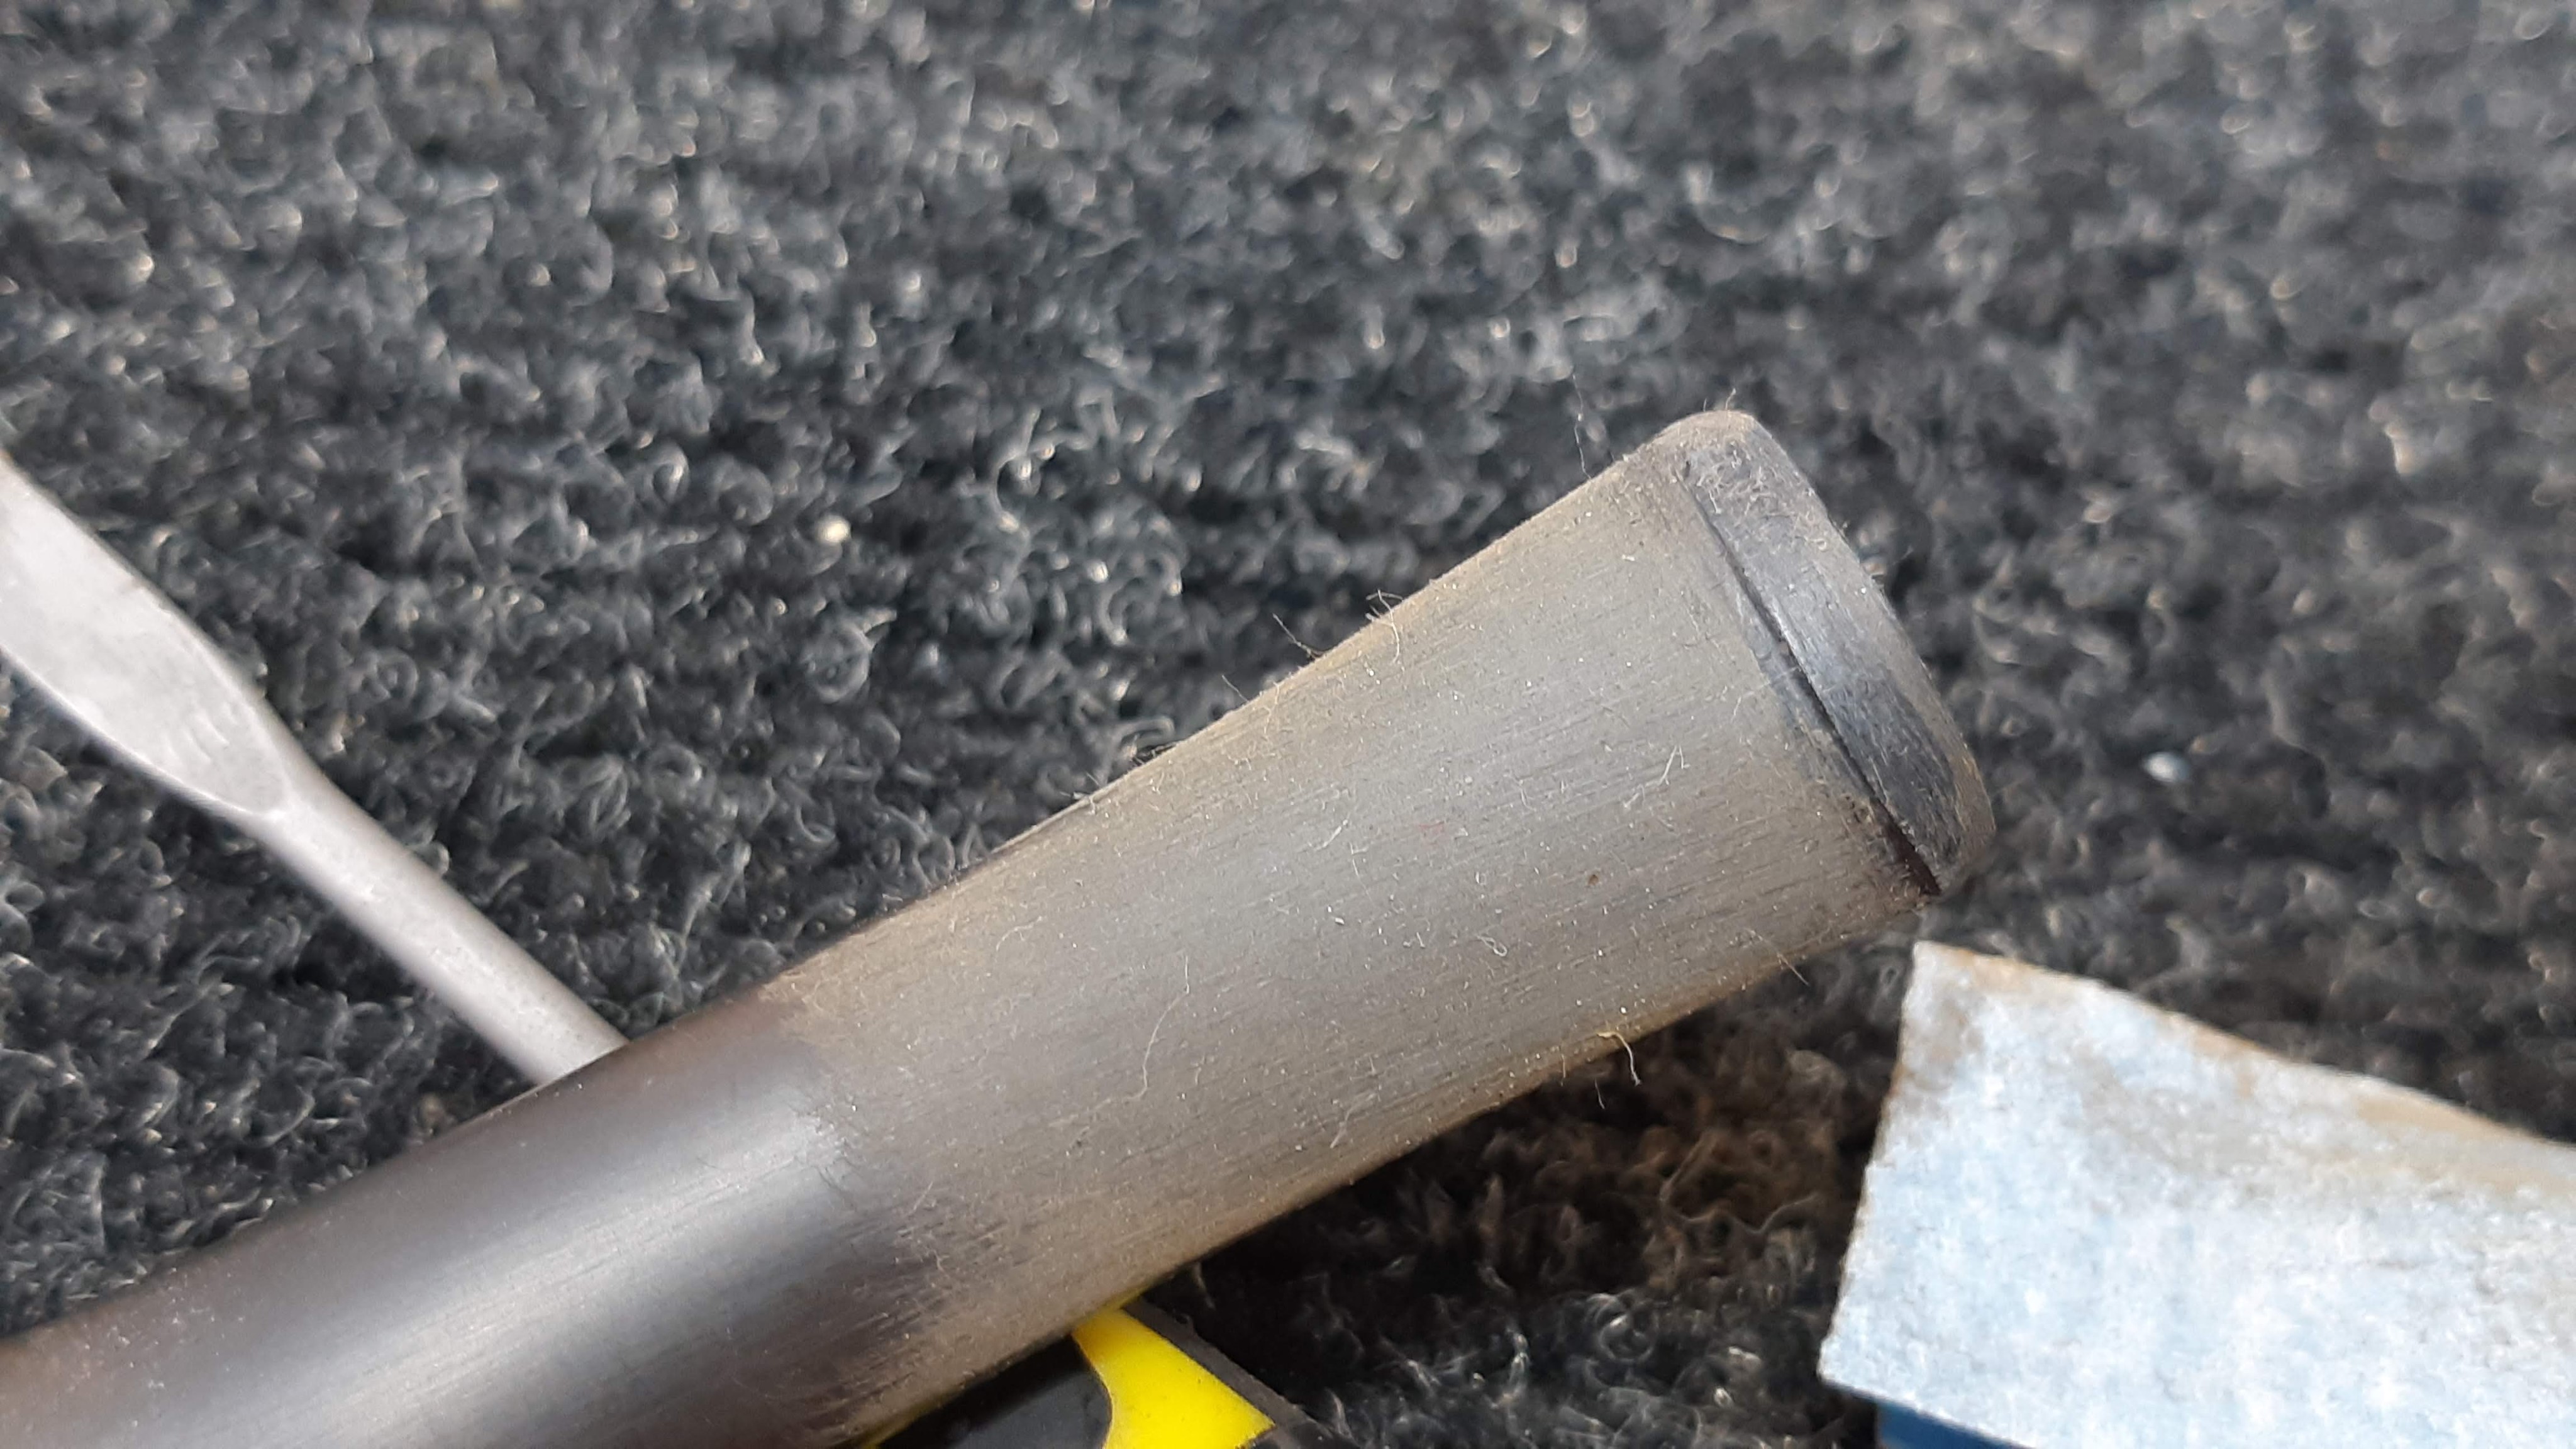
It took a fair but more fiddling to get the stem ready for buffing – the CA and charcoal mixture tends to leave tiny bubbles behind as it cures. These need to be filled with thin CA glue and sanded smooth to achieve a good finish.


When I was happy with the new button, I wet-sanded the entire stem to 2000-grit, then took the completed pipe to the buffer for a run on the Red Tripoli and White Diamond wheels followed by several light coats of Carnauba wax, taking care not to pack excess wax into the rustication on the stummel.
Last but not least, I applied a bowl coating of maple syrup and charcoal powder to dress off the repaired bowl and provide a base layer on which to grow new cake.

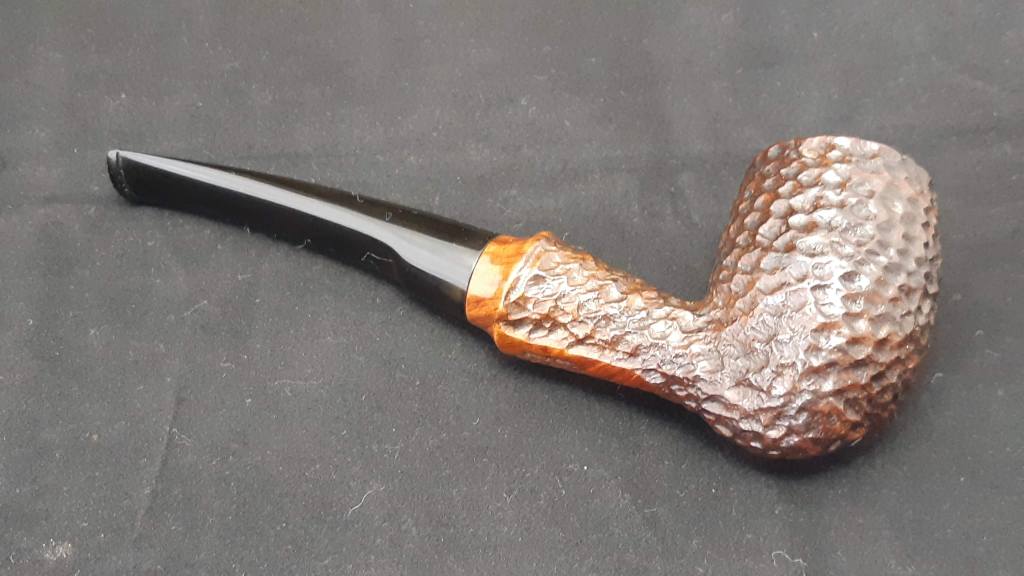
The finished pipe is looking much better after its time on the worktable. The rejuvenated briar and lustrous Vulcanite reflect this Norseman’s position in the Brigham hierarchy of its time. This Norseman Egg will take its place among its brothers in my personal collection.
Thanks for joining me for this restoration. I hope you enjoyed following along, Until next time, Happy Piping!
Here’s the finished pipe.