Like many other pipe makers, Brigham started its lineup with the most popular pipe shapes. Shapes 01 through 04 in the Brigham Shape Chart are Billiards, from small to large, and the next three shapes, 05, 06 & 07 are Dublins. This pipe on the worktable today is the smallest Dublin offered in the classic lineup, the 05 shape.
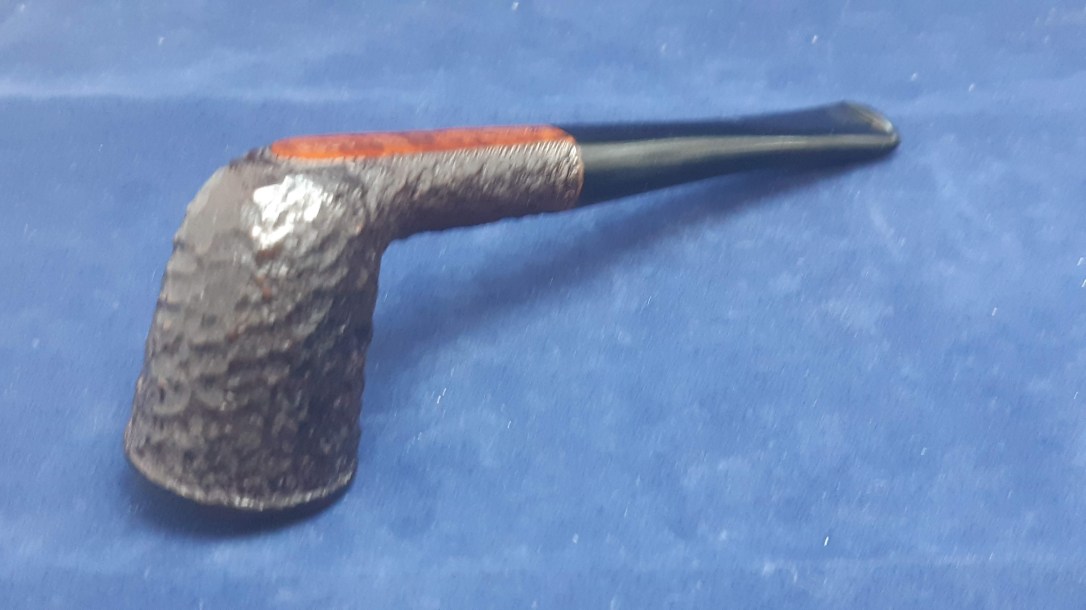
These pics show the state of the pipe before I began work. It was actually in very good estate condition, and very lightly smoked. The stem was oxidized but was free from most of the usual tooth chatter and dents often encountered with vintage briars. The stummel, likewise, had a haze of residue on the smooth rim and a layer of dirt and grease on the exterior of the briar but was otherwise free from damage.


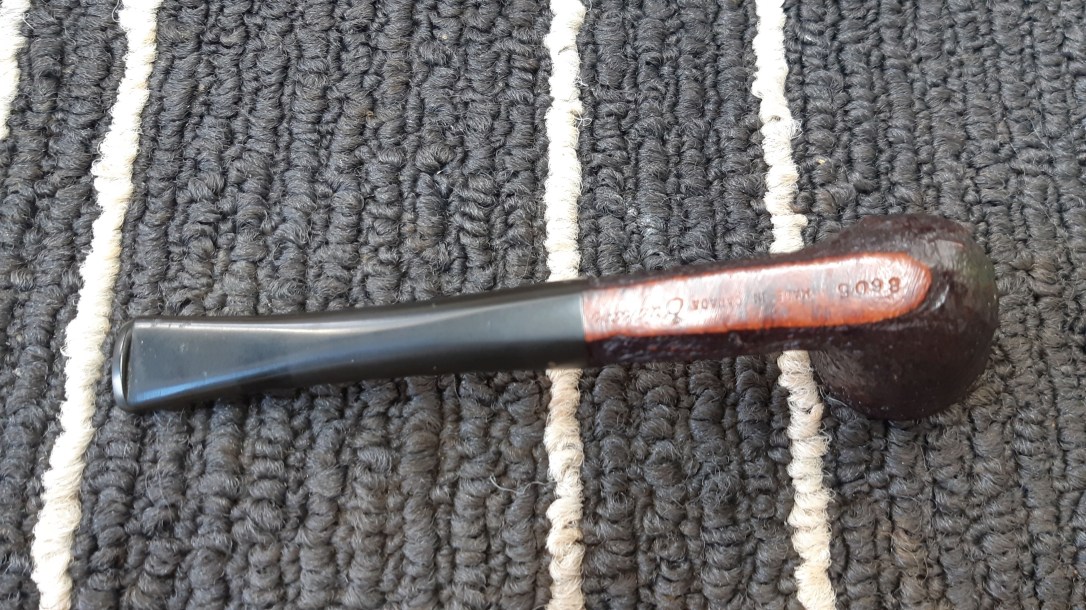


The flat underside of the shank is stamped “8605” then “MADE IN CANADA” in block letters followed by “Brigham” in thin script. The stem is inset with three vertical brass pins or Dots. Curiously, the stem also appeared to have a single Dot inset on top of the stem.

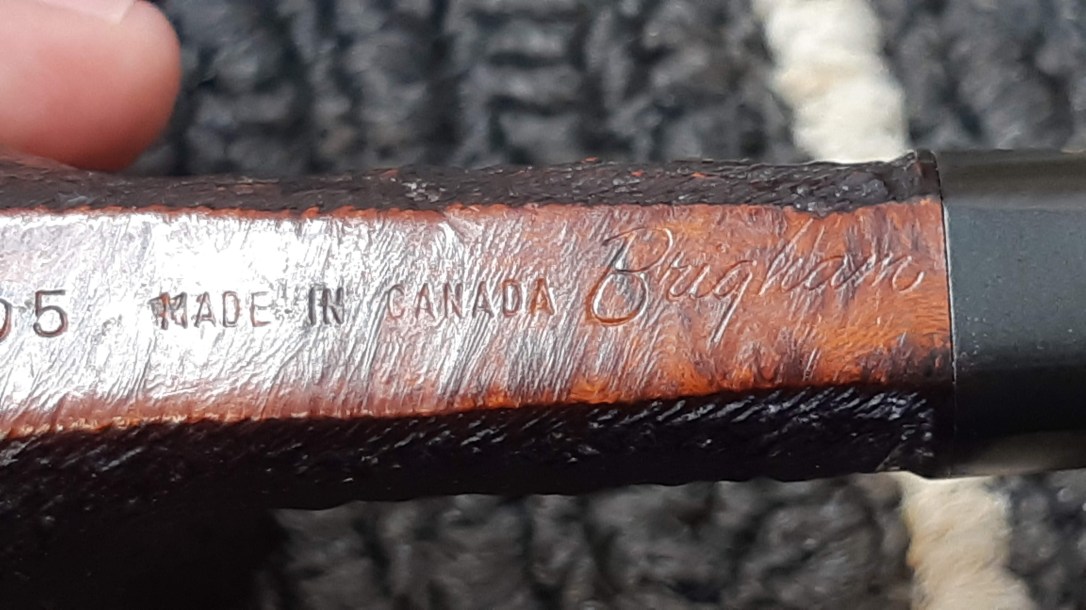


Regarding the 4-digit shape number, “8605”, despite the clarity of the stamps, I can only conclude that the “8” was added to the front of the shape code either in error or for some as yet unknown reason. There were never any 8-Dot pipes made, and everything else about the markings clearly indicates a Post-Patent Era (1955-69) Brigham Executive grade Small Dublin.
This pipe is an example one of the confusing entries in the original Brigham grading scheme used until 1980. Despite the 600-series shape number, the Brigham Executive actually fits between the Brigham Exclusive (3 Dots in a triangle pattern) and Brigham Director (4 Dots in a diamond pattern) grades, and so is sort of a “3-Dot Plus”. (The other oft-confused grade is the Brigham VIP grade, pinned with three horizontal Dots, which falls between the Director (4-Dot) and Special Grain (5-Dot) grades in the old scheme.)
I took this next pair of pics to show the pipe’s dimensions. Overall, the pipe measures just about 5-1/2 inches long by about 1-1/4 inches wide. The bore measures 5/8″ in diameter, and this, I will suggest, is the number to look at when discussing the relative size of vintage Brigham pipes.
While the length of this 605 is about average for a briar, the chamber dimensions are definitely on the small side. A Shape 06 Medium Dublin will be close to the same length, perhaps stretching towards the 6 inch mark, with a chamber diameter of about 3/4 inches; a Shape 07 Large Dublin will be slightly longer than the 06, with again a slightly larger chamber bore of approximately 7/8 inches.


OK, I think I’ve digressed far enough for one post. Let’s get on with the refurbishment!
Since the pipe was so gently used, I could get away with cleaning the haze off the smooth rim surface with a few cotton swabs and good old fashioned saliva.

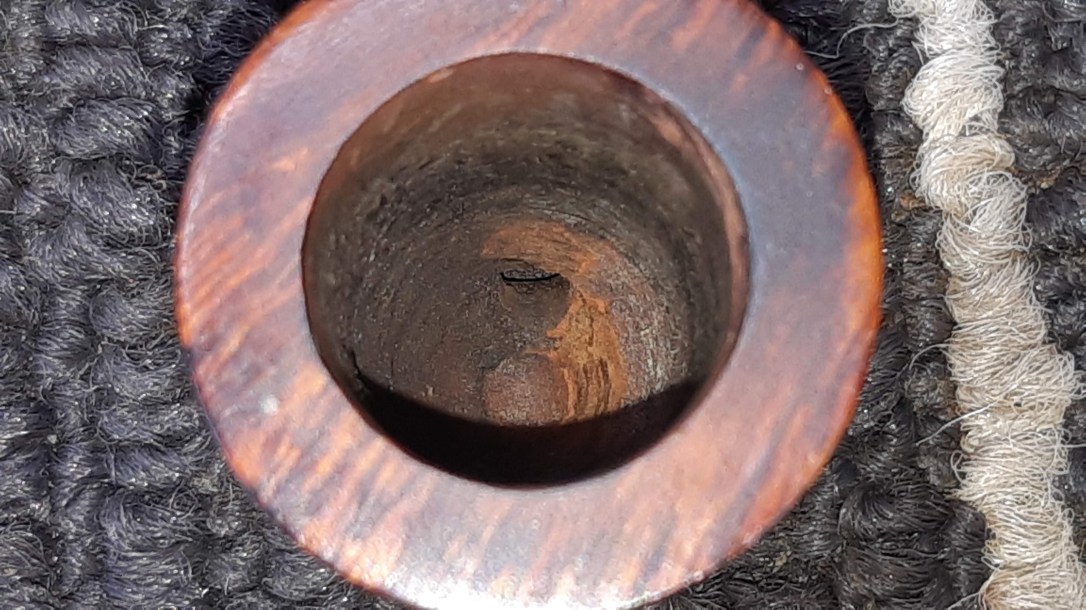
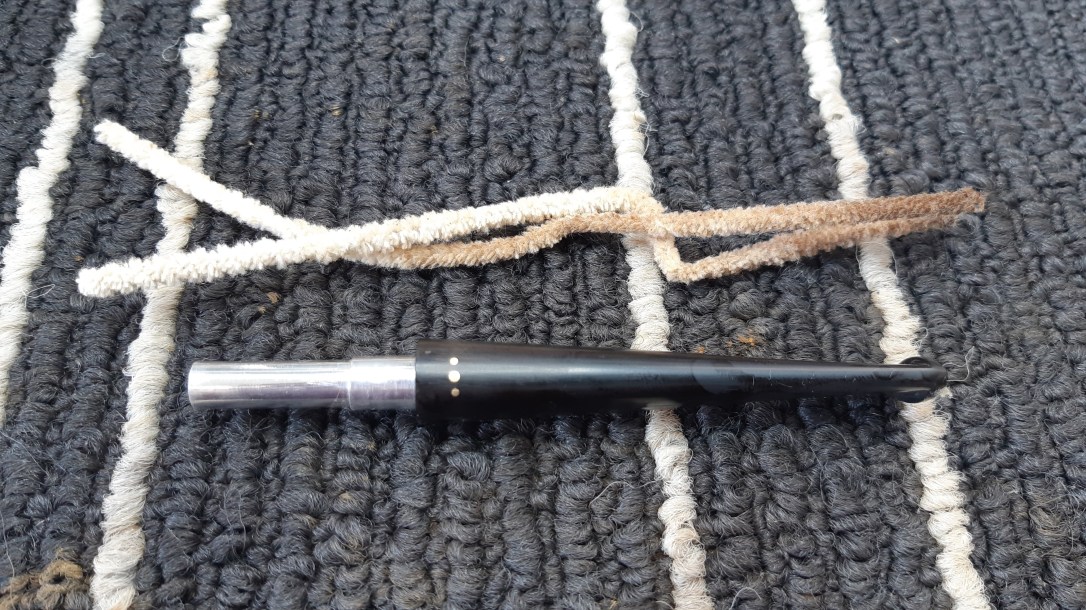
More swabs and pipe cleaners dipped in alcohol cleared the dirt and debris from the mortise and airway.

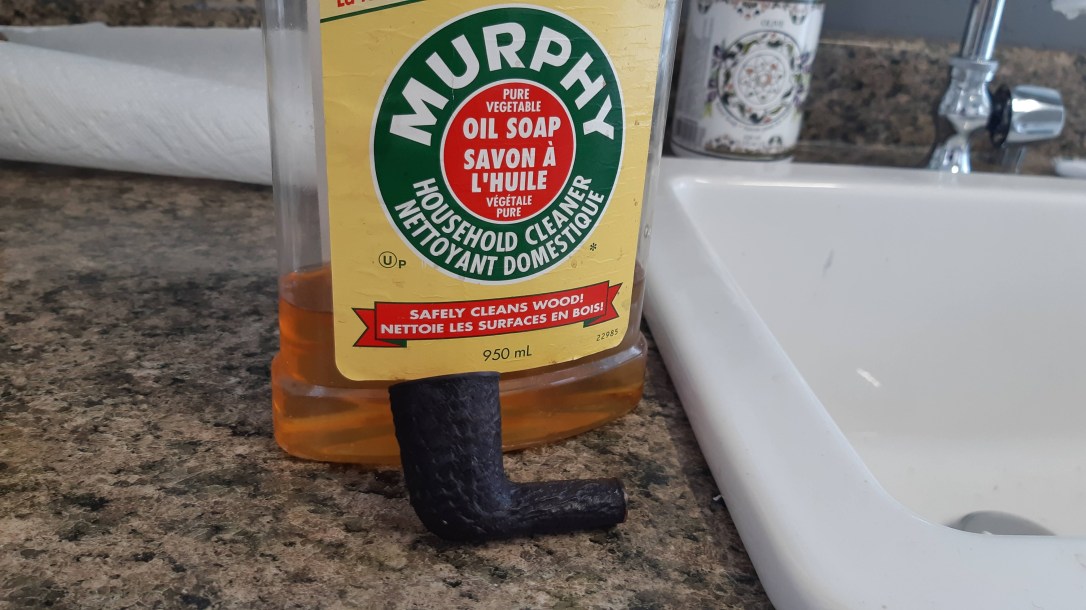
As there was no rim damage or other issues to deal with on the stummel, I finished off the cleaning by scrubbing a few decades worth of dirt out of the rusticated finish using Murphy’s Oil Soap and a toothbrush. I scrubbed the soap on full strength, then rinsed the briar under running water before drying it thoroughly and setting it aside.
I used a few more pipe cleaners and alcohol to clean the internals of the stem. As you can see, this old pipe really was quite clean.
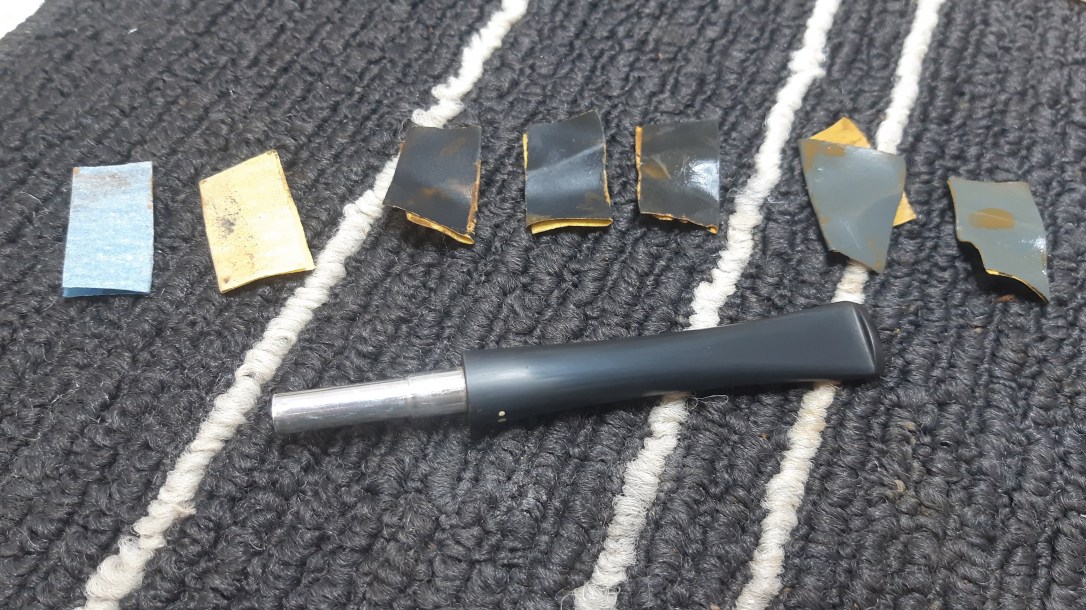
Further investigation into the “extra Dot” on top of the stem revealed that this decoration was not another brass pin but rather consisted of a bit of yellow paint dribbled into a roughly 1/16th inch hole drilled into the Vulcanite. I was able to pick the paint out using a dental tool quite easily. I then repaired the spot by adding a drop of clear CA glue to the divot. When the glue had fully cured, I removed the excess glue and smoothed out the repair with sandpaper.


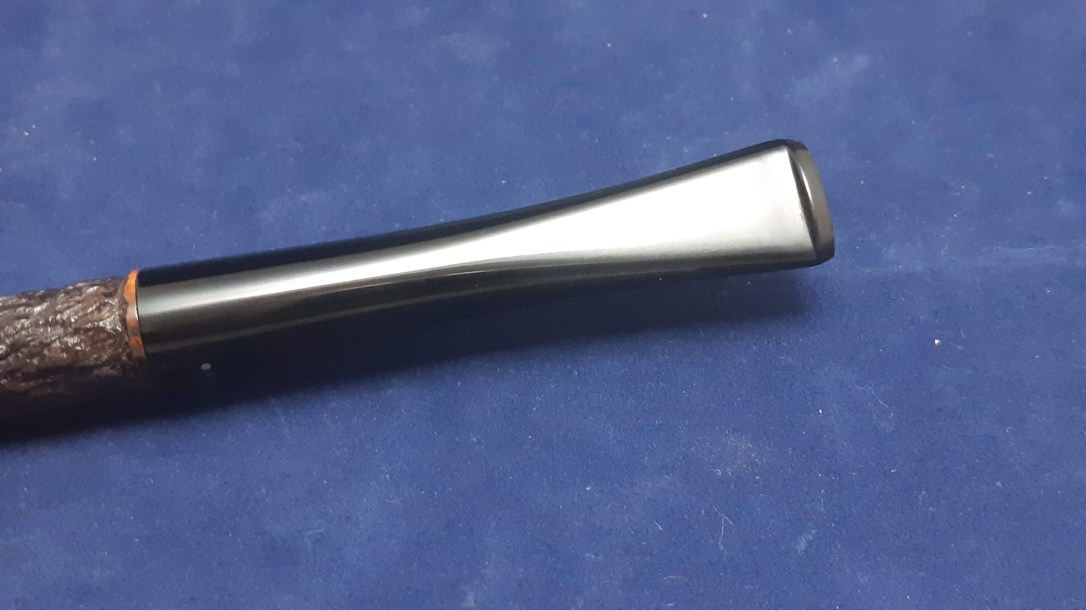
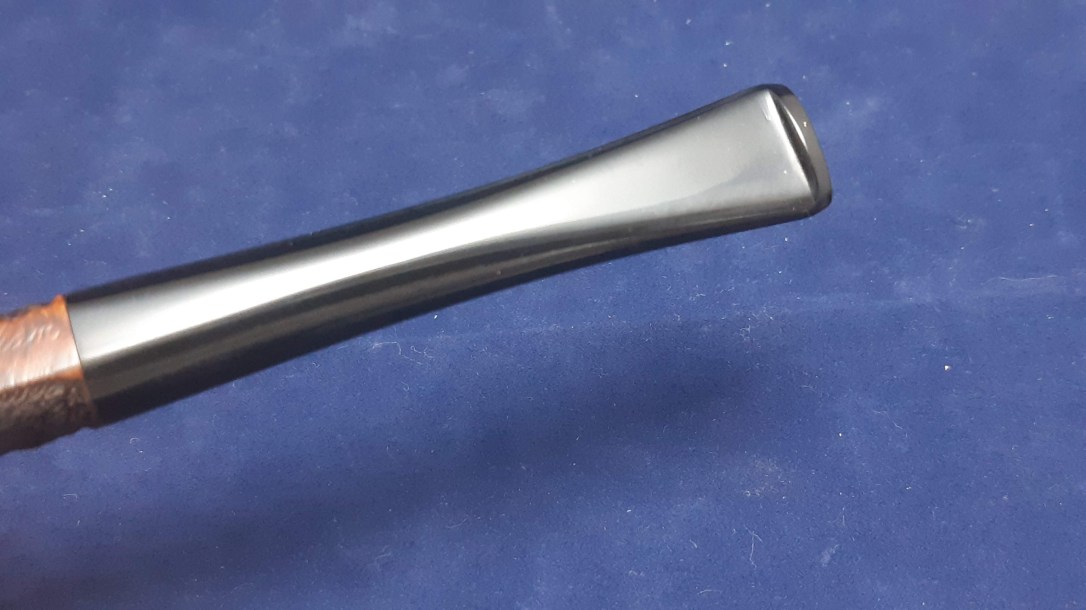
Lastly on this quick refresh, I sanded and polished the stem with successively finer abrasive from 220 through 2000 grits until all the oxidation, tooth marks and sanding scratches were gone.
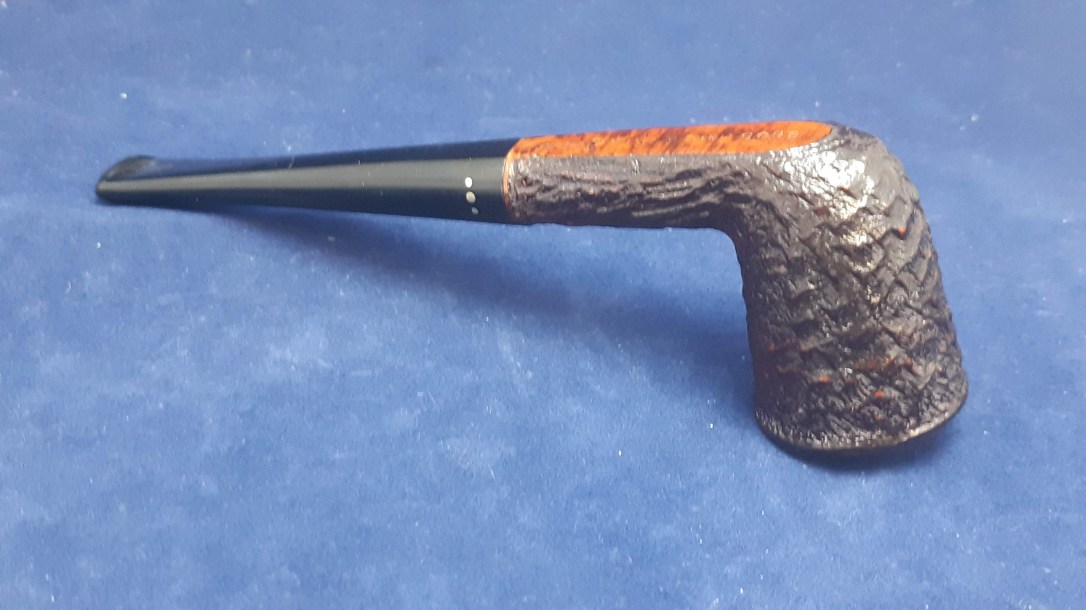
Then it was time to reunite stem and stummel and take the finished pipe to the buffer for a run of Tripoli for the stem and White Diamond for the stem and smooth areas of the stummel. Several light coats of Carnauba wax added shine and a layer of protection to the entire pipe.
This little 605 Dublin is back in fighting form and ready to enjoy once again. It has taken its place in my personal collection.
Thanks for joining me for this quick restoration. I hope you enjoyed following along.
Until next time, Happy Piping! Here’s the finished pipe.