This rather worn-looking Brigham Sportsman is the last of the pipes I found on my birthday pipe-hunting excursion back in December.
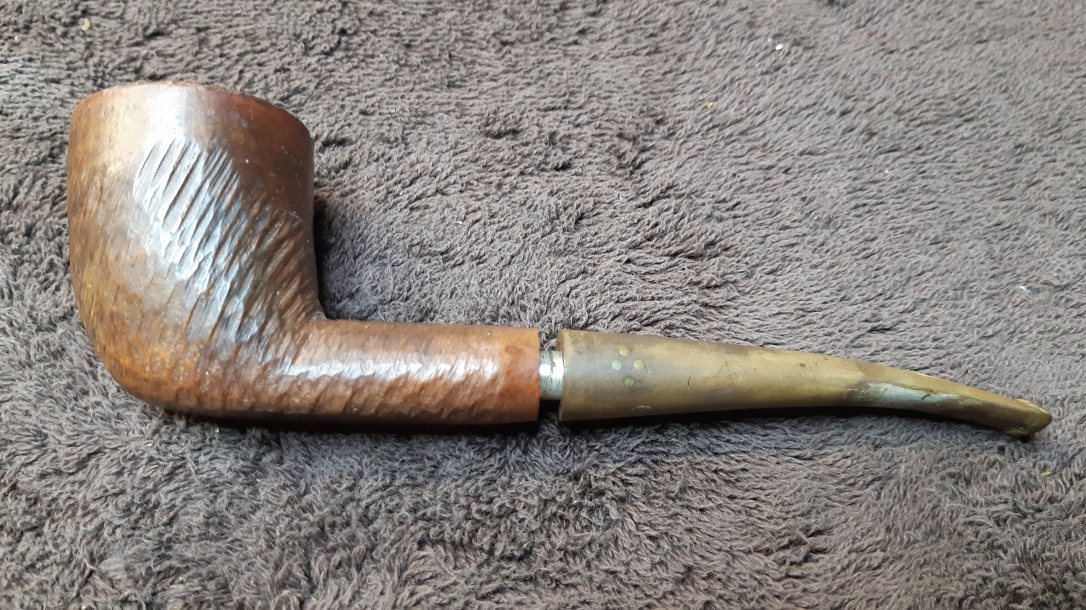
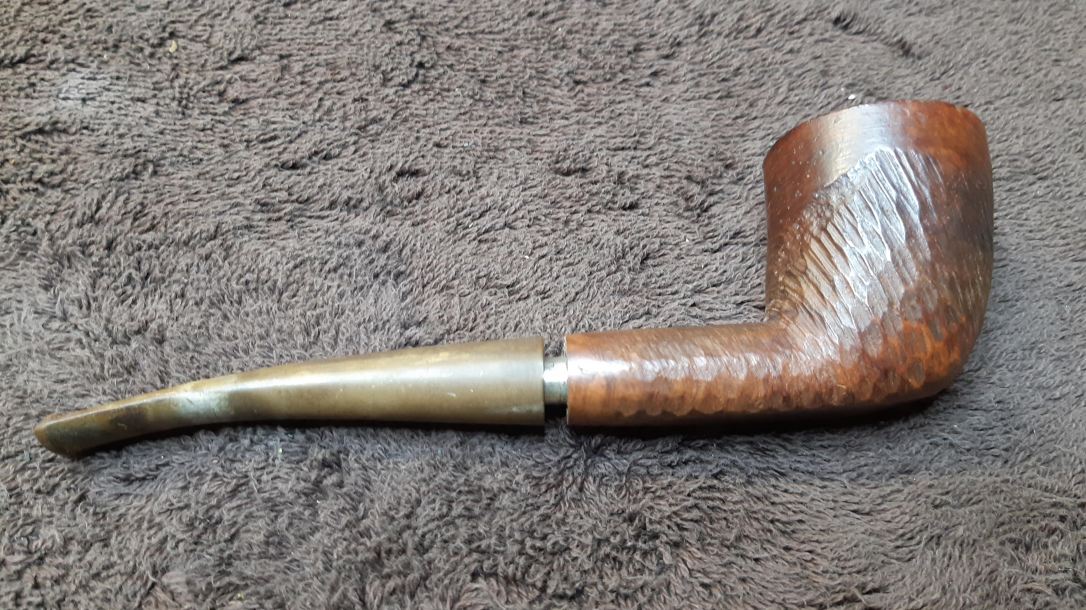
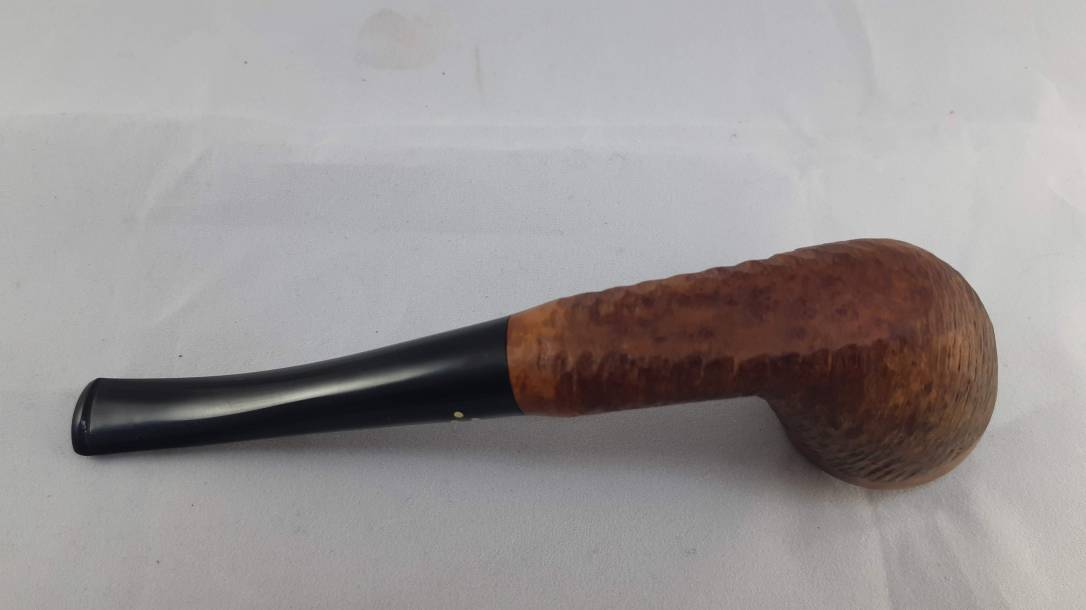
The pipe had certainly been well enjoyed by its previous owner, though I’m not sure exactly how much care it was given. This “rough and ready” approach to pipe maintenance is somewhat to be expected when talking about a Sportsman pipe, as Brigham marketed these rough-shaped, unfinished briars specifically to those who enjoyed outdoor pursuits – hunting, fishing, camping, and the like – and it certainly looked like this larger Brigham had been knocked about quite a bit.
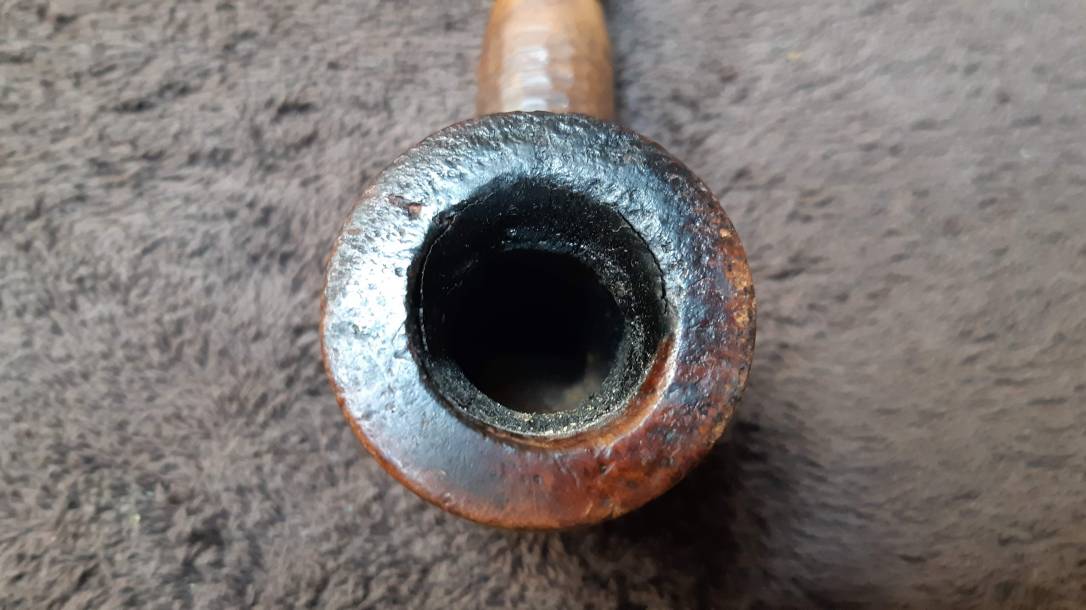
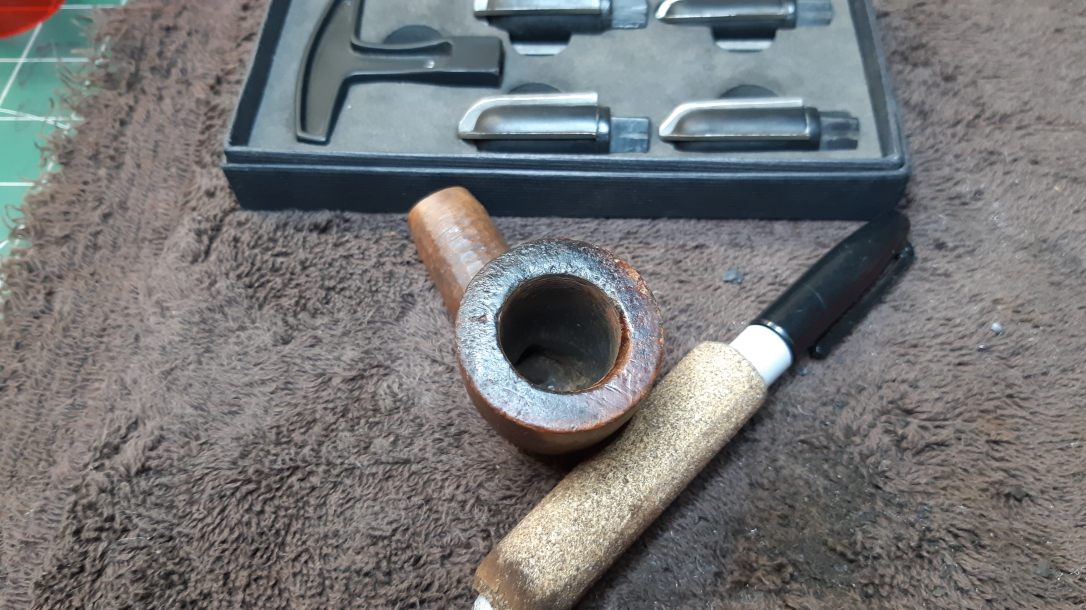
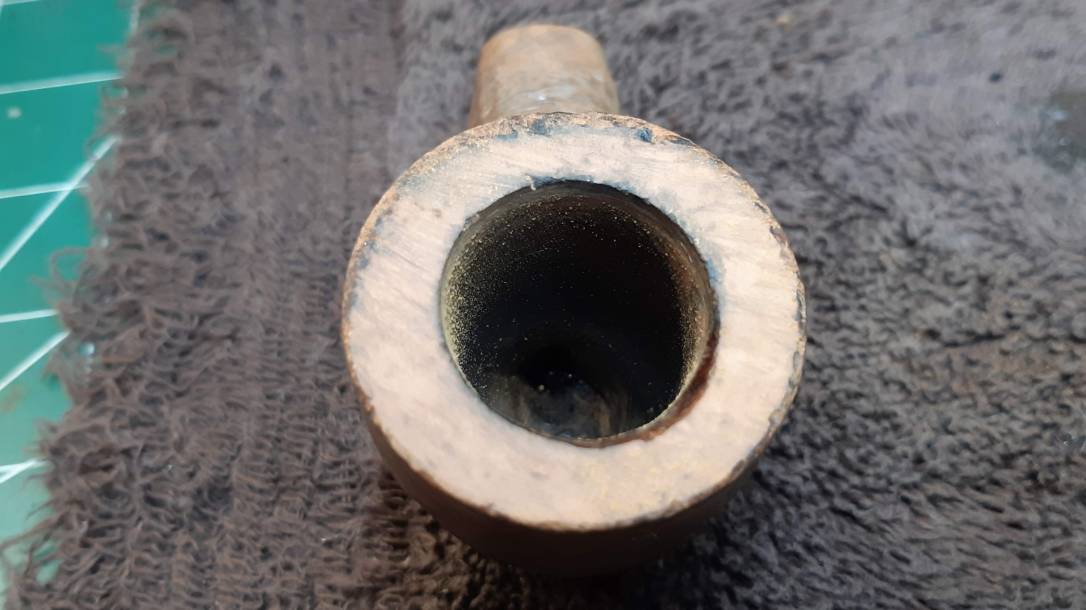
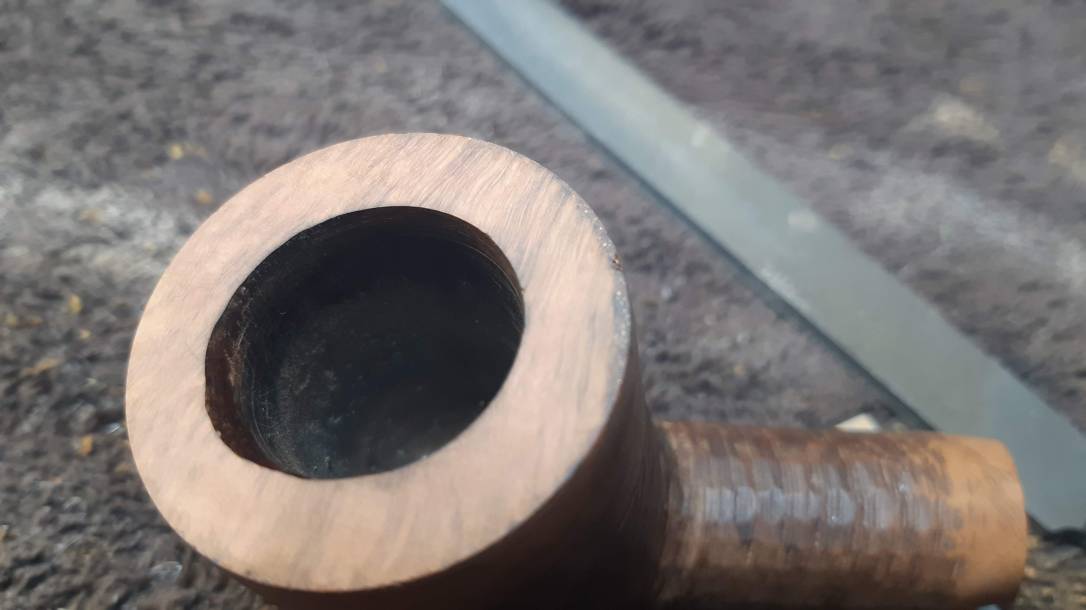
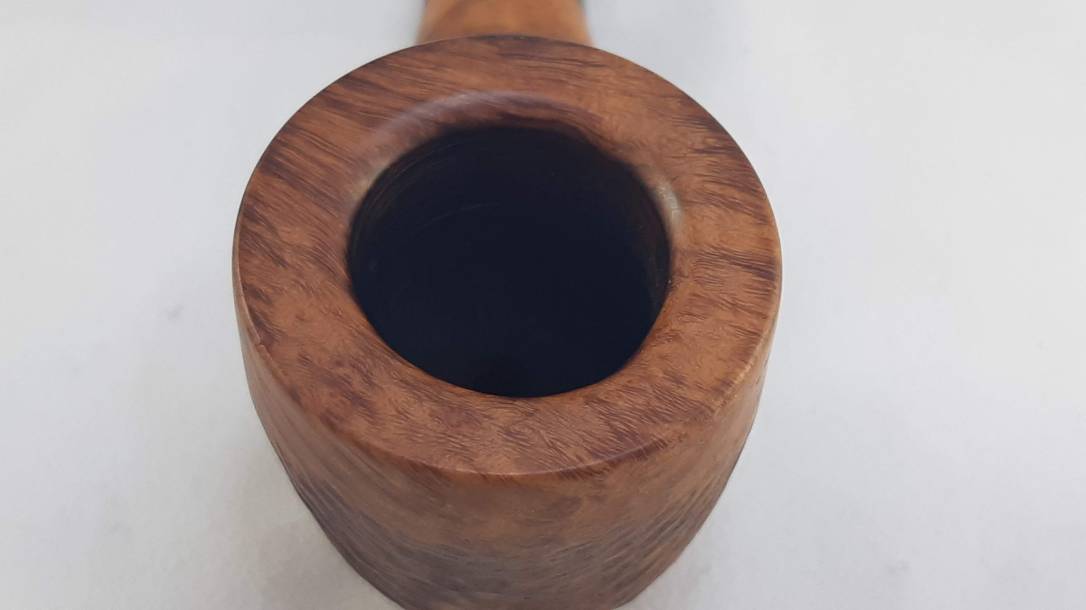
As these pics show, the pipe was rather dirty when I brought it to the worktable. The exterior of the stummel was a few shades darker than age alone could explain, the tobacco chamber was packed with old cake and about two-thirds of the rim was coated in a hard crust of lava. The visible portions of the rim showed a great many dents, dings and scrapes.
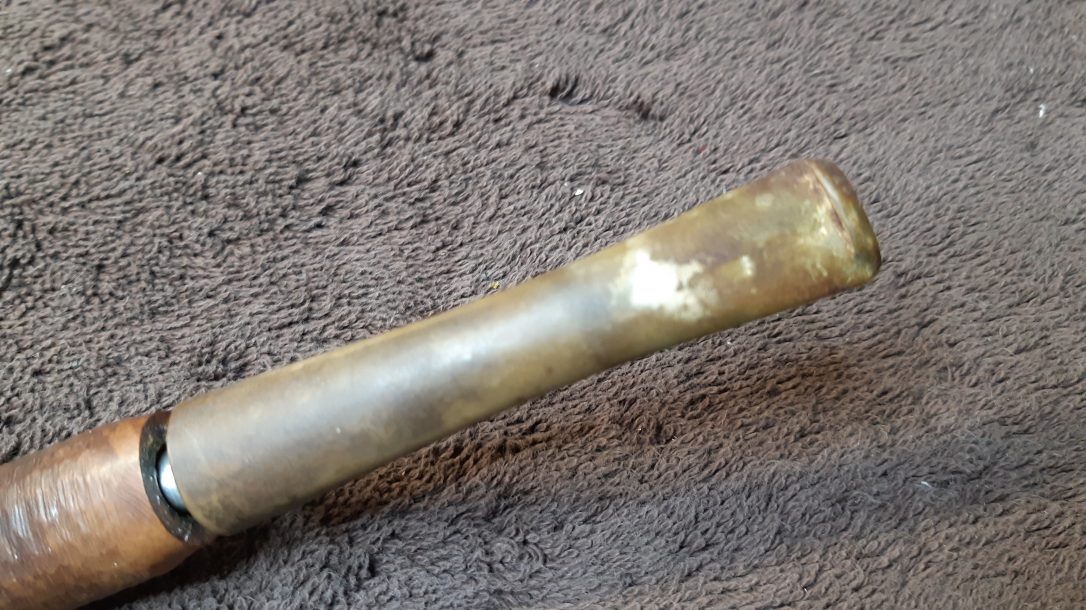
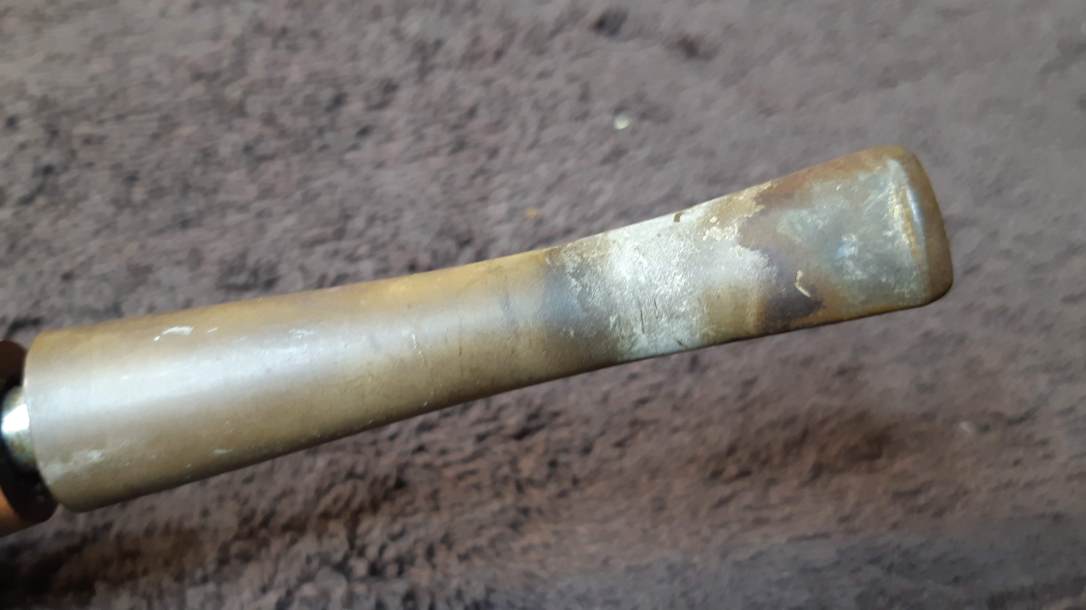
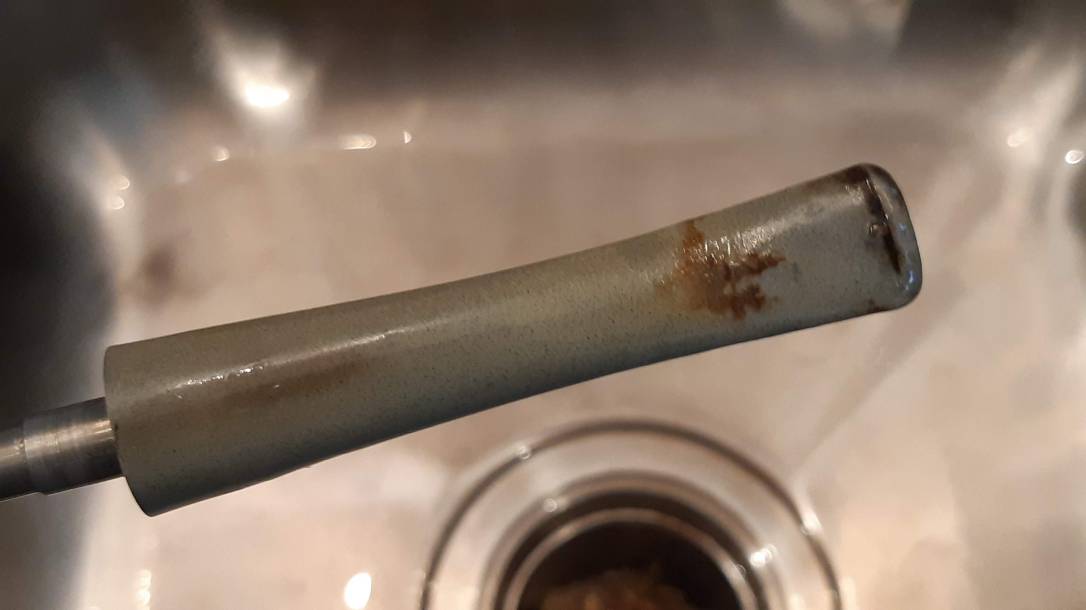
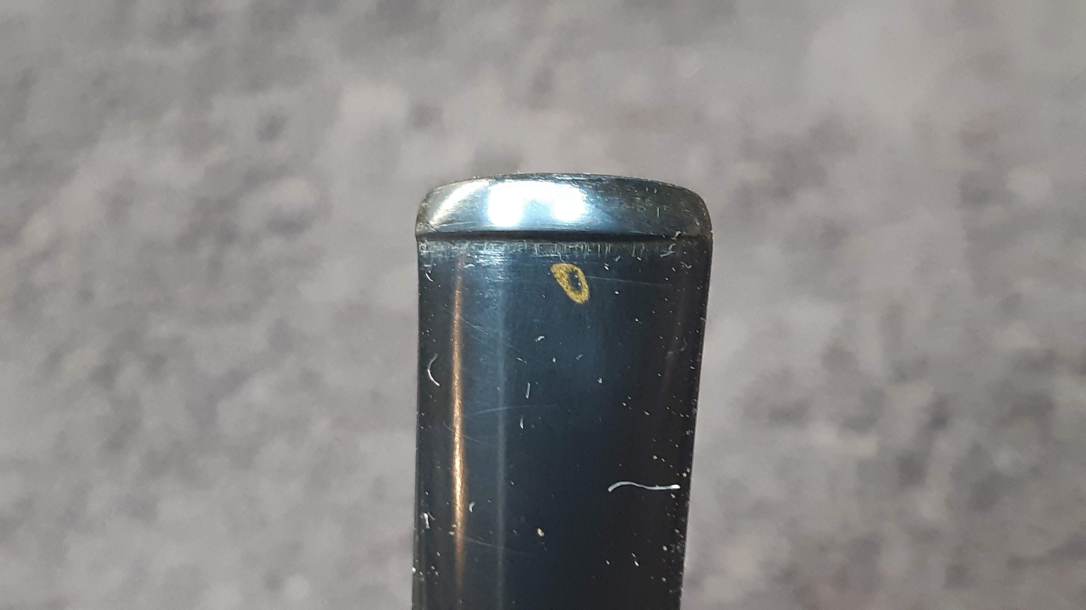
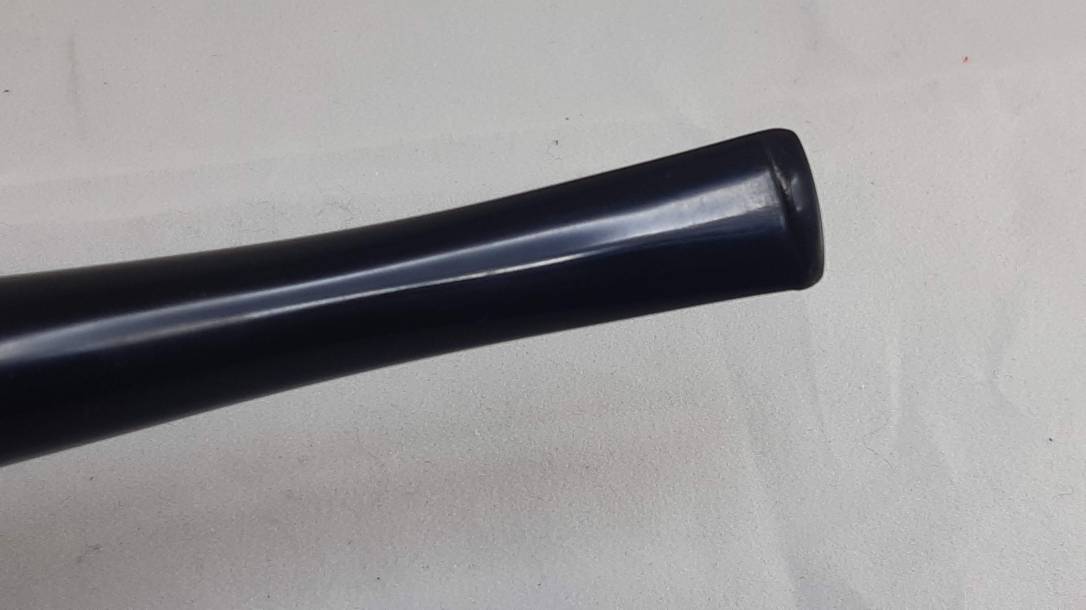
The pipe’s stem was heavily oxidized, with a stripe of calcified salts near the bit end, which also showed several deep tooth dents among the chatter. The stem sat about one quarter of an inch out from the shank face, which in my experience usually indicates a shank full of tars and muck.
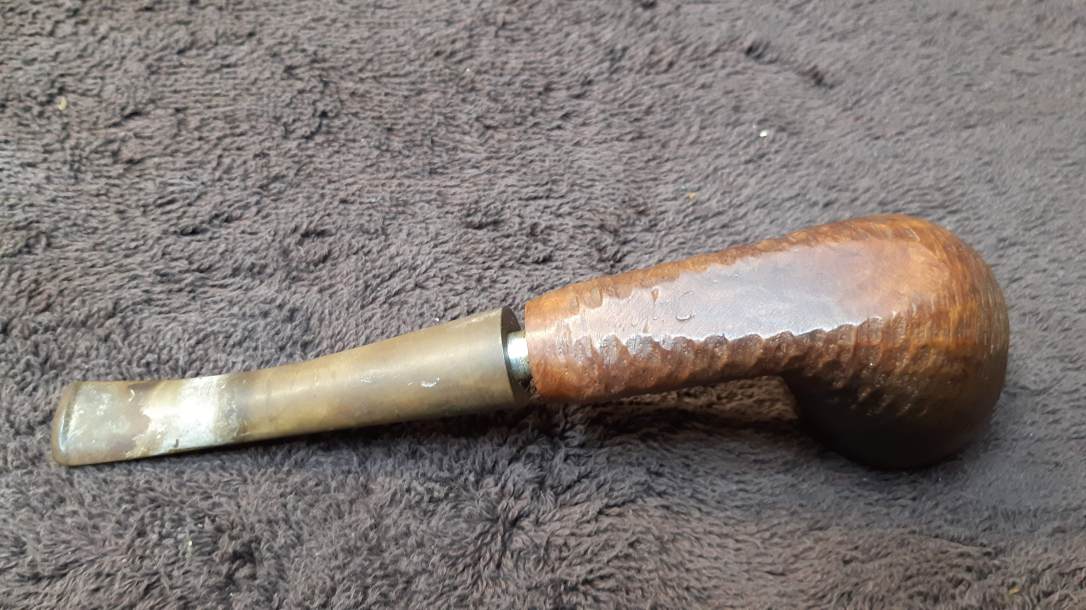

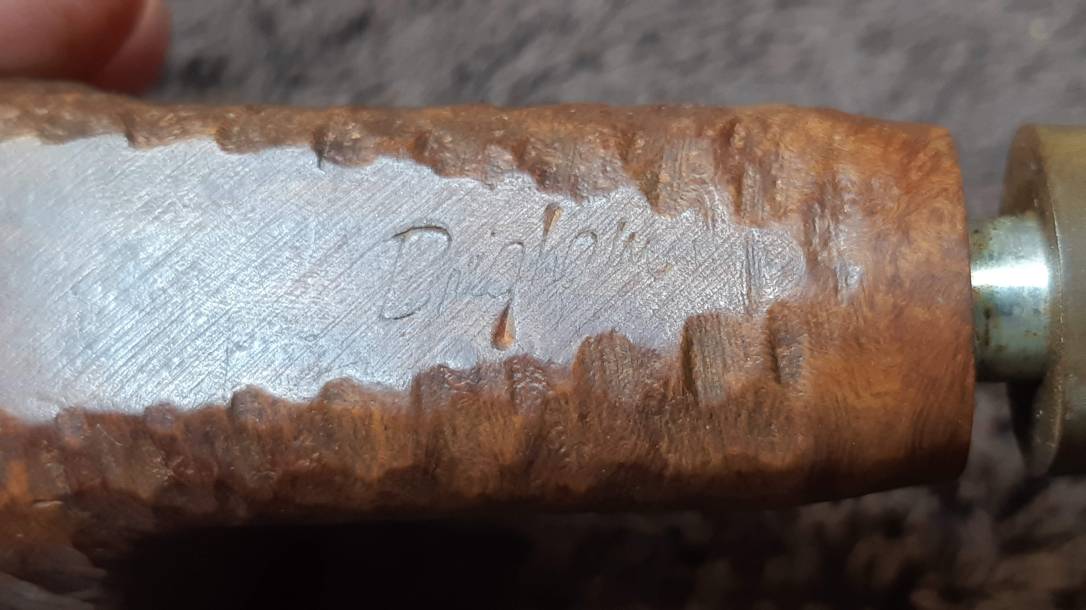
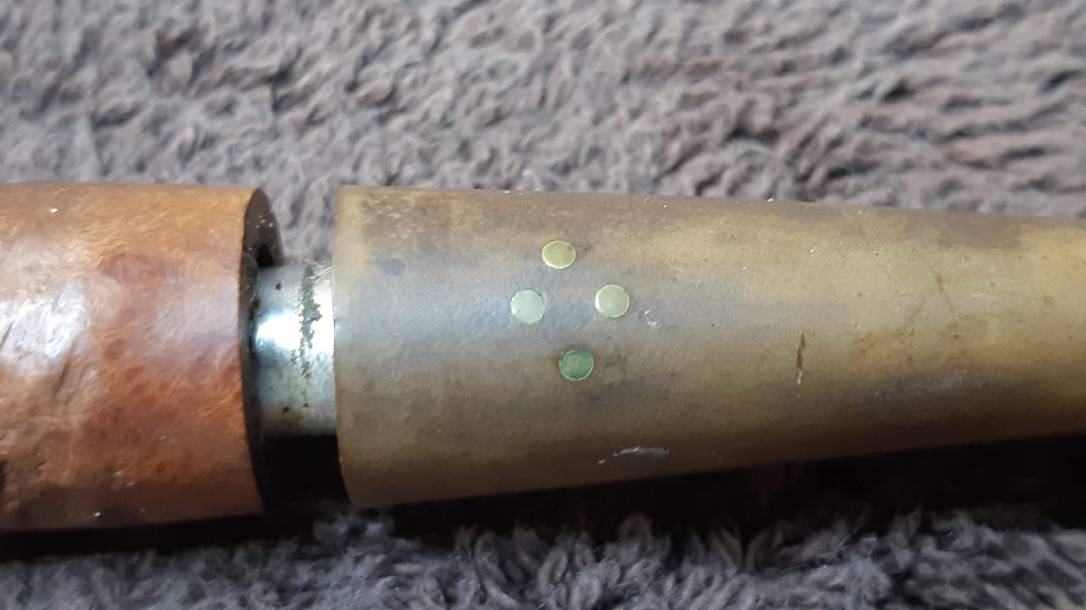
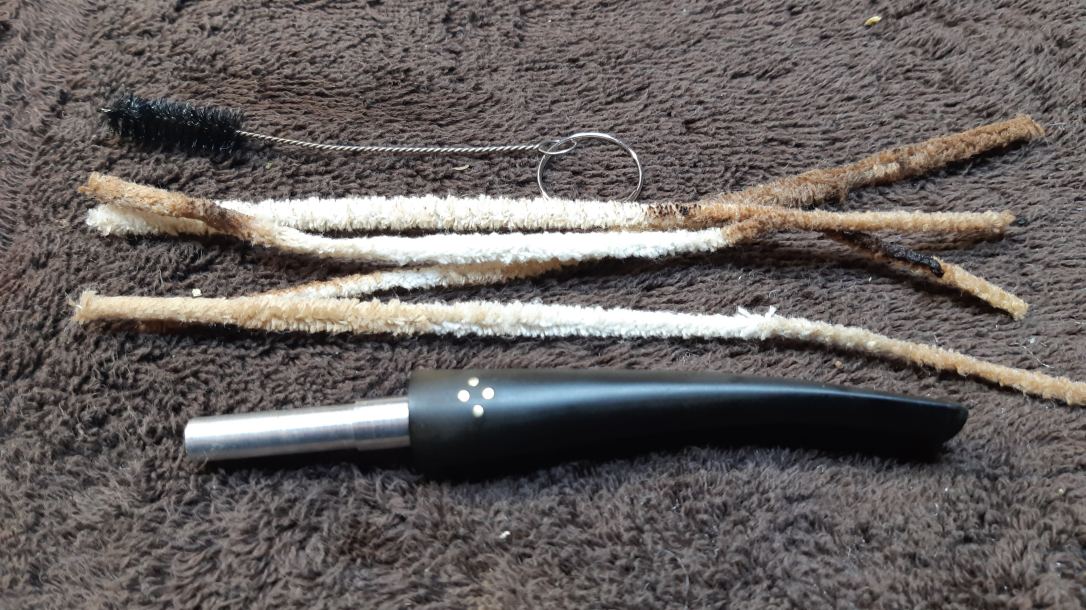
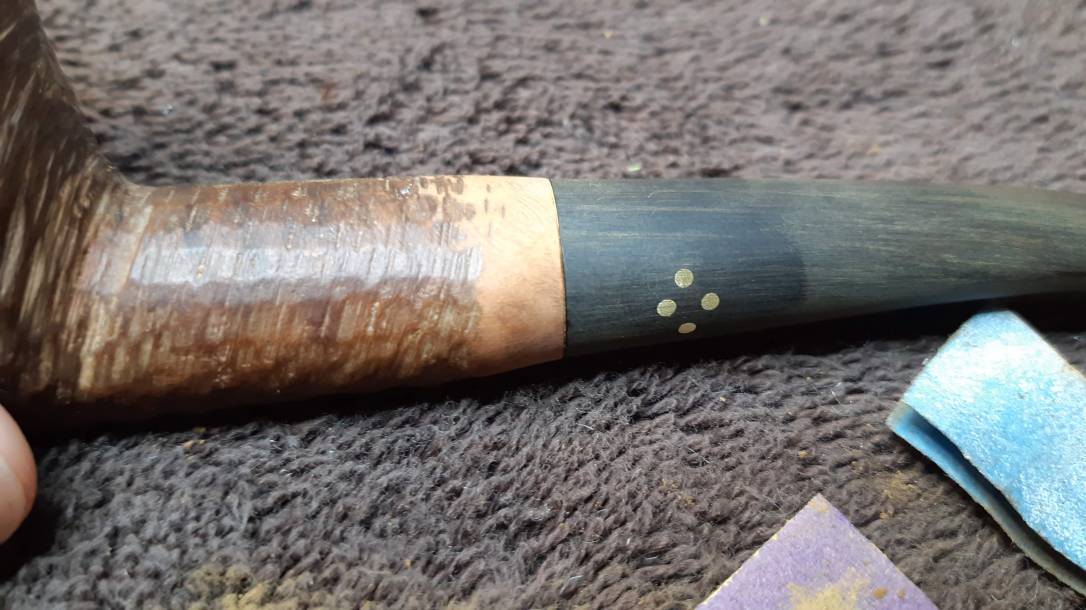
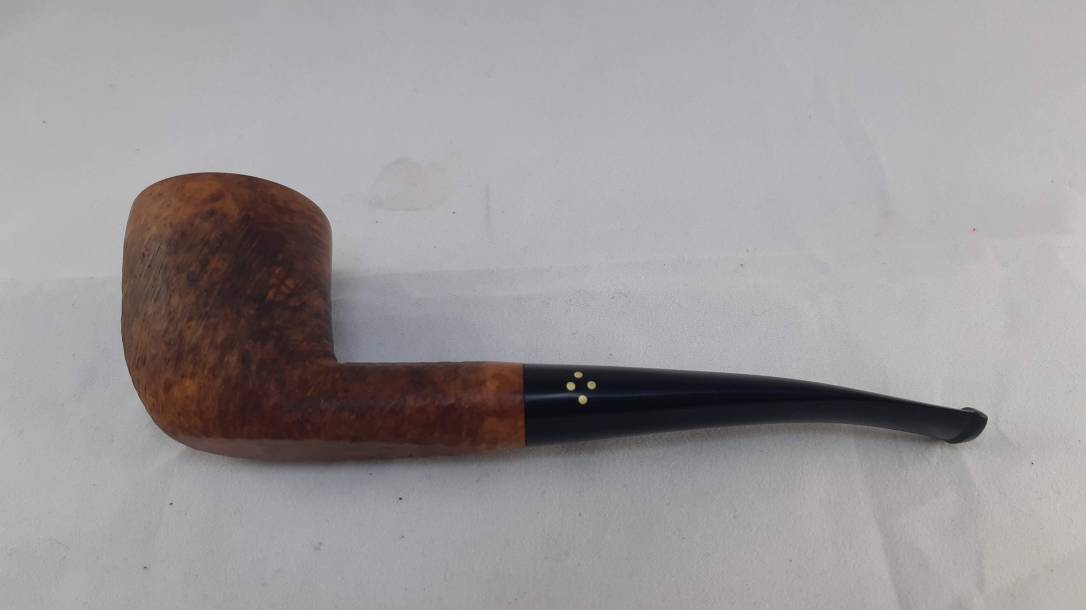
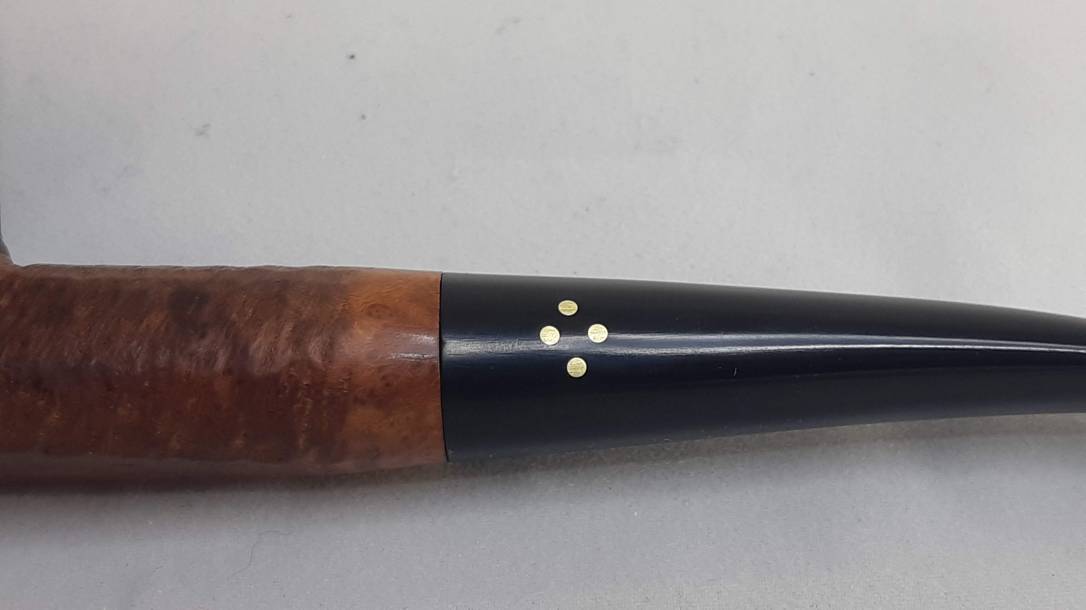
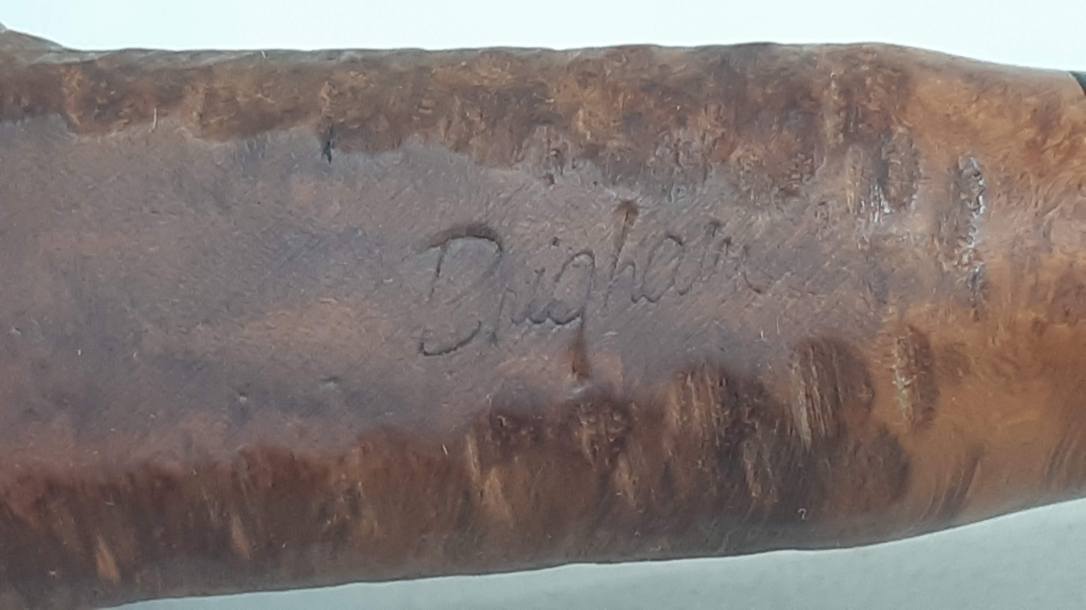
The stummel is marked simply “Brigham”, which dates the pipe to roughly the 1990’s. No other stamps are present, which is not unusual for a Sportsman pipe, though you can find specimens that include the grade and sometimes the shape number as well. The stem is inlaid with four brass pins, or Dots, in a diamond pattern.
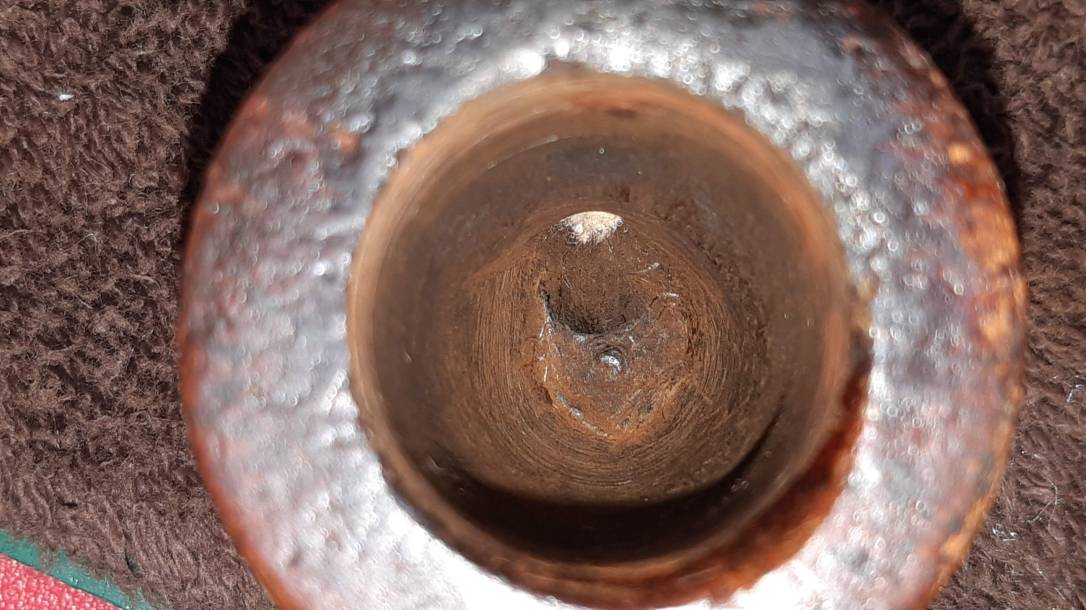
I started the cleanup by reaming the copious old cake from the bowl. The chamber walls looked good underneath, though the floor of the bowl had been gouged by the point of a knife at some point.
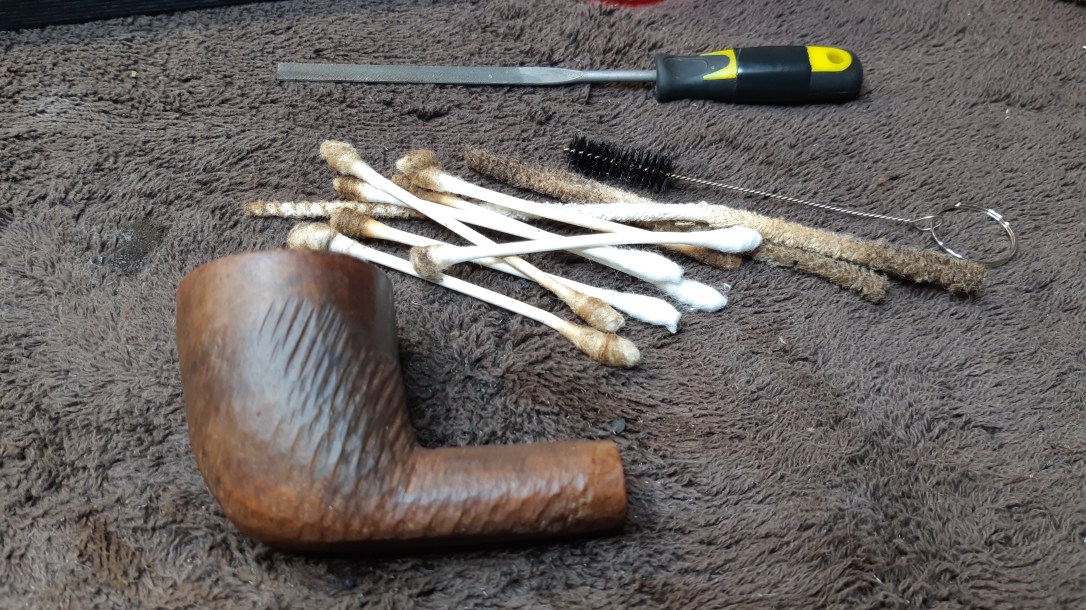
The stummel’s internals gave up years of tar and other gunk to a small pile of pipe cleaners and cotton swabs dipped in alcohol.
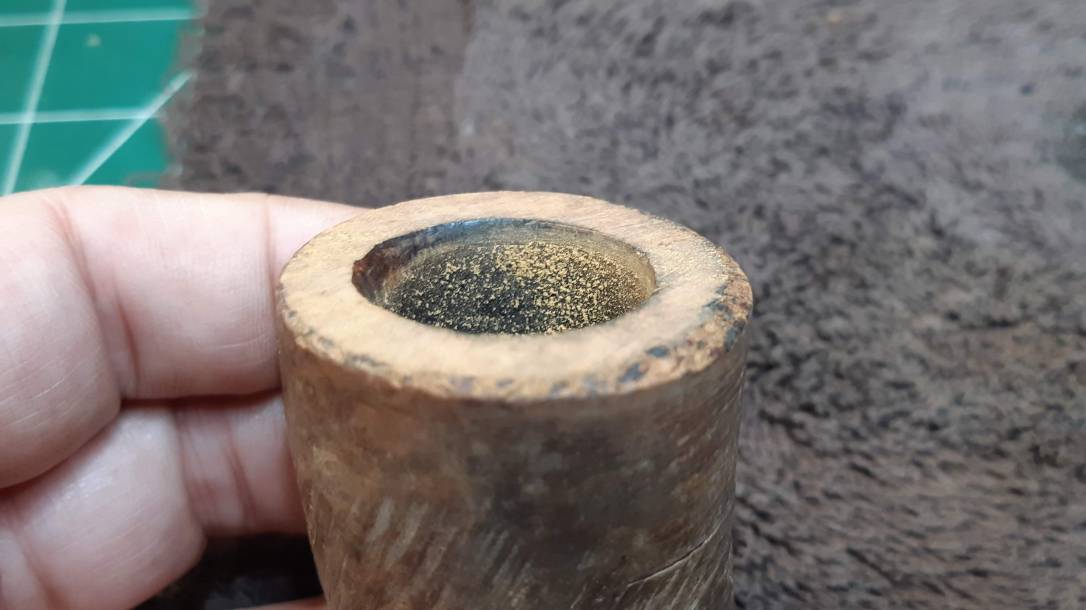
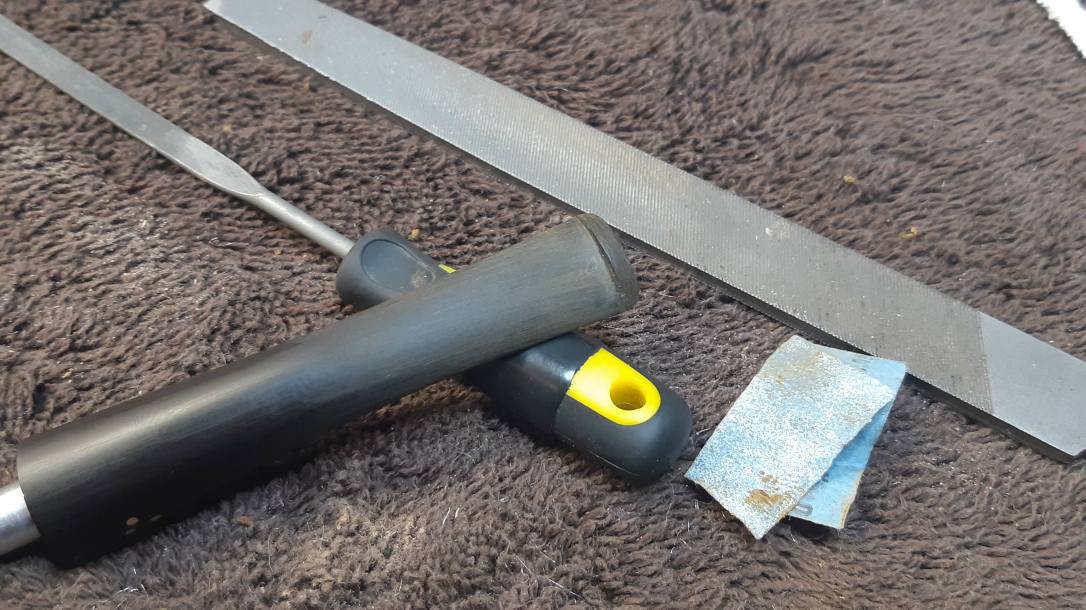
I scraped the worst of the lava crust from the rim with the edge of my knife blade, revealing a serious star-field of dents and dings across the rim surface as well as around both inner and outer edges.

The rim was originally crowned, rounding over from outer edge to chamber lip, but the damage was so extensive (and the remaining crown so limited) I elected to top the bowl rather than add such a large area of fills to the briar. I sanded the rim on the topping board until most of the dents had disappeared. This still left large areas of damage on inner and outer rim edges to contend with.
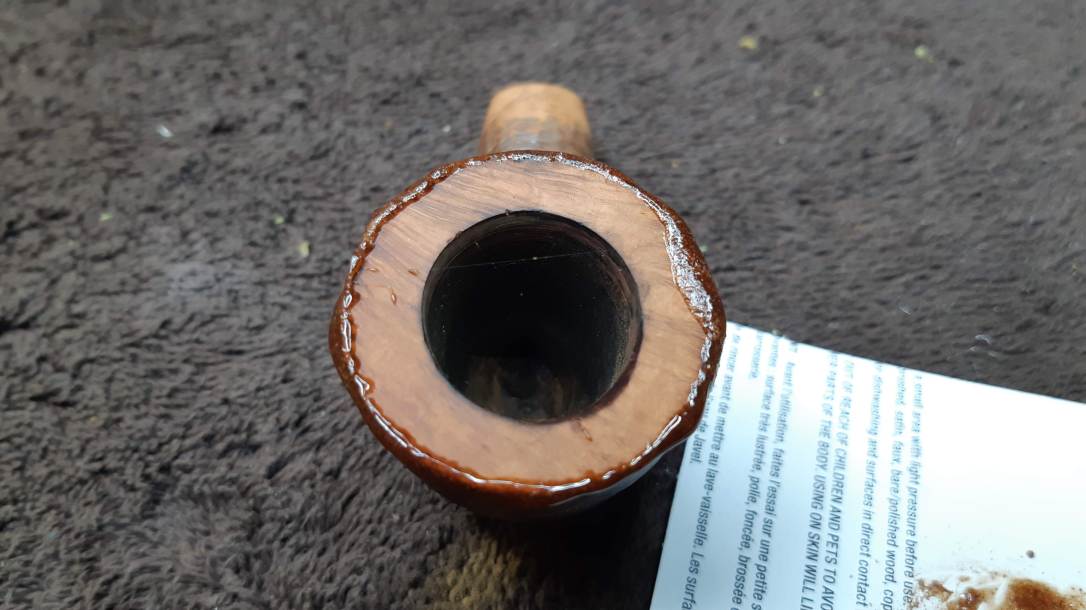
Further topping would mean removing a LOT of briar and reducing the bowl height considerably. I wanted to avoid making such drastic changes if I could, so I pulled out the CA glue and briar dust and ran a ring of patch material around the entire outer edge of the bowl. It looks a bit excessive in the pics, but after filing and sanding the cured patch material the filled areas are almost undetectable.
The inner rim needed a different solution to remedy a burn mark at the five o’clock position (if the shank is 12). The damaged area is just visible in the pic above at the left side of the inner rim.
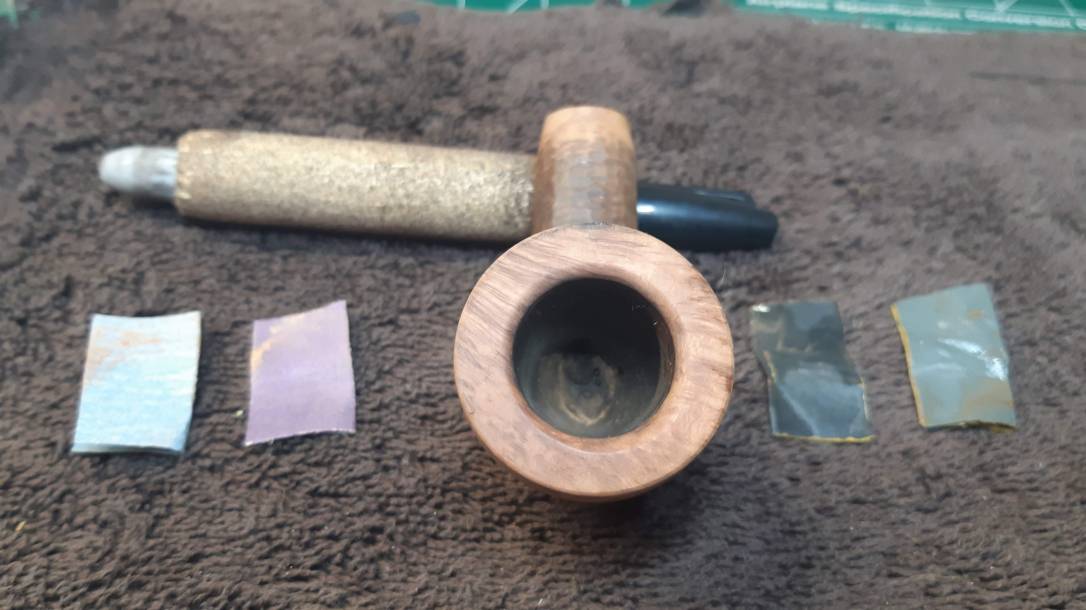
To remove the damage and put the rim back into round I sanded a roughly 1/8-inch wide bevel around the inner rim. This again is a departure from factory spec for this restoration, but it’s really the only option here. This pic shows the new rim sanded to 2000-grit.
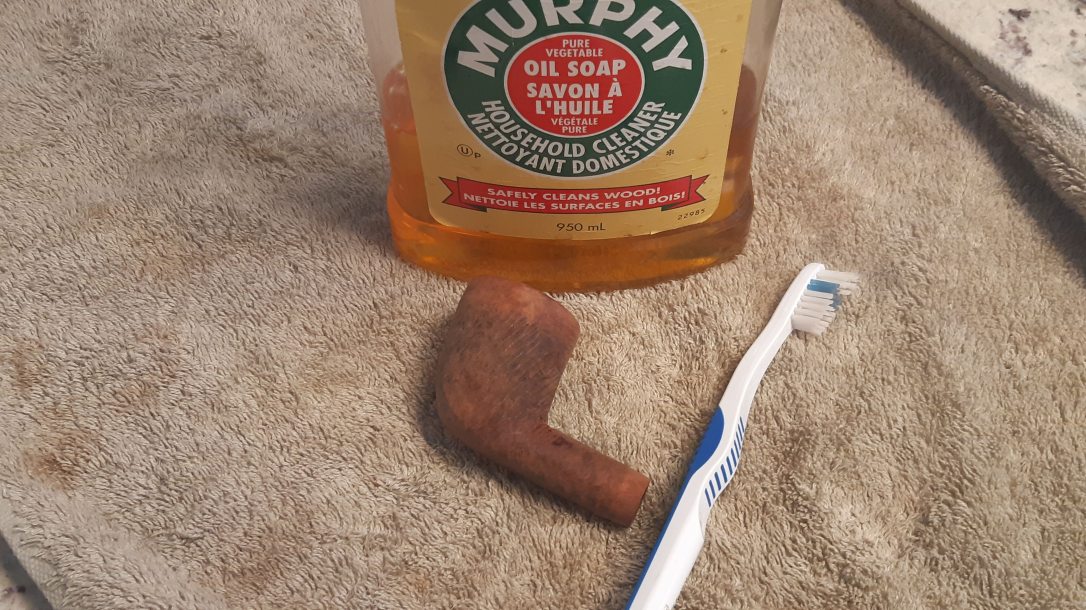
Next up was a thorough exterior cleaning with Murphy’s Oil Soap and a toothbrush. I applied the soap full strength to the briar and worked in across the surface with the toothbrush, lifting a surprising amount of dirt and grime from the stummel.
On my first application, the toothbrush came away black with dirt. It took two more applications of soap before the brush stayed clean. I rinsed the stummel thoroughly and let it dry.
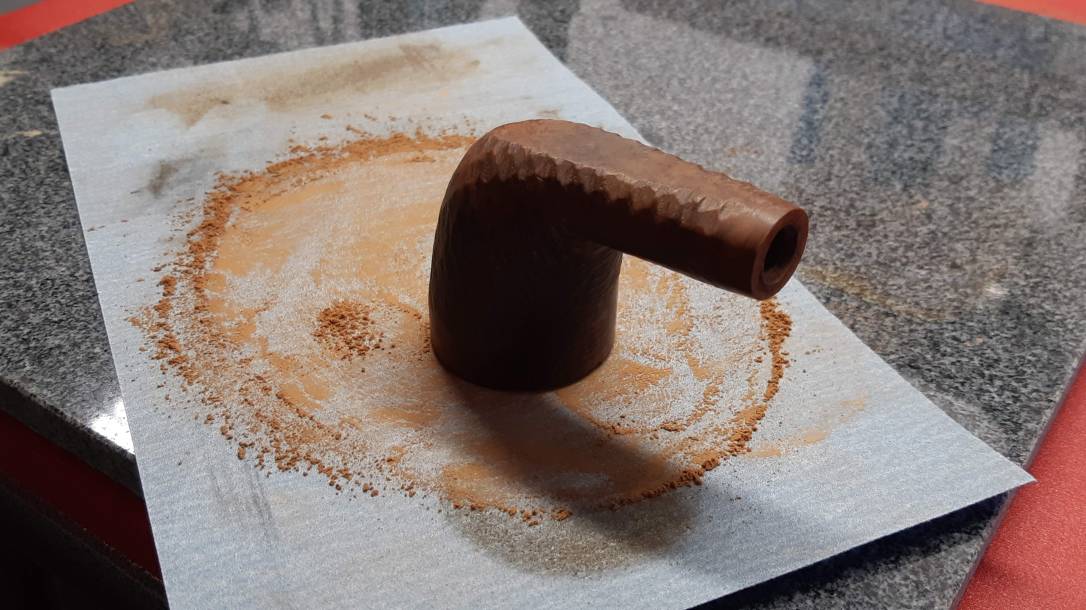
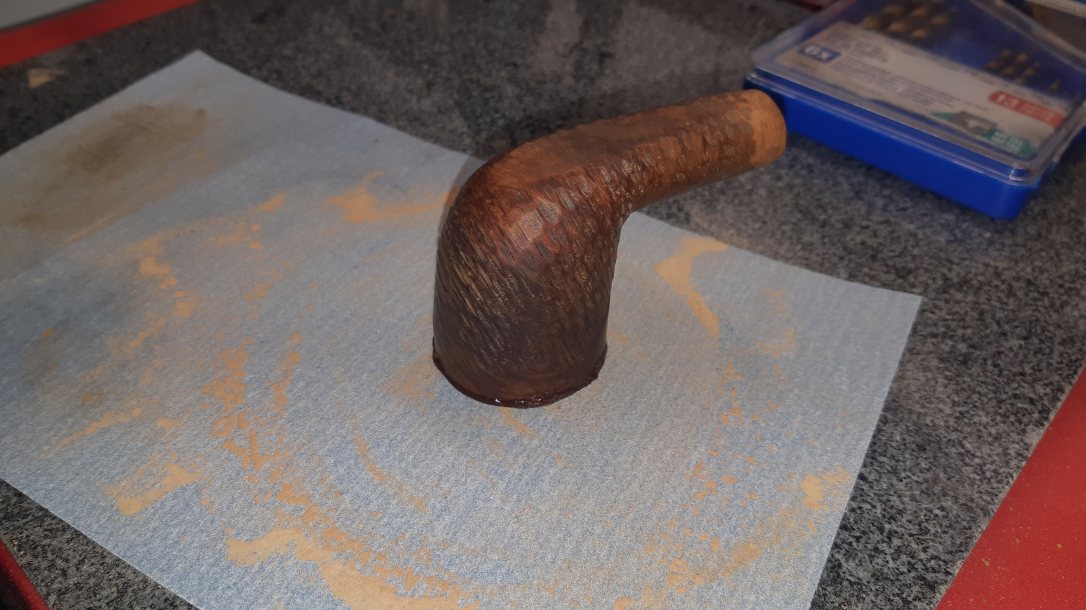
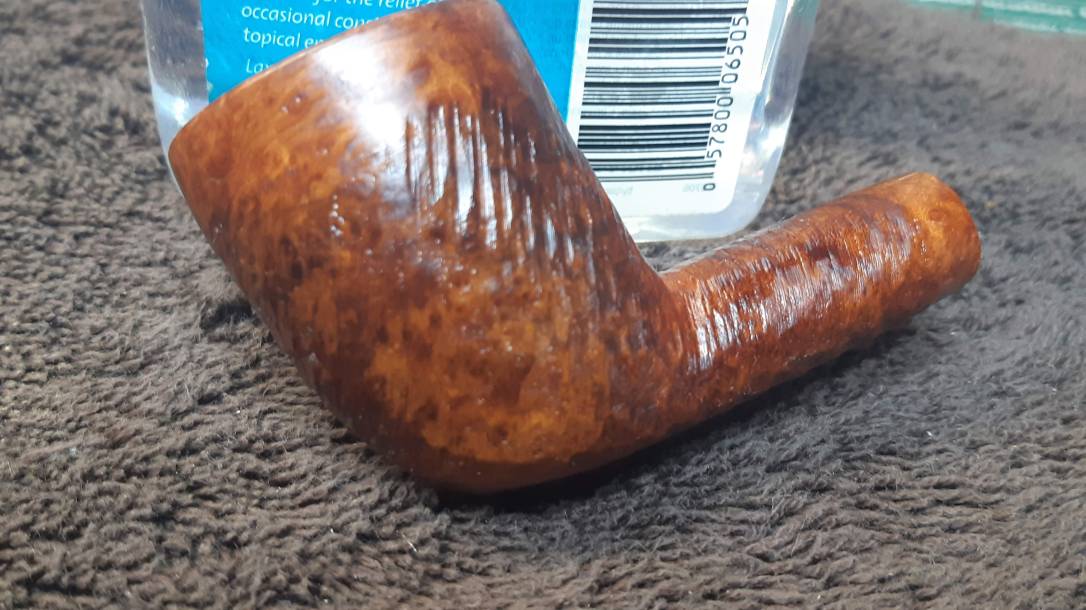
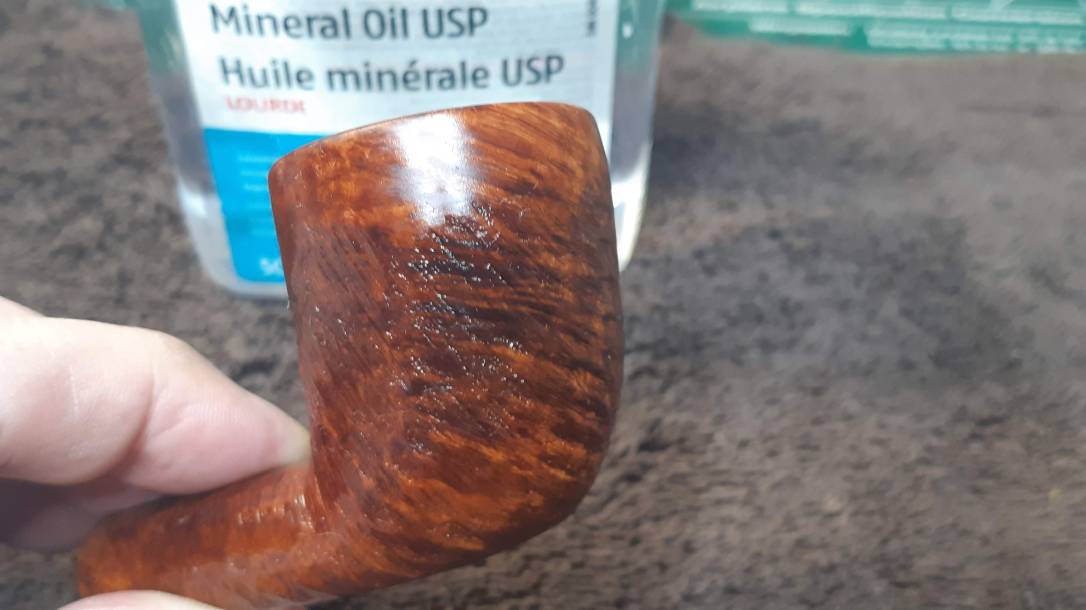
The cleaning had left the briar a bit dry and faded looking. A light application of mineral oil injected some much needed moisture into the stummel and really made the grain pop on this 4-Dot Brigham. If you look beyond the rough surface texture, you can see some really nice cross and birdseye grain in this piece. These pics tempted me to sand the briar smooth to reveal the full glory of the grain – I resisted, but it was a near thing!
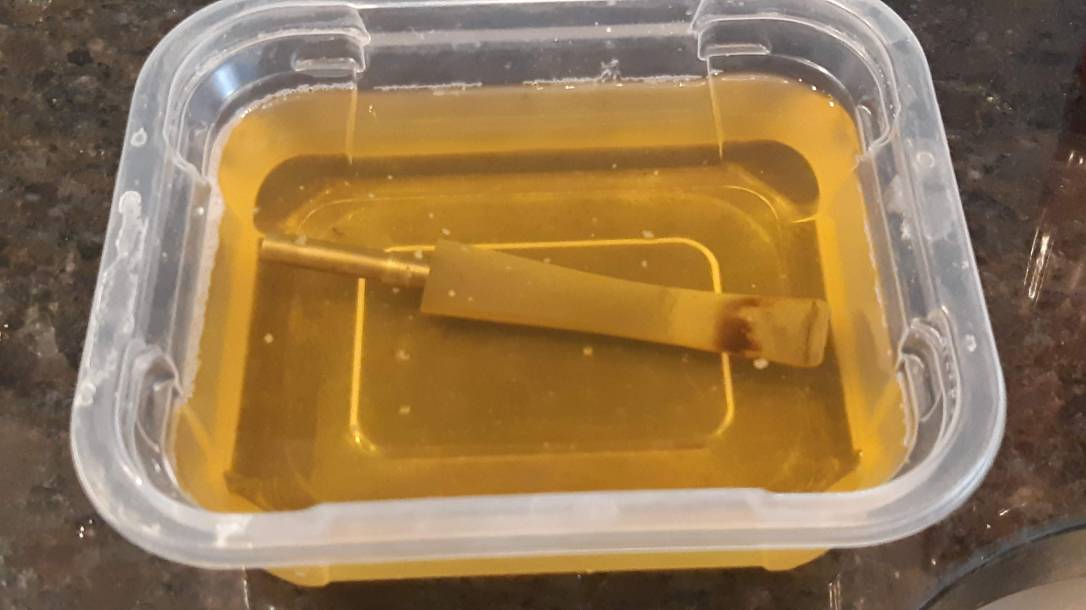
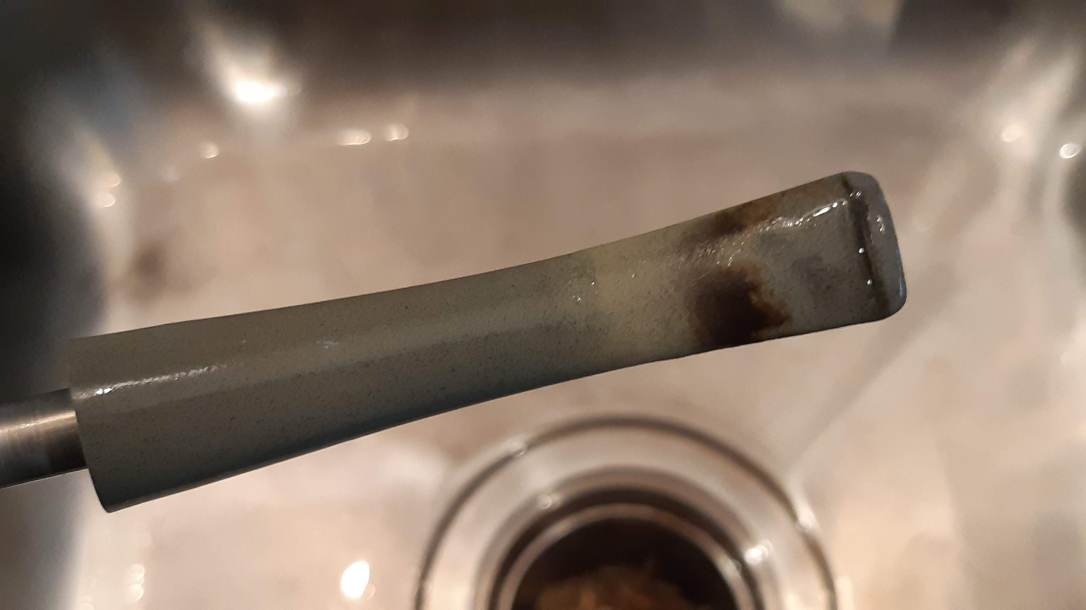
While I had been working on the stummel, the stem had been soaking in a bath of Oxyclean and warm water. This series of pictures shows what the stem looked like after the bath and then after a good scrubbing with 0000 steel wool and then Magic Eraser.
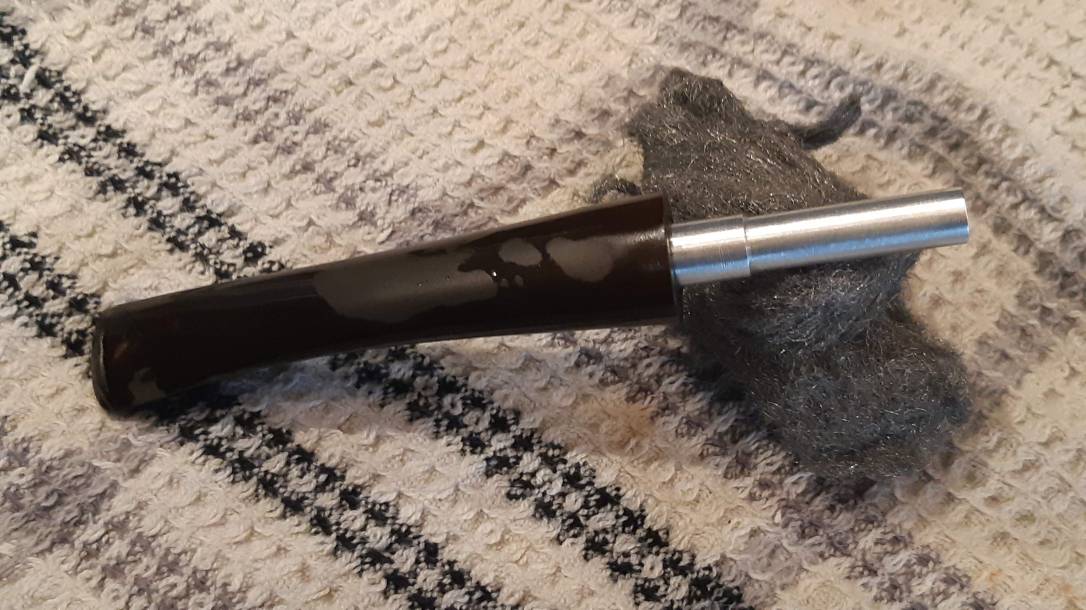

I used a few pipe cleaners dipped in alcohol to clean the stem’s airway and the inside of the filter housing/tenon.
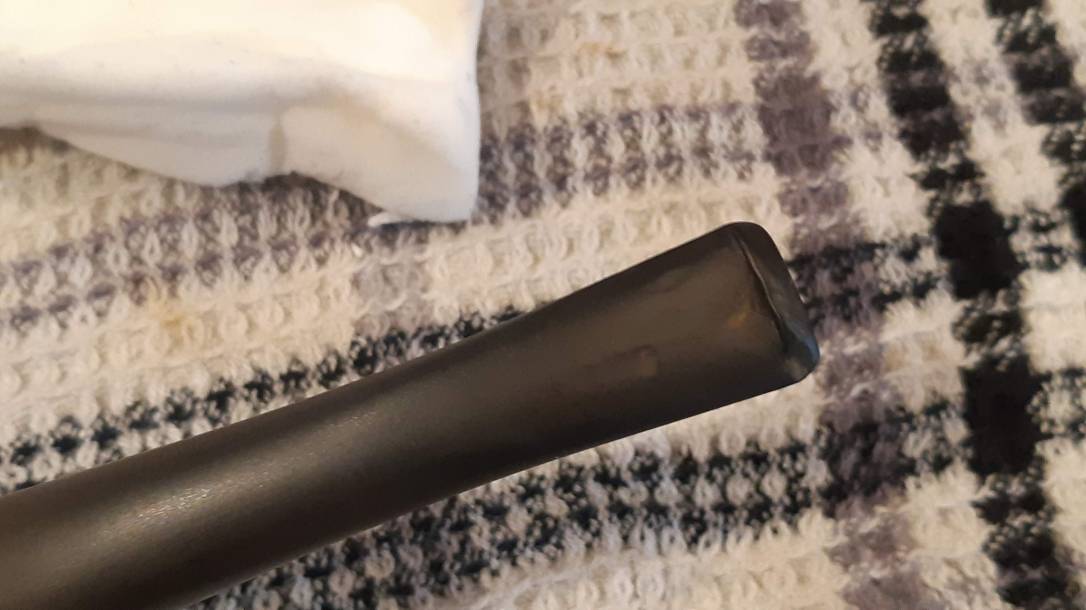
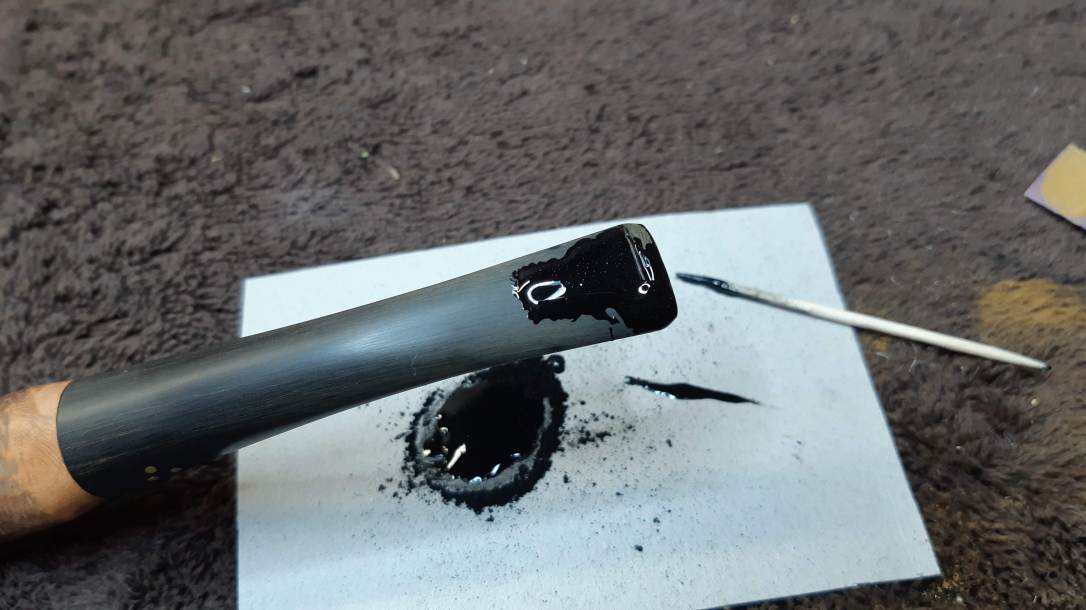
With the stem clean, I could address the tooth dents. The lower bite area was in decent shape – I could sand out the imperfections there – but the upper portion of the bit had several deep dents and some damage to the button that would need to be filled. I applied a patch mix of CA glue and charcoal powder to the affected areas, then sanded the patches smooth after the glue had cured.
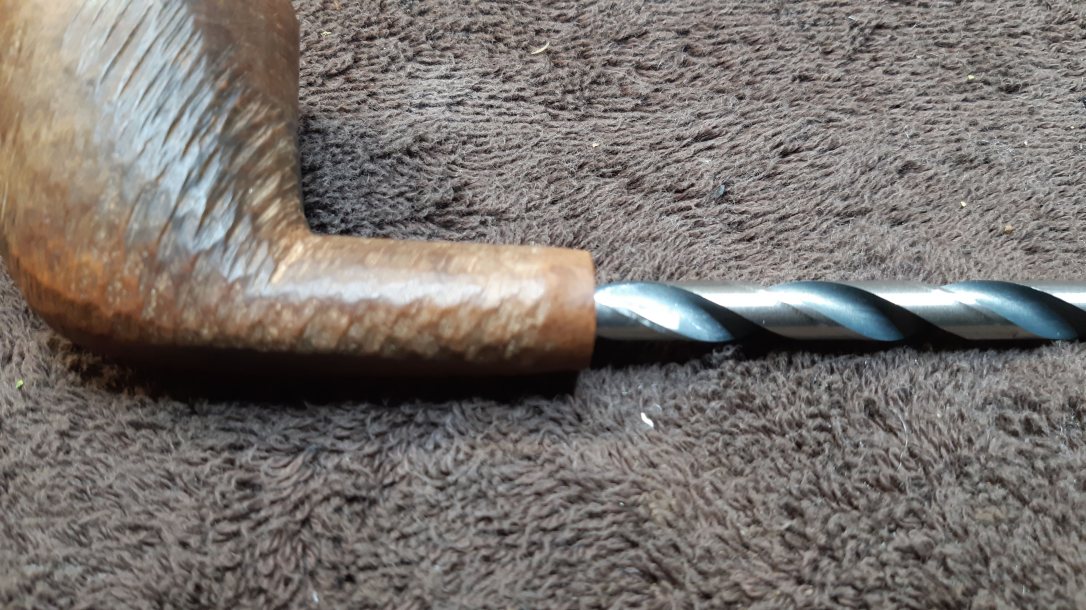
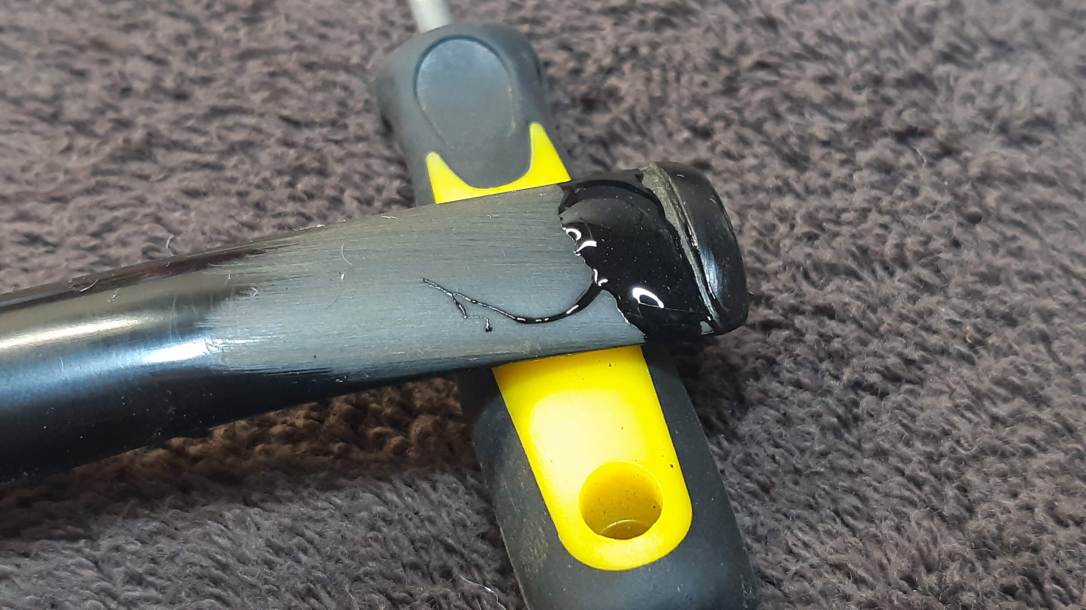
With both halves clean, I attempted to reassemble the pipe, but found I couldn’t get the stem to seat properly. Apparently there was still some debris in there blocking the tenon from sliding all the way home.
I sorted this little problem out by twisting a drill bit by hand into the mortise to auger out the offending buildup. After only a few twists, the stem seated properly against the shank face.

As sometimes happens, removing the oxidation from the vulcanite left the stem slightly smaller than the shank face. I took the opportunity now to sand the shank/stem junction lightly to get a smooth transition.
I sanded the stem to 2000-grit and then took it to the wheel for a preliminary buffing. This can help to highlight any stray sanding scratches or other imperfections before I get too far into the final polishing phase, and in this case the buffer revealed a spot of oxidation locked under the CA glue at one of the tooth dent locations.
As annoying as it was, the only remedy was to go back to the beginning and file out the offending patch and refill the stem with a fresh batch of CA glue and charcoal powder.

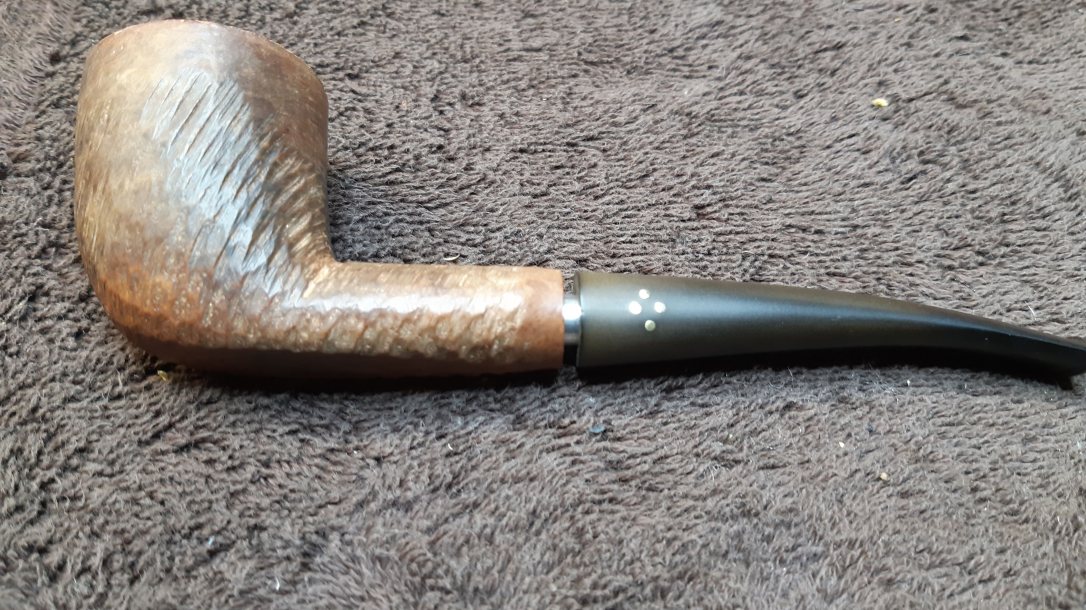
I filed and sanded the new patch and then took the pipe to the buffer again. This time there were no surprises, so I polished the stem to a mirror shine and applied several coats of Carnauba wax. The stummel received only a light buffing with White Diamond. The Sportsman pipes were all sold as unfinished briar, so waxing the stummel would be out of keeping with the spirit of the pipe.
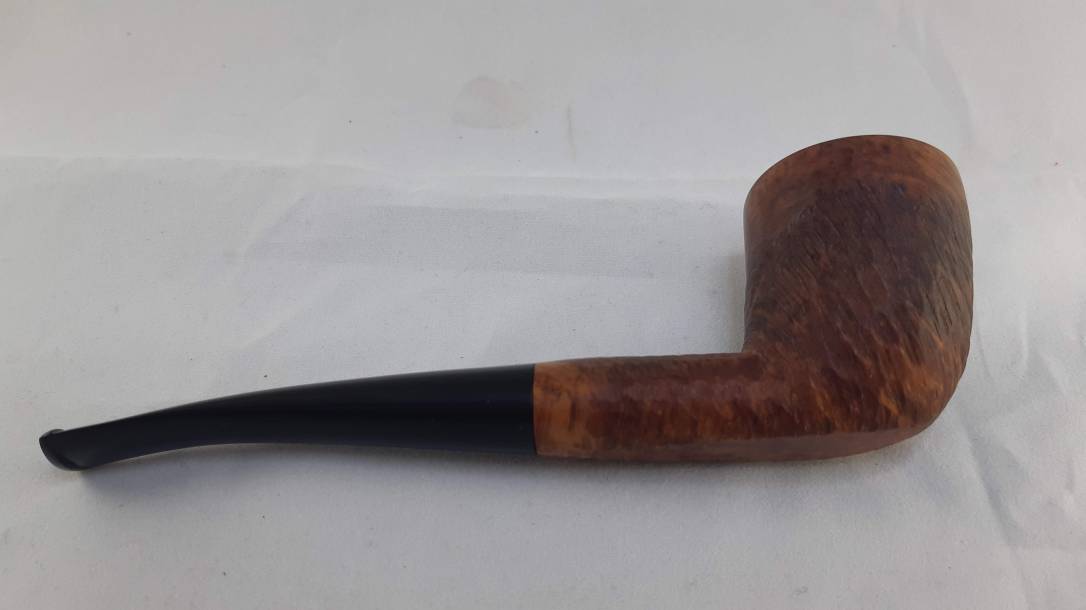
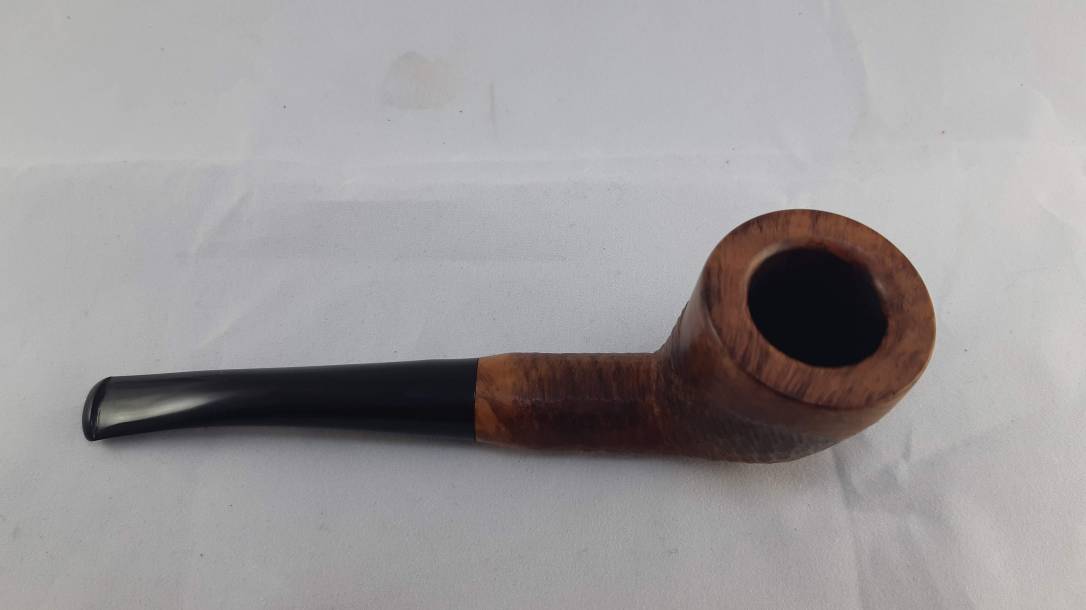
This restoration was a bit of a long haul, complete with a few tough decisions and unexpected setbacks, but all the effort was worth it looking at the finished pipe. The natural briar is fresh and clean, though it still retains the patina of age. The extensive rim damage is gone, and though I made a few alterations to the factory lines of the rim, I think the results justify my choices. The stem, now returned to its original glossy black, fits tightly to the shank and the tooth damage is but a memory. This 1990’s vintage Sportsman is ready to get back to work!
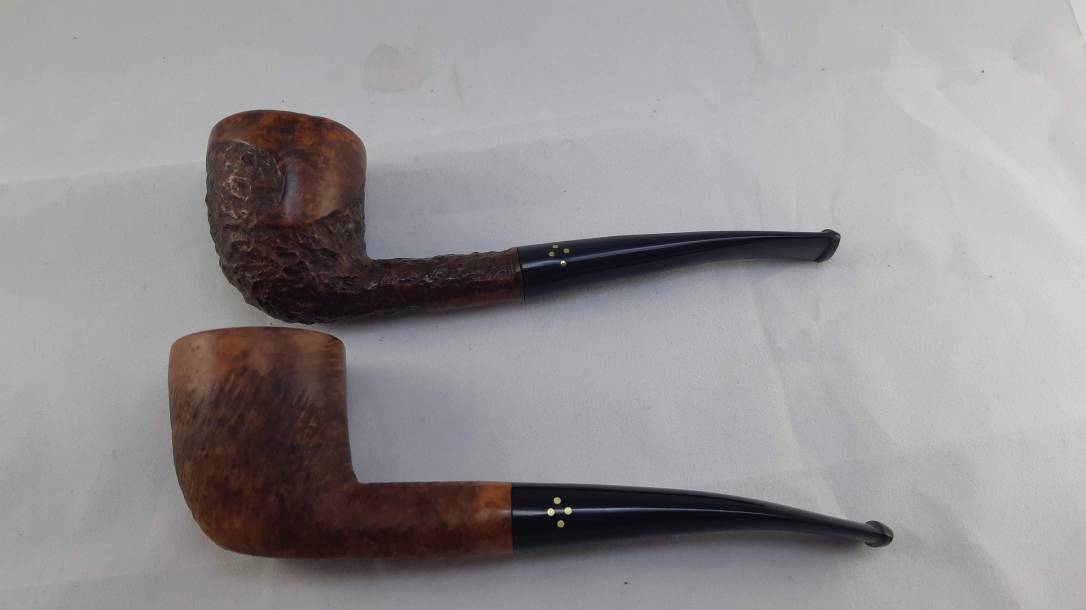
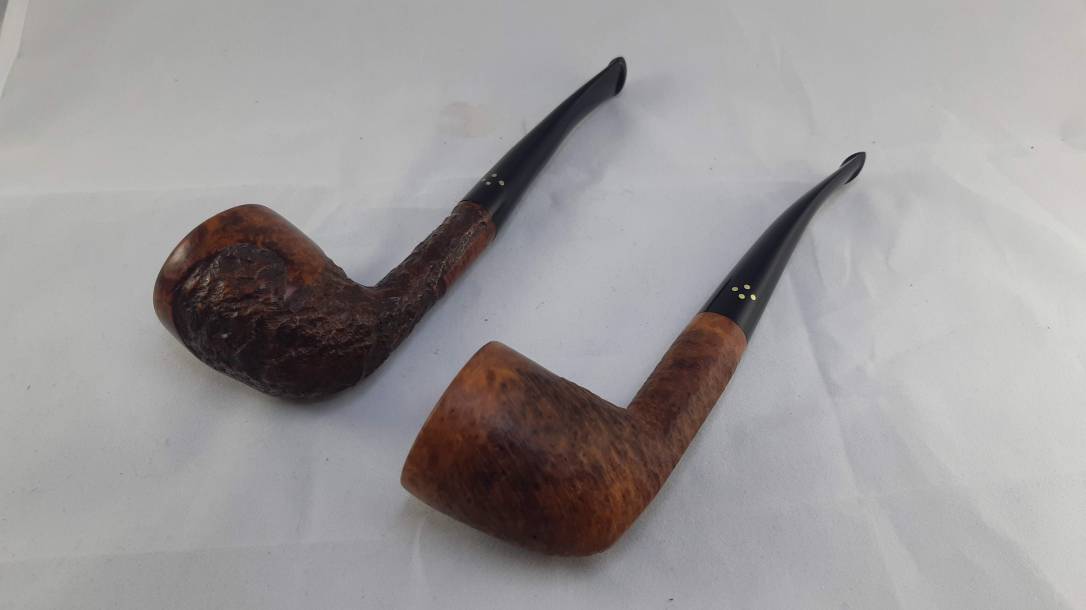
Throughout this refurbishment I kept thinking that the pipe’s shape seemed very familiar to me. After a quick look through my collection I understood why – I had restored another Brigham in this shape about a year ago. Here are two pics of the Sportsman beside that Brigham 442 – they are clearly the same shape – one more mystery solved!
Thanks for joining me for another estate pipe restoration. I enjoyed working on this Sportsman, which will take its place in my collection of Brigham pipes.
Until next time, Happy Piping! Here’s the finished pipe.


It is amazing how far people let their pipes go in ways of cleaning. Great clean up, hope you enjoy this one for a long time.
LikeLiked by 1 person
Thanks, Sean! I’m hoping to make this Sportsman my camping pipe this season. 😁
LikeLike