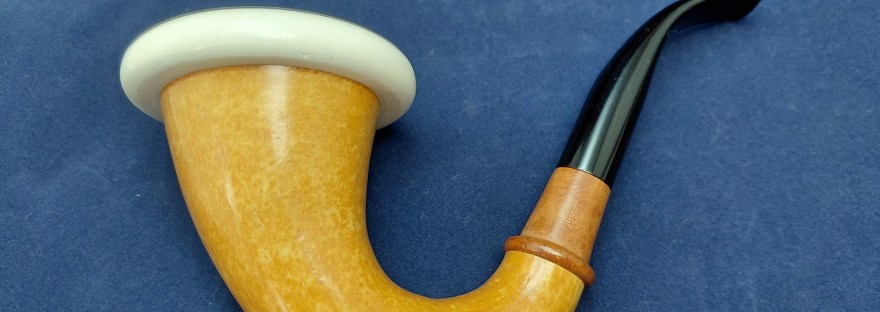
The Gourd Calabash pipe originated in South Africa, quickly becoming popular among British, Canadian, Australian and New Zealand soldiers stationed there during the 1899-1902 Second Boer War. There is a larger Canadian connection here, too, as it was H.L. Blatter, his brother Ernest and sister Marguerite that founded a company to manufacture Gourd Calabash pipes in Cape Town. This family later emigrated to Canada and founded the pipe-making dynasty that was Blatter Pipes in Montreal, Quebec. Blatter unfortunately closed its doors in 2026 after more than a century of operations.
After the war, returning soldiers brought the Gourd Calabash pipes back to their home countries, where their superb smoking qualities quickly led to a surge in demand. The rest, as they say, is history! The popularity of the Gourd Calabash continues, partly due to the Hollywood invention of Sir Arthur Conan Doyle’s Sherlock Holmes seen smoking one in the films made in the 1930s and 1940s.
The Gourd Calabash on the bench today was sent to me by a Canadian pipe smoker with the request to fit a new Acrylic stem to replace the damages Vulcanite stem. As you can see in these pics, the pipe was in very good estate condition, showing very little signs of use other than a bit of rim darkening and, of course, the aforementioned stem that was missing half its button.


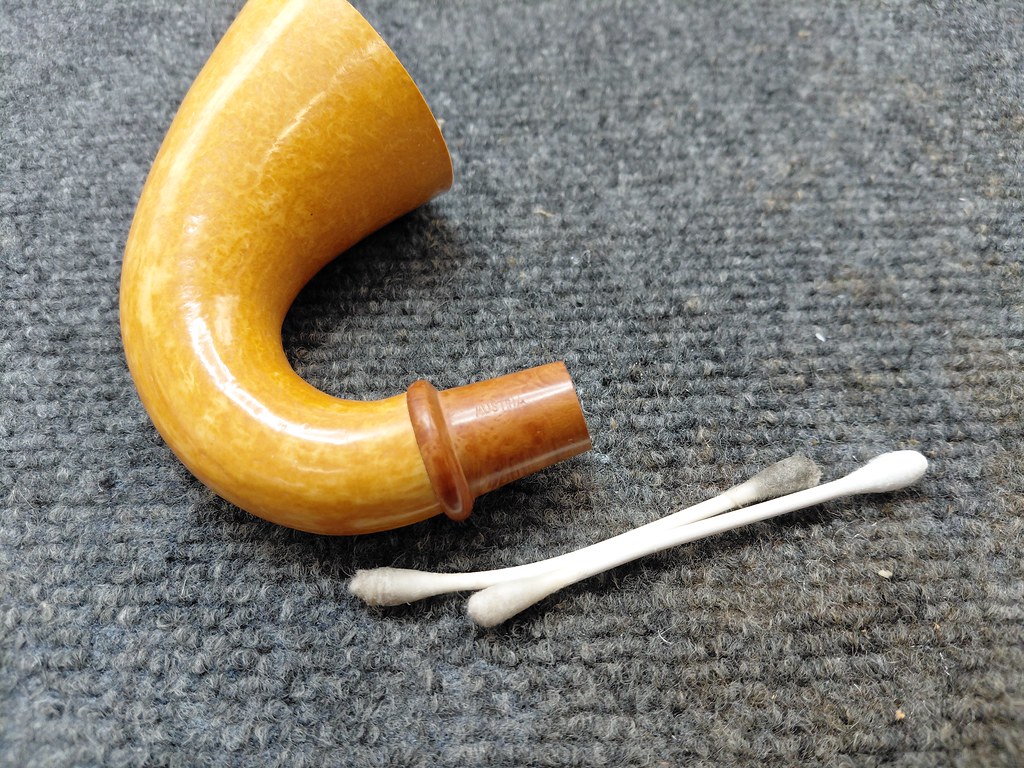
The only stamp on the pipe is the word “Austria” marked on the left flank of the wooden shank extension. This is not surprising, as Austria was a major center for meerschaum pipe production from the 18th century through to the 1970s when Turkey banned the export of raw meerschaum blocks in order to develop a domestic meerschaum carving industry.

Before getting into the meat and potatoes of the stem replacement, I made sure that the pipe was clean inside and out. I used a cotton swab wetted with saliva to gently remove as much of the darkening and old carbon deposits as possible from the rim. Sandpaper wrapped around a dowel removed a light layer of carbon cake from the chamber.
It’s worth noting again here that meerschaum, unlike briar or morta, does not require a cake layer in the chamber to protect it from heat damage. Meerschaum is a mined mineral, essentially a lightweight rock, so it’s already fireproof. It is, however, also very fragile, so allowing cake to build up in the chamber runs the risk of the bowl cracking as the cake and meerschaum expand and contract at different rates under use.
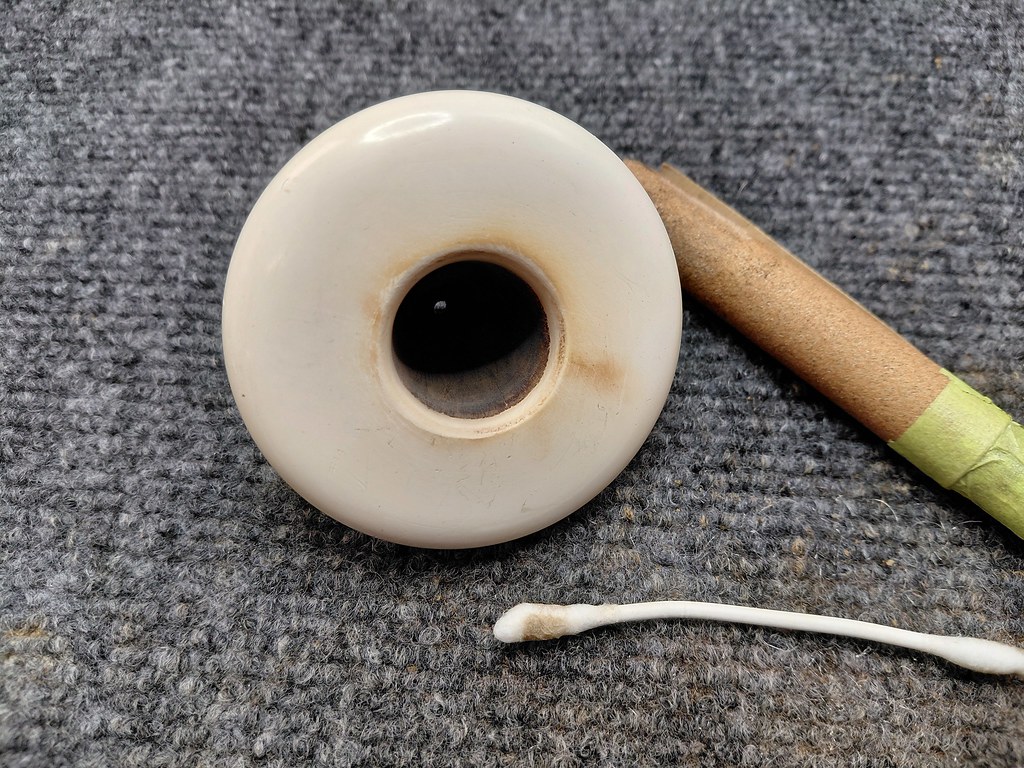
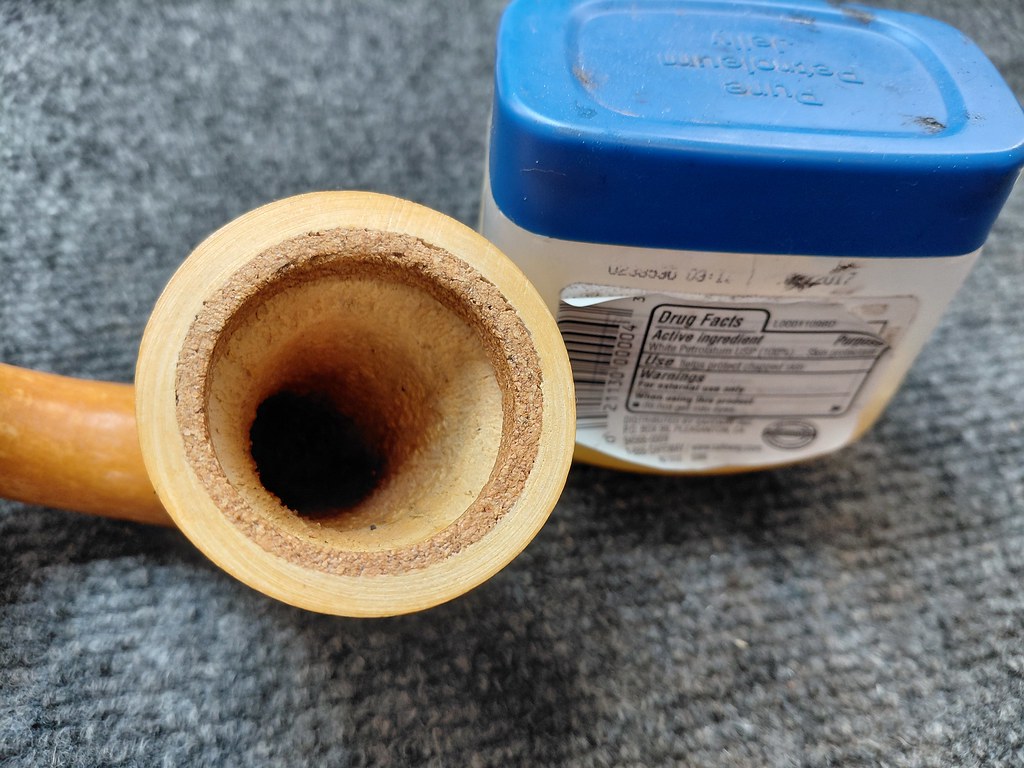
After making sure that there were no carbon or tar deposits inside the gourd body, I performed a bit of preventive maintenance on the cork gasket that holds the meerschaum cup in place. The cork tends to dry out over time. Dry cork is thinner cork and a loose grip on the meerschaum cup would not be a good thing. Thankfully, a light application of petroleum jelly once a year or so keeps it plump and hydrated.
A few pipe cleaners dipped in 99% isopropyl alcohol removed a small amount of tar and dirt from the shank mortise.
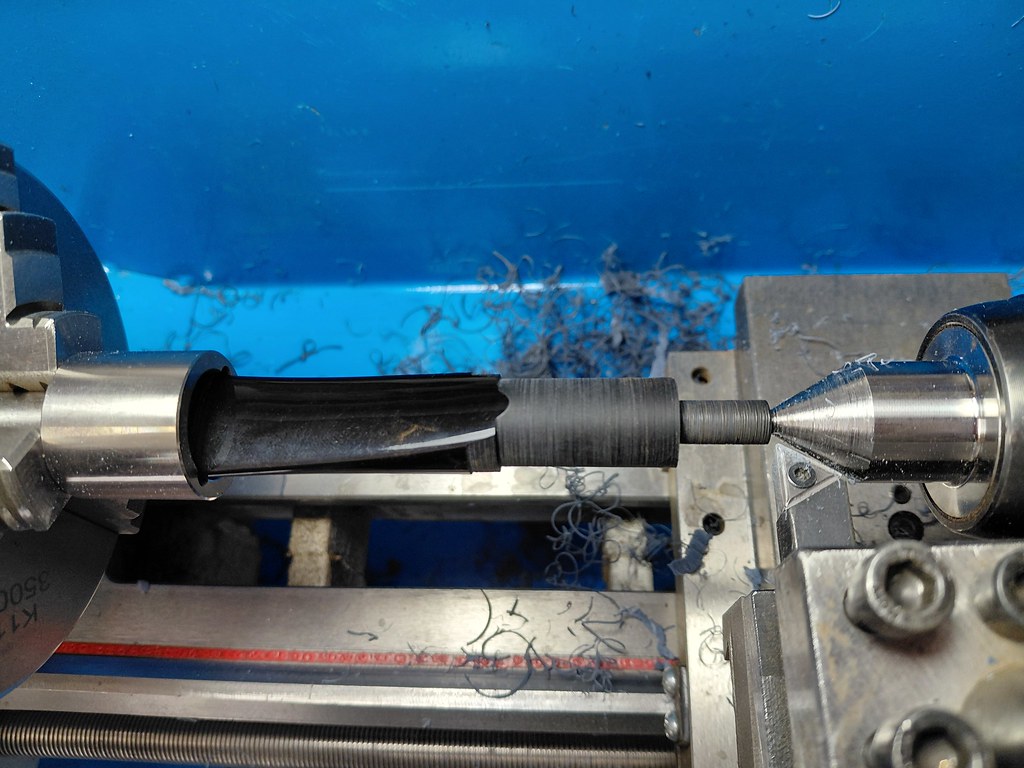
With the cleaning complete, it was time to start work on the new stem. I mounted an Acrylic stem blank in the lathe and cut the tenon down to size. I also cut the body of the stem to rough diameter, leaving it a bit larger than the diameter of the shank to be fine-tuned later.
After removing the stem from the lathe, I test fit it to the shank. The tenon fit snugly, but holding the pipe up to the light revealed an issue.

There was a crack of light showing between the stem face and the end of the shank. This misalignment could be due to the shank face being off kilter, a poorly made precast stem blank, an issue with my lathe setup or a combination of all three. The solution is the same regardless. I’d have to cut off the integral tenon and fit a new Delrin tenon to the stem to achieve a flush, light-tight fit.
This happens more often than you’d think with precast stem blanks, which are made by either bonding two molded halves together along a lengthwise seam or by injection molding. Both processes can produce small irregularities in the stem blank, the most common being an off-centre airway.

A few minutes later, I had the integral tenon off and the stem face sanded smooth and flat. After a few more minutes at the lathe, I had turned a section of Delrin rod into a new tenon and drilled a mortise for it in the stem face.


Here is a shot of the new tenon dry fit into the stem face. Not bad!

This pic shows the tenon mounted snugly in the shank mortise and highlights details of the tenon design. I’ve left a raised ring around the base of the tenon proper, the section that fits into the shank mortise, and cut the stem end of the tenon to a smaller diameter. Doing this allows me to drill a smaller mortise in the stem face and the ring around the midpoint of the tenon gives the stem a more finished look than gluing in a straight tenon.

I forgot to photograph the tenon glue-up process here, but regular readers will be well familiar with it by now. After roughing up the stem end of the Delrin tenon and the inside of the mortise, I mounted the tenon in the shank mortise and applied some two-part epoxy before sliding the parts together.
I left the pipe clamped in a padded vise to hold the stem upright over the tenon while the epoxy cured. Why not let gravity assist in keeping the stem face tight against the end of the shank?
When the epoxy had cured completely, I removed the stem from the vise and chased the airway with a drill bit to remove the inevitable excess glue. Then I could begin the process of filing and sanding the stem to the appropriate size and shape for the pipe. This pic shows the stem after sanding it with 220 and 320 grit sandpaper.

I completed refining the stem by wet sanding with 600 and 2000 grit papers. Each grit removed the scratches left by the previous grit. When everything was sanded toa smooth 2000 grit, it was almost time to take the pipe to the buffer.

Before doing the final buffing and polishing, though, I needed to introduce a fairly significant bend to the straight stem. I slid a pipe cleaner through the stem’s airway to prevent it from kinking or collapsing while I warmed the Acrylic over the heat gun until pliable. Using the original stem as a template, I bent the hot Acrylic to shape, then set it by running the stem under cold water.


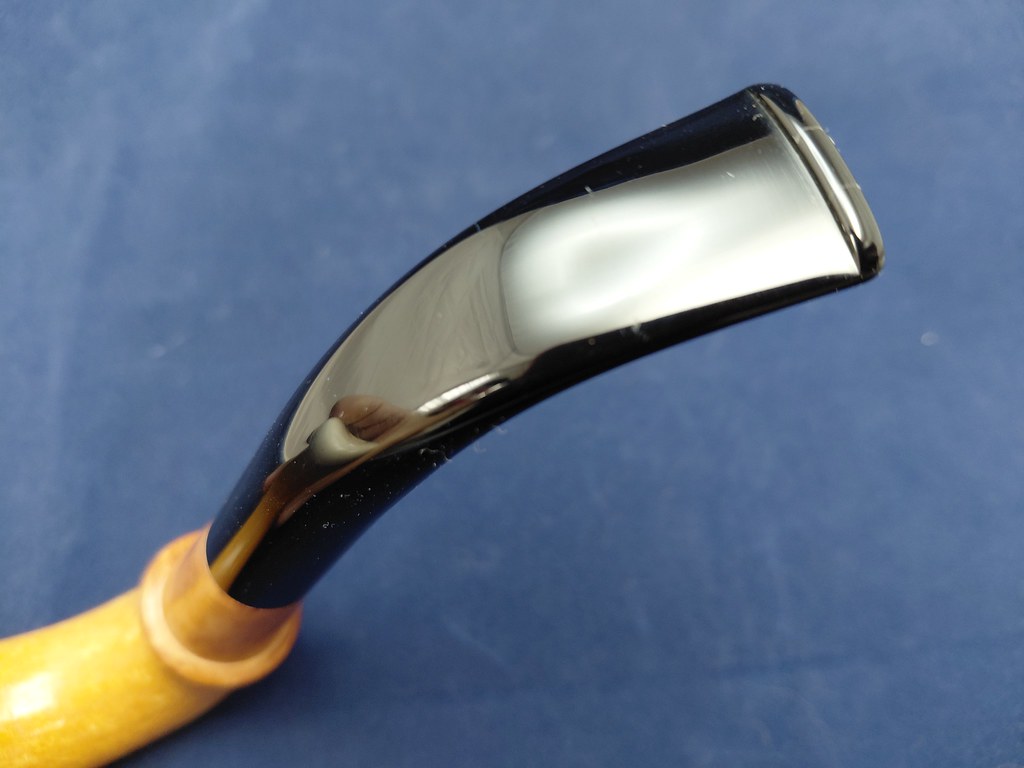
Then it was off to the buffer where the new stem received a run on the Red Tripoli and White Diamond wheels to erase the last of the sanding scratches and bring up the shine. Acrylic buffs to a beautiful glossy finish more easily than Vulcanite does, so it wasn’t long before I could use the stem as a very tiny mirror!
To finish off this project, I gave the stem and gourd body a few light coats of Carnauba wax to add more shine and some UV protection. The meerschaum cup was also given a very light (and very careful) buffing on the White Diamond wheel to smooth out a few surface imperfections. Replacement meerschaum cups are becoming both expensive and hard to source these days, so I really didn’t want to damage this one at all.
And with that, the pipe was done and ready to send back to its steward! The new Acrylic stem took a little longer to fit than it could have thanks to a wonky integral tenon, but that comes with the territory when using precast stem blanks. The stem looks fabulous on the pipe, and it will never oxidize like the old Vulcanite stem did. With a little care and feeding, this Austrian Gourd Calabash should perform well for its steward for many more years.
Here is the finished pipe. Until next time, Happy Piping!