
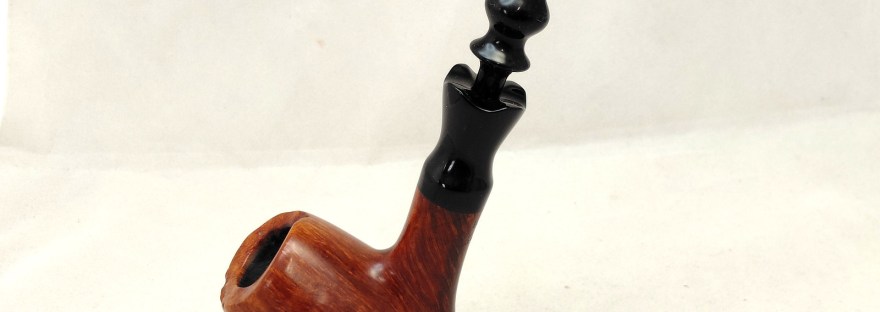
Maintaining a pipe in good condition takes more than simply running a pipe cleaner through the airway after a smoke. Periodic deep cleaning and polishing can take a well-loved pipe from disreputable to disarming for little more outlay than basic supplies and a bit of time and elbow grease.
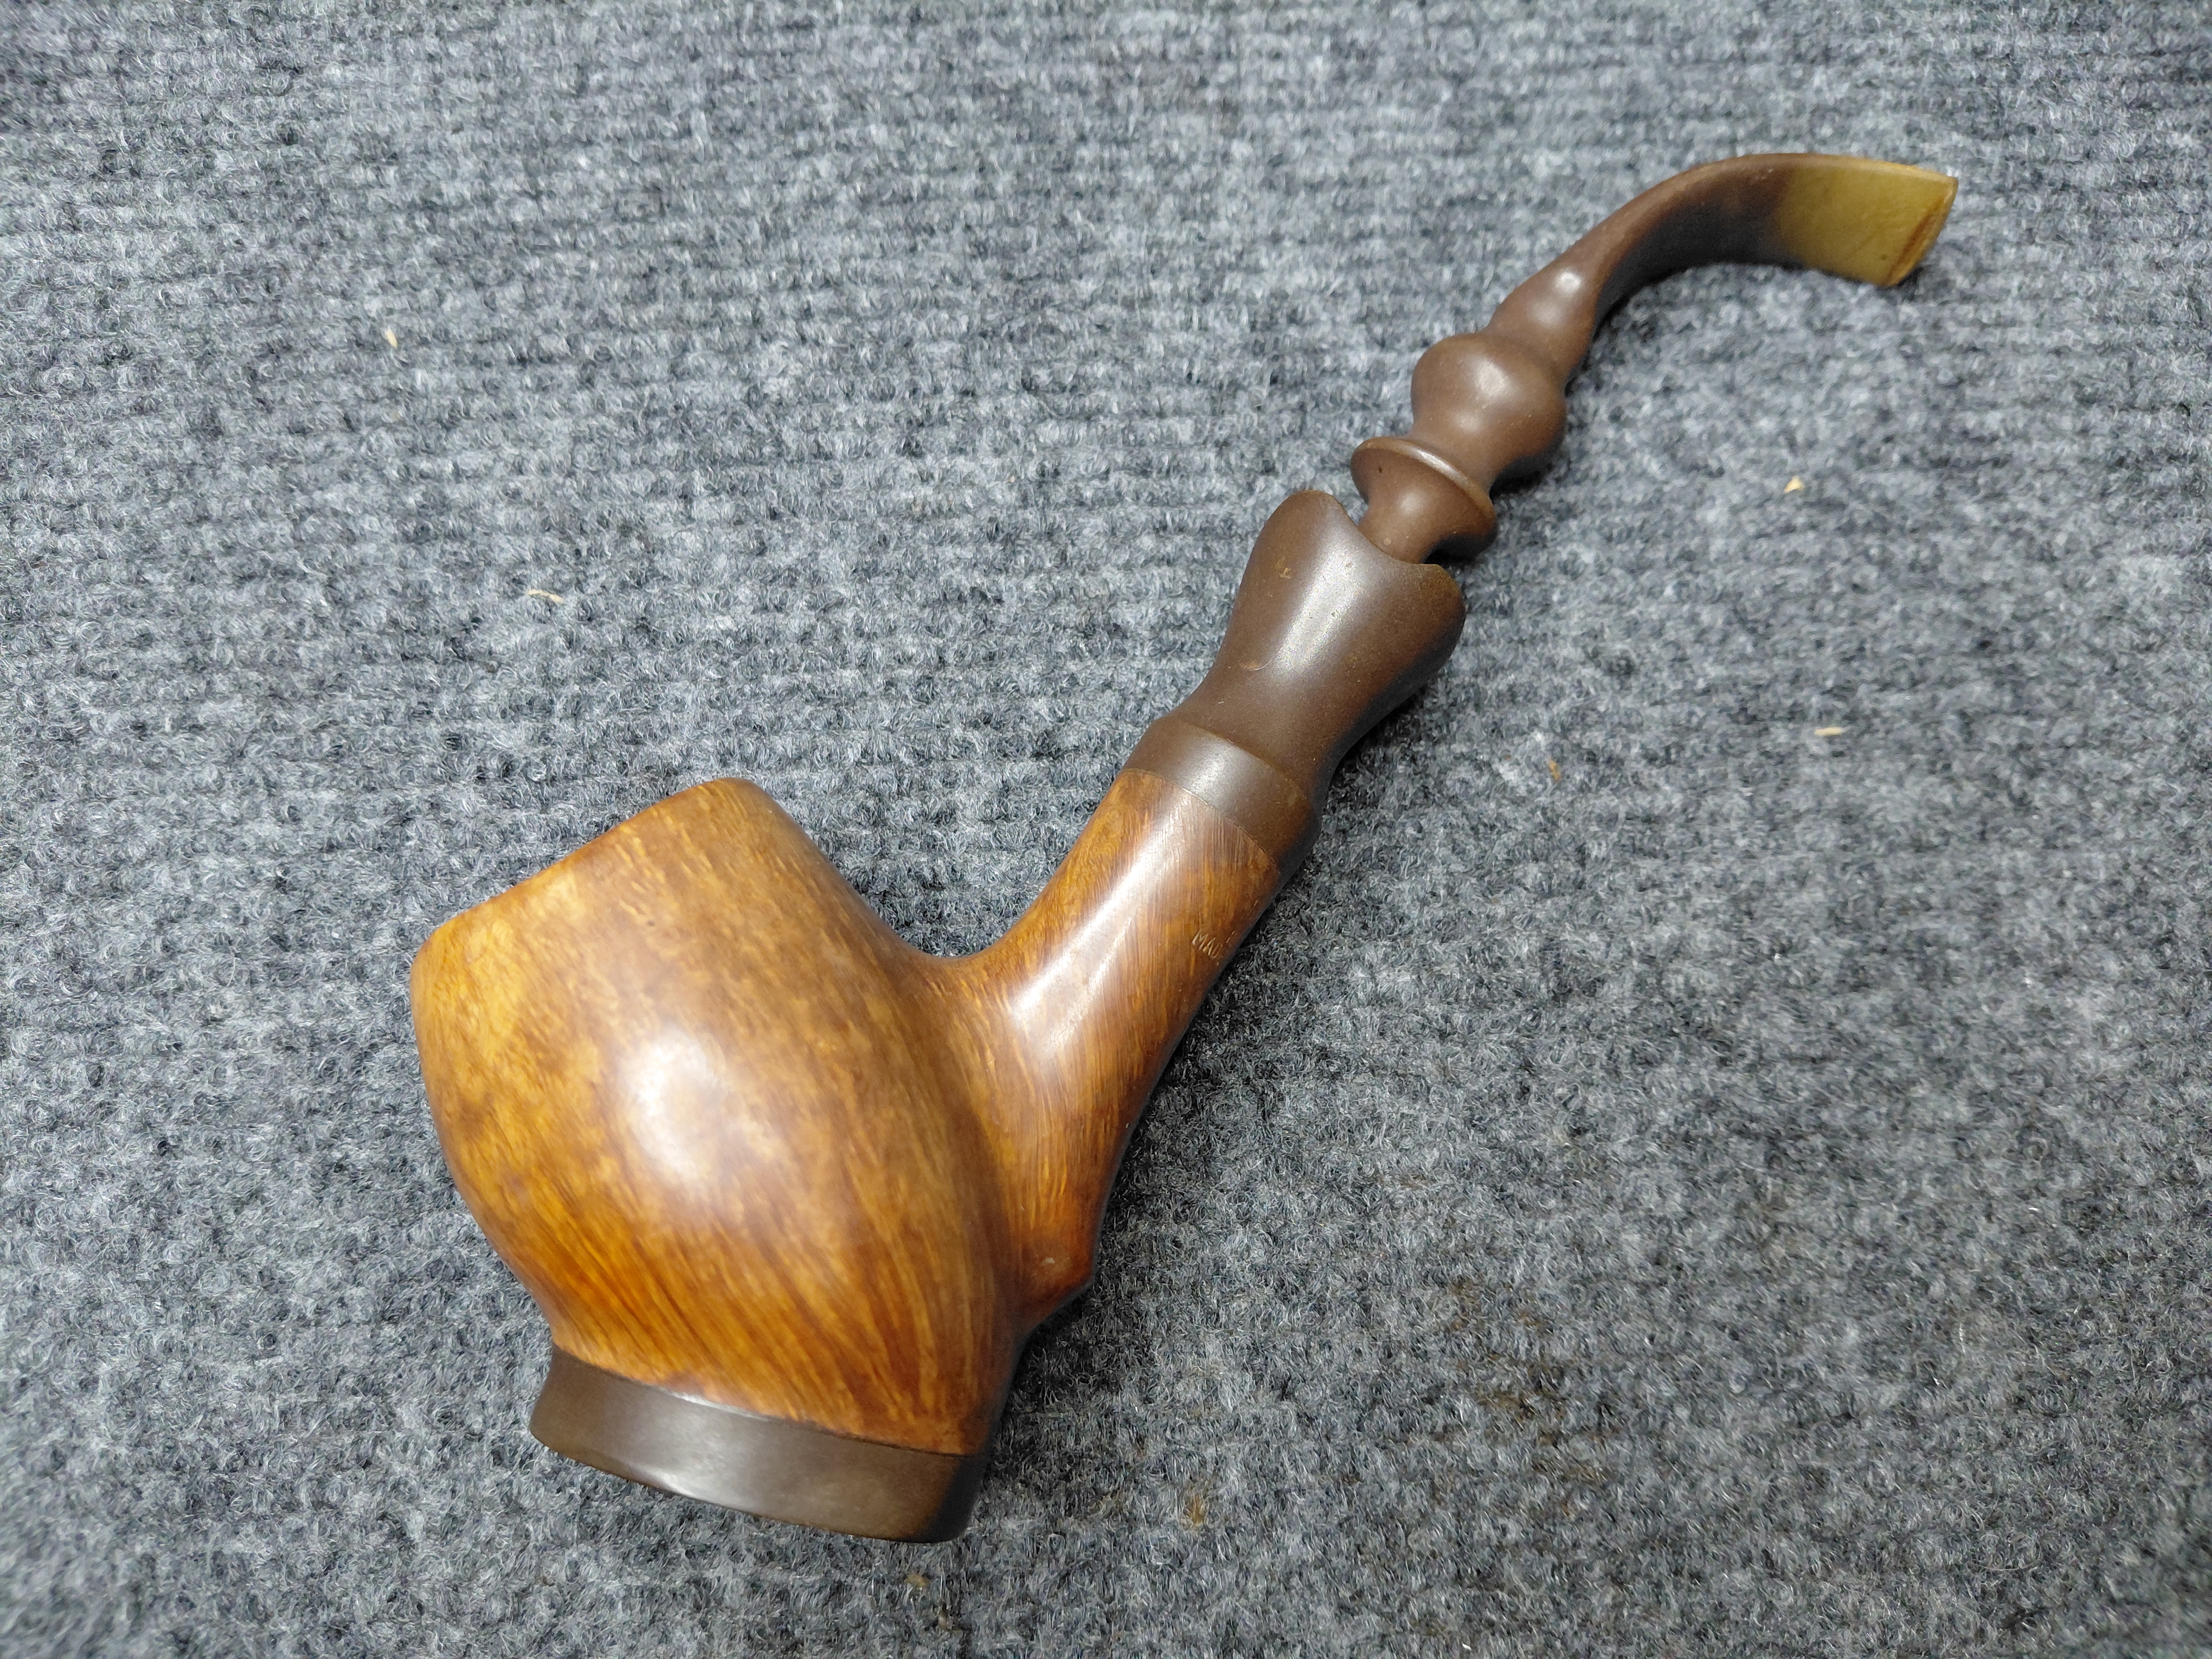
Let’s take today’s pipe as an example. This vintage Bjarne Footed Egg Sitter had been sent to me for restoration by a fellow Canadian pipe lover. The pipe had clearly been cared for over the years but, just as clearly, it had spent a great deal of time in a sunny location as all the Vulcanite on the pipe was heavily oxidized and discoloured.
Remarkably, there didn’t seem to be any tooth dents or even light chatter in the bite zone of the stem; the button was intact and the stem fit snugly in the shank mortise. The briar likewise was in lovely condition under a haze of old wax and dust. The pipe simply needed some TLC.


The rim had a touch of lava on the rear edge and the chamber sported a light layer of carbon cake.

These closeup shots reveal that the stem has discoloured both from oxidation and a chemical reaction to the smoker’s saliva, causing the end of the stem to turn a sulphur yellow.


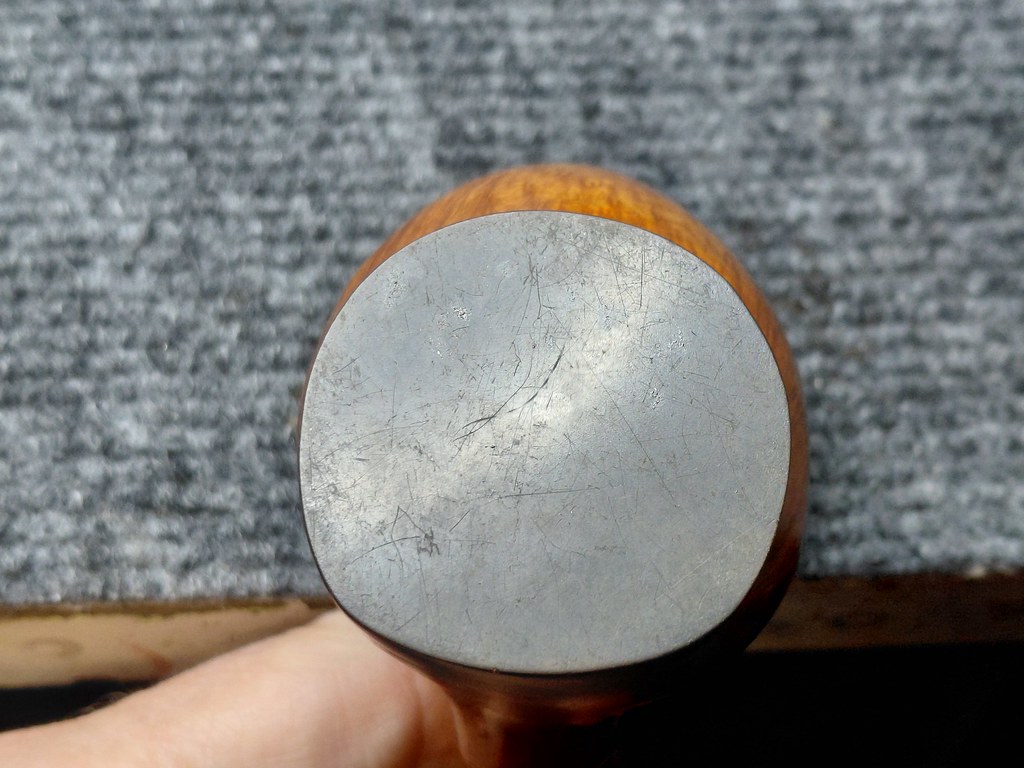
The underside of the shank is stamped “Bjarne” over “Hand-Carved” over “Made in Denmark”. Note also the whitish pinhead spots on the Vulcanite shank extension. This happens when Vulcanite oxidizes over a long period of time. In the worst cases, these little pits penetrate deeply into the Vulcanite, making them impossible to sand out. I hoped these had not progressed to that point yet and that I could restore the Vulcanite to a smooth, glossy black.

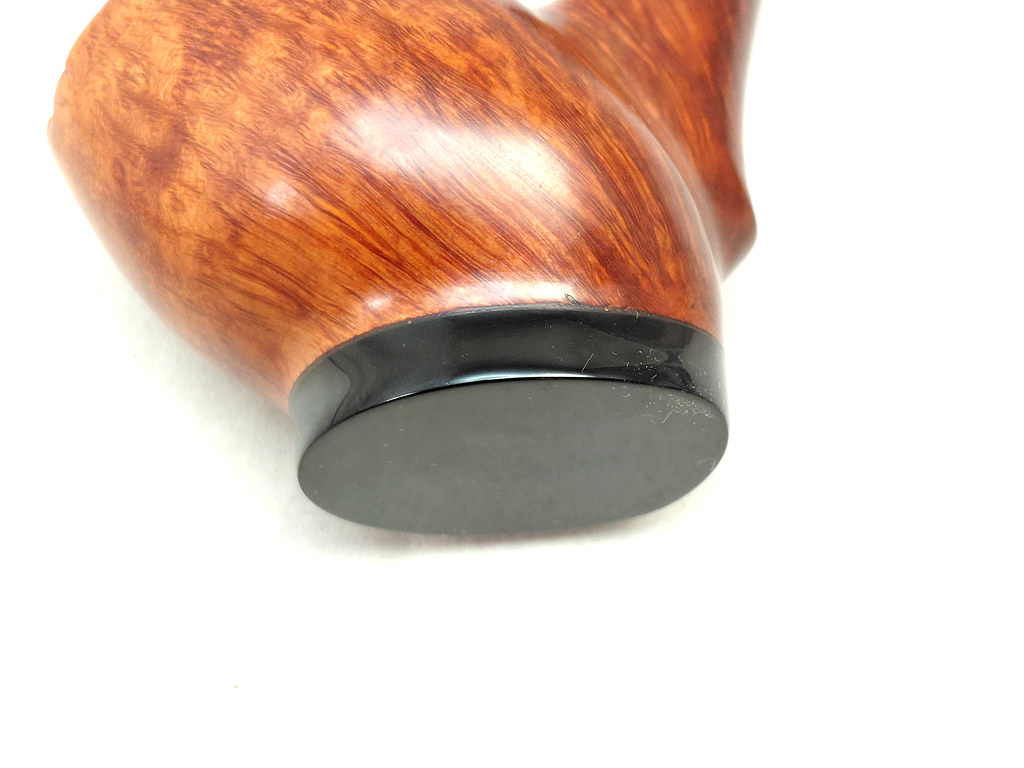
The only Vulcanite on the pipe not terribly oxidized was the bottom of the foot, the one part not exposed to sunlight when the pipe is sitting between sessions.
I was confident that I could remove the oxidation from the stem using an Oxyclean bath, but it wouldn’t be practical to try to soak the shank extension. Oxyclean on briar would only increase the work required to get this pipe looking its best again.

This end shot of the shank extension shows the details of the almost crenellated shank face. These peaks and valeys would be tricky to polish without softening the crisp lines.

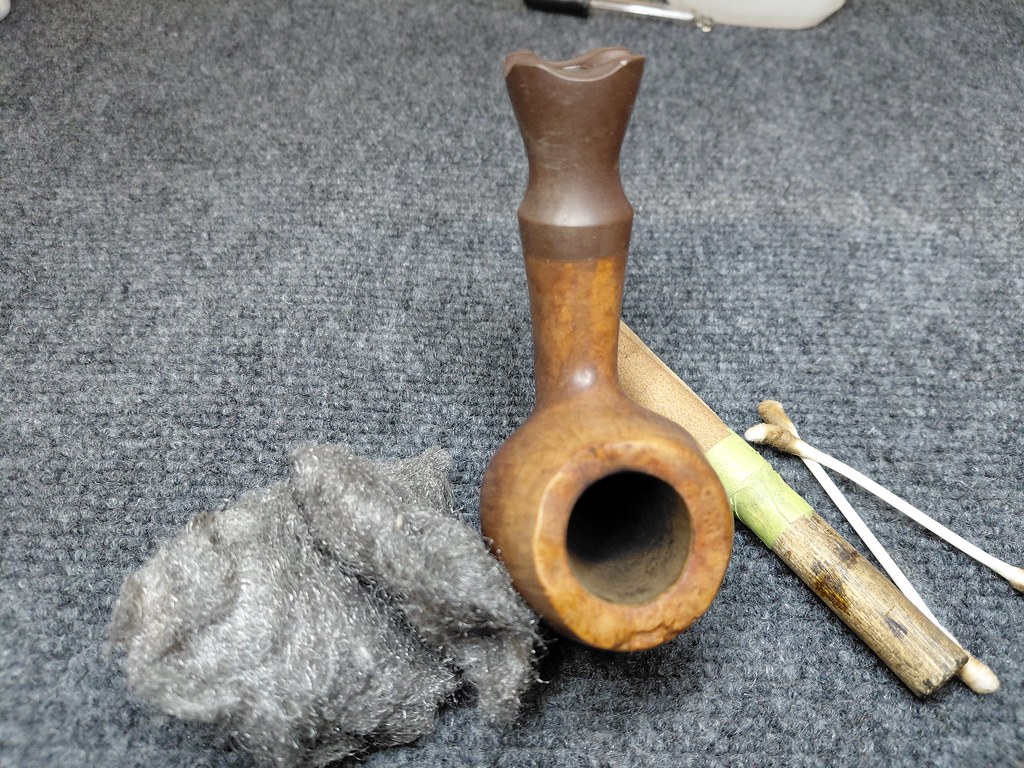
Before jumping into what promised to be a lengthy deoxidizing process, I set about to clean the pipe inside and out. In the pic below you can see the results. A few pipe cleaners dipped in isopropyl alcohol removed a small amount of tars and debris from the mortise and airway while 0000 steel wool took care of the lava buildup on the rim. The light cake in the chamber surrendered easily to sandpaper wrapped around a dowel.


The stem was popped into the promised Oxyclean bath made from roughly 45ml of Oxyclean powder in 375ml of warm water. The solution starts to work quickly but this much oxidation would take time. I left the stem in the bath overnight to let the Oxyclean do its job.

When I came back to the shop the following day, I pulled the stem from the bath and scrubbed away the worst of the now softened oxidation with some more 0000 steel wool followed by Magic Eraser.
On less discoloured stems, this would be all the scrubbing required and I could take the stem directly to the buffer, but this stem needed additional manual intervention in the form of wet sanding with 600 and 2000 grit papers, especially the peaks and hollows of the chair leg turnings.
While I was at it, I also wet sanded the Vulcanite shank extension and foot after taping off the briar shank to protect it from random scratches. I especially did not want to sand into the stamps on the underside of the shank.
This was fiddly, painstaking work from which I took frequent breaks in order to stay fresh. I’d prefer not to damage the pipe in a moment of inattention. All in, I spent about an hour hand sanding the Vulcanite parts of the stummel to remove as much oxidation as possible. Only when I was sure that the buffer would strip away the last remnants of discolouration did I put away the sandpapers.
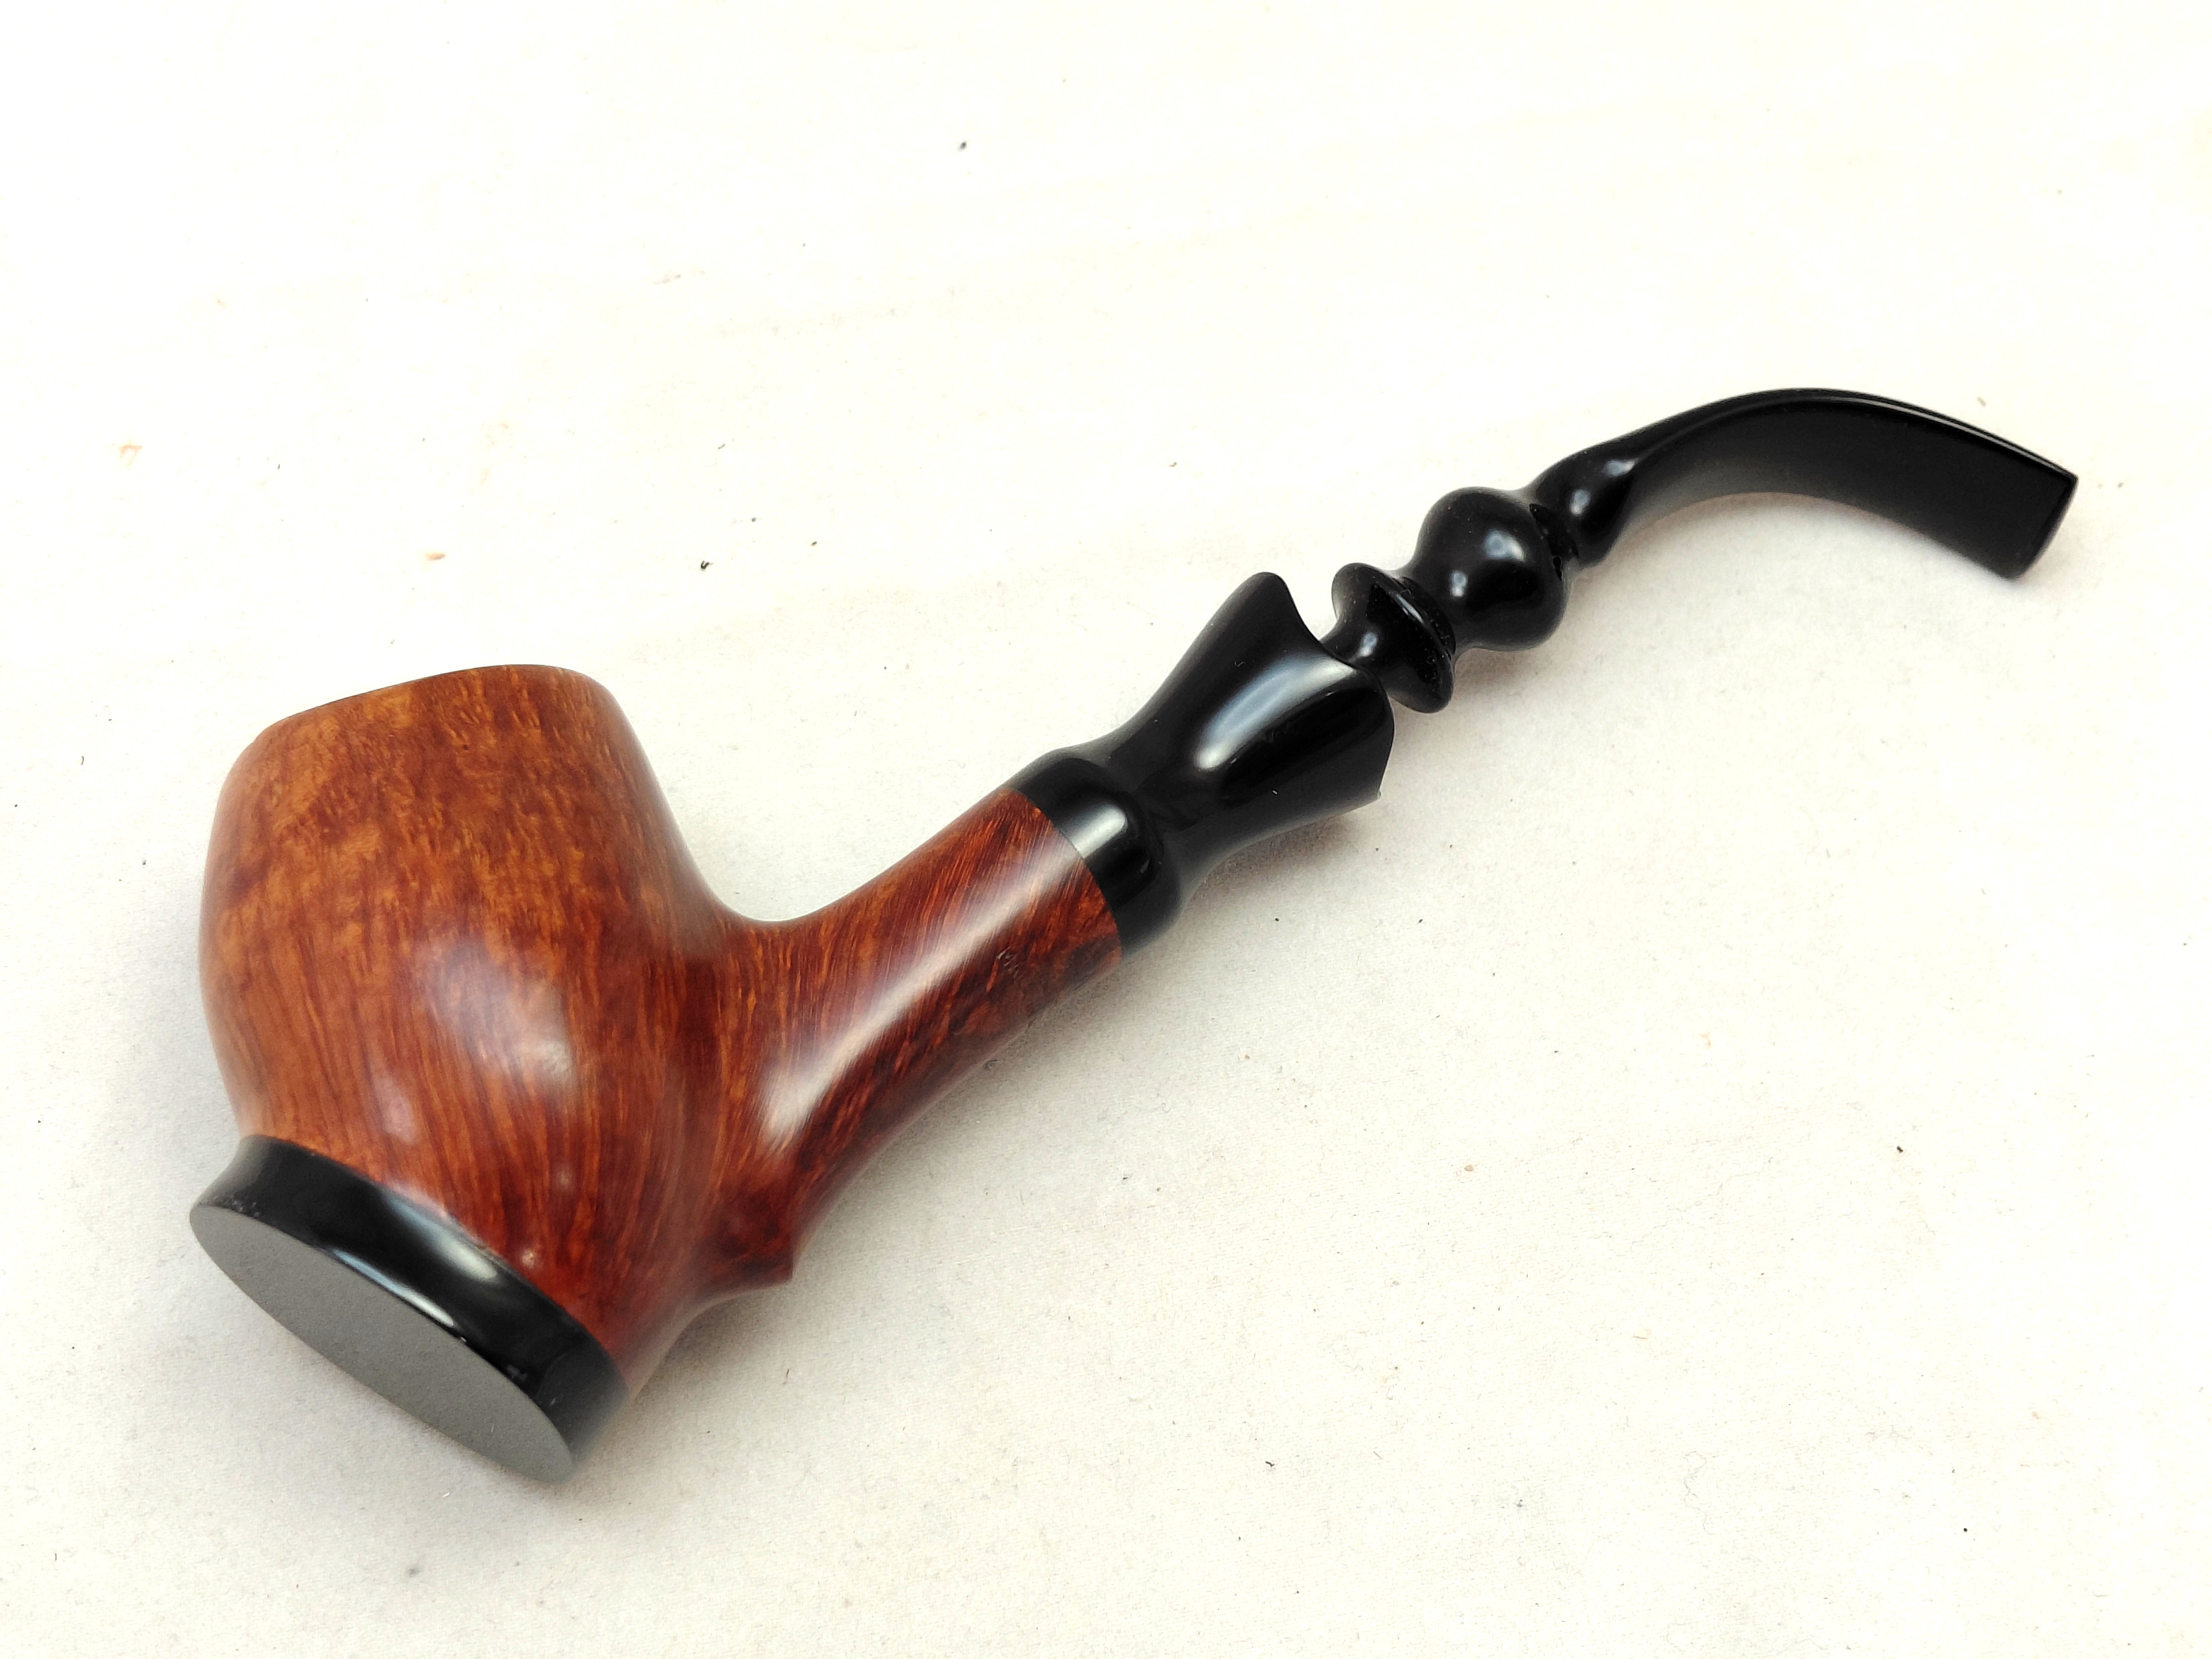
Taking the pipe to the buffer, I spent most of the time on the coarser Red Tripoli wheel carefully working the piece to remove the last of the oxidation and bring up the shine. When an inspection under bright light showed no remaining yellow haze on the Vulcanite, I moved to the White Diamond wheel for final polishing. A few coats of Carnauba wax finished off this restoration and gave the entire pipe a lovely glossy finish and a modicum of UV protection.
This Bjarne pipe wasn’t particularly dirty when it arrived at the shop, so the cleaning, while helpful was greatly overshadowed by the deoxidation process. I think you’ll agree that the difference between the Before and After pictures is striking, to say the least.
I hope this relatively short post opens your eyes to the power of a good Ream & Clean service. In only a few short hours, this Danish freehand has gone from a tired historical curiosity to an eye-catching art piece and a desirable smoking companion that any pipe lover would be happy to have in their rack and rotation.
This pipe was heavily oxidized, but periodic maintenance would have made it a lot easier to polish up. If you have a pipe in your rack that could benefit from some TLC, perhaps now is the time to assemble some supplies and get to it. If a DIY project is not your thing, I’d be happy to take care of it for you.
Until next time, Happy Piping! Here’s the finished pipe.






What an interesting freestyle! GBD called those stems “chairleg” and they were a pain to restore, great job on that one.
LikeLiked by 1 person