
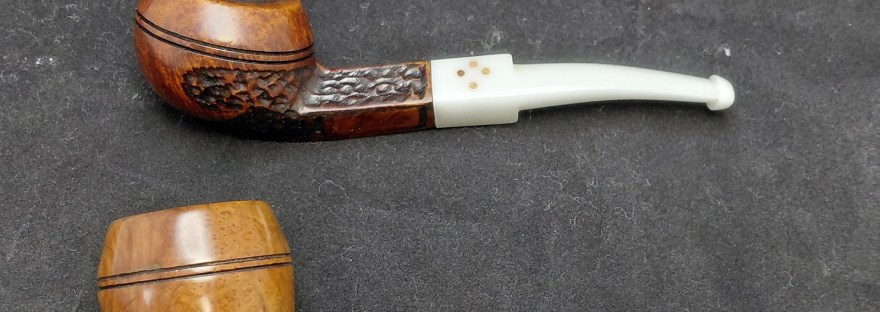
I’ve been repairing and restoring pipes for over a decade and over that time, I’ve seen thousands of pipes come across the bench. Expensive pipes, drug store pipes, collectible pipes and mundane pipes. I enjoy working on them all, but the projects that stand out the most for me are the passion projects, those undertaken by their stewards not because the pipes need repair but because the stewards want the pipes transformed to match their personal visions. That could mean creating a longer or shorter pipe, changing the pipe’s colour or the styling of its stem, or, as in the case of the two pipes in today’s post, creating pipes to commemorate beloved friends.
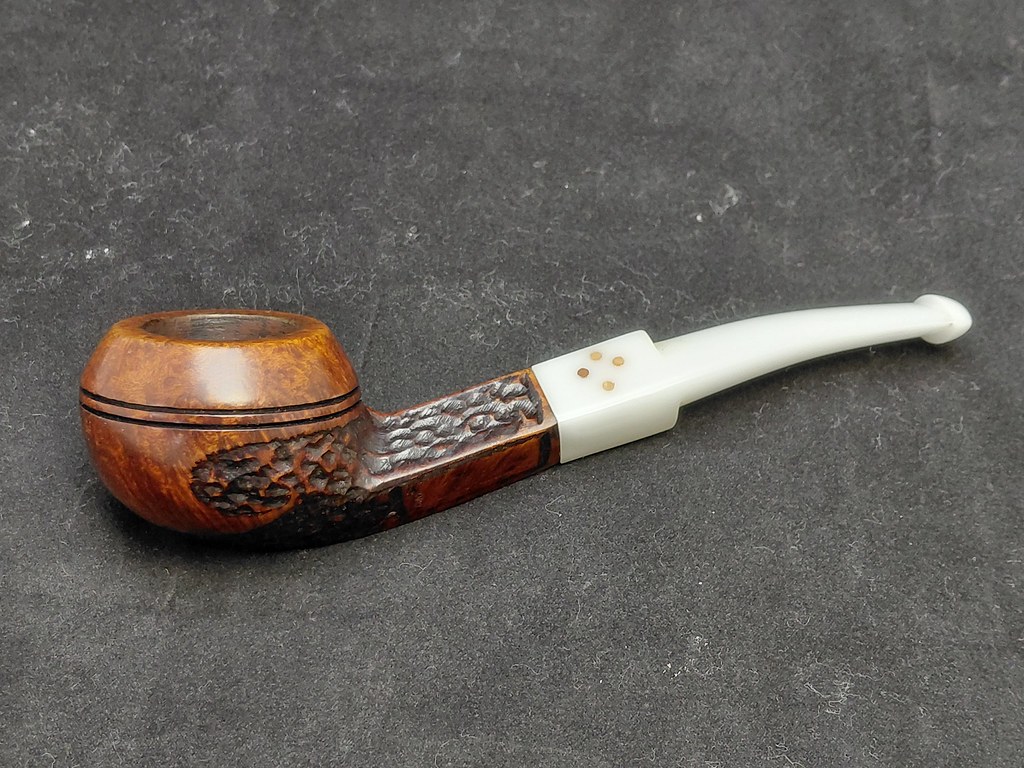
I was sent this pair of older Brigham Bulldog pipes by a Canadian piper who wanted to have new stems made to honour his two canine companions, a pair of, you guessed it, French Bulldogs! The upper pipe in the pic below is a 4-Dot Bent Bulldog from the 1980s; the smooth pipe shown below the first is a 2-Dot Straight Bulldog dating to, I believe, the 1960s, though the stamps on the shank of this one are worn to near illegibility.
The stummels themselves were in rather good vintage condition. The stem on the 4-Dot pipe is original, while the round taper stem on the 2-Dot is clearly not. It should be a Diamond Taper stem.

When it comes to pre-2001 Brigham pipes, my first question is always about the state of the aluminum tenons. Over time and with use (and misuse), the aluminum can oxidize, crack, or chip. If the damage is bad enough, the tenon can be unusable. Thankfully, as you can see in this next photo, the tenons on these Brigham stems were in excellent condition.

I had several conversations with the pipes’ steward to define the brief for the project. The steward’s dogs had distinct colours and patterns in their coats, which would be reflected in the choice of Acrylic rods from which to craft a pair of Diamond Saddle stems.
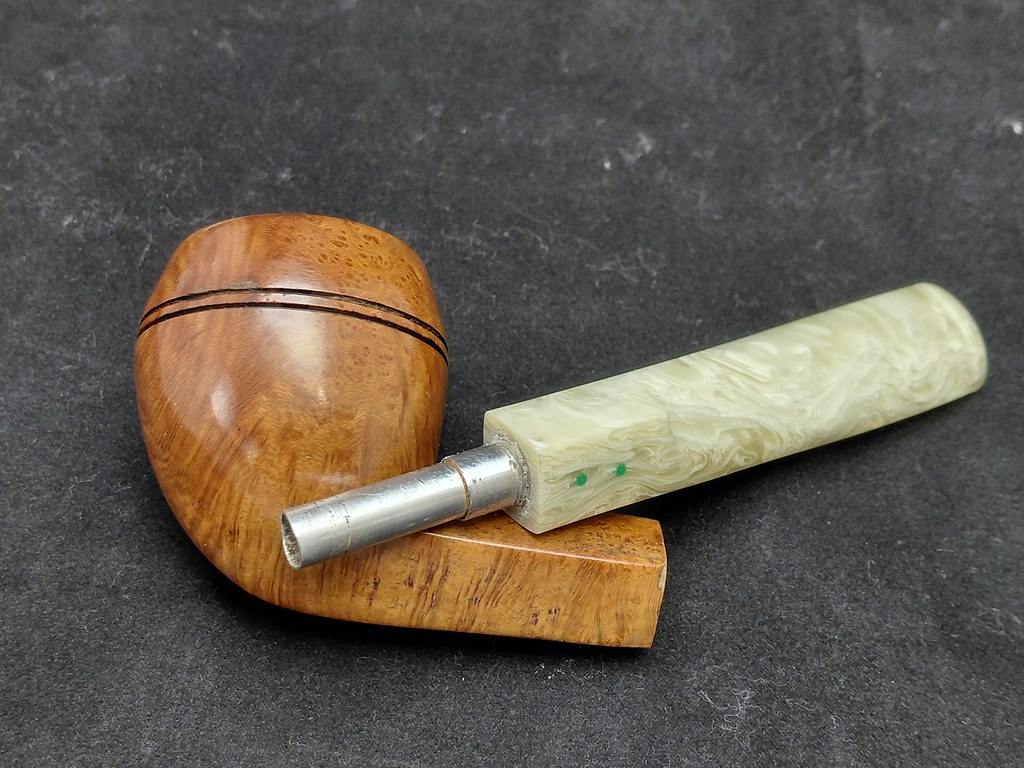
The 4-Dot pipe would get a White Acrylic stem with four Dots made from briar, while the 2-Dot pipe would be fitted with a Tan Jade Acrylic stem with two green Dots. Both stems would feature the Brigham System. This pic shows the stummels next to the rods chosen for the project.

The stummels had, conveniently, been very well cleaned before they arrived in the shop, so I could get straight on with crafting the new stems. Using the original Diamond Saddle stem as a template, I took several measurements, then cut sections of rod for each stem. This pic shows a section of Tan Jade rod over the drill bits required to drill a standard airway.

The first drill bit bores a 1/8″ starter airway from the stem face to a point about 5/8″ from the button end of the rod.
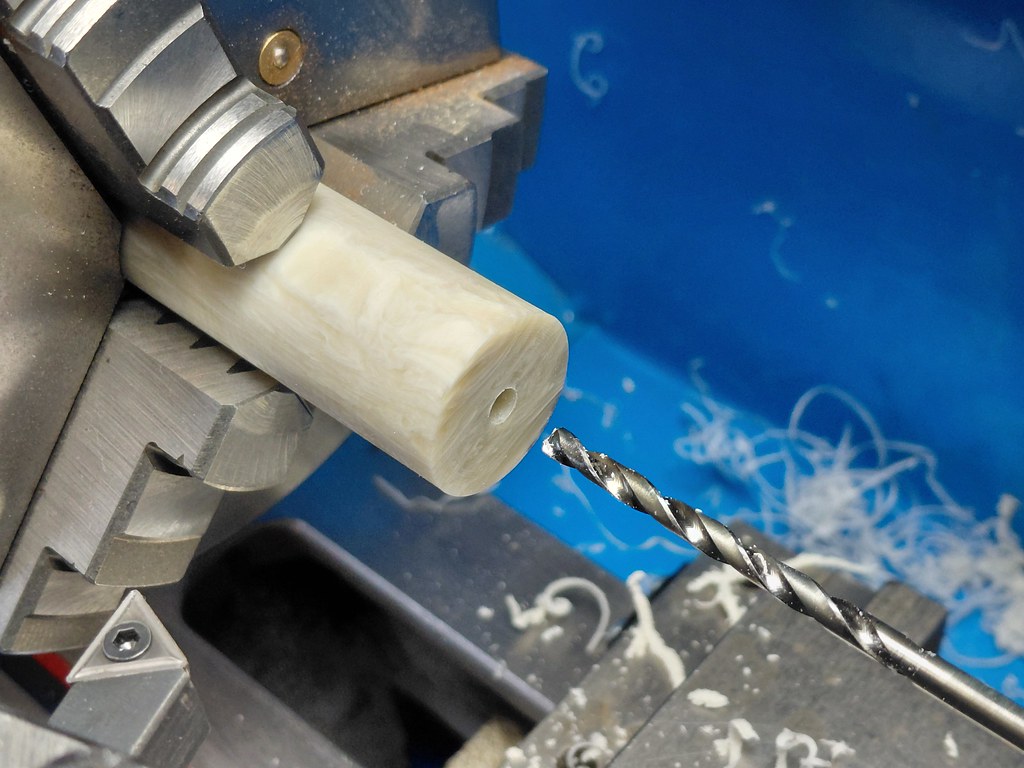
The second drill bit, a taper point 5/32″ bit, widens the airway while extending it slightly and bringing the internal drilling to a sharp point near where the V-slot in the button will eventually join the airway.

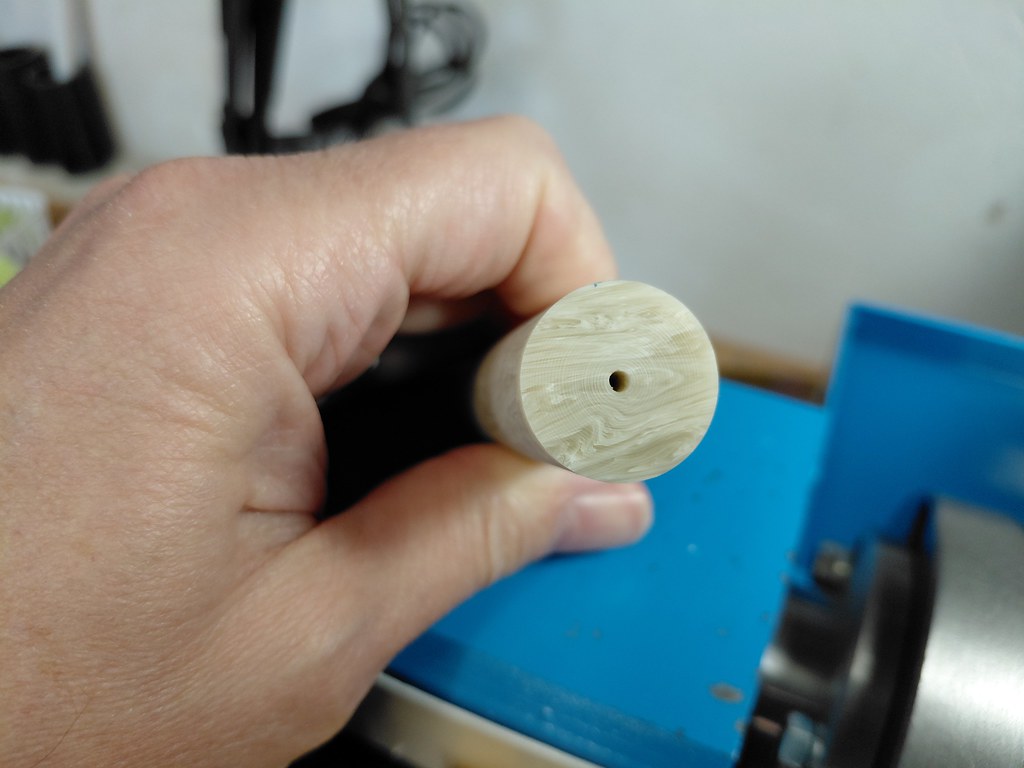
The final drill bit for a standard airway is a 1/16″ bit that completes the airway through the rod. The taper point drilling in the previous step guides the rather flexible 1/16″ bit through the exact center of the rod.

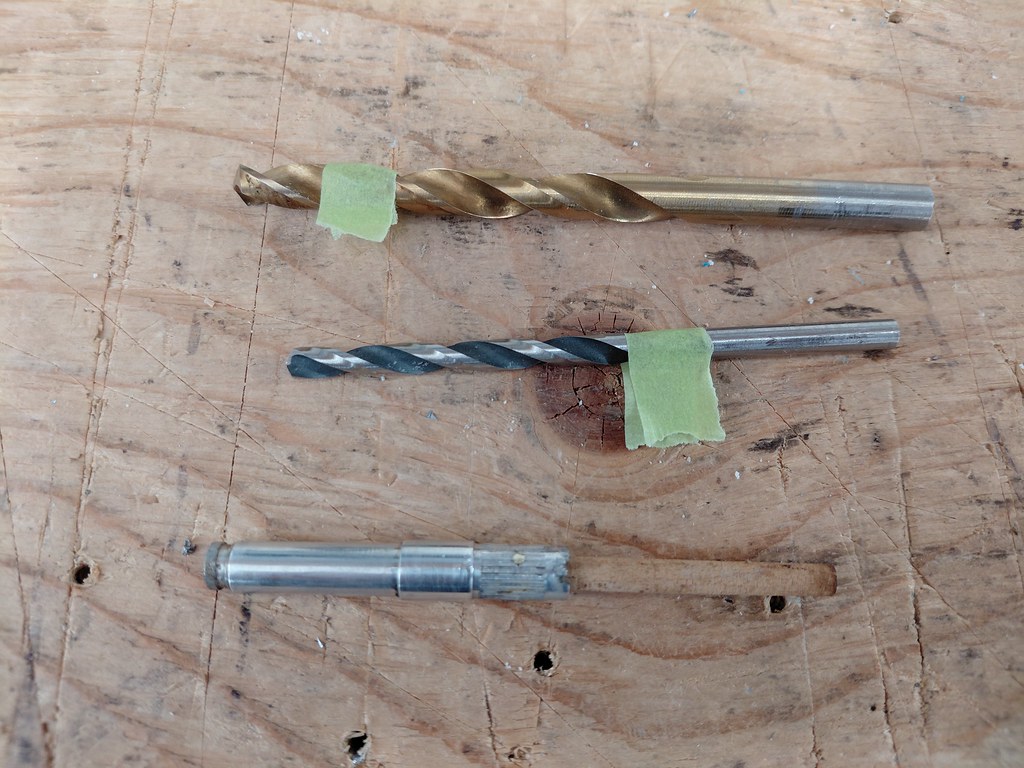
While the rod was in the lathe, I also drilled it for the Brigham System. This involves drilling a pocket for the Brigham Rock Maple filter as well as a mortise into which the aluminum Brigham tenon will fit. This pic shows one of the tenons, salvaged from the stems provided, alongside the drill bits required. Masking tape marks the depth of the drilling.
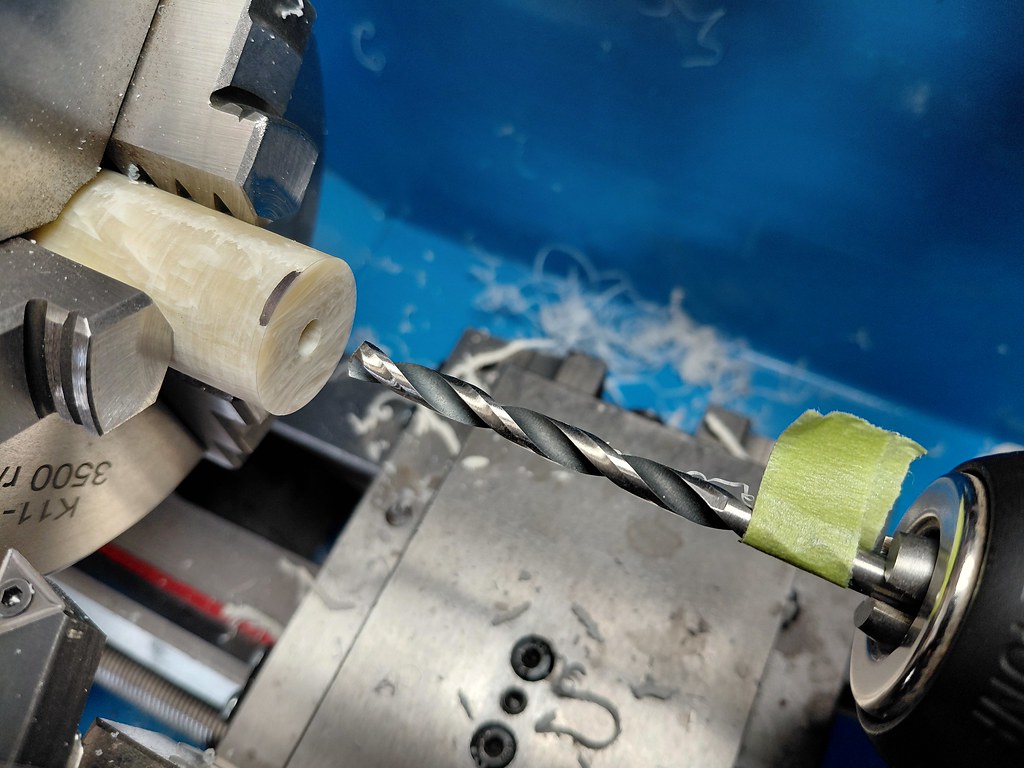

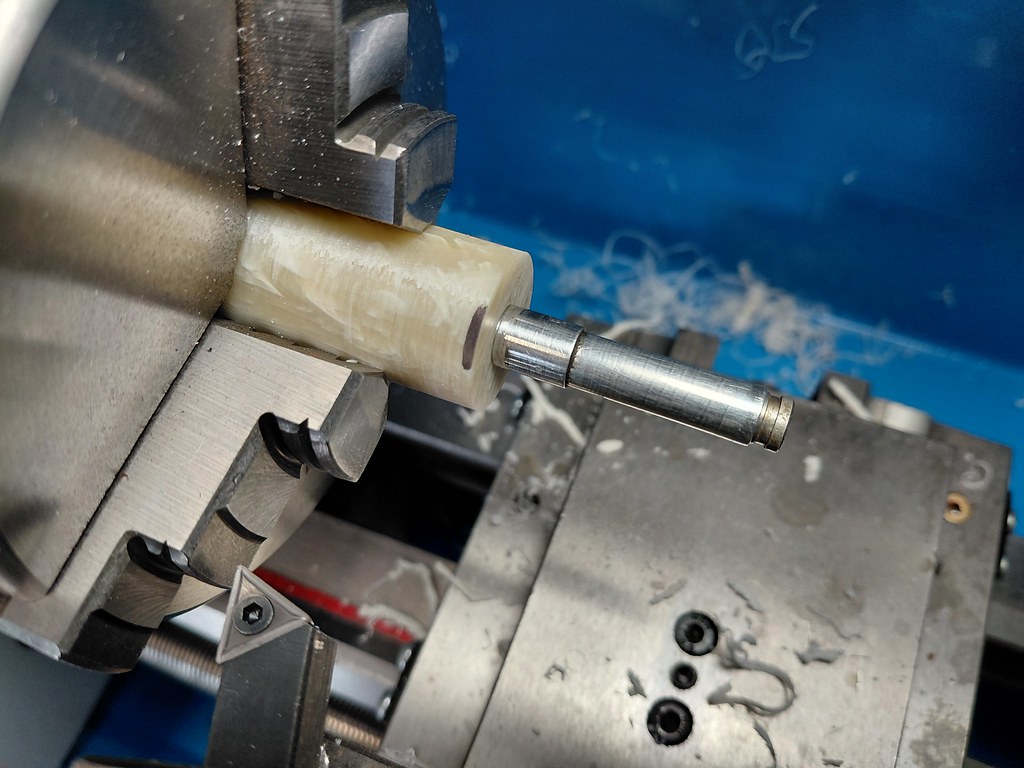
This pic shows the tenon and filter test fit into the freshly drilled rod. When I was happy with the drilling, I applied a bit of two-part epoxy to the end of the tenon and the inside of the mortise, then slid the tenon into place in the end of the rod. A live centre mounted in the lathe’s tailstock makes a perfect clamp for the tenon while the epoxy cures.
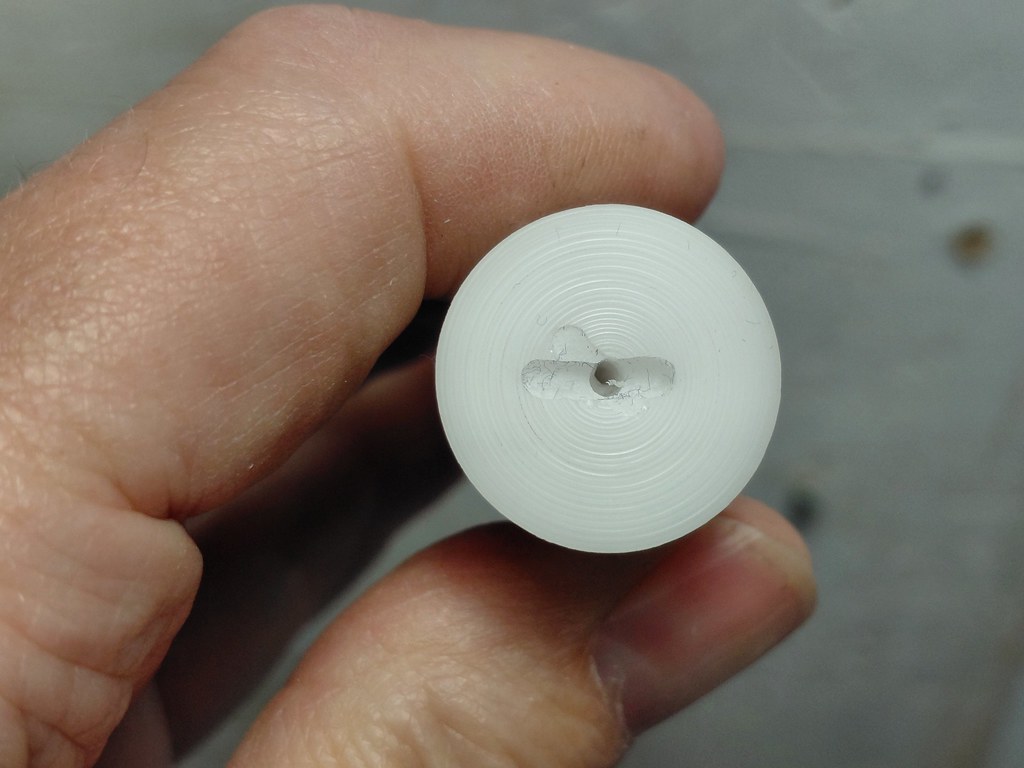
The last job before I could start shaping the rods into stems was to rough in the slots at the button end of the stems. I use a 2mm end mill for this, mounted in my drill press. A sliding vise mounted below the bit allows me to center the bit on the 1/16″ airway. I can then set the depth of cut and use the sliding carriage of the vise to move the rod back and forth in a straight line to cut a proto-slot in the end of the rod.

With the drilling complete and the tenons installed, I could mount the rods to the stummels for the first time.

In order to begin shaping the rod into a stem, I marked out the critical areas with masking tape – the depth of the saddle and button, and, most importantly, the location of the airway through the middle of the rod. The black Sharpie mark on the centre line in the pic below indicates the end of the filter pocket.
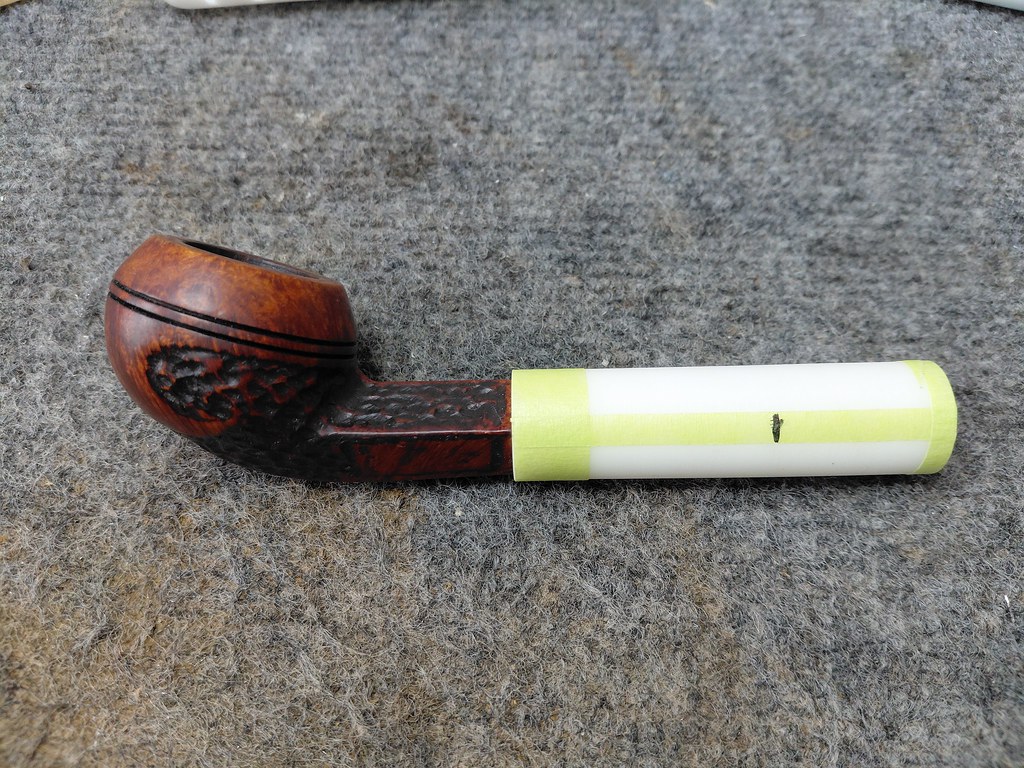
It’s very important that the tape marking the location of the airway be applied accurately. This line marks out the “no fly zone” for the work that follows, and keeps the stem straight along its length.
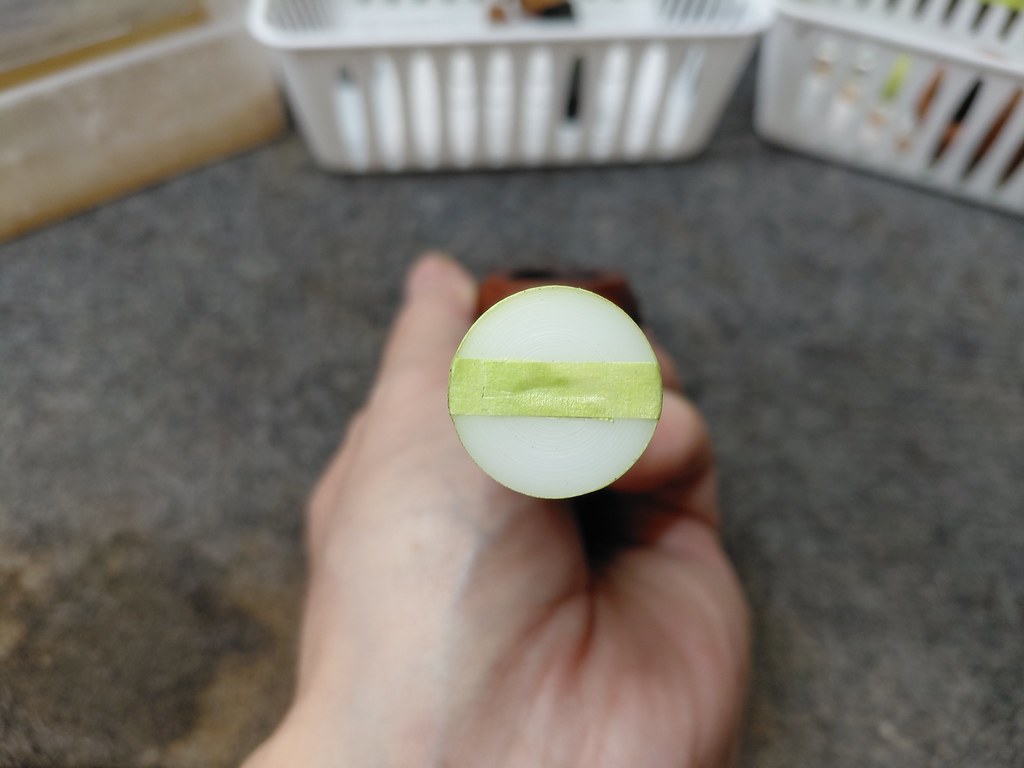
There is a LOT of excess material to remove between the saddle and the button. To remove it quickly, I took the stems to the belt sander where I began roughing in the shape of the new stem. This is a messy, dusty job at the bets of times, but Acrylic dust is particularly fine and gets airborne easily. To avoid breathing in the Acrylic dust, I wear an N95 rated mask whenever I’m filing or sanding. I also connect the belt sander to my shop’s dust collection system and run my air cleaner on high during and after the work to keep the shop clean.

With the rough work complete, it was time to say goodbye to the power tools and hello to the hand tools. I began with large, rough-cut files to smooth out the Acrylic and clean up the rough edges of the saddle and button. I also began thinning down the outer edges of the stem, giving the stem its football shaped profile.

From there, I progressed to thinner and finer cut files to further refine the stem’s shape and remove the scratches left by the rougher tools. As you can see, the rod is beginning to look like a proper pipe stem now. The Sharpie tracing the center line helped me see the edge of the white stem and keep the lines straight.

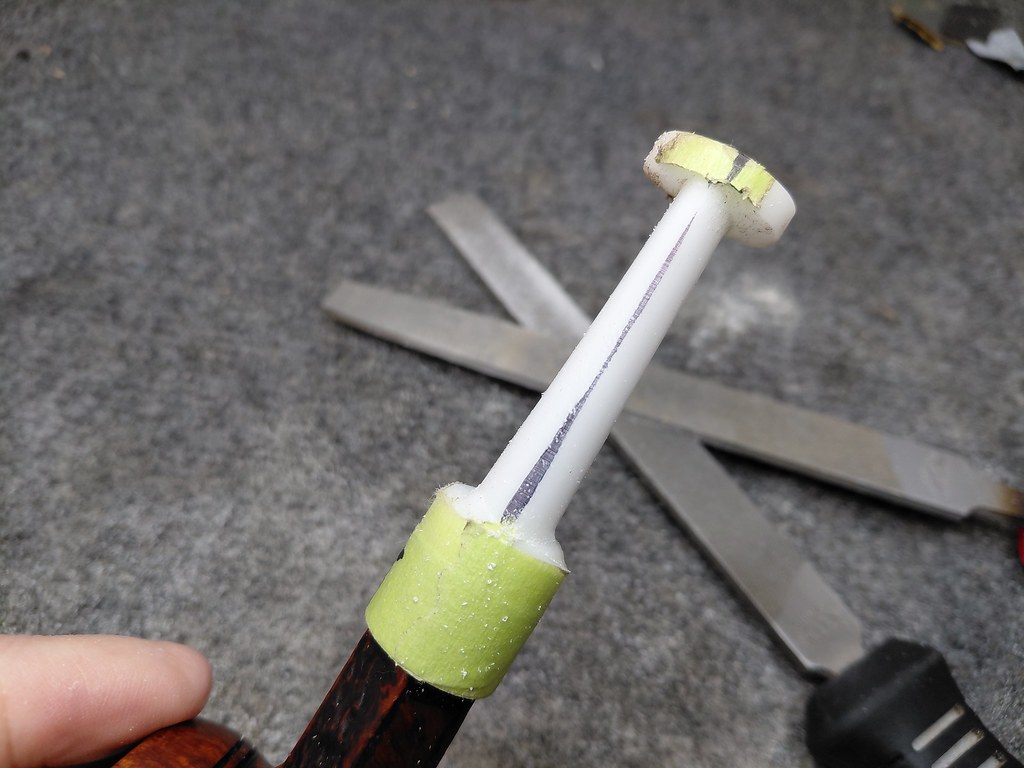
When the body of the stem was nearing its final dimensions, I took the time to cut the V-slot at the button end, expanding the round 1/16″ hole drilled through the end of the rod in the first steps of the stem making process.
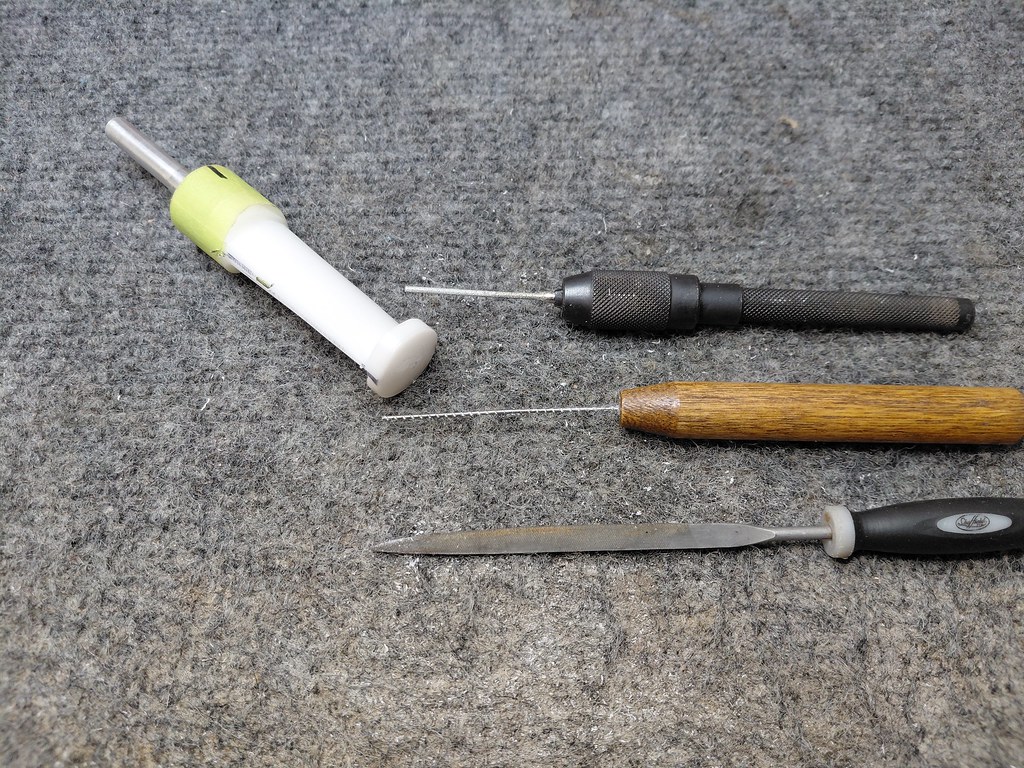
I used two different slot files and a flat needle file to shape the slot.

Then it was time to remove the excess material from the end of the stem to create the button.

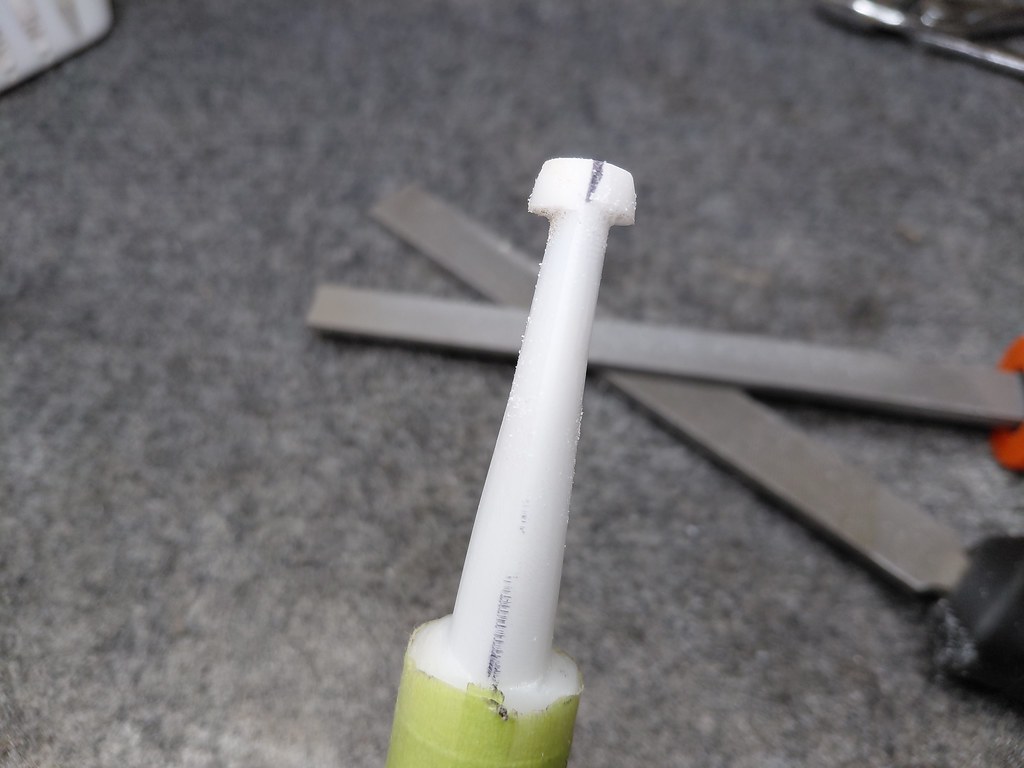
There was still some work to do when I snapped this pic, but it illustrates the principal. The key thing here is to make sure that the points of the football shaped button are lined up with the ends of the slot.

I’d been putting off cutting the round rod down to match the diamond shank, partly because the other tasks took precedence and partly because the diamond saddle, an essential part of the stem’s design, is a tricky part to cut freehand.
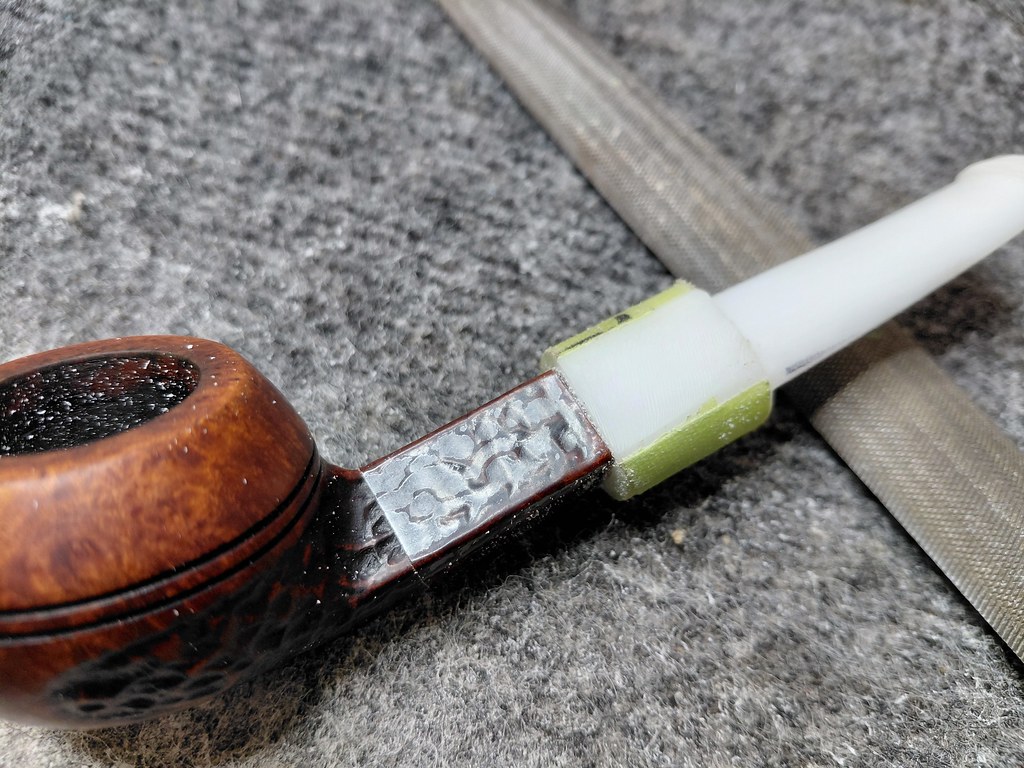
This pic sows the stem after filling the first of the four facets of the diamond saddle. Note the clear hockey tape wrapped around the shank. This tape is tough stuff that helps to protect the briar shank from any errant file strokes.
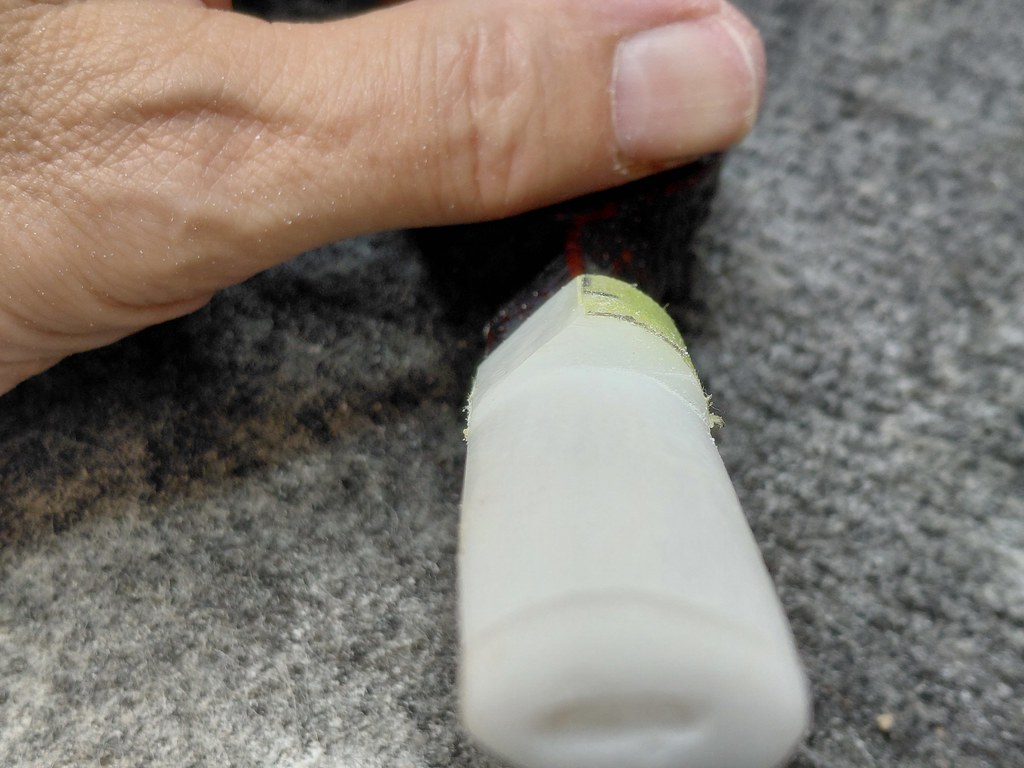
I worked carefully, removing the excess Acrylic from each facet and filing the material down to meet the shank. There is very little wiggle room when crafting a diamond stem, with so many lines that need to meet exactly and run true from shank to stem.
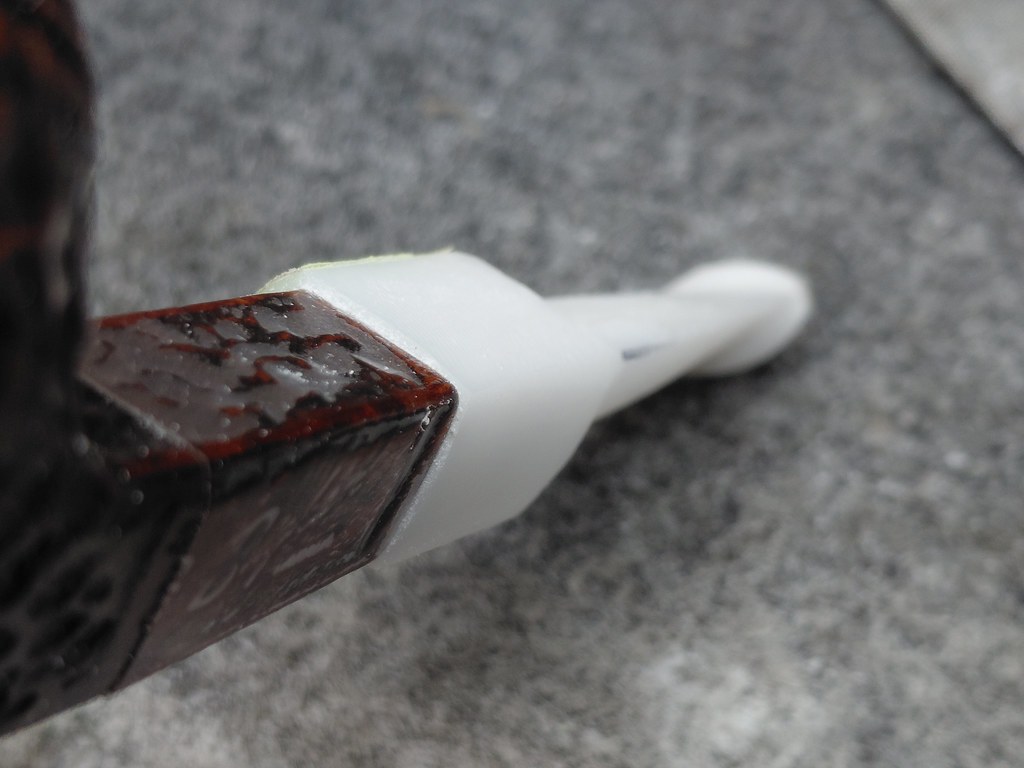
Cutting all four facets of the saddle area really progressed this stem towards completion.
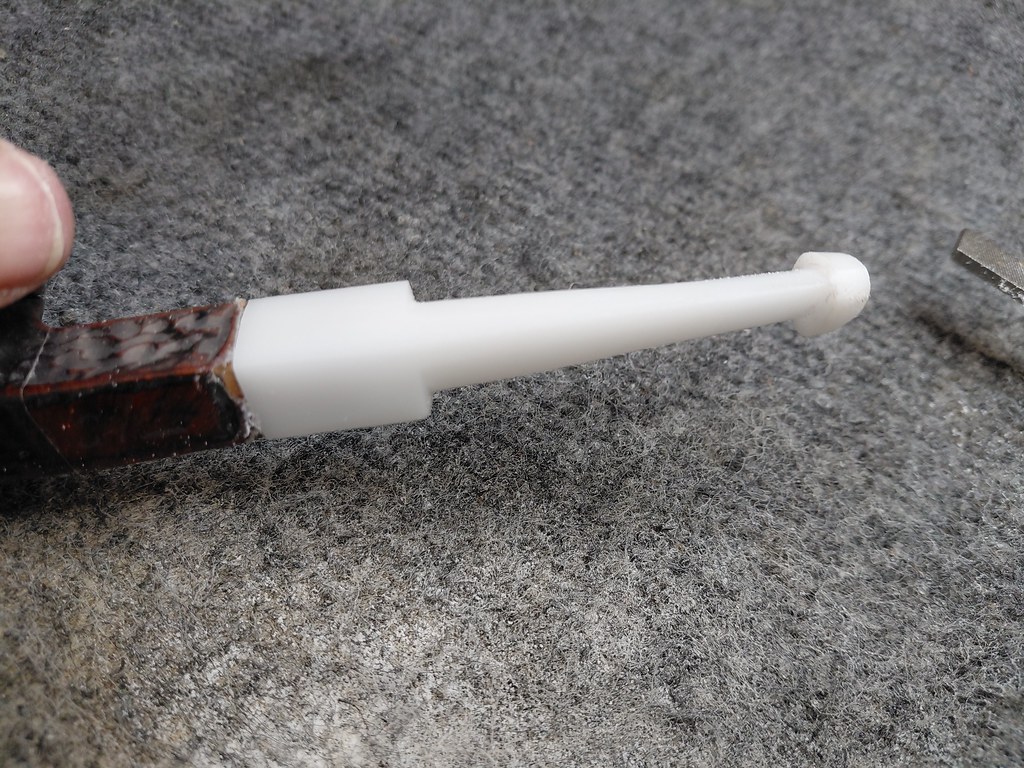
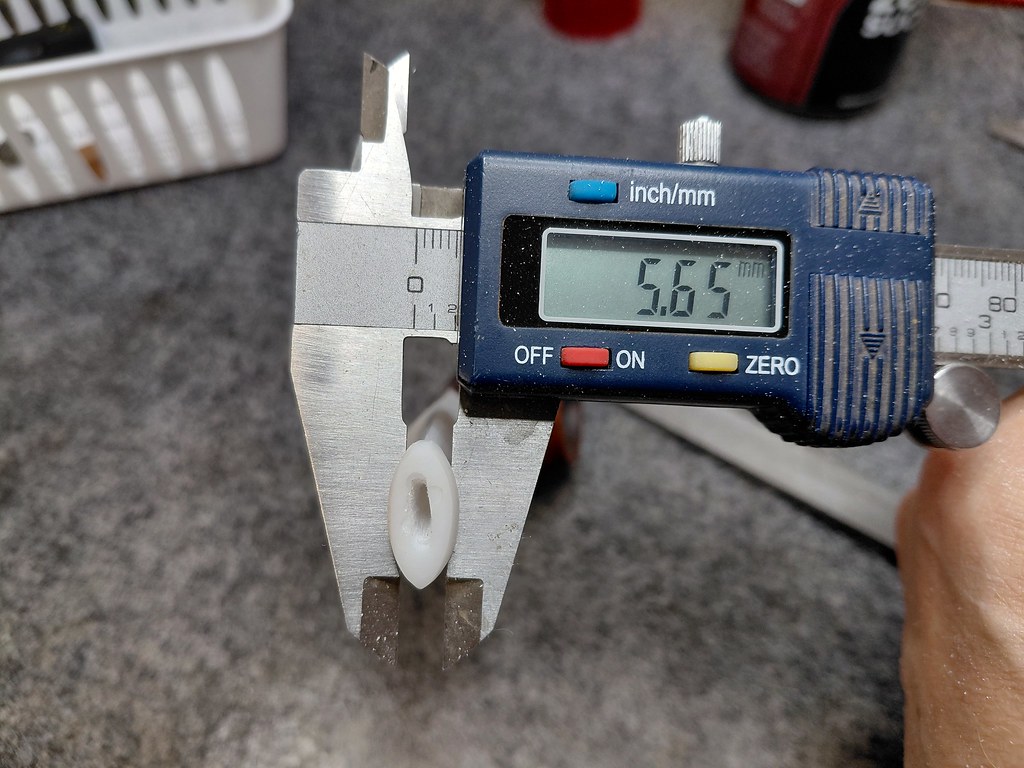
Here, you can see the thickness of the almost finished stem, measured just behind the button. I aim for stems that measure between 5mm and 5.5mm in thickness. At 5.65mm, this stem will move into the required dimensions with final hand sanding and buffing.
An average Hand Cut stem (if there is such a thing) would be ready for finishing at this point, but these Brigham stems still needed their iconic Dots. Brigham drilled these freehand on all their pipes so I follow suit, first marking out the pinning pattern then drilling the holes into which the Dot material would be installed.

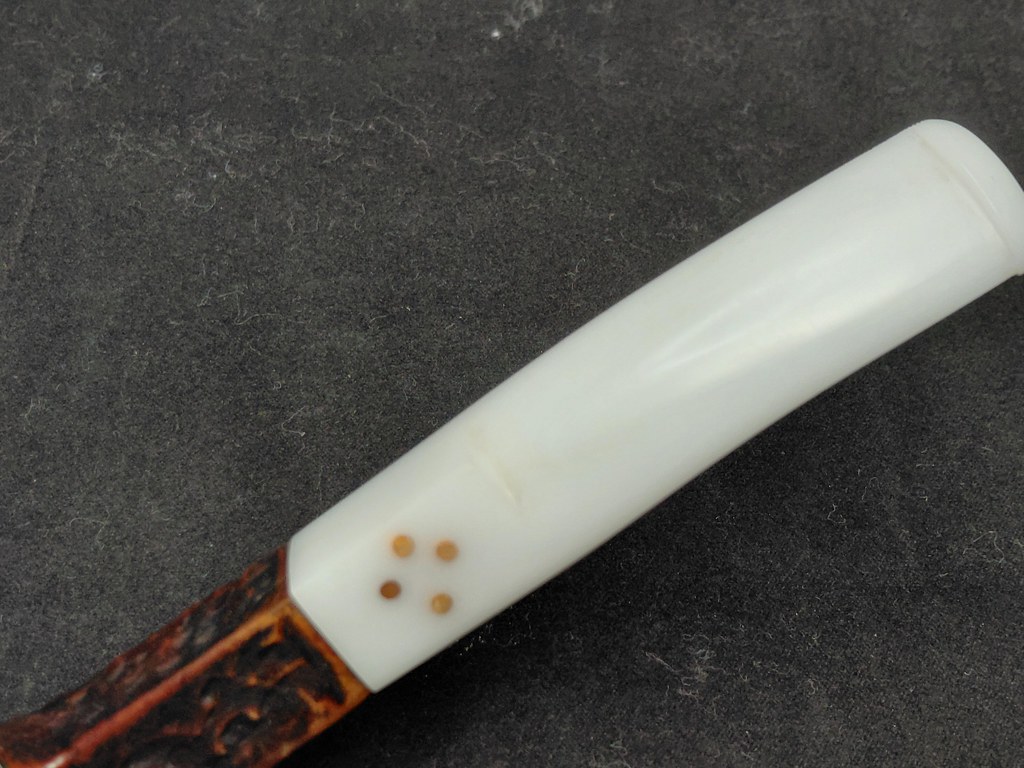
Traditional Brigham stems were pinned with brass Dots, but that’s not what the client ordered for these special stems. To create the 1/16″ briar Dots for the white stem, I mounted a small scrap of briar in the lathe and carefully turned one section of briar rod at a time. I turned a section, then glued it into one fo the holes drilled in the stem before repeating the process for the remaining Dots.

The Dots are glued in using a drop of CA glue in each hole. After the glue is completely cured, I cut off the excess rod material and sanded the stem smooth.
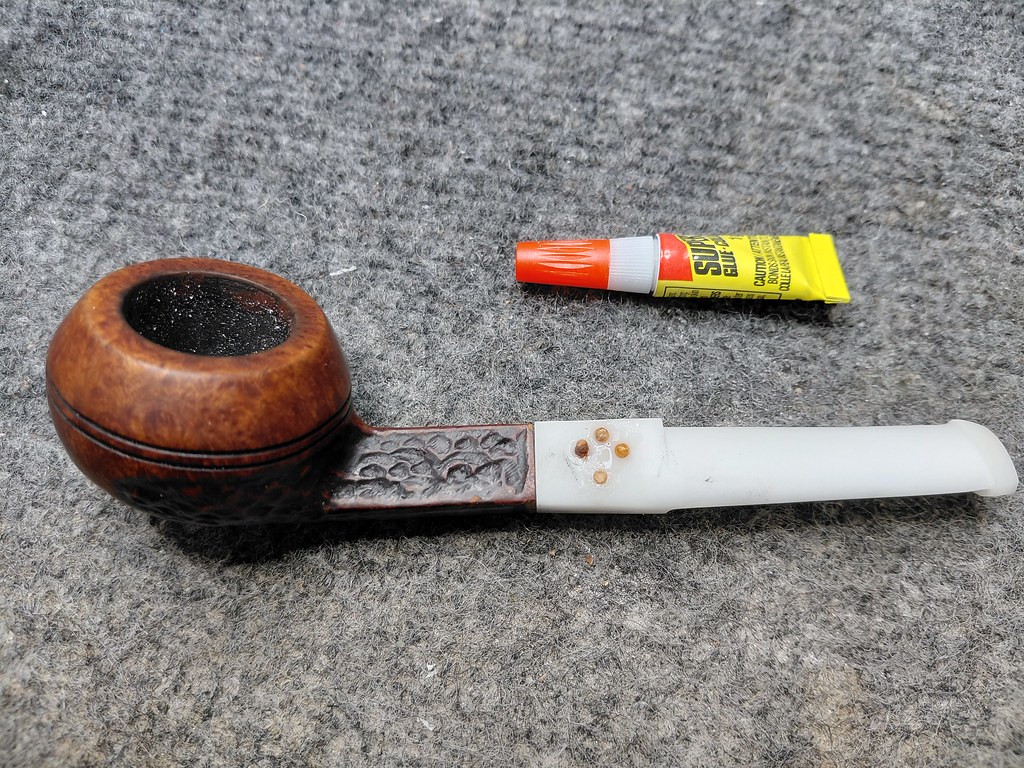
This was my first time making briar Dots. I like them!
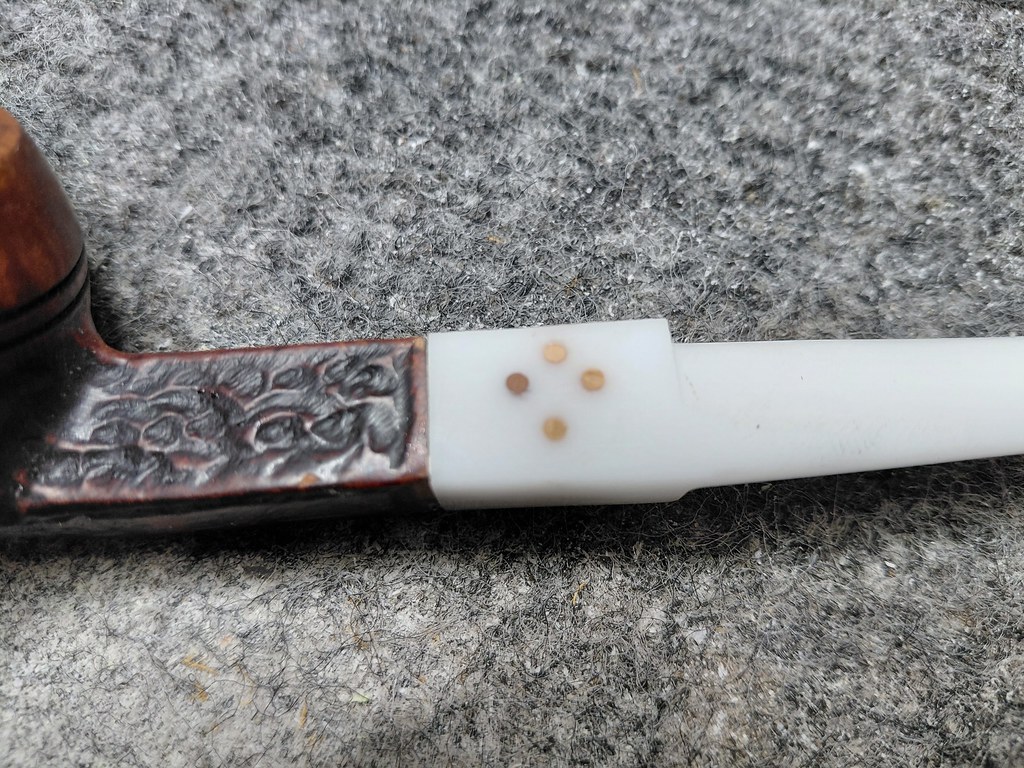
I repeated the process with the second pipe, this time using 1/16″ green plastic rod stock. As you cans ee, I still needed to finish cutting the diamond saddle to size when the Dots went in.


I finished the stems by sanding both to 2000 grit in preparation for final buffing and polishing. I introduced the The Tan Jade stem would remain straight, but the white stem needed a 1/8th bend introduced.
The process for this is the same regardless of the stem material. A pipe cleaner is slipped through the stem before the stem is heated over the heat gun until pliable. The bend is introduced and then set by running the stem under cold water.
For Brigham stems, it is essential to install a Rock Maple filter before bending the stem.

Finally, I took both pipes to the buffer for a run on both the Red Tripoli and White Diamond wheels to erase any lingering sanding scratches and to bring up the shine. A few light coats of Carnauba wax adds more shine and a layer of UV protection to the finished pipes.
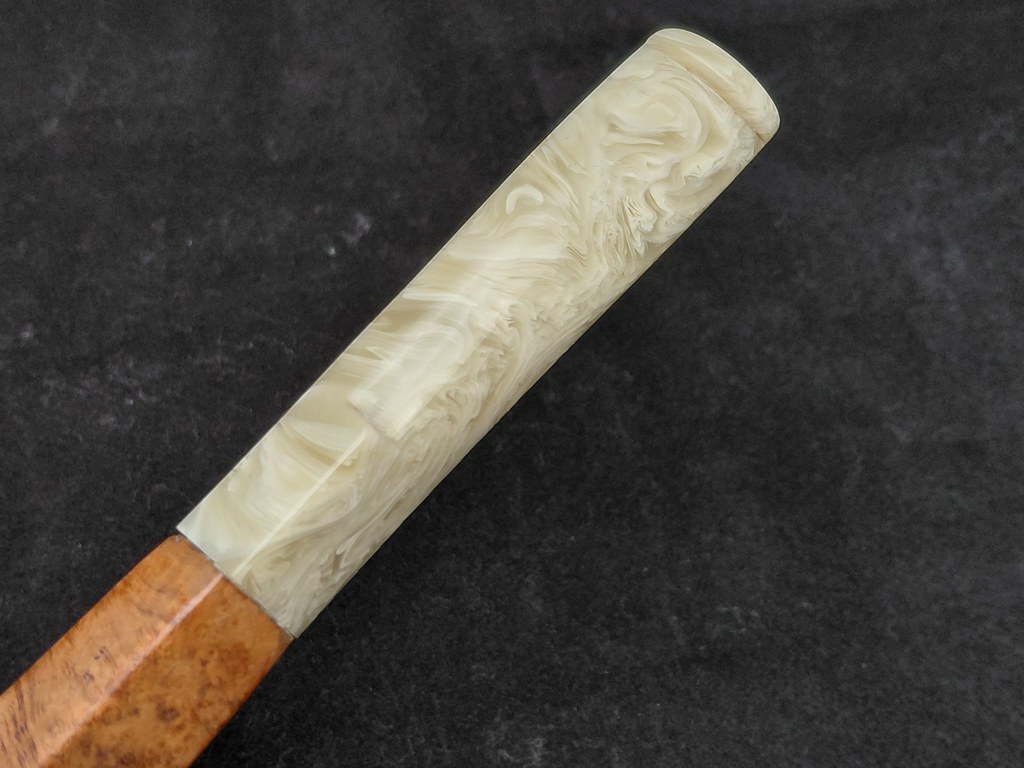
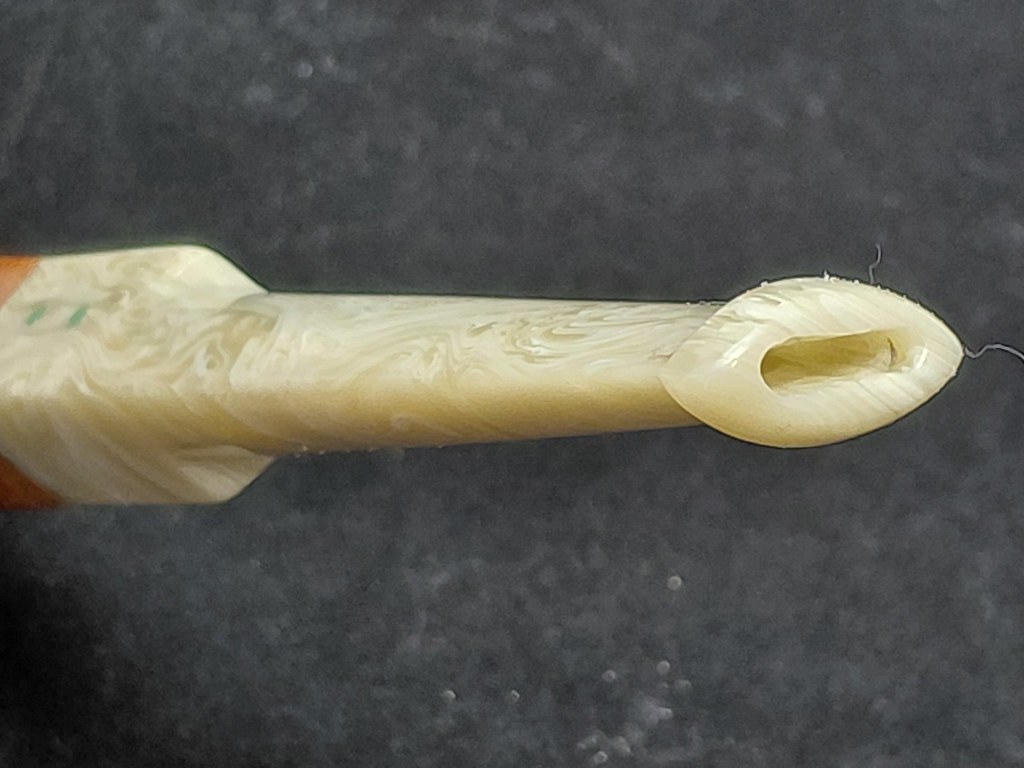
I really enjoyed working on this passion project. It was technically challenging and the results are both quite pleasing to the eye and comfortably functional. The new Acrylic stems are easy to clench in the teeth and immune to oxidation, unlike their Ebonite cousins. With a little care and feeding, this pair of custom Brigham pipes should serve their steward well for many years.
I hope you enjoyed watching these Hand Cut stems emerge from the raw rods I started with. I know I did. Until next time, Happy Piping!
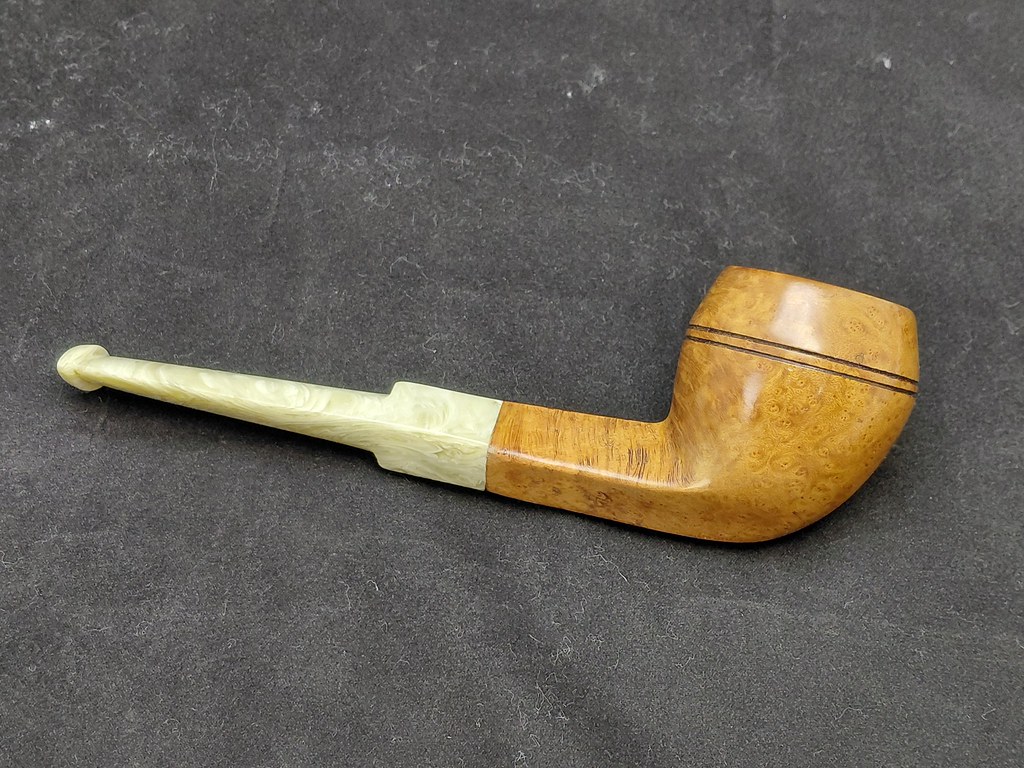
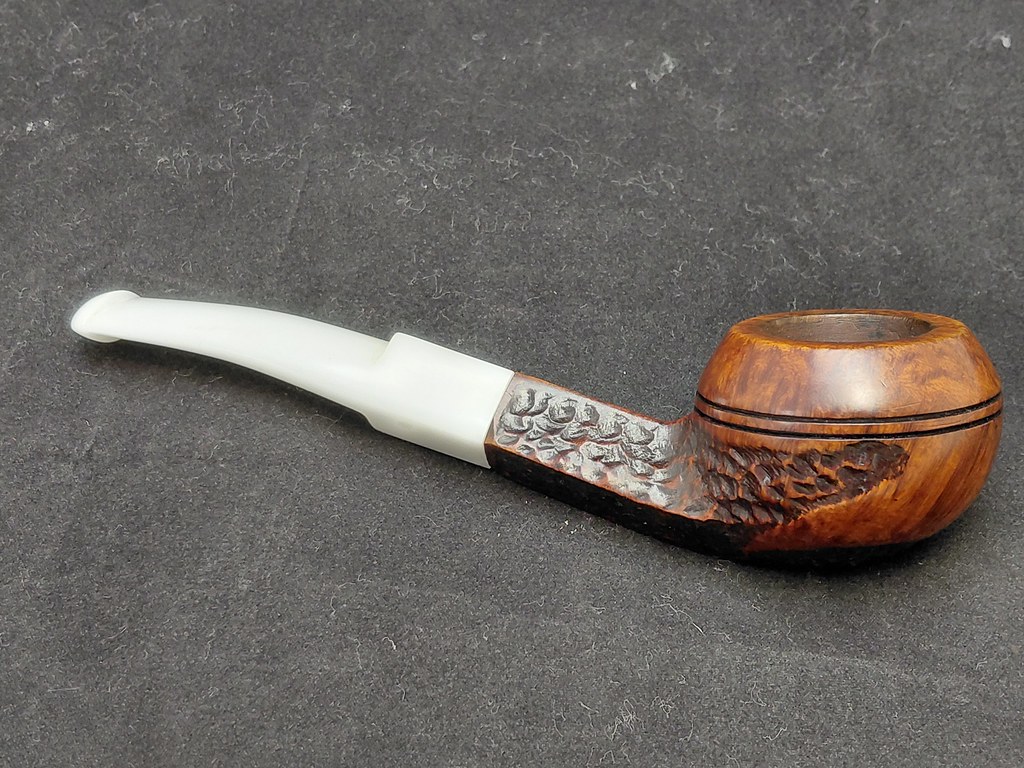
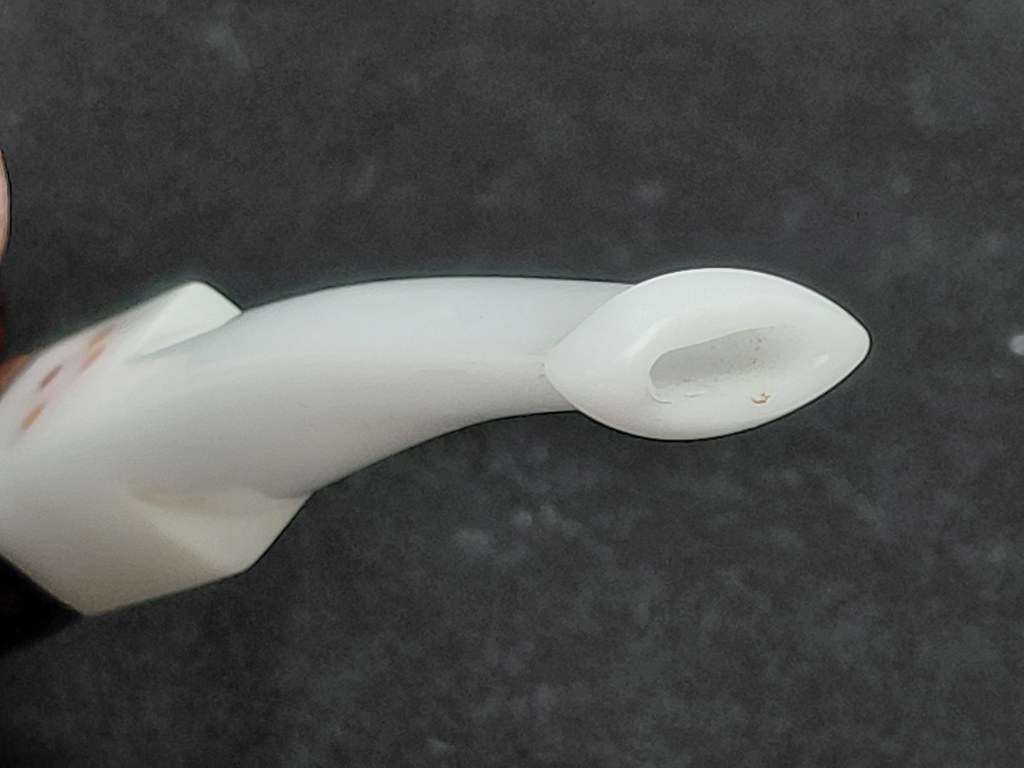
Here are the finished pipes.







Epilogue:
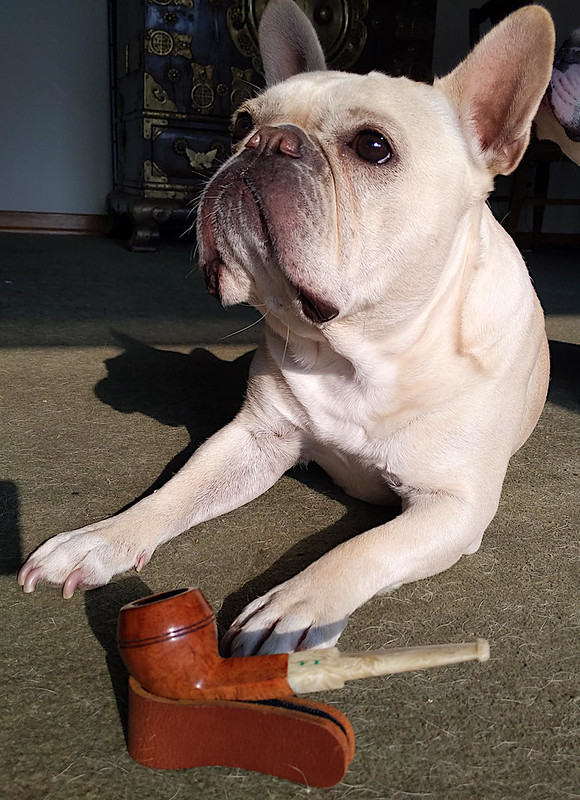
After receiving the pipes, the steward was kind enough to send me these pics of the pipes with their respective doggos. The stems and pups are impressively well matched!



Fantastic, I love the briar dots! I’d love to hang out in your shop and see this work first hand.
LikeLiked by 1 person