
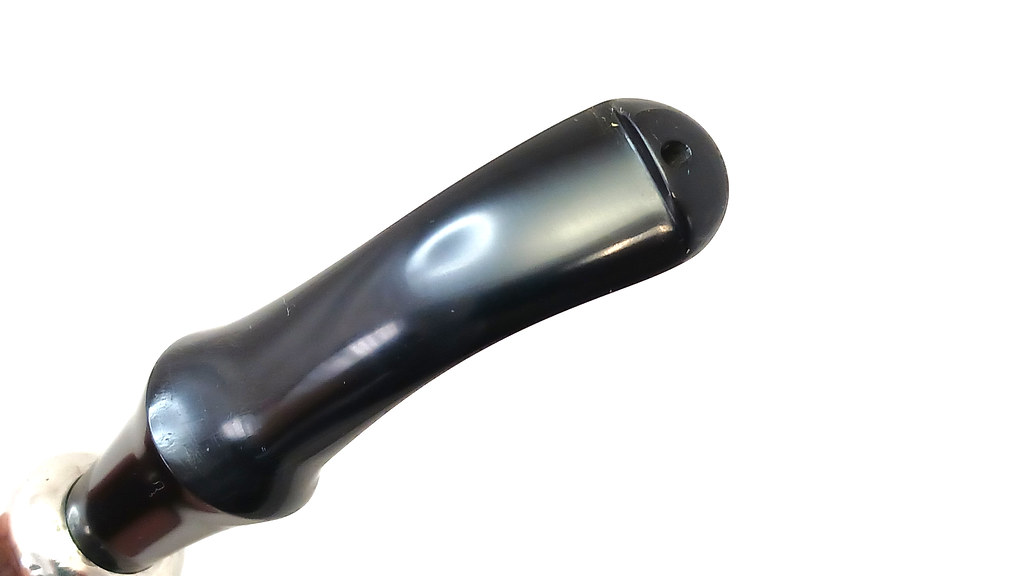
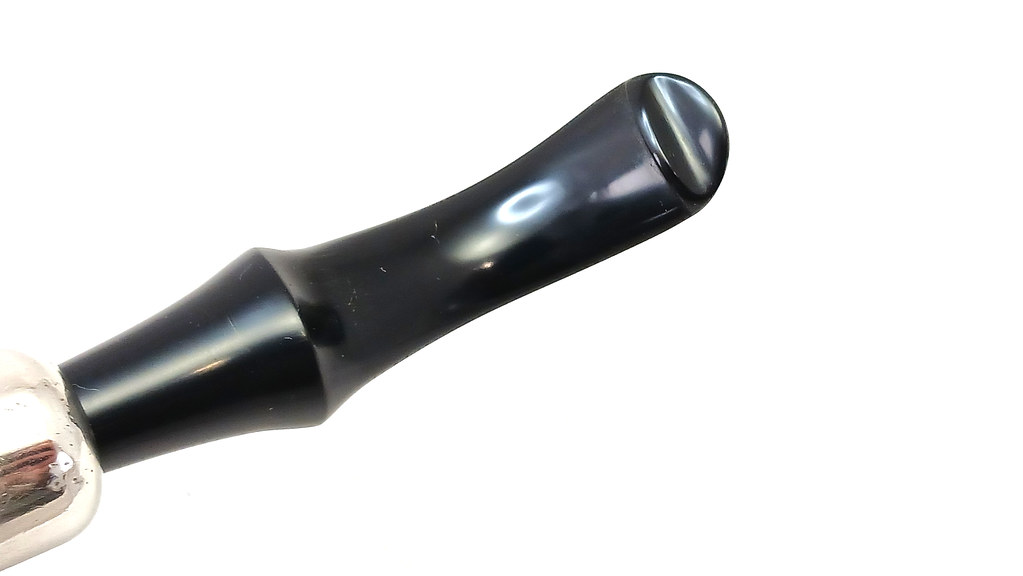
The Peterson P-Lip stem is rather famous in the pipe world. Patented by Charles Peterson in 1898, the stem design incorporates a tapered airway and a unique button shape featuring an airway that exits the stem on top of the button rather than through the end of the stem. This image, taken from Pipedia.org, shows a cutaway view of the design.

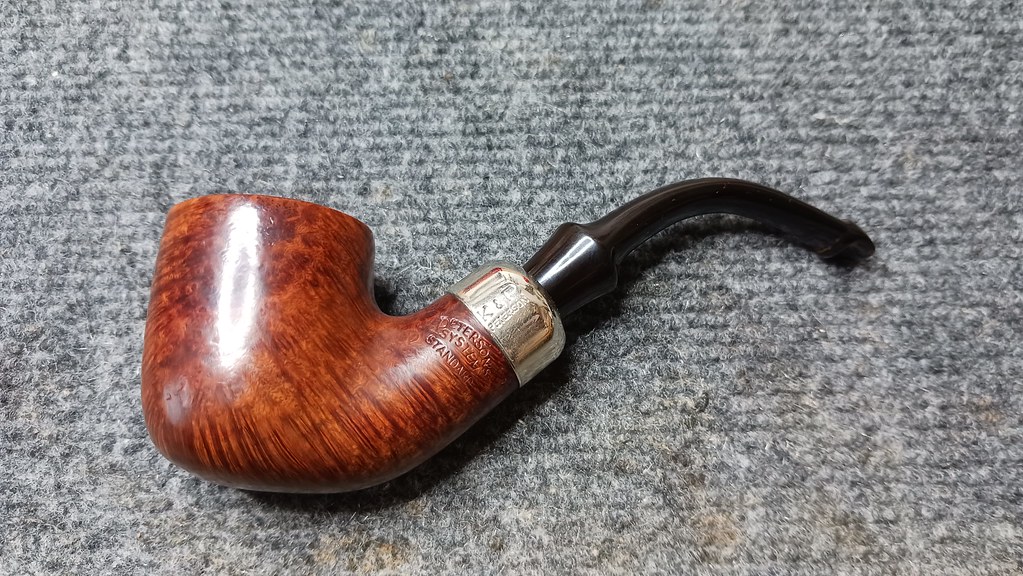
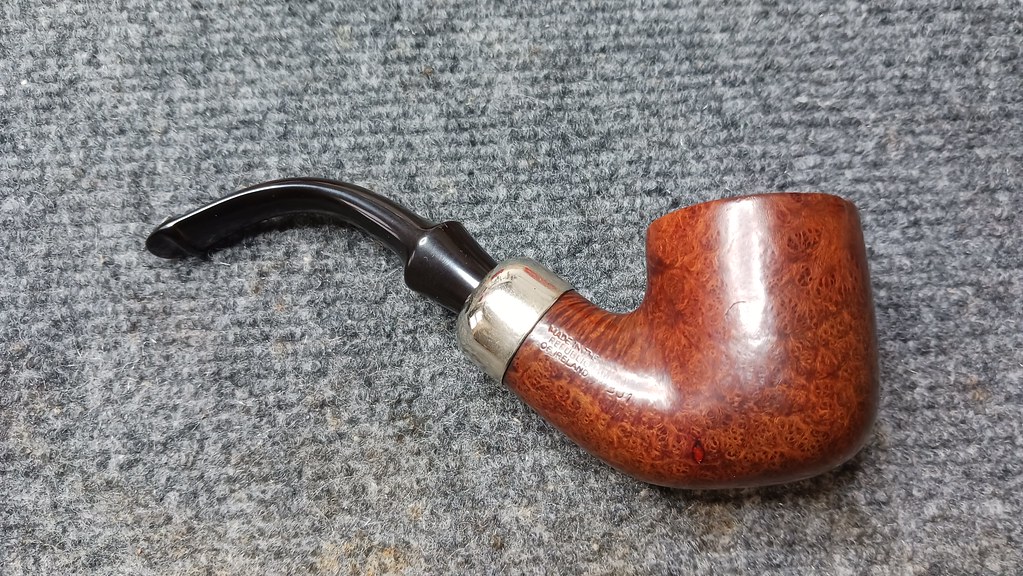
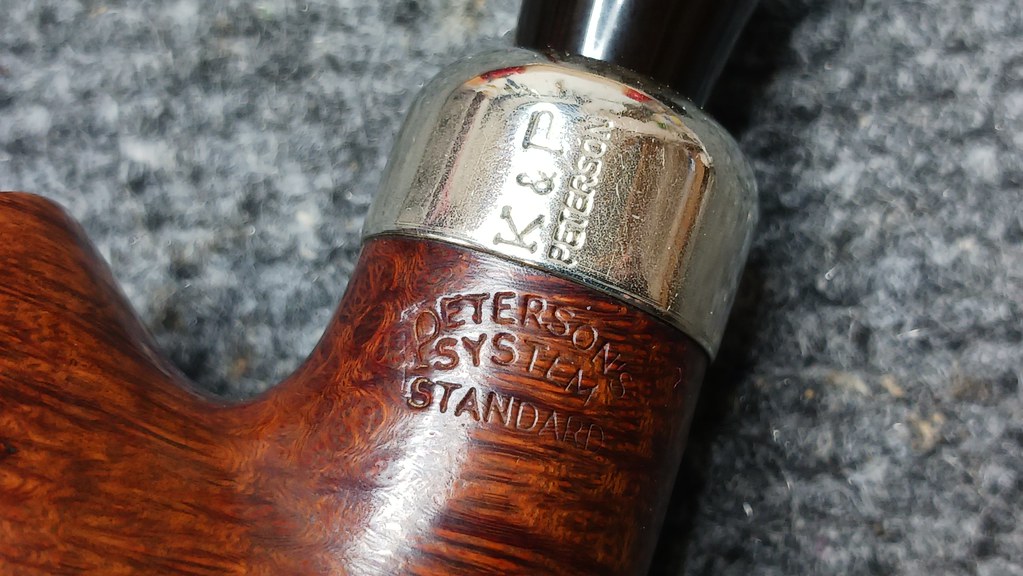
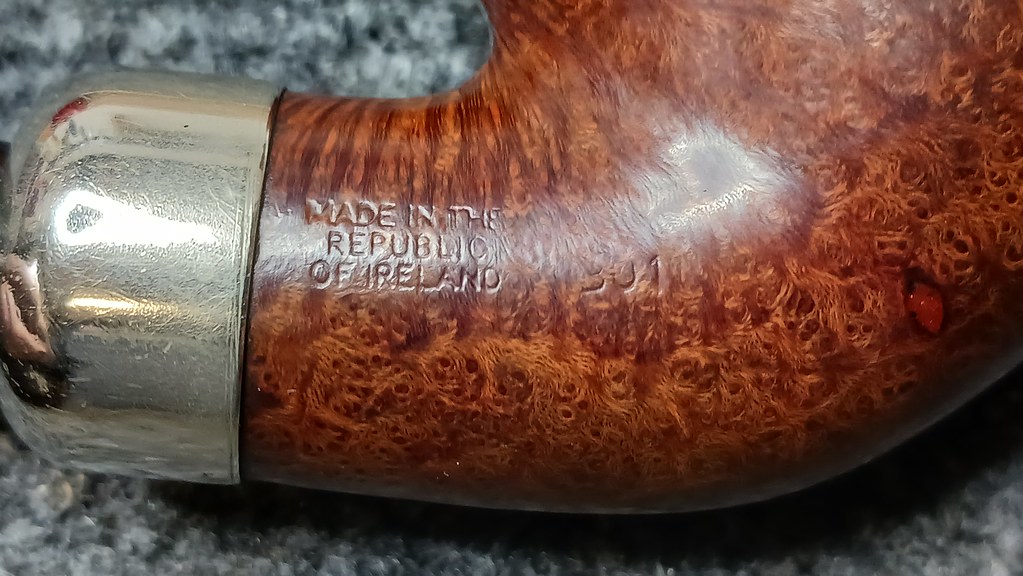
Those pipe smokers that enjoy the Peterson System tend to love the P-Lip stem. Today’s project was initiated by a Peterson fan from Kingston, Ontario who reached out to me to see what might be done to resolve a somewhat peculiar situation. The gentleman in question owns a pair of Peterson System Standard 301’s, described by Peterson as Bent Pots. I believe the pipes must hail from different production eras as the stems and Army mount shank mortises vary quite a bit between the two examples.
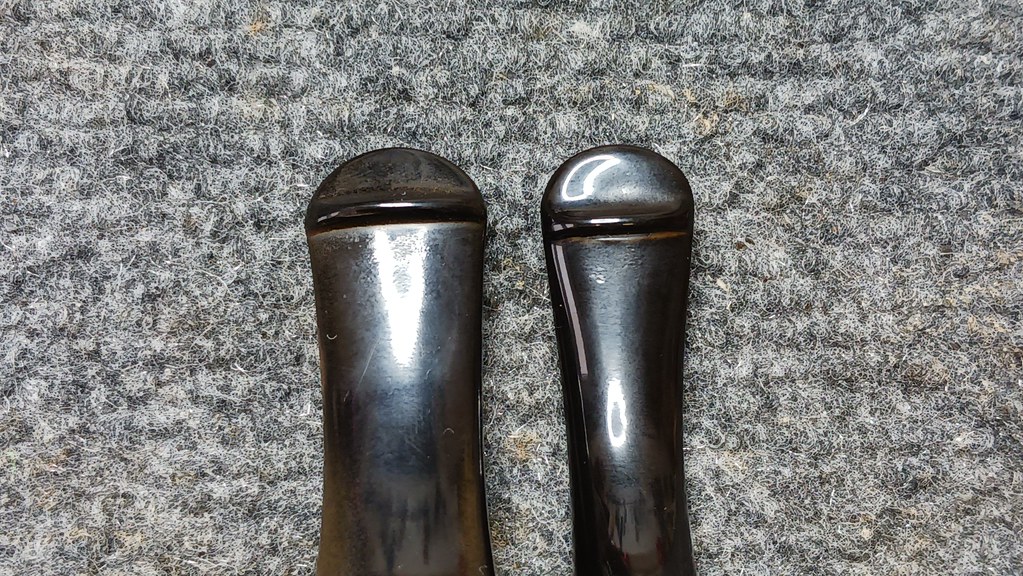
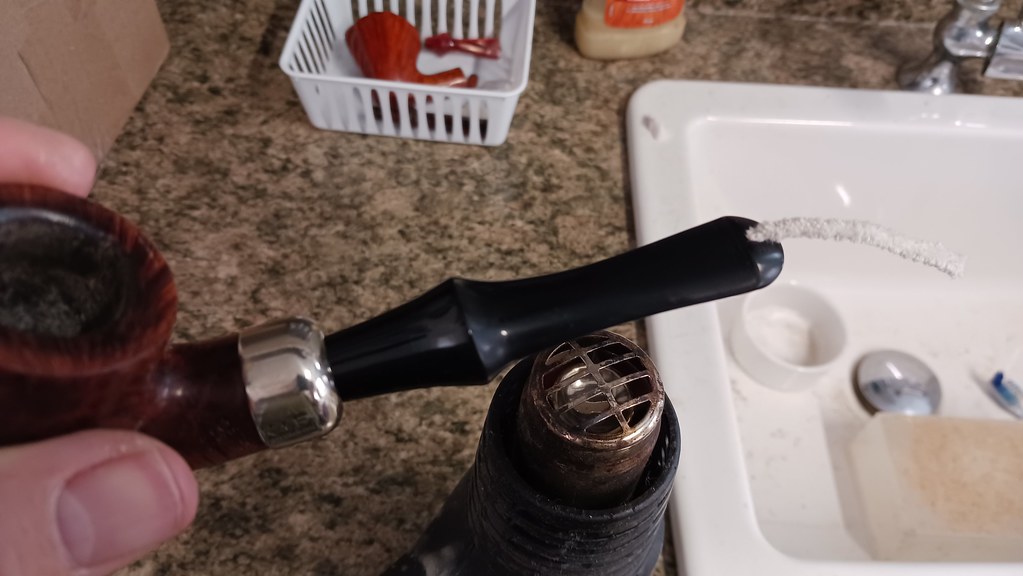
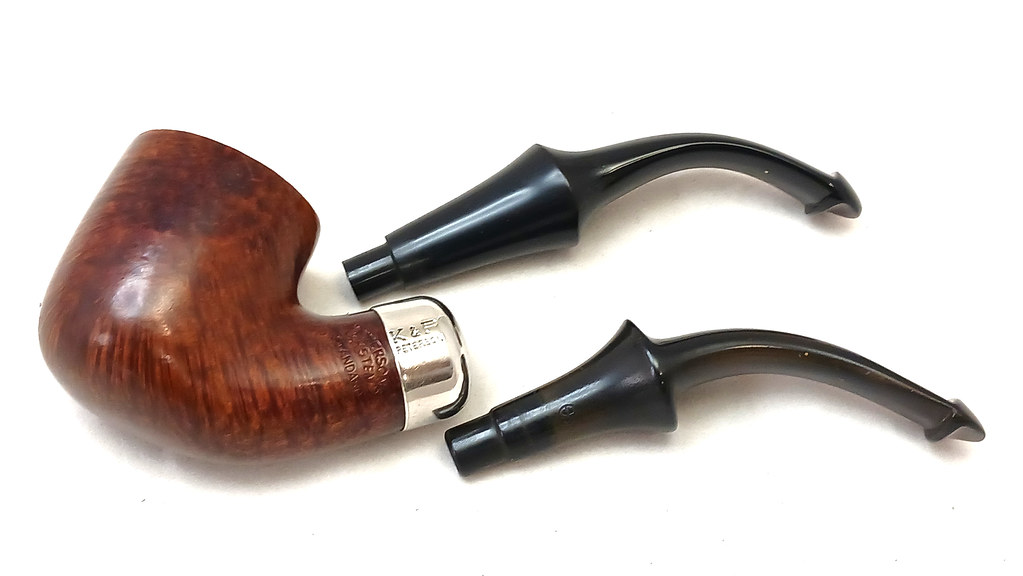
The first pipe came fitted with a fairly narrow P-Lip stem, while the second of the steward’s 301’s came with a much wider P-Lip stem, perhaps one of the “Comfort P-lip” stems described in this blog post by Mark Irwin on Peterson Pipe Notes. The pipe’s steward preferred the wider stem profile, finding it much easier to clench in the teeth as the wider button spreads the weight over a larger surface area. These pics show the two stems side by side.

After a bit of back and forth, including a discussion about the current (and limited) range of aftermarket P-Lip stem blanks, the client decided to send both the 301 with the narrow stem along with the preferred, wider P-Lip stem to use as a template for crafting a Hand Cut replacement stem from Ebonite rod.
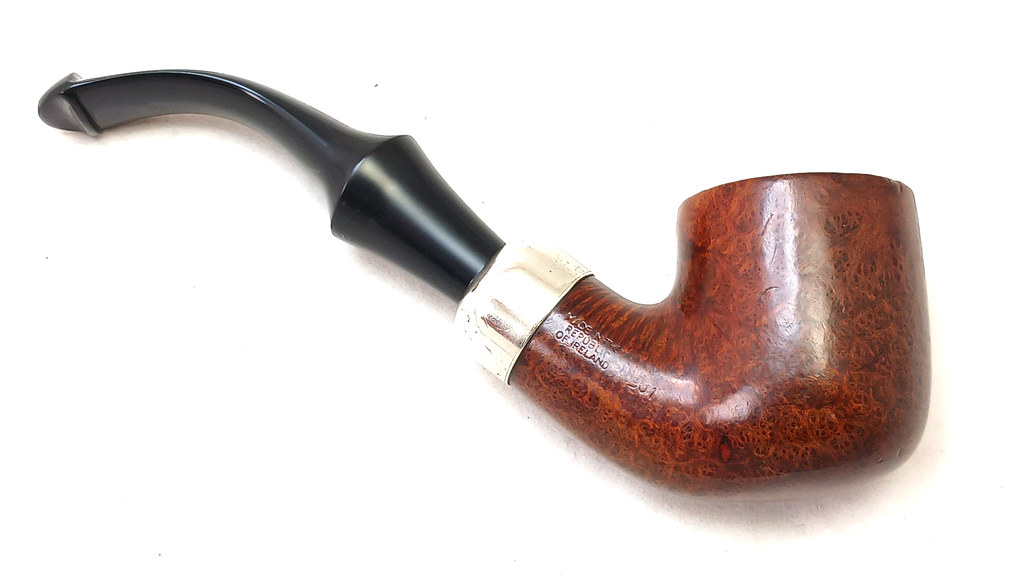
The pipe itself was in excellent condition when the box arrived at the shop. All it would need is a quick cleaning and polishing.
I mentioned that the two stems were different in a number of ways. The width at the button is a fairly obvious variance, but, a little surprisingly for two pipes of the same line and shape, the tapered Army mount “tenons” on the two stems are also different diameters, making a simple interchange of stems impossible. In this case, the wider stem had a narrower tenon – it wouldn’t even pretend to mount properly in the shank mortise, instead sitting in the shank like a teaspoon in a cup.
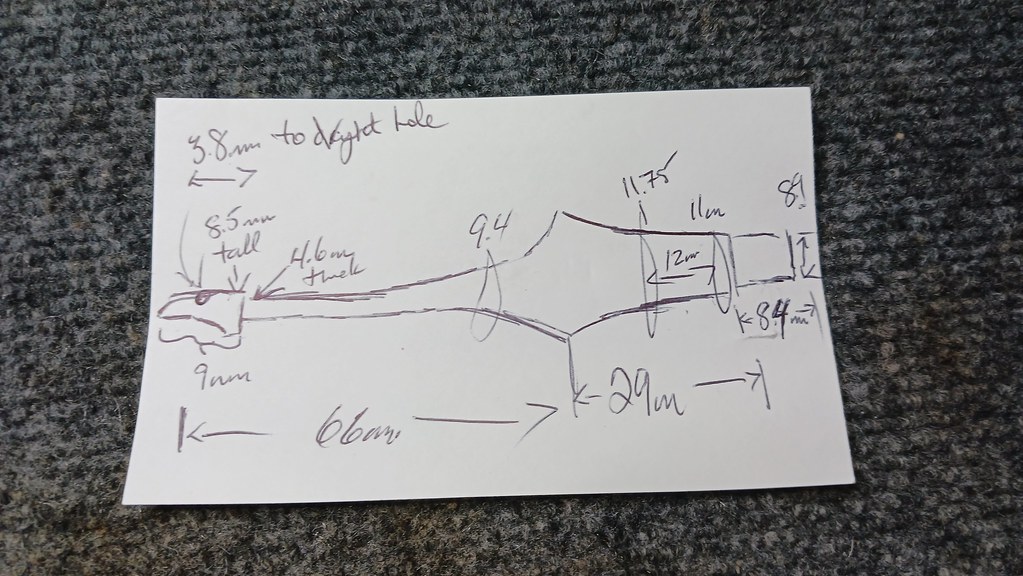
The new Hand Cut P-Lip stem would need to be a hybrid of the two sample stems – I’d take the tenon measurements from the original, narrow, stem and pair them with the wider dimensions of the second stem. After what seemed like a lot of measuring, I sketched out the new stem on paper, noting the critical dimensions as I went.
I’ve cut my fair share of standard “fishtail” style stems, but a P-Lip is a rather different beast, mainly because the airway drilling must be done blind with no way to tell if it is correct until the draught hole at the button is cut. This would definitely be a “Measure Twice, Cut Once” project.
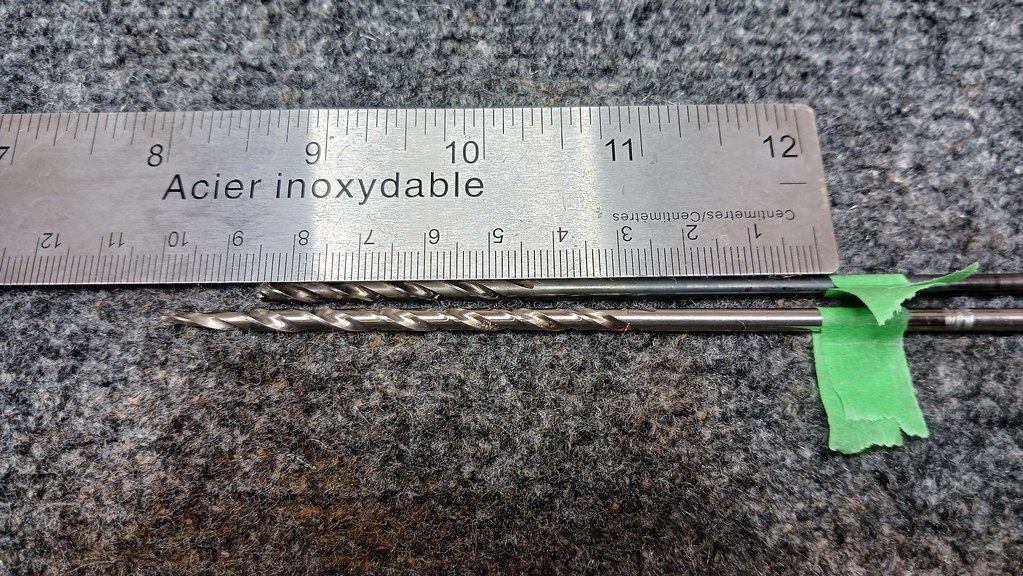
To get things started, I cut a section of Ebonite rod stock to length, leaving a few millimetres of grace room at the button end (removing excess material is MUCH easier than adding missing Ebonite….). I also measured and marked two drill bits to cut the airway through 95% of the rod’s length – a 1/8″ bit for the first drilling, and a taper-point 9/64″ bit to open the airway a hair and add the critical taper at the button end of the airway.
My lathe is a 7 x 12 mini lathe, and as this pic shows, I had just enough available room to mount the rod stock in the chuck and the drill bit in the tailstock. I won’t be drilling any Churchwarden stems on this machine.

After drilling the airway, I decided to start shaping the stem by cutting the tapered Army mount. A round cutting head helped to shape the flare at the top end of the taper. Repeated checks with digital calipers and my reference sketch kept me on track.

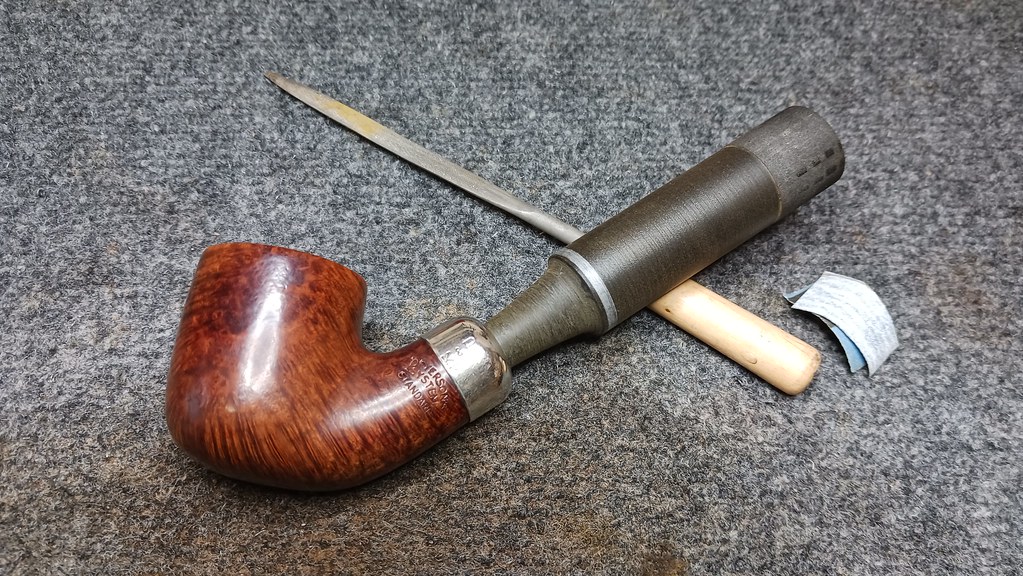
When I was close to final dimensions on the tapered tenon portion of the stem, I took the rod off the lathe and made further adjustments by hand using needle files and sandpaper. This pic shows the first successful test fitting of the proto-stem to the pipe shank. Not exactly elegant, but it’s a start!
When making a standard stem from rod stock, there is a 1/16″ hole drilled through the button end of the rod, providing a handy reference for the location of the airway. Here there is no such reference as the airway has yet to be drilled through the top of the P-Lip button. After some more careful measuring. I marked the centre point of the raw end of the rod. There was no way at this stage to know with absolute certainty that my airway drilling lined up with this new mark, but I needed a reference point to work off of, and it was the best available.
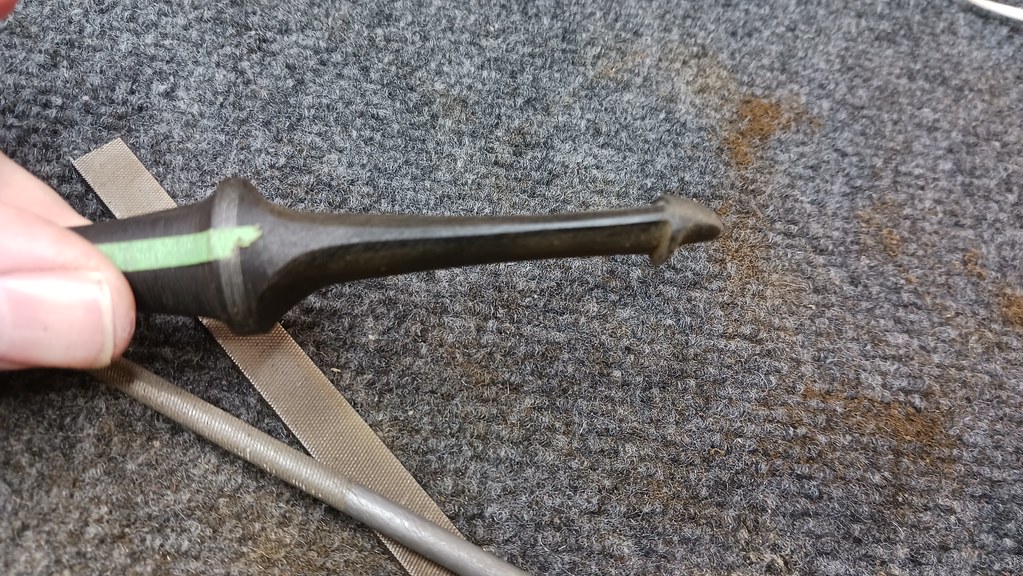
I cut some strips of masking tape to 9/64″ to match the airway drilling and ran them down each side of the rod stock from the open end of the airway to the dimple at the button end. These lines mark the No Fly Zone for the removal of excess Ebonite; if I got too eager with the file, I would risk cutting into the airway and ruining the work. You can also see the wider tape on the button end of the rod, the leading edge of which marked the beginning of the button.

With the tape to guide me, I used the belt sander to hog away the bulk of the excess material. This is a dusty process, even with a dust collector attached to the tool, so I always wear an N95 rated disposable mask during this step.

I used a padded vise to hold the stem steady while I smoothed out the ramp to the tenon end of the stem using a half-round file.

With the basic shape coming along, I used a series of successively smaller and finer files to refine the stem’s profile and thin out the bit.
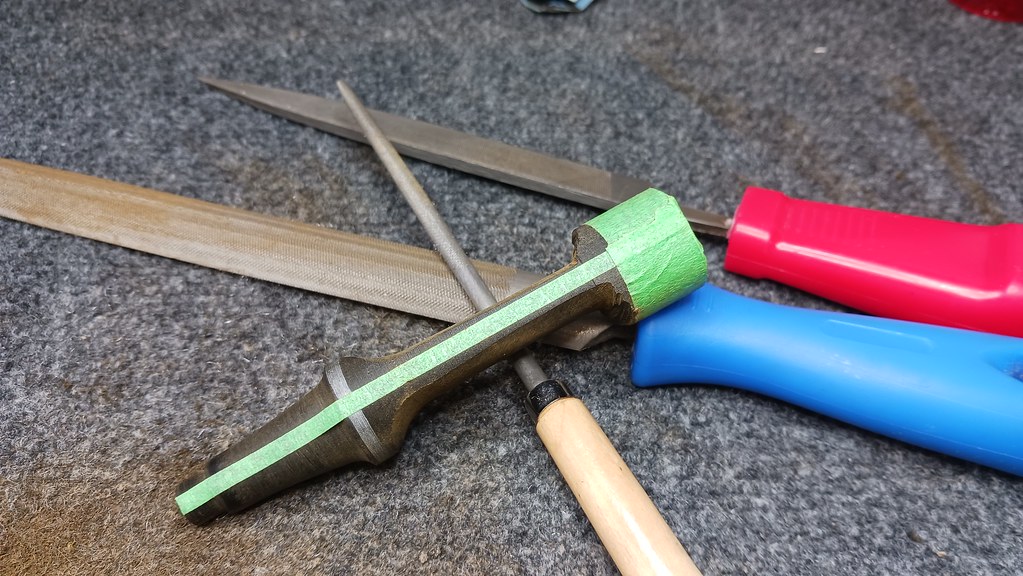
I also made use of the vise to hold the as yet uncut button end of the stem while I worked on thinning the blade of the stem.


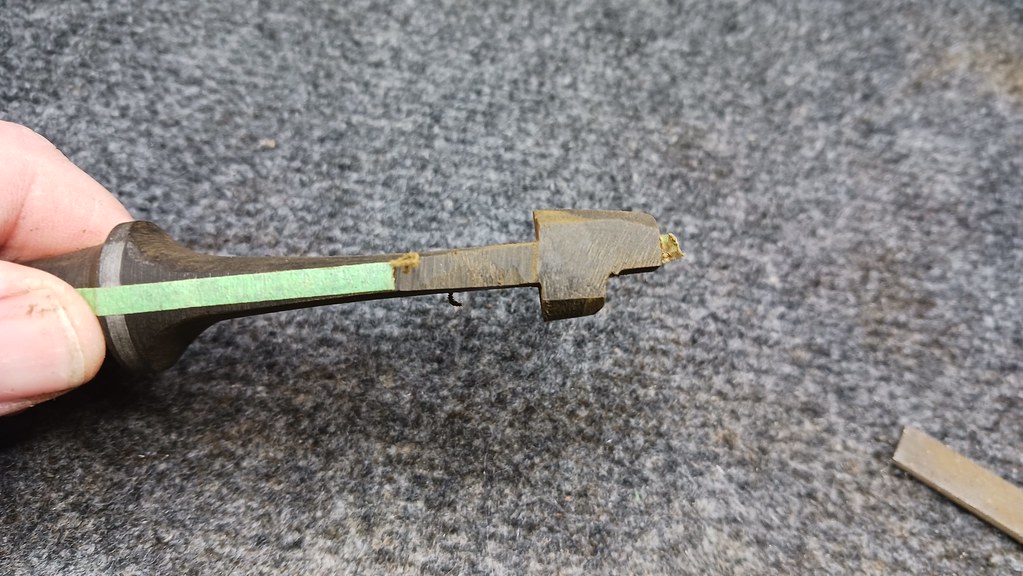
Then it was time to rough in the P-Lip itself. After (yet more) careful measuring and marking, I used the belt sander again to quickly remove the excess stock. It’s starting to look like a Peterson stem now!
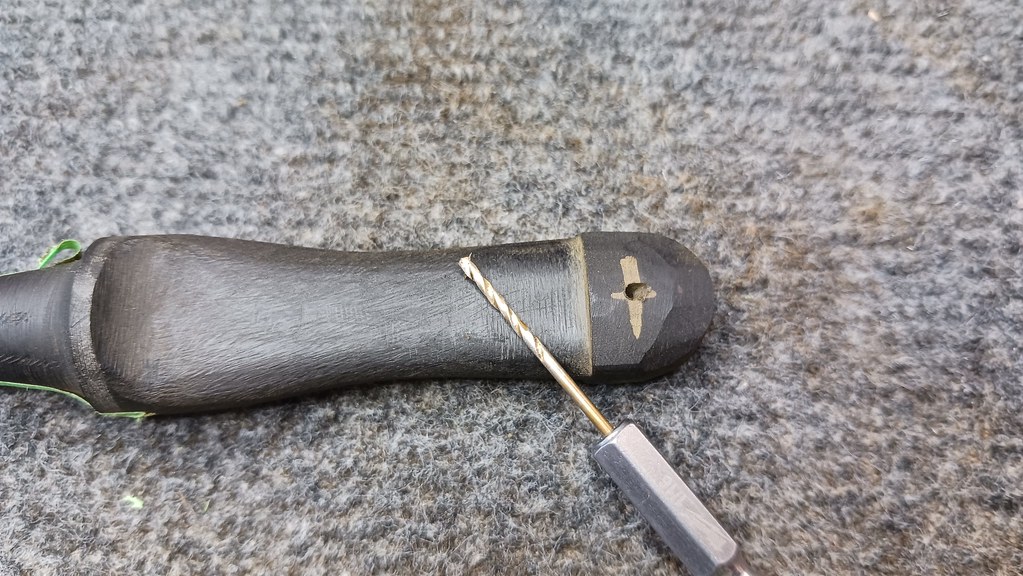
Before I got too far ahead of myself, I held my breathe and freehand drilled the airway through the top of the P-Lip button. Thankfully, the end of the tapered airway was right where I expected to find it. Yay!

I continued to refine the shape of the button, making constant referrals to both my sketch and the Peterson stem I was using as a template.

With the airway now open the length of the stem, I spent some time making small adjustments until I was able to run a pipe cleaner through.
I was feeling rather confident now, with the home stretch in sight. And that, dear friends, is usually when something goes horribly wrong. You can see in the pics above that I had left a fairly thick rim on the flared section of the stem.
I had figured that a quick spin on the lathe would rectify things, but I learned a hard lesson about order of operations when my cutting tool jammed into the side of the stem, causing the lathe to unceremoniously throw the nearly finished stem across the shop. Ouch!
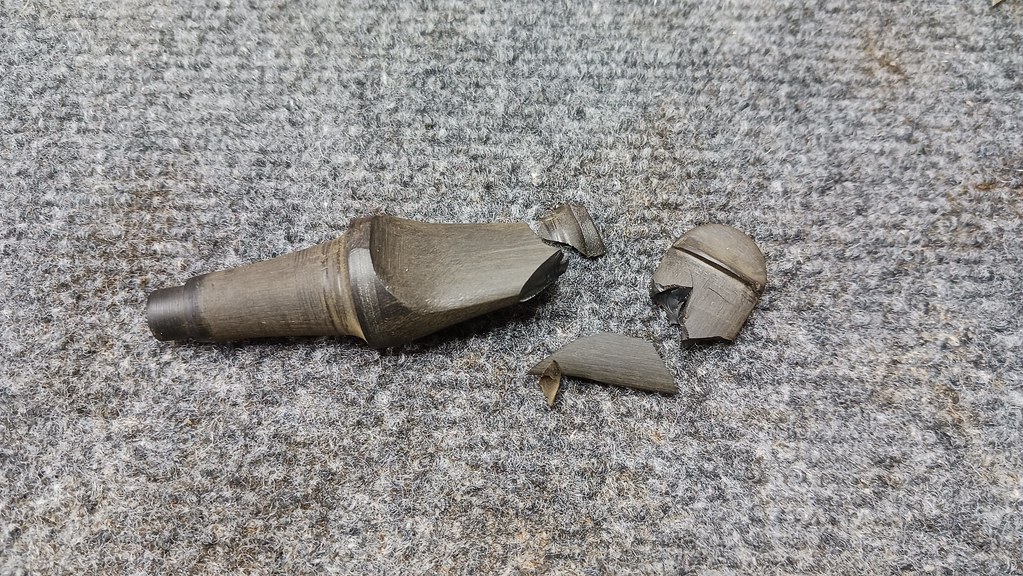
I will admit to uttering a few choice phrases not usually used in polite company as I picked up the shattered pieces of both the stem and my pride, but the only way forward from here was to shake off the bad juju and start afresh with a new piece of rod stock.
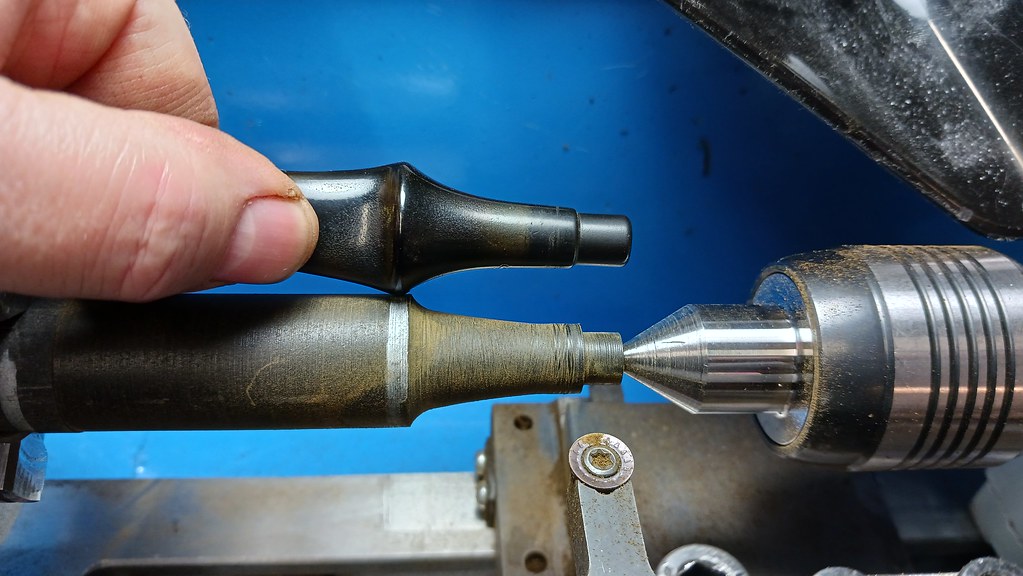
I must have learned a few things from the first attempt as the second stem took shape much more quickly. I won’t bore anyone by posting pics of that process, as they look remarkably similar to the first series of images. Suffice to say, I eventually caught up to where I had been before the accident. This pic shows the second stem below the Peterson original used as a template.


From this point on the files were replaced with sandpaper to smooth out the scratches and refine the final profile of the stem in preparation for polishing.

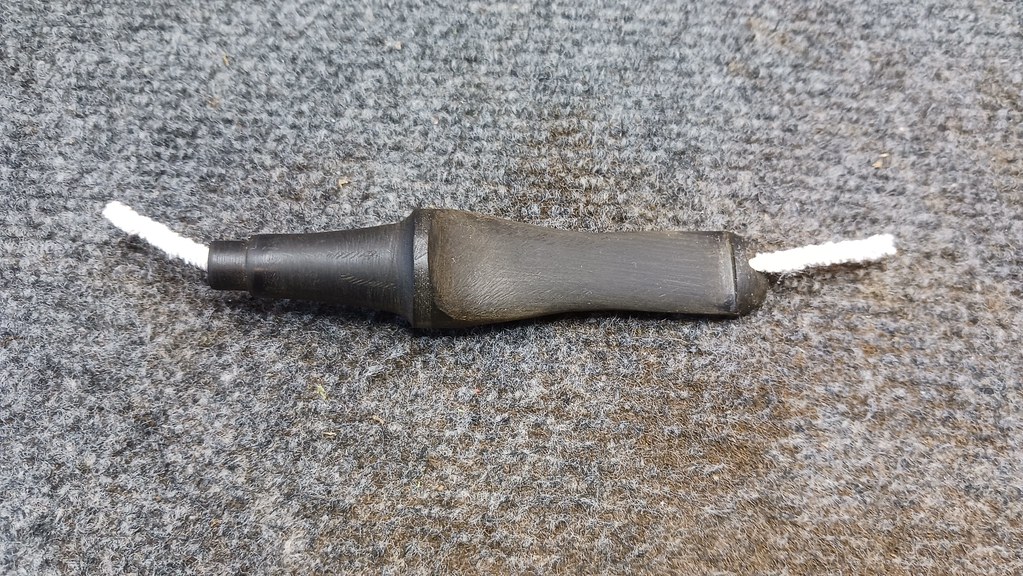
Before taking the pipe to the buffer, though, I needed to introduce a rather pronounced bend into the stem. After slipping a pipe cleaner through the airway to prevent it from kinking or collapsing, I warmed the Ebonite over the heat gun until it became pliable.
Using the original stem as a guide, I bent the new stem to match before setting the shape by running the stem under cold water. This pic shows the new hand cut stem above the original Peterson stem. Not too shabby!

Now all that remained was to polish out the last of the sanding scratches. I gave the stem a good run on the Red Tripoli wheel, then mounted the stem in the stummel and buffed the pipe gently on the White Diamond wheel to bring up the shine. A few light coats of Carnauba wax to both stem and stummel completed this project.
The finished pipe, already in excellent condition, looks almost the same as it did on arrival, though perhaps a bit shinier. The new hand cut P-Lip Army Mount stem looks like it has always been a part of this pipe, though I’m sure its steward will notice the new wider profile immediately. With a bit of regular care and maintenance, this Peterson System Standard 301 Bent Pot should provide decades of smoking companionship to its steward and possibly the next one too.
Thanks for following along on this rather complex re-stemming project. Despite a major setback part way along, I enjoyed the challenge this Army Mount P-Lip stem provided and I’m very pleased with the outcome. This project also drives home for me just how important a stem is to a pipe, particularly a System pipe. The stem really is half of the battle. A comfortable, well-crafted, well fitting stem can make the difference between a favourite, go-to pipe and one that sits in the rack for most of its life.
Until next time, Happy Piping! Here’s the finished pipe.


Excellent as always. It’s comforting that even a pro like you occasionally experiences a goof. Since you’ve tackled this, I wondered if you ever considered making the very intriguing Peterson/Silver Gray NAP system stem showcased in Peterson Pipe Notes? https://petersonpipenotes.org/144-silver-grays-peterson-nap-replica-mouthpieces/
It looks very interesting but I’m not sure I’m willing to spend what she’s charging. Thanks again!
LikeLike
Thanks. I debated glossing over that goof up when I wrote the post up, but I think it’s important for people to know that accidents happen, mistakes are made occasionally and we work our way through them as best we can. I won’t make that particular error again, but I’m sure there will be others to keep me humble!
LikeLike
The NAP stem is something else, isn’t it? A clever design but a bear to make, by all accounts. The price mentioned in the article is about what I’d expect for a custom hand cut stem. Apart from the initial drilling of the rod, it’s mostly hand work, which takes a lot of time, patience and craftsmanship. The cost of Ebonite has also, like everything else, gone up considerably in the last few years.
LikeLike
That’s incredible work, Charles. Impressive. I have one P-lip Peterson and love it. I’ve been searching for an army mount P-lip Dublin for awhile. I haven’t found one yet. Maybe you could make me custom stem? 🤔
LikeLiked by 1 person
Thanks, David. I’d be happy to discuss a stem project any time.
LikeLike
Magnificent!
LikeLiked by 1 person
Thanks! As you’ve read, the project took a sharp right turn midway through, but it turned out rather well. 🙂
LikeLike
Darn fine job!
LikeLiked by 1 person