
Today’s pipe restoration project is a fairly straightforward undertaking – a nice break from the more involved repairs I have been dealing with lately. The patient on the bench today is a handsome Savinelli Punto Oro 616KS Bent Billiard. This description from Smokingpipes.com sums up the shape:
One of the most full-bodied examples of Savinelli’s approach to the Bent Billiard, the “616 KS” dramatizes the standard form with especially robust proportions. It features a hearty bowl and generous chamber with an equally plump shank and stem. It’s noticeably more muscular and deep-chambered compared to the marque’s other bent Billiards like the “606 KS,” “670 KS,” “602,” and “603” designs. The “616 KS” offers plenty of reinforcing briar at its chamber walls, transition, and shank, filling the palm with ease and exemplifying what it means to be considered an iconic Italian bent Billiard.
– SmokingPipes.com
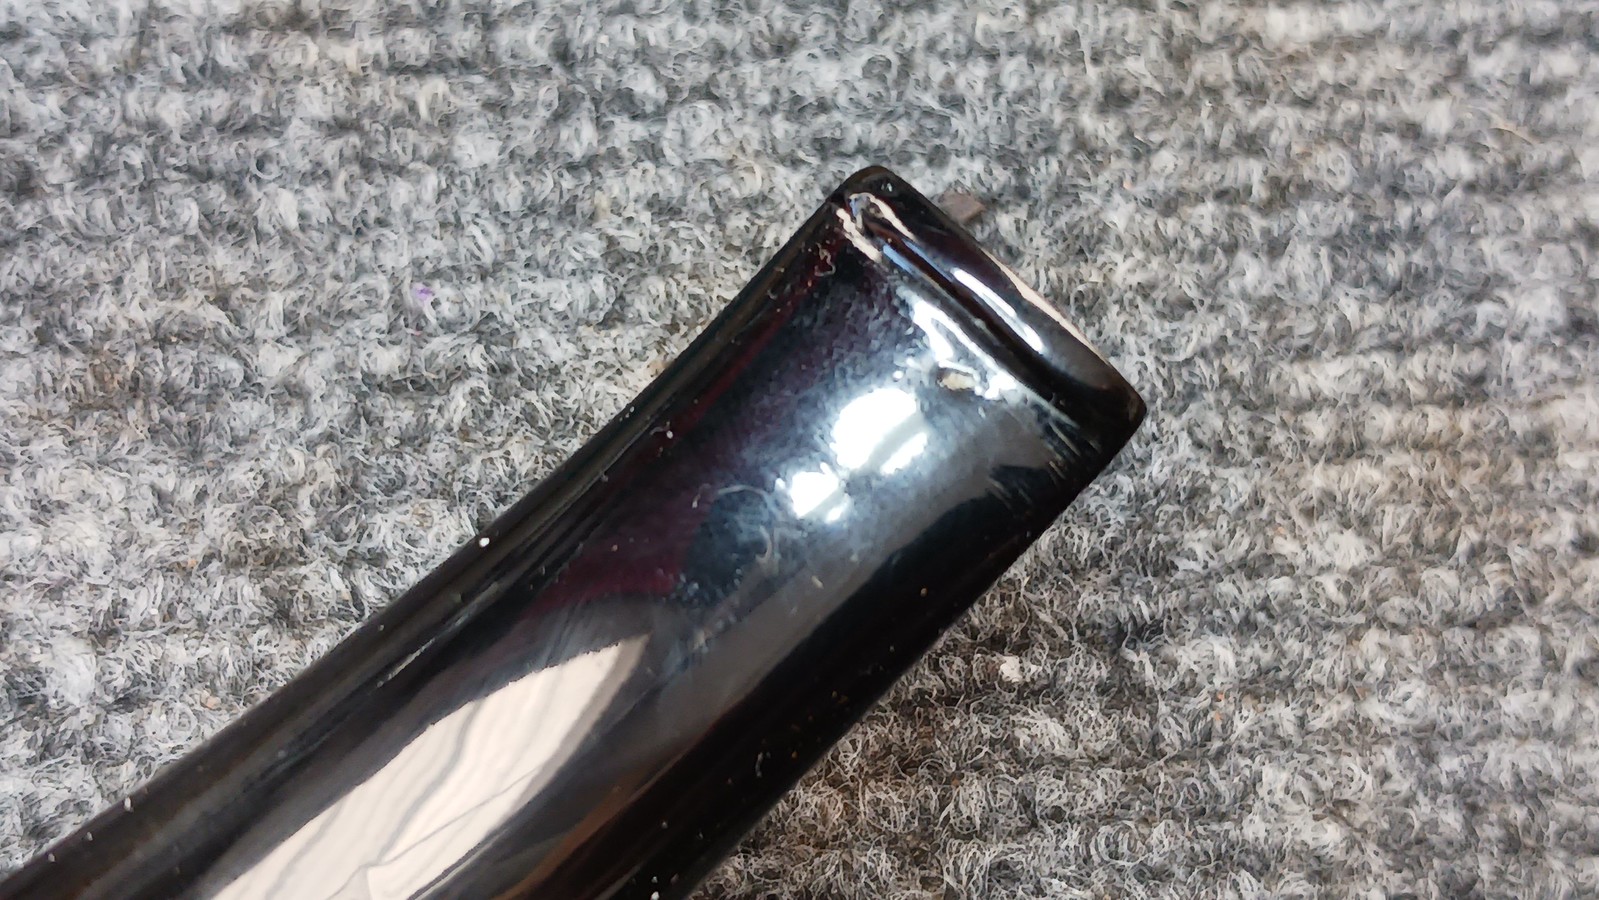
The “robust proportions” of the 616KS are at least partially to thank for the pipe’s condition. Though it arrived in two pieces, the only structural damage was a broken tenon. Cosmetically, the rim showed some small dents and dings, but nothing horrible, while the stem carried a small tooth dent on the underside near the button and, curiously, the brass dot inlay was missing from the top of the stem, apparently having fallen out at some point.


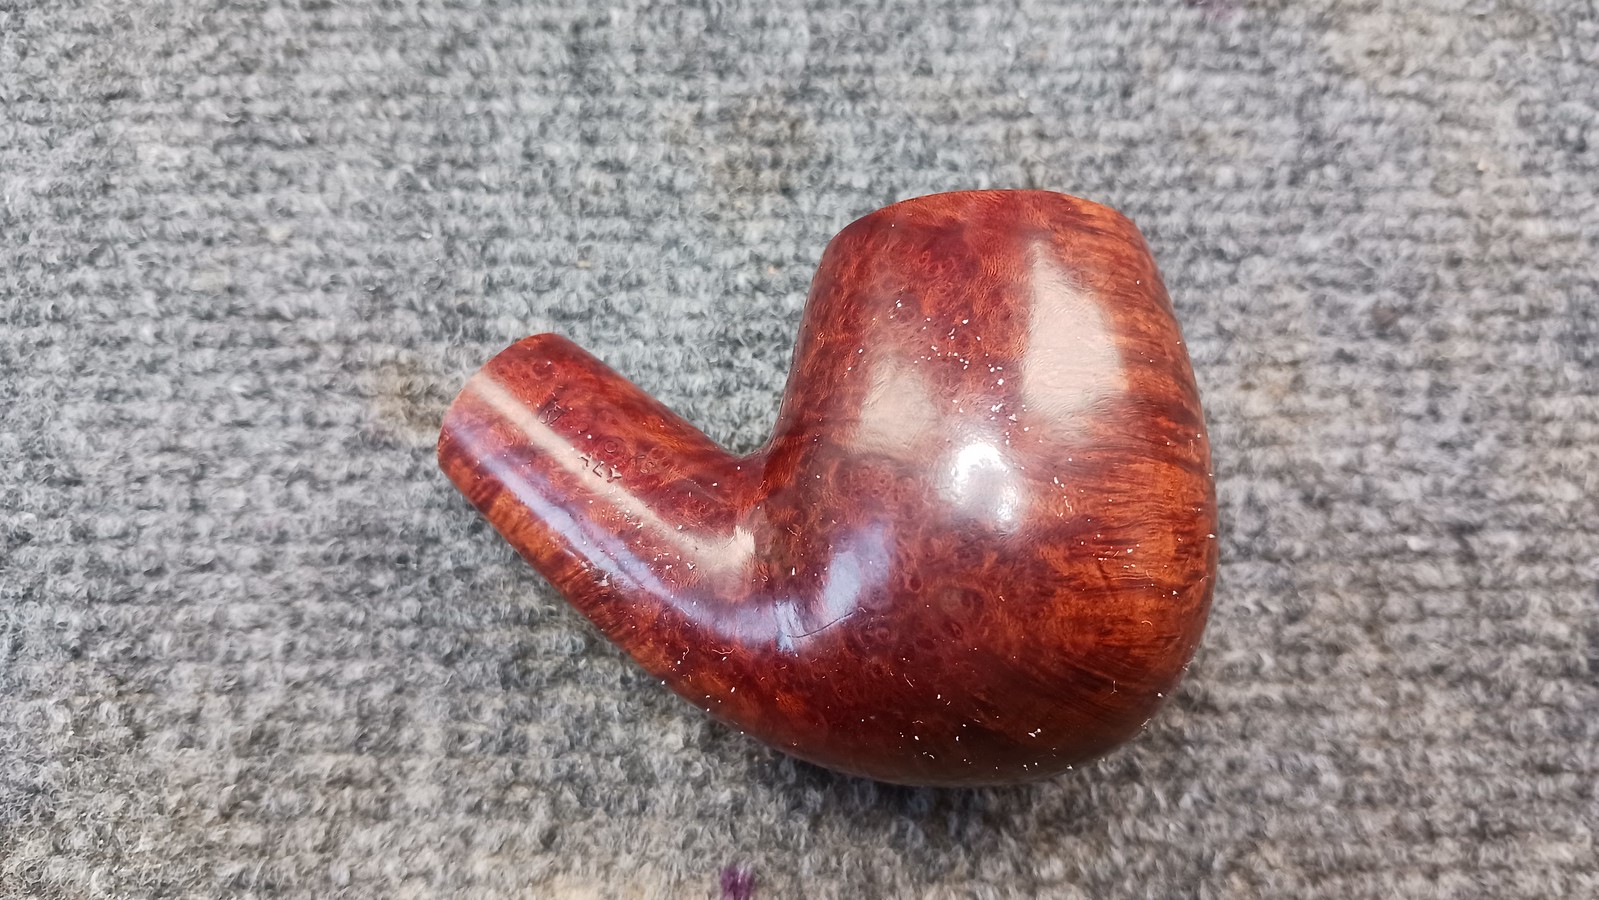


The pipe is stamped “Savinelli” over “Punto Oro” on the left shank and carries the Savinelli crest on the left shank followed by “616 KS” over “Italy. The markings are a bit worn but legible.


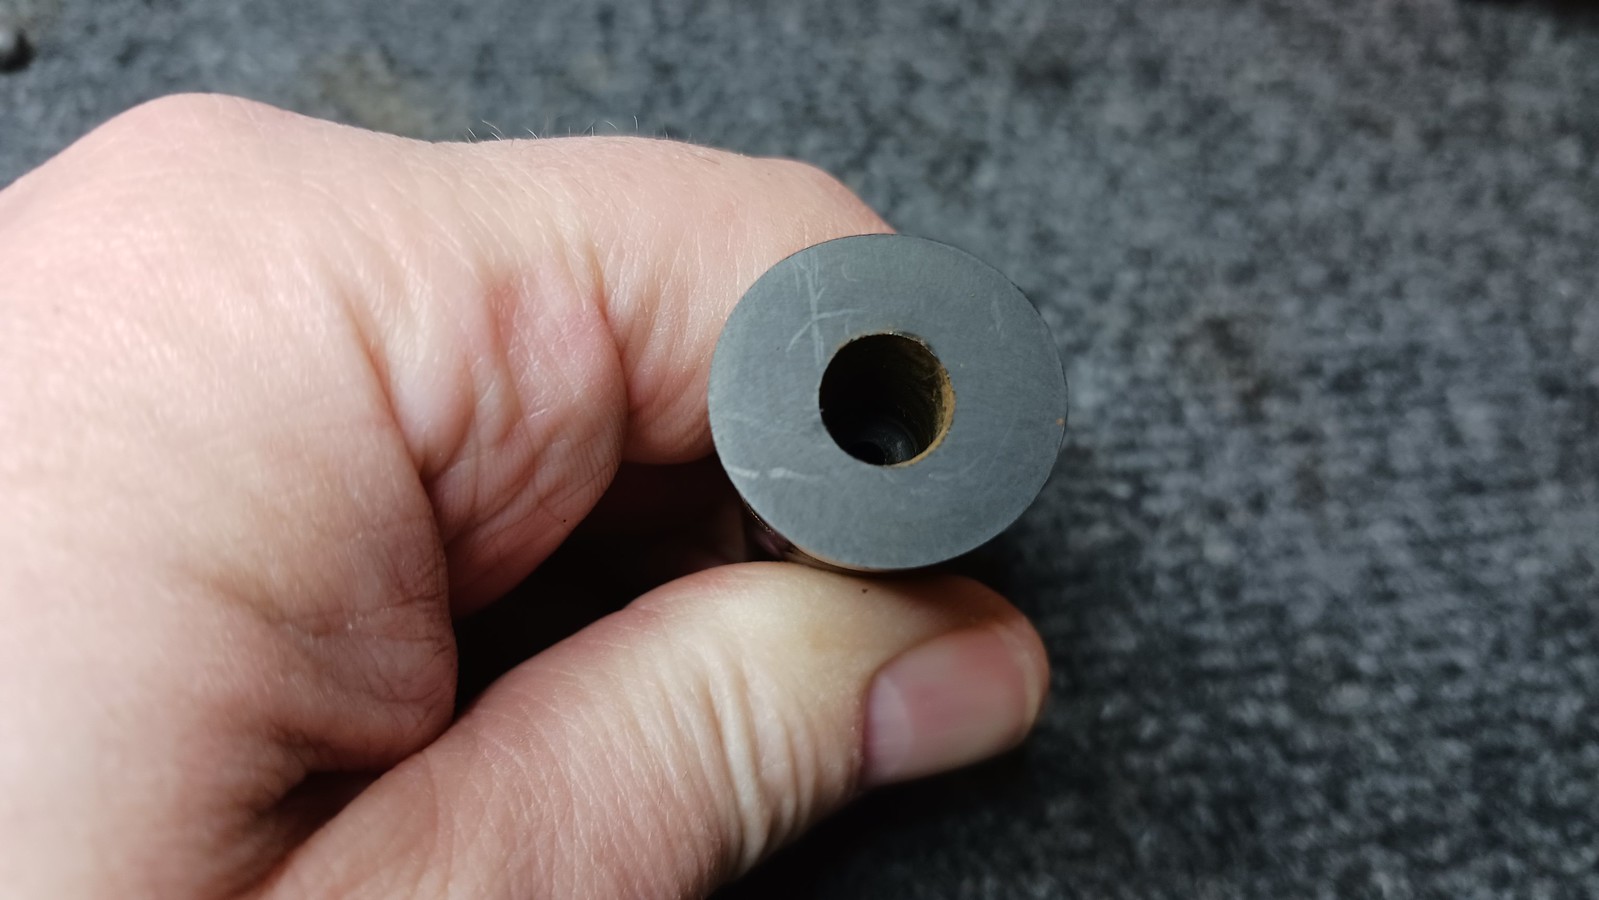
Before anything else could be done with the pipe, I had to extract the broken remains of the original tenon from the shank. Most often I can grab the broken piece with the threads of a wood screw and pull the tenon out, but this time I had to resort to sterner measures and use a drill bit. Thankfully the tenon surrendered without damaging the briar in or around the mortise. Note: to avoid cracking the shank, it is important to pull the broken tenon straight out of the shank, without applying any lateral force to the briar.


With that impediment out of the way, I reamed the chamber of a thin layer of old carbon cake and tidies things up with a bit of sandpaper wrapped around a dowel. The chamber walls were in excellent condition, with no sign of heat damage or gouges.

The shank and airway, however, proved to be rather dirty. It took a bit of work with cotton swabs, pipe cleaners, shank brushes and a scraper to remove the built-up tars and other goodies lurking within.

When I was happy with the state of the stummel, I moved on to making a new tenon for the pipe out of a short section of Delrin rod. The lathe makes this job very quick, from drilling a 1/8″ started airway to sizing the Delrin to the correct diameter and cutting in a step down in the end of the tenon just like the original. You’ll also note the countersunk face of the tenon. This little detail helps to improve the flow of smoke through the pipe, funneling it smoothly from the shank to the stem.

A quick test fit told me the tenon was ready to go.

To reduce the amount of material I needed to remove from the stem face to accommodate the new tenon, I used my PIMO tenon turning tool to turn the stem end of the tenon to just under 7mm, the smallest setting on the tool.

Then it was time to address the stem. Before I got too far into the work, I cut a short piece of brass rod to fill the 1/16″ factory hole in the stem, replacing the missing logo. A drop of clear CA glue in the hole bonded the brass into place permanently. I let the glue cure then sanded the new logo flush to the surrounding material.


Integral tenons (those cut from the same piece of rod stock as the stem) are a perennial weak spot in any pipe, and they never seem to break off cleanly. I used a bit of 220-grit sandpaper on the topping board to remove the stump of the old tenon and create a dead flat stem face.


The airway diameter was, of course, too small for the new Delrin tenon, so I used a series of drill bits to create a mortise large enough to accept the tenon with a bit of extra room for epoxy.
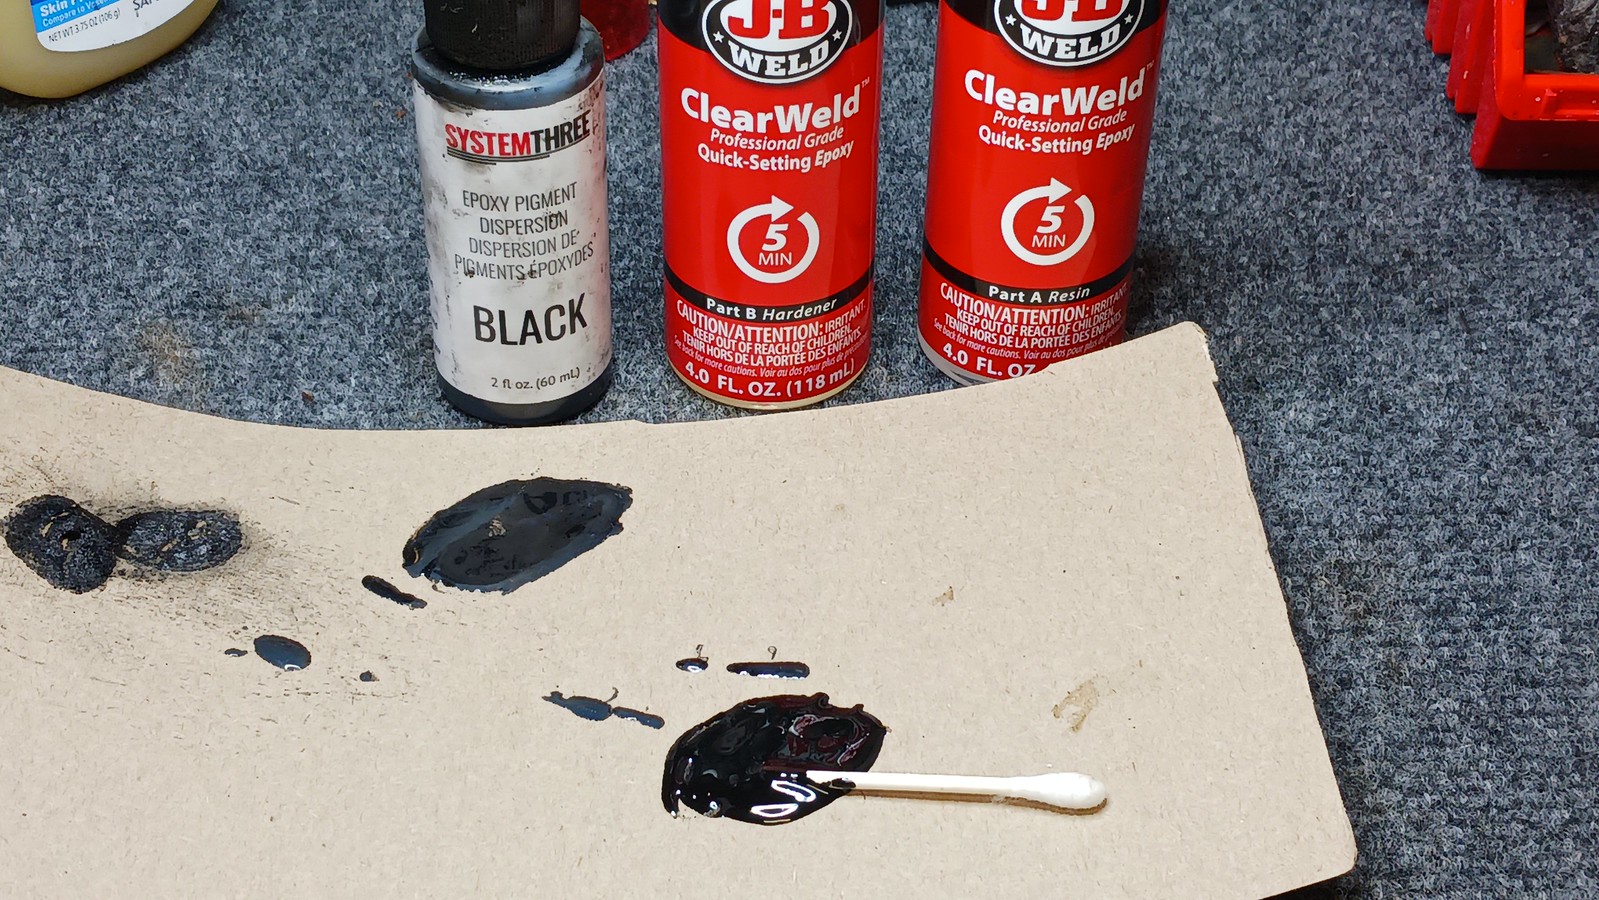
Just about any standard 2-part epoxy will get the job done. I have been using JB-Weld’s Clear Weld epoxy for some time now, mixed with a dab of SystemThree’s Black Epoxy Pigment. The black colour isn’t strictly necessary but using it ensures that any epoxy visible after the repair cures blends well with the stem.
I roughed up both the exterior of the stem end of the tenon and the inner walls of the mortise drilled in the stem face, then applied epoxy to both surfaces. After carefully sliding the stem into place, I held the parts together for a few minutes until I felt the glue start to grab. Then the pipe went into a padded vise to hold it upright while the epoxy cured overnight. A bit of masking tape ensured that the stem didn’t move out of position while I waited on the glue.

When I came back to the pipe the following day, I twisted out the stem and chased the airway with a drill bit to remove the excess epoxy. After an initial wet sanding with 800-grit sandpaper, I drop-filled the tooth dent on the bottom of the stem with some CA glue and let the glue cure before sanding it all smooth again.
I also addressed the rim dents, first applying steam to the area to “fluff up” the wood grain. This minimized most of the distracting marks. A light topping on 2000-grit paper finished the job. Unfortunately I forgot to take pictures of this process, but the end result can be seen in the final pics below.

With all the structural and cosmetic work completed, I took the pipe to the buffer for a run on both the Red Tripoli and White Diamond polishing wheels. A few light coats of Carnauba wax finished this restoration, adding shine and a layer of UV protection to the refreshed pipe.
This Savinelli Punto Oro 616KS is once again looking its best. Gone are the dents and dings and, better yet, the pipe is whole again and the new tenon and brass Dot look like they have always been there. Nice! This pipe has been returned to its steward where it has been put back into active service.
Thanks for joining me for another estate pipe restoration. I hope you enjoyed watching this Punto Oro come back to life.
Until next time, Happy Piping! Here’s the finished pipe.


