
The Bavarian style long pipe is an iconic and historical piece of pipe history, bringing to mind long evenings by the fire, perhaps with a good book. In North America, at least, the style tends to be an outlier of sorts – you just don’t see people sitting at a park bench smoking a two-foot-long pipe very often – and to be honest I wasn’t sure any pipe house was producing modern versions of the classic shape until this Vauen Enzian arrived at the shop.
As you can see from this initial series of pics, the pipe was in excellent used condition – obviously used, but just as obviously cared for. Unfortunately, the pipe had suffered a fall and the acrylic stem had snapped just above the shoulder of the round saddle stem – the thinnest and most delicate part of the entire assembly.


To get the ball rolling on this repair, I disassembled and cleaned the entire pipe, which didn’t take very much effort as the pipe was really quite clean to start with. I then set everything but the broken stem aside.
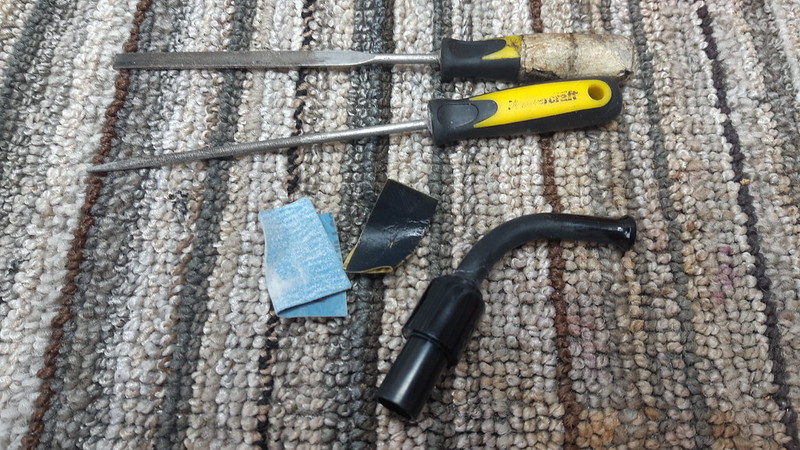
While it is entirely possible to use a touch of CA glue to bond a broken acrylic stem back together, I wanted to add some physical reinforcement to the slender and delicate mouthpiece. After a dig through my supplies, I came up with a length of metal tubing with an interior diameter that matched the airway. By drilling out both ends of the break to match the outer diameter of the tubing, I could insert a section of tubing across the break without disrupting the flow of air through the stem.
Given the size of the airway (about 3/32″), and the ragged nature of the break, drilling the tubing pockets was a delicate and painstaking task. The drilling had to be kept parallel to the airway, and I had to avoid breaking off chunks of acrylic in the process. I worked slowly, turning the drill bit mostly by hand initially to create a starter hole in both halves of the broken mouthpiece before finishing off with a hand drill.


With the pockets drilled, I dry fit the tubing into the stem. The faces of the break didn’t line up perfectly, but it was very close.


I cut the tubing to its final length and did another dry fitting. Here is an end shot taken through the 9mm tenon showing the end of the metal tubing sitting flush with the end of the filter pocket.

For the first glue-up, I used thick CA glue to take advantage of its gap-filling properties. As you can see, I was not stingy with the glue, but rather applied it into, onto and over the damaged area.

I made use of a convenient bench vise, padded with a bit of towel to avoid scratching the stem, to hold the parts in position while the CA glue cured overnight.

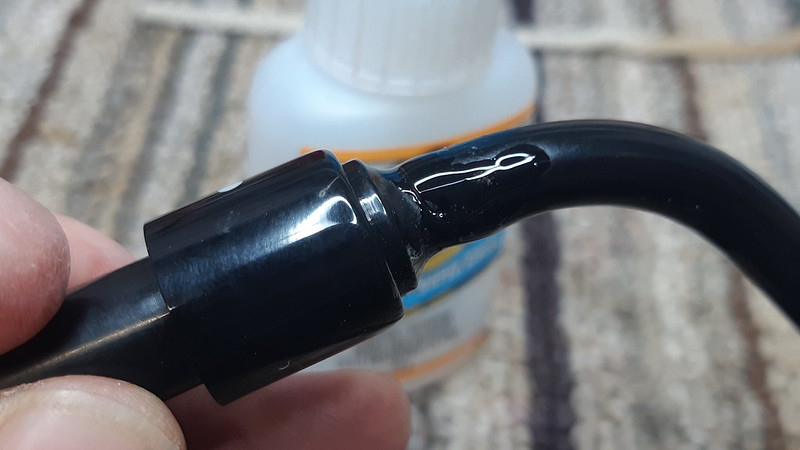
And this is what the stem looked like the next morning. The CA glue had dried an unsightly grey/white colour against the jet black acrylic. Ugly, but only for a short time as all of the excess glue was filed and sanded away.


Here is a shot of the stem after smoothing out the initial application of CA glue. The round needle file in the pic was very useful for getting into the hard to reach areas on this rather small piece.
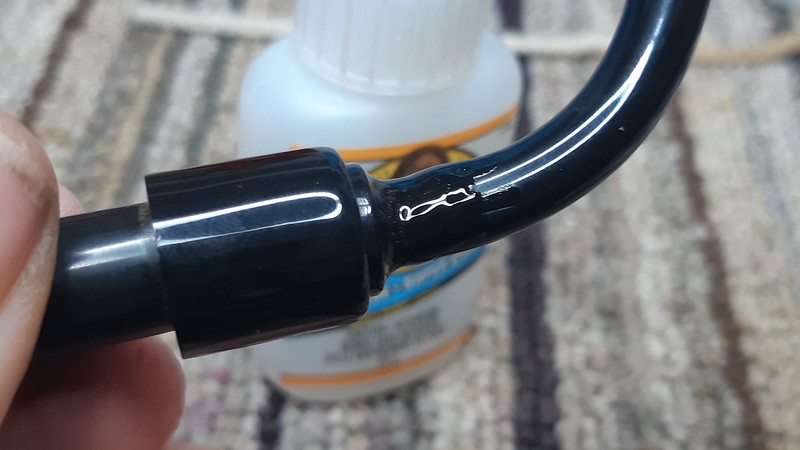
Close inspection revealed that there were a few small sections of CA glue remaining that had not dried clear.


To colour match the glue joint and fill in the inevitable imperfections in the stem, I coloured the white areas with a Sharpie marker then topped the repair with regular, thin CA glue.


After the glue had cured, I again sanded and polished the acrylic. This time the repair stayed black and blended practically invisibly into the surrounding material.

After making sure that the stem’s airway was clear, open and would easily pass a pipe cleaner, I took all the parts of this unique pipe to the buffer for a light polishing and a fresh coat of Carnauba wax. As these final pics illustrate, the pipe is once again whole, fresh and ready to be put back into active service by its current steward. Even better, the repair is seamless – unless you know exactly where to look.
This is a shorter blog post than many I have published, but I hope it provides a few good techniques for dealing with broken acrylic parts. CA glue is an ideal adhesive here as it is chemically very similar to acrylic; it is often possible to achieve excellent results, especially compared to similar repairs to Vulcanite.
Until next time, Happy Piping! Here’s the finished pipe.


Reblogged this on rebornpipes and commented:
Nicely done. That copper tubing repair is a slick trick. Well executed Charles.
LikeLiked by 2 people
Charles, thanks for the write up and pictures. The final results are near perfect. Well done.
LikeLiked by 2 people