
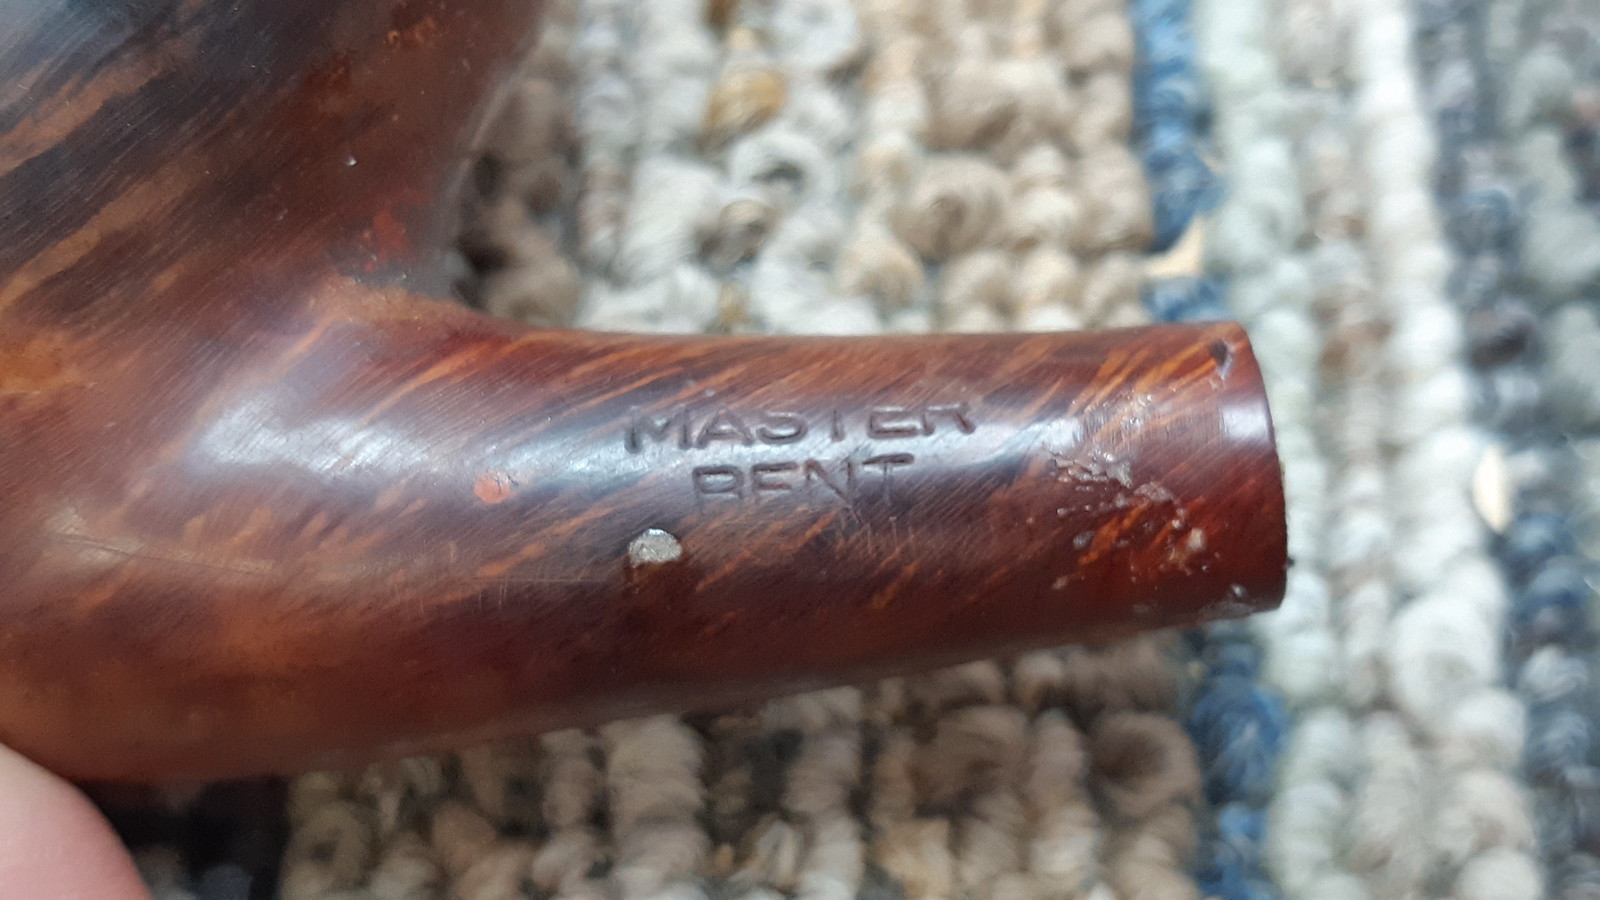
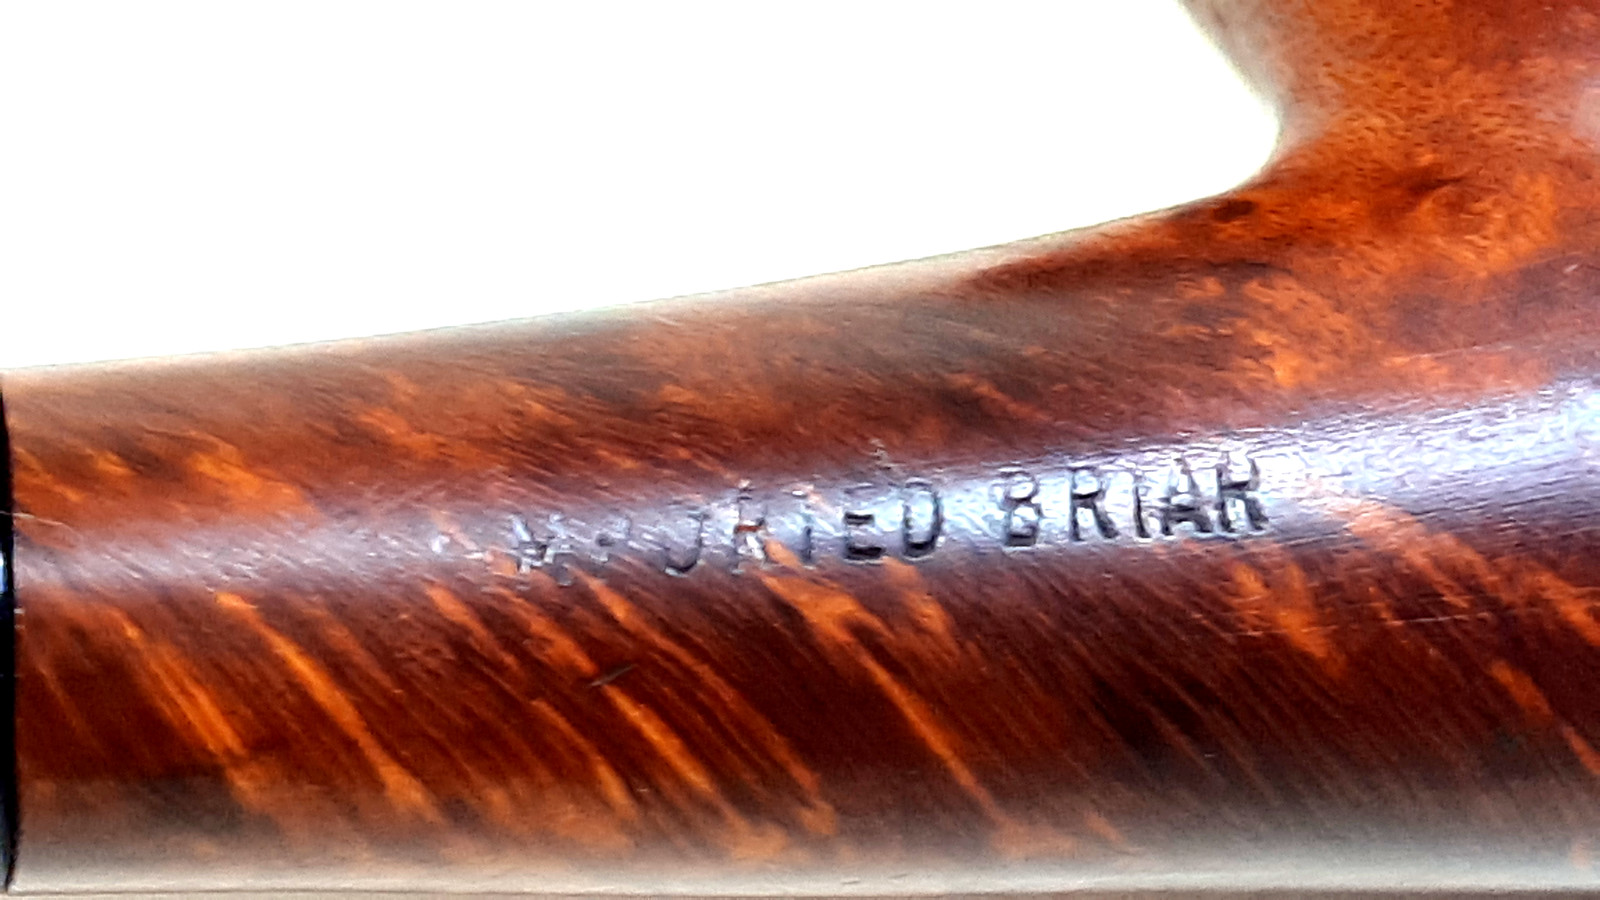
This post is a bit different from most on this site in that the pipe on the table today was sent for preservation more than restoration. It is stamped simply “Master Bent” on the left shank and “Imported Briar” on the right. I have been unable to find any reference to a maker online,; if anyone has any information on the brand, please comment below!
I first saw the pipe when I was sent a few pictures by its current caretaker. The email explained that the pipe belonged to the fellow’s wife’s grandfather and that, despite significant damage to the pipe, they would like to have it preserved as a memorial. Well, the email was spot-on about the damage – this set of pics show the pipe as it looked when it first arrived in the shop.


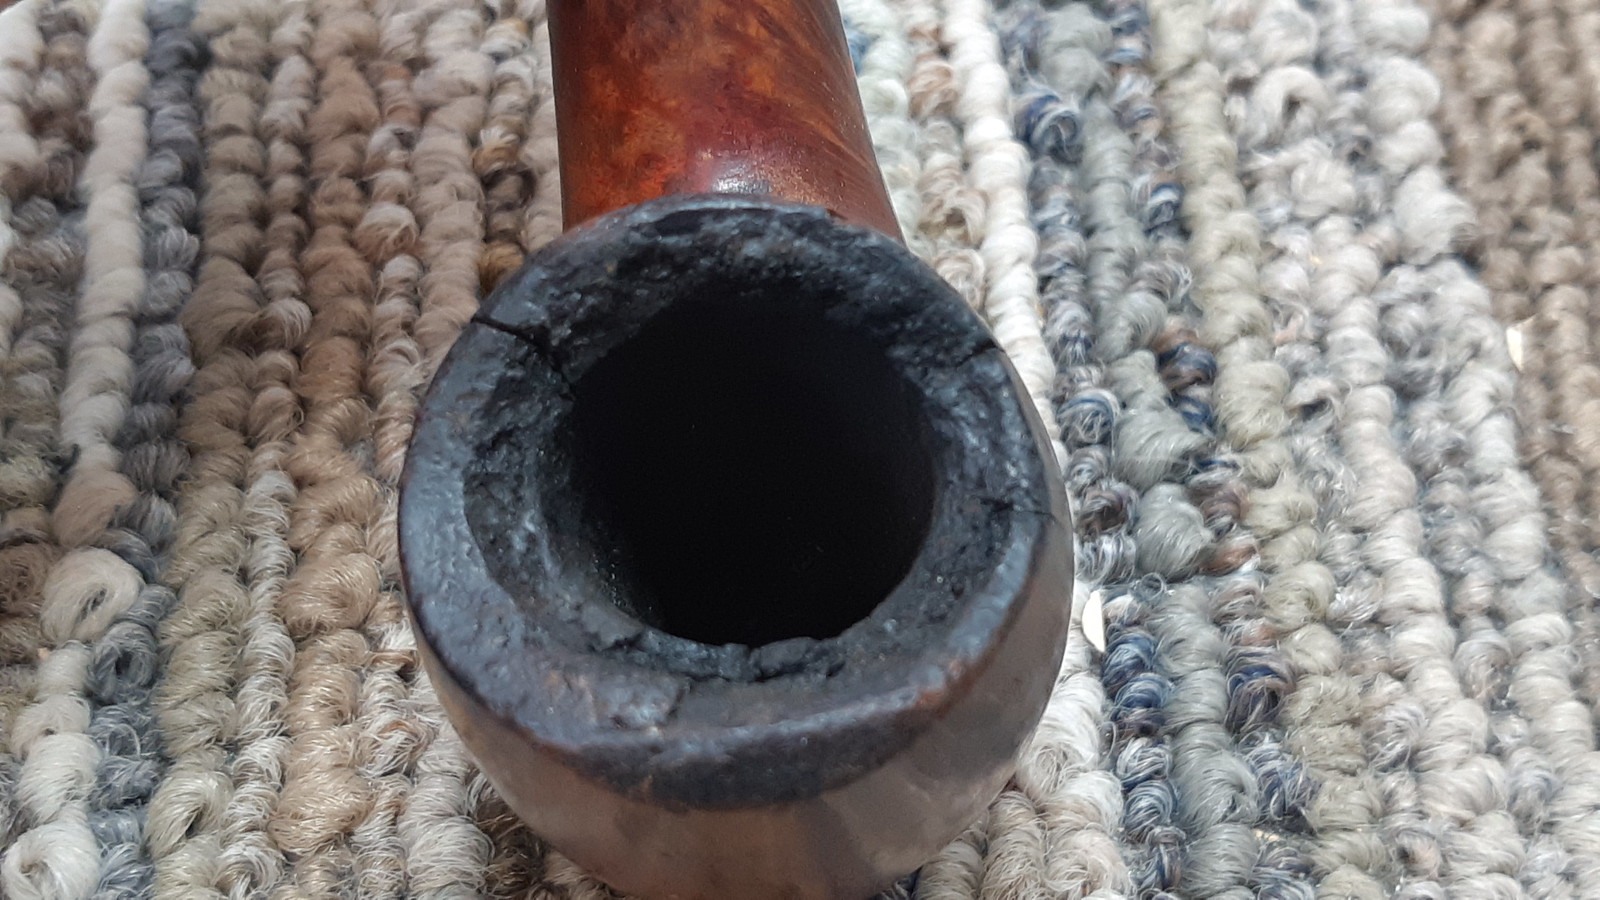


Cataloging the issues, we have a stem with a broken tenon lodged in the shank; a lot of old glue coating the tenon and the shank; a significant amount of carbon cake in the chamber; major heat damage to the rim (and likely the chamber); and, finally, several vertical cracks running down the bowl from the rim.
I discussed the rough condition of the pipe with its steward and after explaining the risks and possible approaches to the task, we outlined the parameters of the job. I would aim for a final product that was display-ready, with any actual functionality as a smoking instrument considered a bonus. I was also instructed not to do a full restoration but rather to retain the burned briar and tooth dents as a way of remembering the pipe’s original steward.
I started the work by very delicately reaming the old carbon cake from the chamber. Beginning with my smallest reamer head and working my way up to larger reamers, I was pleasantly surprised that the bowl survived intact. Unsurprisingly, the chamber walls and floor had significant heat damage.

I used a brass tire brush to carefully remove the carbon lava from what was left of the rim. This shot shows the state of the briar underneath all the muck – it’s not pretty, but you can see the original rim surface is intact along the left side of the bowl. It’s also hard to miss the rim cracks.

Before I could finish the basic cleaning of the stummel I had to deal with the remains of the tenon and all that old glue. Rather than just bulling my way through with one large drill bit, I worked through a succession of bits mounted in my hand drill, first opening the airway then slowly removing more and more of the old tenon material until I had restored the original mortise dimensions. Most of the old glue, thankfully, came out with the old tenon.


You won’t be too surprised to learn that the airway through the shank was completely blocked with carbon and old tars. I opened it back up with a 5/32″ drill bit, turned by hand.

Finally, I could complete the internal cleaning of the stummel using shank brushes, pipe cleaners and 99% isopropyl alcohol. Drilling out the old tenon had conveniently removed a lot of old tars already, so it didn’t take too much effort to get the job done.

Now that I could actually see briar everywhere, I could deal with those rim cracks. Despite their appearance, the cracks turned out to be relatively stable so I kept things simple by flowing clear CA glue into and over the damaged areas and let capillary action draw the glue deeply into the cracks to seal and stabilize the briar. Before I applied the glue, I wiped the briar with alcohol on a cotton pad to remove any surface grime.


I set the stummel aside to let the glue cure. While I waited, I worked on the stem using the same approach as I did on the shank to drill out the stem face to accept a new Delrin tenon.

This pic shows the new Delrin tenon fit to the shank mortise. You’ll note that I also turned the stem end of the tenon down to a more manageable diameter. I like to do this when I can as it allows me to drill a smaller stem mortise and the larger shank end covers the drilled area when it’s all glued up for a tidy finished look.

A bit of petroleum jelly on the shank face provides a bit of insurance against gluing the stem to the briar as well as to the Delrin tenon.

I applied a small amount of two-part epoxy to both the tenon and the stem mortise, then carefully slid the stem into place. After lining everything up, I used a bit of painter’s tape to hold the stem in position as the epoxy cured.

I left the pipe clamped upright in the vise overnight to ensure a full curing of the epoxy – I certainly didn’t want the new tenon to move even slightly while I finished up the project. To remove the excess CA glue from the exterior of the stummel and prep the briar for refinishing, I sanded everything lightly with sandpapers from 220 to 2000 grit. I wanted all the excess glue removed but I made sure to leave as many “character marks” on the briar as I could. This pipe has earned them!

With the sanding done, I hit the stummel first with a coat of Fiebing’s Black leather dye. I let the dye dry, then removed as much of the black as I could, leaving it only in the softer grain. A top coat of Saddle Tan dye reproduced the pipe’s original two-tone finish.


Just before taking the pipe to the buffer, I packed a bit of pipe mud made from cigar ash and water into the bottom of the chamber, raising the chamber floor back up to just below the draft hole. As you can see, there is still quite a lot of heat damage to the chamber walls, but the mud will at least allow a (very) occasional and careful smoking of the pipe should its new steward decide to do so.

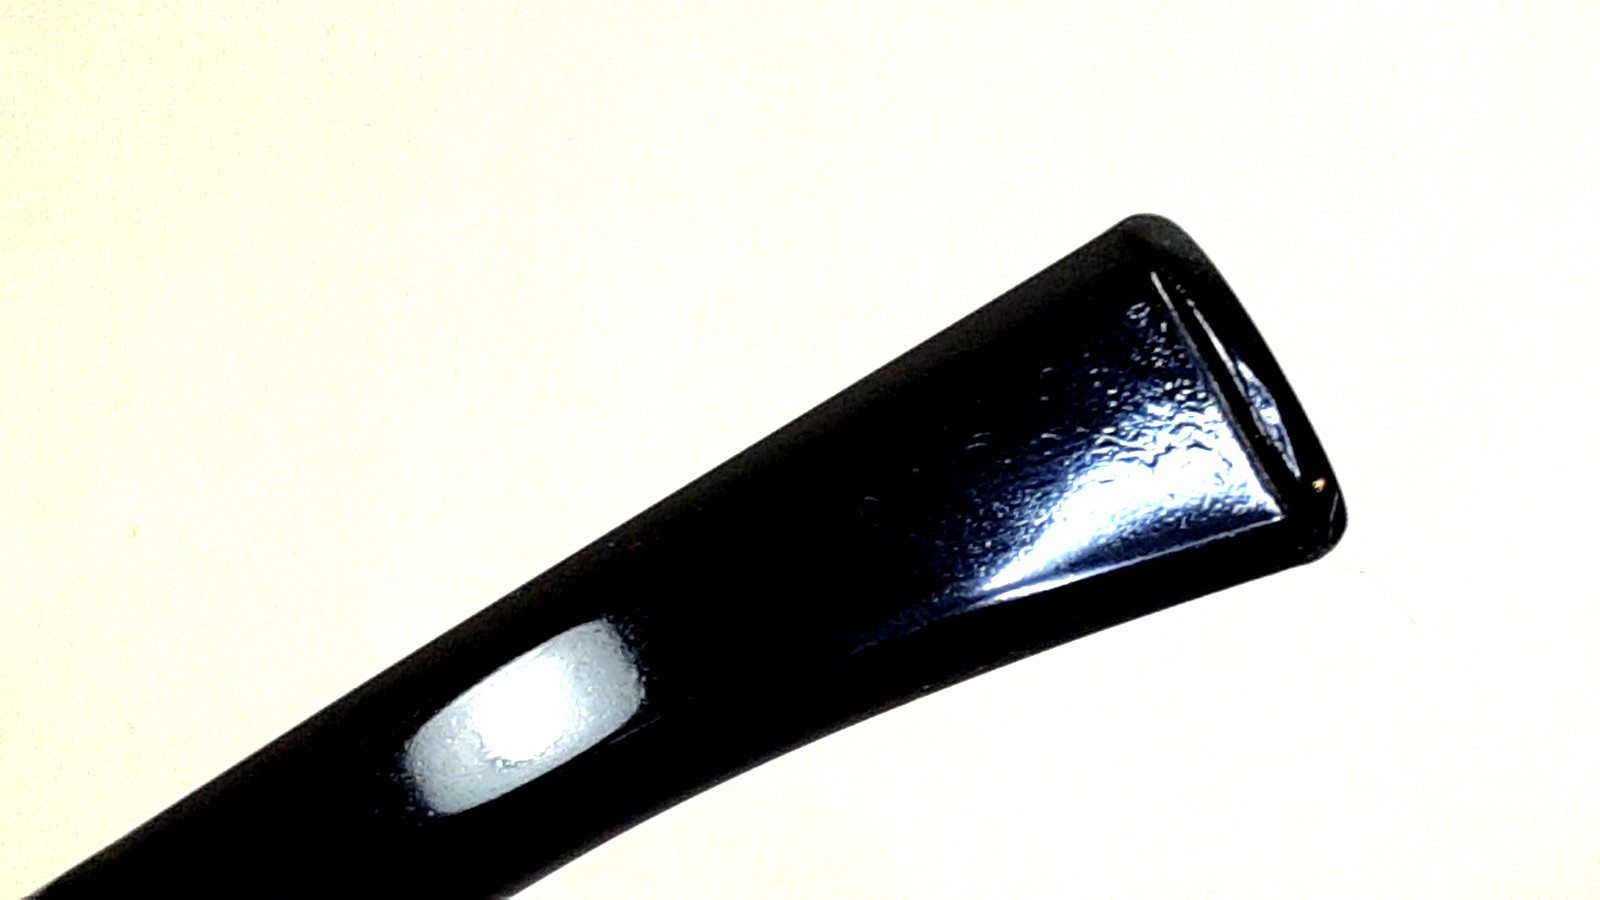
With everything rrady, I buffed the bowl and stem with RedTripoli and White Diamond compounds on the buffer, and finished with a few light coats of Carnauba wax.
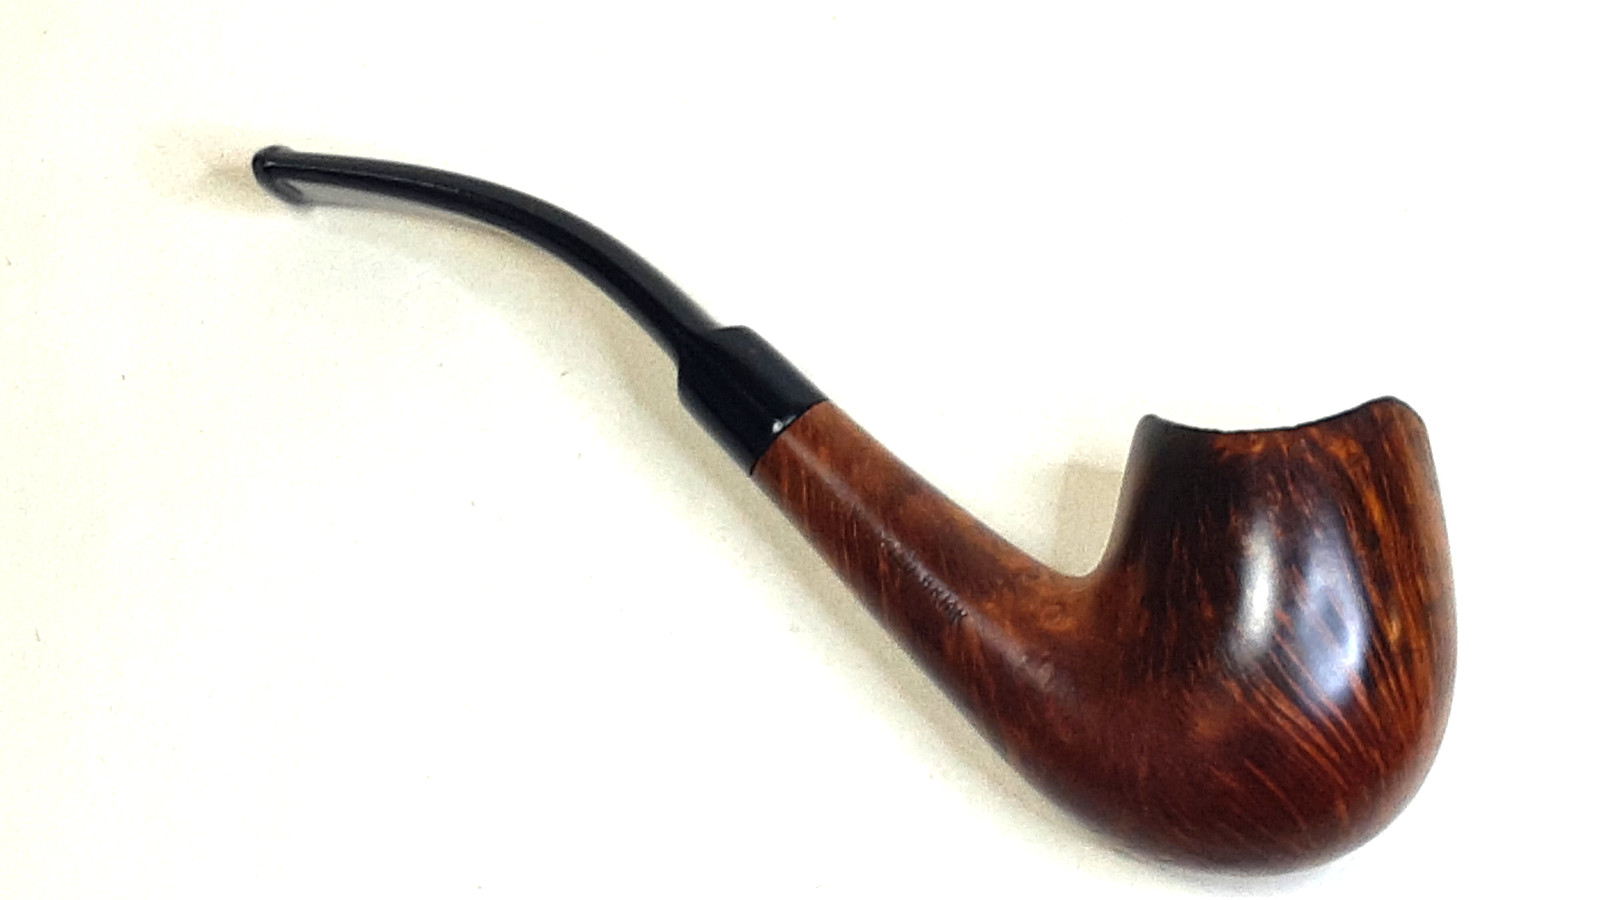
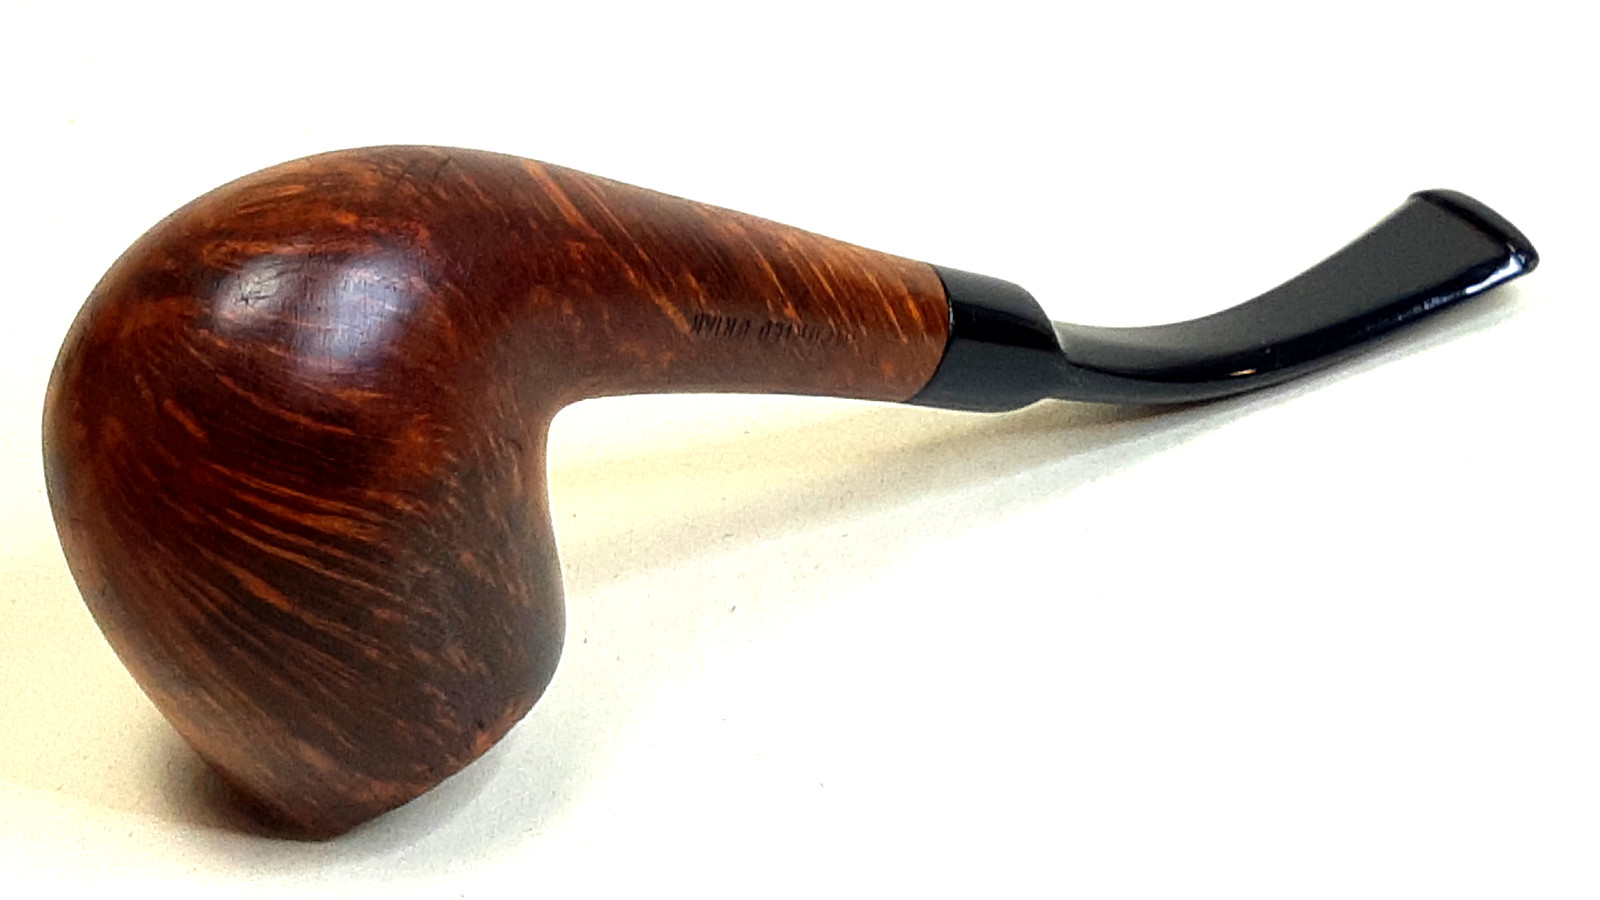
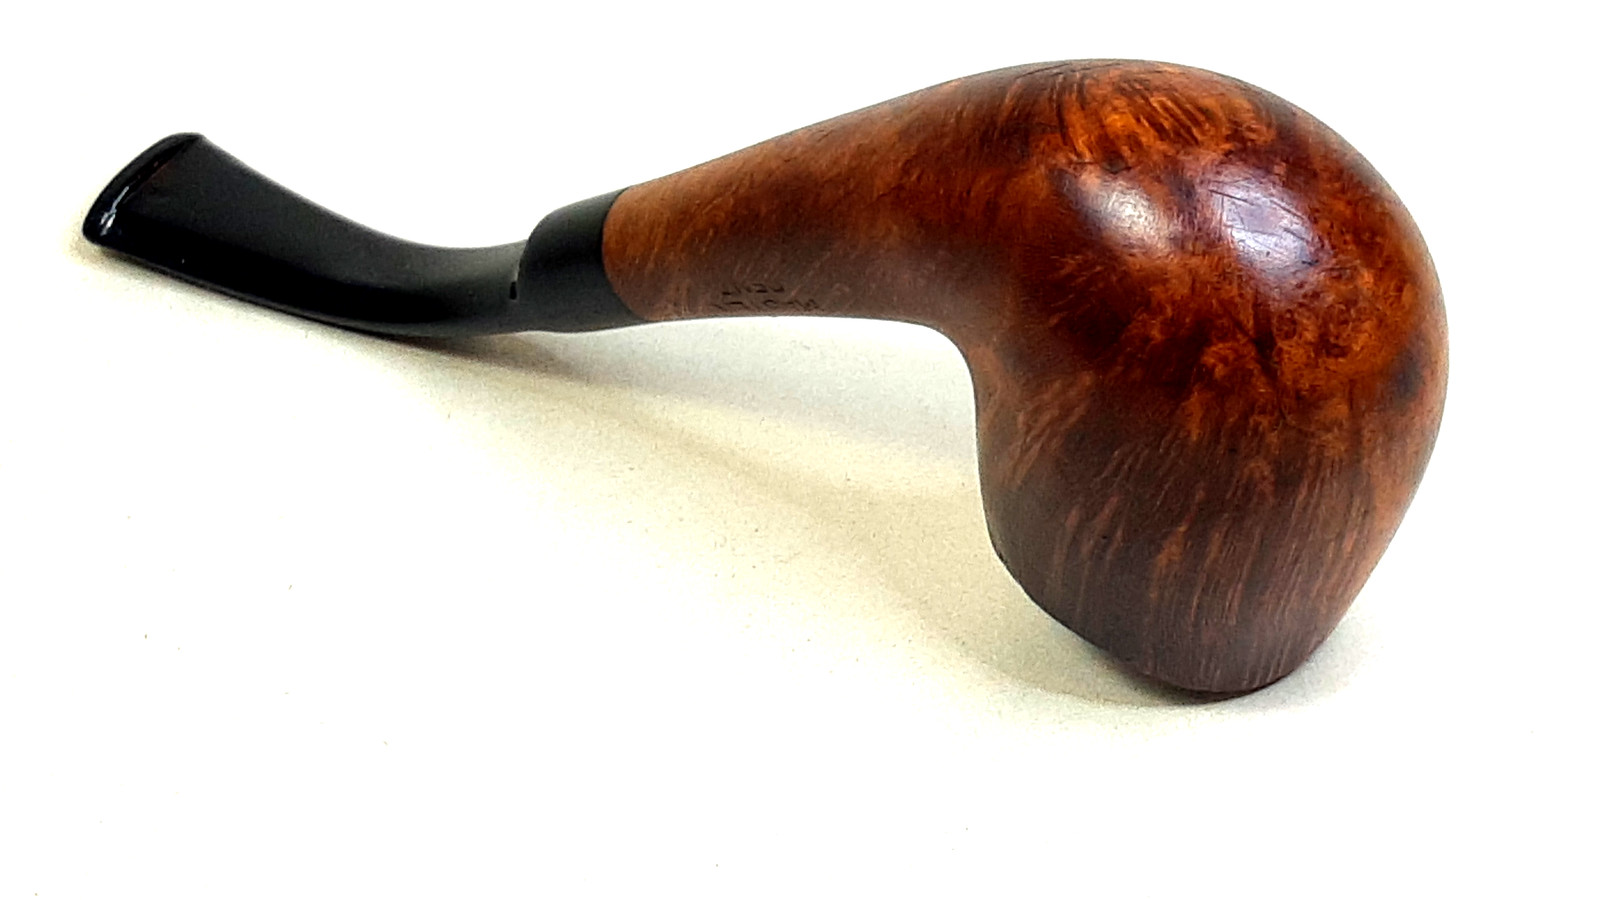
The finished pipe is a careful balance of preservation and restoration. While the rim and chamber are still quite visibly damaged, the stem is whole again and the pipe is clean and ready to display, perhaps next to Grandad’s picture. It is also easy to imagine what the pipe once looked like when it was new – a rather elegant bent egg with a concave rim design.
The pipe is now back with its family.
Thanks for joining me for this somewhat unique post which stands as a demonstration of the power of simple objects to remind us of people, places and experiences that are no longer available to us. I doubt whether this Master Bent ever had very much inherent value, but to the family the cleaned and preserved old pipe is priceless.
Until next time, Happy Piping! Here’s the finished pipe.


That’s a great story. I can only imagine how pleased the family was opening this box.
LikeLiked by 1 person
It’s always great to restore something like this for and to a family. These objects mean a lot.
LikeLike