
This lovely hand-made Danish pipe was sent to me for a new stem recently, and after a quick inspection, I could see why – the button on the elegantly slender oval taper stem had been worn down almost to nothing. The pipe must have been prone to sliding right out of its current steward’s teeth!
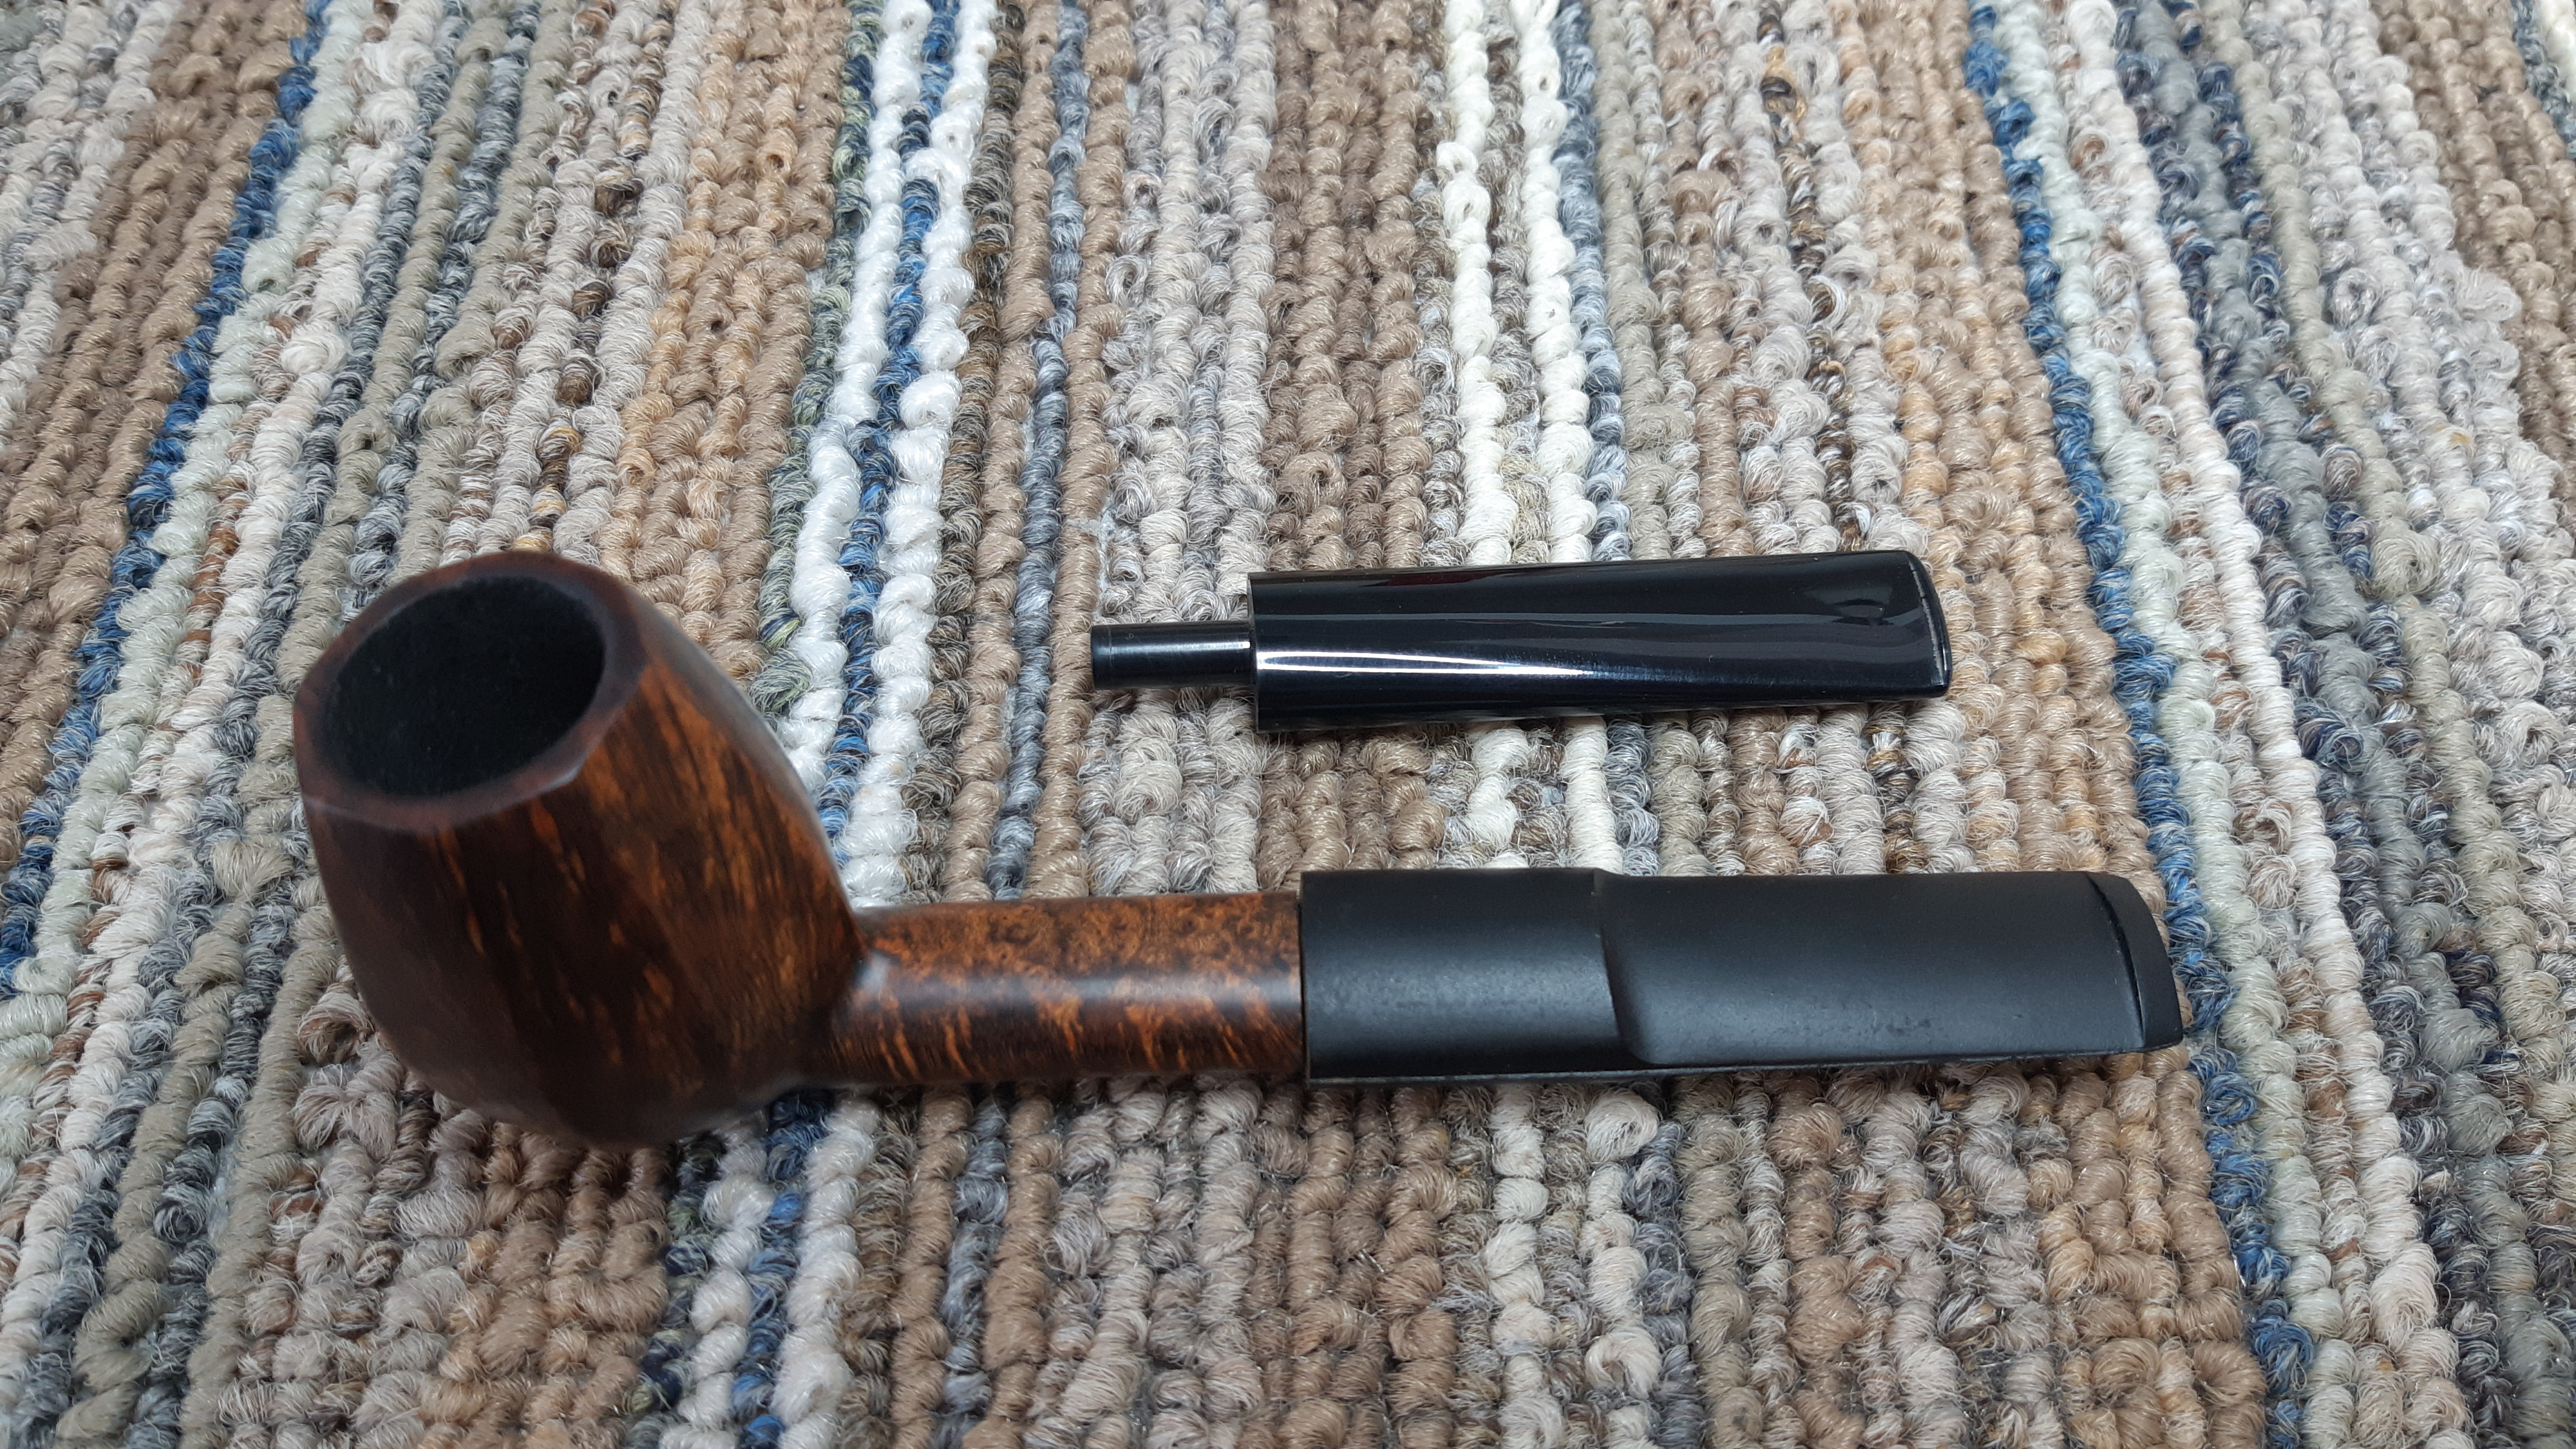
Here is the pipe as it looked when I first brought it to the worktable. As you can see, it is a rather well-crafted octagonal panel straight Brandy shape featuring superb straight grain and an oval shank that leads the eye to an almost impossibly thin oval taper stem.


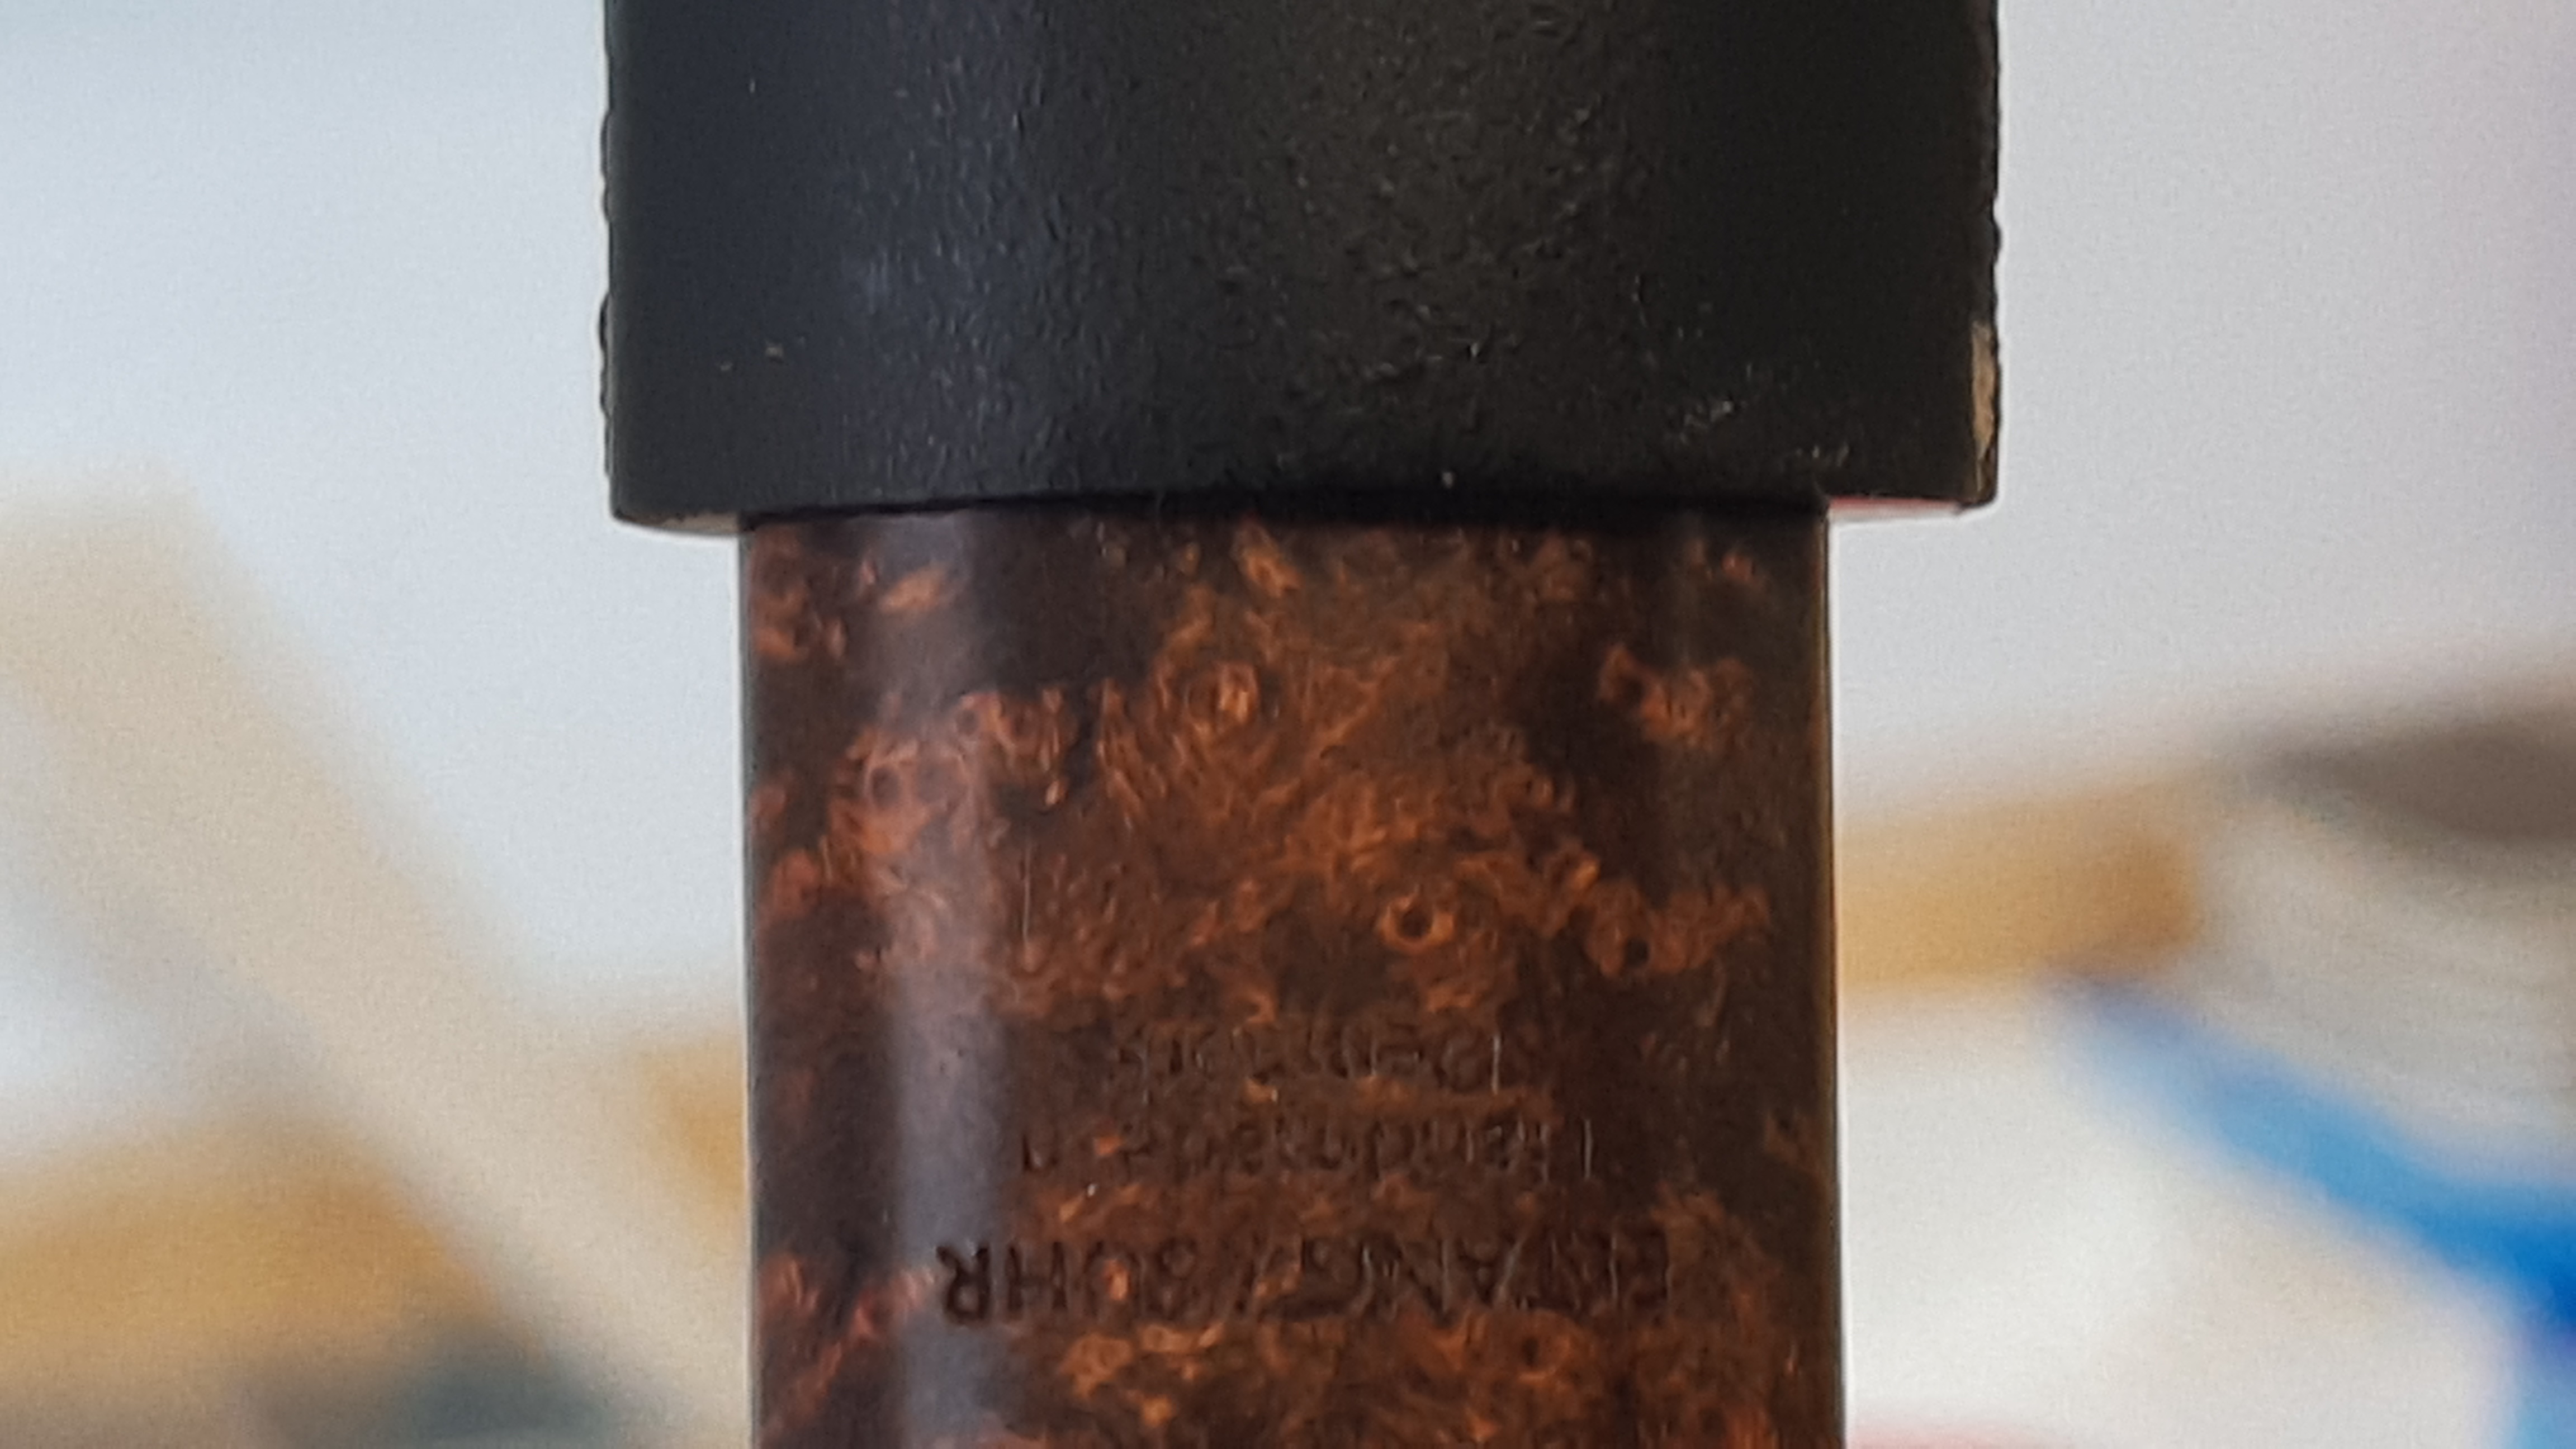
Did I mention that the pipe appeared well-made? Flipping it over reveals why – the pipe is marked with a circular “Danish Pipe Shop 1969 – 2019” around a Crowned “50” over “Eltang/Suhr” over “Handmade in Denmark”. With those two legendary pipe carvers involved, this 50th Anniversary pipe couldn’t be anything but well-crafted!

I’m leaving out the details of the usual cleaning process for this blog post to focus on the stem fitting and shaping process. My brief on this project was two-fold: duplicate the original stem with a larger button, and return the original stem with the pipe for use as a back-up stem should anything untoward befall the replacement.
The stem blank I chose to work with for this project was a reasonably oversized Oval Saddle piece made from Vulcanite. I would have to adjust the blank’s length as well as overall profile to get the job done. This pic shows the blank next to the original stem.

I used my tenon turner to cut down the blank’s integral tenon to fit the shank. The result was a rather less than perfect fit at the shank face.

As the pic above illustrates, not all stem blanks are created equal. This one had quite a bulge around the base of the integral tenon which prevented the stem face from fitting flush to the end of the shank.
I have more or less given up on integral tenons, finding it much faster and easier to cut them off and square up the stem face on the topping board before installing a Delrin tenon. This pic shows the new Delrin tenon sized to the shank mortise and ready to glue into the stem blank.

Bingo! A nice, light-tight fit!
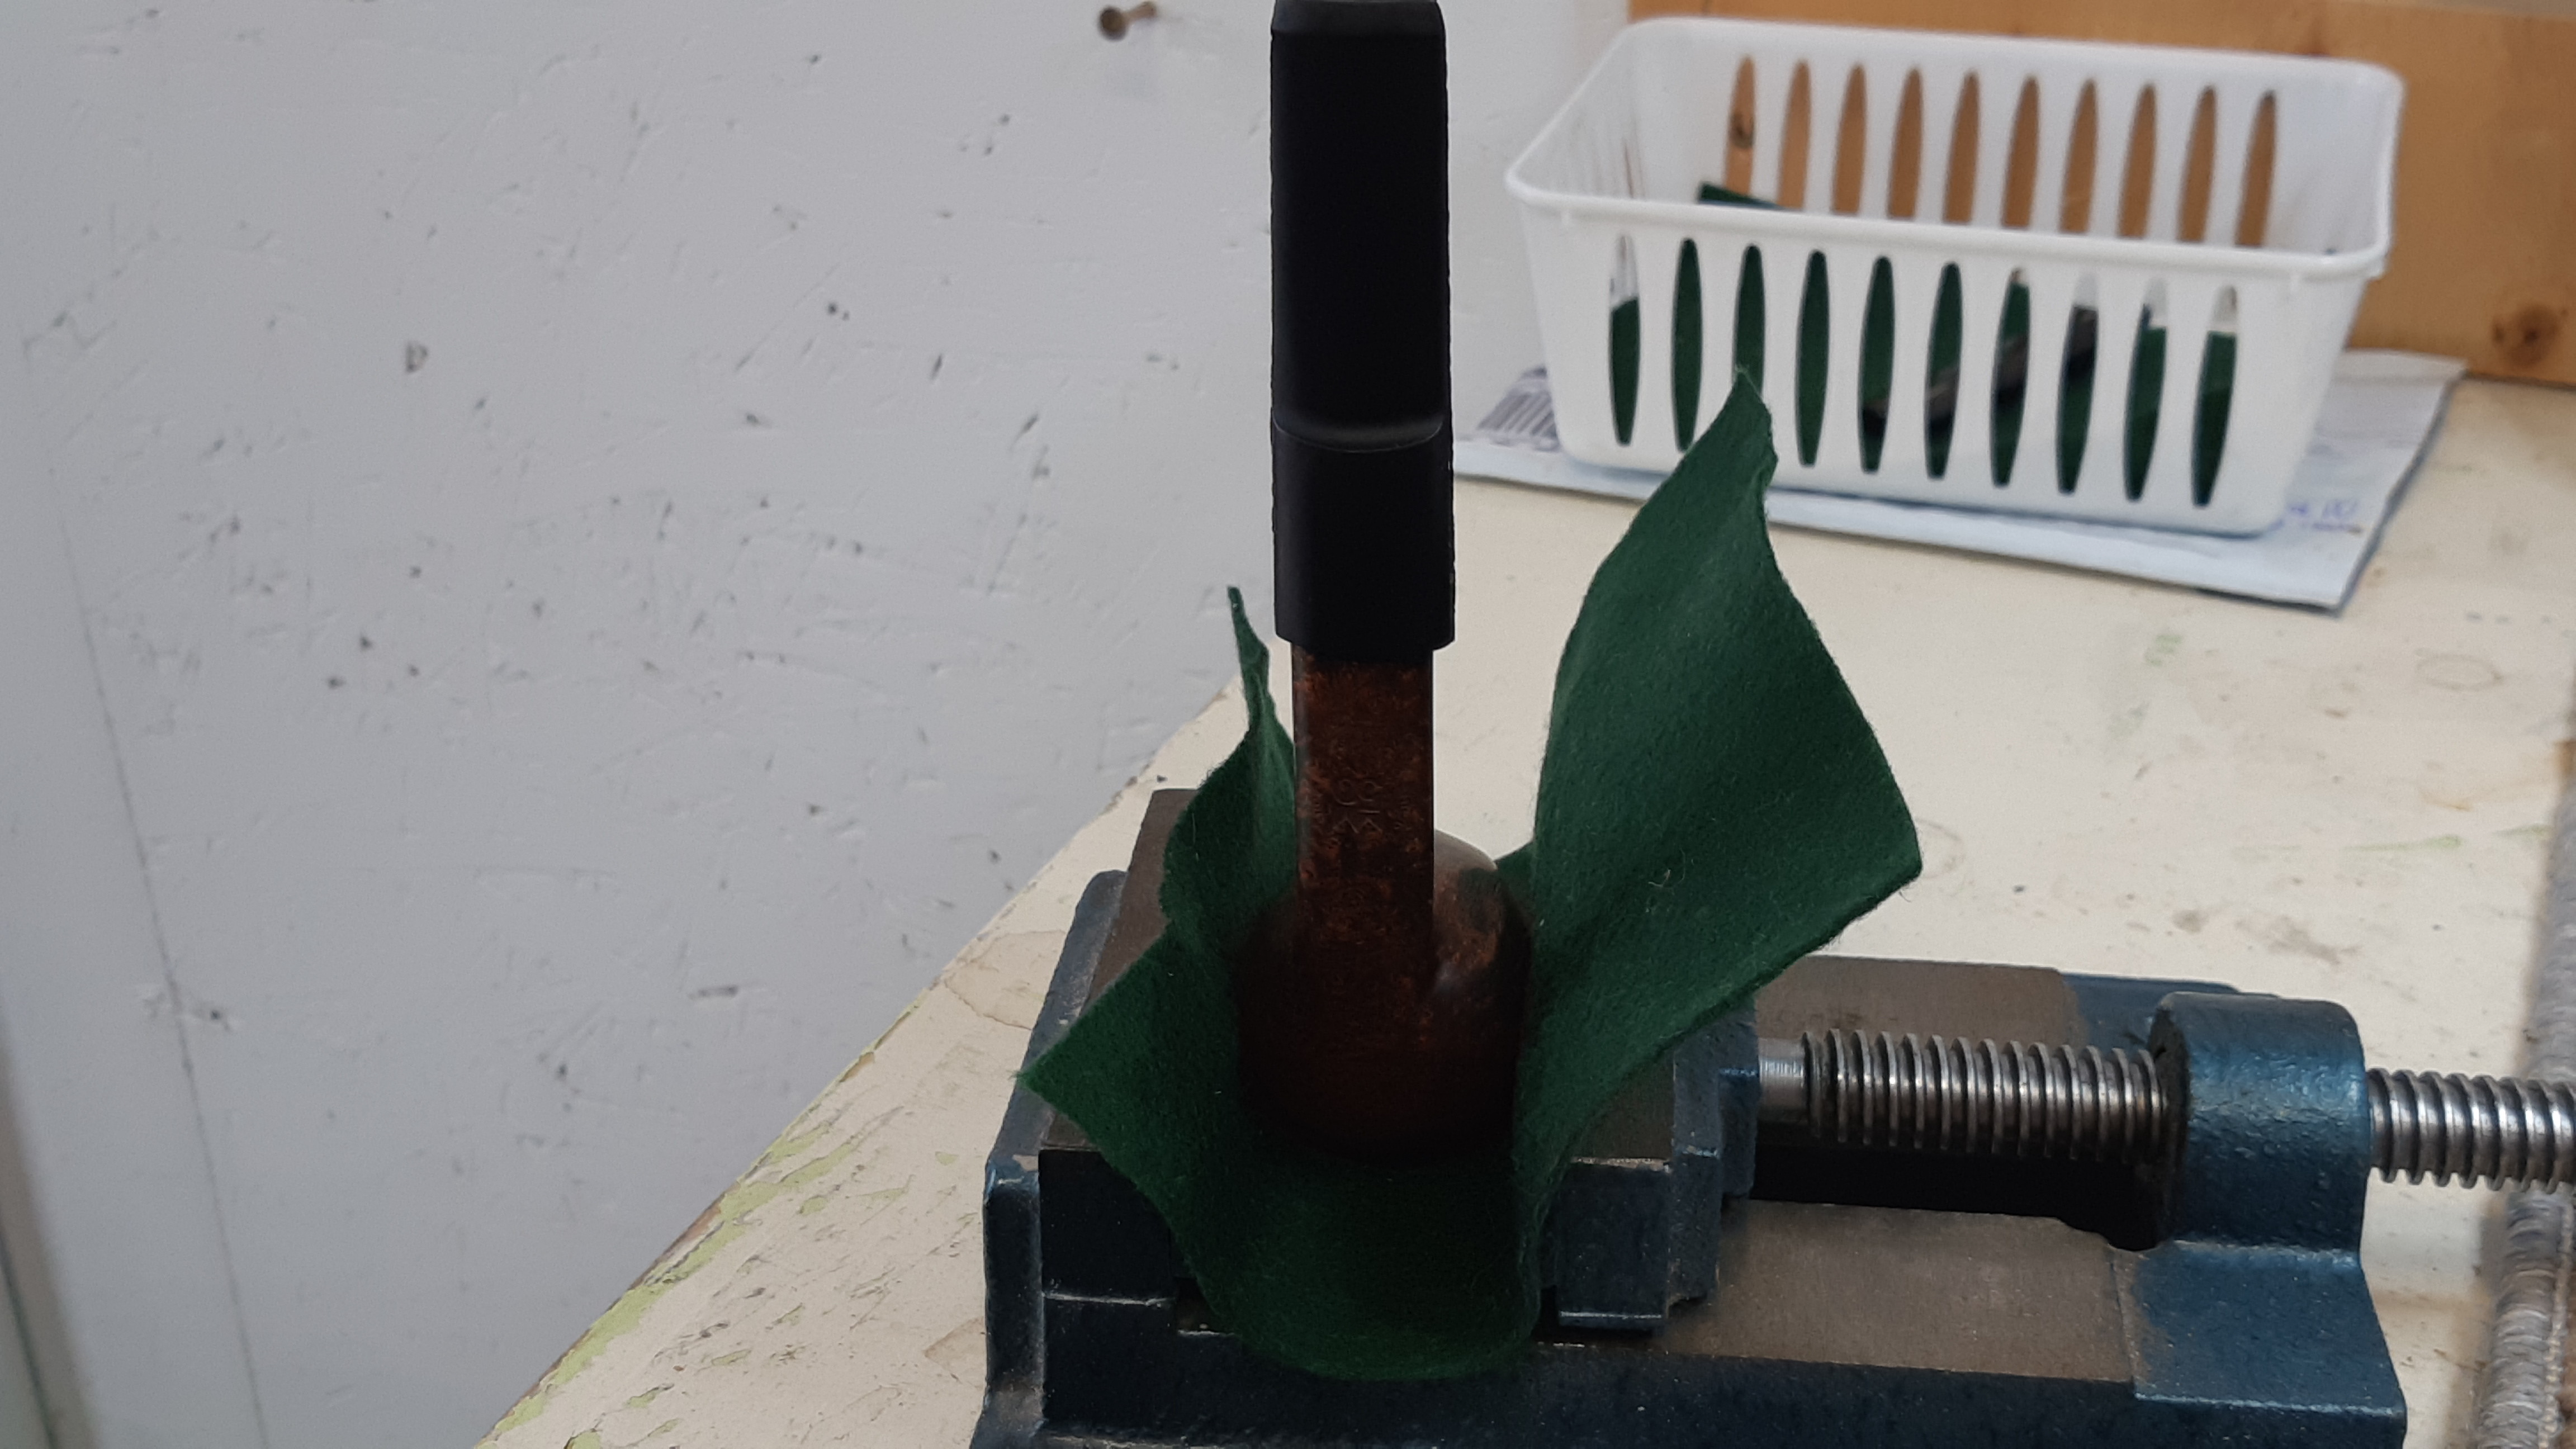
A bit of two-part epoxy on both the tenon and the stem mortise secured the Delrin tenon in place. I clamped the pipe upright in the padded jaws of my drill press vise overnight to keep the stem aligned properly while the epoxy cured.
This pic was taken the following morning. The new stem was looking good at the stem/shank junction but there was a lot of excess material to remove before the new stem looked like the original.

A few layers of masking tape helped to protect the shank from any errant file marks while I worked to slim down the stem blank to match the contours of the oval shank. I worked in stages to avoid fatigue and the errors that come with it. I took this series of shots after the first roughing-in with coarse files. The saddle portion of the stem blank looks a bit crude at this point, but it was destined to be removed completely before I was finished.


After a bit of a break to stretch and regroup, I made another nice pile of Vulcanite dust while further refining the shape of the new stem. It was goodbye saddle stem, hello ultra-thin oval taper!


I’d like to point out one thing in the above pics – I did not alter the original profile of the shank to fit the new stem. Rather, I worked the process in reverse, painstakingly reducing the stem blank to meet the briar shank. The colour difference at the shank end is due to the removal of the wax finish only.
With the fine shaping all done, I sanded and polished the new stem to 2000-grit, then took the pipe to the buffer where I gave the stem a run on the Red Tripoli and White Diamond wheels before giving the entire pipe a few light coats of Carnauba wax to shine and protect the finish.
These final pics aren’t up to my usual standard, I’m afraid. I was trying out a new background that didn’t quite work out as planned, but the pipe had already been shipped out by the time I sat down to write up this post.
While not the best shots, they are clear enough to show the finished project, starting with a side by side comparison of the new stem next to the original. There are slight differences here and there but overall I’m quite pleased with the results. Better yet, the pipe’s steward reports that the pipe is much more comfortable to clench now that there is a bit of beef to the button. Mission accomplished!

Thanks for joining me on this pipe repair adventure. I hope you enjoyed following along. Until next time, Happy Piping!
Here’s the finished pipe.


Great work, Charles.
LikeLiked by 1 person
Thanks, Todd. This one was slightly nerve wracking as I expected to cut into the airway at any time! Happily, that did not happen. 😁
LikeLike
With this new stem this pipe look more balance than with the original stem.Well done as usual….Without giving your secret is the epoxy you’re using is long to cure or is it mostly for safety?
LikeLiked by 1 person
Hi Jean-Marc. I use a basic 5-min two part epoxy for tenons. It sets in a few minutes but needs a good 12 hours to cure completely. I have learned that it’s best to give it enough time to cure before moving anything out of alignment.
LikeLike