
I recently wrote about replacing a broken tenon and called it one of the most common pipe repairs. Today’s post is about another – a cracked shank.
For many pipes, a cracked shank can be easily and permanently repaired by installing a shank band over the damaged briar. An external band like this is essentially a metal clamp that squeezes the crack closed, and for many pipe owners, a shank band can be a stylistic enhancement as well, giving a plain pipe a bit of bling.
Freehand and other irregularly shaped pipes present a different problem when they develop a shank crack. These shapes are impossible to band externally, and so must be repaired from the inside with a metal sleeve glued into the shank mortise. As you might imagine, sleeving a cracked shank is a lot more work than pressing on a repair band. Let’s break down the process now.
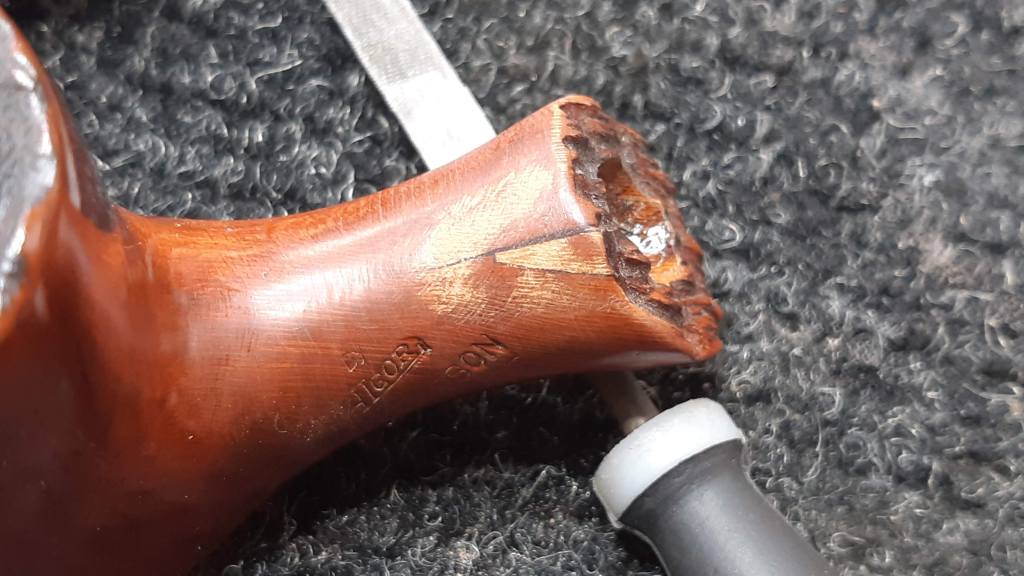
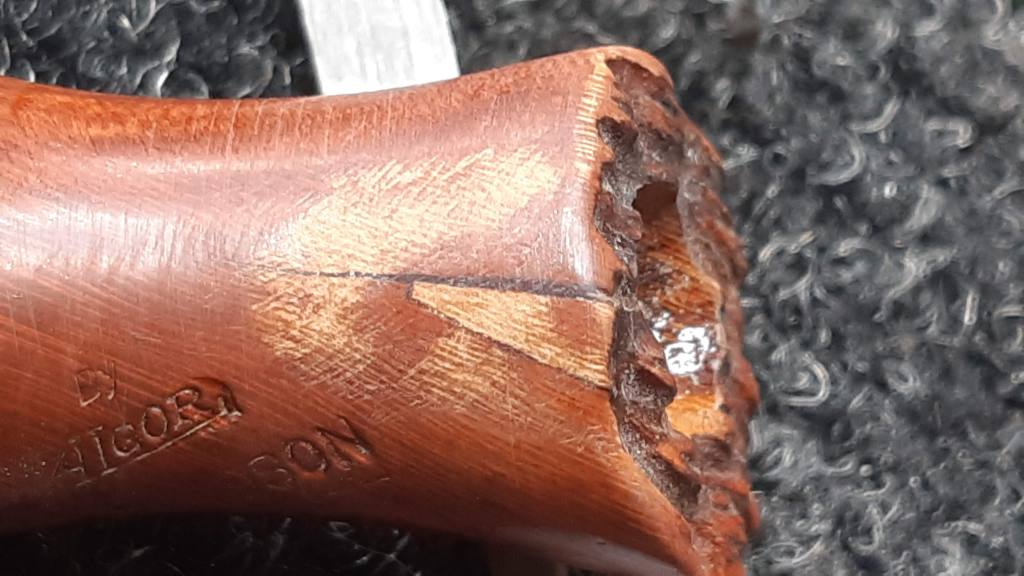
This Krisson Standard by Algord freehand pipe came to me in a large lot of pipes for repair. As this series of shots illustrates, the pipe was in pretty good condition except for the damage at the shank.

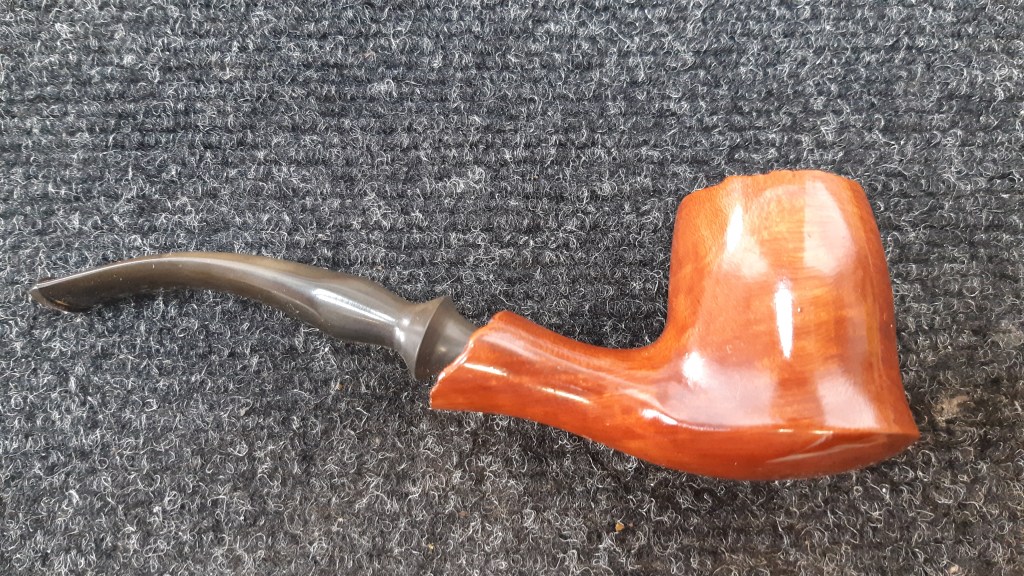


The shank is stamped “By” over “Algord” then “Krisson” on the left flank, and “Standard” on the underside. My usual hunt for pipe information turned up very little other than that Krisson was a brand for the Alpha pipe company of Israel. If anyone can tell me anything more about this pipe, please comment below.
Getting on to the repair, I started by removing the stem and setting it aside. I’d need to adjust the stem fit after the sleeve was installed, but for now I put it safely out of harm’s way.
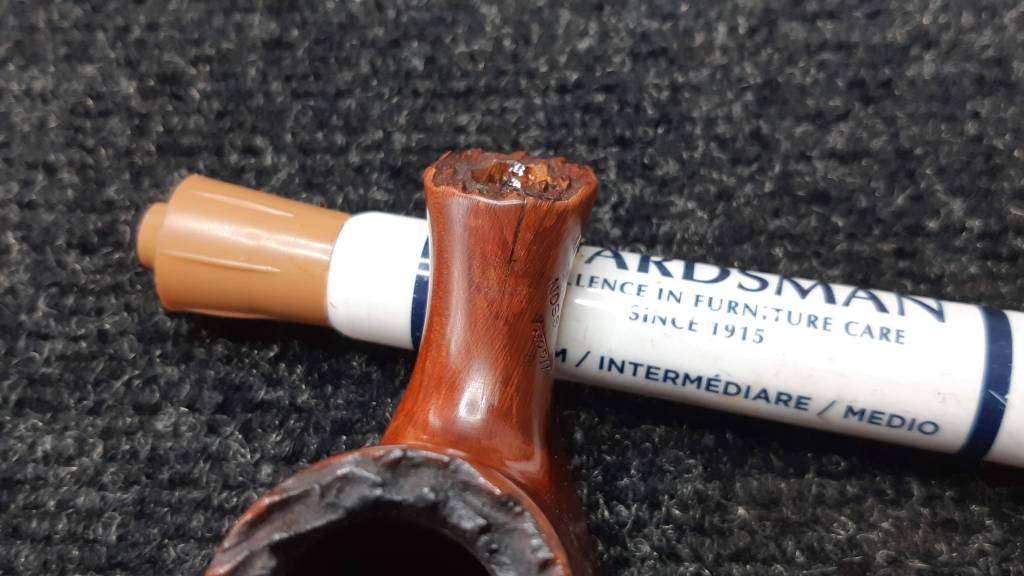
I dug through my supplies and found a section of brass tubing that was pretty close to the original mortise diameter without being too small. I drilled out the shank mortise about 1/16″ to accommodate the tubing snugly but with a slight amount of room for epoxy.

With the tubing seated in the new mortise, I marked the length and cut a section off the end that would be somewhat shorter than the mortise. I did not want the tubing to be visible after it was installed.
I mixed up a small amount of two-part epoxy and applied it to both the inside of the mortise and the exterior of the brass sleeve before sliding the tubing home.

With the sleeve glued in place, the shank is structurally sound again, bound together by the brass tubing. Now I could turn my attention to the cosmetic work required to fill and hide the crack from the exterior of the pipe.
I should preface this section by saying that the pipe’s finish dictated the cosmetic repairs. This Krisson freehand is finished with a glossy polyurethane topcoat which neither alcohol nor acetone affects. It can be very tricky to blend a repair into polyurethane, so I decided to use clear, thick CA glue instead of my usual glue mixed with briar dust. I wanted to minimize the amount of filing and sanding, and thus minimize the amount of original finish I disturbed during the repair.
This pic shows the CA glue in, on and over the damaged areas of the shank. On the first application a lot of the glue flowed into and filled the crack. Subsequent coats spanned the crack and overlapped the poly top coat.

I let the glue cure completely before very carefully filing the excess away. The flared shape of the shank made this a bit tricky, but my patience was rewarded.
As you can see in the above pics, the crack is sealed nicely and there is minimal damage to the surrounding finish. I sanded the area smooth and then used a stain pen to colour the exposed briar and match the repair to the surrounding finish.

A light buffing and waxing will bring up the shine to match the polyurethane gloss coat, but before I did that, I needed to refit the stem to the modified mortise.
The original stem had a tapered tenon that was essentially wedged into the shank. That wedging action, applied too forcefully, is also likely responsible for the cracked shank in the first place.
The cross-section of the brass sleeve, in contrast, is cylindrical. To fit the stem, I used my tenon turning tool to cut the tapered tenon down to a slightly oversized cylindrical shape. From there, a bit of sandpaper took the sizing the rest of the way to achieve a snug but comfortable fit inside the brass-lined mortise.
Completely restoring this Krisson Standard pipe was outside of my mandate for the project, so I gave the stummel a quick buff and wax and took a few pics of the finished repair.
The Sleeve method of shank repair has made it possible to give this freehand pipe a new lease on life. It can also be used successfully on traditional pipe shapes to maintain the pipe’s original outward appearance, or to repair a badly shattered shank. All in, it’s a great technique to add to your estate pipe restoration tool bag.
Thanks for joining me for this repair. I hope you enjoyed it. Until next time, Happy Piping!
Here’s the finished pipe.


Great job!
LikeLiked by 1 person