
Amid all the work I’ve been doing on other people’s pipes lately, I try to squeeze in one of my own where I can. This Brigham 206 has been waiting patiently for a little love for quite a while, so I decided that it was time to give it some attention.
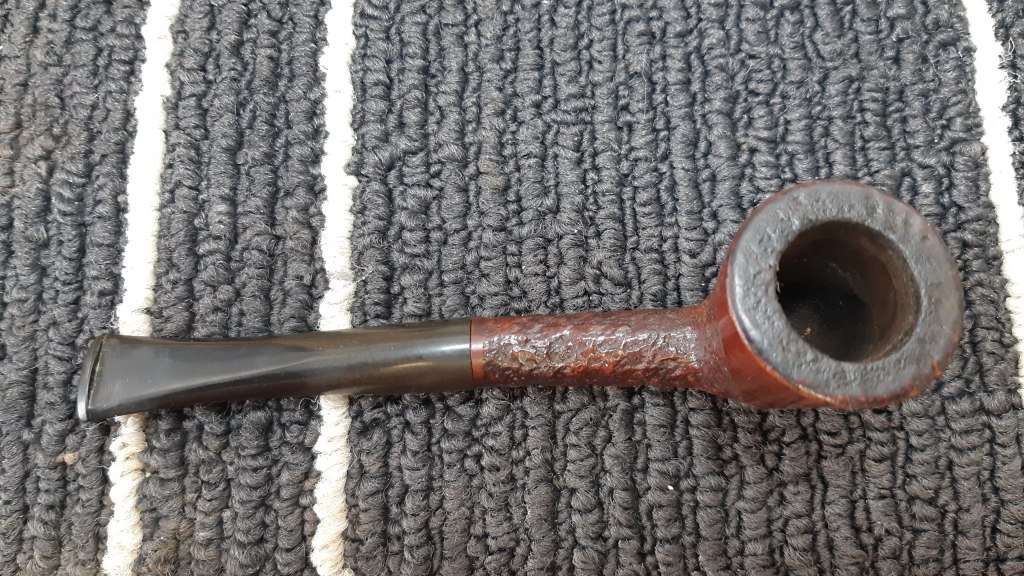
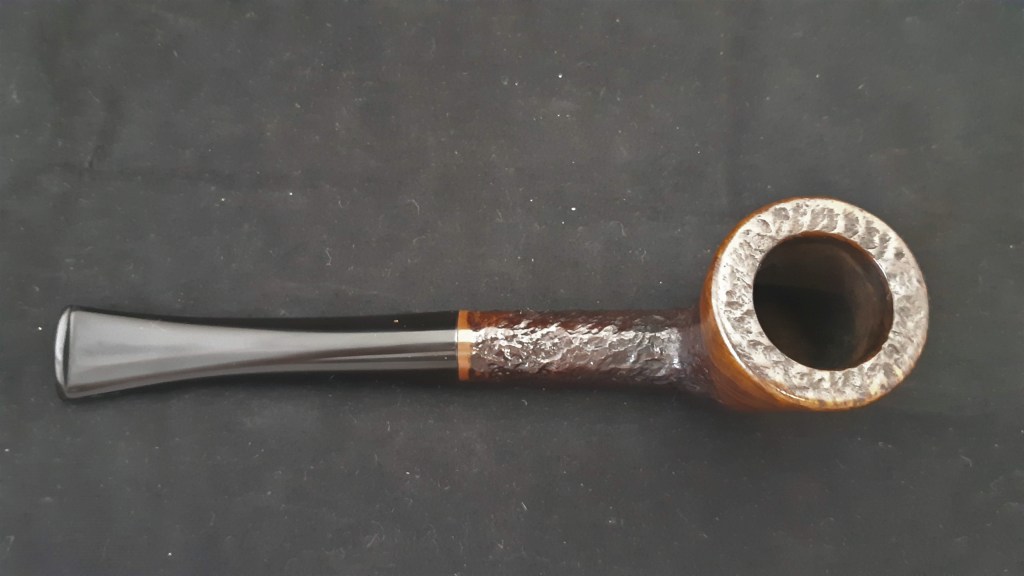
The series of pictures below show the pipe as it looked when I brought it to the worktable. I initially thought this one would be a “quick cleanup and done”, but I was proved wrong; see if you can spot the issue that made this refurb into a more involved project

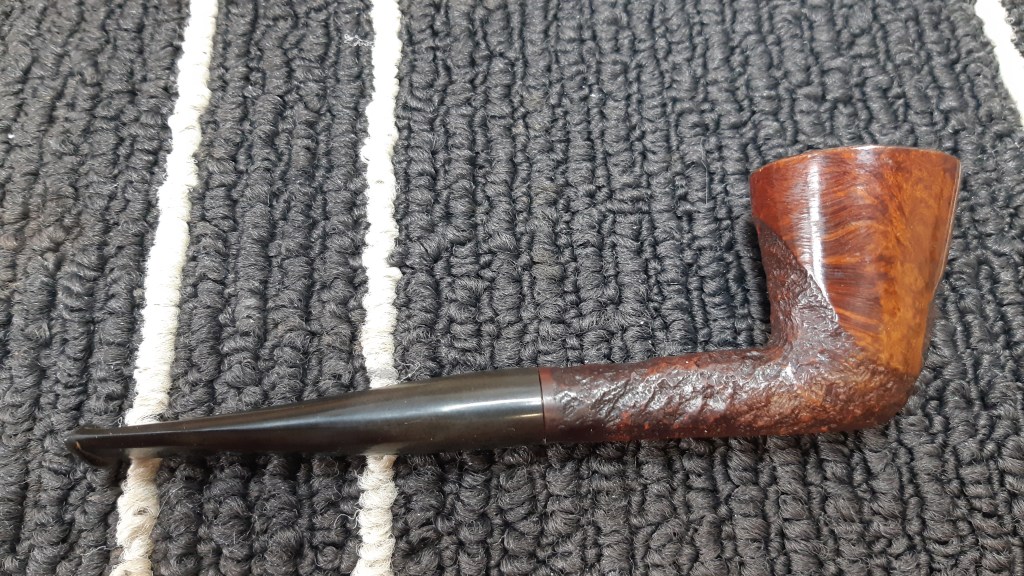


Did you catch it? Let’s break it down. Overall, the pipe was in great estate condition. The stummel was dirty, and the rusticated rim was packed with lava, but that is easy enough to take care of. The stem showed very little oxidation and only a few tooth marks, It even has the right number of brass pins, or Dots, set into the left flank to match the shape number stamped on the underside of the shank. So what gives?
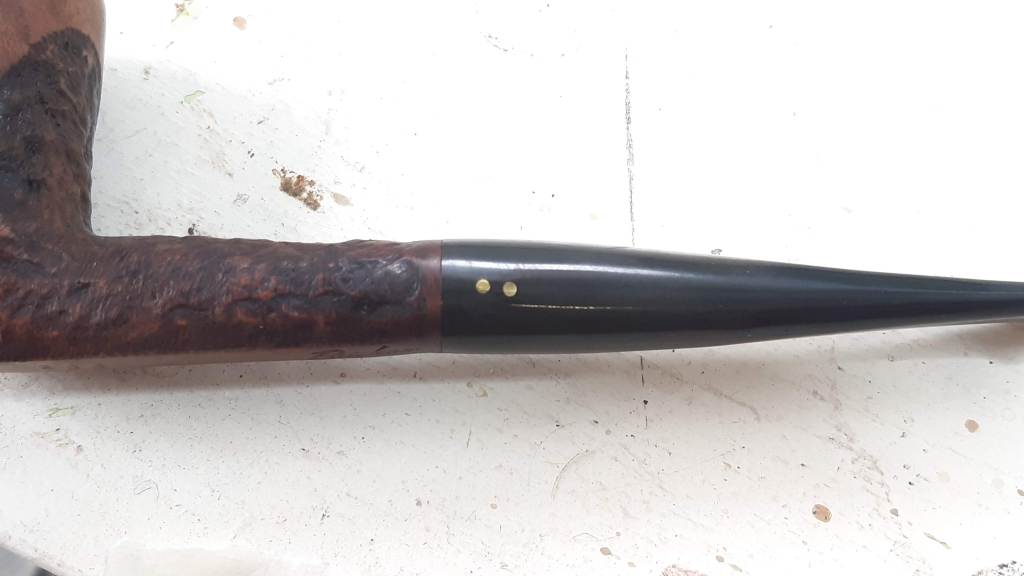
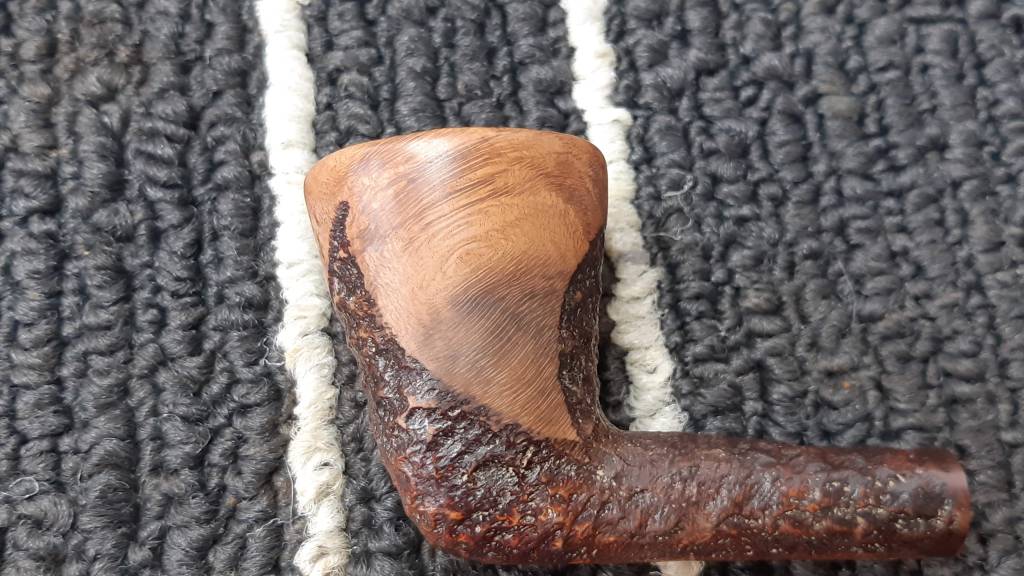
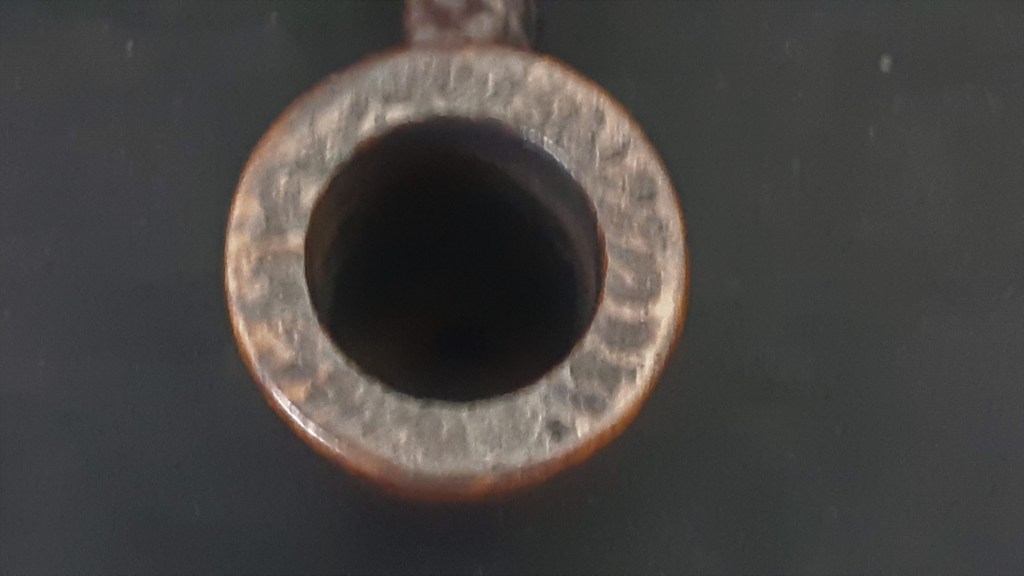
Let’s have another look at the stem-to-shank junction on this pipe.

In the pic above, you can see that the flat portion of the shank has been modified in an attempt to match it to the round profile of the stem face. This is simply wrong – the factory stem would have had a short flat section on the underside that matched and extended the flat area on the shank. Therefore, this stem is not original to the pipe, Dots notwithstanding.
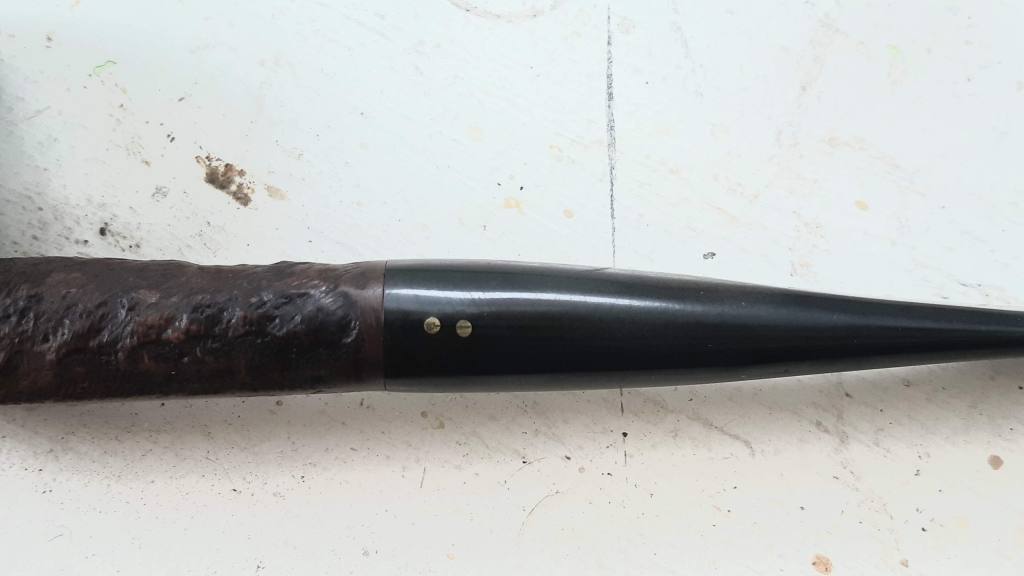
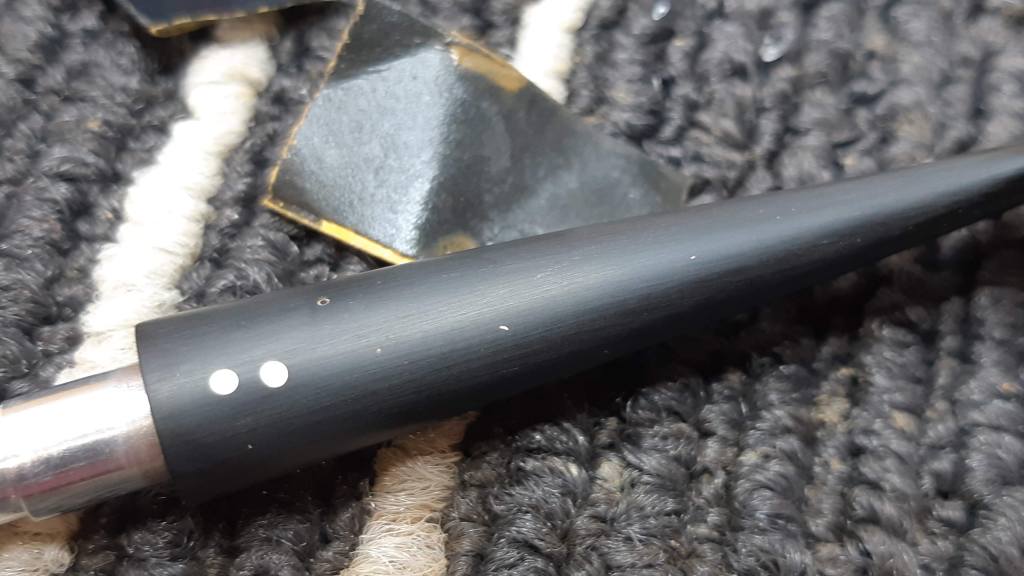
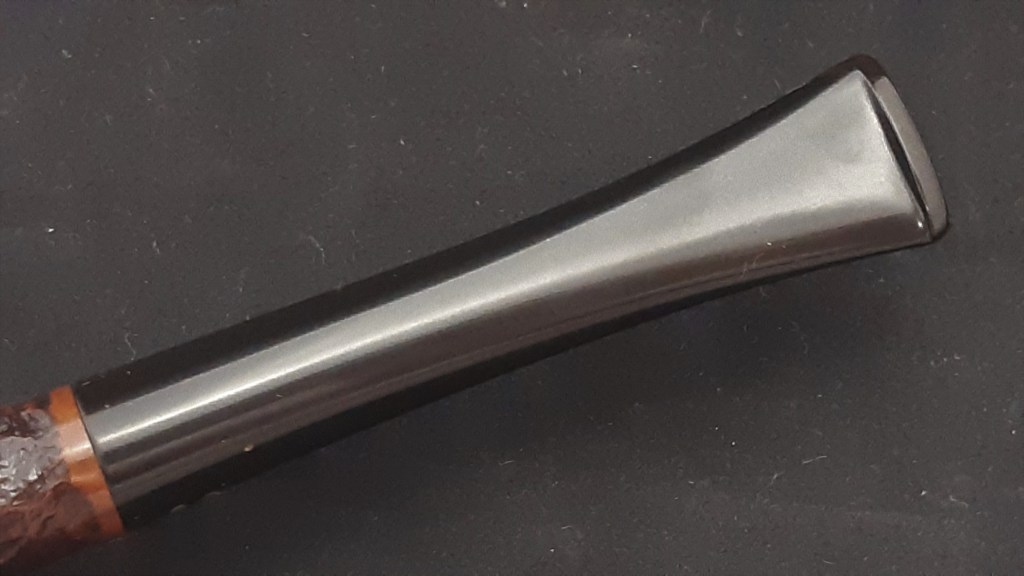
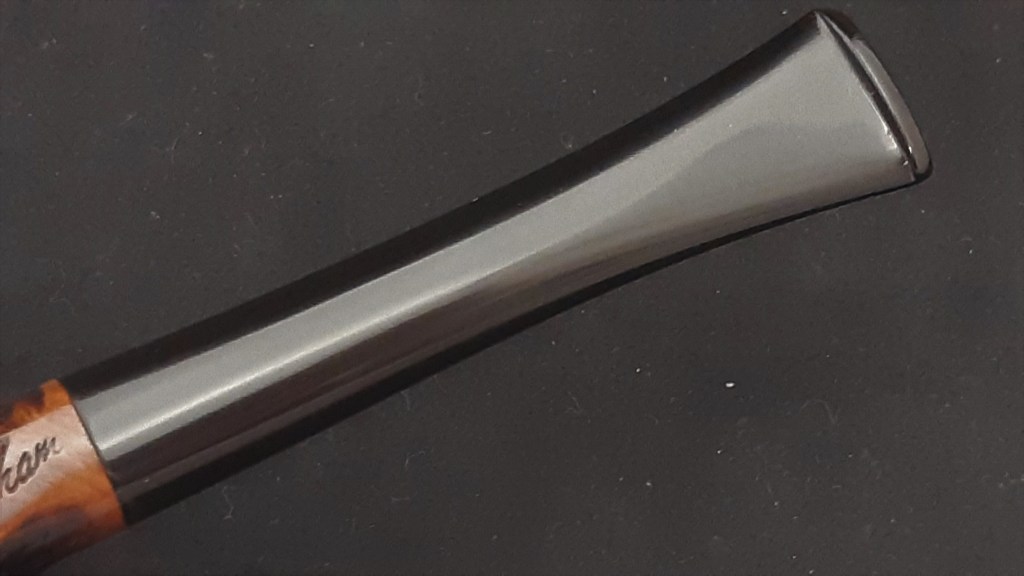
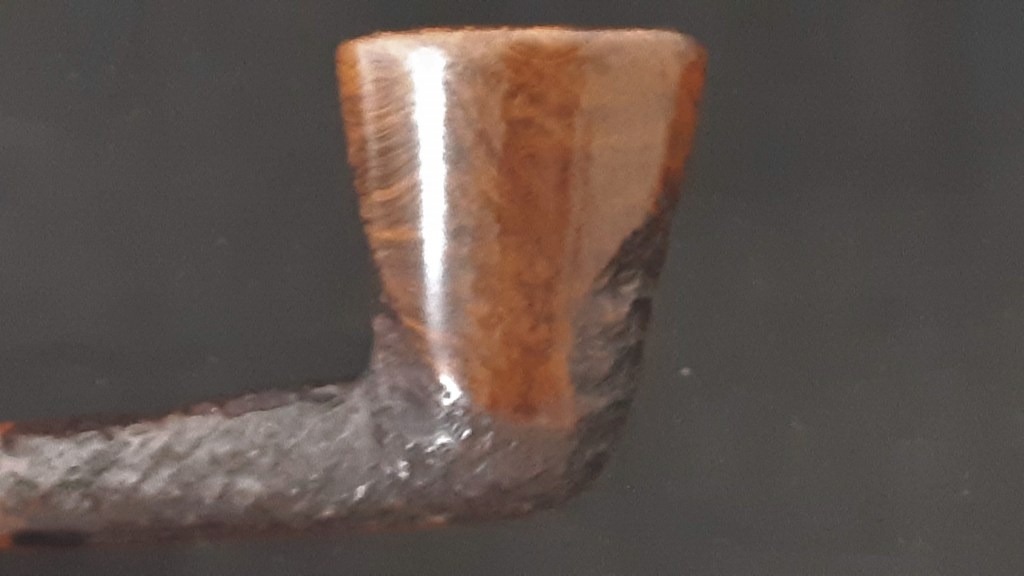
While examining the stem more closely, I also realized that if felt wrong in the hand. It took me a minute or two to identify the culprit, but I eventually realized that the stem bulged outwards slightly just behind the shank junction before tapering down to the button. These pics, taken against a white background, illustrate the issue. The bulge is subtle, but it’s there.
The only possible conclusion I could make was that this pipe had been fitted with another Brigham stem at some point, and the person doing the work decided that it would be easier to modify the briar rather than the stem – a case, perhaps, of “good enough is good enough”.
Well it wasn’t good enough for me, so I set about to correct the issue. After taping off the shank to protect the briar, I used a few different files to remove the offending bulge and restore the flow of the pipe’s shape from bowl to button.

After the rough filing, I worked the stem with increasingly finer grades of sandpaper from 220 to 2000 grit to smooth out the file scratches and bring up the shine.
It wasn’t all smooth sailing, though. I’ll have to watch my filing technique next time – as you can see in this pic, a few brass shavings got embedded in the softer vulcanite when I filed across the Dots.

I went back over the stem, filing the stray brass bits out before sanding everything smooth again. I was mostly successful, but one little spec proved to be extremely stubborn. In the end, I decided to leave it there as a reminder. I wouldn’t have done that with a pipe I intended to sell on, but this one is going into my personal collection, so I had a bit of leeway.
When I was happy with the stem, I set it aside and concentrated on the stummel. I started with the ugly, scaly mess on the rim. A brass bristle tire brush made short work of the lava crust, and some high-grit wet sandpaper smoothed out a fee handling marks on the smooth shark-tooth areas on the sides of the bowl.


I scrubbed the bowl with Murphy’s Oil Soap to remove the dirt and old wax, then wiped the stummel with a bit of mineral oil to rejuvenate the wood.
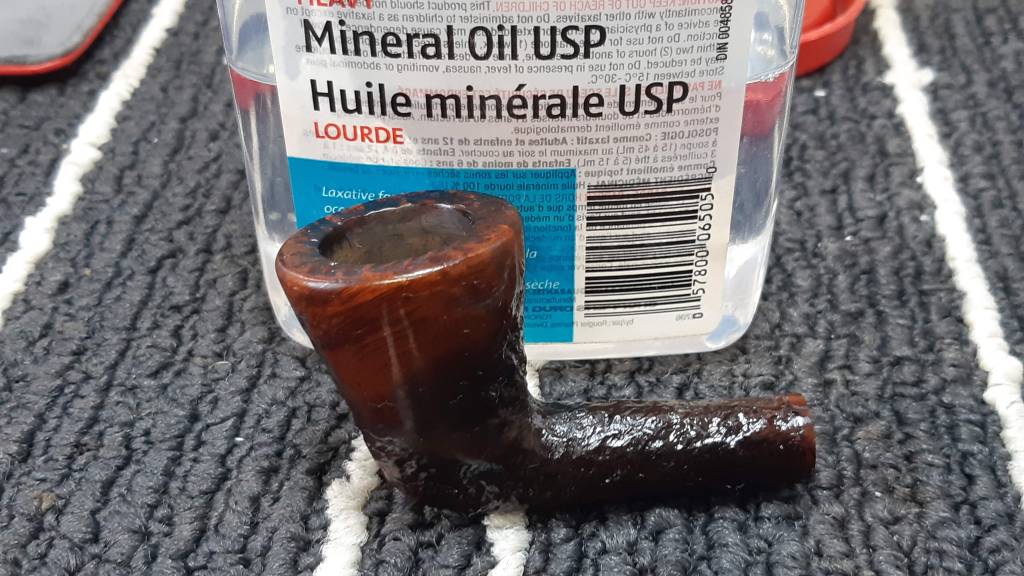
I hand buffed the excess oil off the briar after a minute or two, then let the pipe rest for a bit to find its new equilibrium. Then it was time to reassemble this 1990s vintage Brigham and take it to the buffer.
I gave the bowl and stem a run with both Red Tripoli and White Diamond compounds before applying several light coats of Carnauba wax to shine and protect the revived pipe.
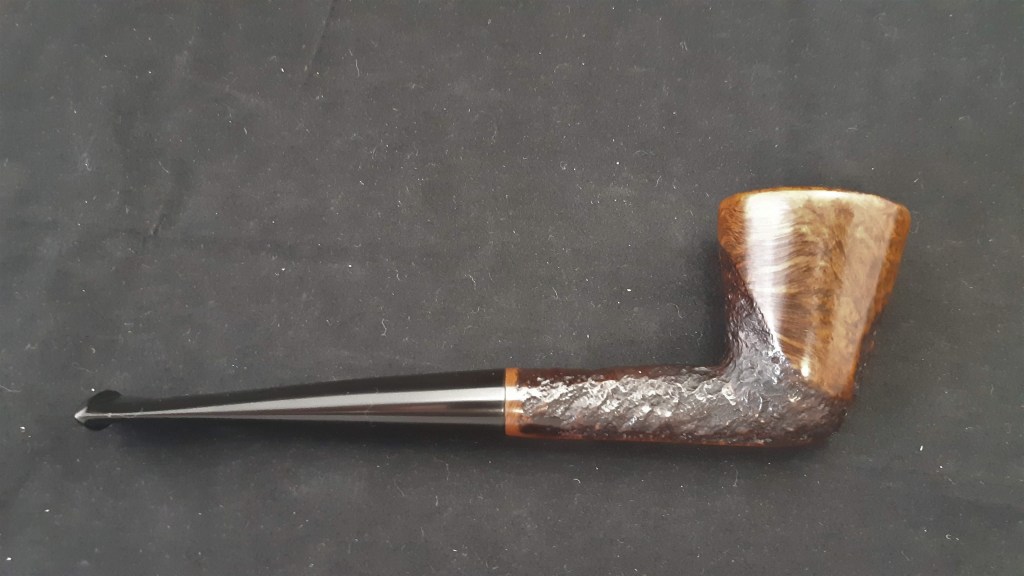
The completed pipe looks great, in my humble opinion, and, perhaps more importantly, at least for me, it feels right. For many people out there, reworking the stem as I did here will be considered overkill, but I’m glad I put in the effort to recapture the pipe’s original profile.
The finished pipe has taken its place in my collection, completing the original trio of Brigham Dublin shapes (shape numbers 05, 06 and 07 for those interested). The proof is in the pudding, as they say; I’ll let the photos below speak for themselves.
Thanks, as always, for stopping by and having a look at my latest posts, whether you’re viewing on DadsPipes or Facebook. I appreciate your continued interest and support.
Until next time, Happy Piping! Here’s the finished pipe.


Very pretty work.
LikeLiked by 1 person
Thanks, Todd. That bulge in the stem really bugged me! 🙂
LikeLike