
Tenon and shank repairs are often the bread and butter of pipe repair techs, and understandably so – the tenon is usually the weakest part of a pipe and can be easily damaged accidentally.
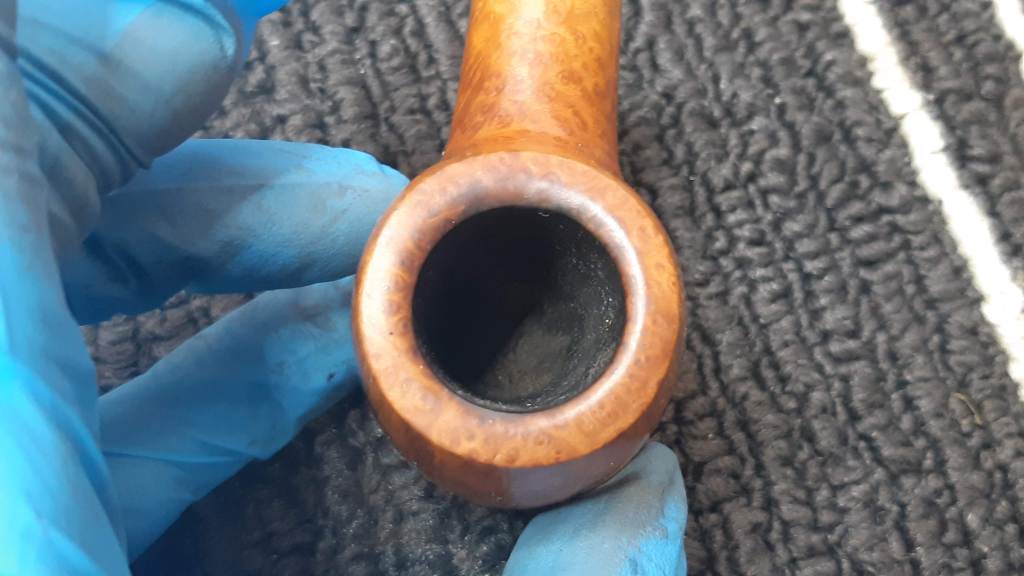
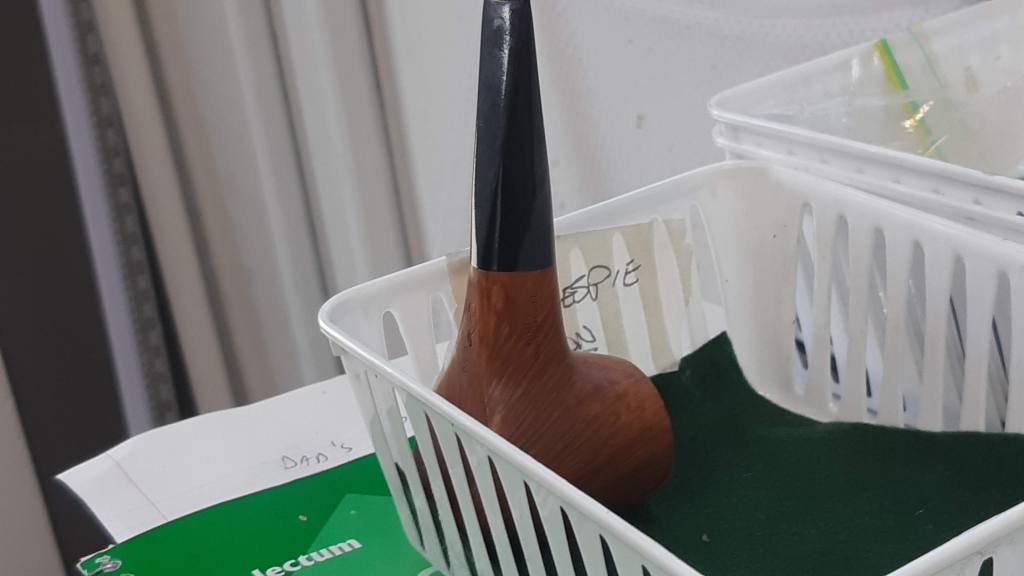
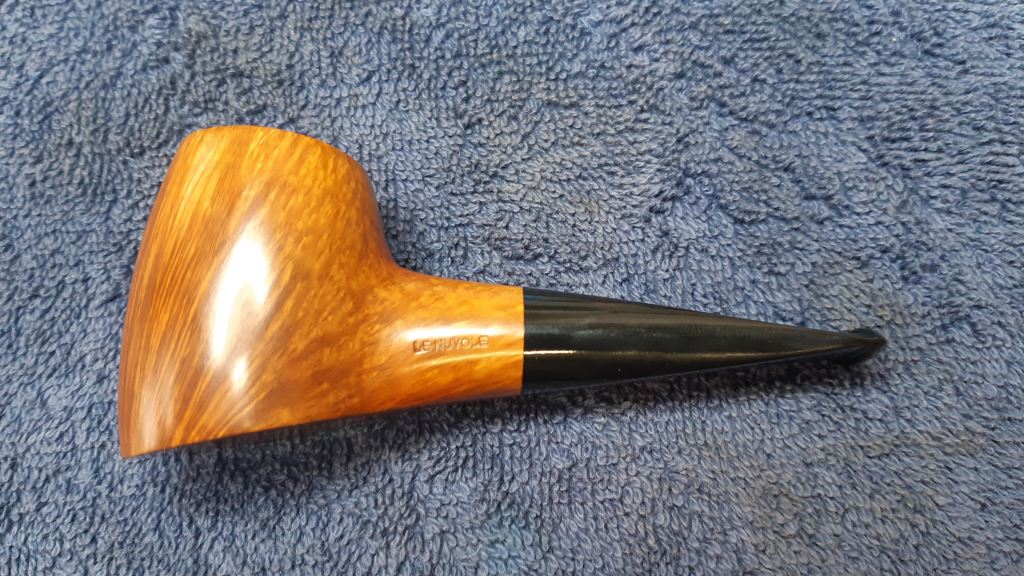
That was the case with the subject of today’s post, a striking Le Nuvole pipe in a shape I have dubbed a Chubby Pickaxe, sent to me for a bit of rehabilitation by a piper in Quebec. The pipe was accidentally knocked off a counter by a stray elbow, and this is the result:


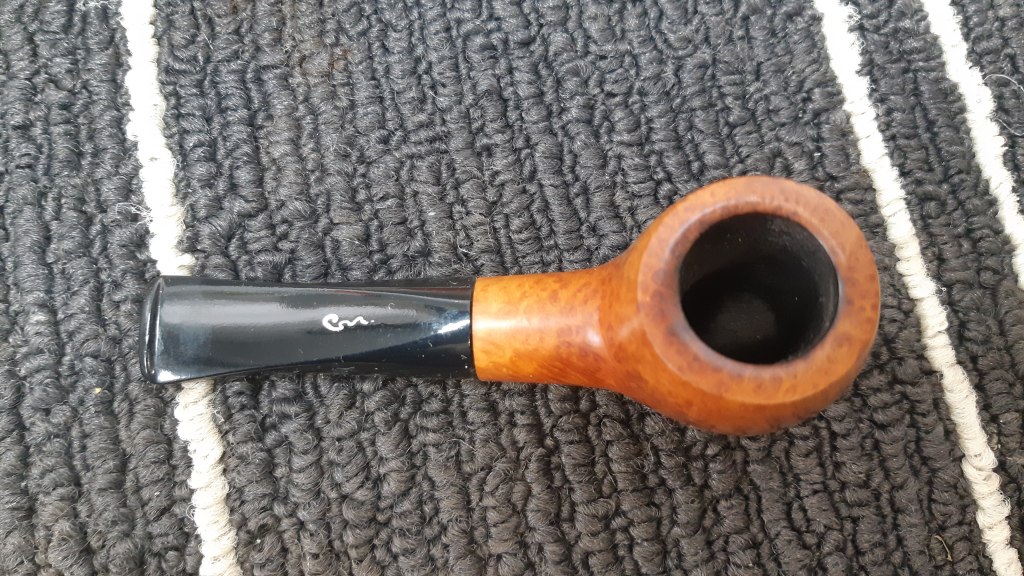


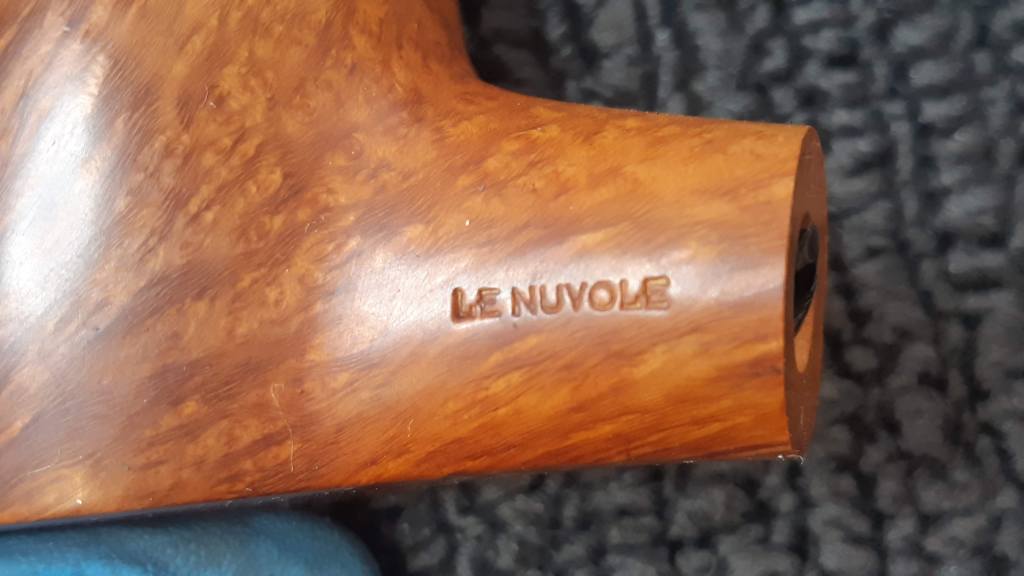
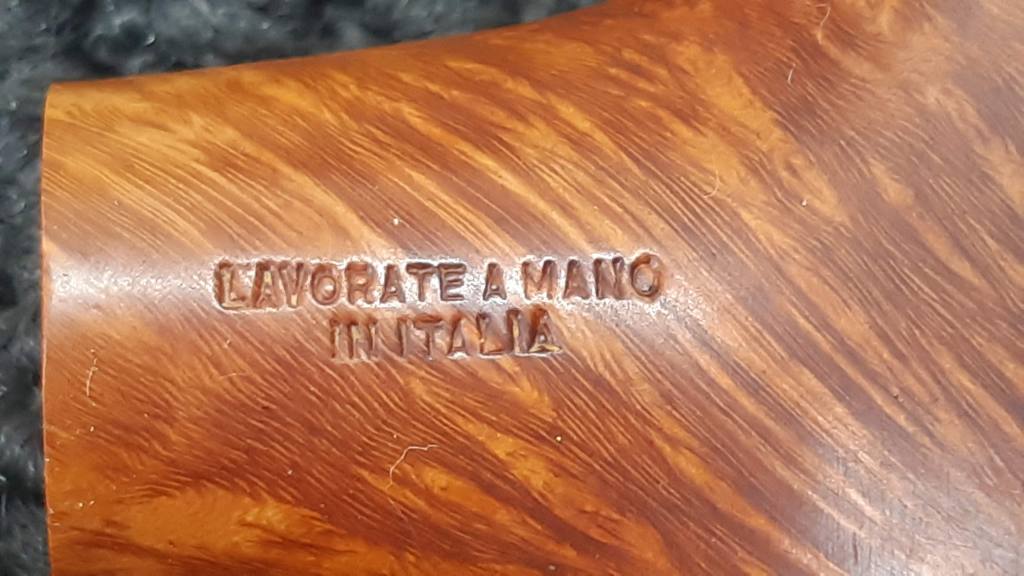
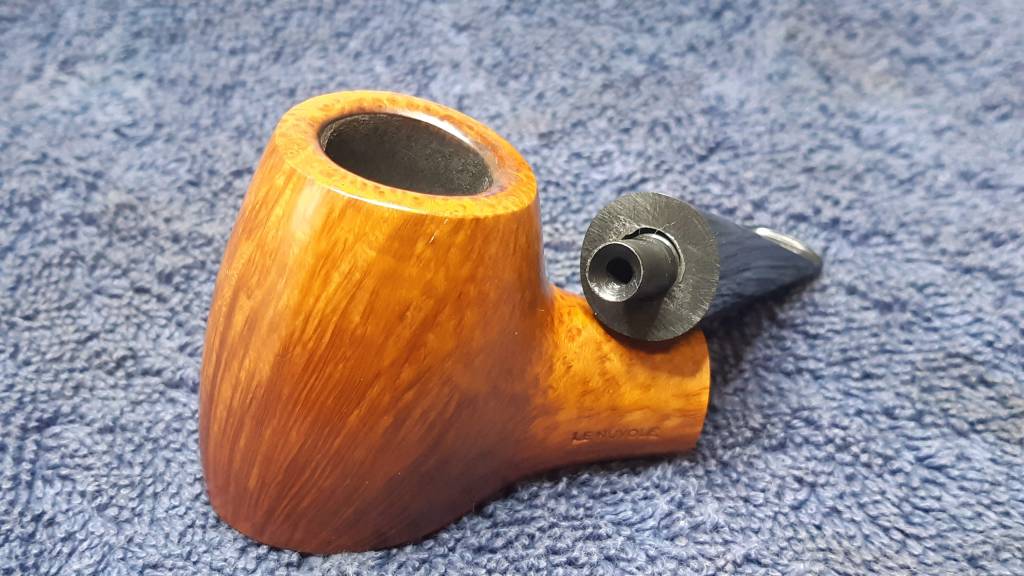
The pipe is stamped “Le Nuvole” on the left shank, and “Lavorate a Mano” over “In Italia” on the right. On the flat underside of the pipe is a shape number, “003” and the company’s logo, which is intended to look like a cloud.

Unfamiliar with the Le Nuvole brand, I did a quick search online and found this page on Pipedia.org. The company was founded in 1996 by Maurizio Tombari, who had spent the previous 20 years working for pipe makers Mastro de Paja and Ser Jacopo. Tombari’s pipes are known for their artistic flair and artisanal quality.
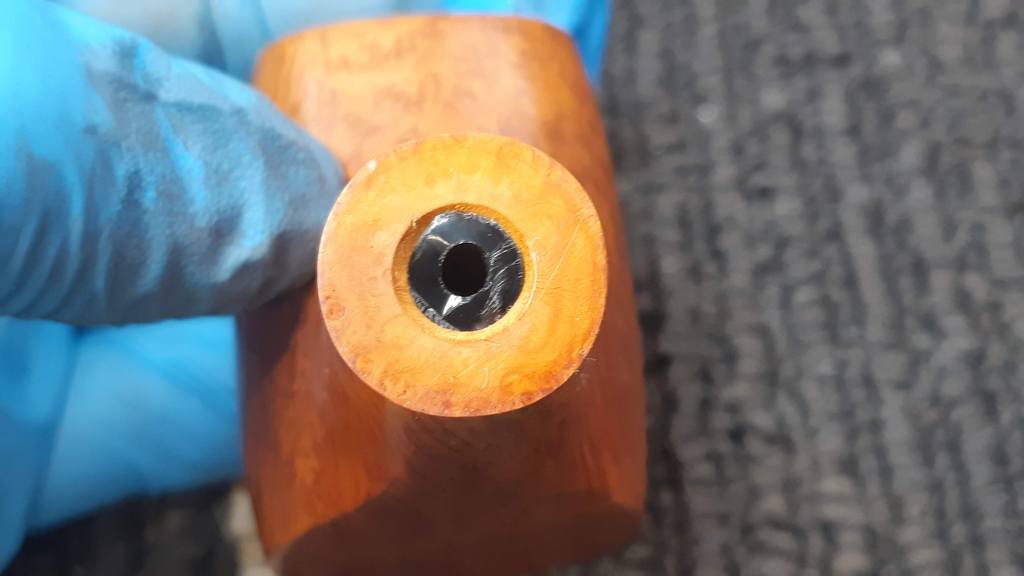
With that background established, it was time to get down to business. First up was the removal of the broken tenon from the pipe shank. Thankfully, the owner of this pipe kept it clean, so it was a simple matter to thread a wood screw into the broken end of the tenon and twist the assembly out gently with a pair of pliers.


I likewise prepped the stem for the new tenon, first by sanding the stump of acrylic away and establishing a flat surface which would mate properly with the shank face. A few twists by hand of a countersink bit tidied up the end of the airway. The countersink also helps guide the drill bits necessary for opening up the airway to accept the new tenon.


I have somehow managed to misplace the picture I took while drilling out the stem mortise, so you’ll have to take my word for it that the process went smoothly. I worked my way up through about a half dozen drill bits, starting with a bit only slightly larger than the stem’s airway and finishing with one slightly larger than the diameter of the tenon to allow room for epoxy.
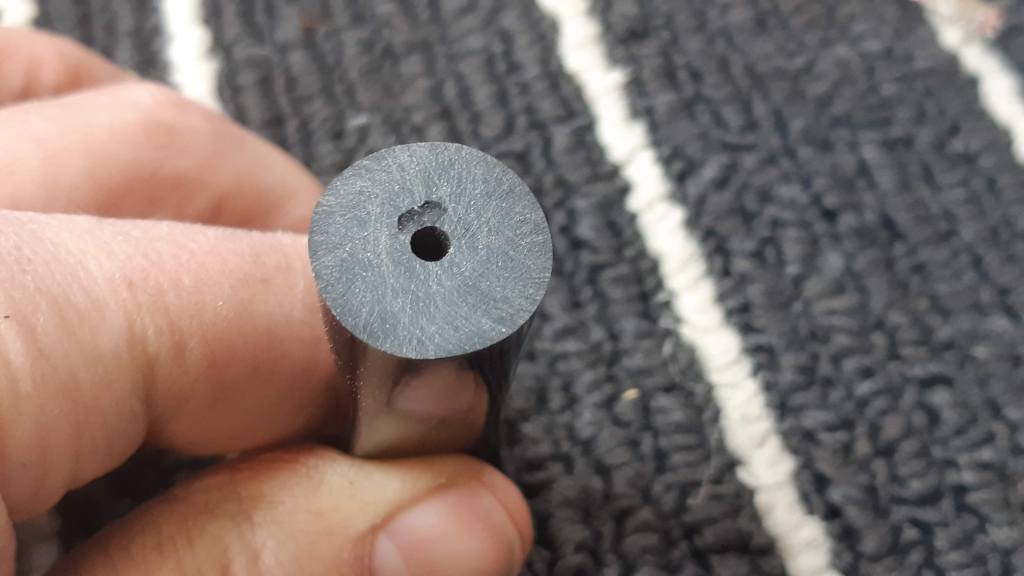
For the new tenon itself, I cut a section of appropriately sized Delrin rod and drilled out a 5/32″ airway.

The Delrin was only slightly oversized for this pipe’s mortise, so instead of trying to shave off a few hundredths of a millimetre using the Tenon Turning Tool, I simply mounted the tenon blank in my cordless drill, set it running and used a bit of 220-grit sandpaper to remove the excess material until an “easy but snug” fit was achieved.


I typically rely on JB Kwik-Weld to secure a Delrin tenon into the stem. It is easy to work with and withstands very high temperatures when cured. While the stem should not, in theory, be subjected to high amounts of heat, I’ve seen enough burned out pipes over the years to know that not every pipe smoker has mastered a slow, cool smoking cadence, so best to be on the safe side when selecting adhesives.
To give the JB a better grip on the slippery Delrin, I roughed up the stem end of the new tenon and cut a few grooves or notches into it before applying the epoxy. I also applied the JB to the inside of the stem mortise to make sure there was good coverage.
With a smear of petroleum jelly on the shank face to protect it from any glue squeeze-out, I slipped the stem over the end of the new tenon and held it in the correct alignment until the epoxy started to take hold. Then it was time to set the pipe aside to allow the glue to fully cure before continuing. I propped the pipe, stem up, in the corner of one of the small baskets I use to organize my refurbs and left it overnight.
The moment of truth for this repair came when it was time to remove the stem from the stummel for the first time. If I had applied too little epoxy the tenon-to-stem bond would break under the force of twisting the stem free; too much epoxy and the stem could be permanently glued to the end of the shank. No pressure, though….
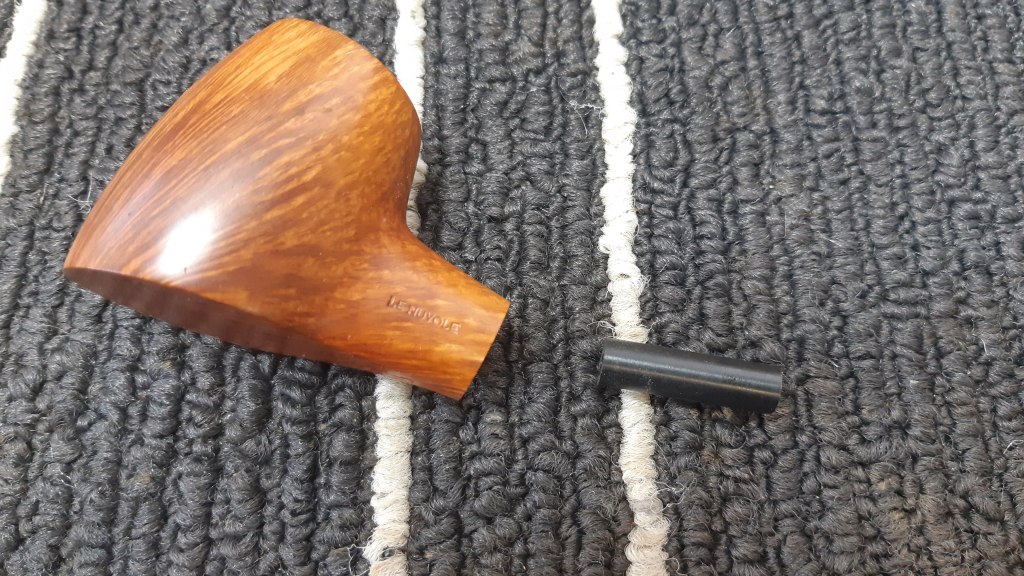
Thankfully, all went well with this Le Nuvole Chubby Pickaxe. The stem came out easily and the new tenon was glued solidly in place. After taking a few seconds to funnel the tenon’s airway (an easy but important step to ensure smooth airflow from shank to stem), I took the pipe to the buffer for a light polishing and waxing.
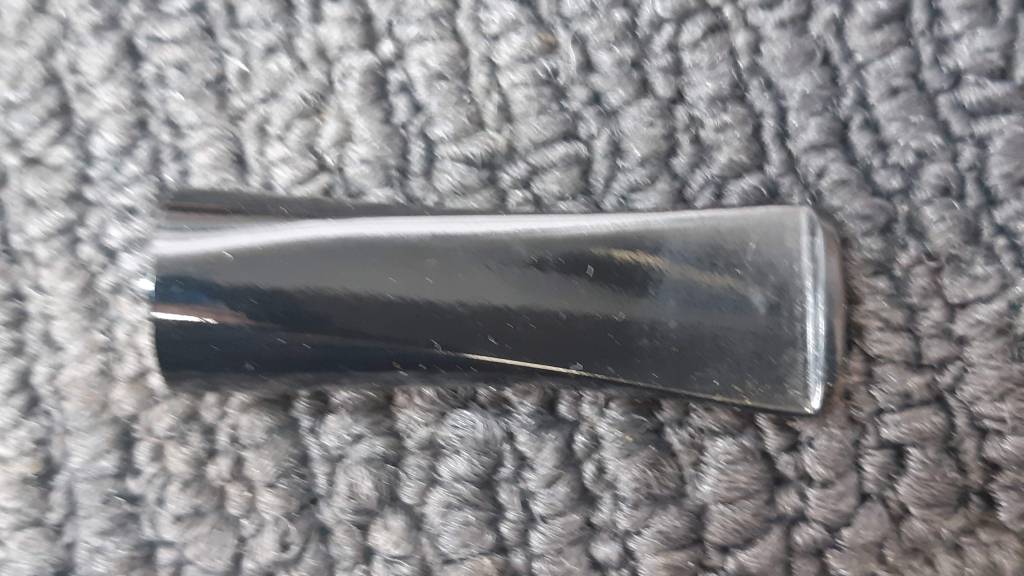
I have to admit that I’m not a huge fan of acrylic tenons (I think they are particularly brittle) but I love an acrylic stem for, among other things, it’s affinity for achieving a high gloss shine on the wheel. The handmade stem on this pipe was no exception, and I was able to smooth out most, if not all, of the small handling marks with very little effort.
With that, this repair was complete, and I sent the pipe home to its steward, who was very happy to return it to his rack and rotation.
Thanks for joining me for this pipe repair. I hope you enjoyed it and perhaps picked up a trick or two to try out on your own estate pipes.
Until next time, Happy Piping! Here are a few shots of the finished pipe.


You certainly took care of that Chubby Italian, Charles. I don’t have any Italians in my collection, chubby or otherwise. Interesting looking pipe. 👍
LikeLiked by 1 person
…and nice trick with the petro jelly. I’ll file that one away.
LikeLiked by 1 person
It has saved my bacon a few times, I’ll tell you. Much easier to clean off a bit of petroleum jelly than a glob of epoxy !
LikeLike
It certainly is, David. 😁
LikeLiked by 1 person
Lovely pipe and a tricky repair. I don’t think I would have slept wondering about the glued tenon.
LikeLiked by 1 person
I admit to constant trepidation doing these! Is there enough glue? Is there too much glue?? 😳
😄
LikeLike