
I have to say at the outset here that I am very happy with the results of this restoration. Though I had to contend with multiple issues – a tenon replacement, scorch marks, tooth damage and dented briar among them – the end results speak for themselves.
This pipe caught my eye the minute it was posted to eBay for a number of reasons. First, it is a 1990’s reboot of an earlier shape number; second, it sports a rare Chocolate Swirl acrylic stem that Brigham used on a rather limited number of pipes in the early 1990’s, and lastly, it appeared to be in very good condition despite having weathered a trip from Canada to the United Kingdom. As it turned out, I was only partly correct on this last one.
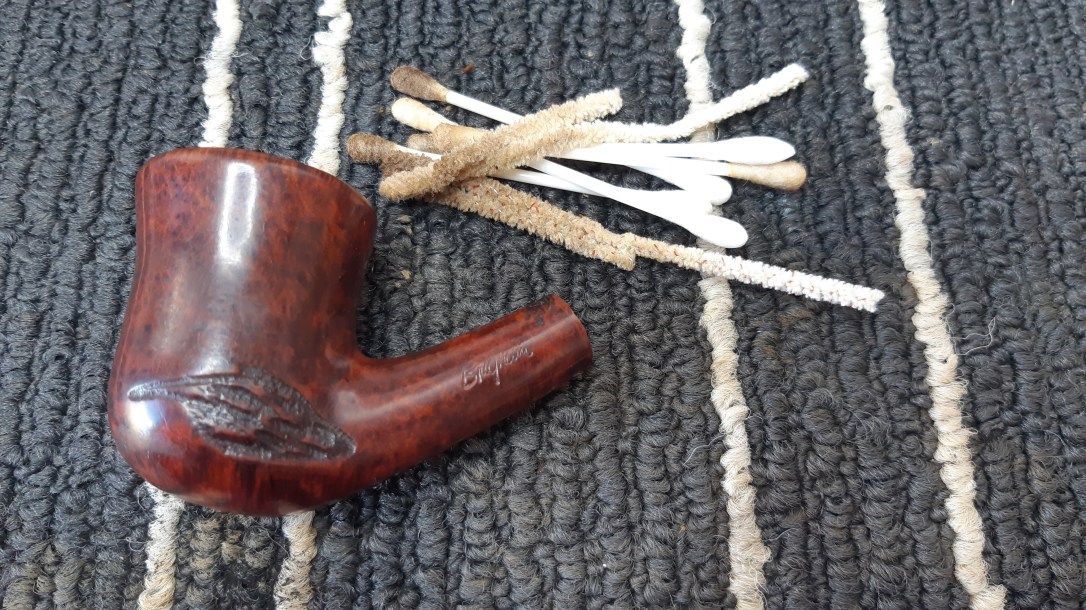
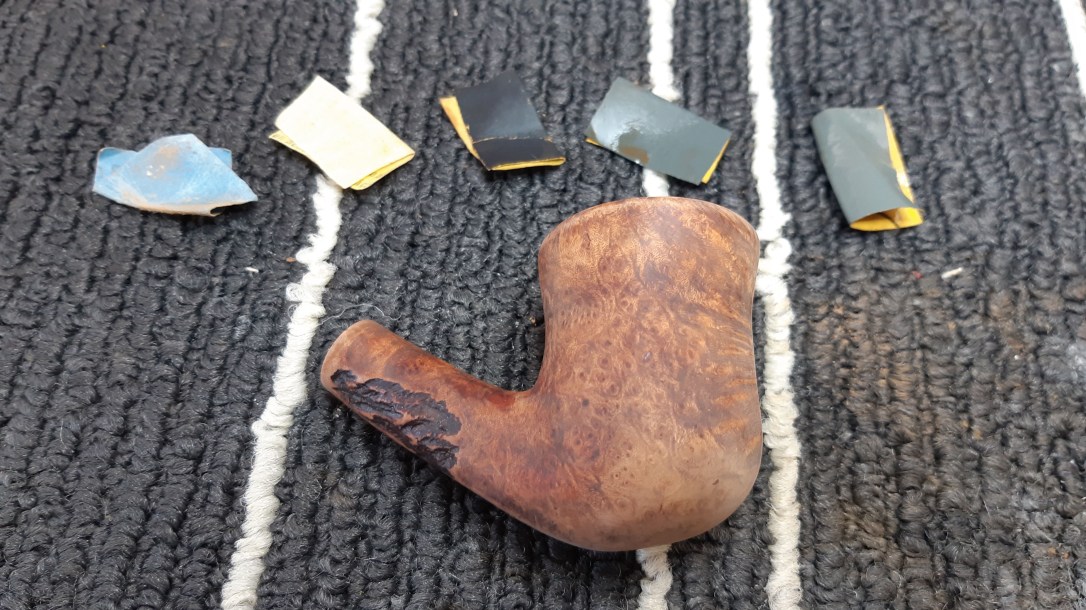
Here is the pipe as it looked when I received it. At first glance, this looked like a fairly straightforward refurbishment, but closer inspection brought a few issues to the forefront – tooth marks and a worn button on the stem, dents on the bottom of the stummel, the remains of what I suspect was a thicker coat of lava on the wide rim, including a likely scorch mark, and, more concerning, at least for me, a damaged aluminum tenon.


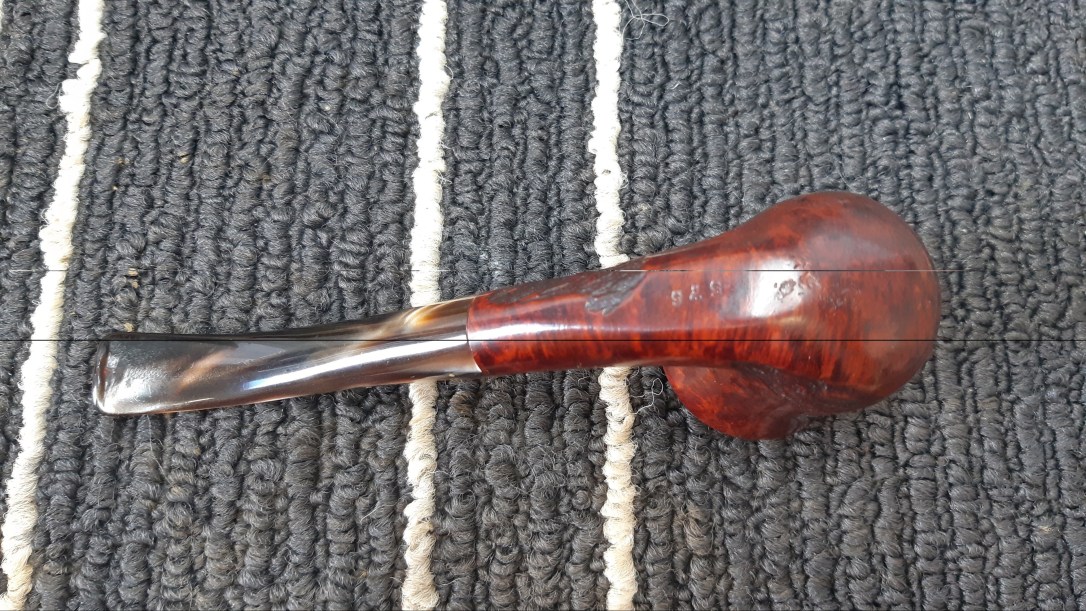


The pipe is stamped simply “Brigham” on the left flank, and “576” on the underside of the bowl. These, and the rare use of an acrylic stem, date this pipe to the early 1990’s.


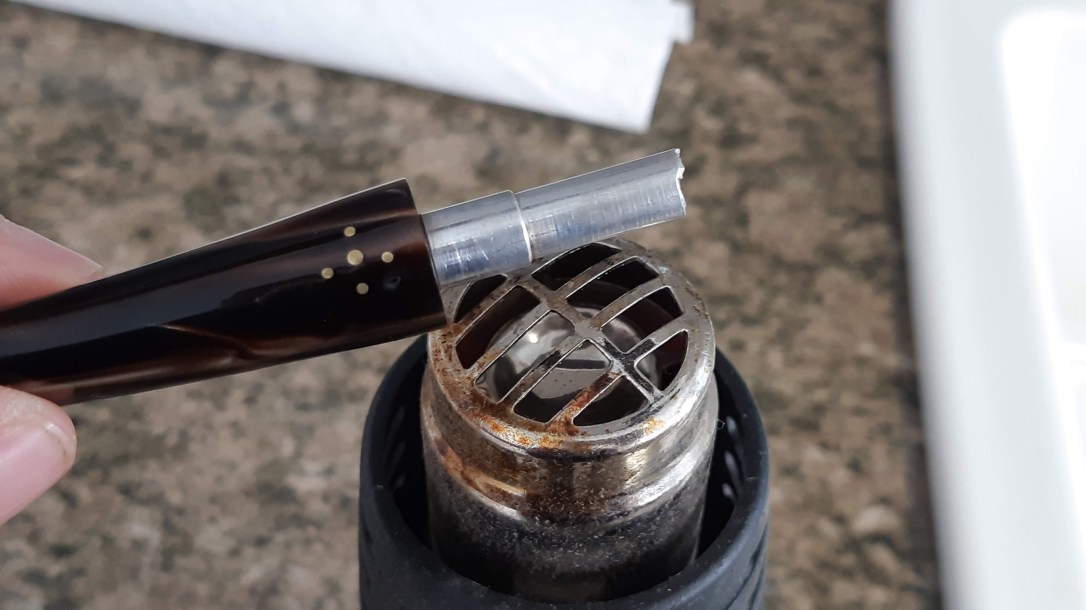
Most of the work required to get this Bent Tulip back into fighting shape is cosmetic – a good cleaning, some dent removal, and a good buffing – but the damaged tenon is a structural and functional issue. As this pic shows, about half of the aluminum is missing. A test fit of a Brigham Rock Maple distillator brings the damage into focus.

While I considered my options on the tenon rehab, I ran a few pipe cleaners dipped in 99% isopropyl alcohol through the stem and stummel. The pipe was actually rather clean.

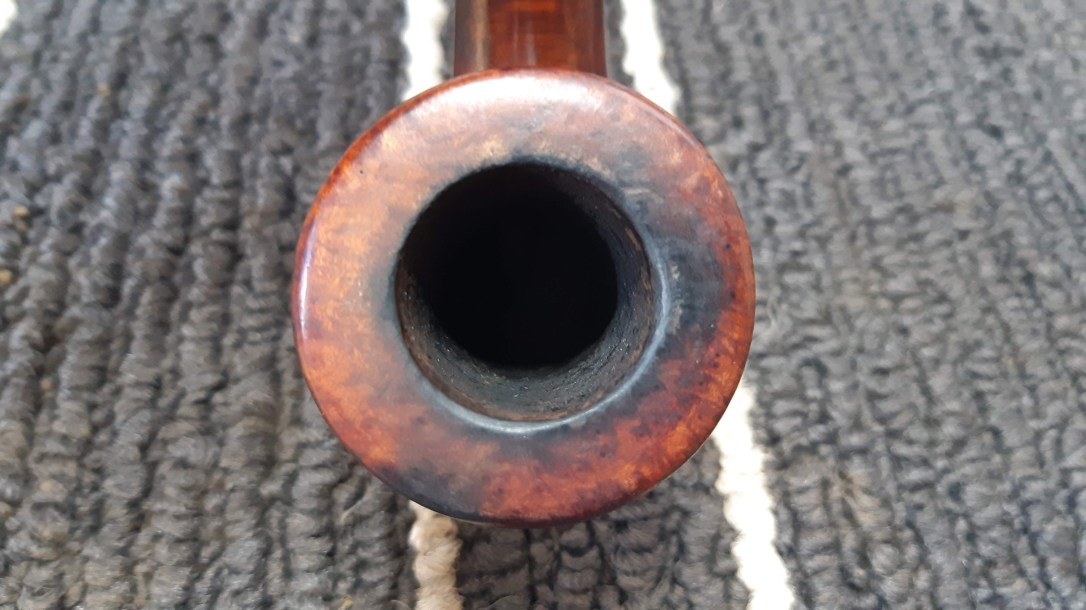
There was only a thin cake layer in the chamber, more evidence, perhaps, of the seller’s care before listing the pipe on eBay. I used sandpaper wrapped around a marker to tidy things up.
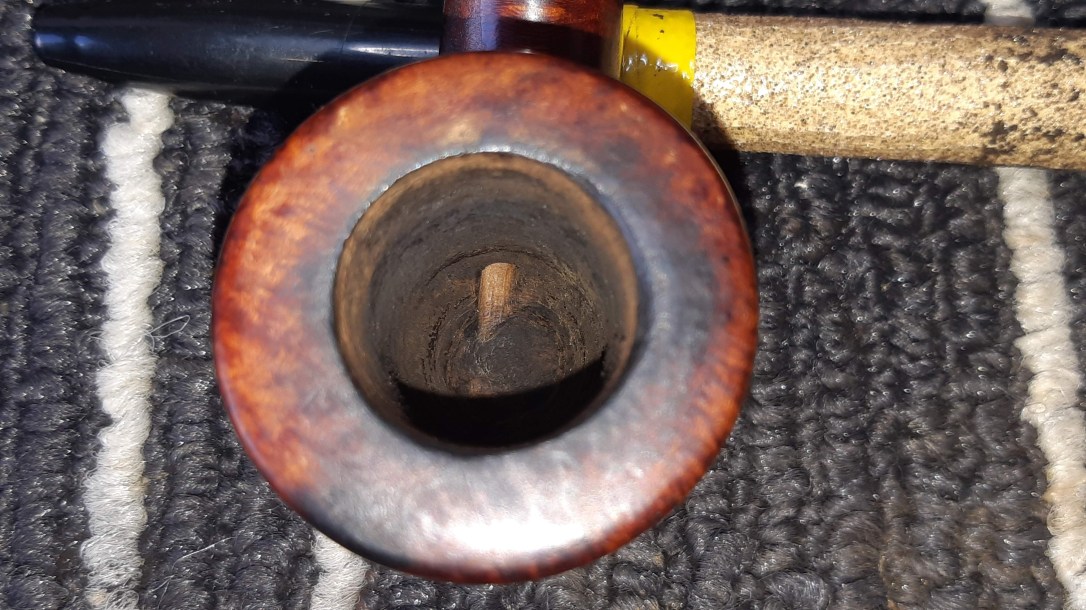
Moving to the wide, flared rim, I used a bit of 1000-grit wet sandpaper to clean off the accumulated residue and get a good look at the briar underneath. I ended up sanding out the finish on the rim in order to eliminate the scorch mark at the 7 o’clock position.


With the pipe clean, I could once again focus on the tenon issue. If you have been a regular DadsPipes reader over the last year or so, you will know that very often the only option for a “new” aluminum Brigham tenon is to cannibalize parts from another, damaged, Brigham stem. That, however, was not an option for this pipe as the donor tenons I had available were all too short. This pic shows the damaged tenon next to a jealously guarded New Old Stock tenon I’ve been hoarding for a while. There is a LOT of missing material!

Some people would simply cut off the damaged section of tenon and use the pipe without a filter, but for me, the Brigham System is a huge part of what makes a Brigham pipe, well, a Brigham pipe. I considered using the NOS tenon to repair this 576, but then my brain went into Project Mode and I began toying with the idea of attempting to recreate the old tenon design using new material.
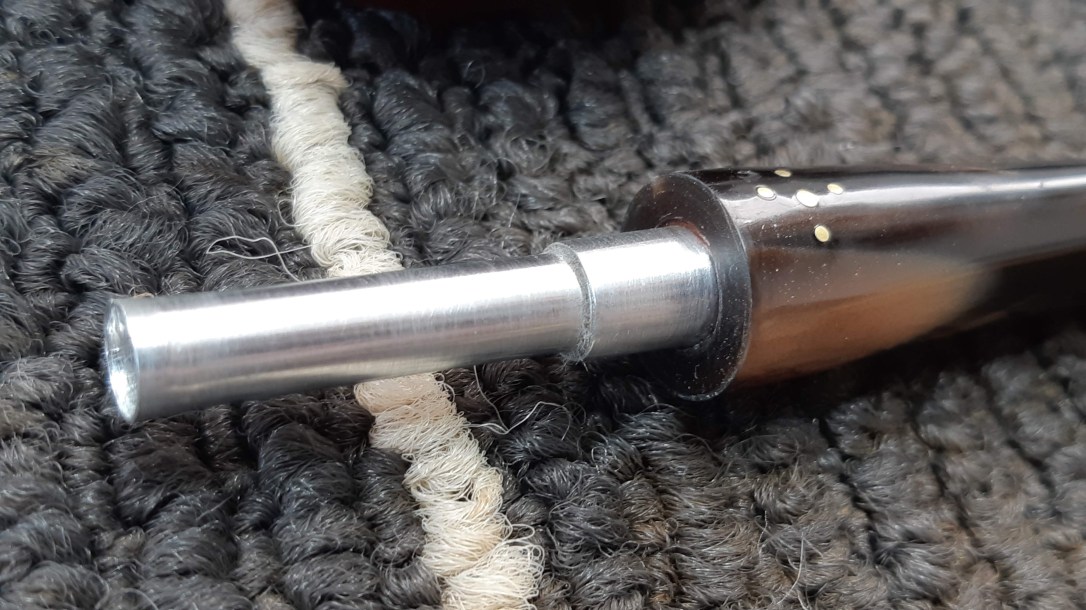
As I’ve mentioned before, these aluminum tenons haven’t been made in 20 years since Brigham transitioned to the current composite tenon design, so I was breaking new ground on this little side quest of mine. I won’t go into all the details, but after a lot of careful measuring, planning, material sourcing and prototyping, I produced what I think is a decent replica of the original tenon design. This pic shows my aftermarket replacement tenon (bottom) alongside the NOS tenon I patterned it after.

Armed with my replacement part, I heated the old tenon over the heat gun until it came loose from the stem. I got lucky here in that the 5-Dot brass pinning pattern was set only into the acrylic. The centre Dot did not pin the aluminum tenon in place, so the pins were not disturbed when I removed the broken tenon.
This series of pics shows the process of setting the new tenon into place. First, I dry fit the parts to ensure a tidy final look, then cut the tenon to length and used a bit of epoxy to secure the tenon in the end of the stem. I set the pipe stem-up in the vise to hold it in position while the epoxy set. The end result is a near-factory fit and finish. I think that counts as a win!


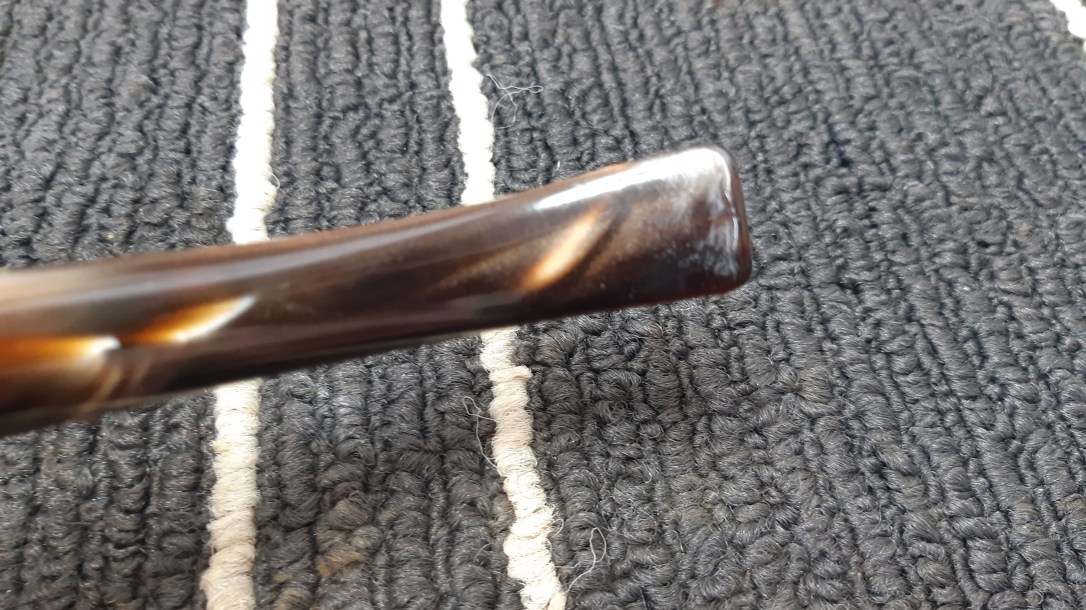
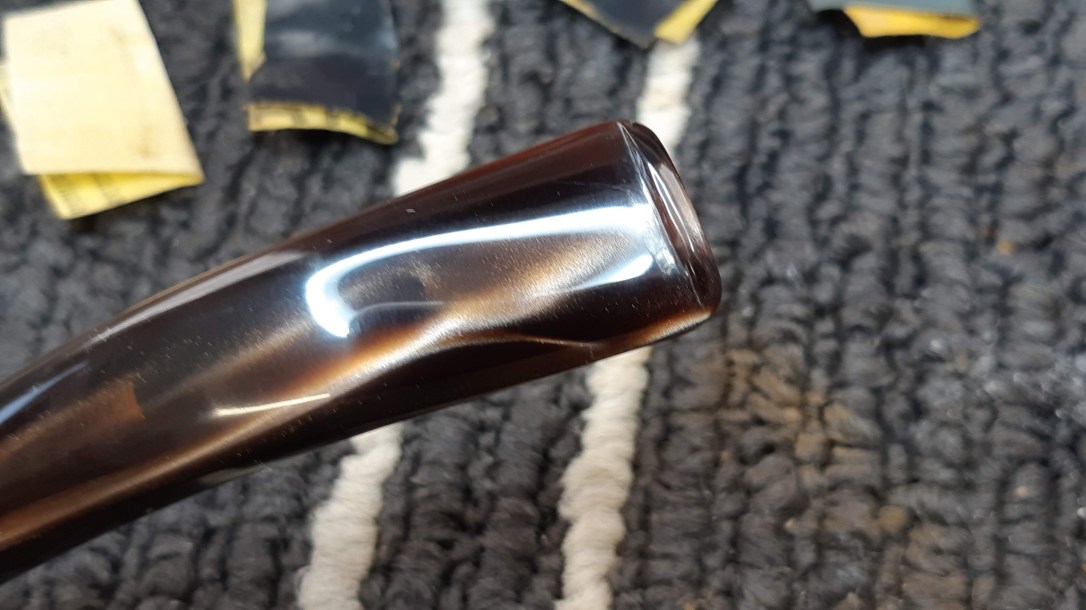
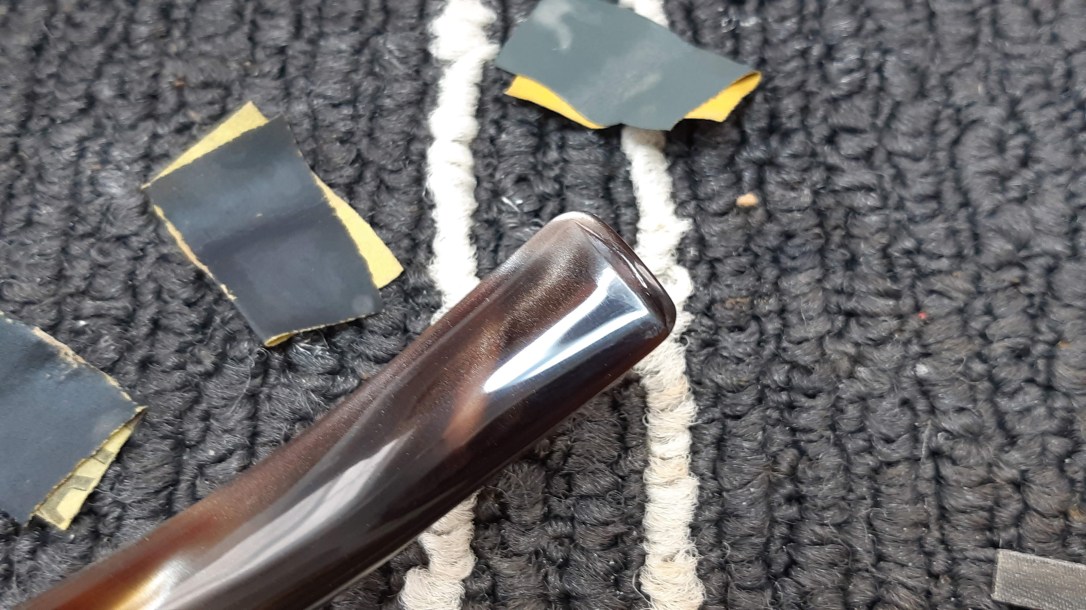
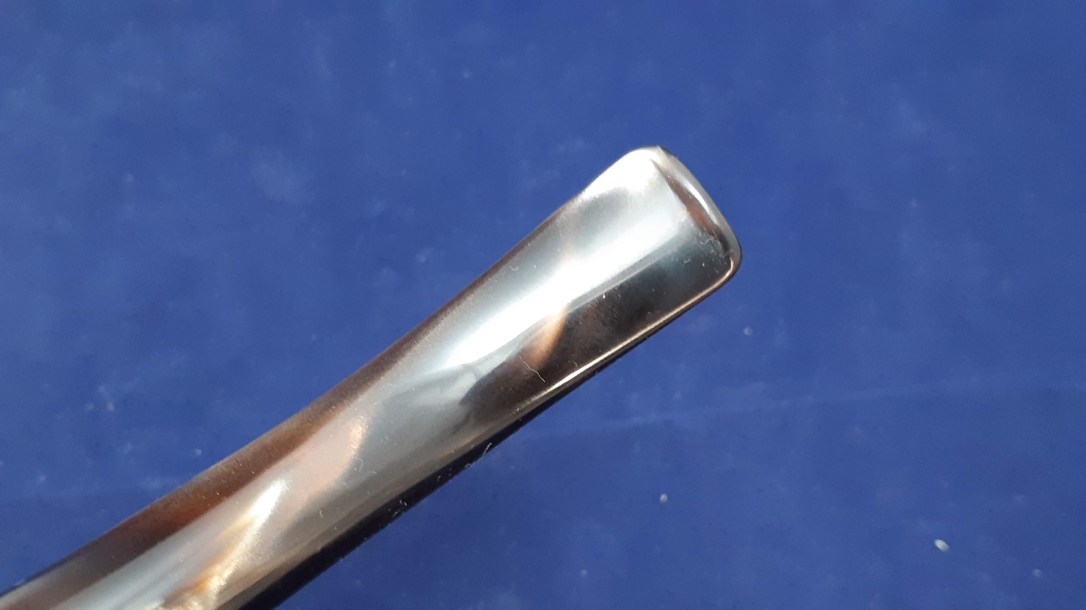
Now that the pipe was structurally sound I could move on to the cosmetic touch-ups. I started by sanding the acrylic stem with 220 through 2000-grit abrasives to smooth out the chatter and handling marks and to bring the deeper tooth damage into focus.


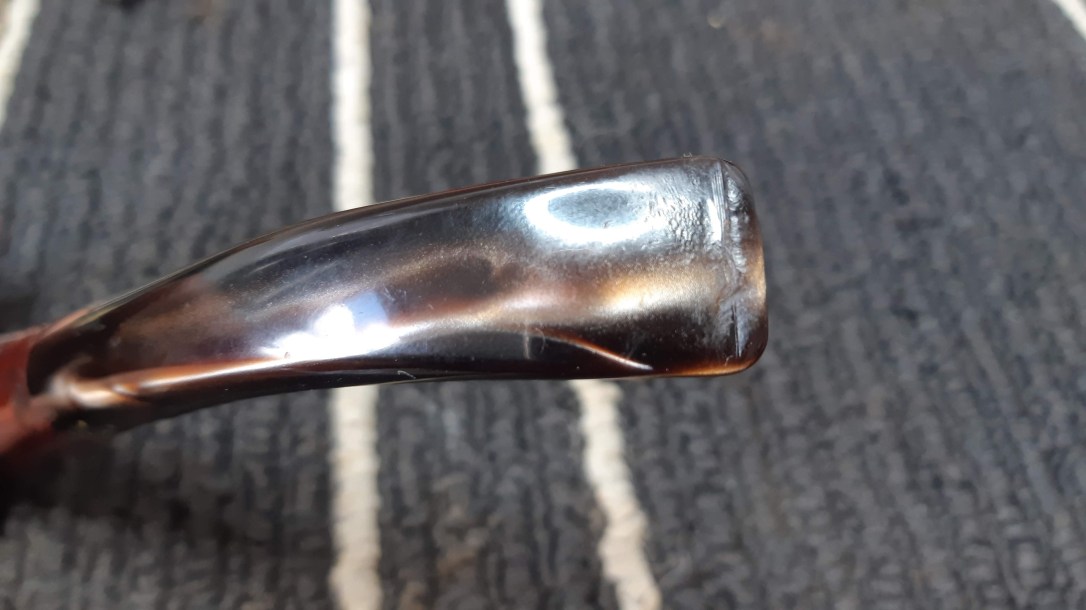
As the above pics show, there were a few deeper dents and some damage to the button edges that I wanted to sort out. A few applications of clear CA glue filled the damaged areas and provided enough material from which to carve a sharper button profile. The last two pics below show the button after filing, sanding and polishing to 2000-grit.

The tenon replacement altered the alignment of the stem/shank junction by about half a millimeter. I taped off the shank stamps before filing and sanding both stem and shank to produce a smooth, unbroken transition.

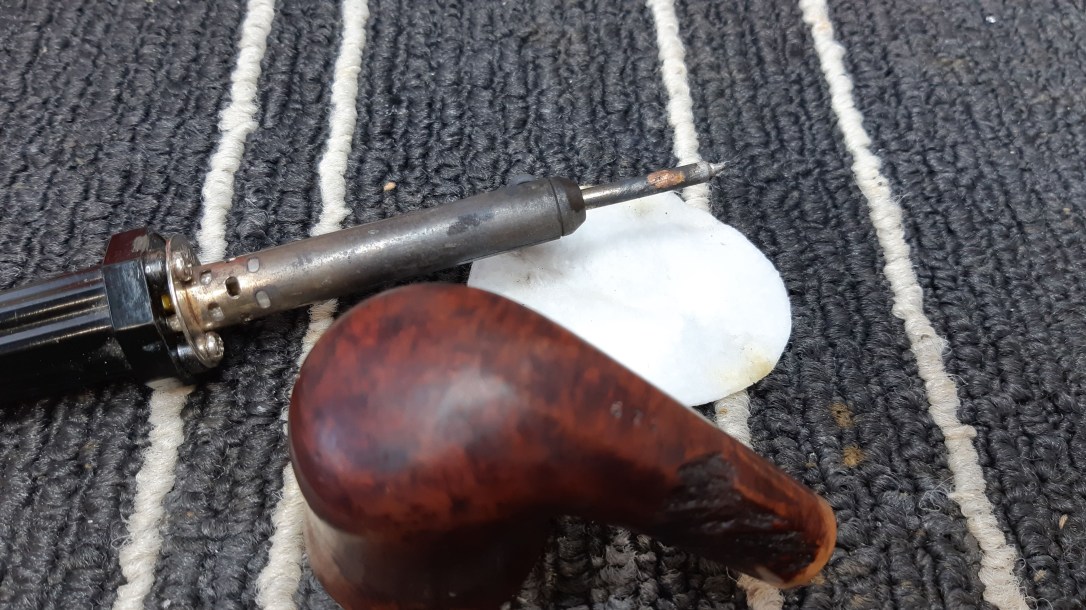
Next on the refurb hit list was a patch of dents on the bottom of the stummel. This “road rash” was likely caused by someone dropping the pipe on a rough surface. It’s ugly, but easily dealt with. I steamed the dents using a damp cotton pad and a soldering iron to raise the wood fibers back to their original position, or as close as I could get.

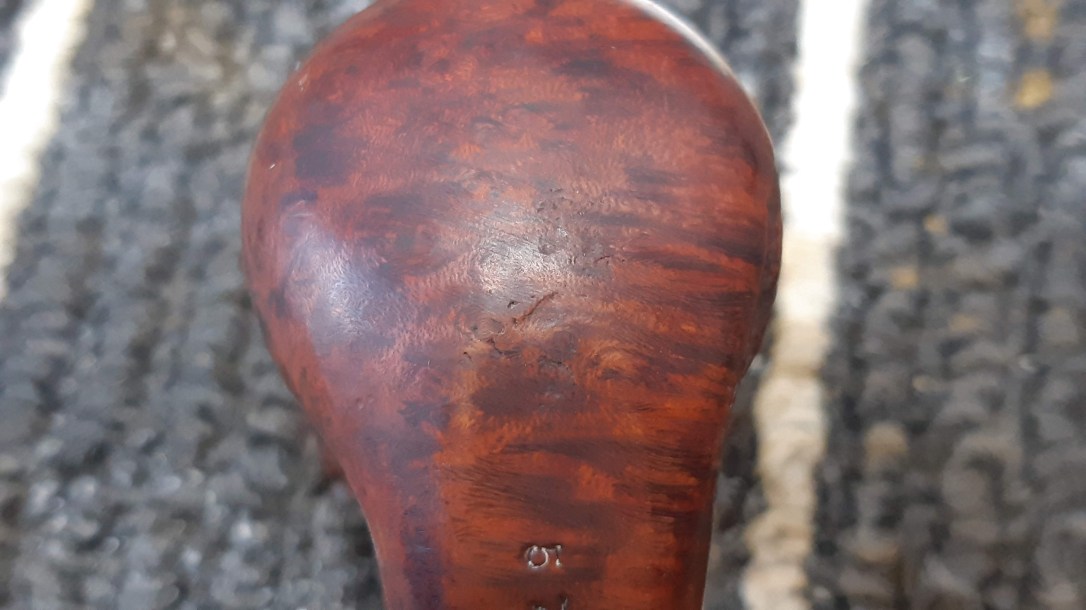
The pic above looks pretty good – the dents raised quite a lot with the steam, but a bit of sanding revealed that all was not as smooth as it had appeared. I applied a bit more steam to finish the job, then sanded the entire stummel to 2000-grit, carefully avoiding the stamps. This sanding not only smoothed out the briar but also evened out the finish in preparation for new stain.


A coat of Fiebing’s Black leather dye went on first. I let this stain coat dry, then removed most of it, leaving it only in the softer grain. A top coat blended from Brown and Saddle Tan dyes approximated the original look, though I left the stain somewhat less opaque in order to let the 5-Dot grain shine through.

A light coat of mineral oil helped to set the new finish and inject a bit of moisture into the briar. Apparently my cotton pad left quite a bit of fluff on the pipe in the pic below.
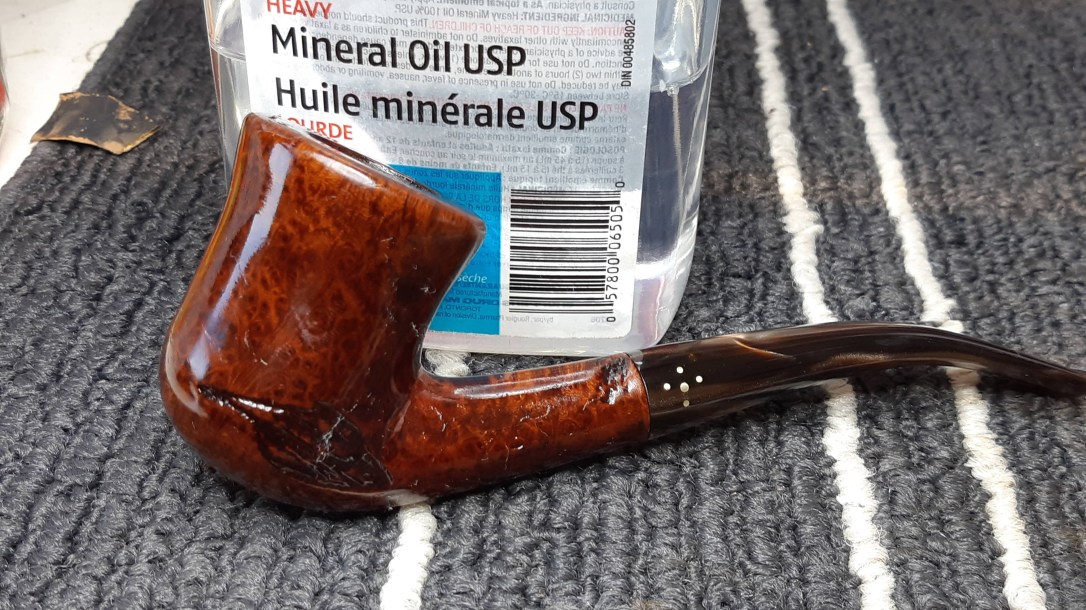
I let the oil sit on the briar for a few minutes then hand buffed the excess away with a bit of toweling. I like to give the pipe time to acclimate after oiling, so it was a few hours later that I took it to the buffer for final polishing with Red Tripoli, White Diamond and Carnauba wax.
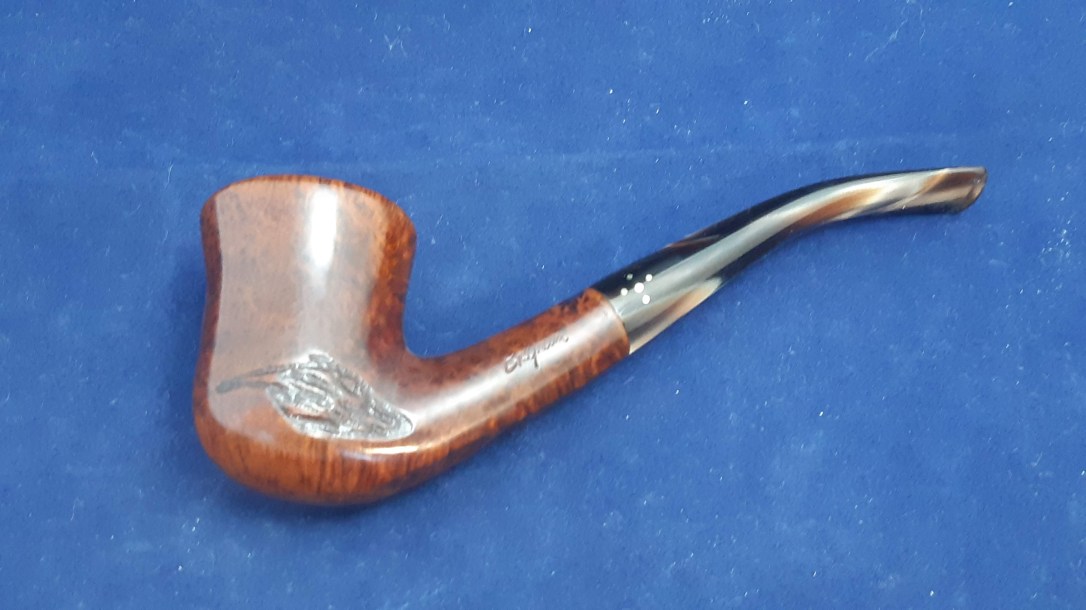
The finished pipe is, for me at least, something to behold. The striking Chocolate Swirl acrylic stem is smooth and glossy with a crisply defined button, and the restored briar glows with health and vitality. Even better, the pipe, with its new shop-made tenon, is ready to pack with a favourite blend and provide decades of smoking companionship.
This 1990’s vintage 576 Bent Tulip is a relatively large pipe for Brigham, significantly larger than its earlier Shape 76 precursor. I worked on an example of the earlier shape some time ago. These pics shows both versions of the shape, labelled as Shape 76 (a) and 76 (b) in the latest edition of the Brigham Shape Chart.


I’m looking forward to firing this pipe up for a nice long bowl and, of course, to test the performance properties of my tenon design. The things I do for science!
Thanks for joining me for this marathon restoration post. This pipe was great fun to work on and if it holds up well under regular use, my experimental replacement aluminum tenon will open up a whole new avenue for repairing vintage Canadian made Brigham pipes.
Here is the finished pipe. Until next time, Happy Piping!


Hi Charles,
Great job! Your aftermarket replacement tenon takes things to a whole new level. I don’t know if there is any other pipe restorer out there that has done such a thing. Cutting edge of the restoration craft IMO. Keep up the great work!
Cheers,
Maurice
LikeLiked by 1 person
Thanks, Maurice! I haven’t had a chance to fire up this pipe yet to really put the tenon to the test, but I am cautiously optimistic. I’ve got other designs in waiting if this one doesn’t hold up. 😁👍
LikeLike
Wonderful engineering on the replacement tenon Charles! Thank you for sharing this effort – I wish you and yours all the very best in the New Year.
Lee
LikeLiked by 1 person
Thanks very much, Lee! A Happy 2020 to you as well.
LikeLike