Hi folks. I’ve got another Brigham restoration for you today, this time a 1960’s 5-Dot Shape 76 Tulip. I was lucky enough to acquire this briar in a box of assorted pipes a while back but it’s been stuck at the bottom of my refurb box for a while.
In comparison to the 1990’s Brigham Chunky Bent Brandy 536 I wrote up recently, this Tulip is downright diminutive at 5.25″ long and a 5/8″ x 1.25″ chamber, with a slender shank that gives the pipe a rather delicate look.
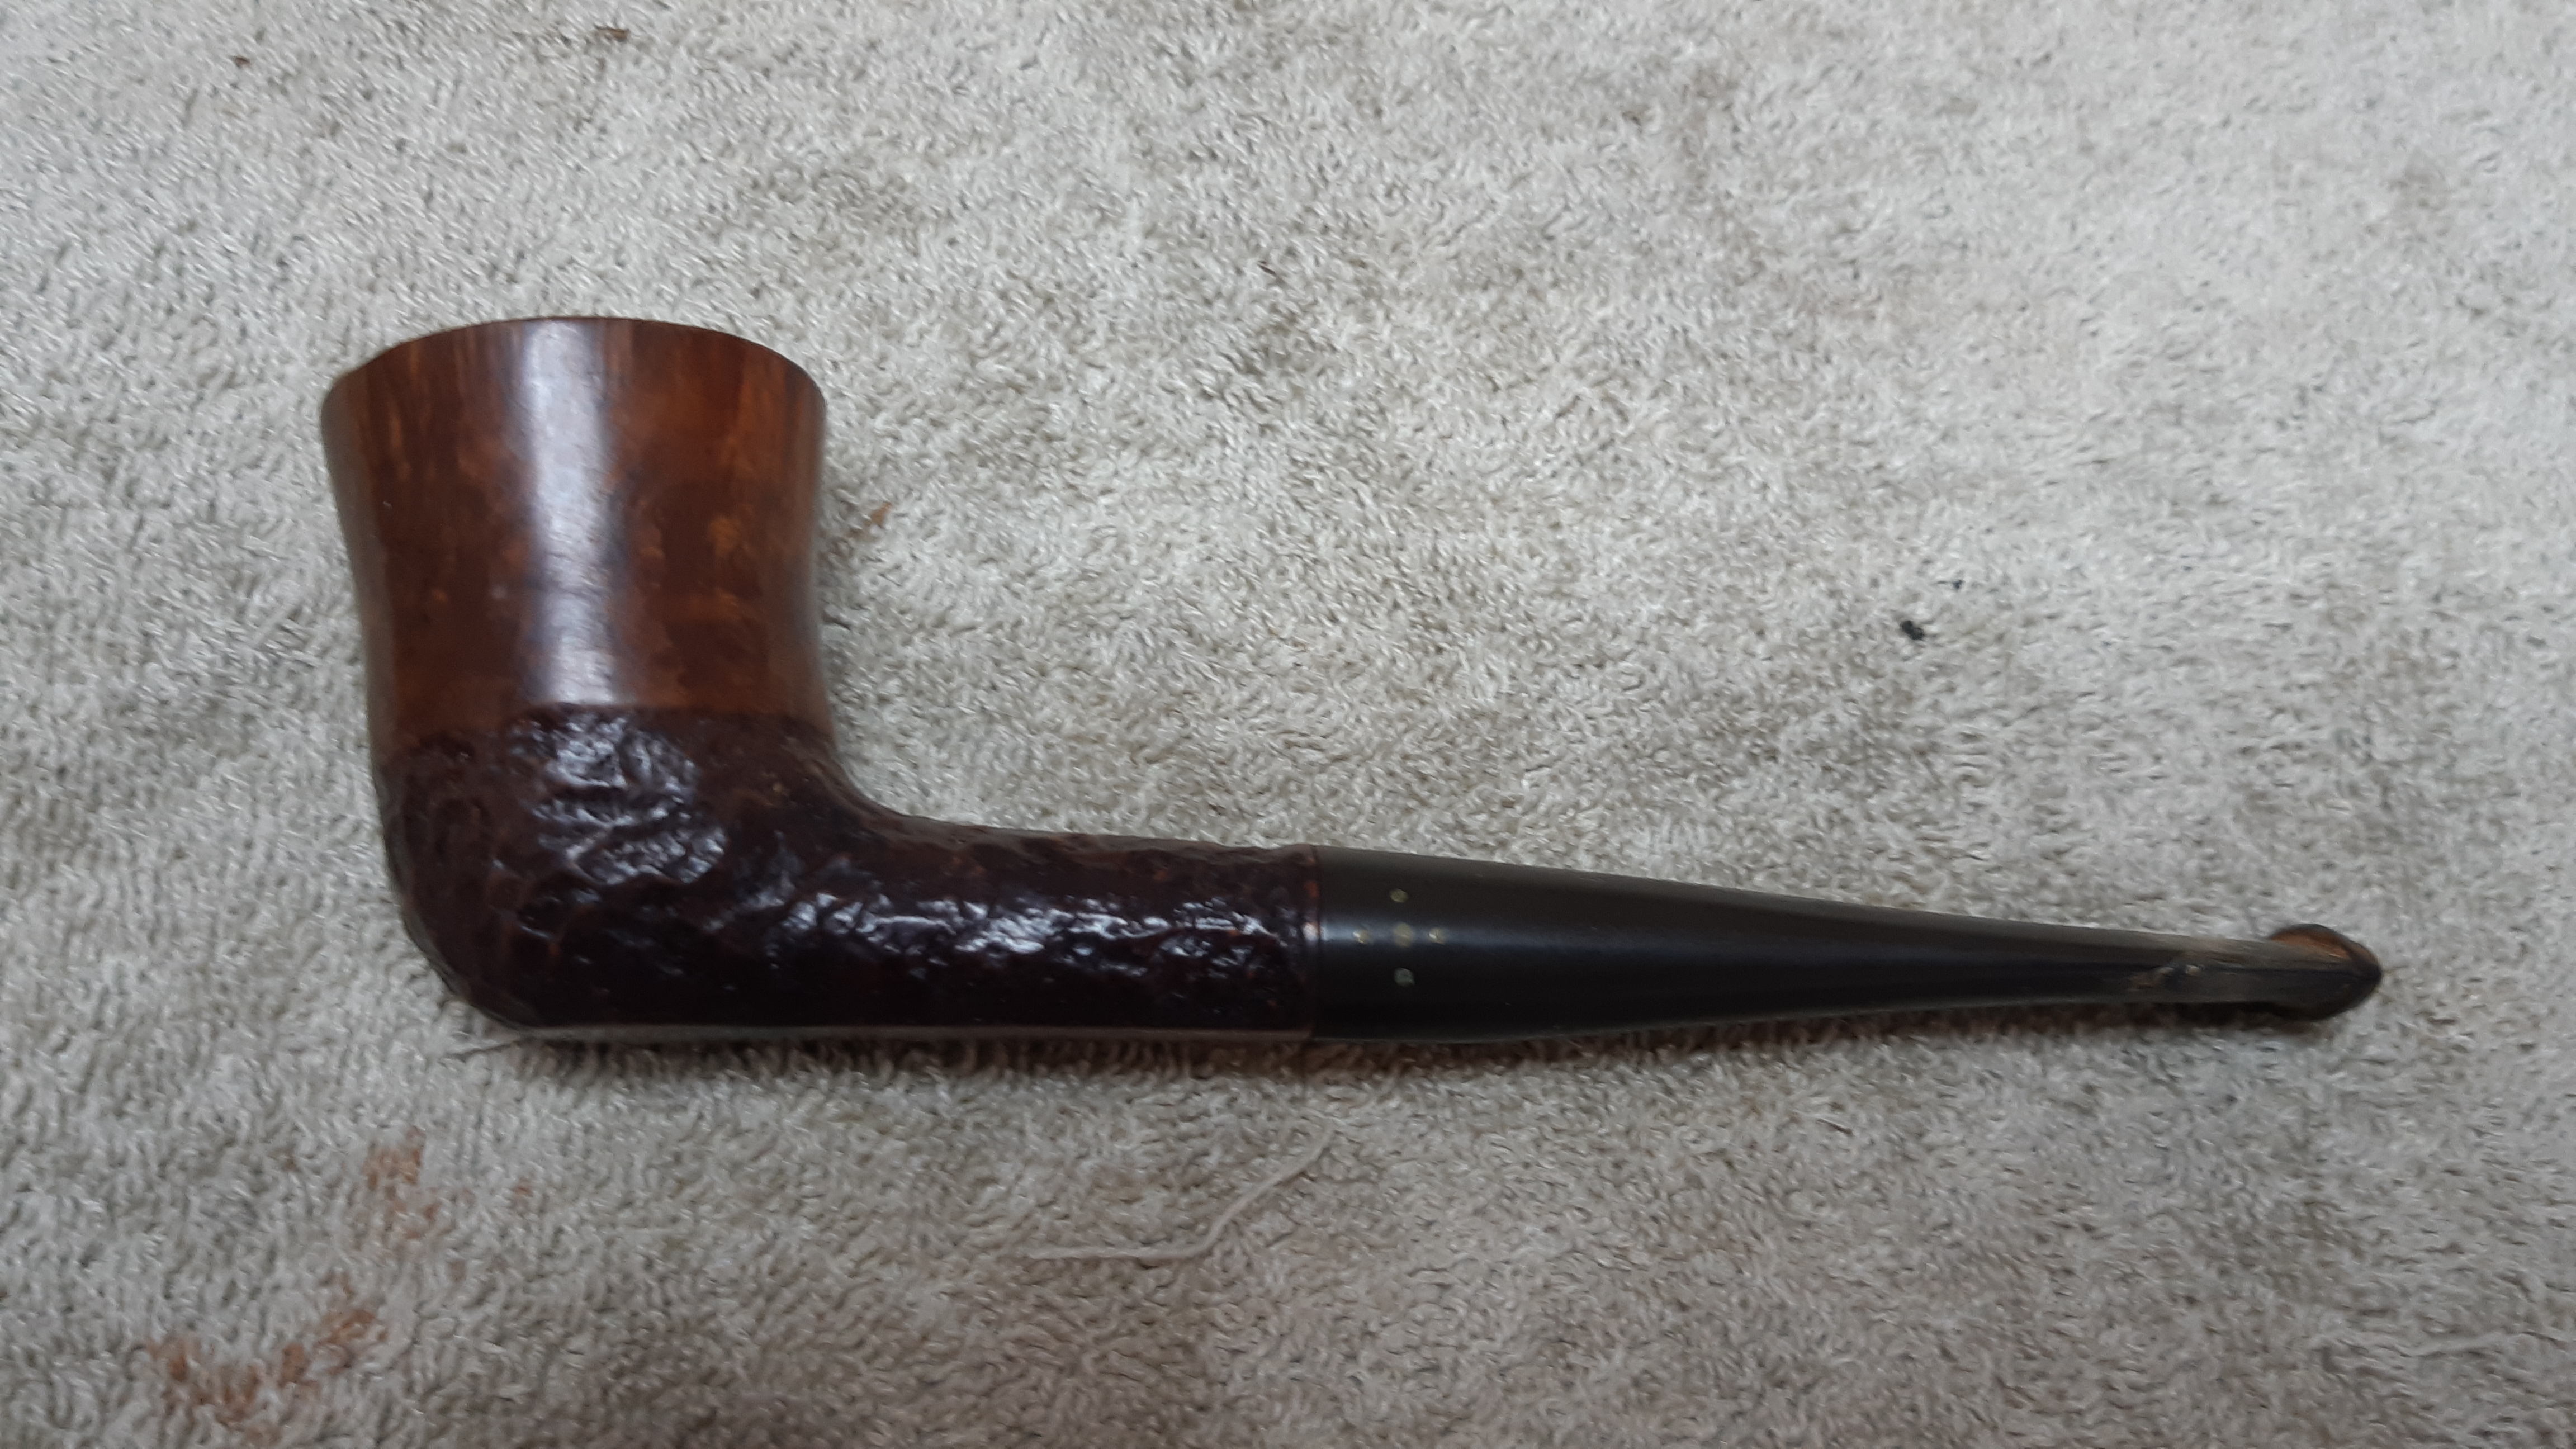
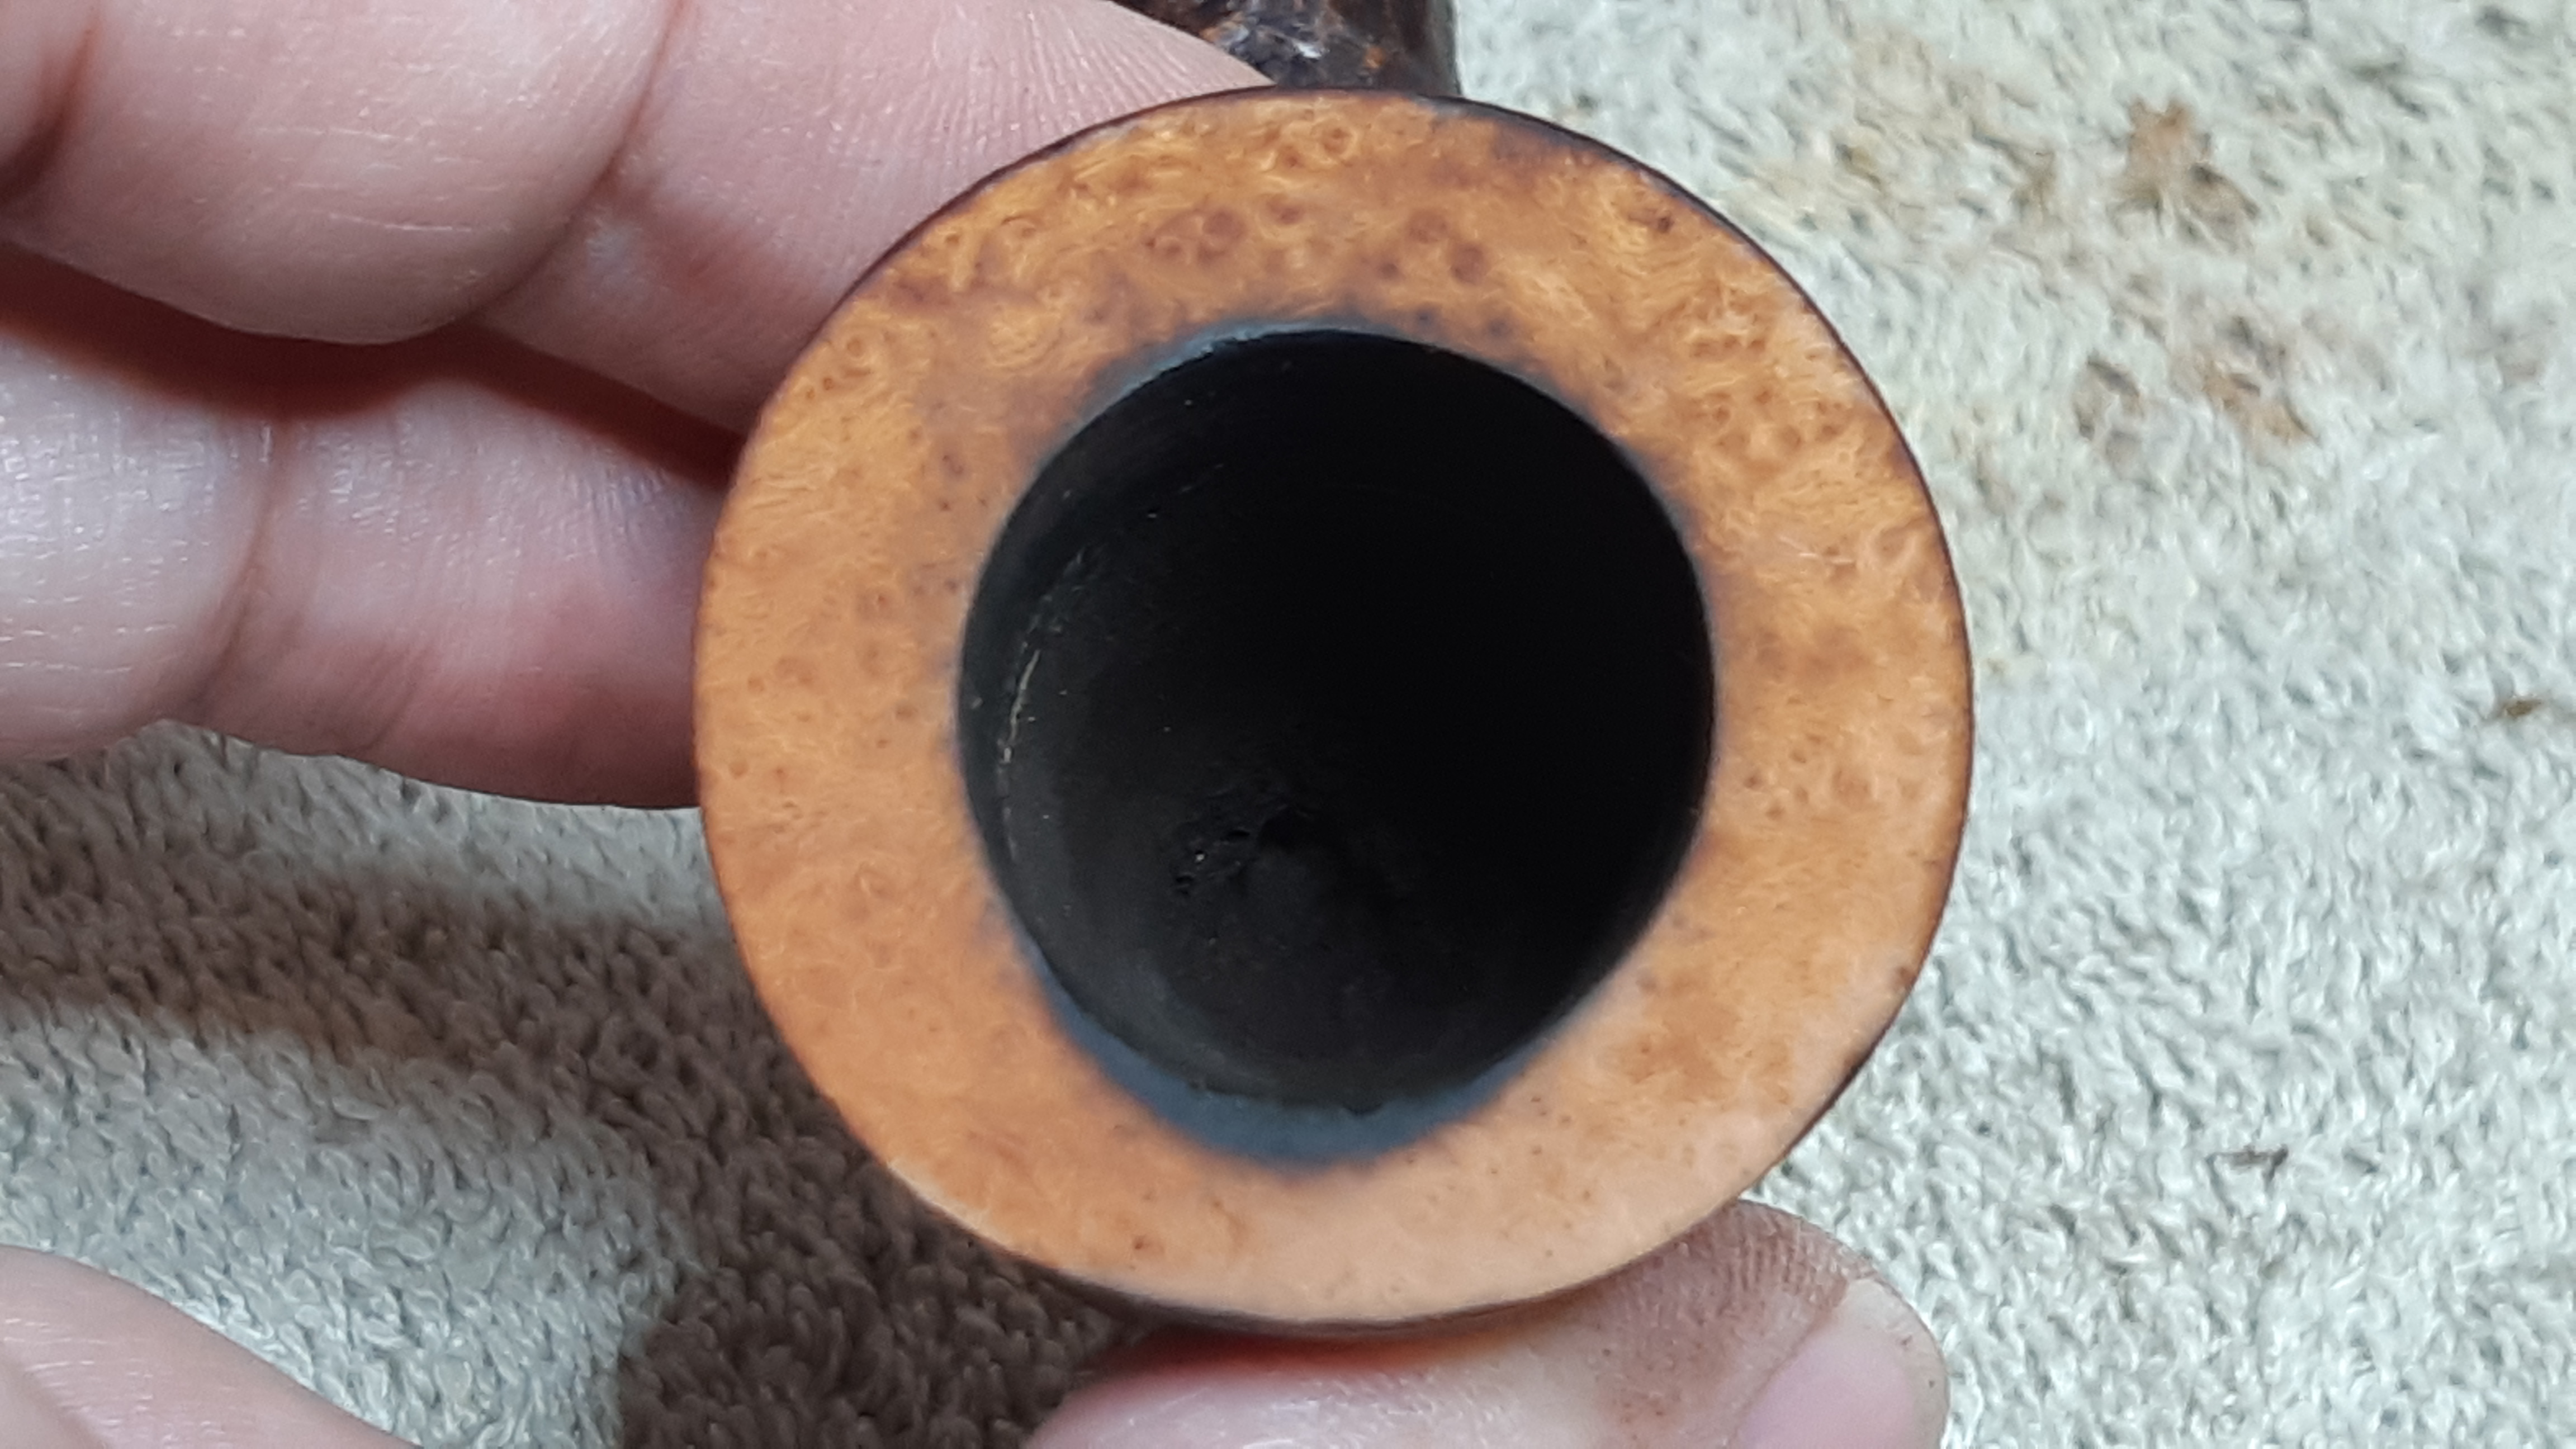
I took these pics when I brought the pipe to the worktable. It was quite dirty and greasy in the hand but overall in decent shape underneath the grime. There was quite a bit of lava covering the rim, but not enough to hide a charred area at the front inner rim of the bowl. The stem was oxidized and had a crust of salts around the bit and a few tooth dents but otherwise looked ok.


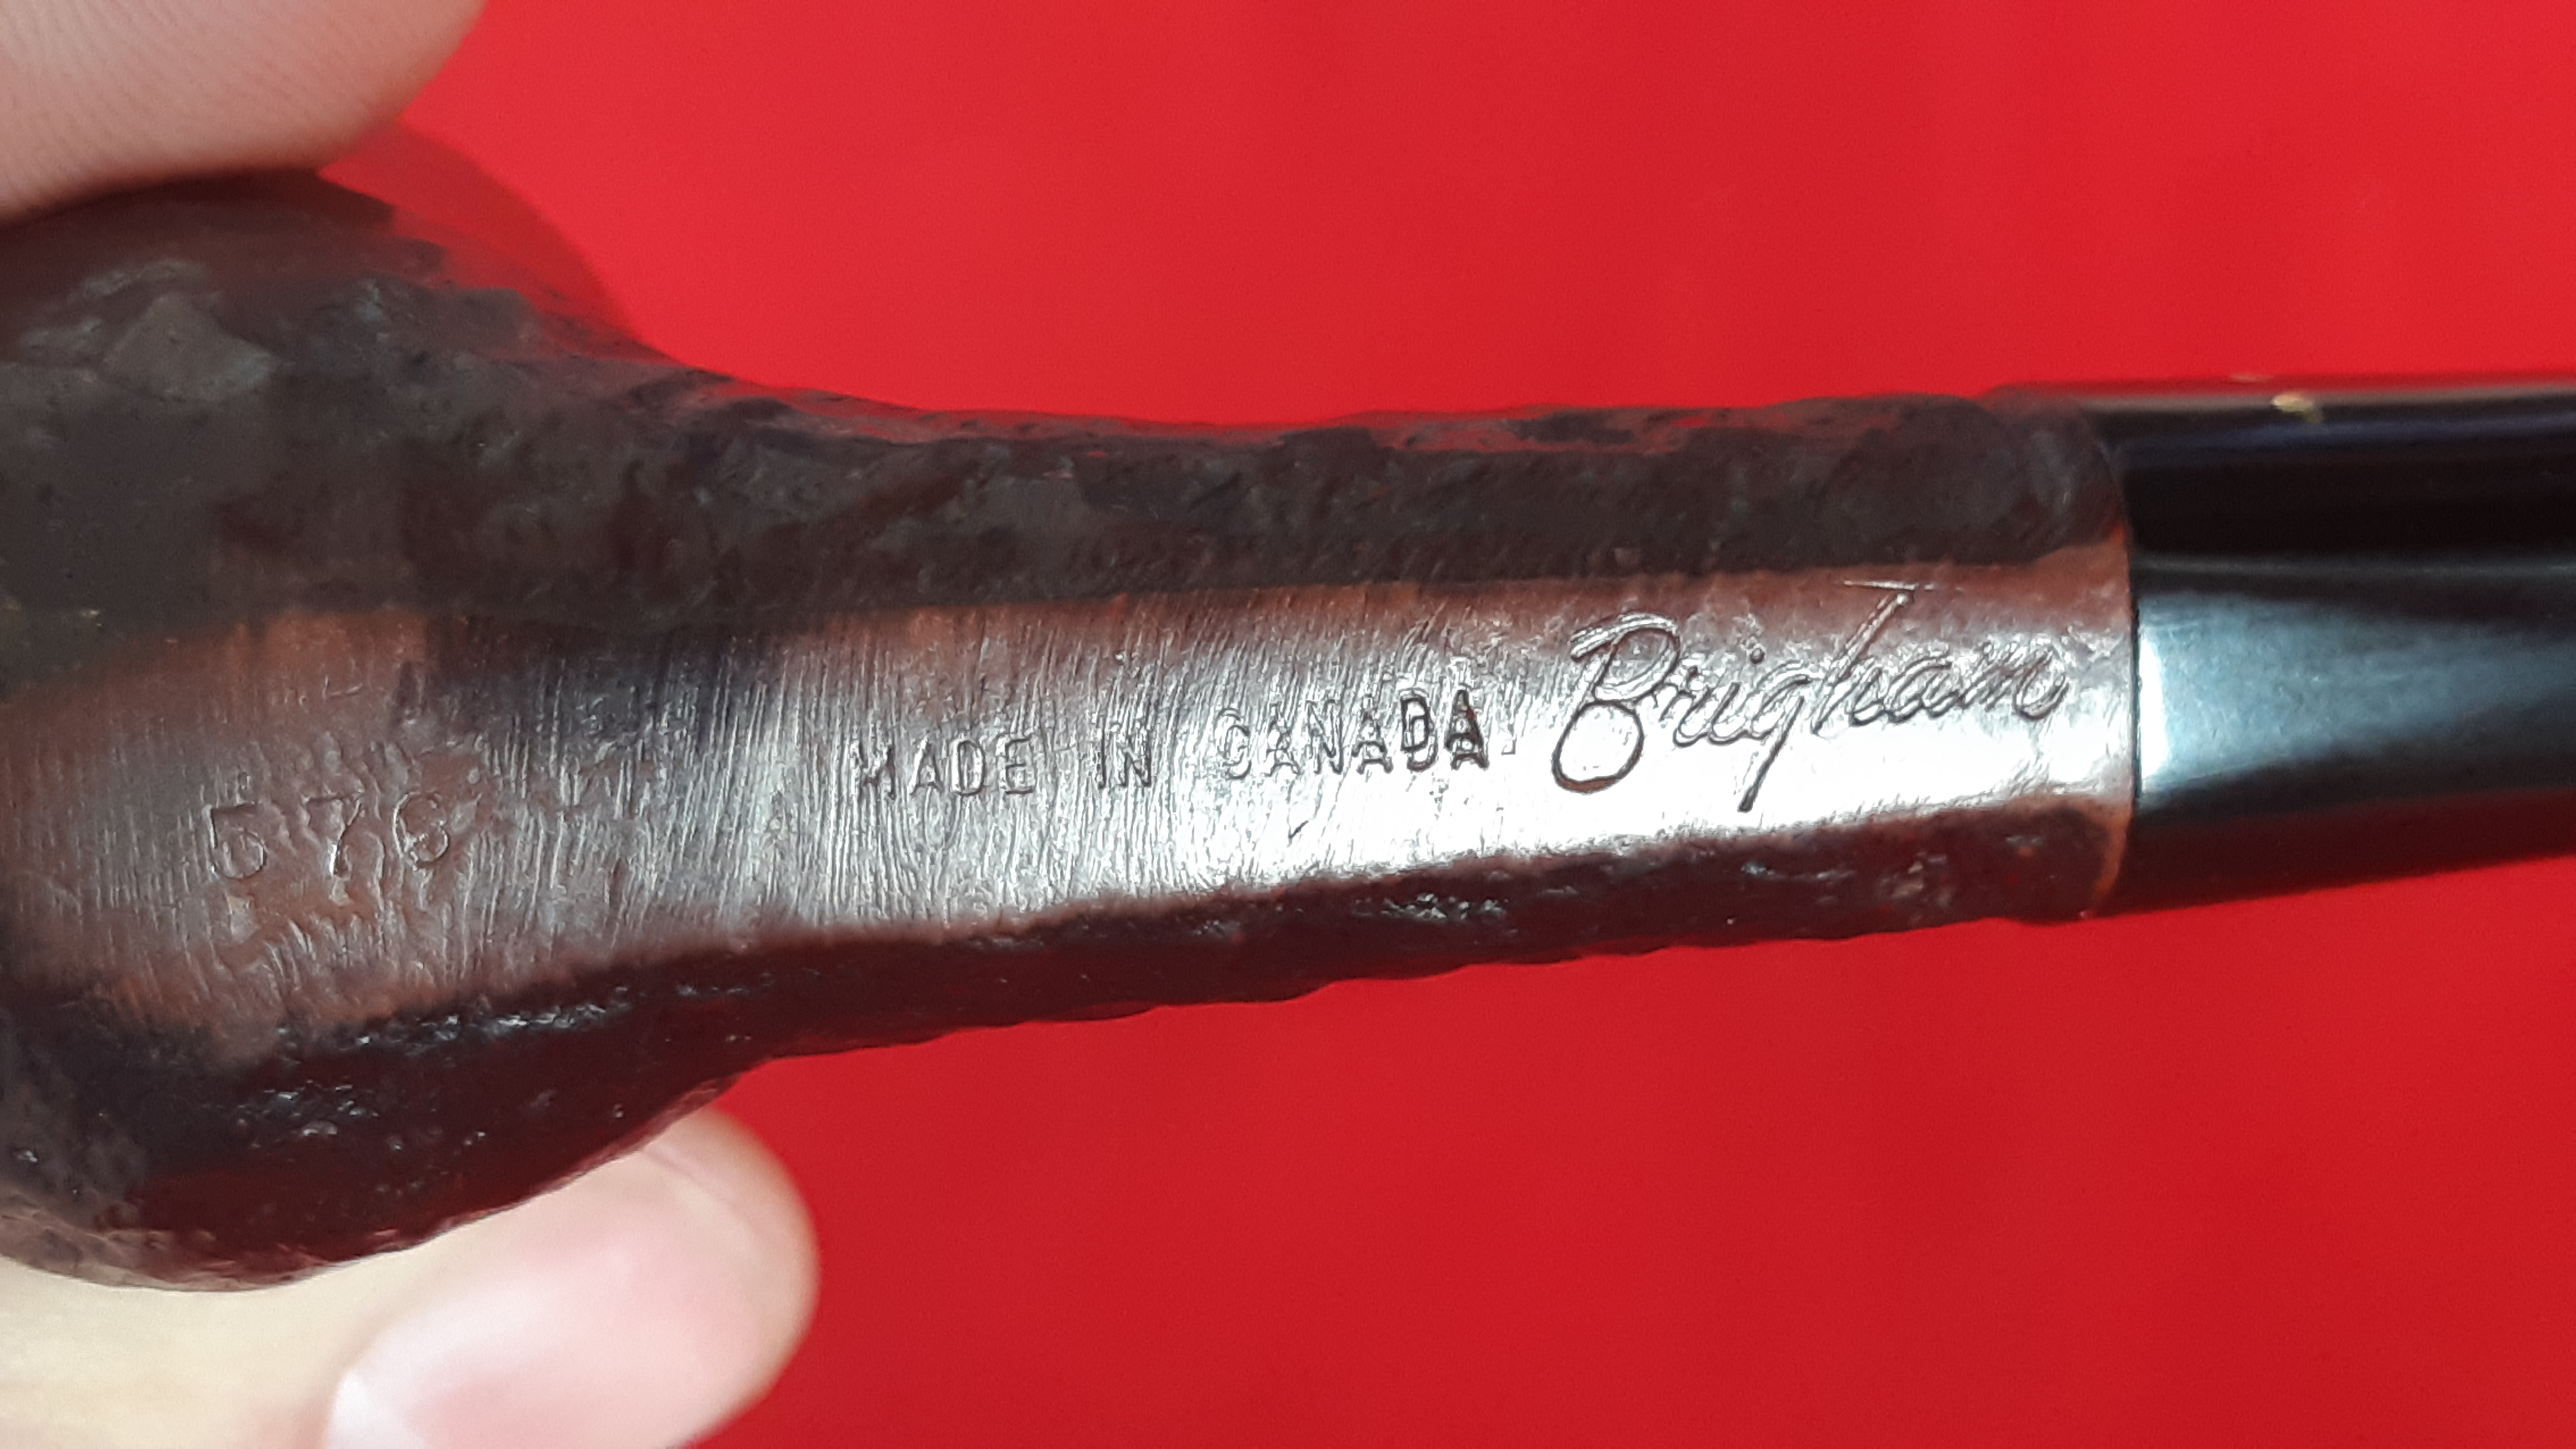
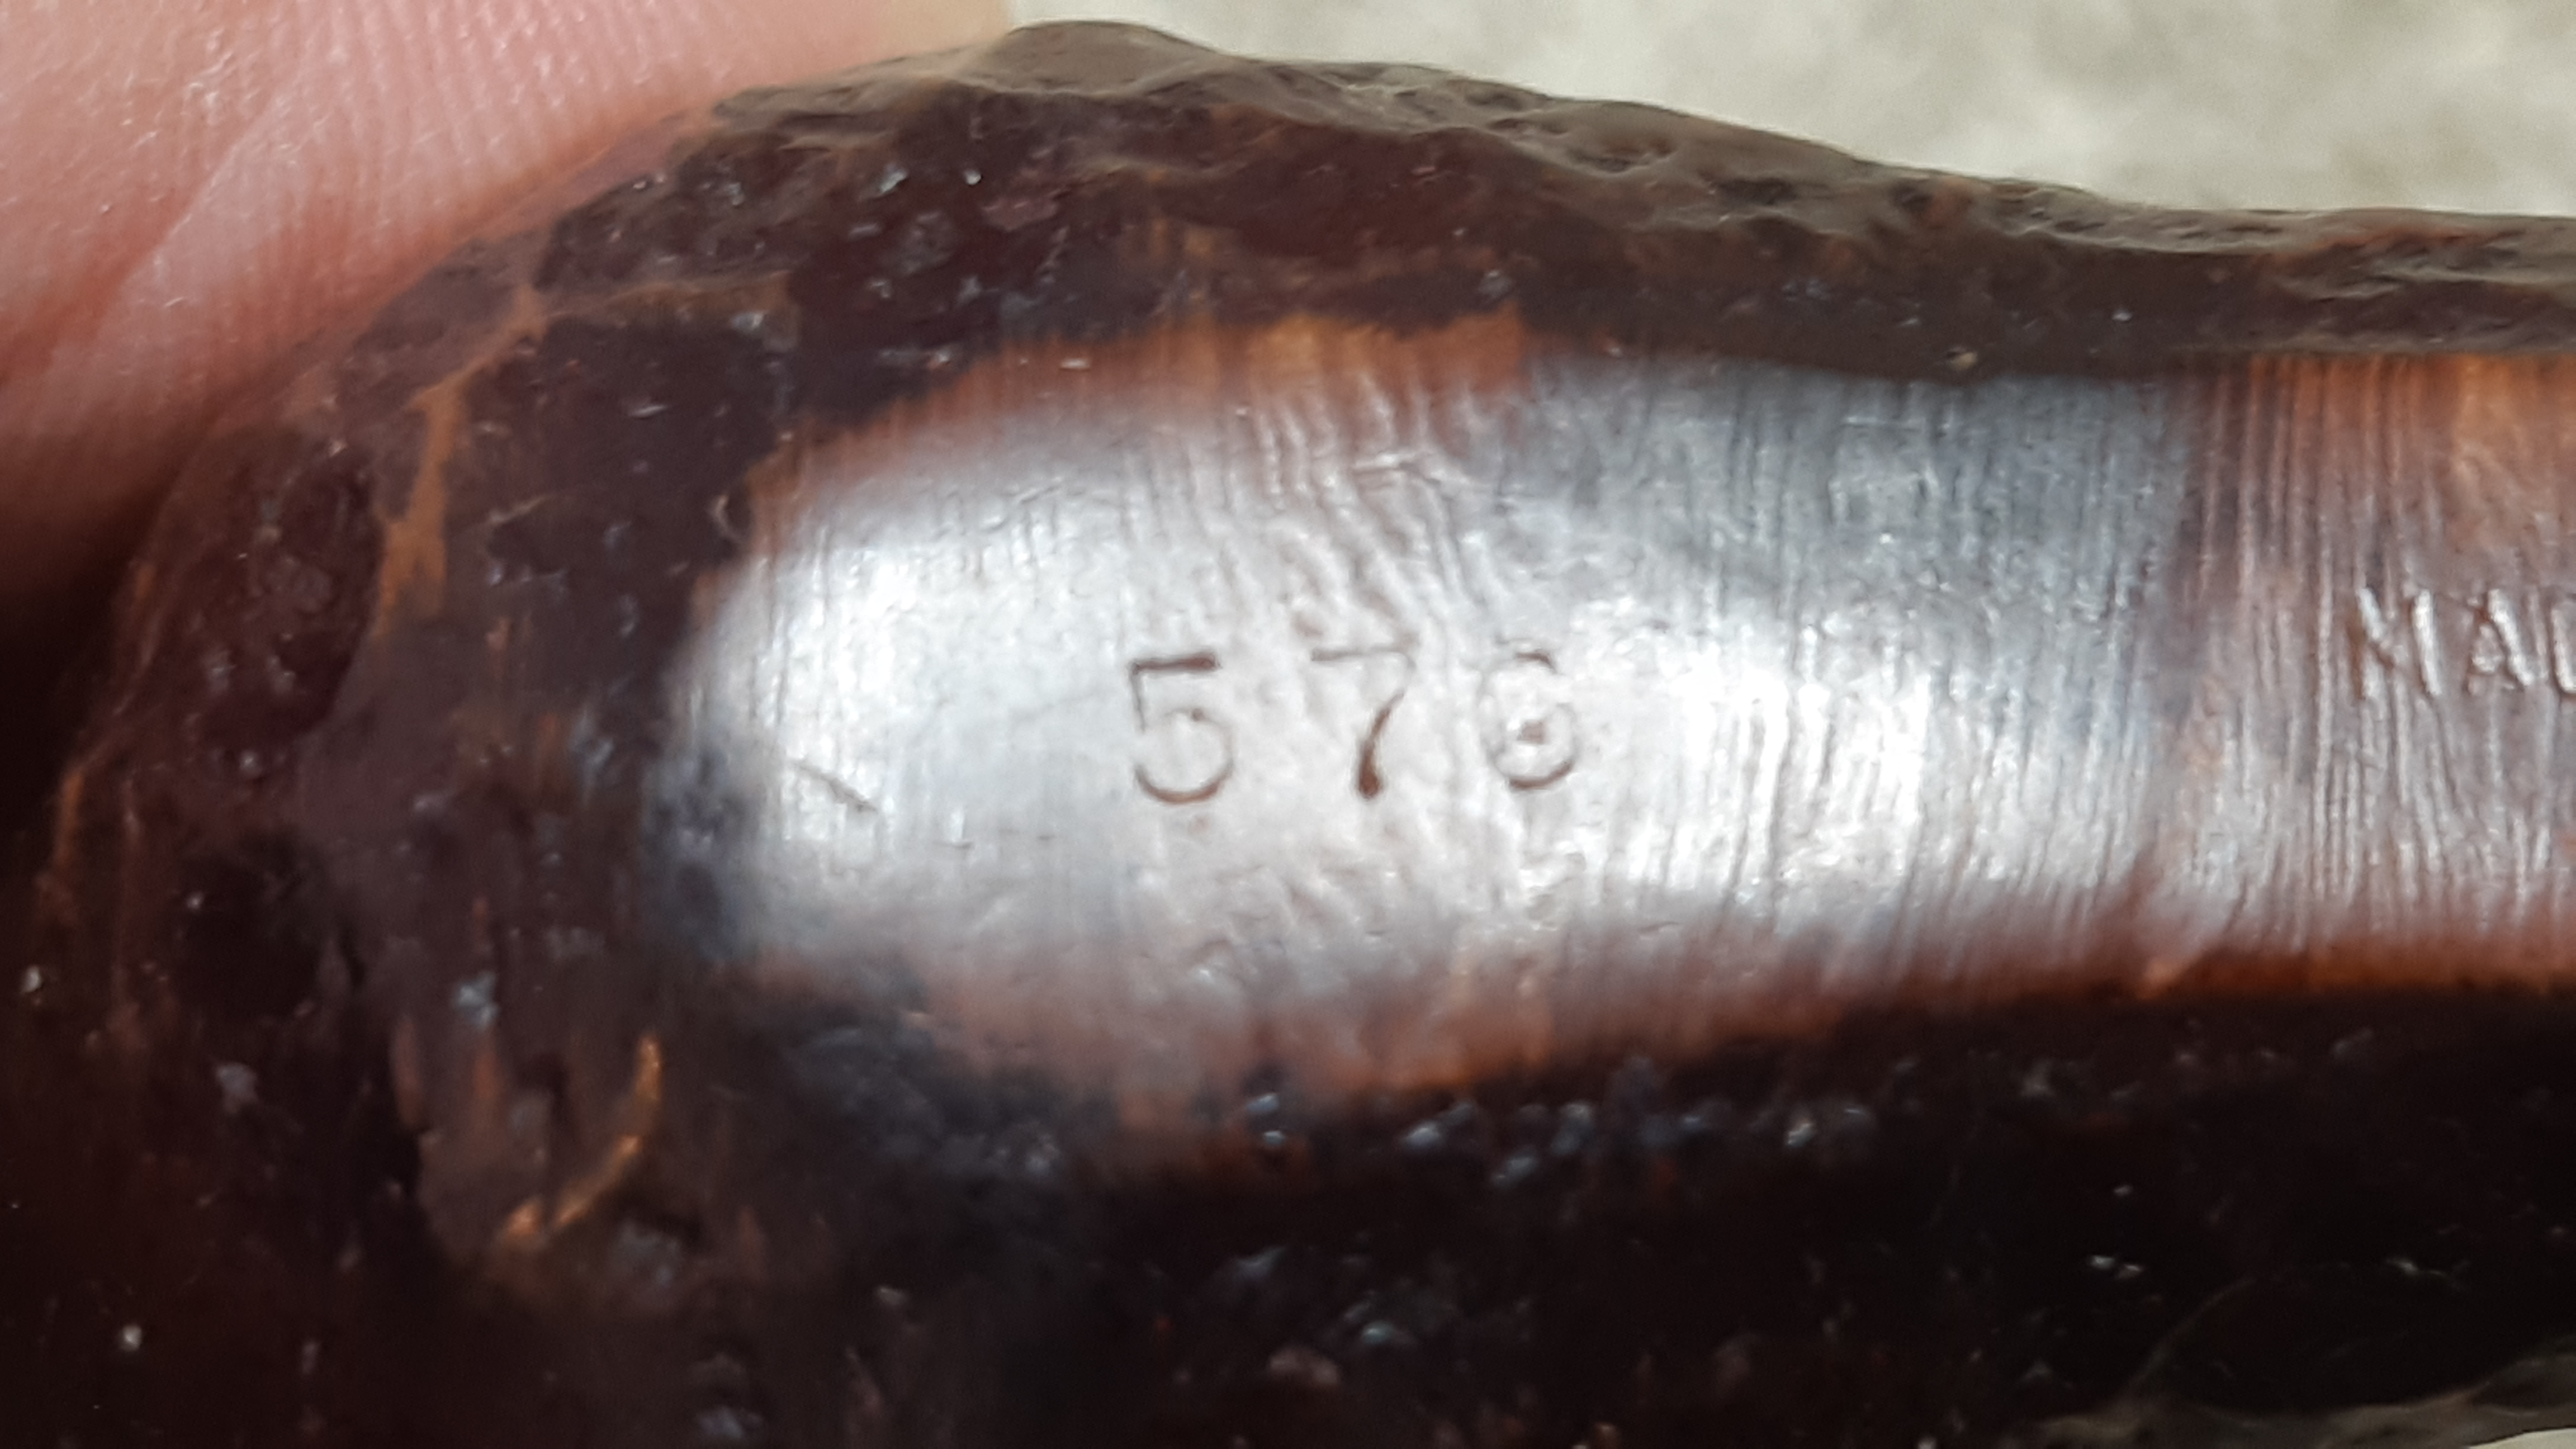
This Tulip is stamped on the flat underside with “576” then “MADE IN CANADA” followed by “Brigham”. The stem, original to the pipe, carries five brass pins in a starburst pattern. These marks tell me that the pipe was made somewhere between 1956 and approximately 1969.

I reamed the old cake from the chamber and was please to find no hidden damage lurking there. It would seem that the charred rim was the worst of it.

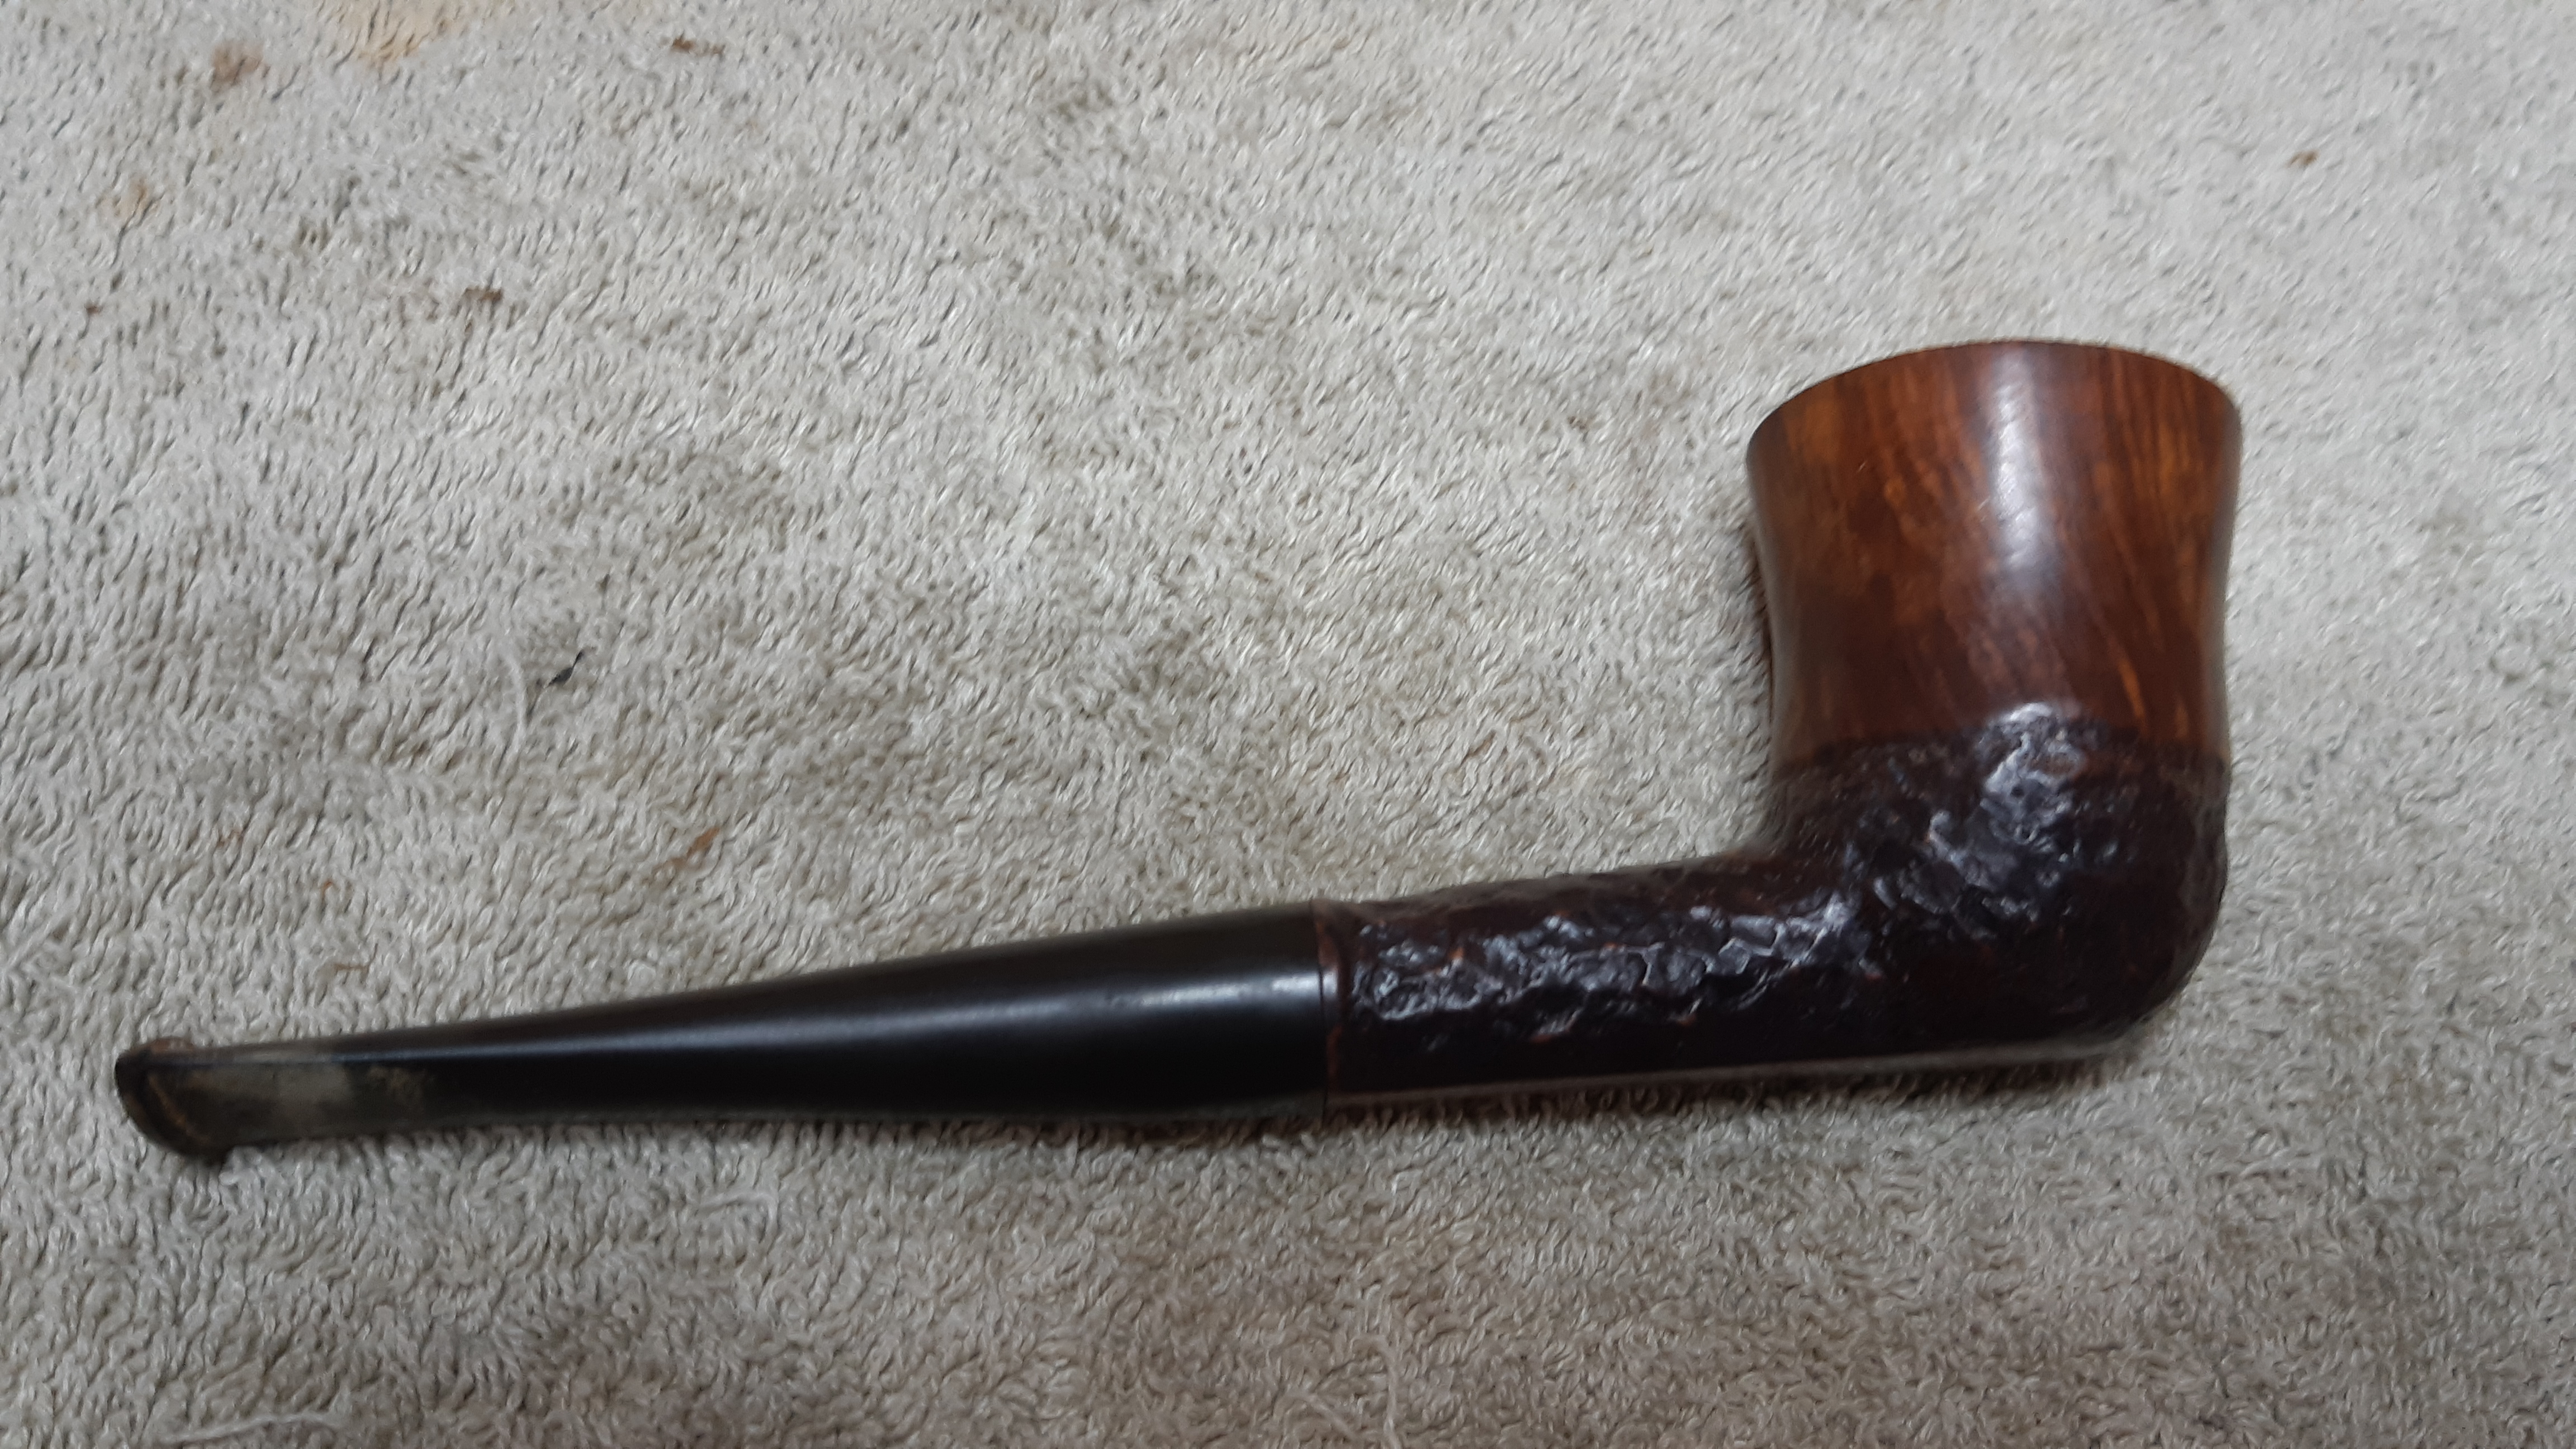
I topped the bowl using 800-grit wet/dry paper to remove the lava without damaging the briar underneath. The second pic below shows the extent of the burned area.

Now that I knew what lay ahead for me, I started cleaning the stummel’s internals. Pipe cleaners, cotton swabs and alcohol removed the tars and grime from the mortise and airway while a cotton pad dipped in alcohol took the grease, grime and dirt off the exterior of the briar.


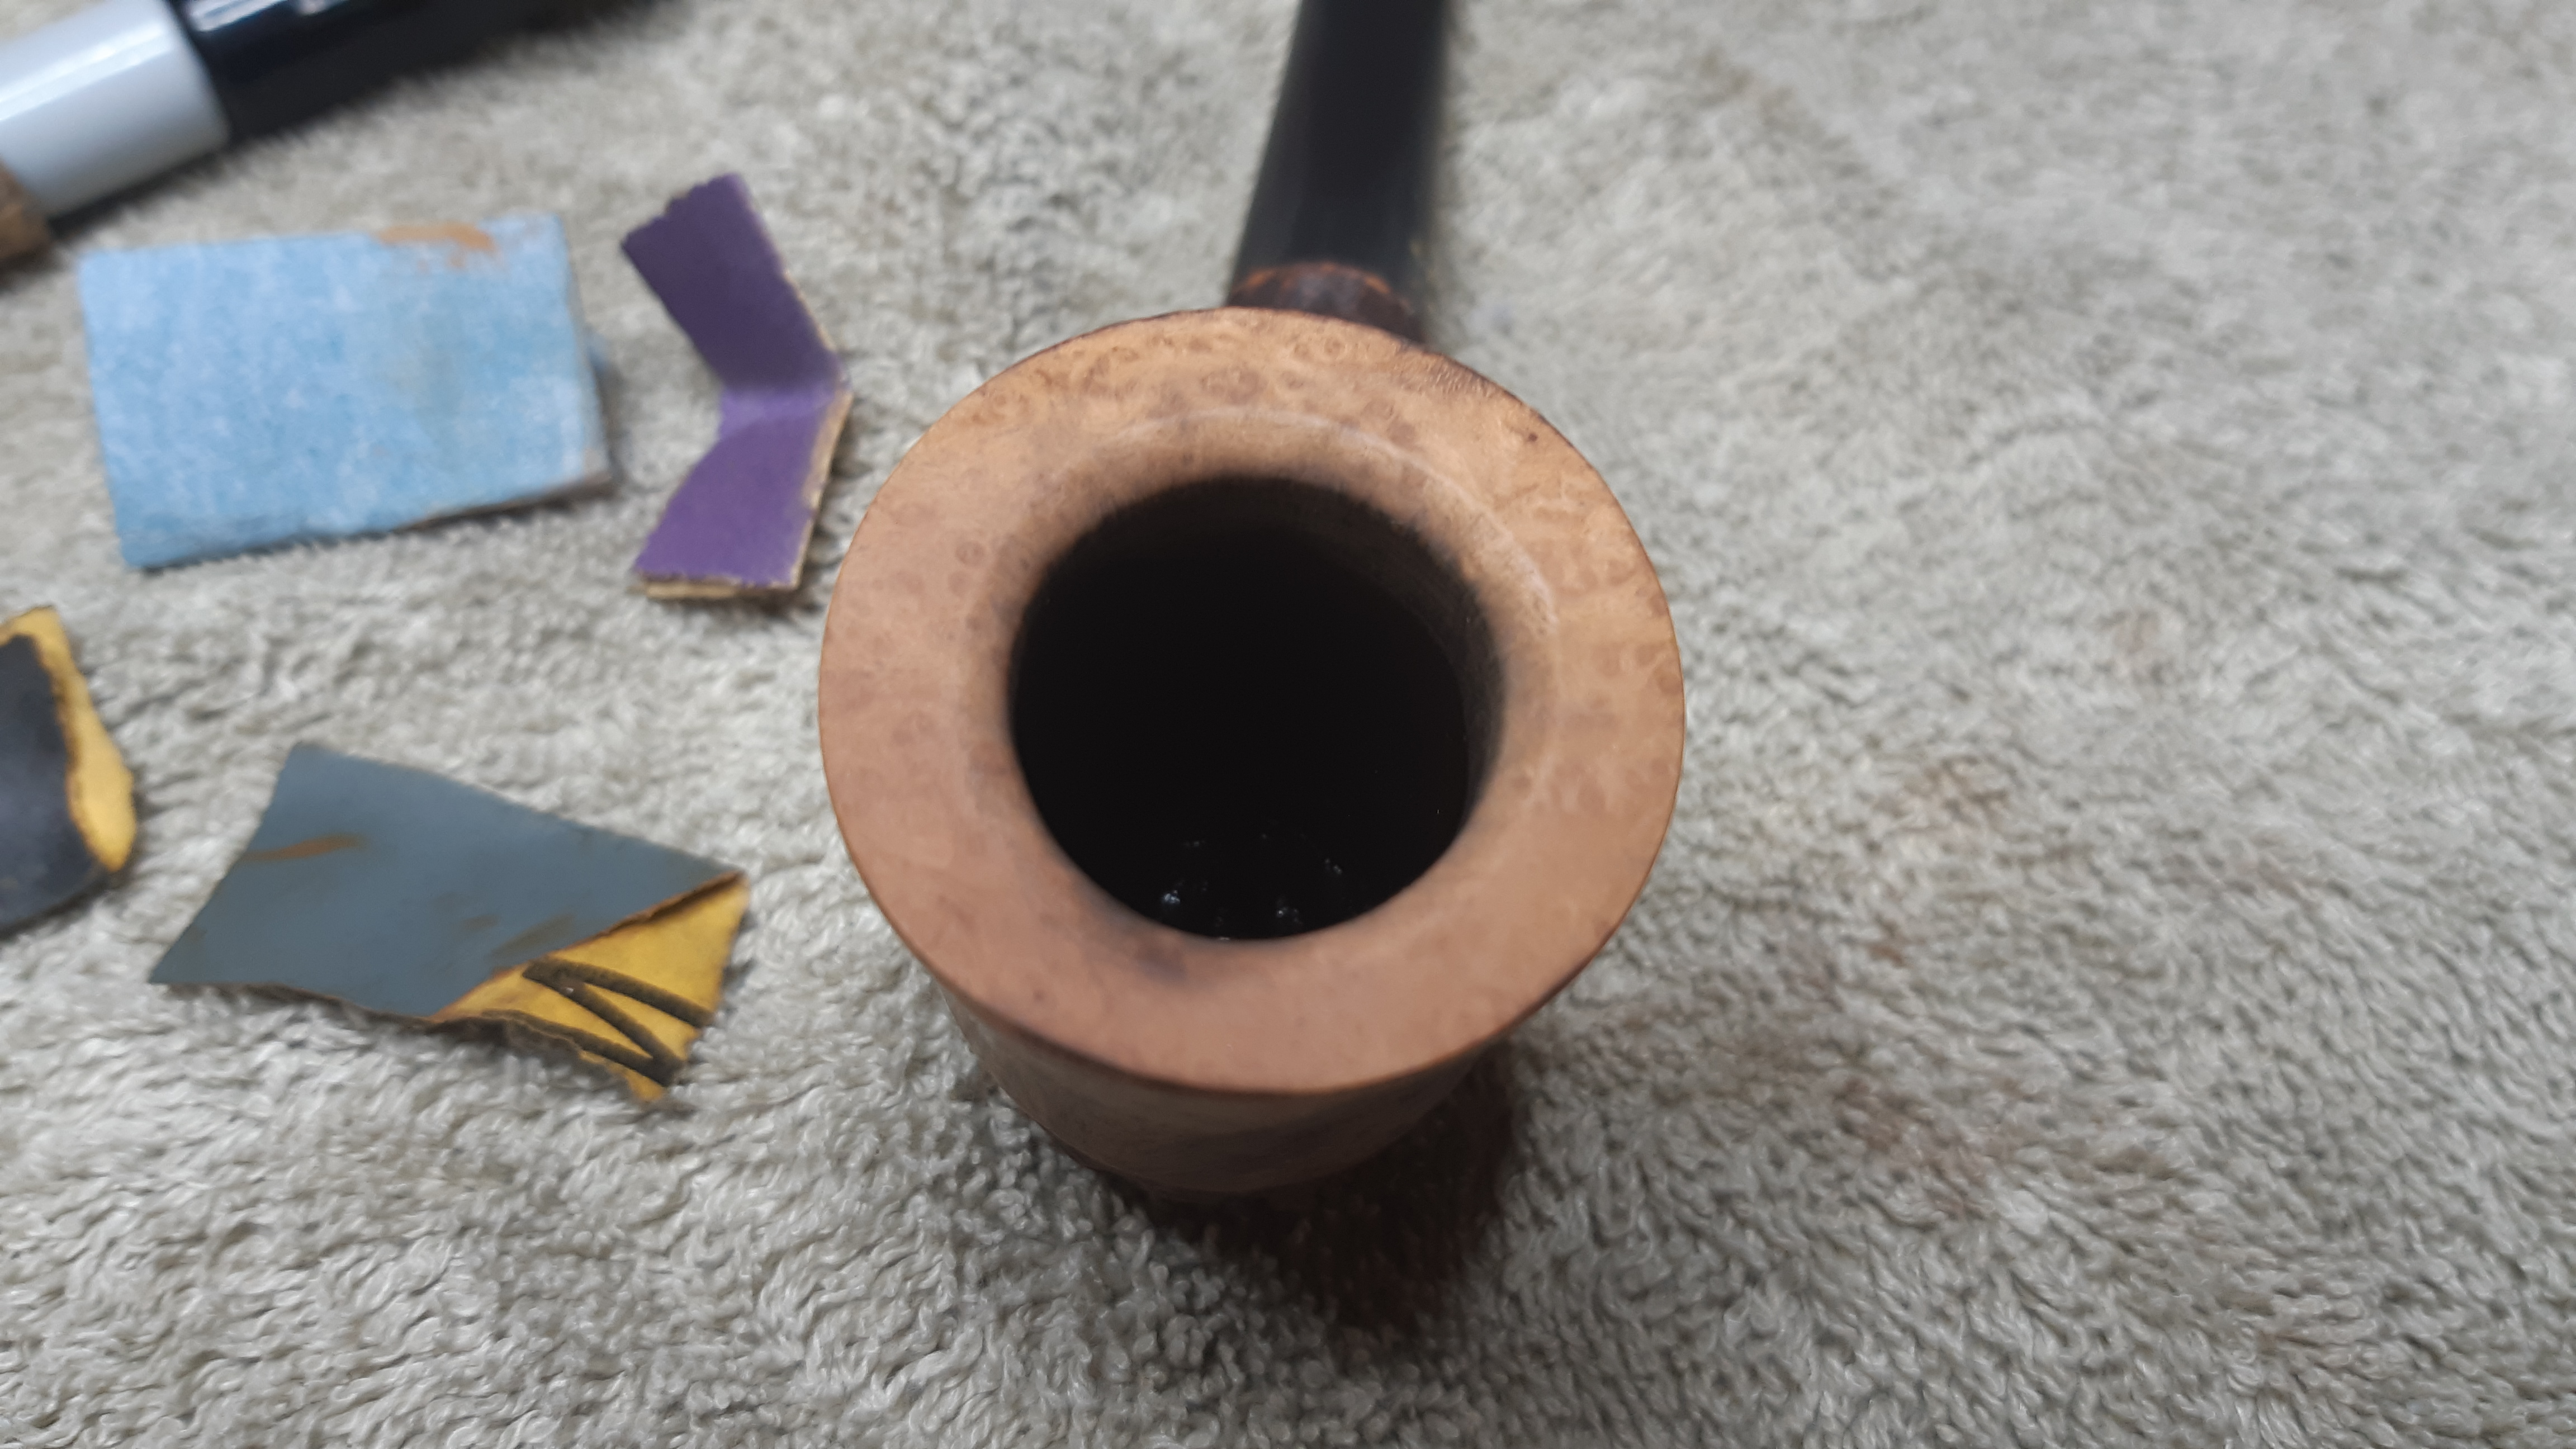
Now I could start on repairs. The charred area on the rim made the bowl appear out of round. I remedied this by using a rolled up scrap of coarse sandpaper to cut a bevel into the inner rim. This removed all but a ghost of the charred briar and restored the rim’s roundness. Now the eye is drawn to the attractive birdseye grain on the rim instead of unsightly burn marks. Here is the rim after sanding to 2000 grit.

While I had been working on the stummel, the stem had been sitting in an Oxyclean bath to loosen up the oxidation and any old tars and crud stuck in the airway. I pulled it out and scrubbed away the now soft oxidation with 0000 steel wool and Magic Eraser before completing the internal cleaning with pipe cleaners and more alcohol.

I attempted to raise the tooth dents on the bottom of the stem with heat from a lighter flame, but to no avail. Instead, I filled the depressions with a mixture of clear CA glue and activated charcoal powder. When the patches set I filed and sanded them smooth with the surrounding material and then treated the stem to a full course of micromesh sanding pads to remove the sanding scratches and bring up the shine. A wipe of mineral oil helped too.


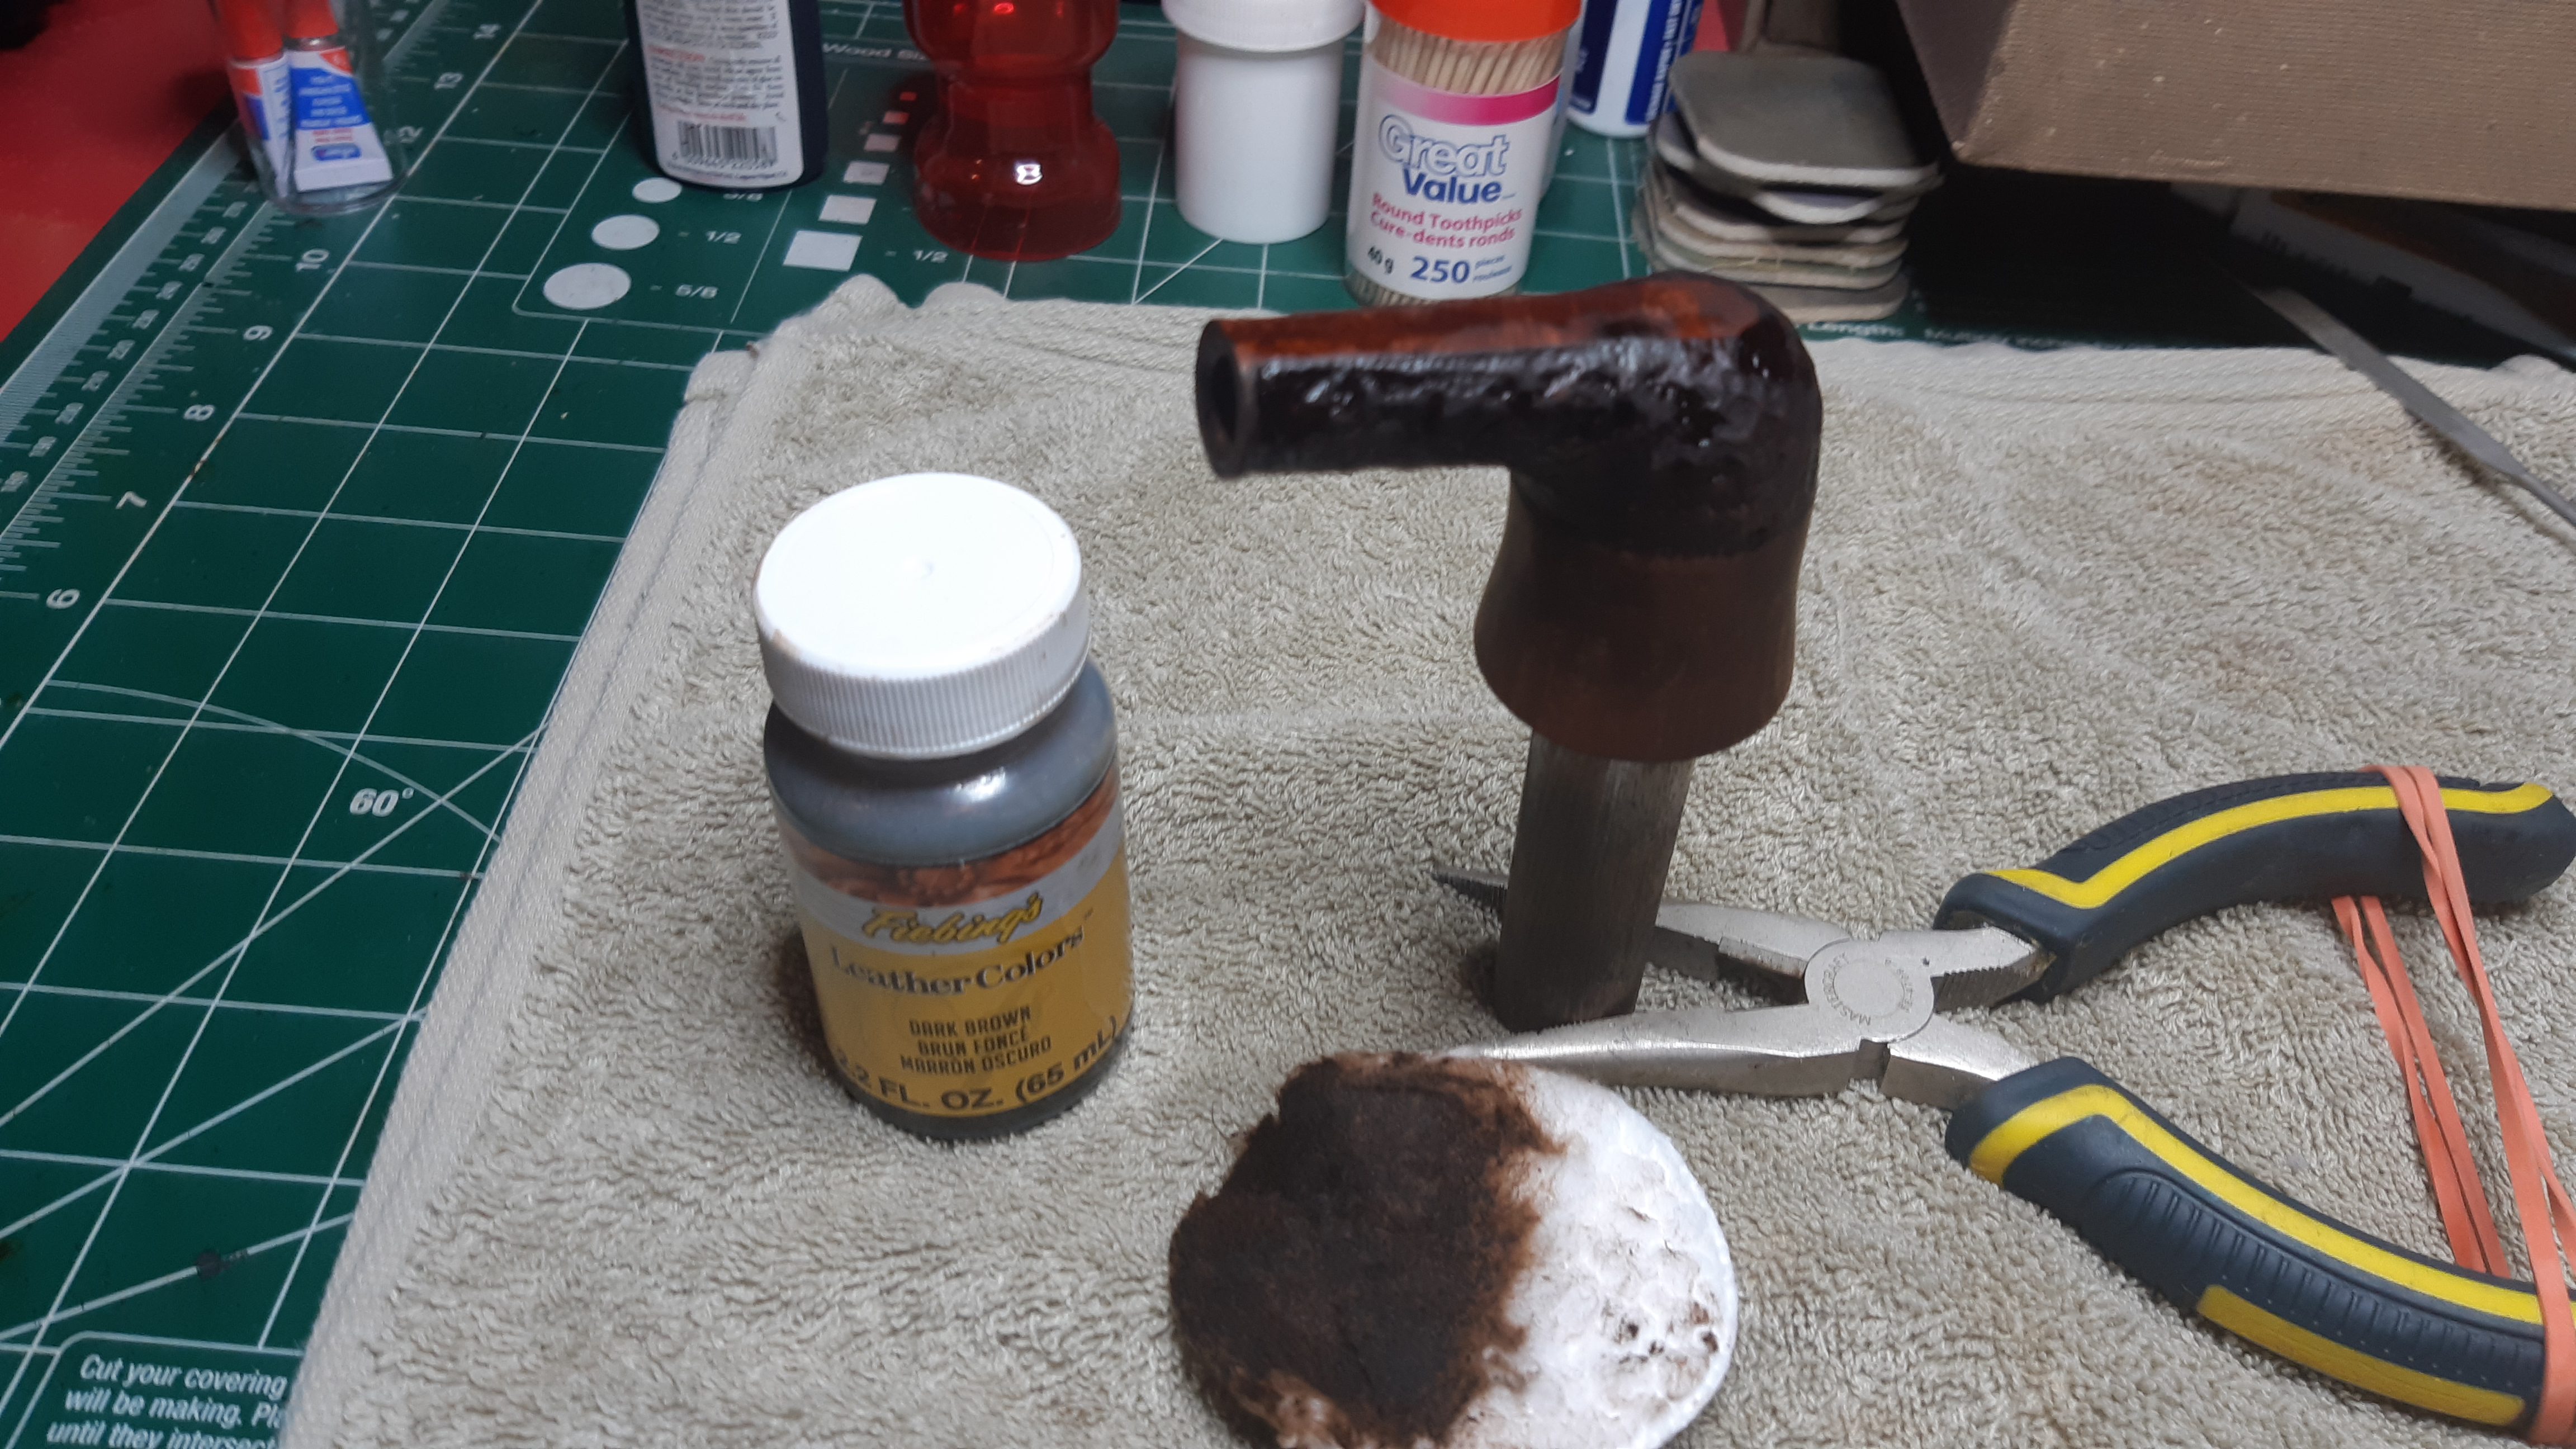
Moving back to the stummel, I polished the smooth surfaces of the briar with micromesh as well and then refreshed the finish with a light coat of Fiebing’s Dark Brown leather dye.

Then is was time to reunite stummel and stem and take the complete pipe to the buffer for a run of White Dimaond and several light coats of Carnauba wax.
The finished pipe is a great improvement over the dirty and downtrodden briar I started with. The stem is a smooth, glossy black with a golden starburst of brass Dots shining on the flank, and the briar looks fresh and inviting after its deep cleaning. The bevel on the rim, though not original to the design of the Brigham Tulip, looks sharp and is much more attractive than the burn mark it replaced.
I’ll be adding this 5-Dot Brigham to my personal collection.
Thanks for following along with me. I learn something new every time I pick up an estate pipe to work on; I hope you did too.
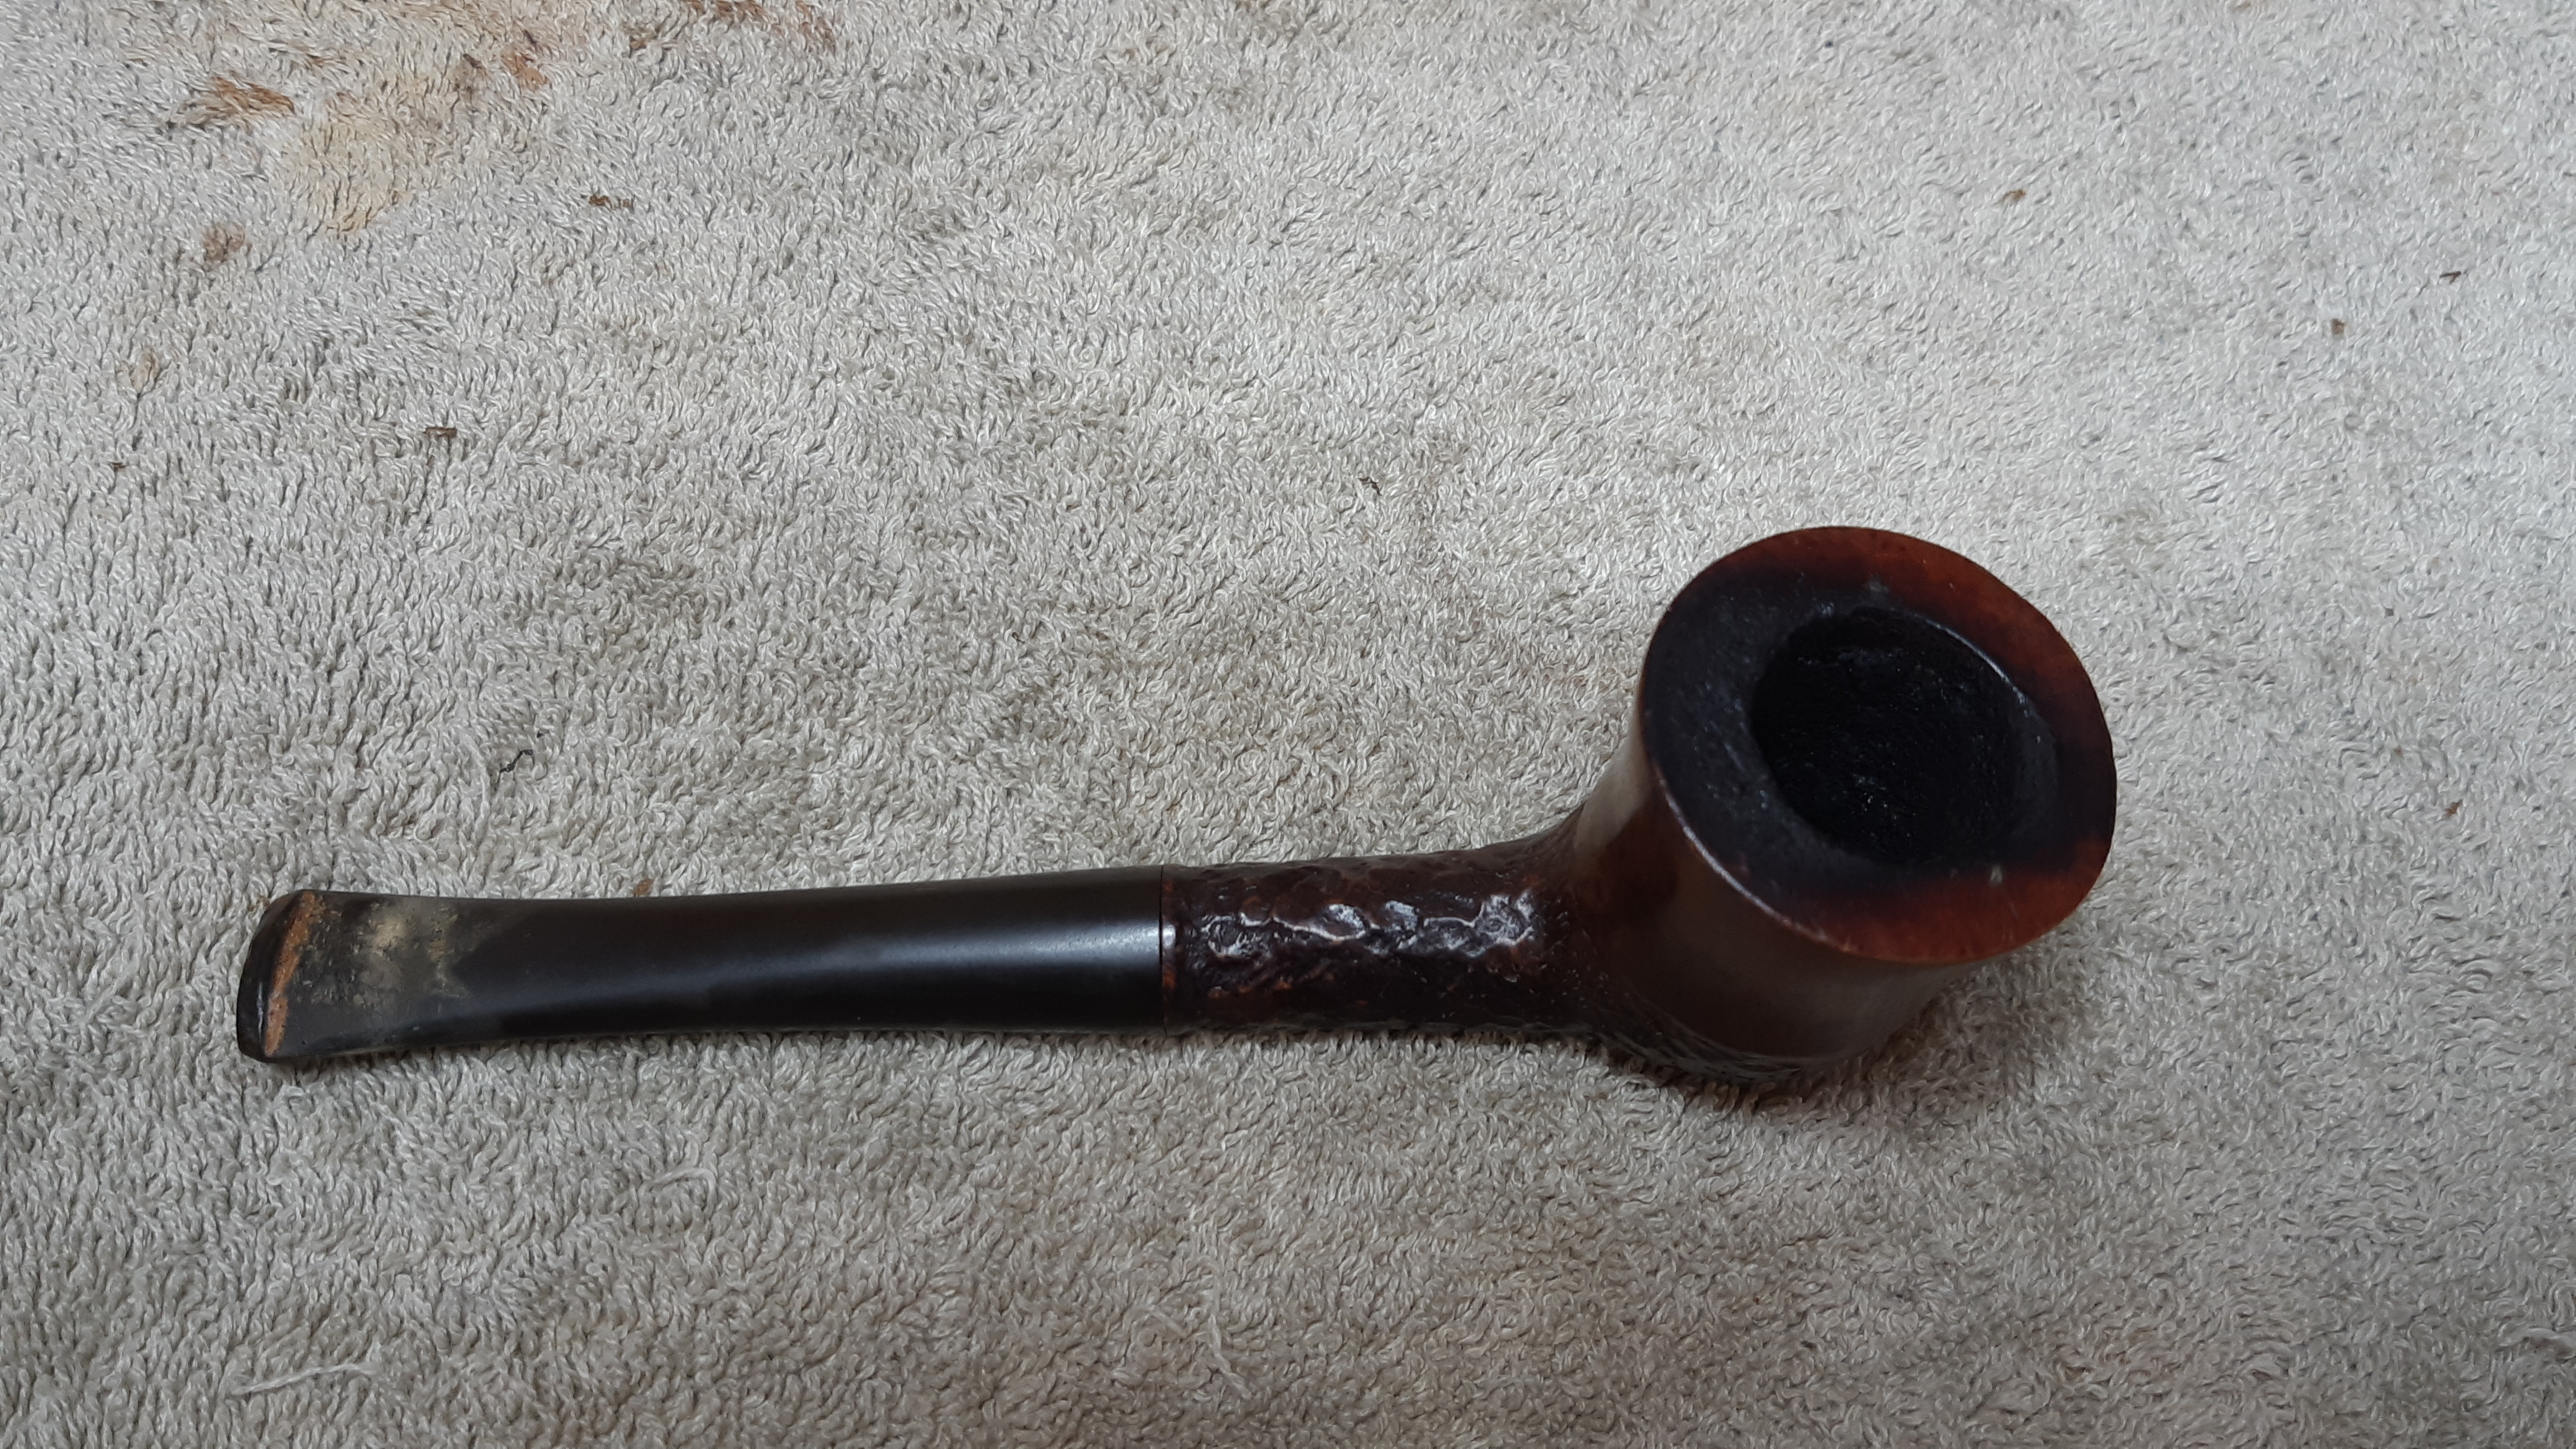
Here’s the finished pipe. Until next time, Happy Piping!