
It’s been a while since my last post on the new workshop build, and I’m thrilled to report that the work is done!
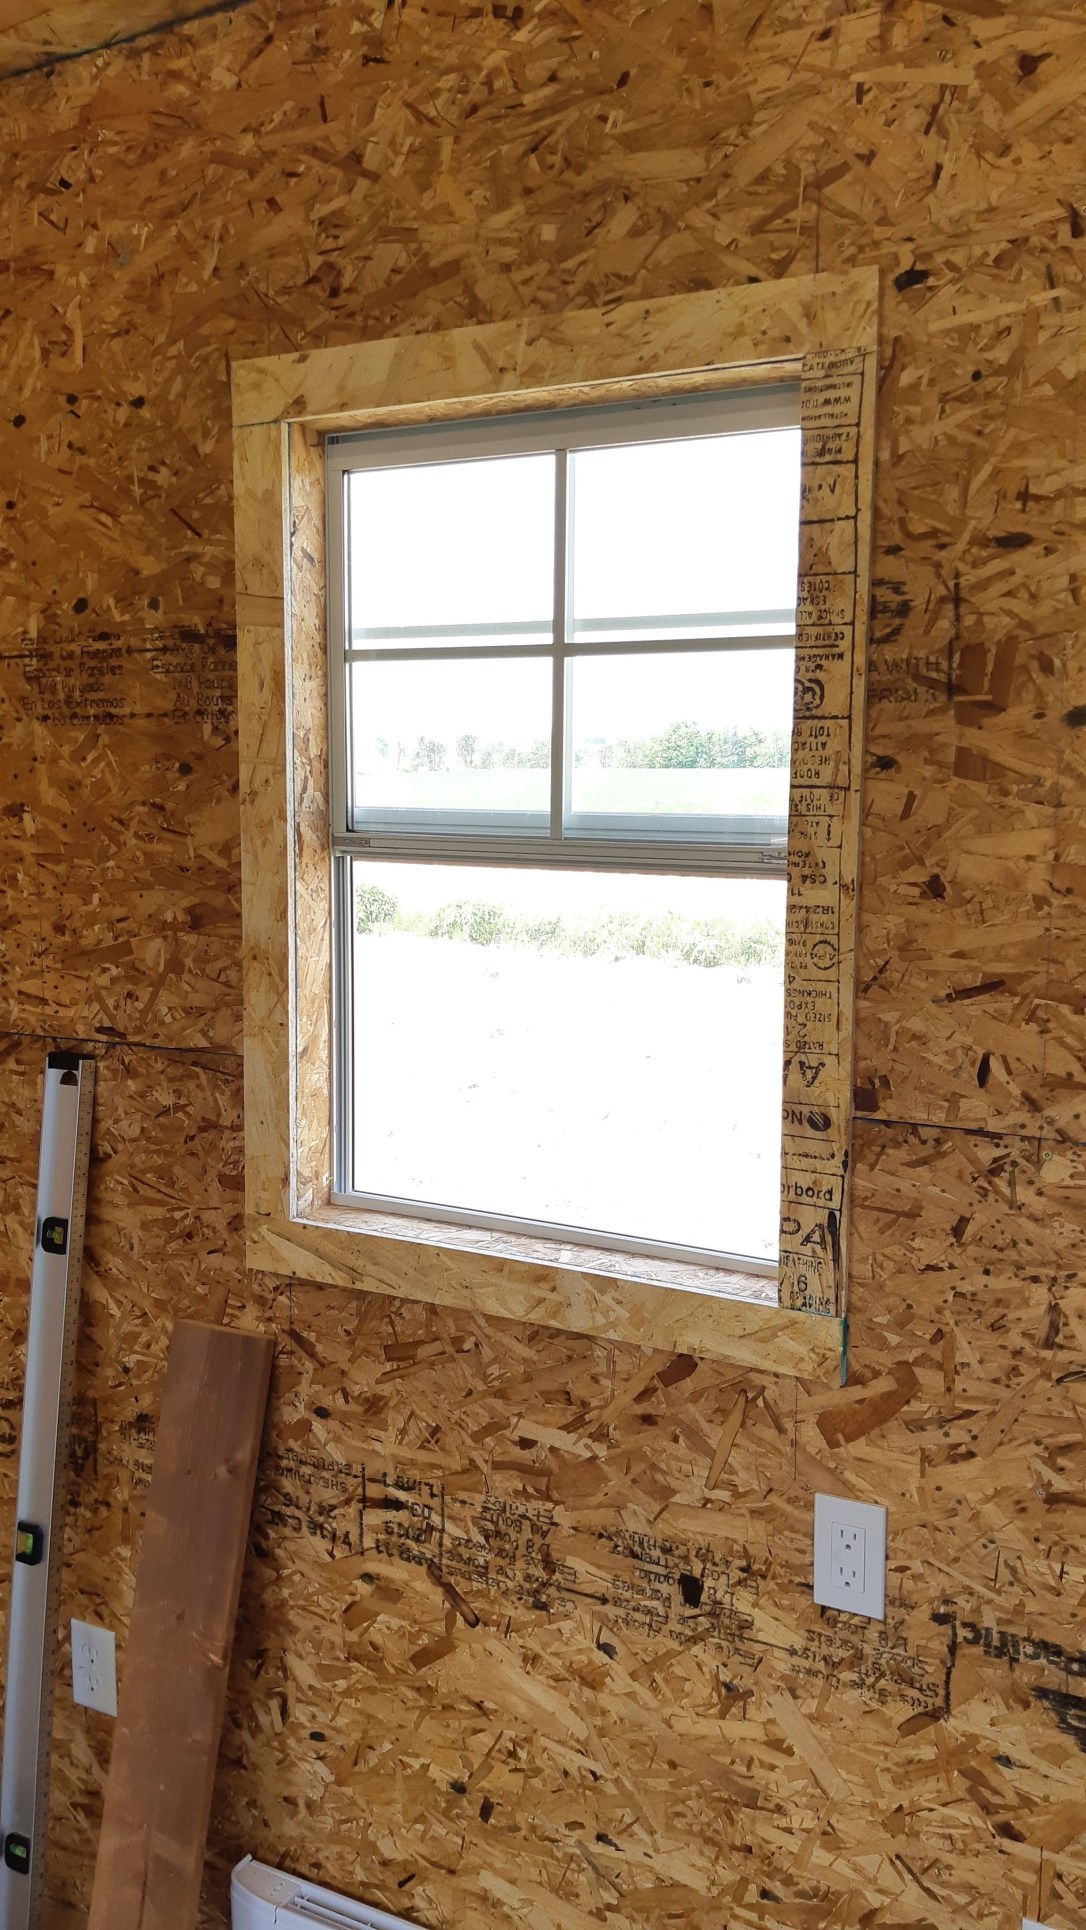
As you may recall, at the end of Part III of this series the electricians had finished up and I was busily hanging boards on walls and ceilings. I went with 1/2″ OSB over drywall here, both for its durability and to avoid the time and mess of mudding and sanding drywall. I had sheets of OSB left over after finishing the walls, so I cut some down to frame out the windows and trim out the room.
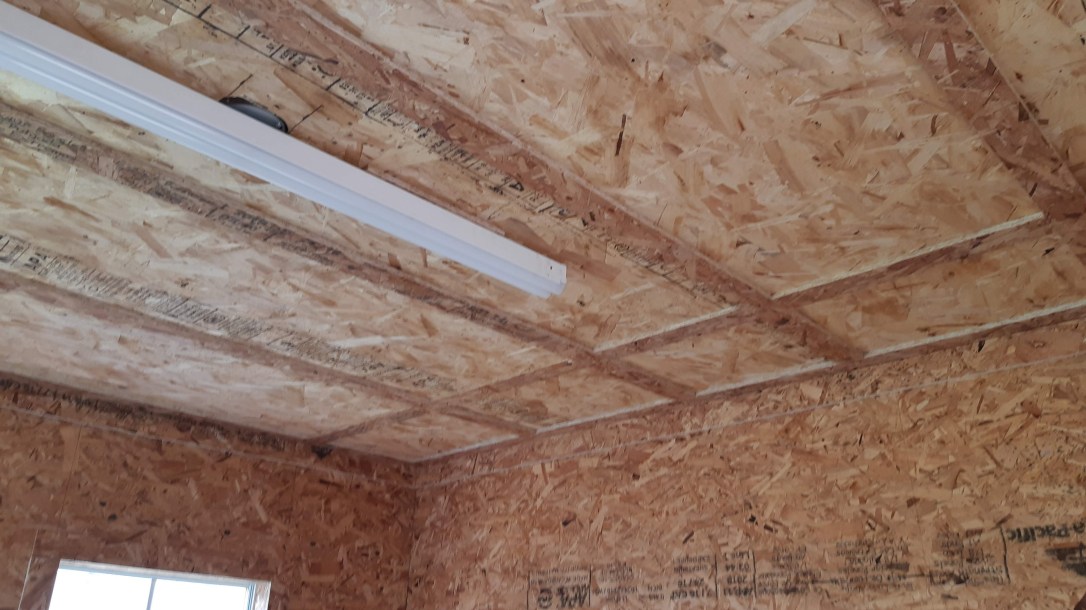
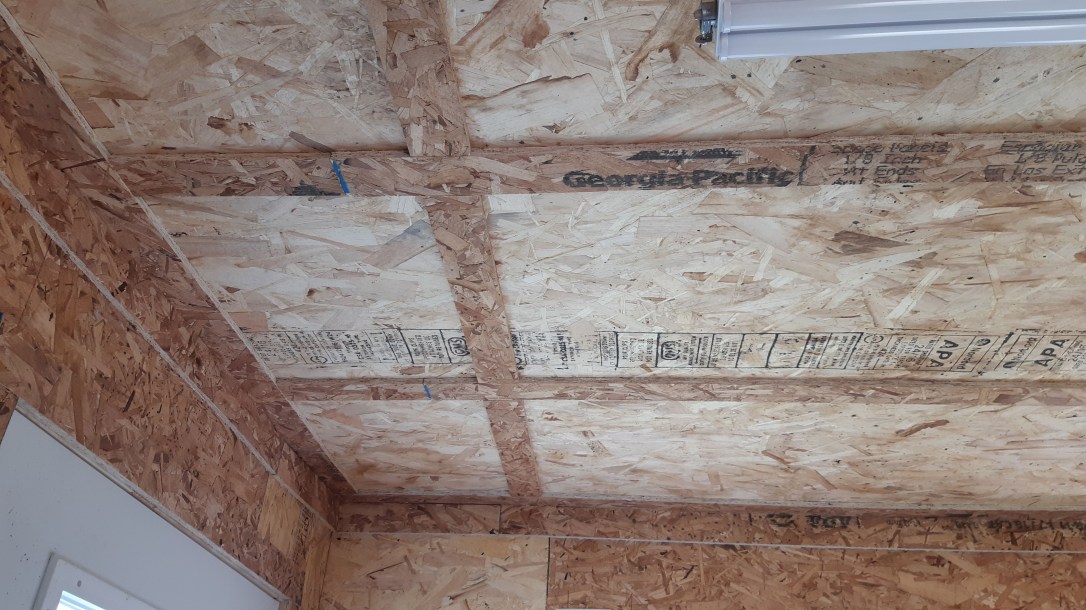
I added strips of OSB to the ceiling to cover the seams and make an attractive pattern. It will look great once primed and painted.
With my wife’s help, we primed and painted the OSB using an oil-based primer under acrylic latex paint. The oil-based primer is necessary to seal the surface of the OSB and stop it from delaminating under the water-based latex paint.
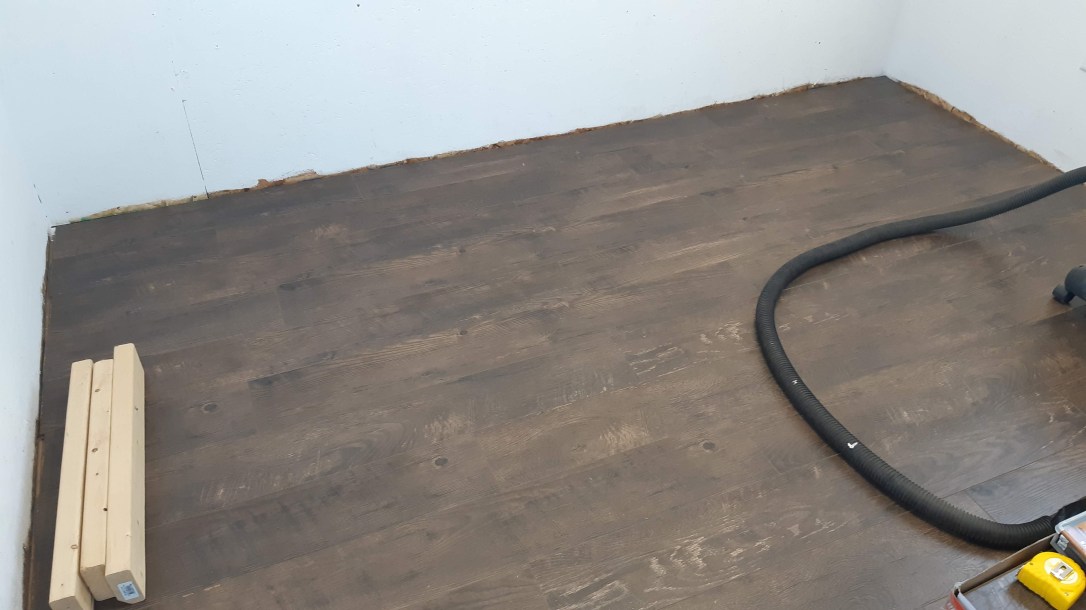
With the interior painted, I spent a day laying laminate flooring that I found on Kijiji (aka “Canadian Craigslist”) for $10 a box. Score!
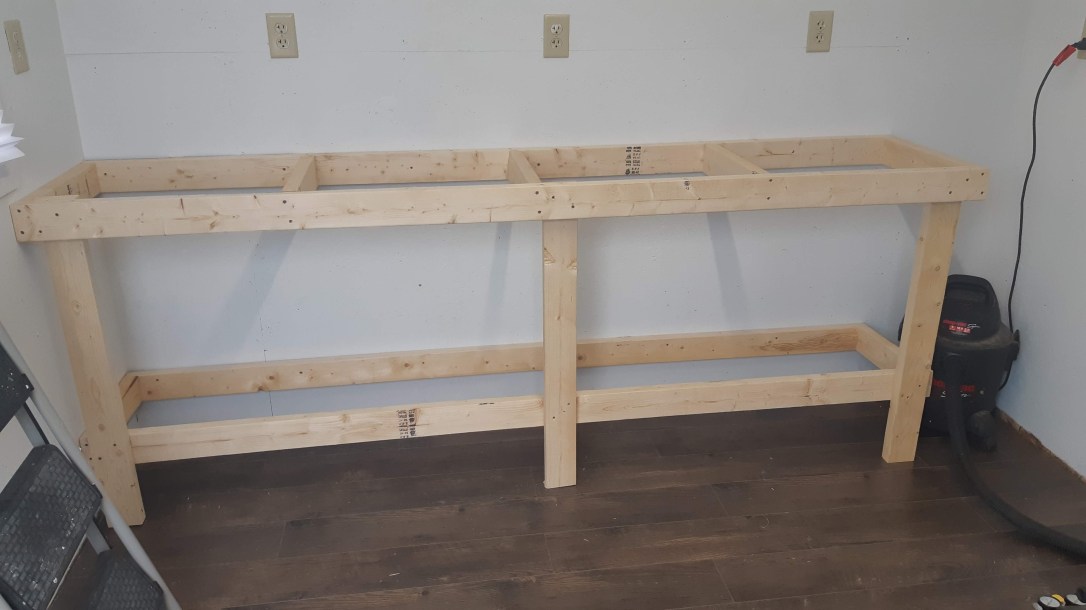
Some rainy weather kept me working inside the new shop. The next addition was the main workbench, destined to house my bench tools. Eventually I plan to add a dust collection system powered by the shop vac. That will be a project in itself!
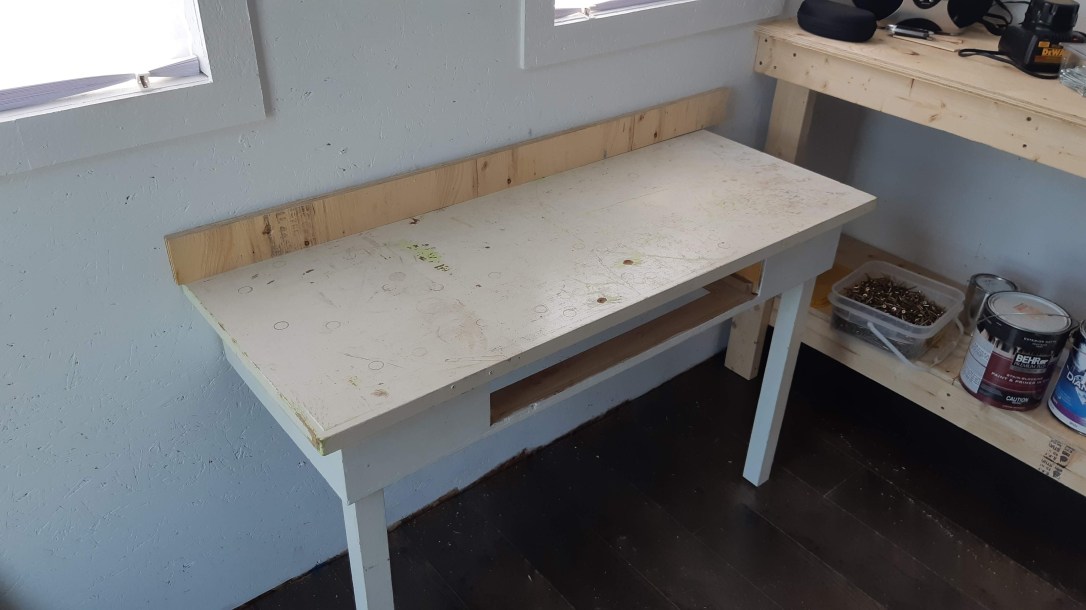
I cut down my old worktable, which was just a bit too big for the new space, and attached it to the wall under the pair of windows. The lighting at this reworked table is miles ahead of my old setup in the garage.
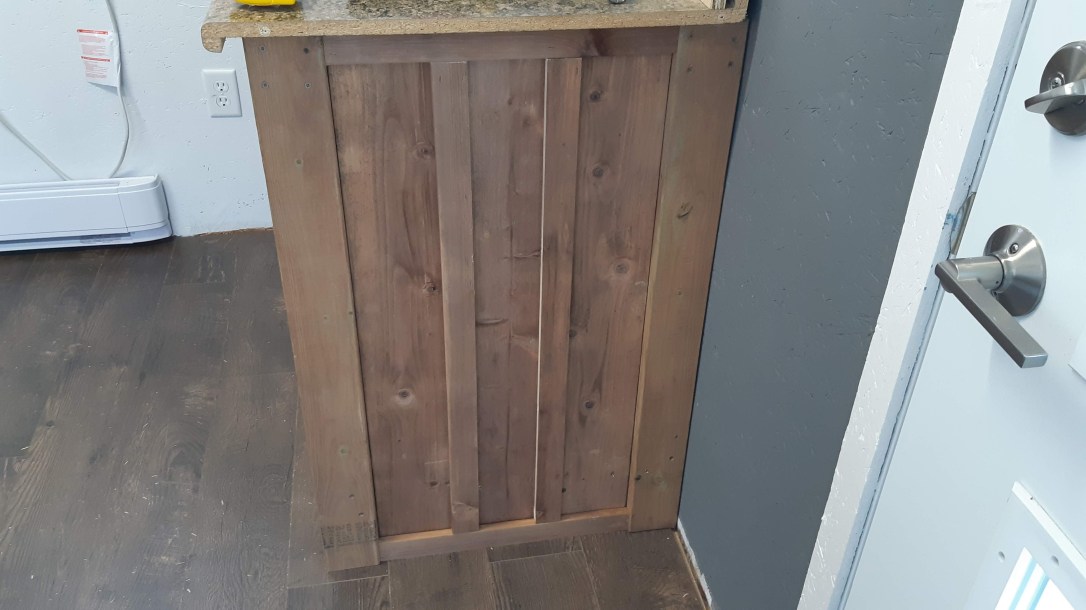
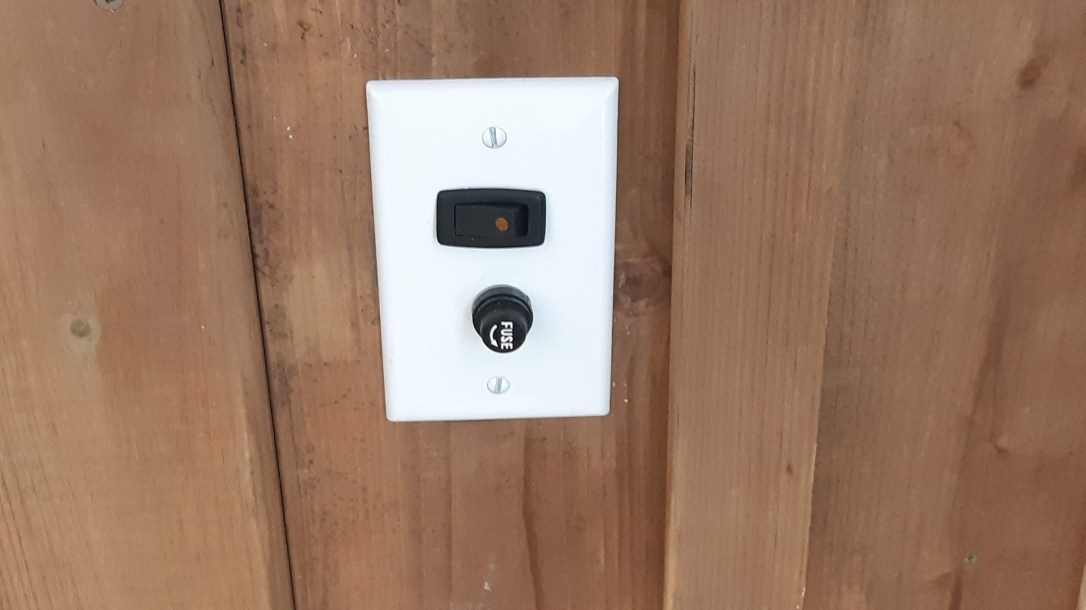
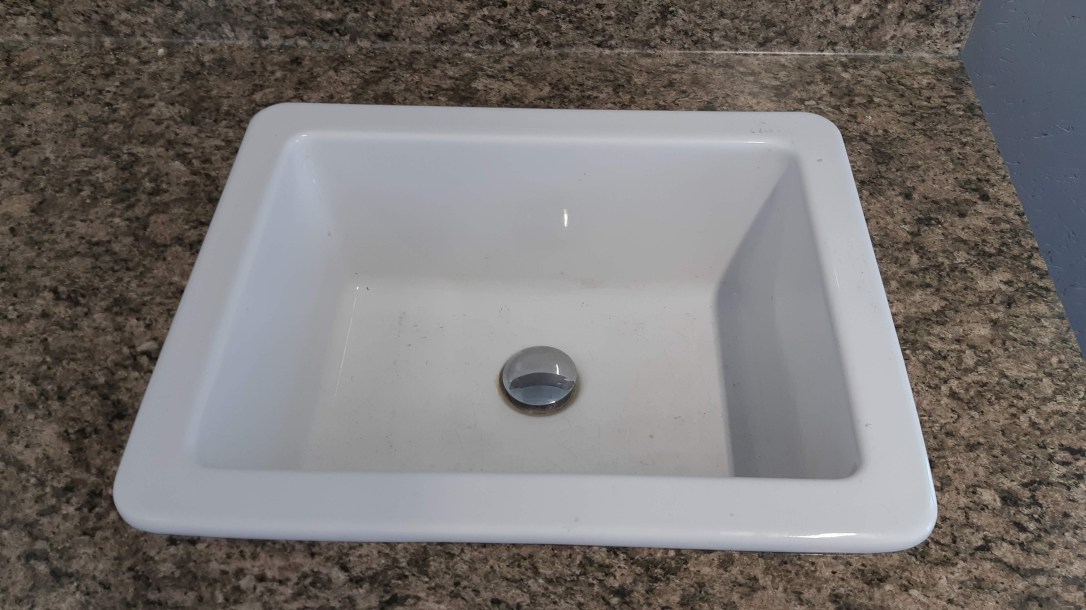
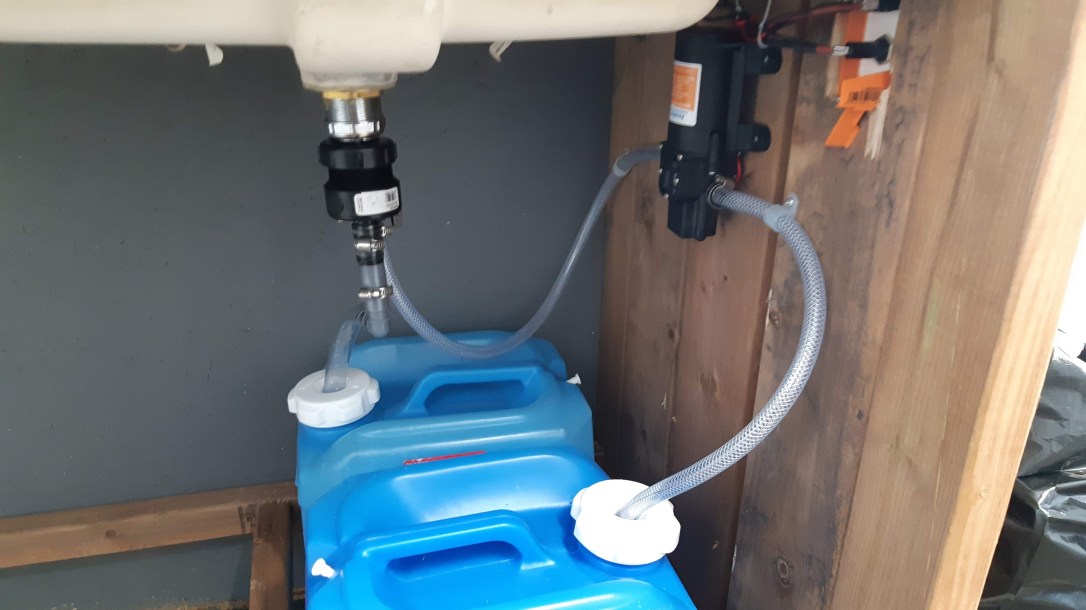
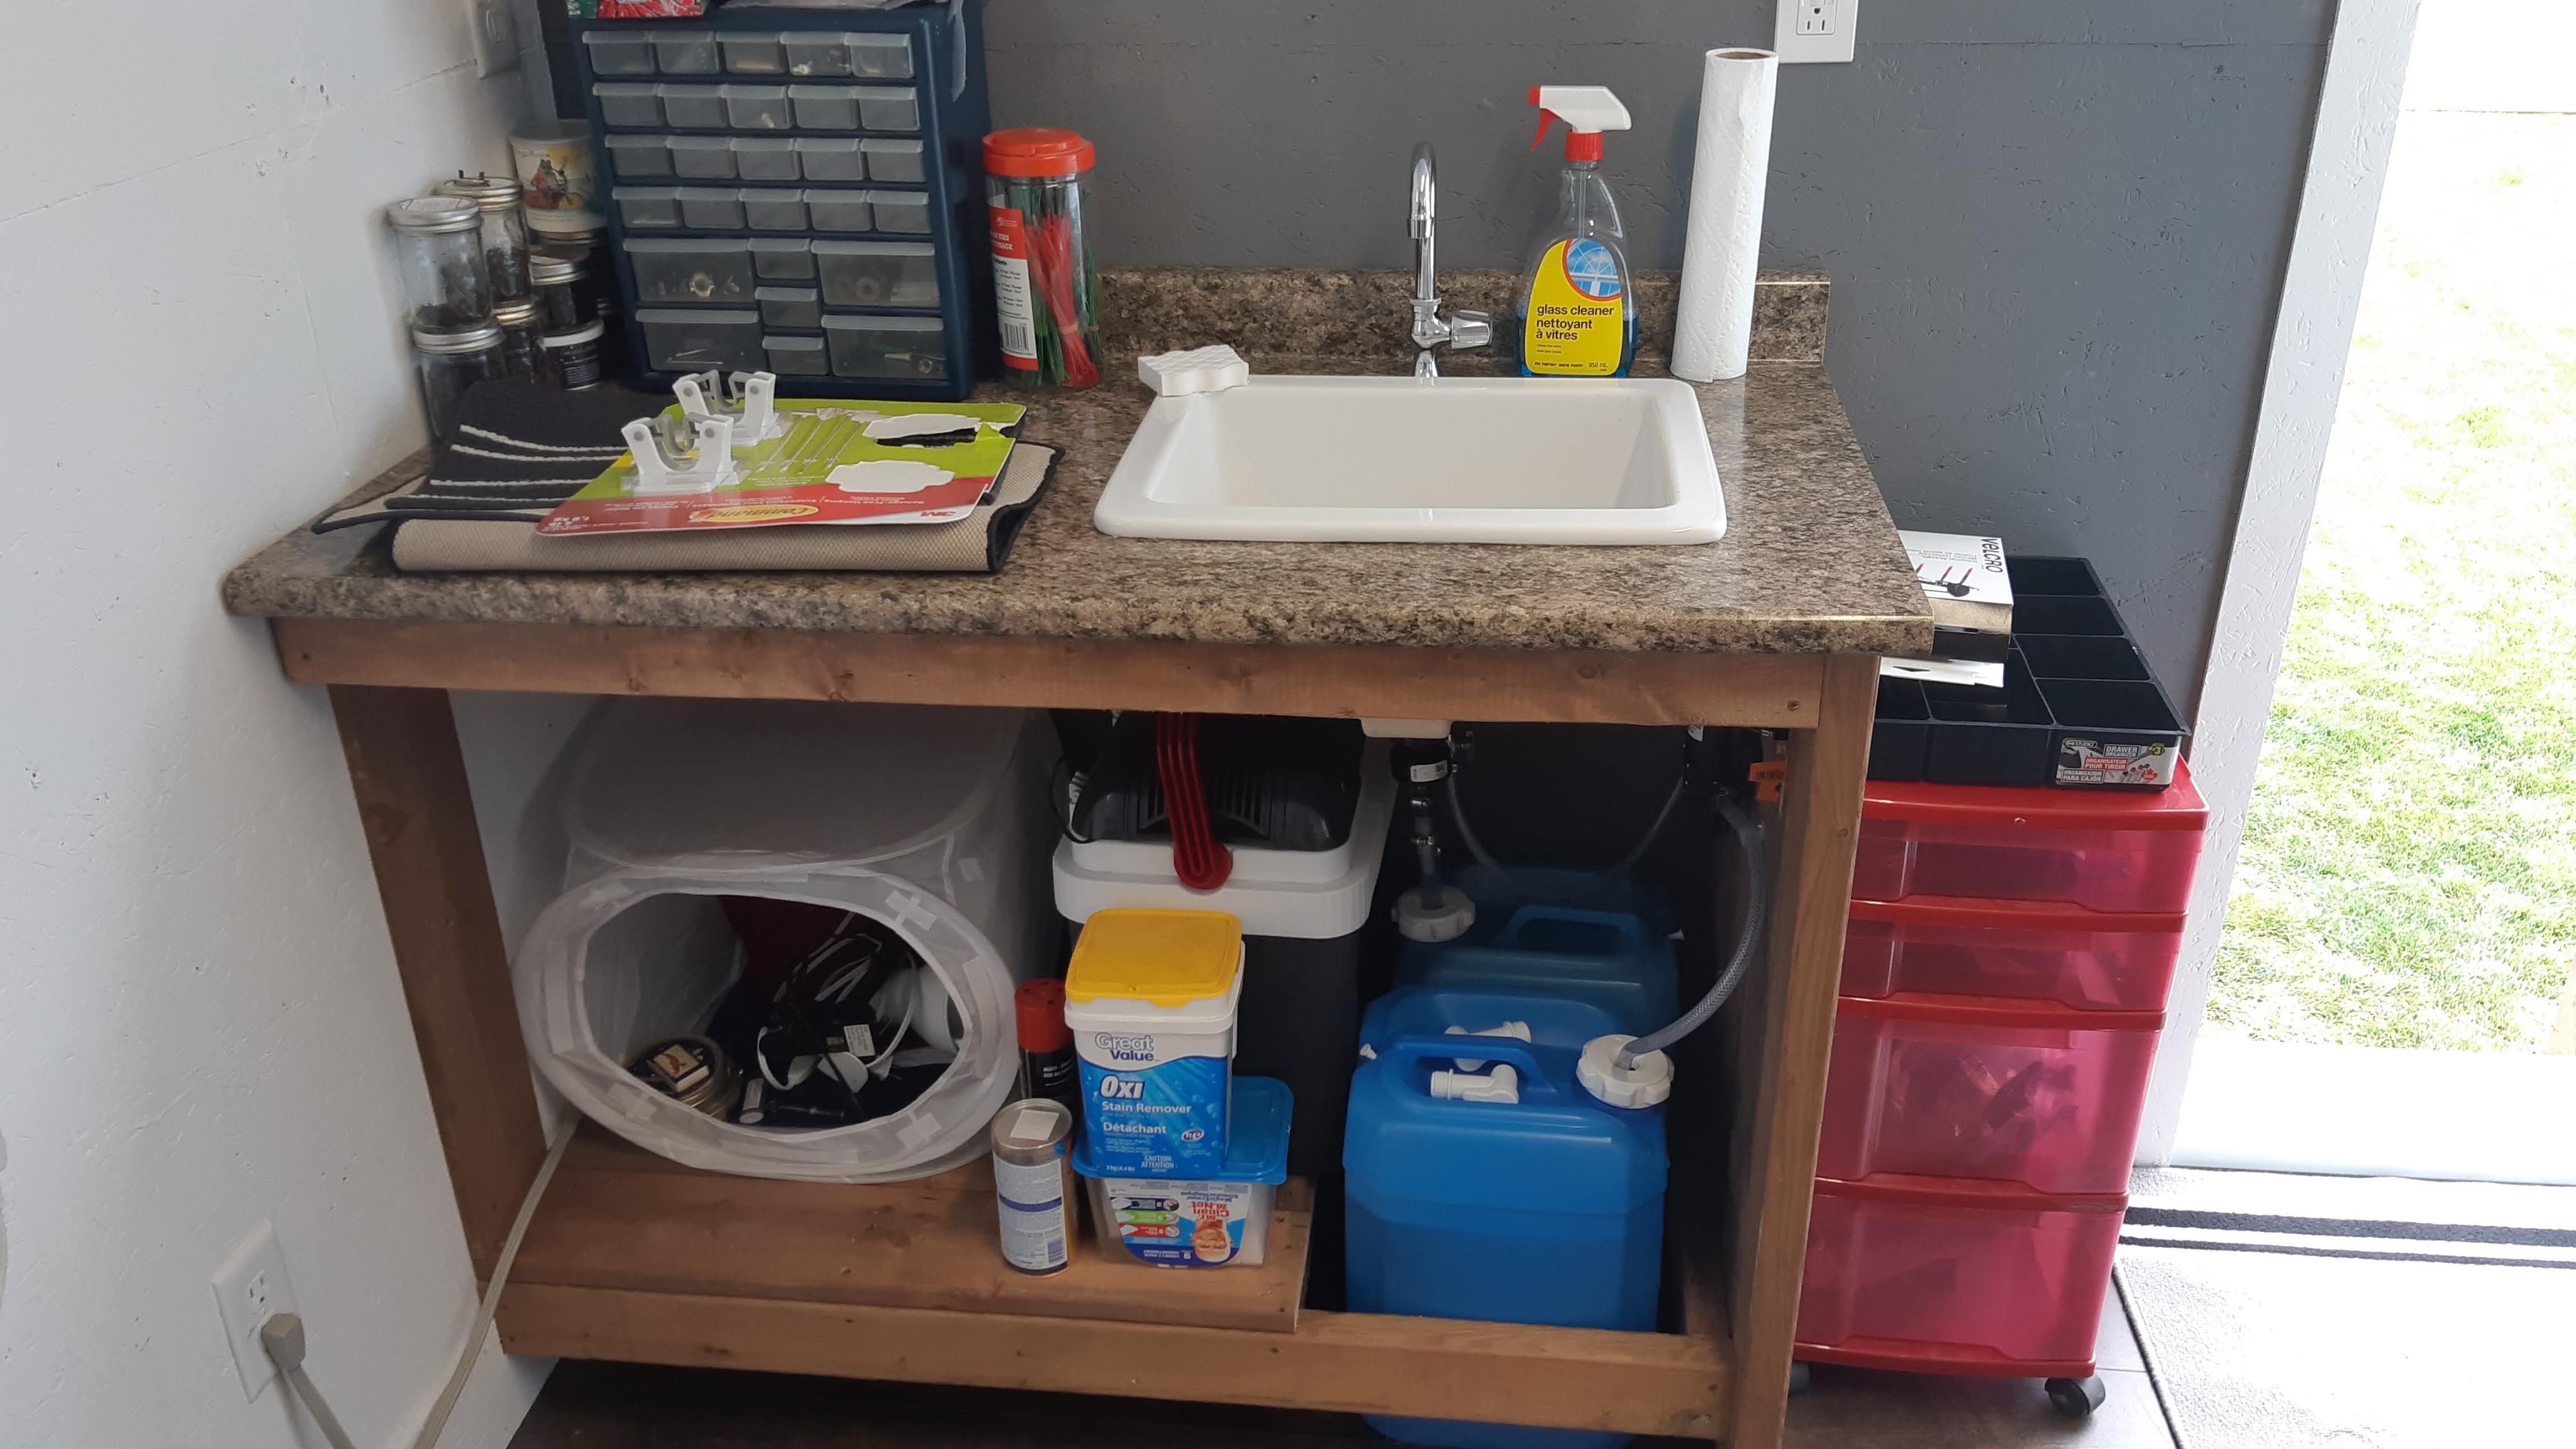
In the opposite corner, I installed another work area, this time housing a sink and a self-contained water system based on two water jugs and a 12v RV water pump. A switch mounted to the side of the cabinet powers up the demand pump, taking fresh water from the first water tank up to the faucet. The waste water is collected in the second tank, which I will empty down a house drain when its full.
This was a fun side project for me. I love to tinker with stuff like this, and the RV-style system was a LOT cheaper than installing permanent running water. Digging another trench fora water line was NOT in the cards!

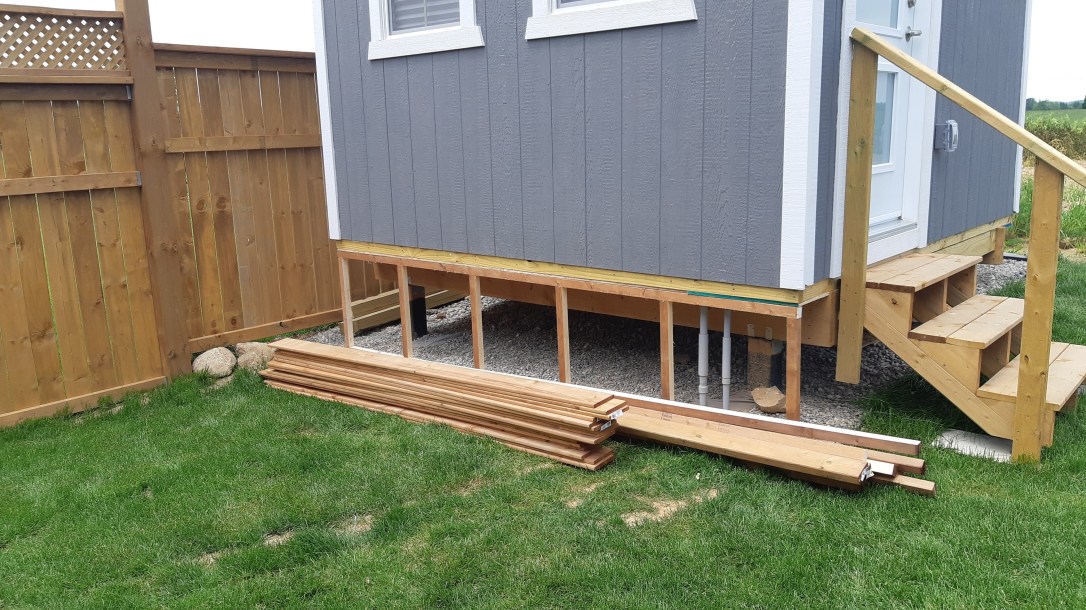
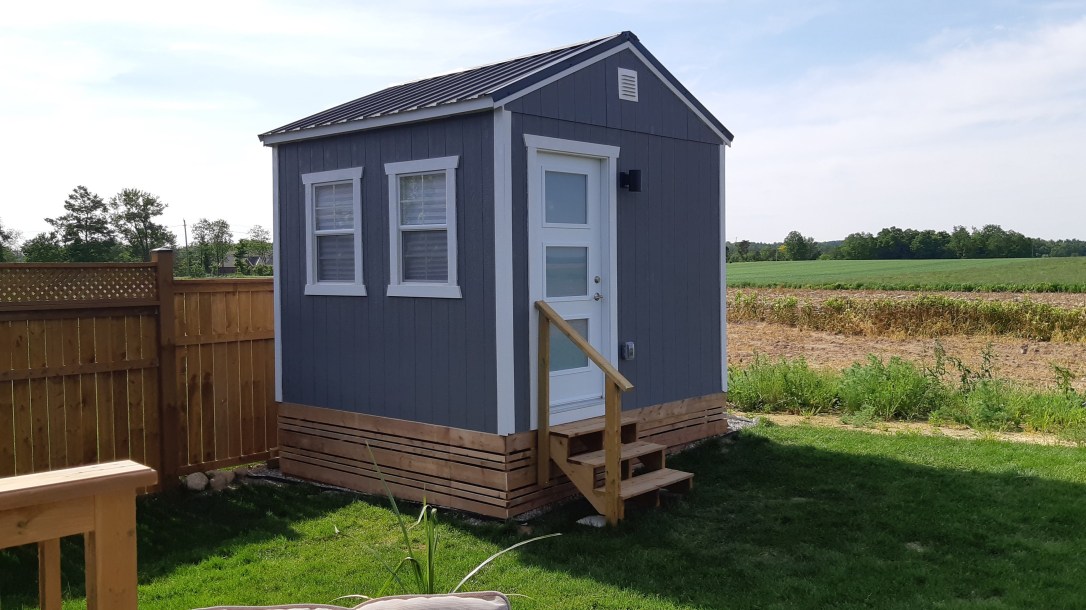
When it was finally dry enough to work outside again, I got under the shed and added R22 insulation to the floor. A layer of OSB closed the floor up and denied the mice entry to the insulation.
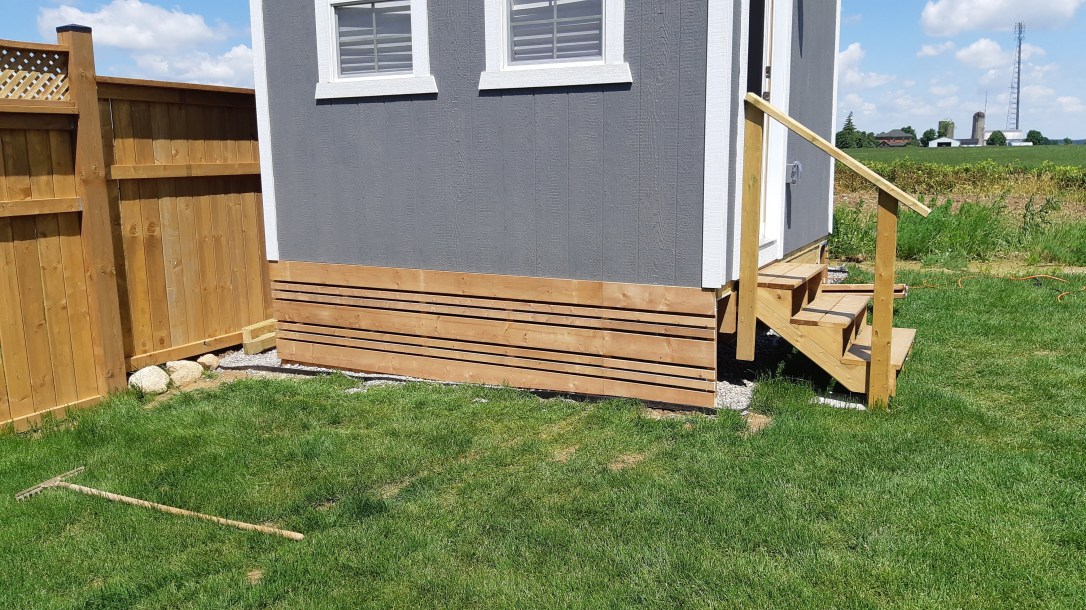
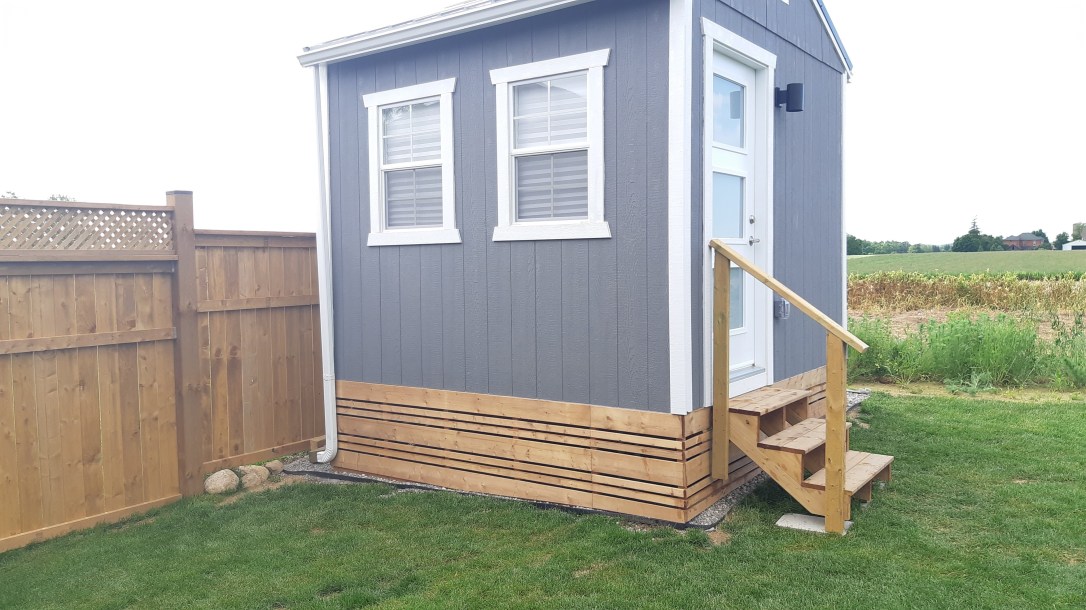
I framed up the skirting around the foundation of the shed and used fence boards to close things in and keep the local bunnies and raccoons out from underneath. I’m really happy with the finished look – what’s a shop without racing stripes, after all?
The final big push to complete the build took place on Fathers Day Sunday, when the troops rallied to cut, paint and install baseboards, haul out the construction gear and bring in the pipe tools and supplies. This was a really fun day for me as I finally got to organize the shop and get ready to start a fresh restoration!
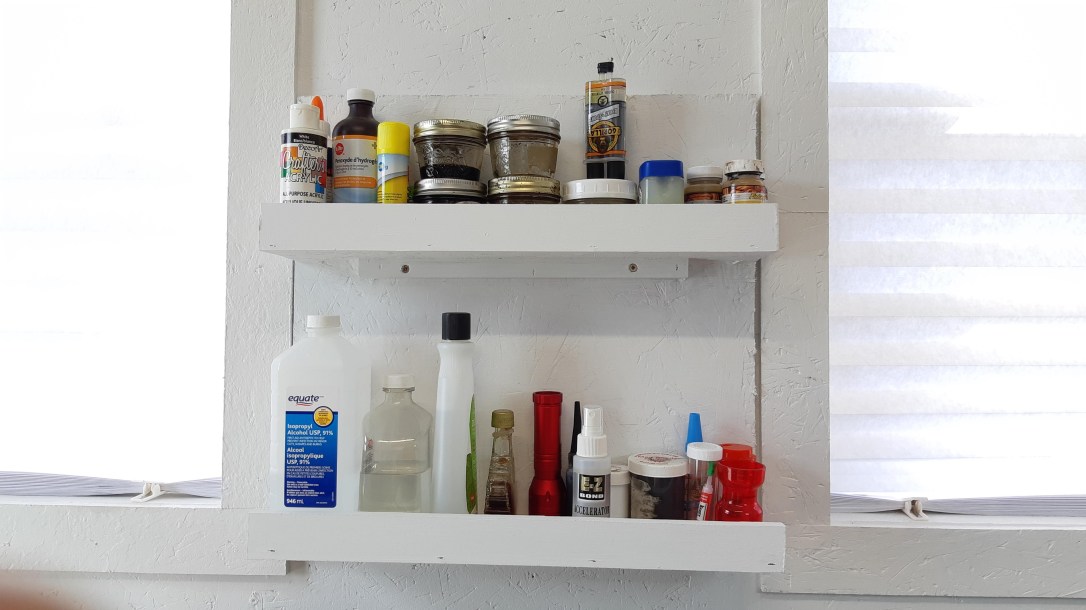
These pics were taken during the load-in and setup, so things look a bit messy yet. The heart of the new space is the worktable, above which is a shelf my daughter’s boyfriend made to fit between the windows. It holds all the bits and bobs I reach for most often – thanks, Dylan!
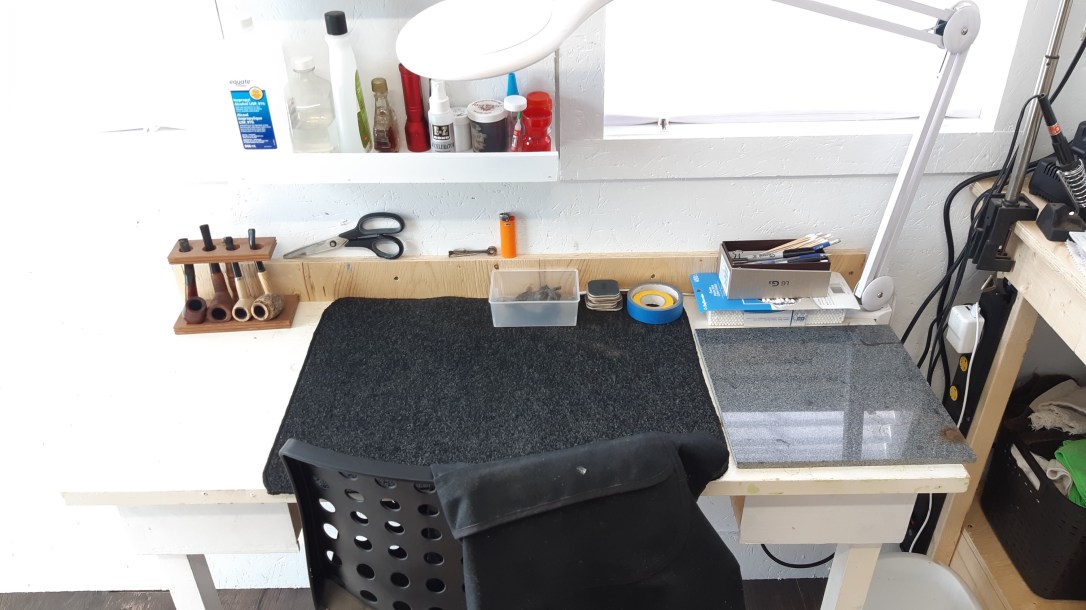
A shot of the workbench being populated with tools.

And the sink area:
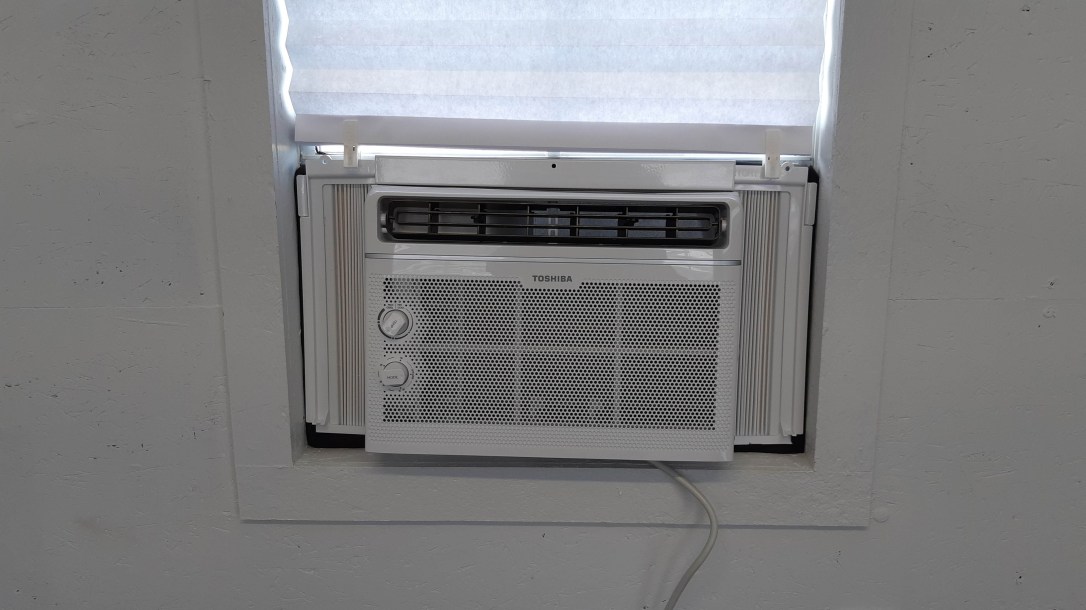
Insulated or not, a building this size heats up quickly in the summer sun. To keep things comfortable, I added a small air conditioner to the back window.
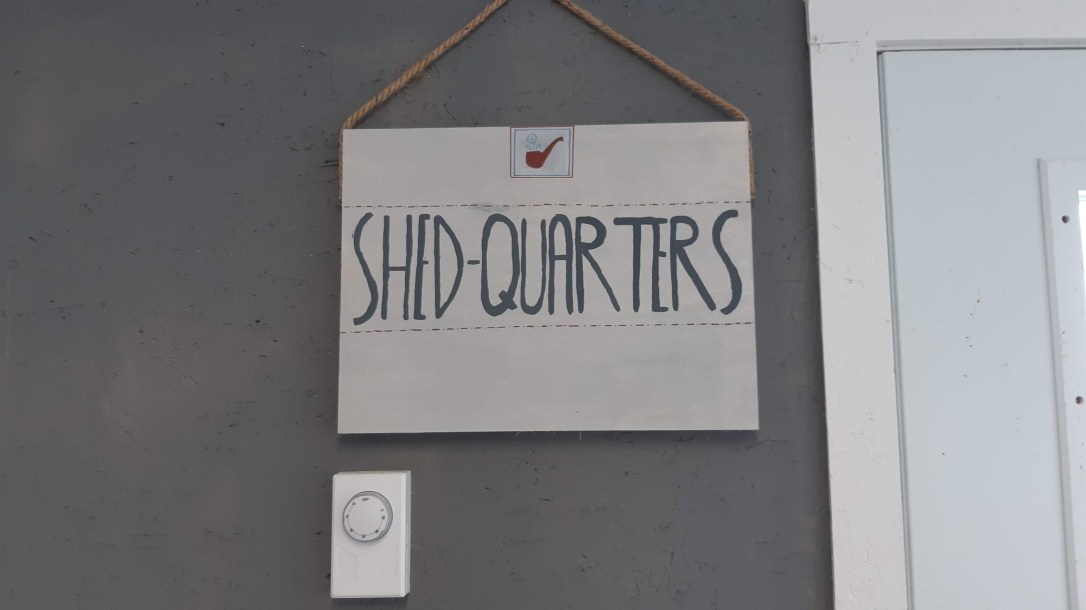
Also part of my Fathers Day gift was a two-sided sign my girls painted for the shop. One side is for when I’m working, the other for when I’m hanging out enjoying a pipe. (This is proof that my kids have inherited my warped sense of humour!).

The last task before declaring the shop officially complete was to add gutters and downspouts to the exterior. These will eventually be tied into a system of drains to carry water off the yard, but for now they empty onto the gravel behind the shed where the water dissipates quickly.
And with that, the Shedquarters is complete! I have spent several days puttering around inside already and am loving it. There will inevitably be a few minor changes made here and there to streamline the setup and improve workflow, but I’m thrilled to have my own dedicated space to continue on my restoration and repair journey.
A huge thanks goes out to my family for both supporting the project and for pitching in with the heavy labour when I needed an extra hand (or two). Speaking of labour, working on this project has been great therapy, pushing me into more physical activity than I’ve engaged in since undergoing cardiac surgery two and a half years ago, and more than I thought possible. I’m not there yet, but I feel more like my old self now than I have in a very long time – a priceless gift, in my book.
Thanks for following along on the shop build. It’s a bit of a departure from my regular posts, and I hope you’ve found it interesting, informative or at least entertaining!
Until next time, Happy Piping!

Congratulations Charles, a shedquarters is every man’s dream. Glad to hear that you are feeling better too.
LikeLiked by 1 person
Thanks Adam! I agree everyone needs a place to do their thing. Guys and sheds are a classic combo! 😁
LikeLike
Wonderful new digs Charles – its a great space for your wonderful pipe work!
LikeLiked by 1 person
Thanks Lee! After spending the winter planning, it’s great to see it all come together in the flesh so to speak. 😁
LikeLike
Great new smoke shop Charles. Keep up the great work and congratulations on the continuing improvement with your health.
LikeLiked by 1 person
Congratulations on the new work space. Have fun and keep churning out great eatate pipes.
LikeLiked by 1 person
That looks like a great workspace, for year-round work. Pretty clever with the RV water system!
LikeLiked by 1 person
Looks really nice. I’d like to have one of those myself.
LikeLiked by 1 person
Thoroughly enjoyed following that build!
LikeLiked by 1 person
Glad you enjoyed the ride, Marlowe! So did I 😁
LikeLike