This pipe belongs to a fellow Ontario piper and DadsPipes reader who wrote to me asking what could be done to get this older meerschaum Egg back into his rotation.
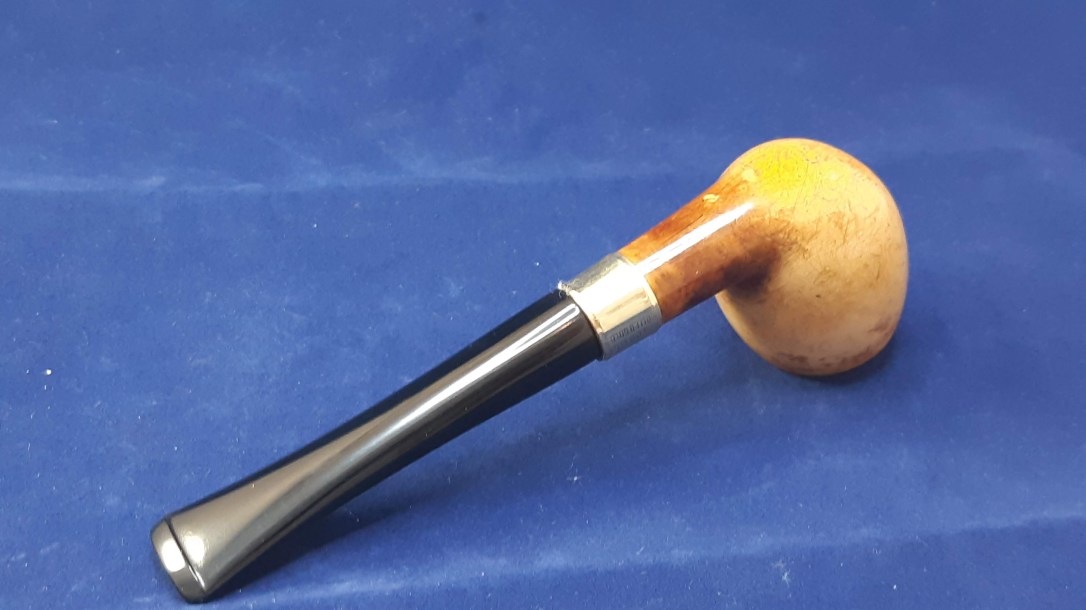
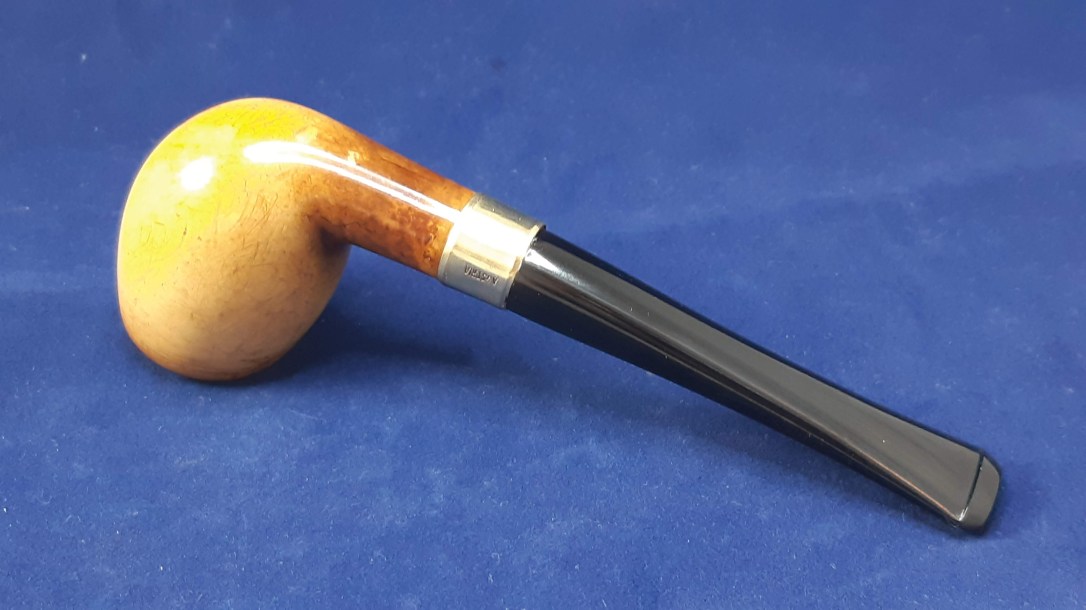
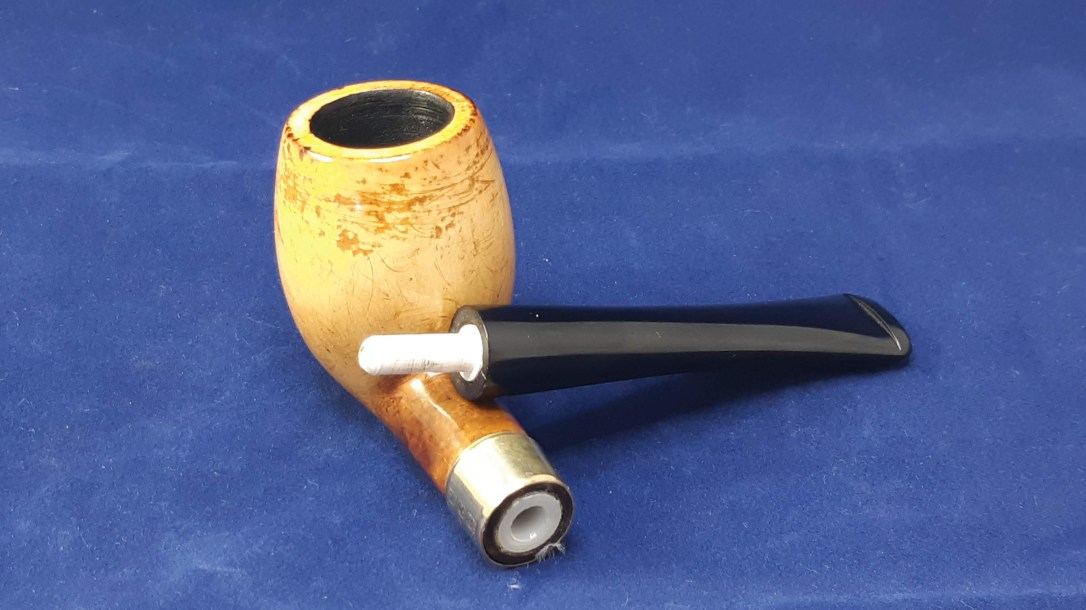
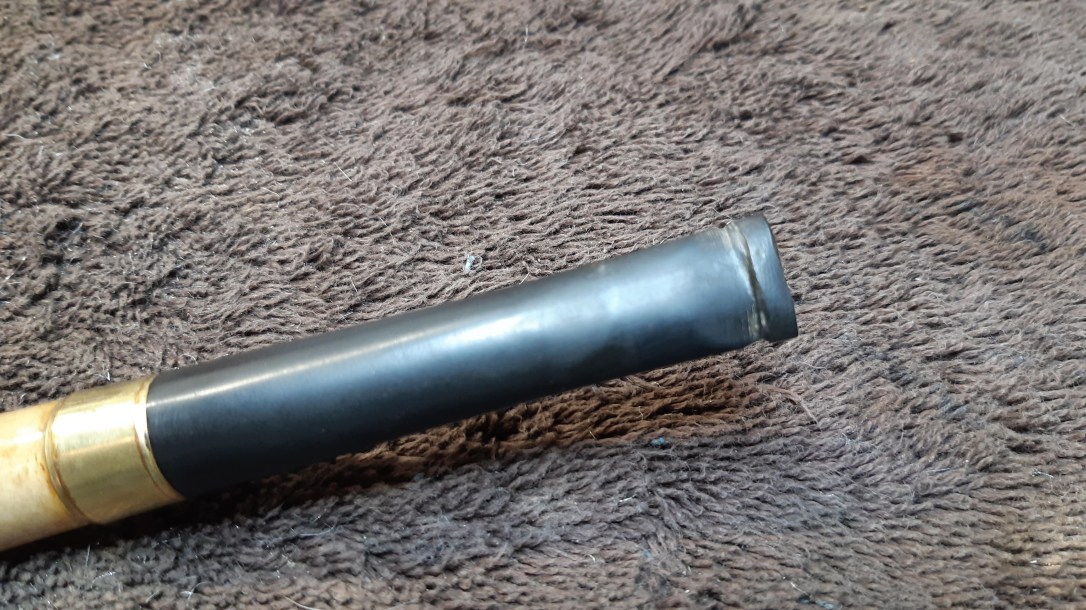
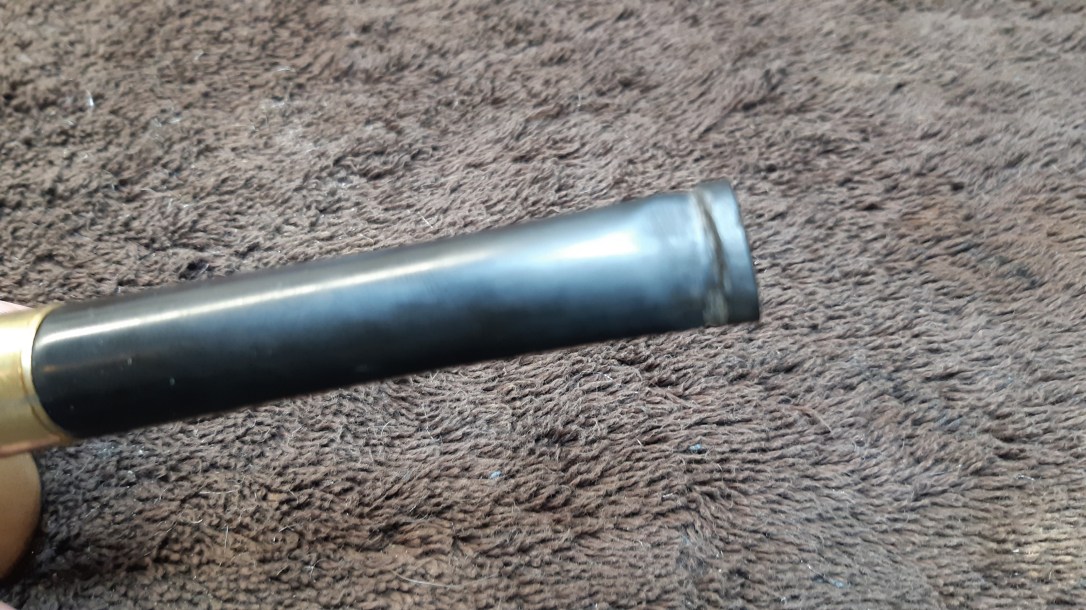
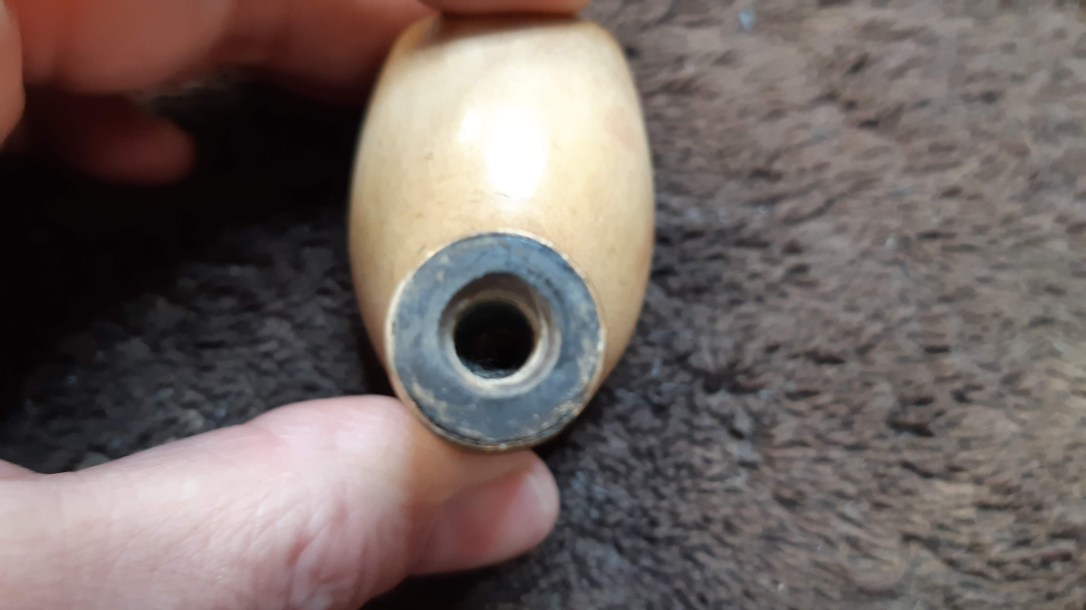
At first glance, the pipe looked to be in good shape, but a closer inspection revealed that the stem had been damaged at the button end at some point and the owner simply cut it off square, filed a couple of deeper lines to create an ersatz button and carried on smoking the pipe. The shank still sported its original threaded steel tenon, which the current owner wanted converted to a push-pull system.
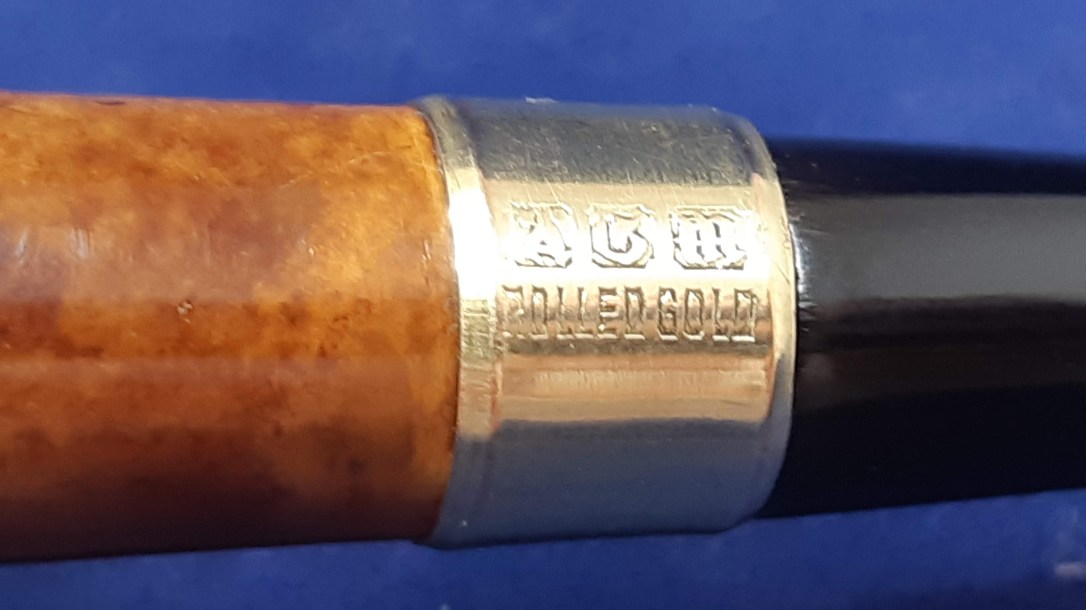
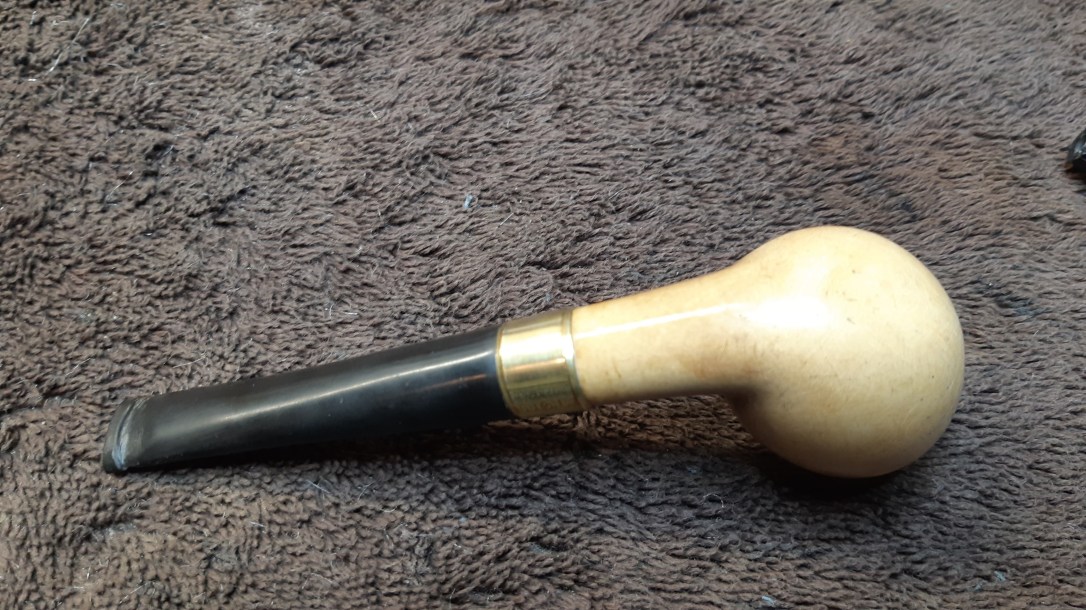
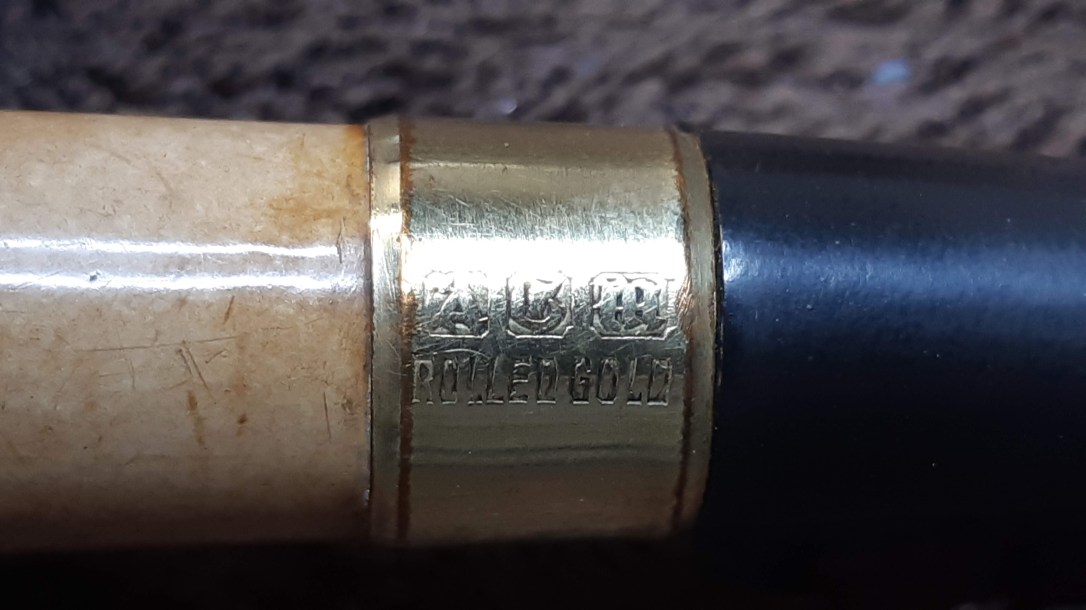
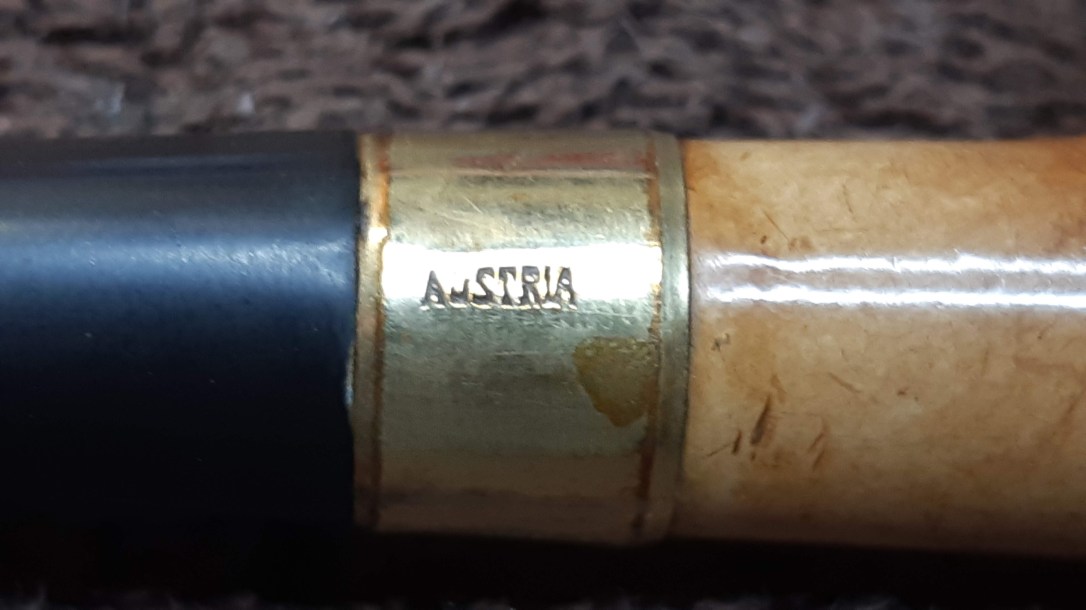
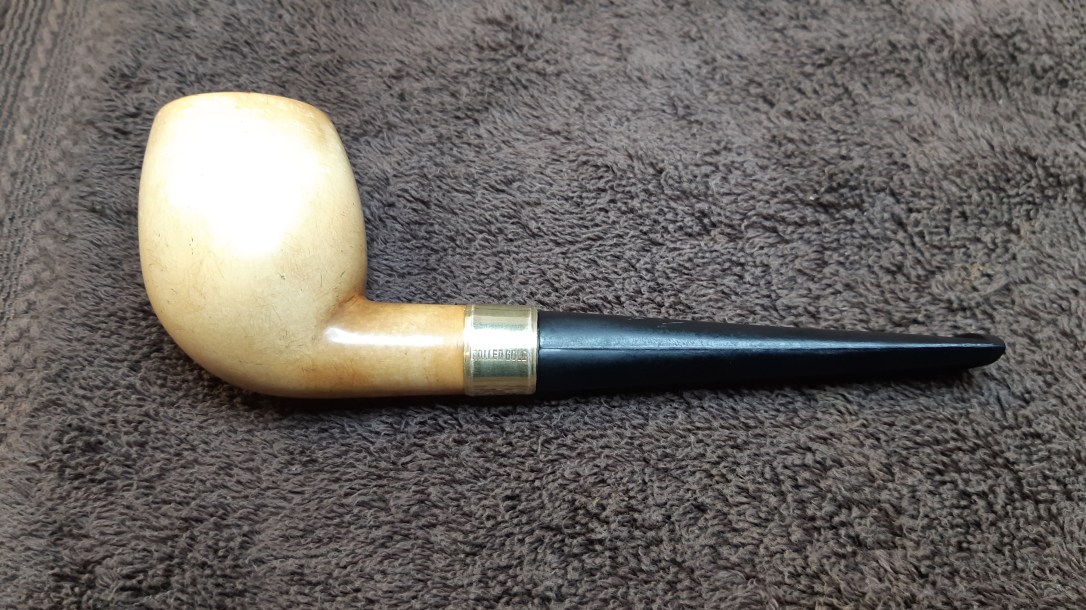
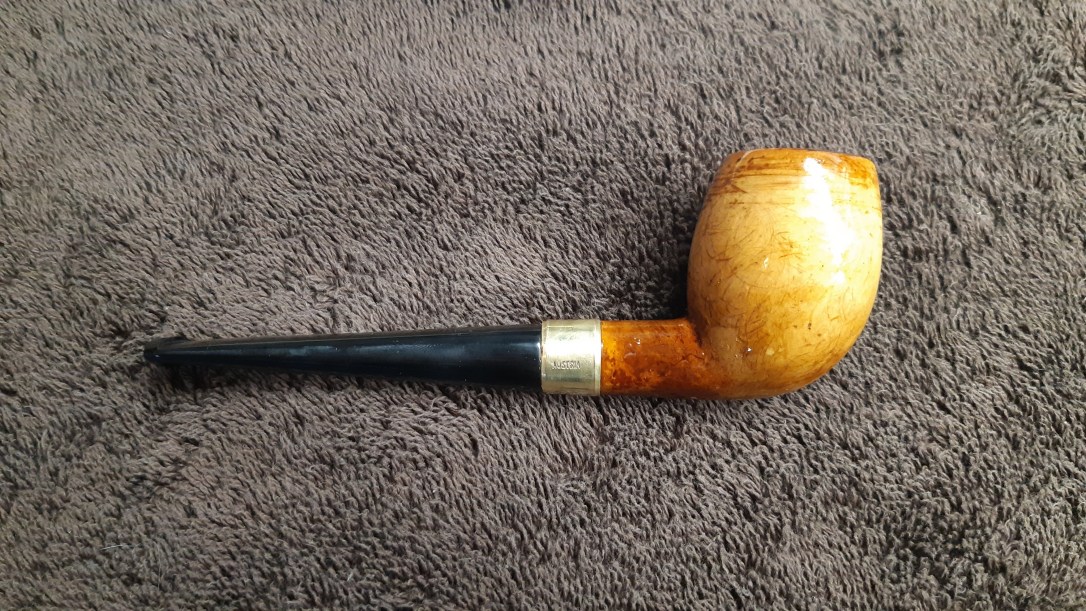
The maker of this pipe is unknown. The only marks on the pipe are on the gold band, which is stamped “Rolled Gold” on the left side and “Austria” on the right. Rolled Gold was a new term for me, so I looked it up. It refers to a piece made by laminating a layer of gold on top of another, less expensive metal. Rolled gold contains less gold than a gold plated item, but still looks like gold.
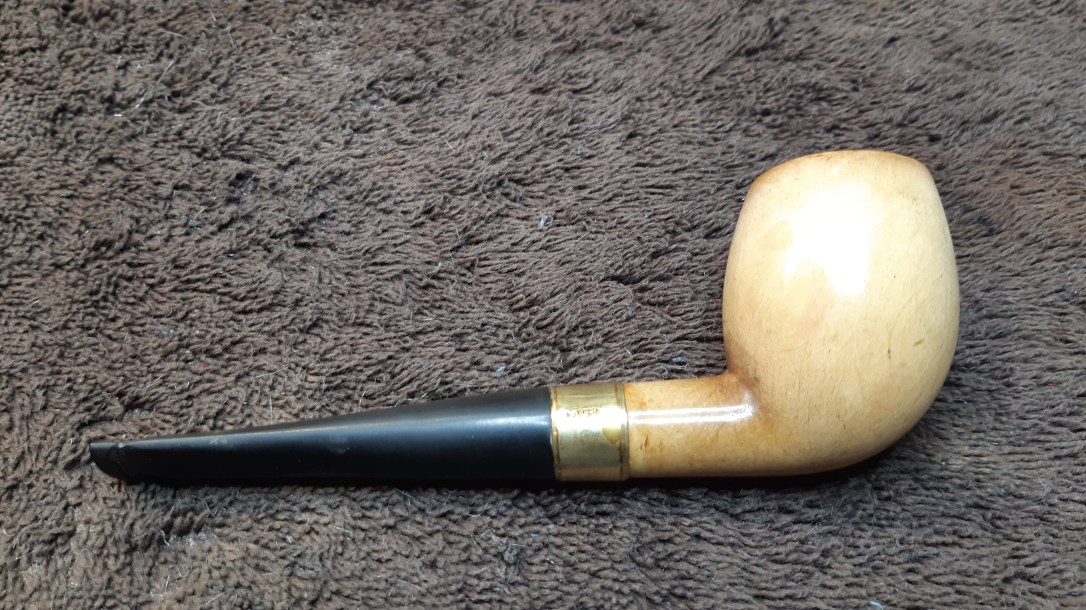
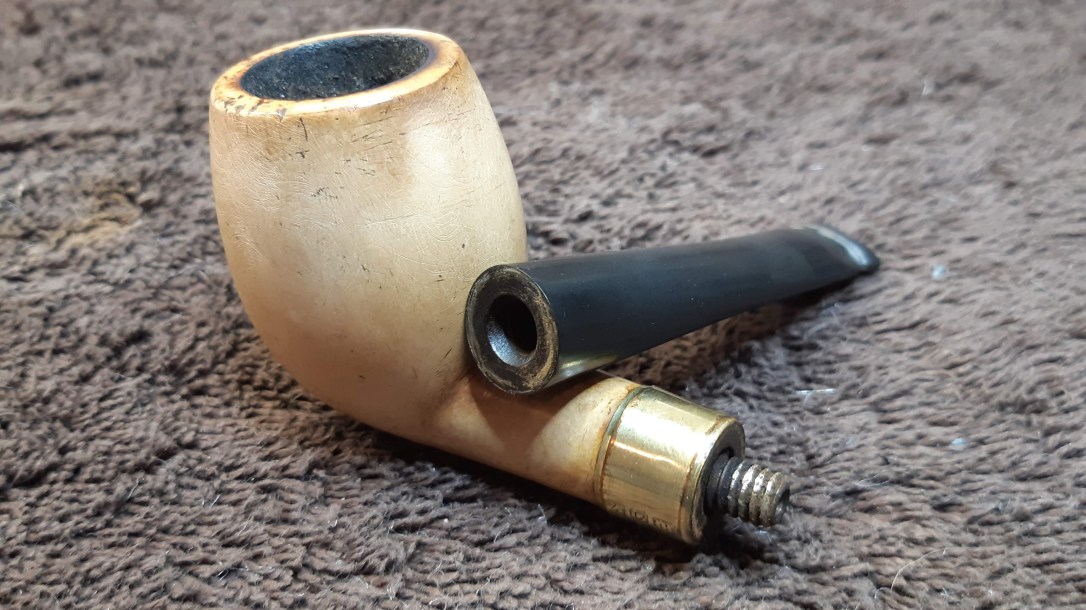
Here is the pipe as it looked when I first brought it to the worktable.


After some discussion with the owner, I had my marching orders – this pipe was up for a new black vulcanite stem, push-pull tenon conversion and a good cleaning and waxing. I’d start with the tenon conversion.
The first task to convert this threaded tenon to a push-pull set was to remove the old tenon from the shank. This can be trickier than it sounds – as those who have worked on meerschaum pipes will attest, meerschaum is very delicate. Any undue force applied to the pie can have devastating consequences.
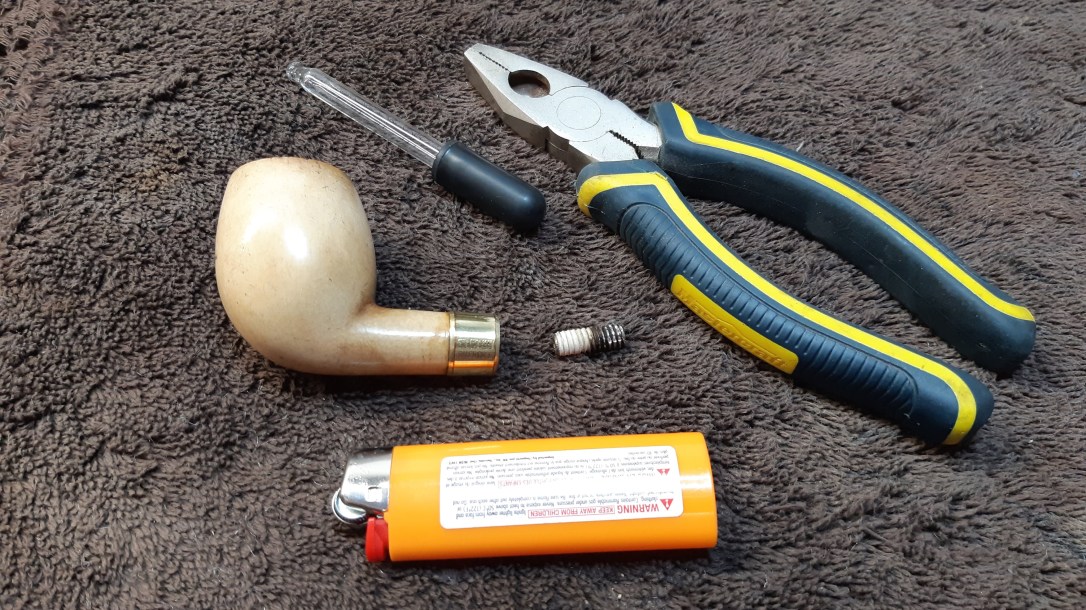
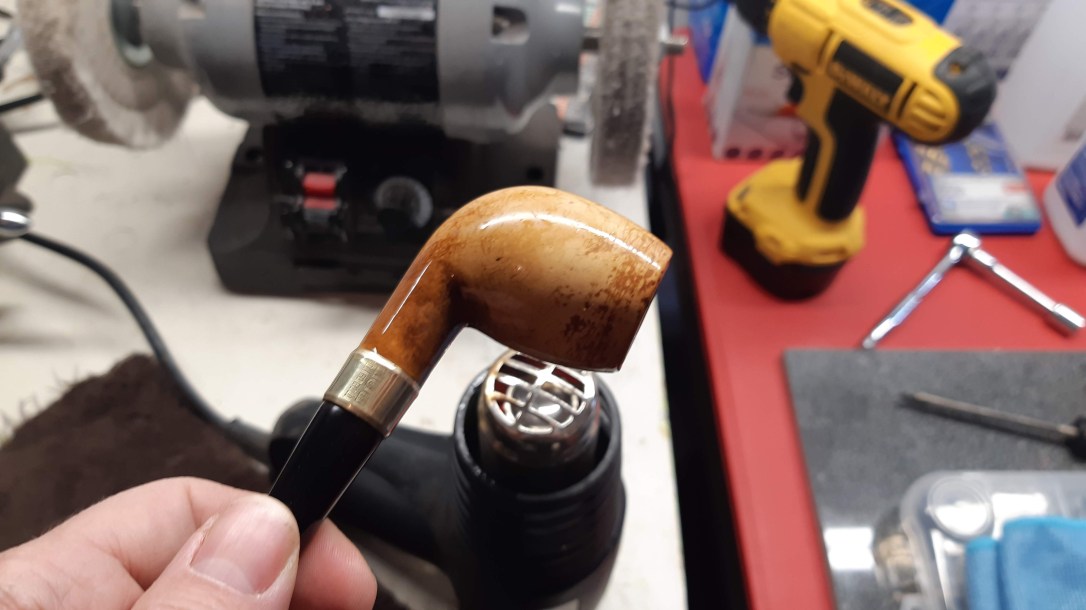
Thus, rather than simply grabbing a pair of pliers and muscling the tenon out, I instead heated the metal tenon over a lighter flame to loosen the glue holding the threaded rod in the mortise. Patience is a real virtue when working with meerschaum – this operation required more heat than I had initially though necessary, but eventually I was able to unscrew the tenon using only gentle pressure.
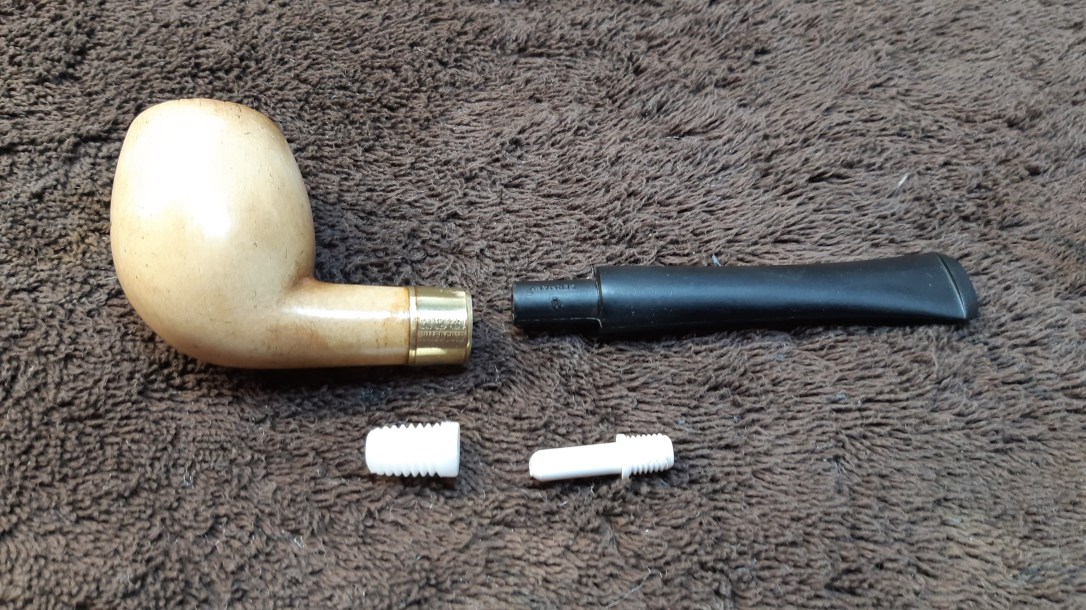
Nylon/Teflon push-pull sets are available in several sizes, including 3/8″ and 5/16″. One of the smaller sets would have sufficed here, but I didn’t have any in stock. The shank was large enough to accommodate a 3/8″ insert, so rather than wait for an order to come in, I went ahead with the larger size.
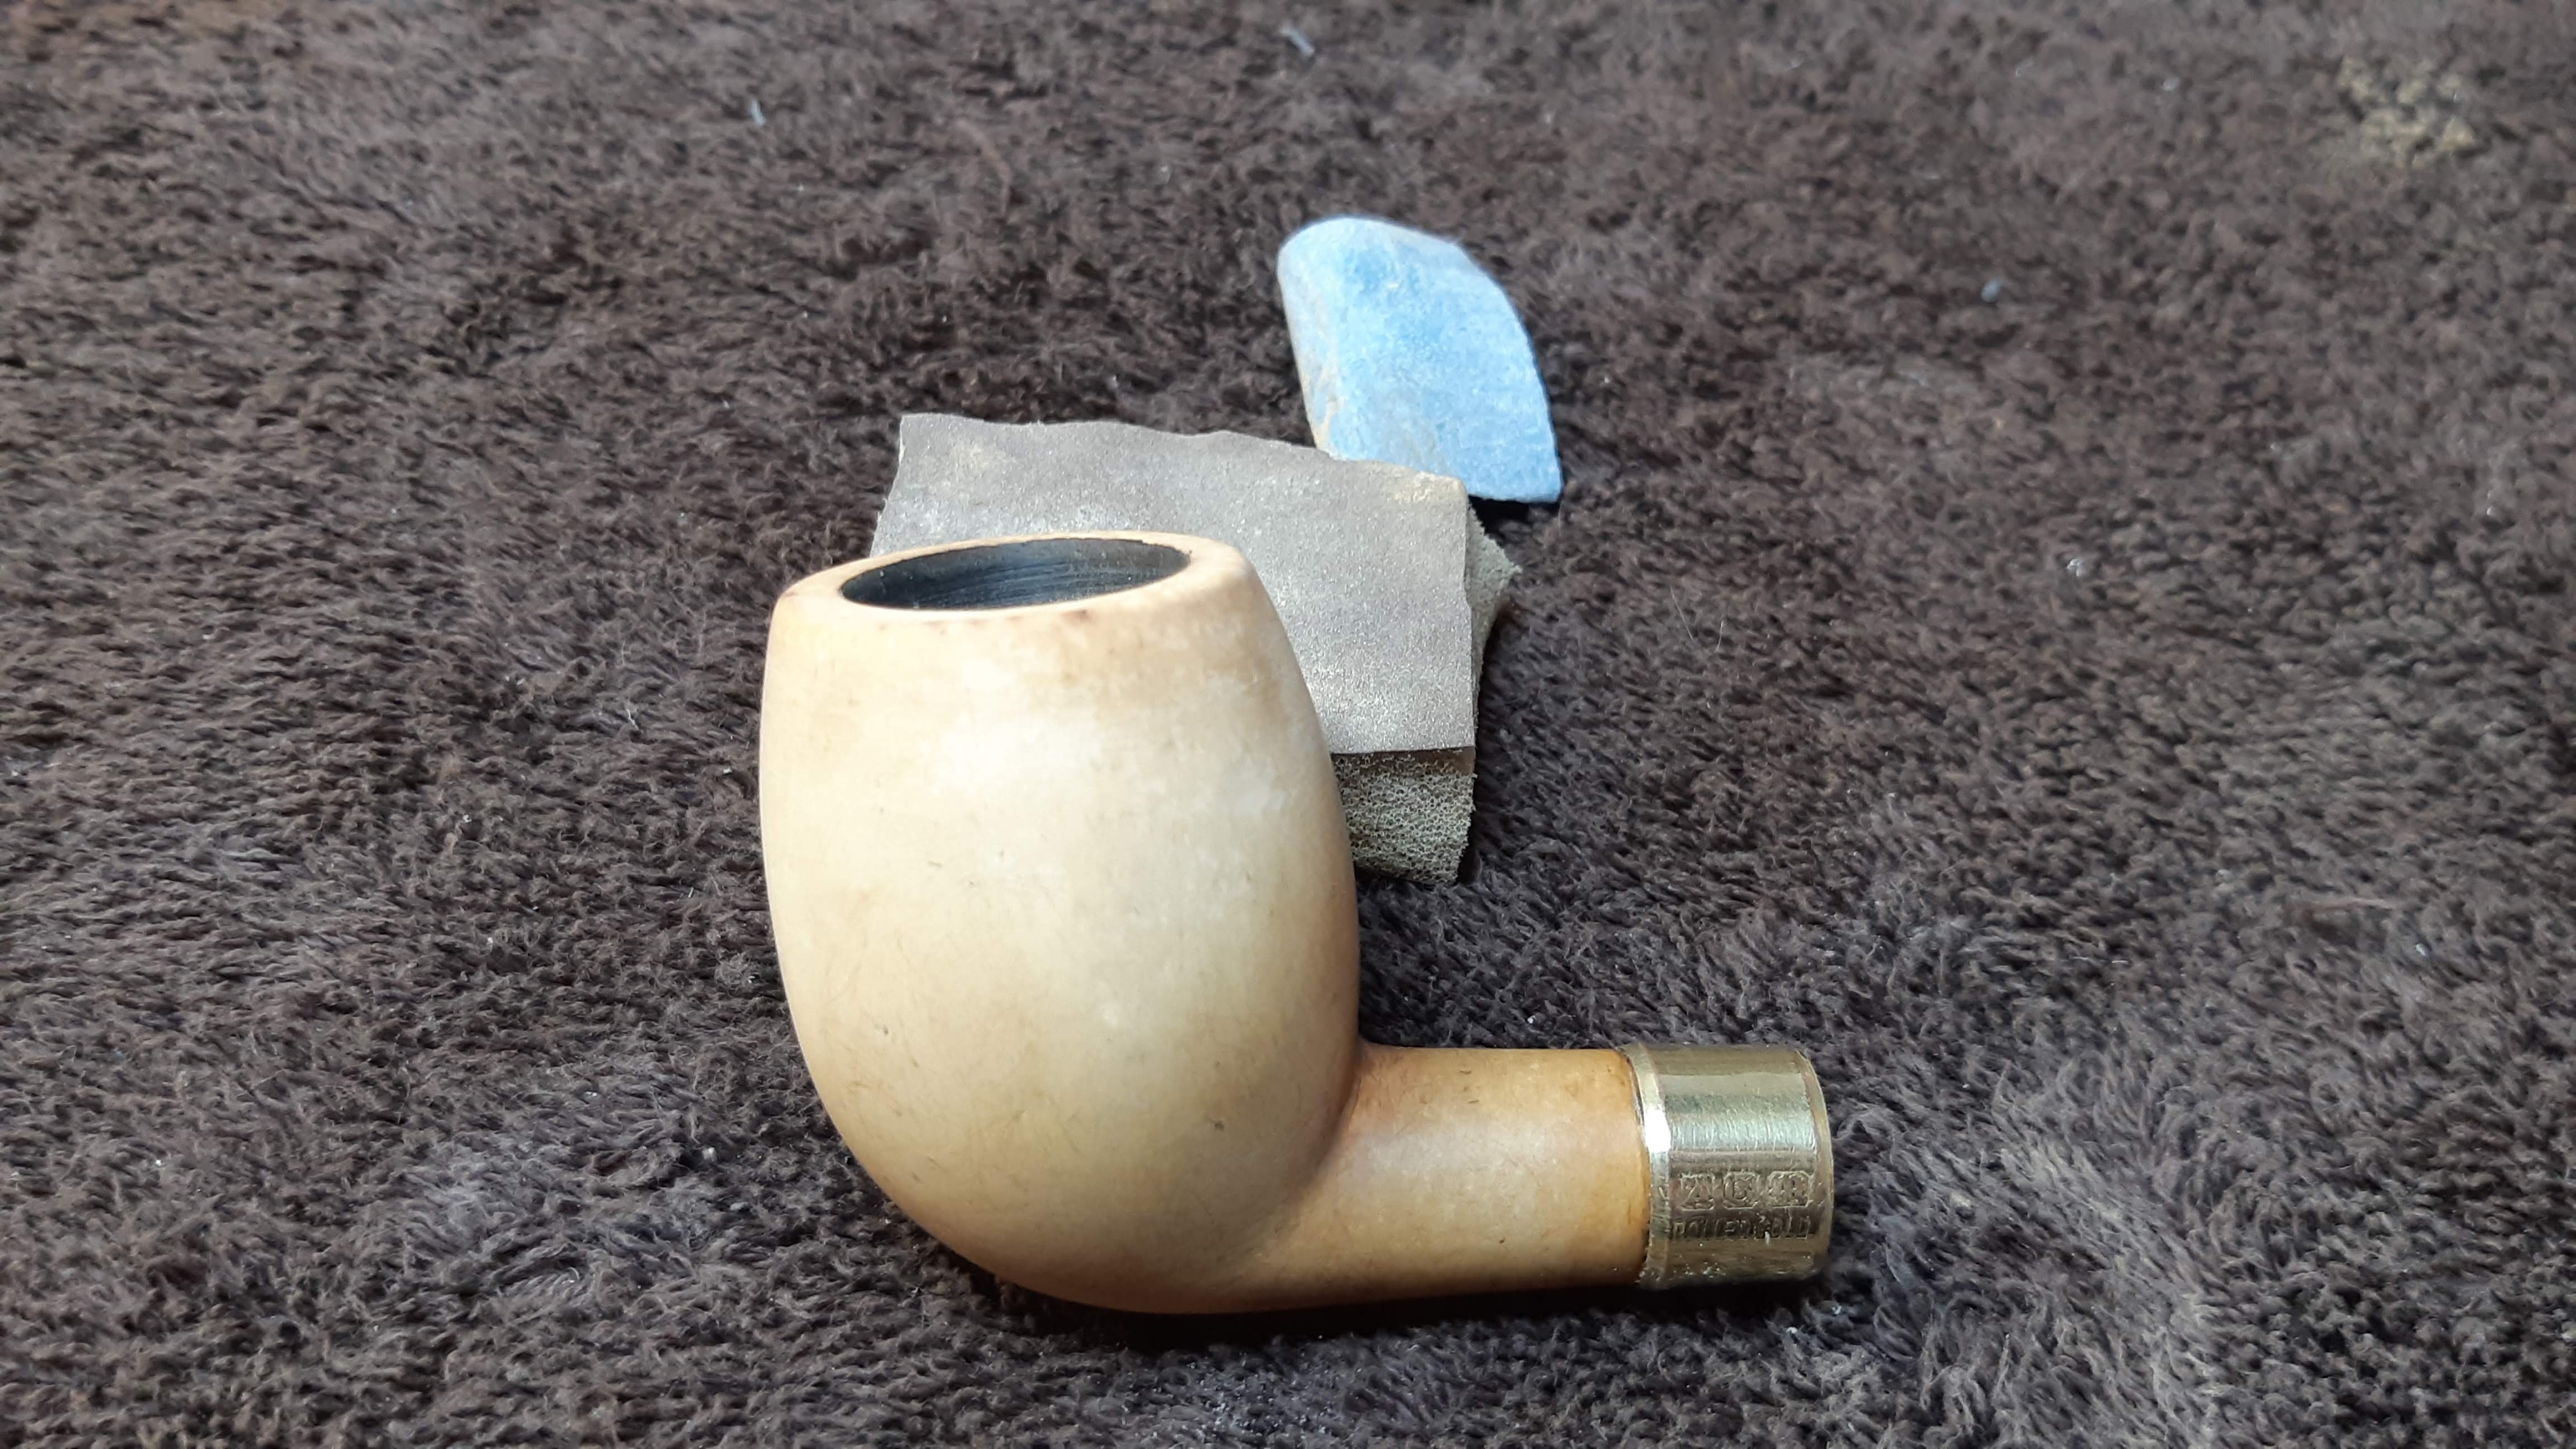
This pics shows all the required pieces for the tenon conversion – the meerschaum stummel, a new vulcanite stem blank, and both halves of the push-pull set.
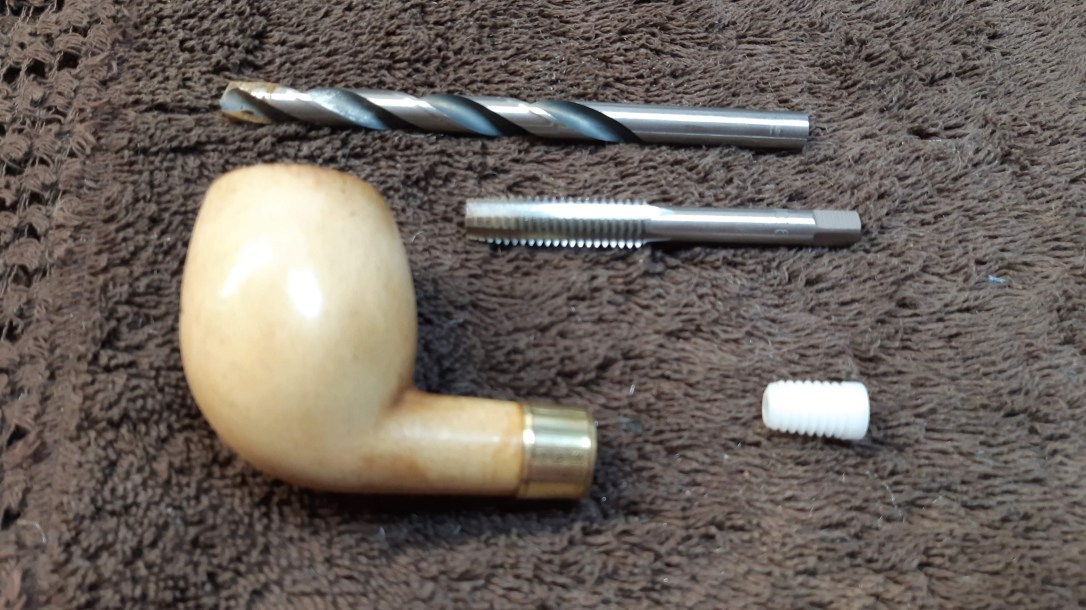
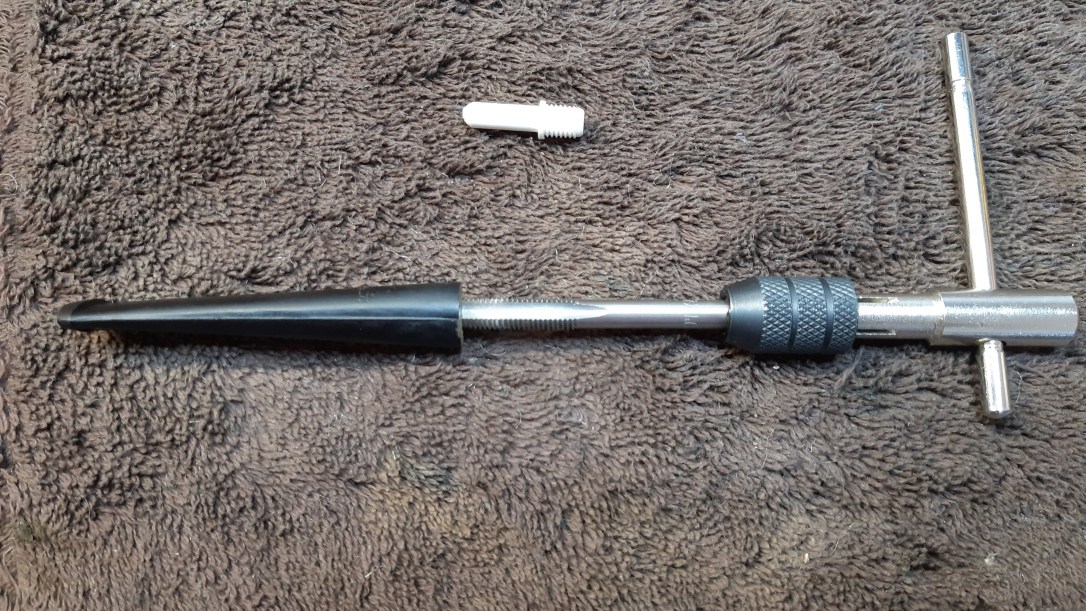
Starting with the shank, I drilled out the mortise to 21/64″ before tapping 3/8″- 16 threads into the mortise walls. Let me say once more that meerschaum is DELICATE. Any drilling must be done with the utmost care unless you want to see a chunk of meer flying across the room. For this operation, it is also very important that the drill remain square to the shank if the shank and stem are to line up properly. I took my time and only held my breath during most of the drilling and tapping.
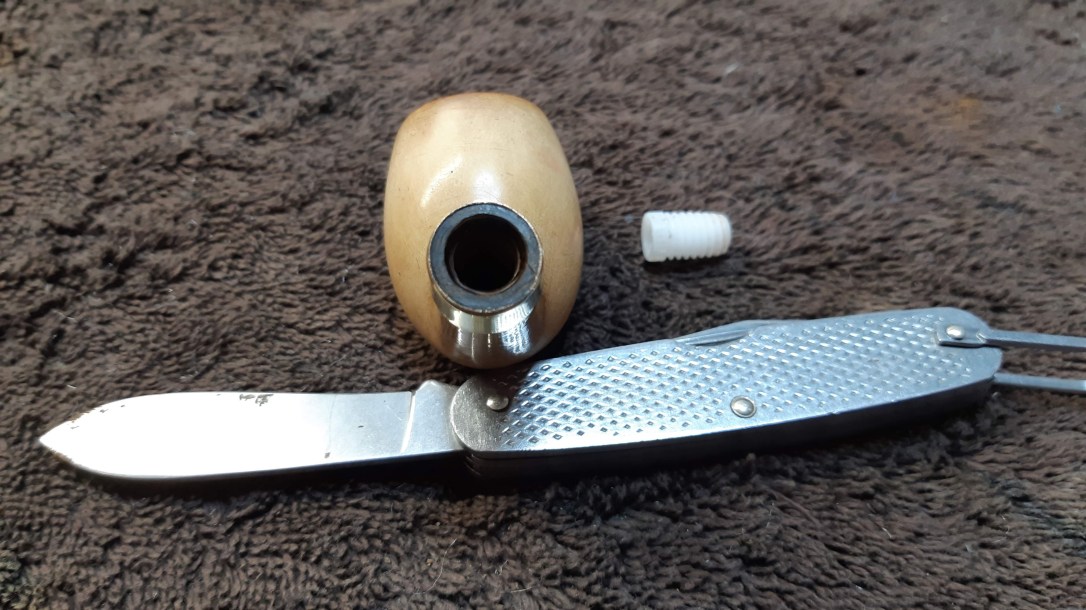

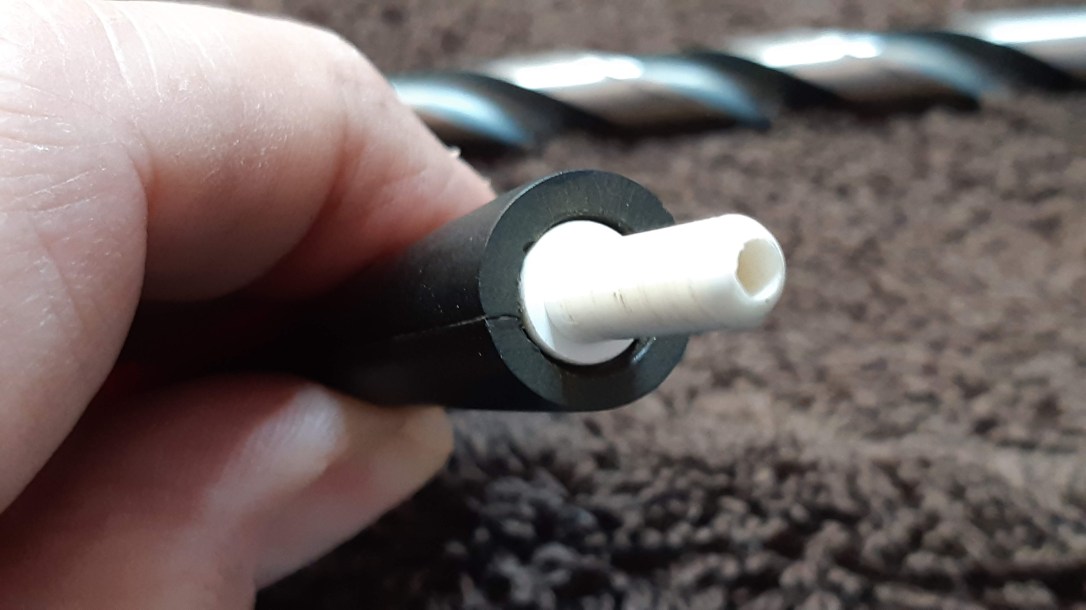
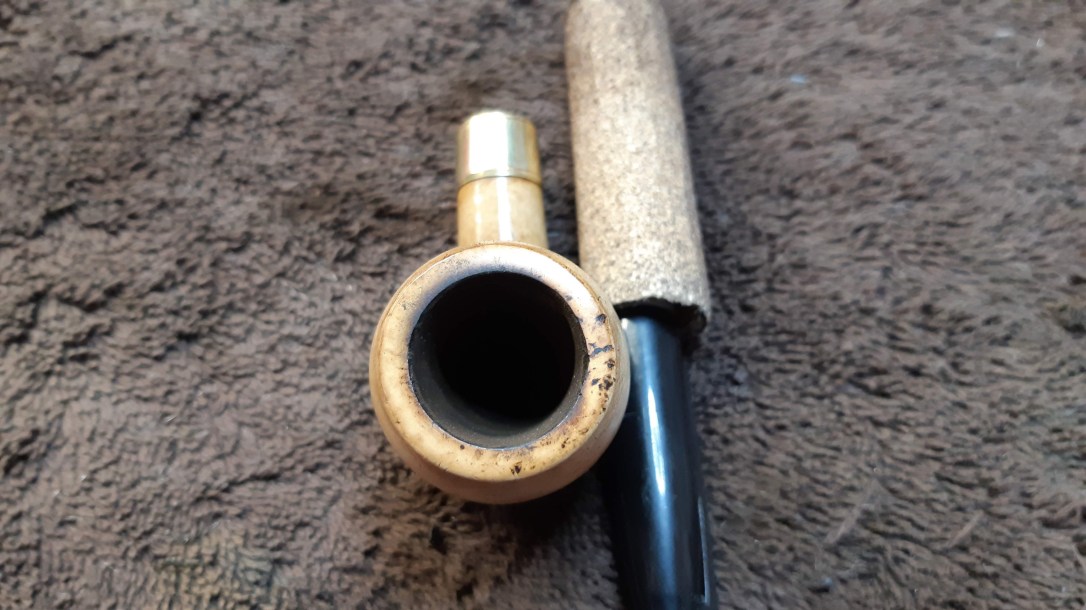
If you ignore the fuzzy lint from my towel hanging off the insert, you can see that the shoulder of the insert is sitting on top of the shank end. To remedy this, I turned a larger drill bit by hand to cut a countersink into the shank end into which the fitting slipped easily.

One down, one to go! I set the stummel aside for a bit while I cut the pre-cast tenon off the new stem. After sanding the stem face smooth, I drilled, tapped and countersunk the tenon half of the push-pull set. For reference, this required a 15/64″ drill bit and M7mm x 1 tap.

Now was the moment of truth – would stem and shank line up properly? Usually I need to go back and tweak a few things to get everything in line, but with this pipe it worked the first time. Hallelujah!
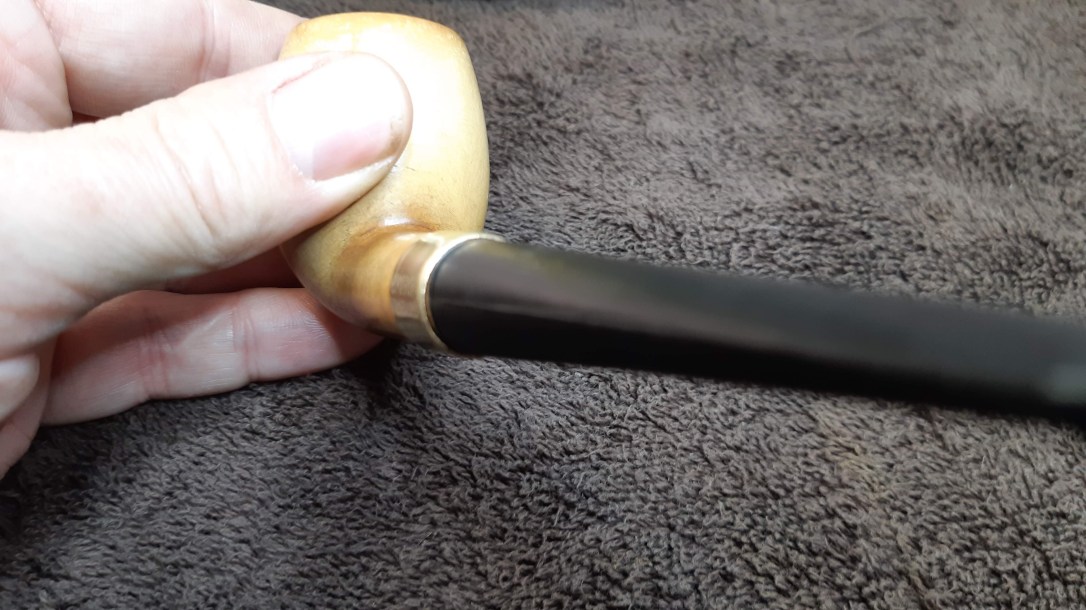
As you can see in the above pics, there was still a lot of sanding and polishing to do on the rough stem blank, but that would have to wait until I finished cleaning the stummel. So far the work hadn’t been affected by the dirty chamber or airway, but cleaning the shank would be lot easier to do without the new mortise insert in place.
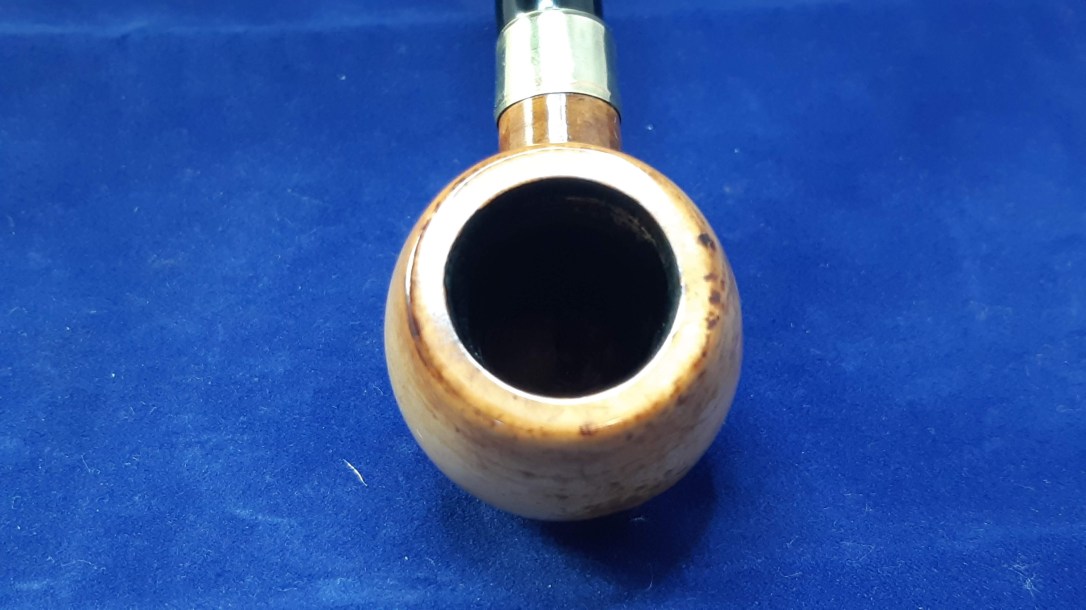
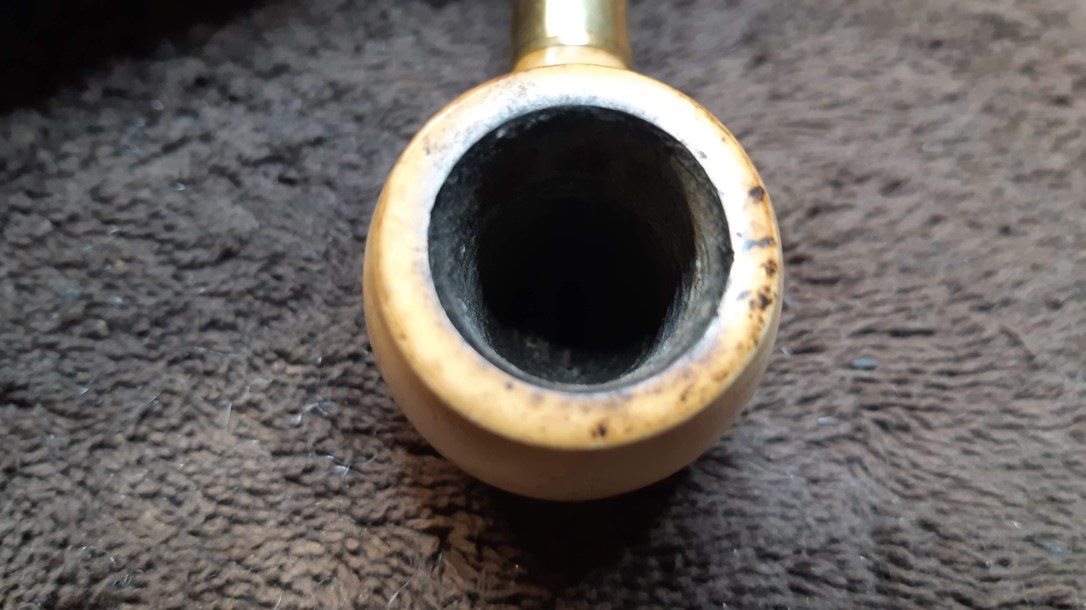
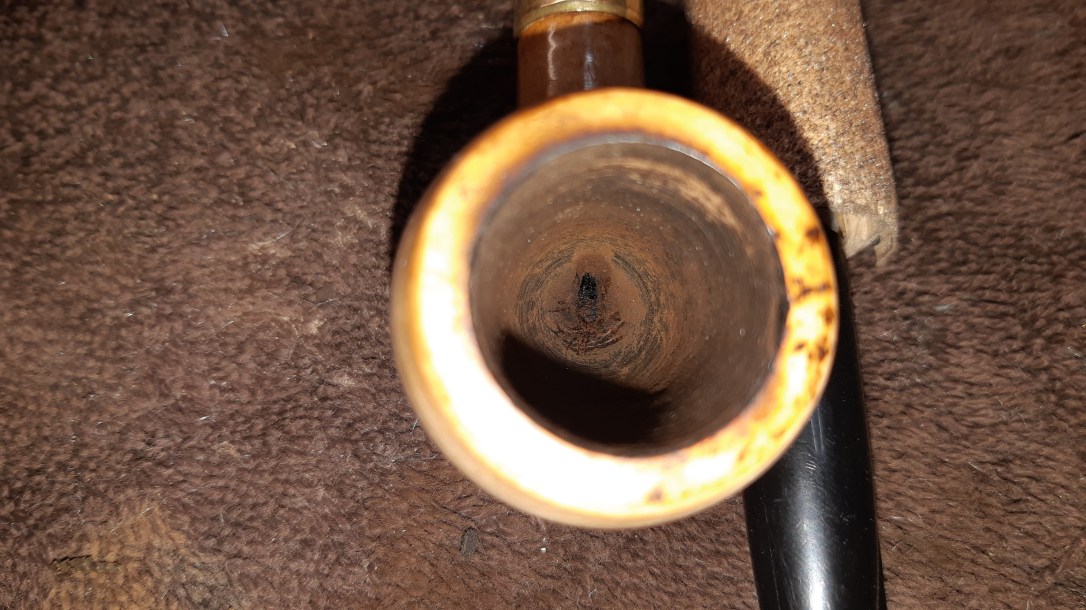
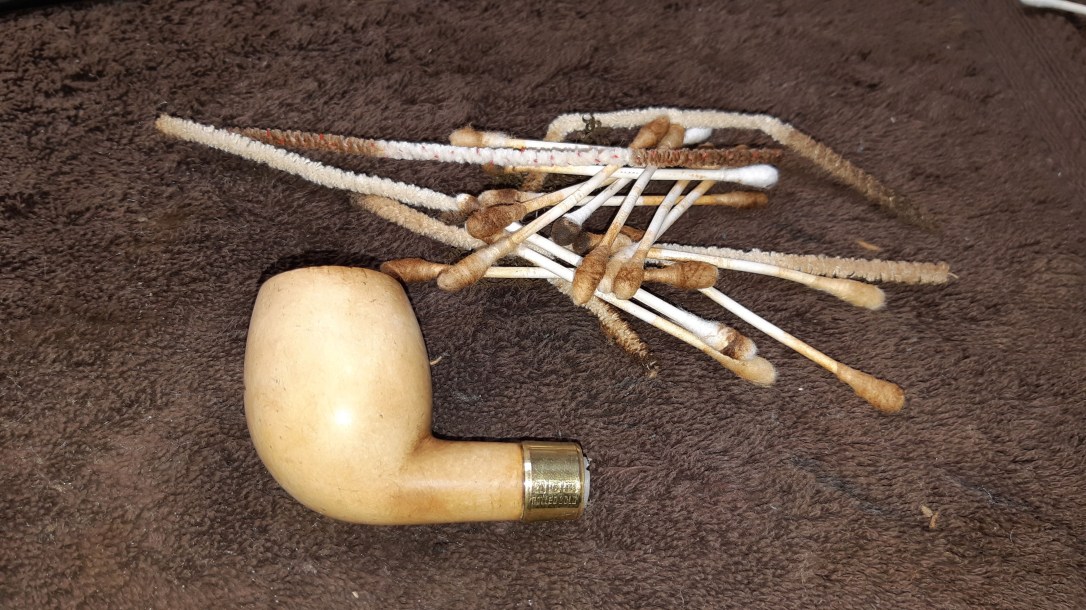
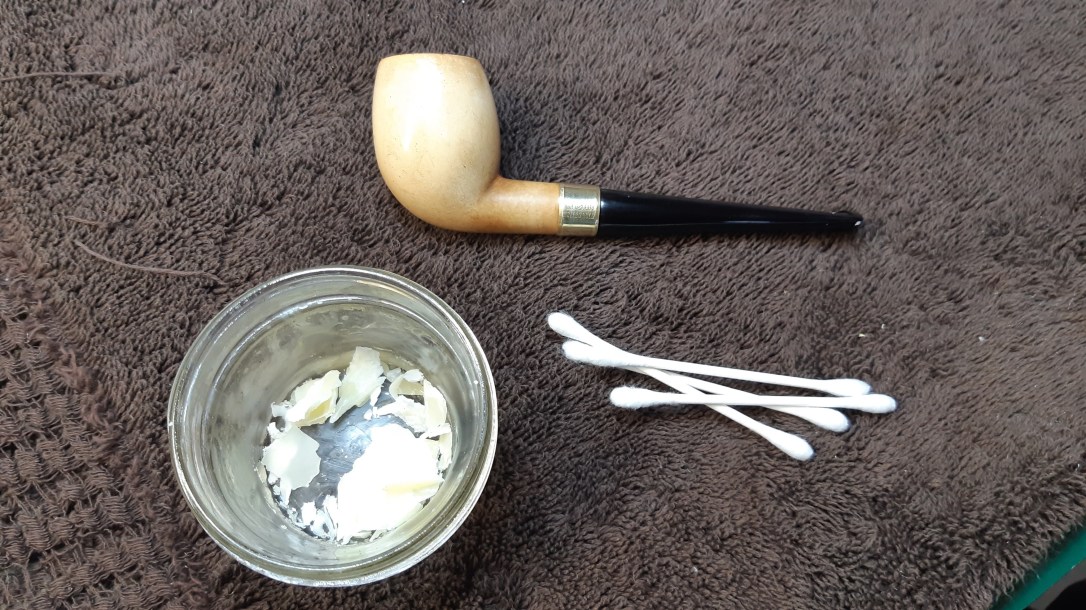
I removed the insert and worked on the internals of the stummel with pipe cleaners, cotton swabs and alcohol to remove quite a bit of old tars and bits of tobacco. In addition to dissolving tars, the alcohol started to bring the colour to the surface of the meerschaum. This is due to the porous nature of the material – as the alcohol works on the tars inside the stummel, some of them get wicked toward the surface through capillary action, something we’ll be seeing again when it’s time to wax this pipe.
I used some coarse sandpaper to remove the light cake from the chamber – unlike briar pipes, meerschaum pipes do not need a cake layer to protect the chamber walls. In fact, a heavy cake can easily crack the fragile bowl walls, so those of you out there who enjoy smoking your meers, keep that chamber clean!
With the internals now clean, I dabbed a bit of white glue on the threads of the mortise insert and screwed it into place. I did the same for the stem tenon fitting.
While I had stummel in hand, I used a bit of sandpaper to minimize a few deeper scratches on the sides of the bowl and tidy up a few shallow dents in the rim. I didn’t sand out every mark, as this would have negatively affected the meerschaum’s patina developed over time. This is a good example of a time when “like new” isn’t desirable.
A full course of Micromesh sanding pads erased my sanding scratches and brought up the shine.

Then it was time to put the stummel aside and work on the stem. Remember at this stage it was a rough-cast stem blank. I used needle files to knock the casting marks off, and sandpaper from 220 to 2000 grit to smooth and polish the vulcanite. This pics shows the stem part-way through the process, sanded to about 400-grit.
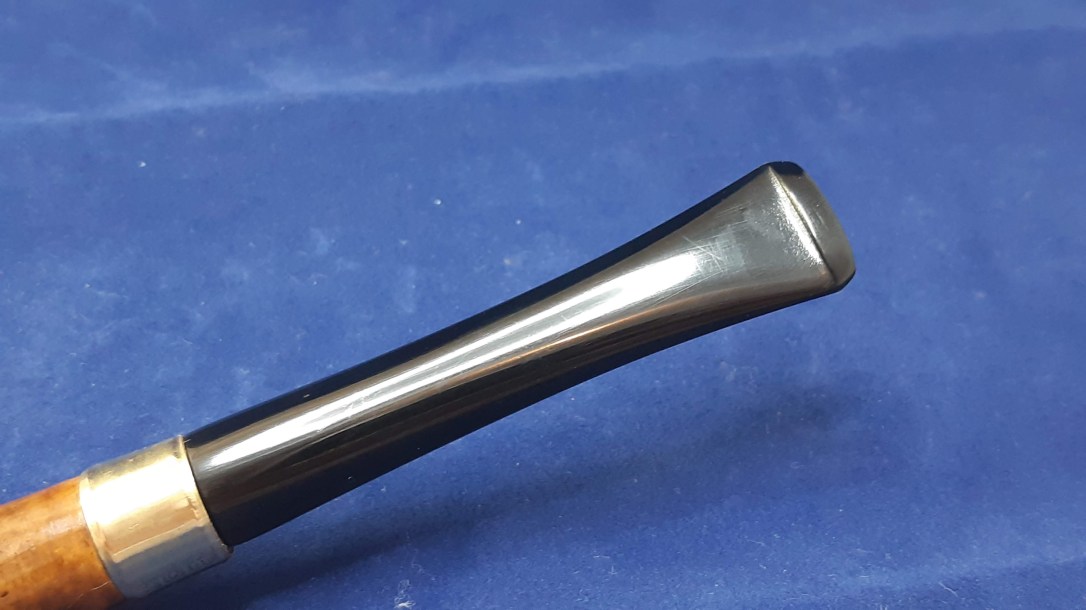
After sanding to 2000-grit, I took the stem to the buffer for a run of Red Tripoli and White Diamond compounds. The coarser Tripoli does a great job erasing any stray sanding marks left by the 2000-grit wet sandpaper, and the finer White Diamond compound brings up the shine. A few light coats of Carnauba wax finished the stem.
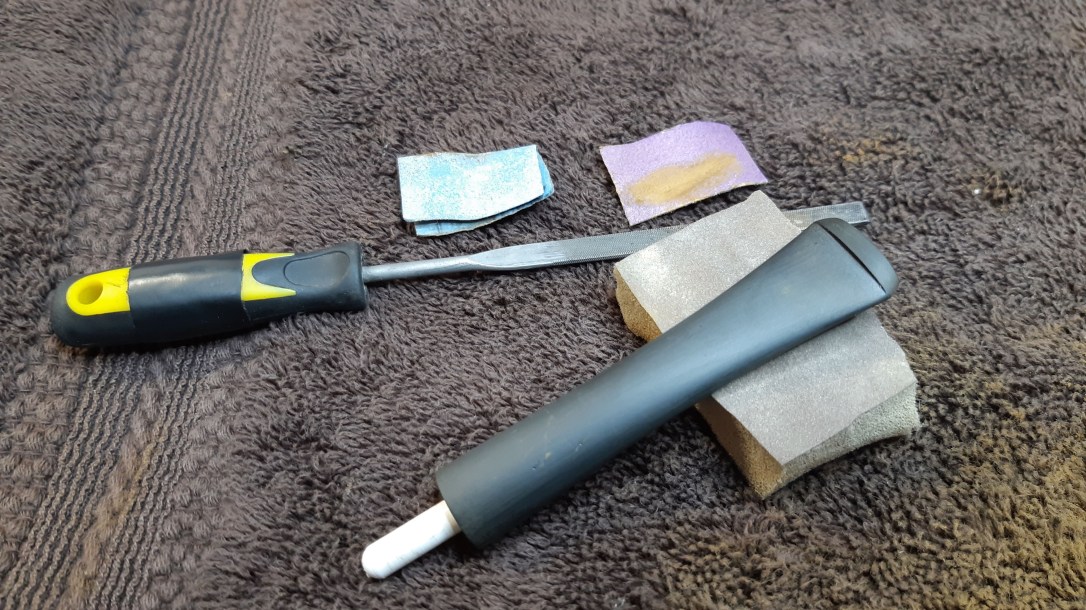
With the finish line in sight for this restoration, I set up my bench for waxing the meerschaum. This is done with pure beeswax, just like when the craftsmen first carved the pipe. Traditionally, the chamber and mortise openings are plugged and the stummel soaked in a pot of melted wax for fifteen or twenty minutes to allow the wax to soak into the meerschaum.
My waxing process is a bit easier than that, and doesn’t involve a vat of hot wax on my bench. Instead, I shave about an ounce of beeswax off a block of the stuff I bought years ago, place the shavings in a small Mason jar and use my heat gun to melt it to liquid. I also warm the meerschaum over the heat gun to prepare it to take the wax, which I deliver to the meerschaum using cotton swabs. I dip the swab in the melted wax and mop it across the surface of the meerschaum, careful not to get wax inside the tobacco chamber.
I keep adding wax until the meerschaum stops absorbing it (dry patches will appear on the pipe’s surface if there is room for more wax). When the meer is full of wax, I set it aside to cool, then buff away the excess wax with a soft cloth.
As we saw with the alcohol during cleaning, the melted beewax is pulled into the porous meerschaum, where it picks up the tars stuck within the meer and brings the colour to the surface. These pics show the huge difference in color after waxing. I hadn’t yet buffed the excess wax off in these pics – you can see some build-up on the surface.
I let the freshly waxed stummel sit overnight, then gave it another hand buffing with some soft toweling to get any last traces of excess wax off the surface and bring up the shine.
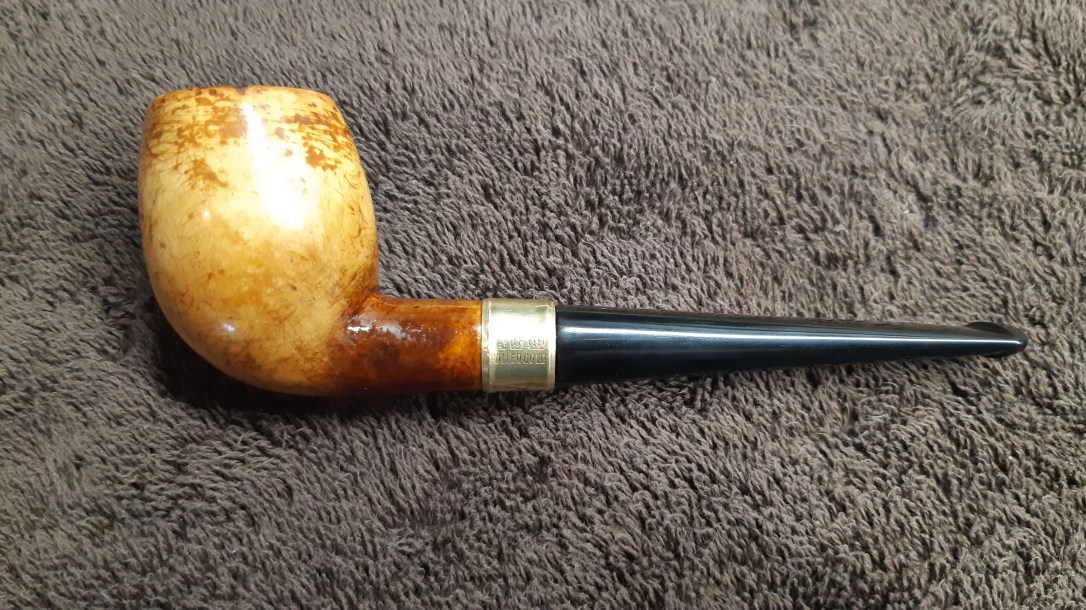
The finished pipe, besides having a functional, full-length stem, is barely recognizable as the nearly white meerschaum Egg I brought to the worktable a few days ago. The push tenon conversion, though not visible when the pipe is assembled, has also greatly improved the functionality and convenience of the pipe, and eliminated the otherwise nearly inevitable over-clocked stem so common on old pipes with screw tenons.
This Austrian-made Straight Egg has been reunited with its owner, who has happily put it back into his rotation.
Thanks for following along on this rather technical restoration. I’m quite pleased with the results, and I hope this post will help you with your own refurbishments. I know I learn something every time I sit down at my worktable – one of the things about this hobby that keeps me interested!
Here’s the finished pipe. Until next time Happy Piping!