A DadsPipes reader and fellow Ontario piper dropped off a handful of eBay pipe purchases for me to go through before he added them to his rack and rotation. As many eBay pipe hunters have found, an estate briar listed as “cleaned and ready to smoke” may or may not actually be clean and ready to smoke. Sometimes there is also undisclosed or hidden damage to a pipe that should be addressed before the pipe is put to use.
Of the five pipes brought to me, four turned out to need only a decent cleaning and polishing. The fifth pipe, however, required a bit more attention.
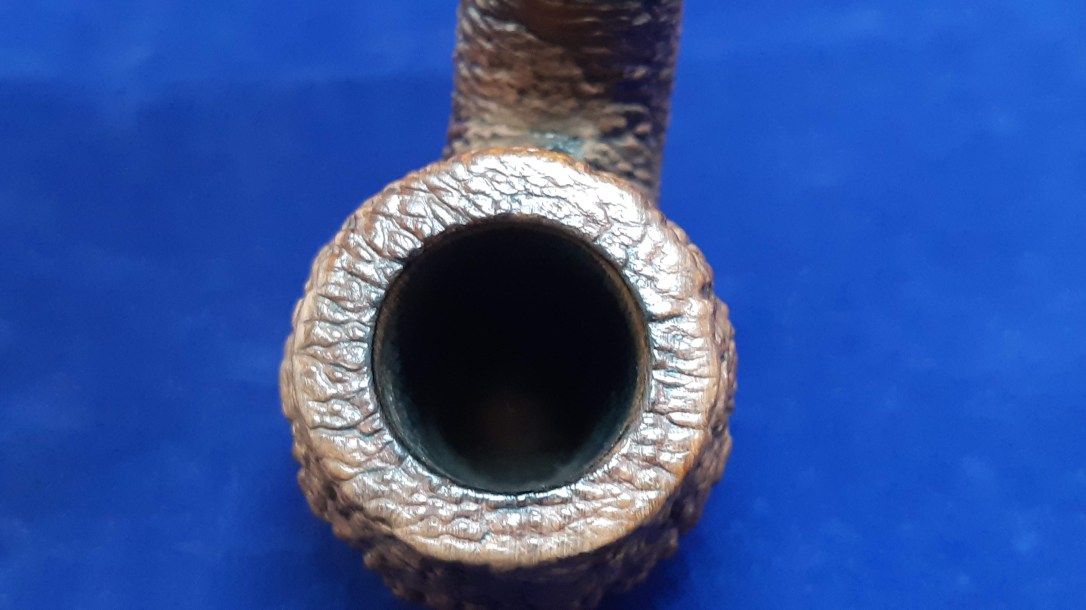
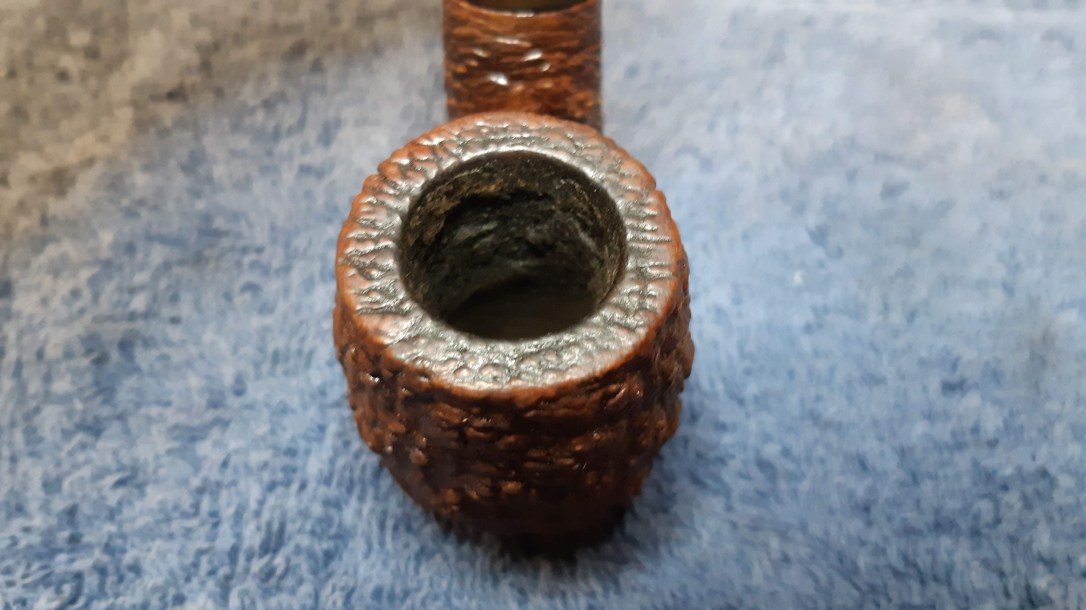
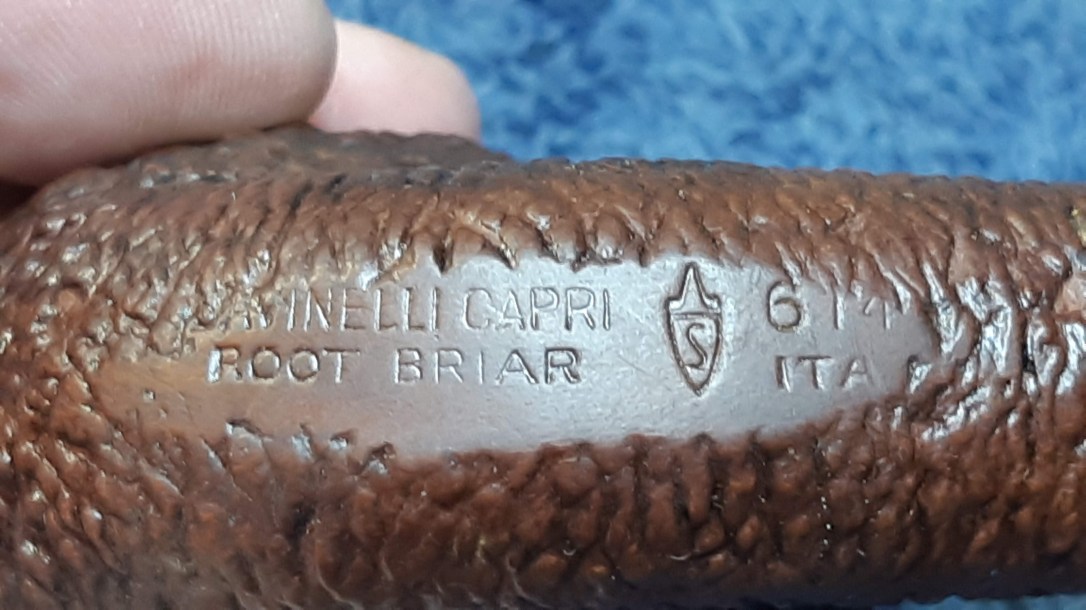
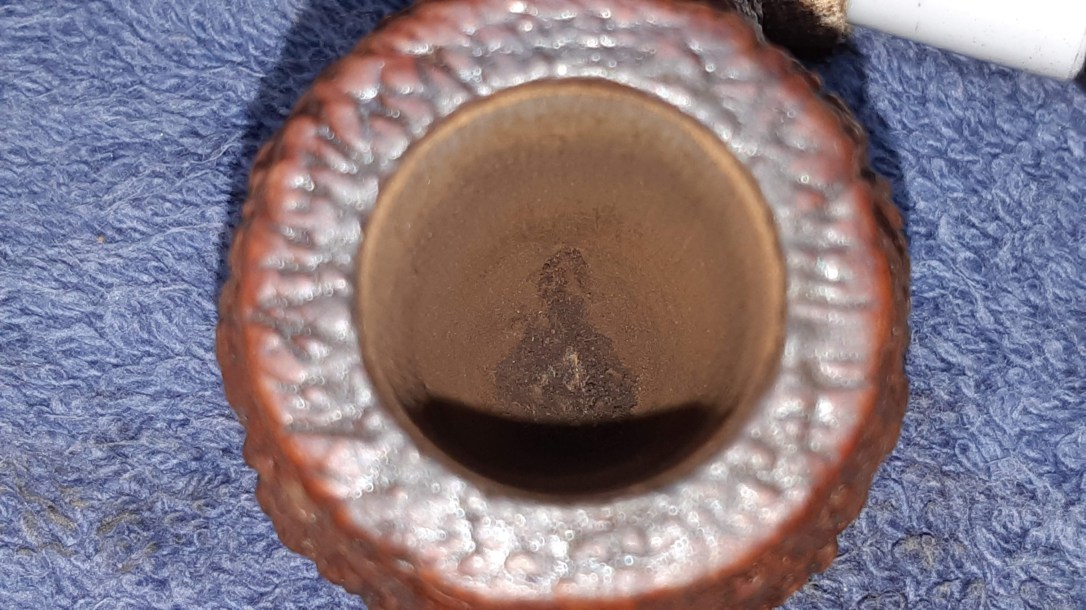
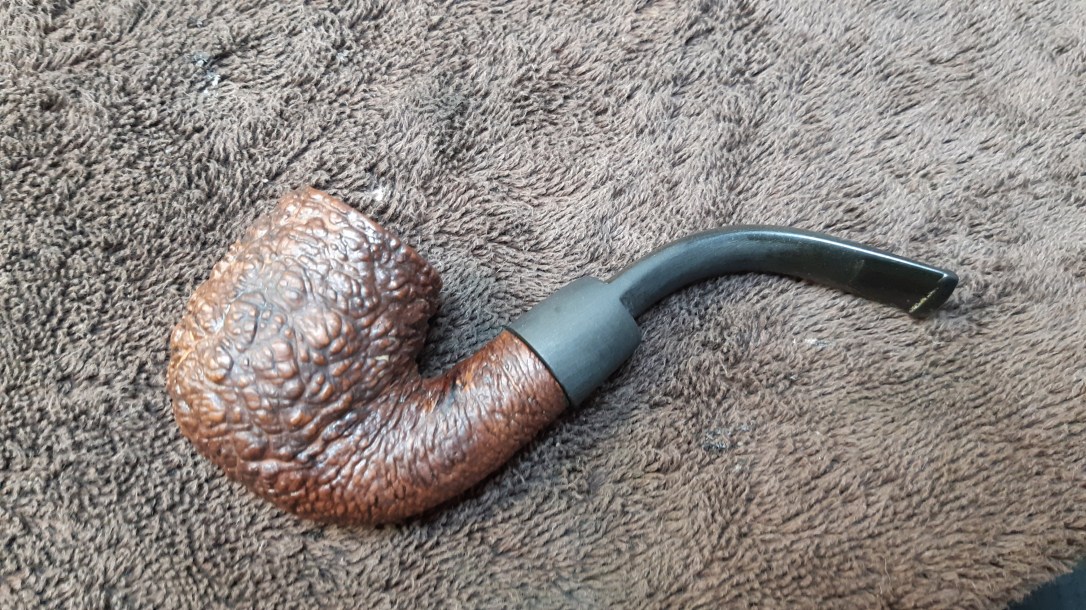
The pipe on the worktable today is a Savinelli Capri Root Briar 614, a classic Full Bent Billiard with the well-executed pebble finish characteristic of the Capri line. The stummel was in good shape overall. It needed a good cleaning but otherwise suffered only from a film of lava stuck deep in the crags of the rim rustication.
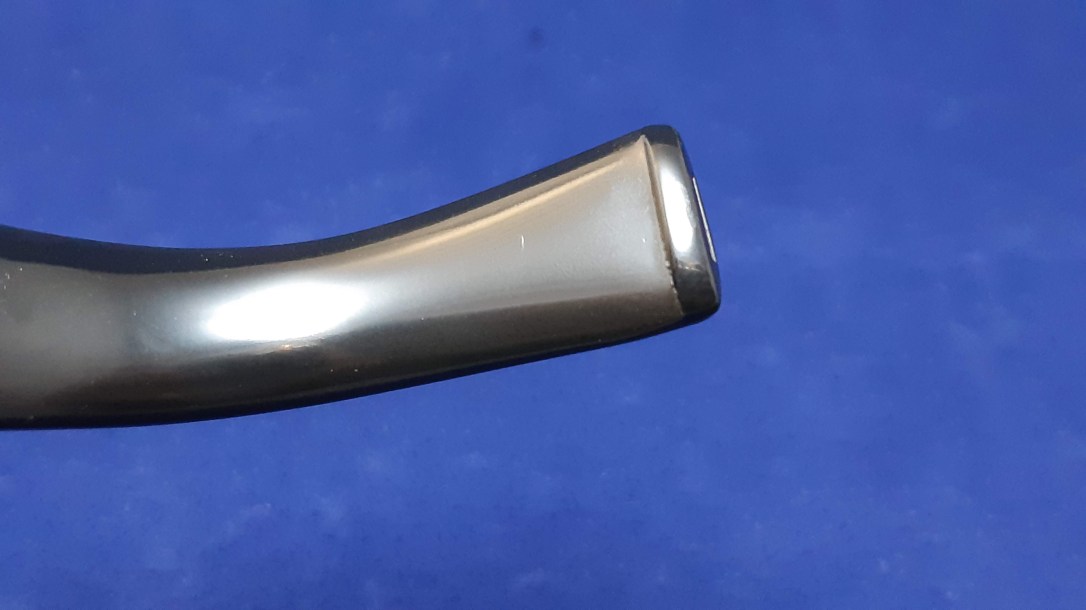
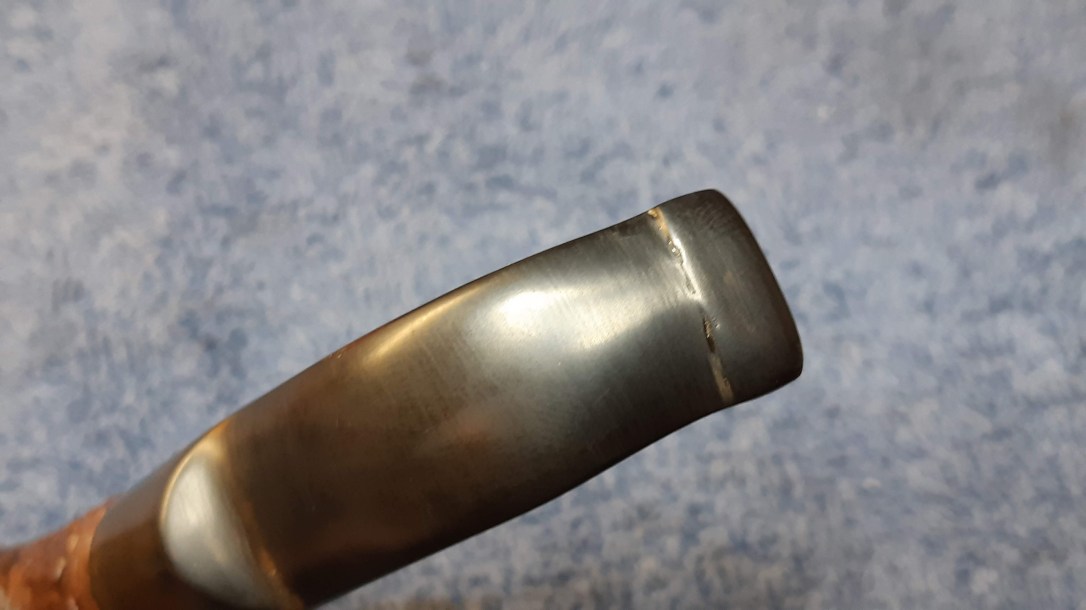
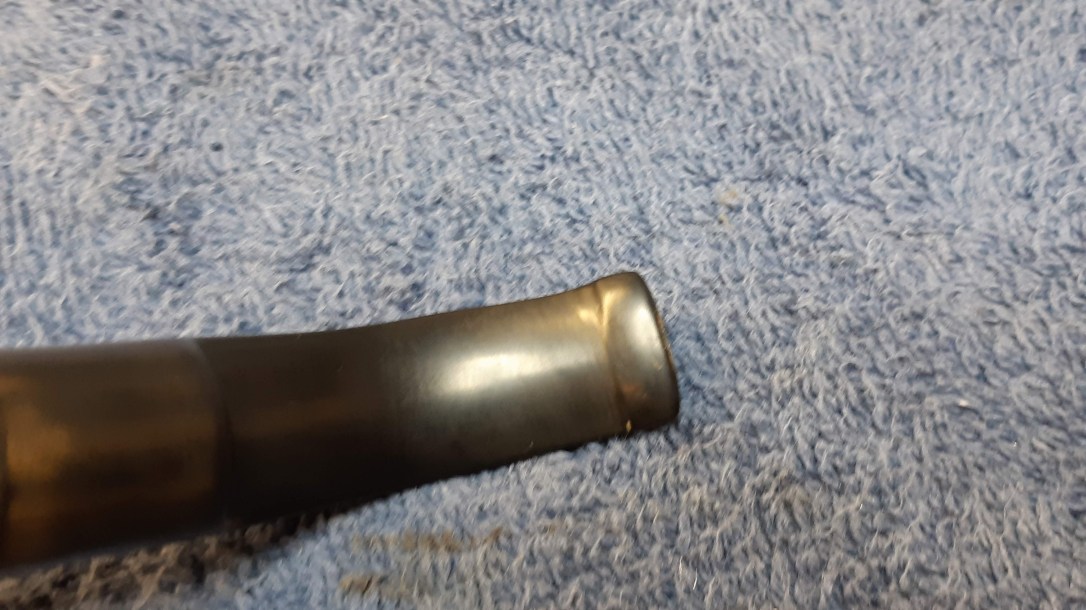
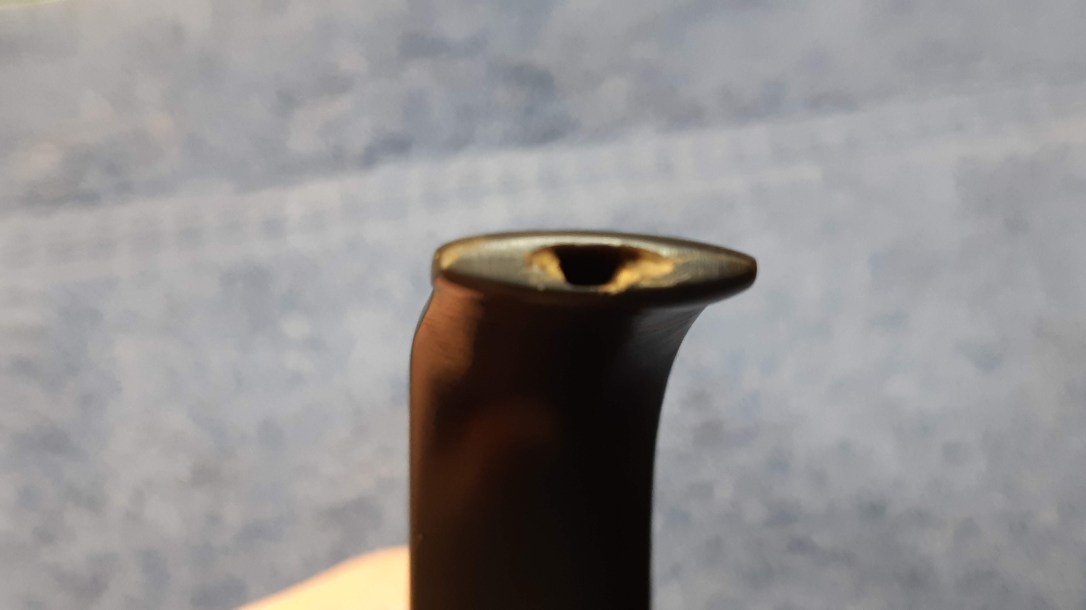
The stem was another matter. At some point in the pipe’s history, the stem had been damaged at the bit, most likely from over-enthusiastic clenching. The previous owner had filed the end flat and cut a wide, nearly flat, button at the salvaged end of the bit. The slot was almost completely gone, leaving the stem with essentially an old-time orific opening.
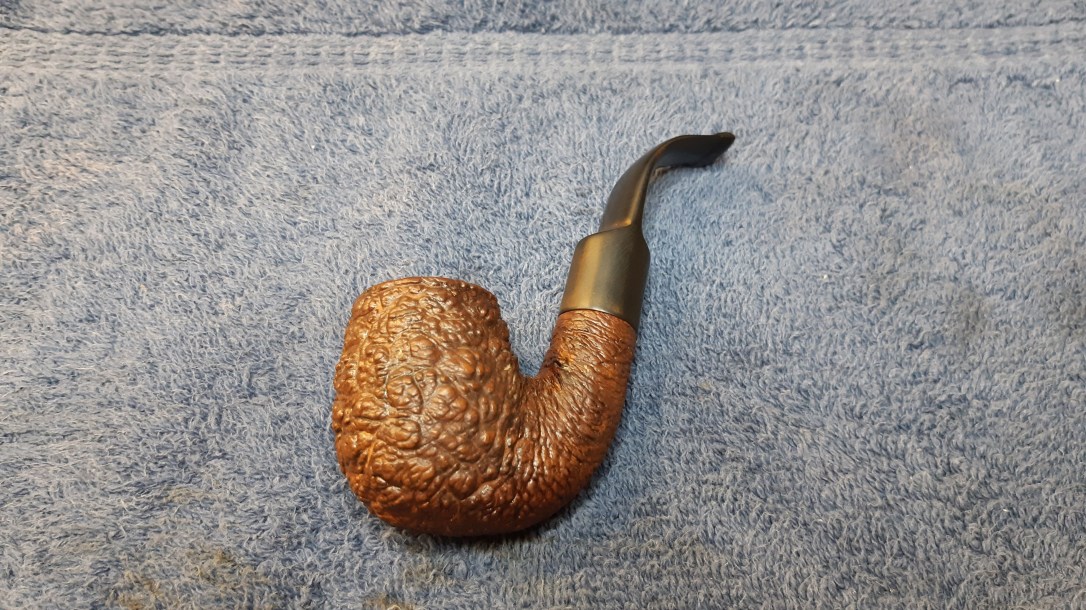
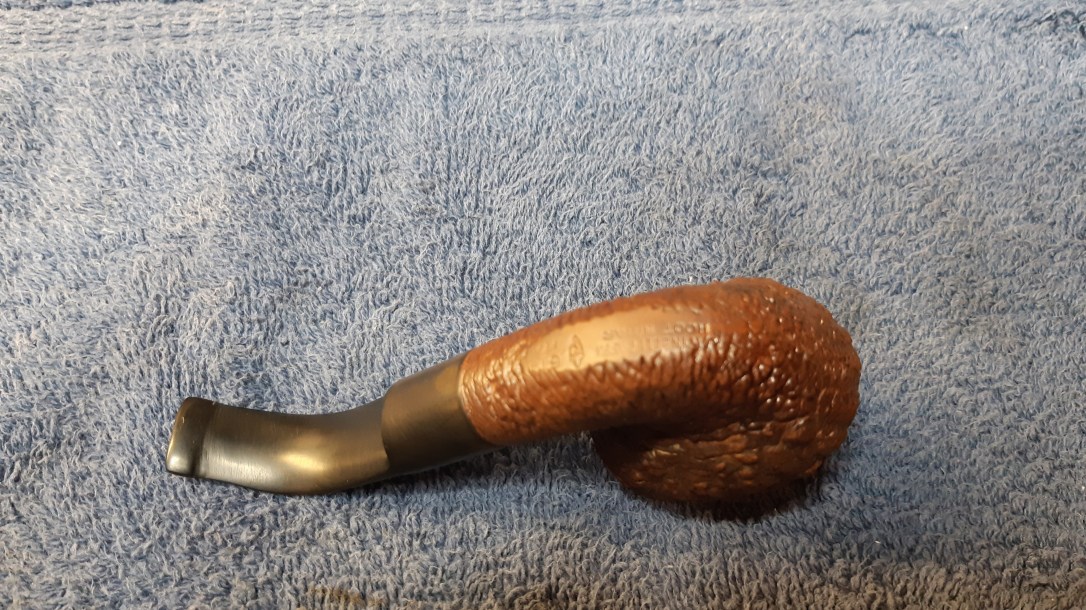

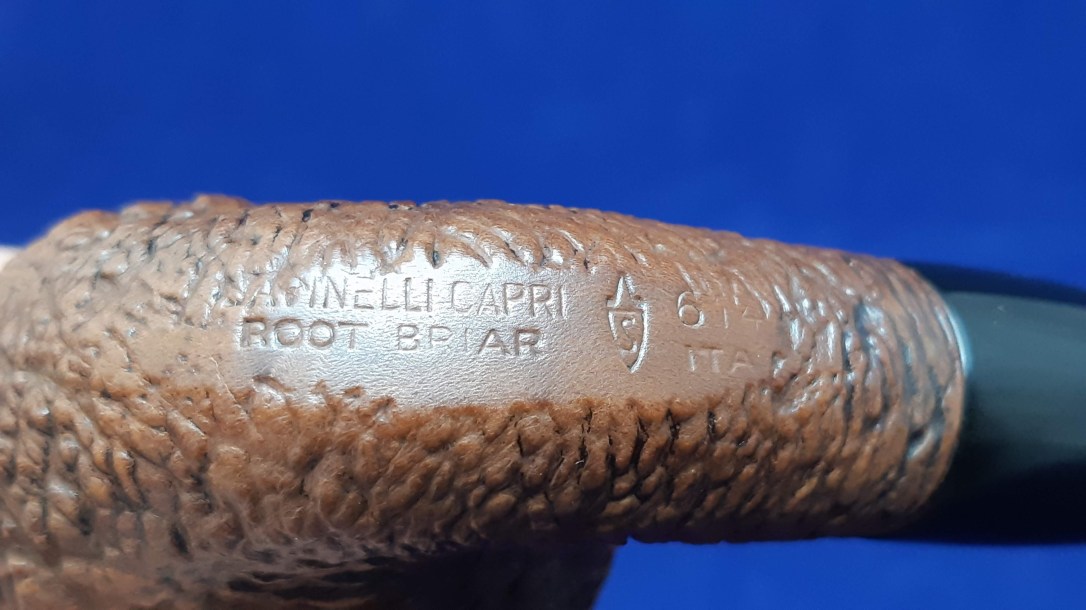
The pipe is stamped “SAVINELLI CAPRI” over “ROOT BRIAR” followed by the Savinelli Shield logo and “614” over “ITALY”.
I had a decision to make about the stem – repair or replace? After a bit of research, I determined that the current stem was about 1/2″ to 5/8″ shorter than factory spec – too much to try to rebuild with CA glue and charcoal dust. A new stem was needed.
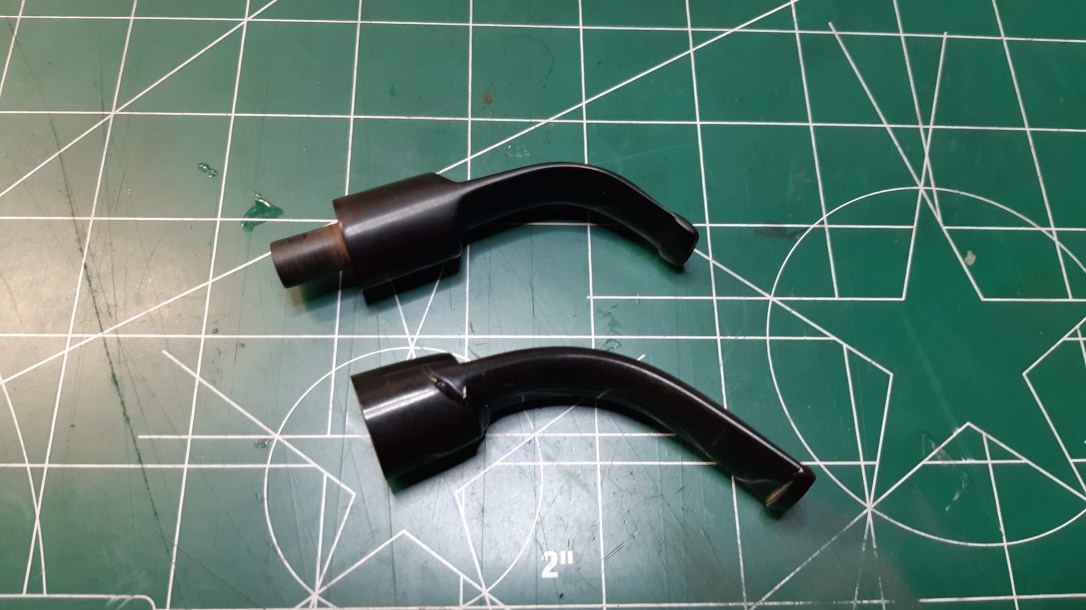
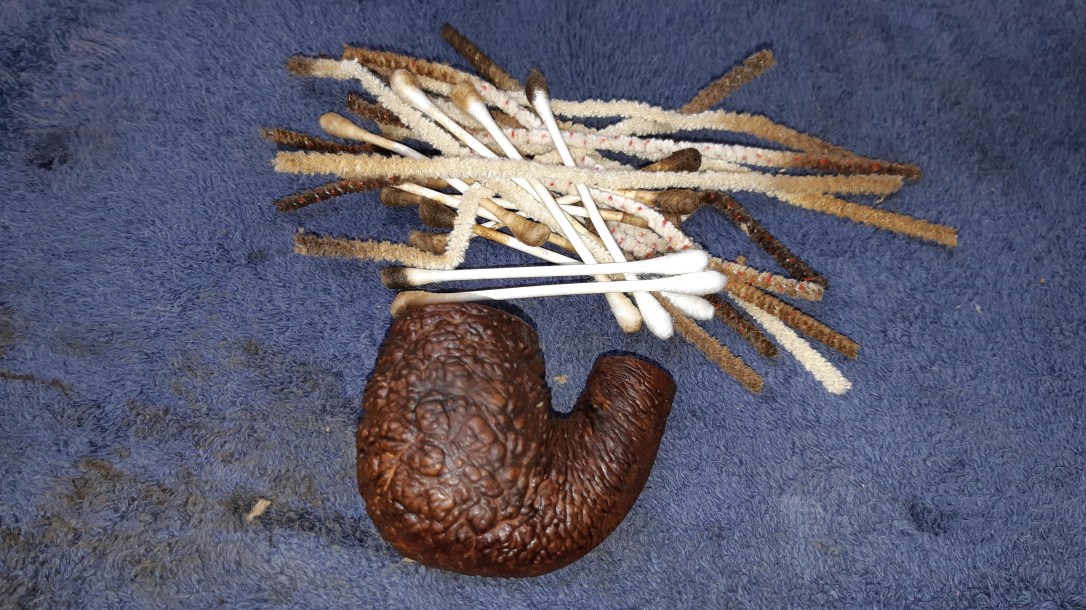
I dug around in my box of stems to see if I had anything in stock that would suit this Savinelli. Eventually I found a long saddle stem that would fit nicely after a little work. This pic shows both stems together – the old stem on top, and the replacement stem on the bottom.
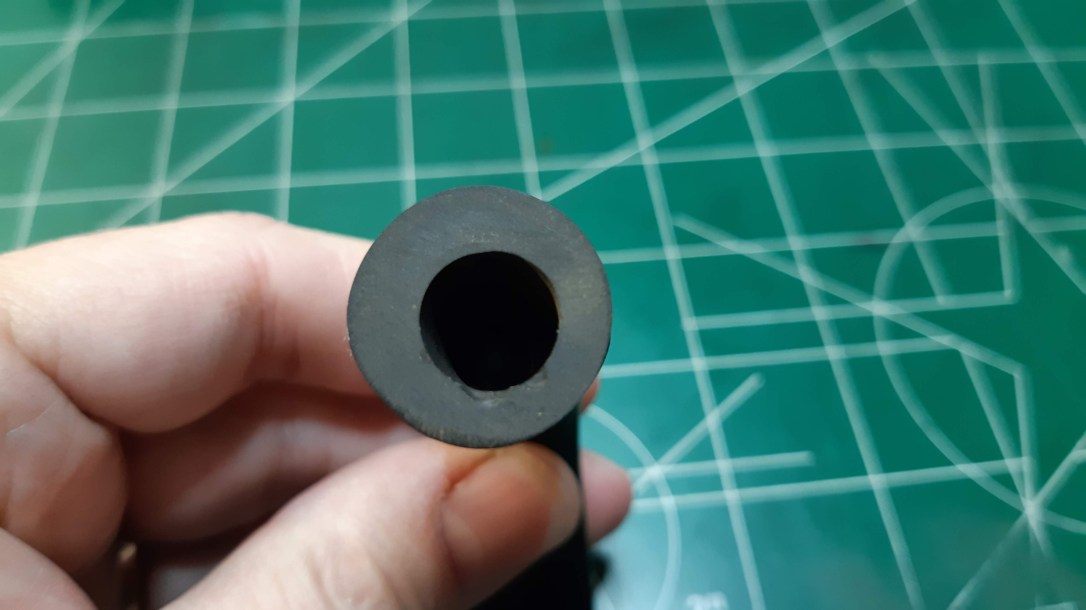
The replacement stem I chose had a few issues of its own I’d have to remedy before I could fit it to the pipe. The button end of the stem was in perfect, nearly new condition; the tenon end, however, had been drilled out off-centre and too deeply. The drill bit had actually gone right through the shoulder of the saddle.
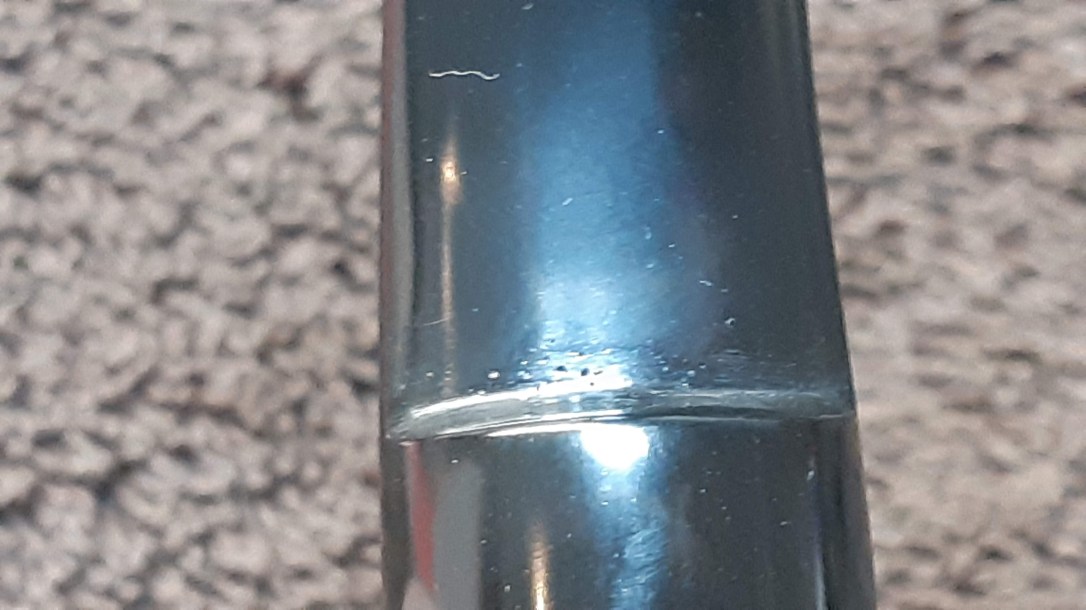
These pics show the poorly drilled tenon end and the saddle shoulder after I patched it up with CA glue and charcoal powder. A bit of sanding and polishing would blend the repair into the surrounding vulcanite. The third pic below shows the saddle after initial filing and sanding of the repair – a few bubbles yet to deal with but well on its way.

I lined up the stem and stummel to see how the new stem would look once installed. As you can see here, the length was good, but I’d have to remove some material from the diameter of the stem to get it to match the pipe shank.
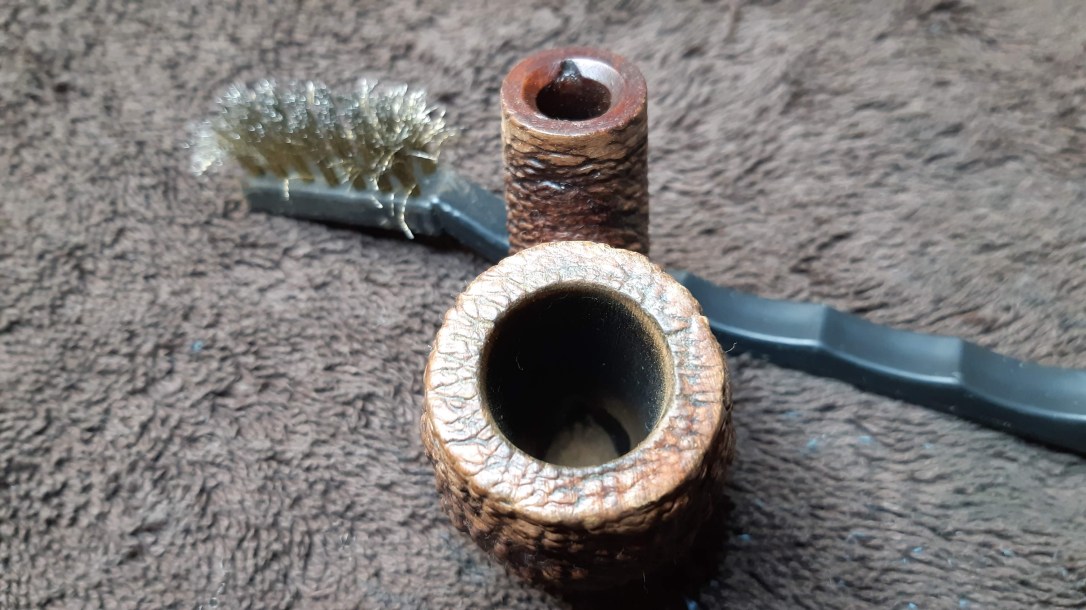
Before I got too involved in fitting the stem I needed to clean the pipe. I reamed the old cake from the bowl and tidied up the chamber with sandpaper. That was the easy part. Cleaning years of old tars and debris from the mortise and airway required a concerted campaign of pipe cleaners, cotton swabs and alcohol, but eventually the stummel’s internals were clean.

With the mortise clear of gunk, I used a bit of sandpaper to size a Delrin tenon to fit snugly in the shank. With the diameter of the tenon set, I cut threads in the stem end of the Delrin to provide positive grip for the epoxy I’d use to glue the tenon into the stem face.

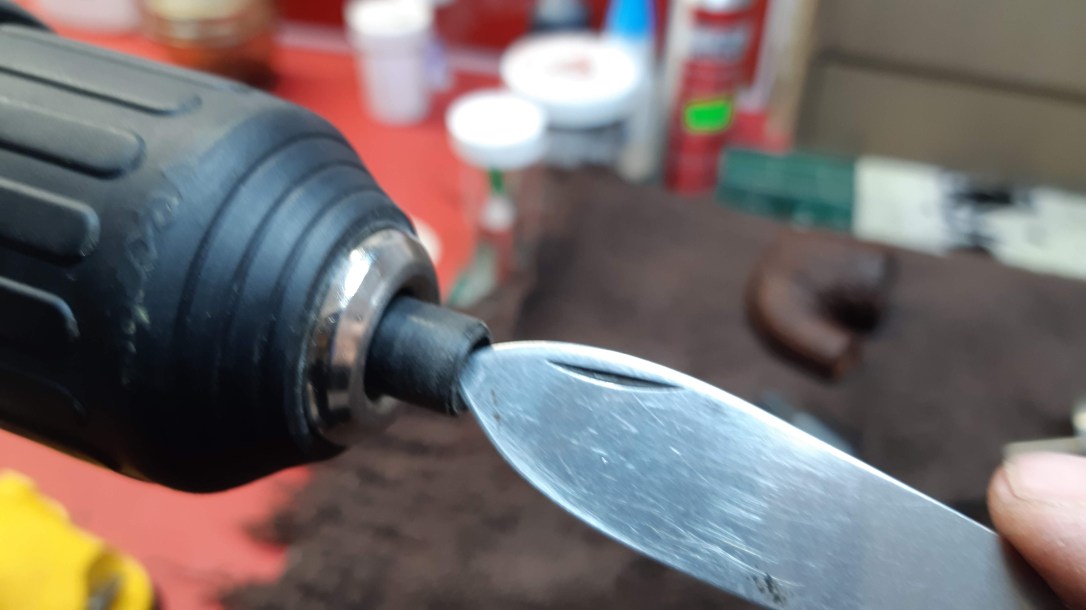
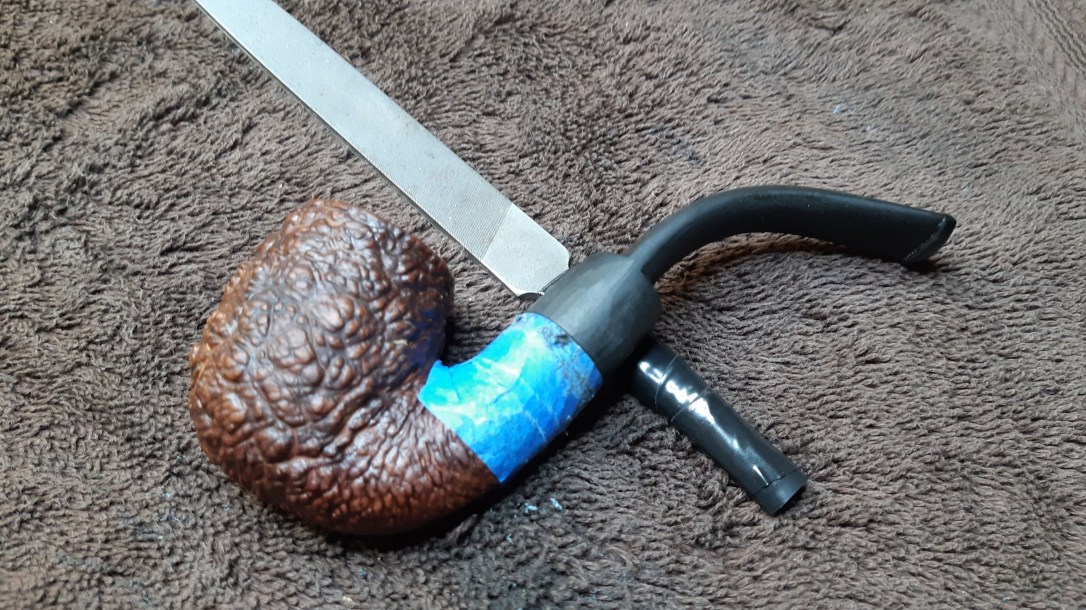
To improve the draw and reduce turbulence in the airway, I countersunk the end of the tenon to create a funnel shape. To do this, I chucked the tenon into my cordless hand drill and set it running while I pushed the tip of my knife blade gently but firmly into the airway. The shape of the blade carved a nice even funnel in the Delrin tenon.

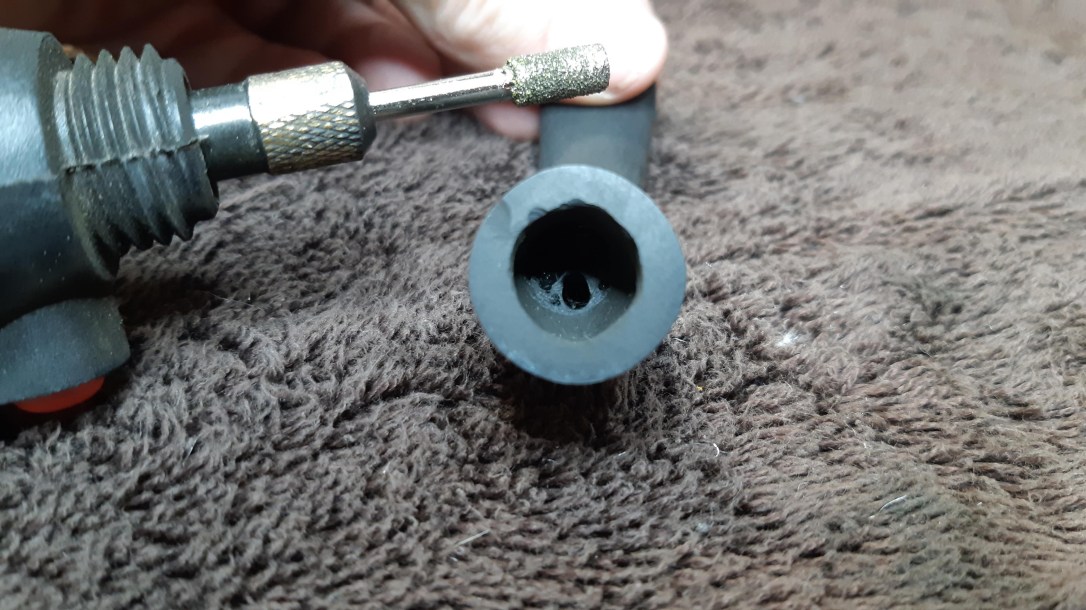
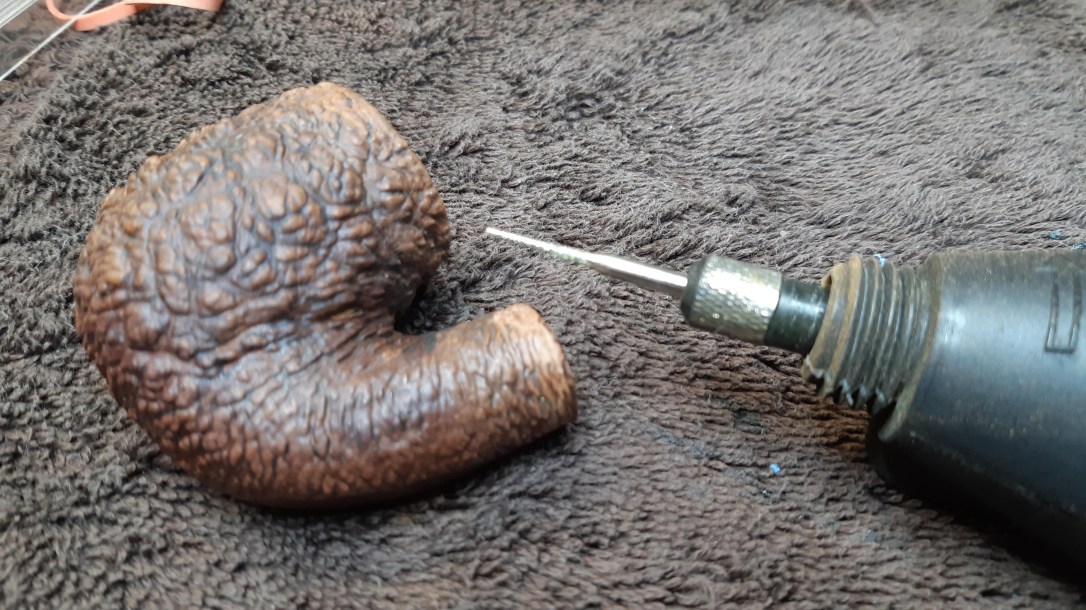
I was almost ready to glue the tenon into the stem, but first I had to address the off-centre drilling at the stem face. To accomplish this task, I mounted a cylindrical carving bit in my rotary tool and carefully removed material from the mortise until the opening was more or less centred on the airway. A test fit showed that the stem could now fit over the tenon end with an even overhang of material all the way around the shank.
Satisfied with my preparations, I mixed up a batch of JB Weld epoxy and applied it to both tenon and stem mortise. I secured the stummel in the padded jaws of my bench vice and slipped the stem into position over the tenon.
The upright orientation of the shank and stem let gravity assist in keeping the stem/shank junction nice and tight while the epoxy set. A few strips of painter’s tape kept the stem centred on the tenon.
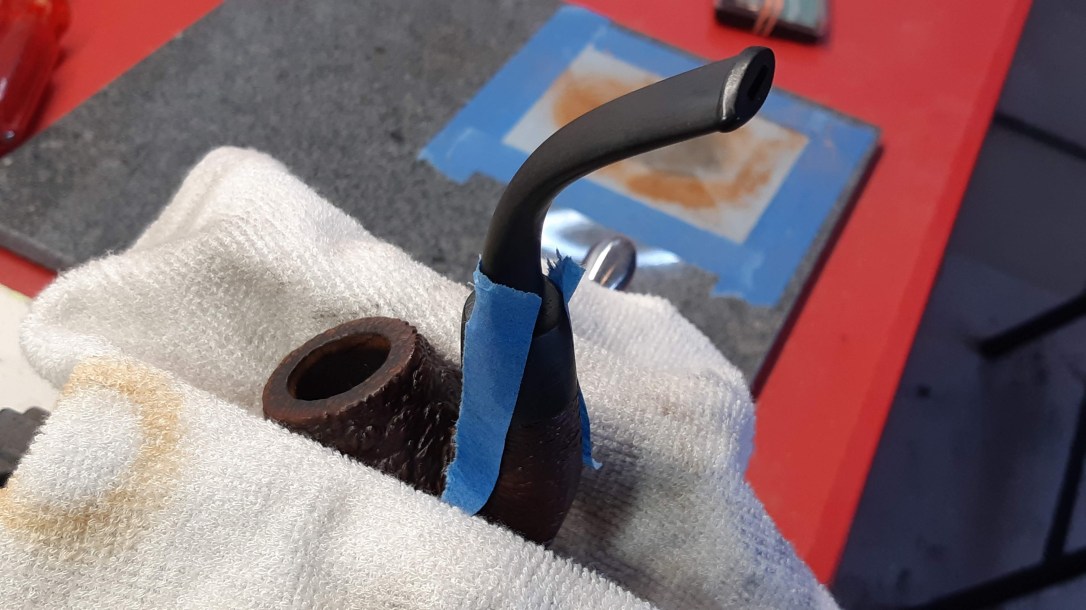
I let the pipe sit overnight to give the epoxy time to cure completely before moving on with the work. I didn’t want to fiddle with it too soon lest I knock the tenon out of position and ruin the fit.
With the epoxy set up properly, I moved on to sizing the diameter of the stem to fit the shank. After wrapping the shank with tape, I filed and sanded the barrel of the saddle stem until I had a very close match with the shank. 220 and 320-grit sandpaper would remove the remaining vulcanite and smooth out the file marks.
Despite best efforts and the layers of masking tape, my file had inadvertently flattened a few spots in the rusticated shank while I was working on the stem. To restore the texture, I worked the briar with a fine point carving burr mounted in my rotary tool. A scrap of sandpaper and my brass tire brush knocked the sharp edges off the fresh rustication. I also used the brass brush to scrub the lava out of the rim rustication.
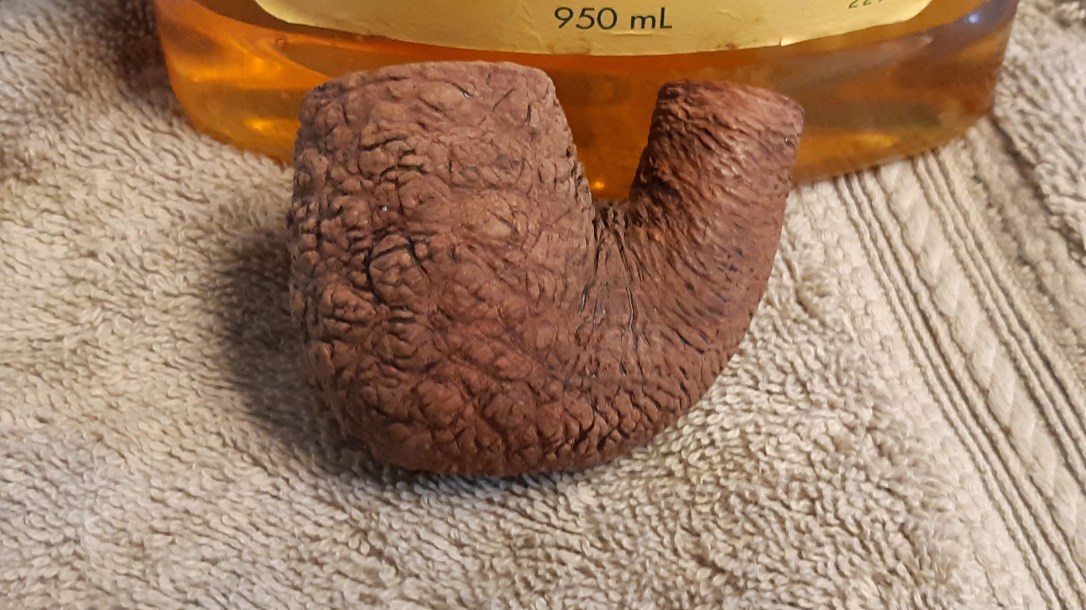
Happy with the state of the stummel at this point, I scrubbed the exterior of the briar with Murphy’s Oil Soap and a toothbrush. The first pic shows just how much dirt, wax and other crud was stuck in the rustication. I ended up applying the soap several times, scrubbing it into the rustication and rinsing under running water until the briar was clean.

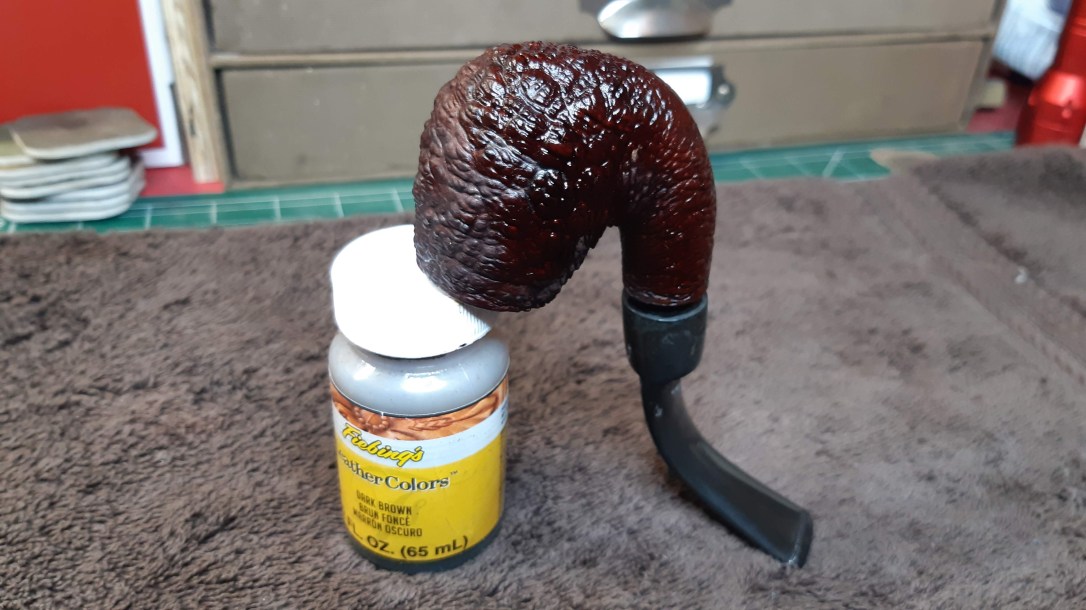
It’s difficult to see in the last pic above, but the scrubbing had exposed a few small putty fills in the upper shank which dried a lighter colour than the briar. To knock these areas into the background and refresh the finish overall, I applied a coat of Fiebing’s Dark Brown leather dye to the stummel.
I let the dye dry, then scrubbed the stummel gently with a damp piece of Magic Eraser to lighten the high points of rustication while leaving the darker stain in the crevices.
All that was left to do to finish up this restoration was to take the pipe to the buffer. Focusing more on the stem to avoid cramming wax into the clean rustication, I gave the pipe a run of White Diamond compound and a few light coats of Carnauba wax.
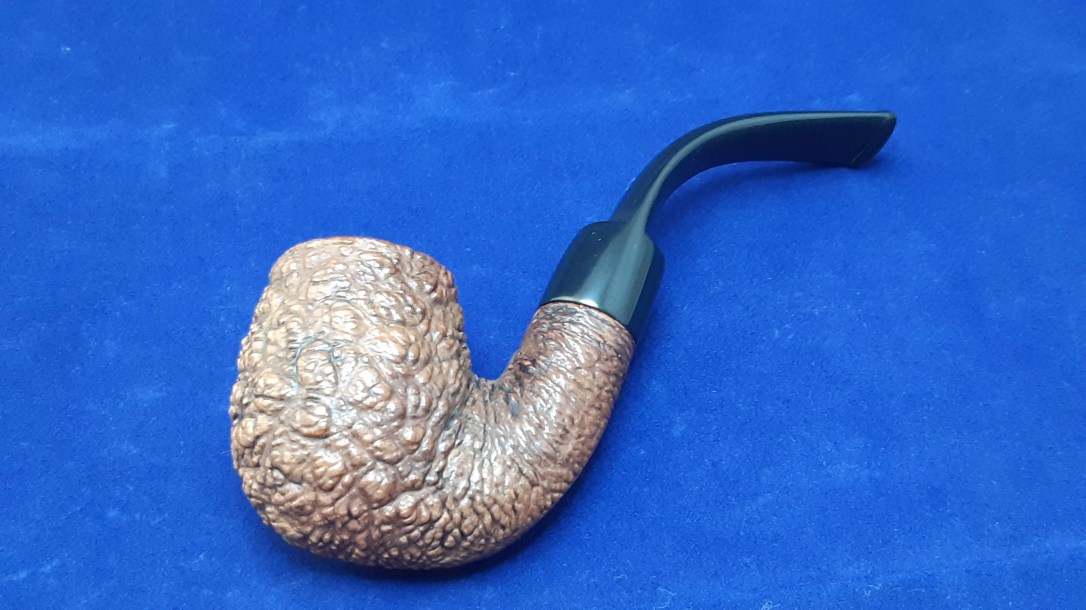
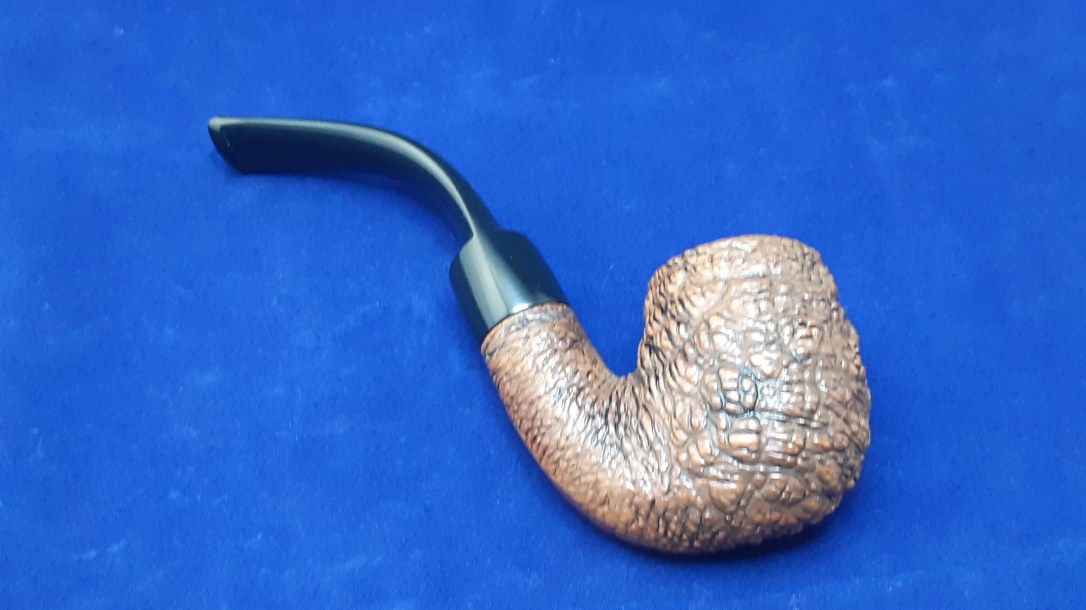
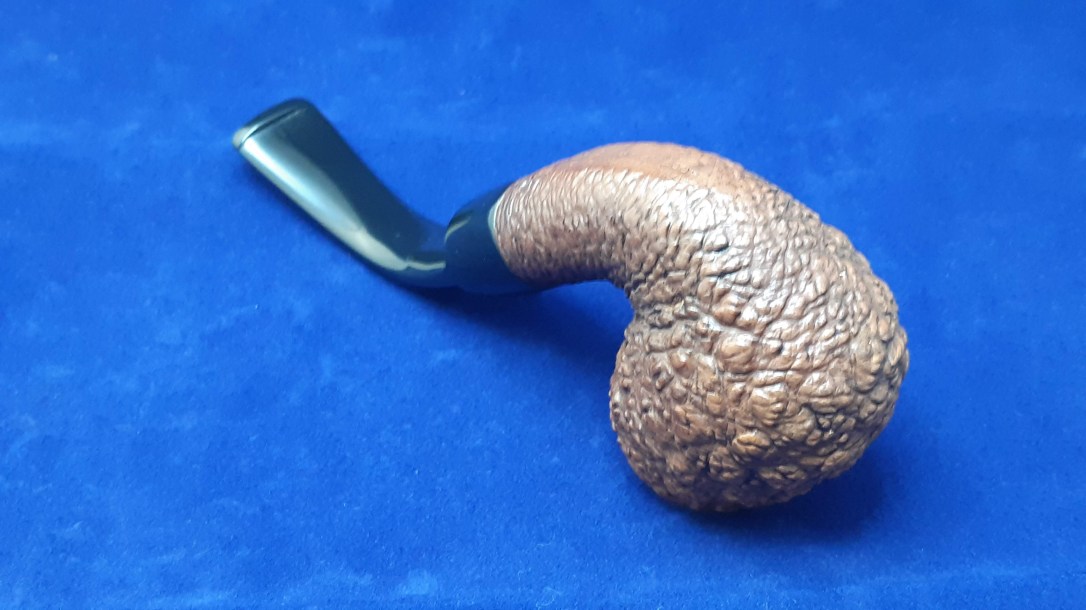
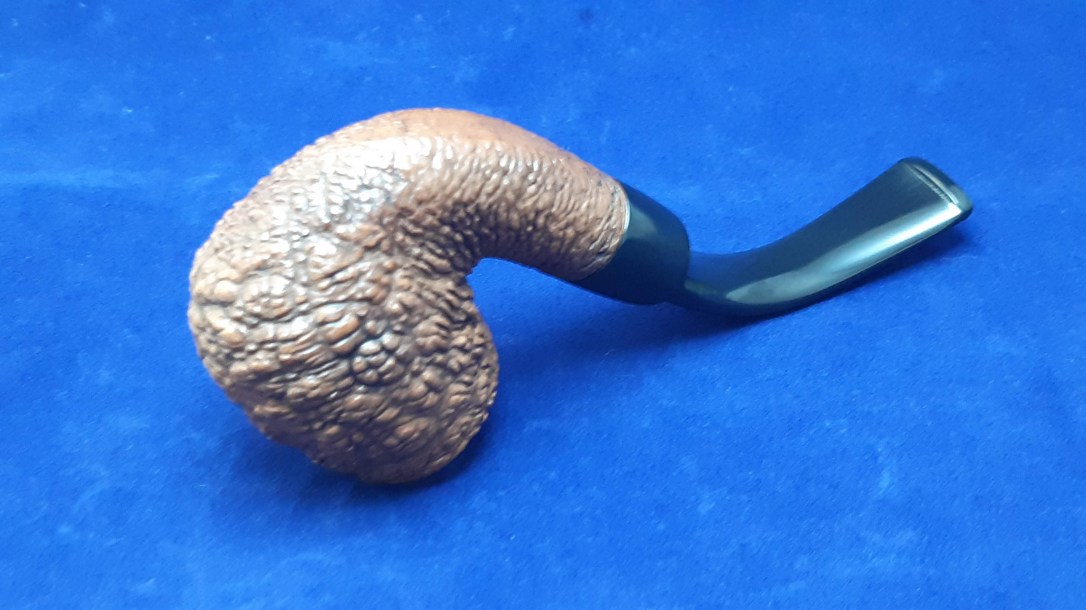
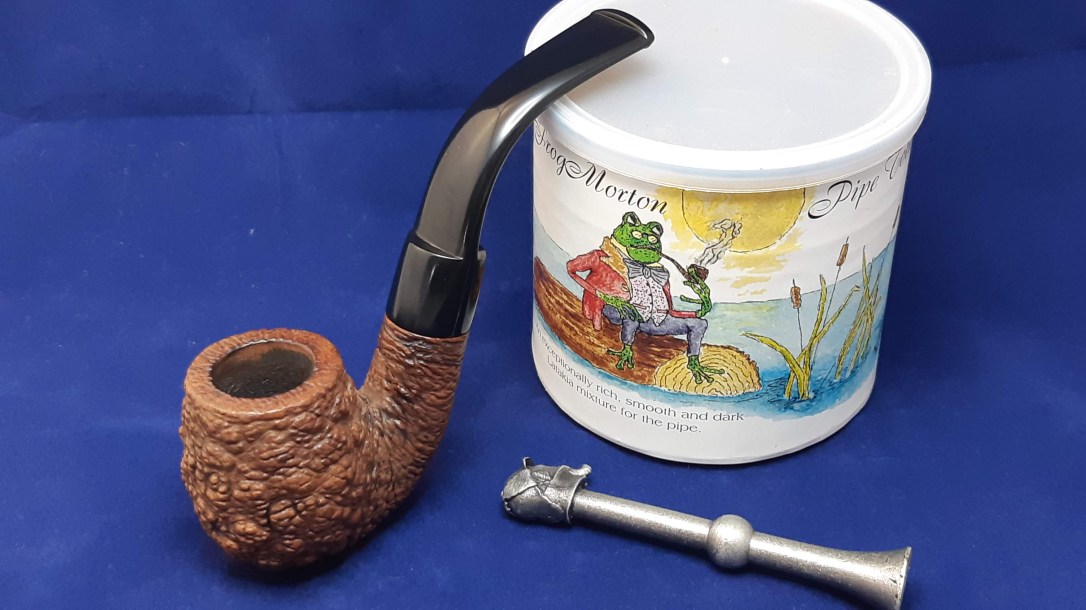
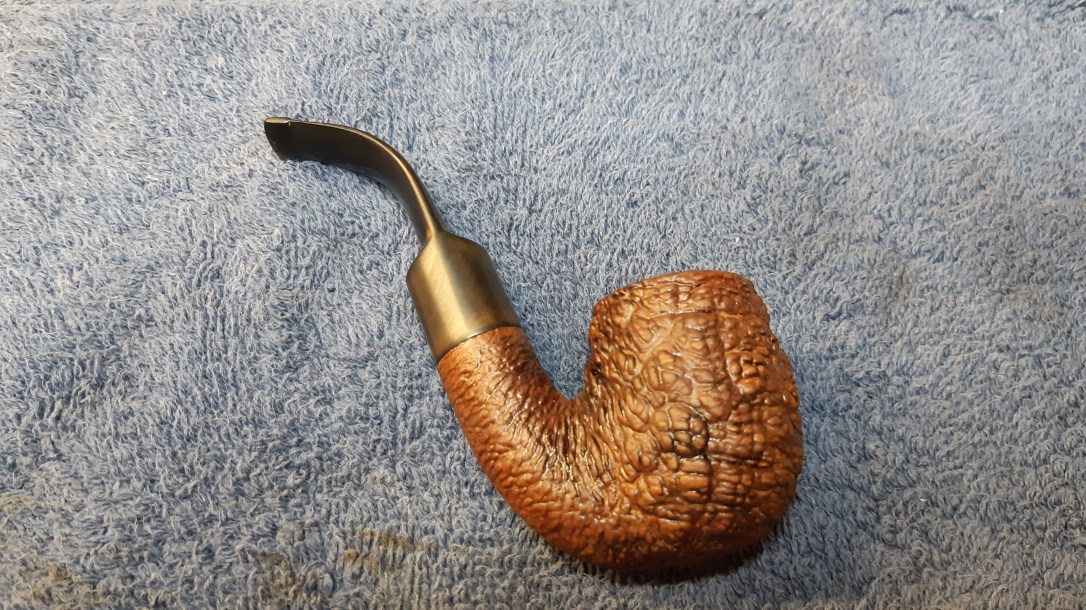
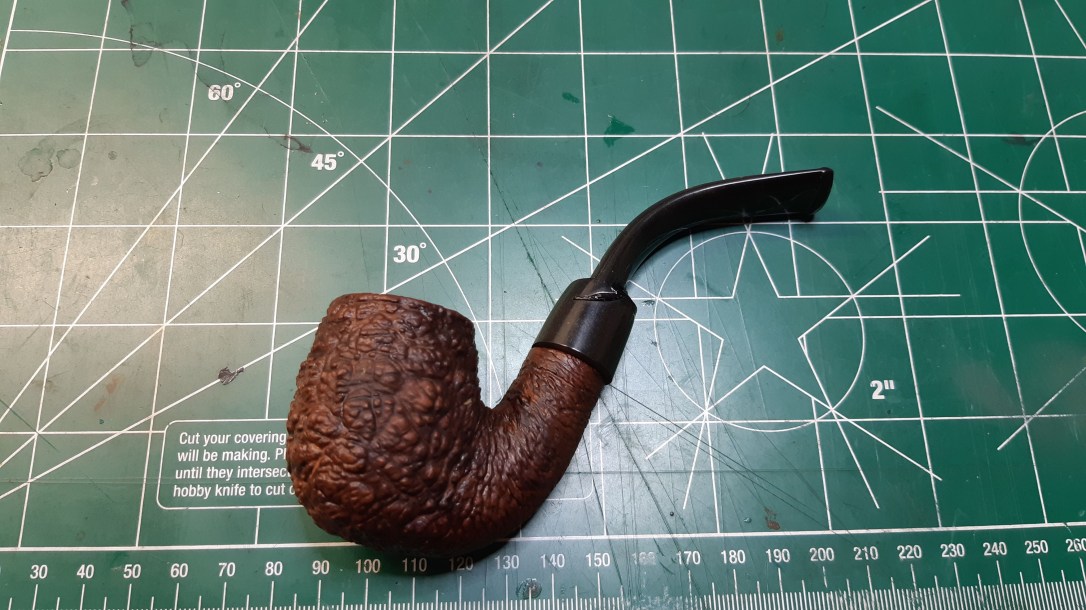
The finished pipe is looking good with its new full-length stem and refreshed appearance. The tenon fits snugly in the shank mortise and the pipe’s full-bent shape flows smoothly from bowl to button. This Savinelli Capri Root Briar 614 is renewed and ready to provide years of faithful service to its new owner.
Thanks for joining me for this re-stemming project. I hope you might find the process outlined here useful for your own stem or tenon replacement project.
Until next time, Happy Piping! Here’s the finished pipe.