
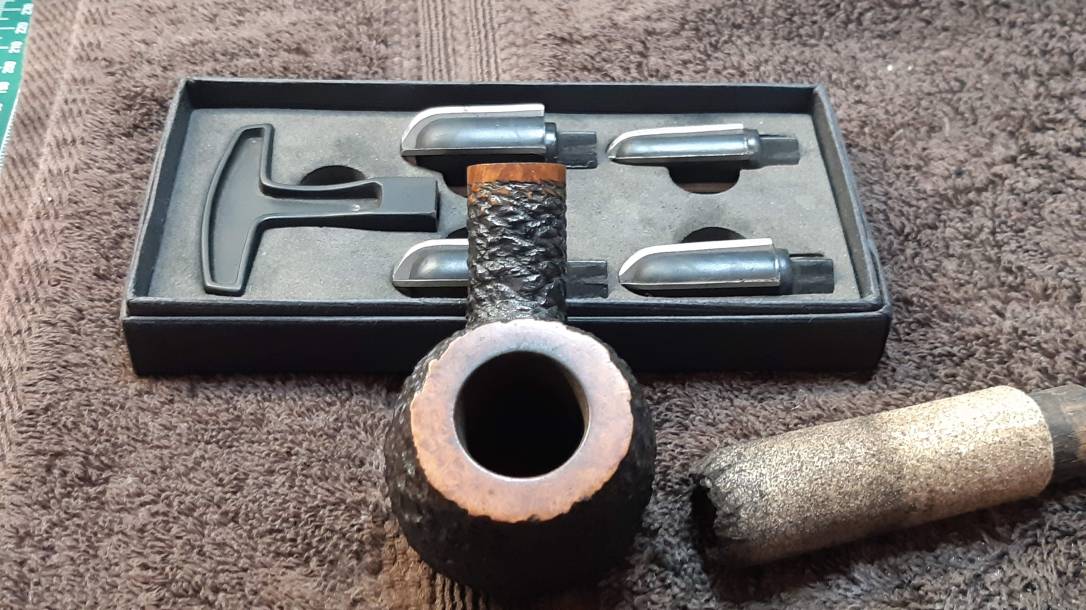
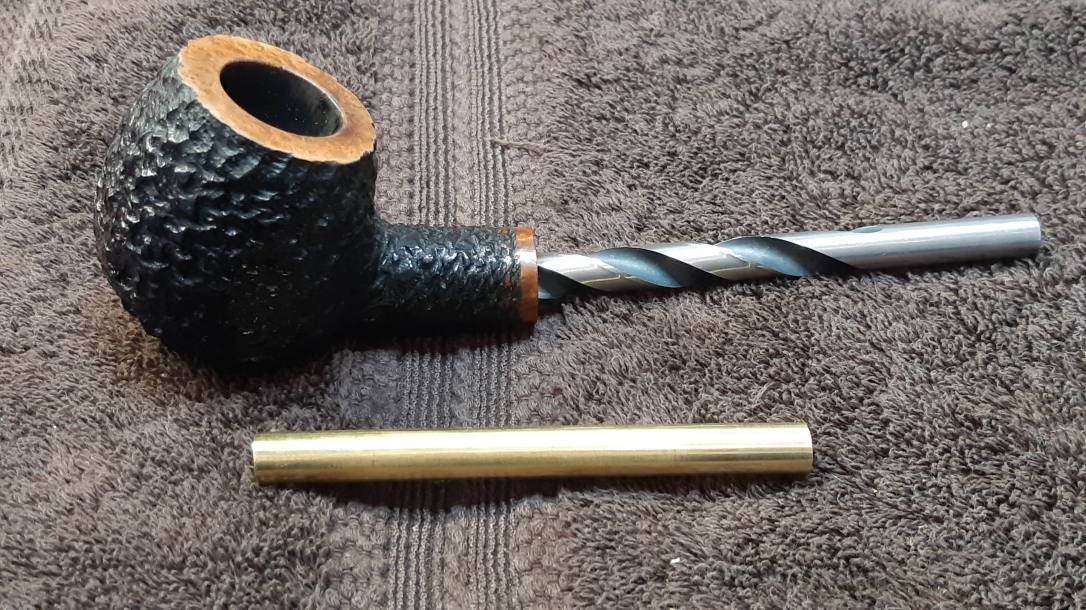
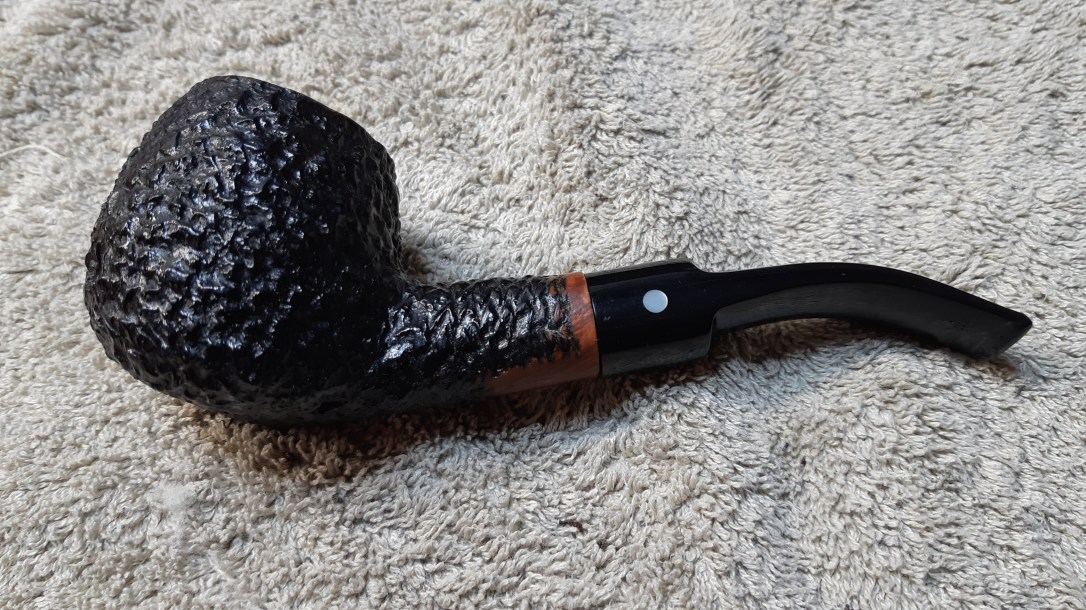
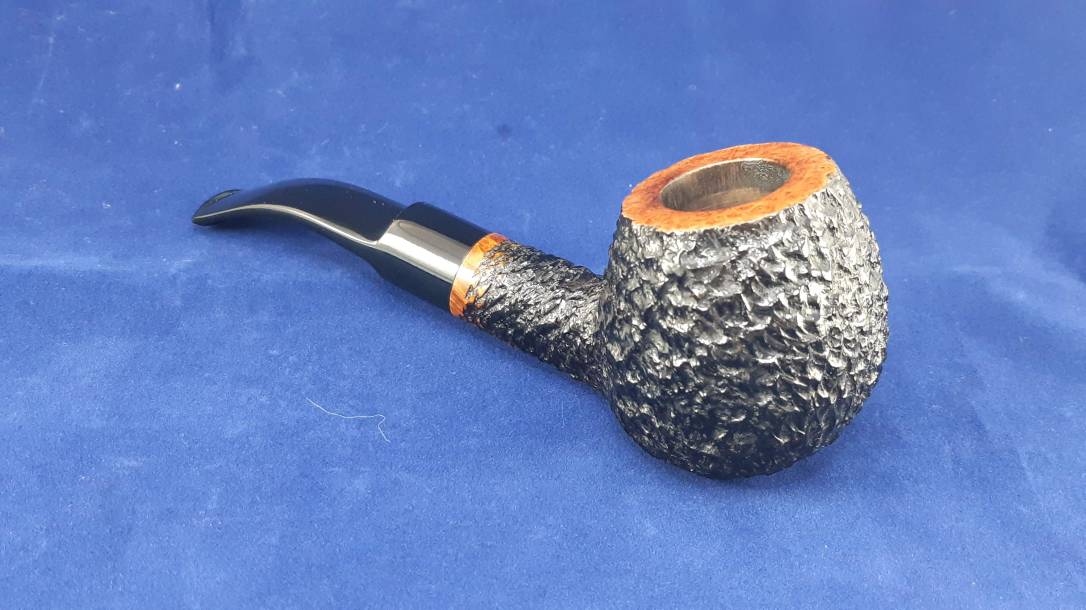
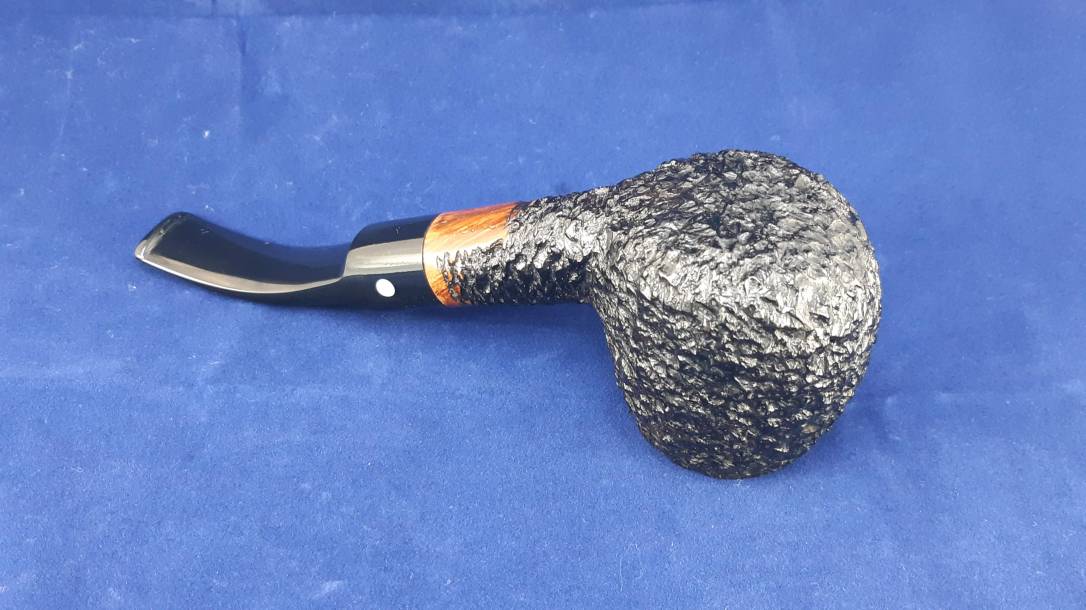
This is the third pipe sent to me for repairs by a DadsPipes reader in Birmingham, Alabama USA. You can see by the first pics that this pipe continues the owner’s run of large pipes – this David Jones rusticated pipe is a true fistful of briar! I’ve called this pipe an Author, as apart from the stummel being roughly the size of a tennis ball, the pipe has a general Author-ish appearance to it for me.
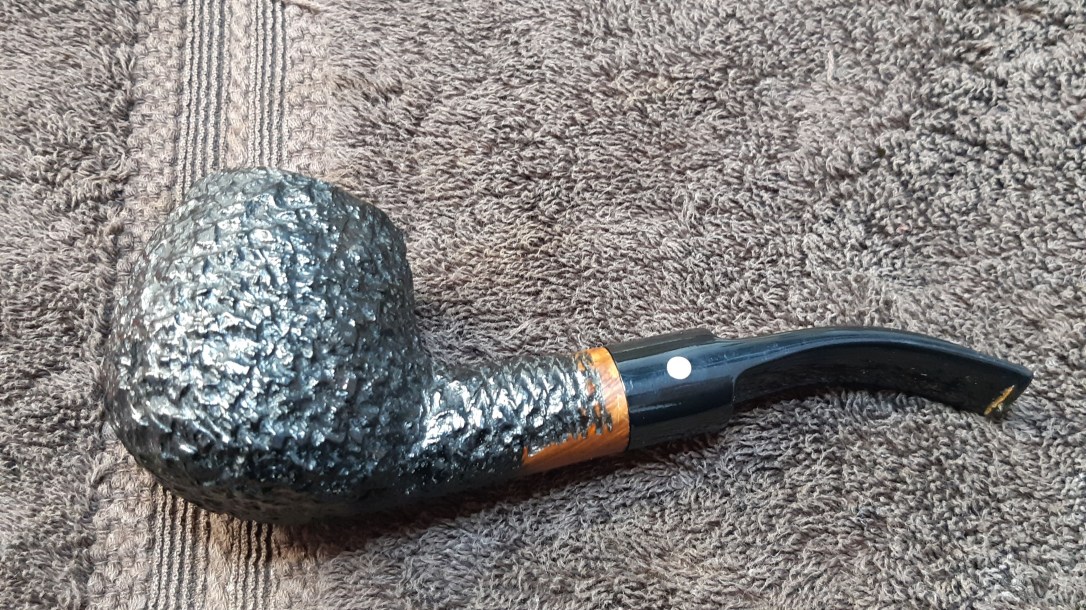
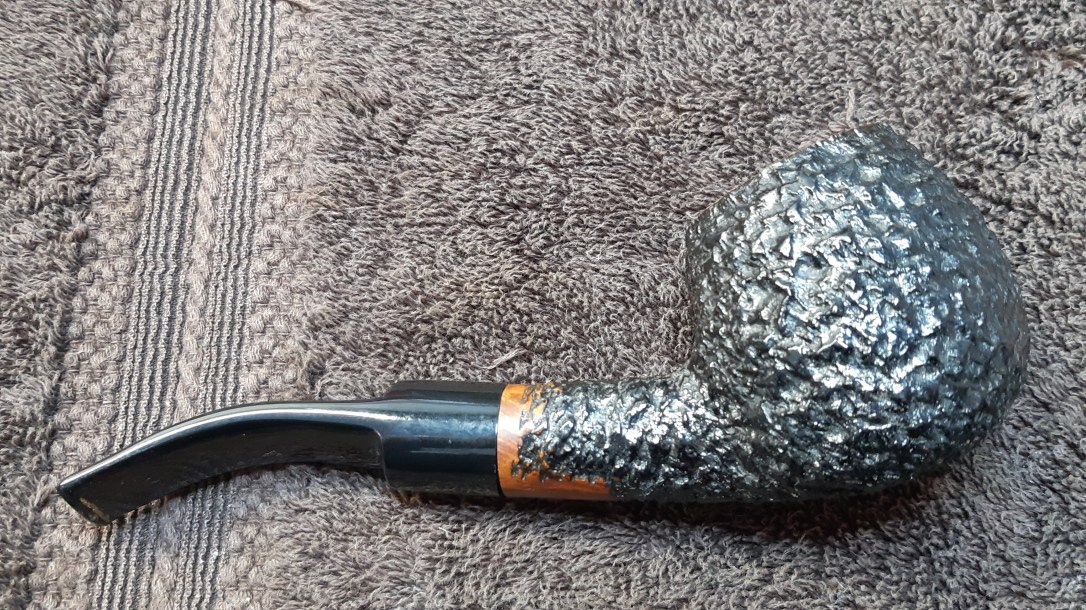


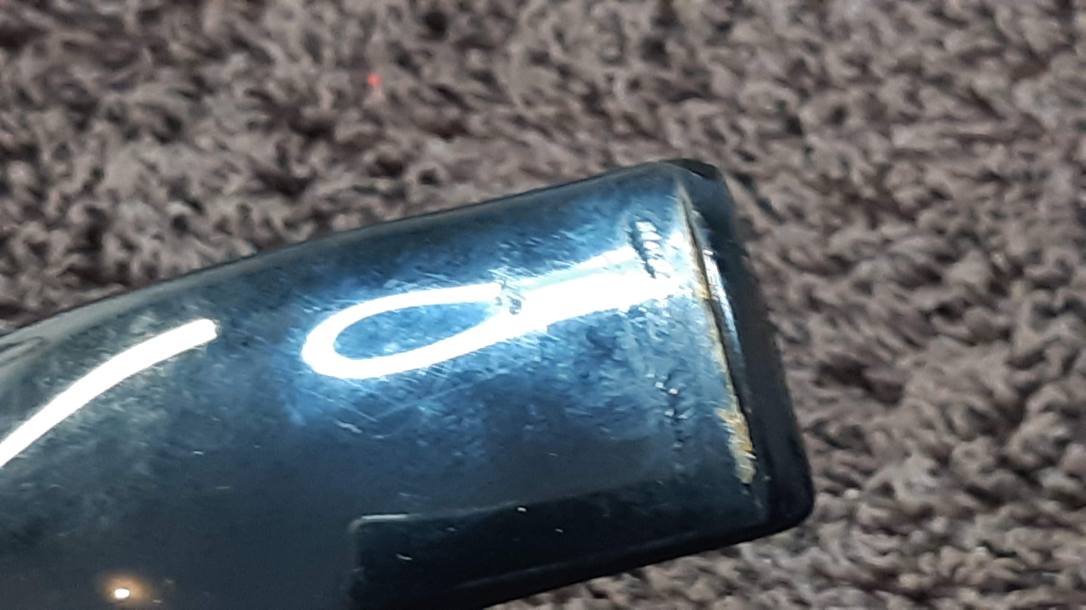

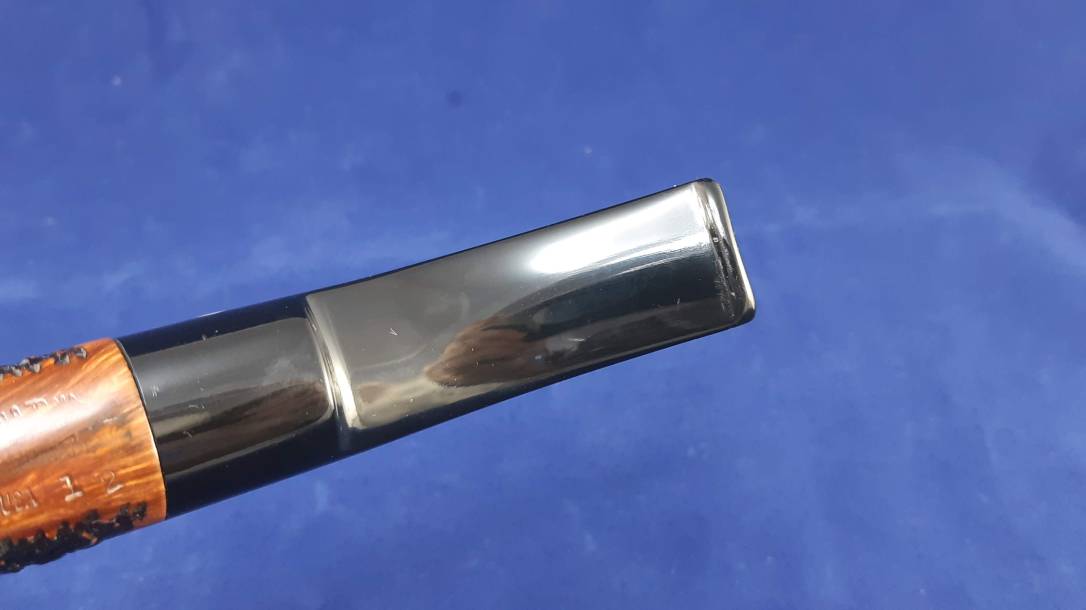
As you can see in the above pics, the pipe had suffered some damage. The owner told me that the pipe fell out of his mouth and hit the pavement, snapping the tenon and cracking the shank in the process. I can’t say I was surprised to hear this – you’d need jaws of steel to hold this beast tightly enough to prevent a fall. Apart from the broken tenon, the stem also had some deep tooth dents, further evidence of the strength needed to clench this behemoth.
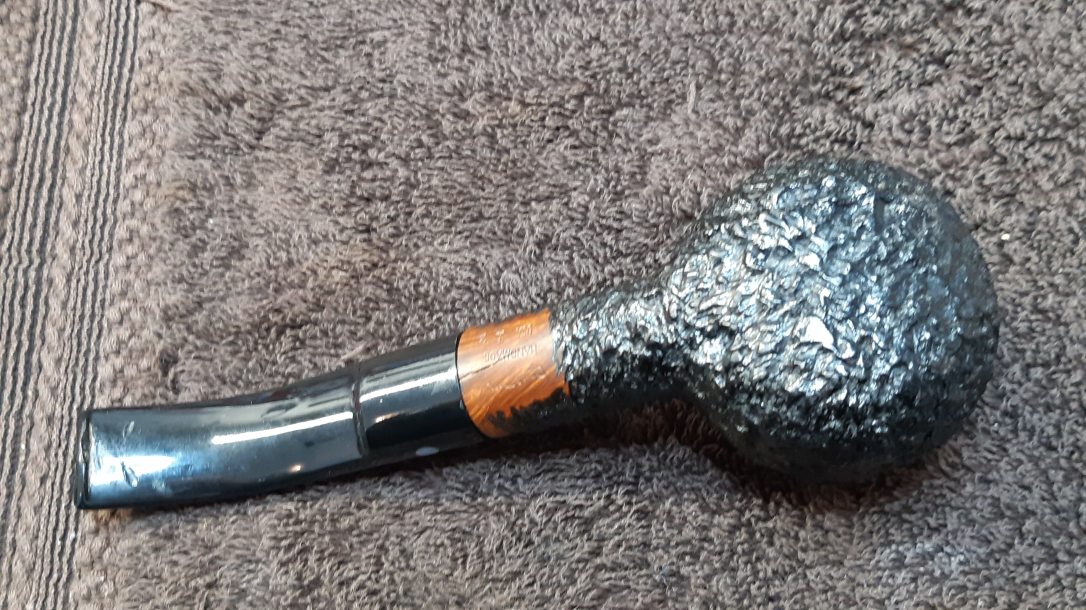
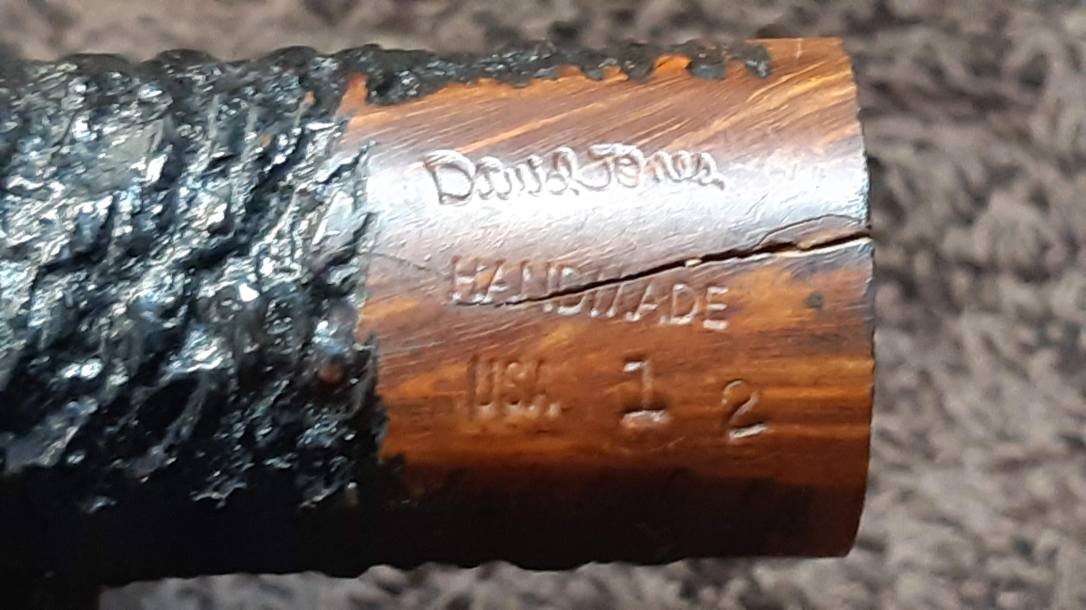
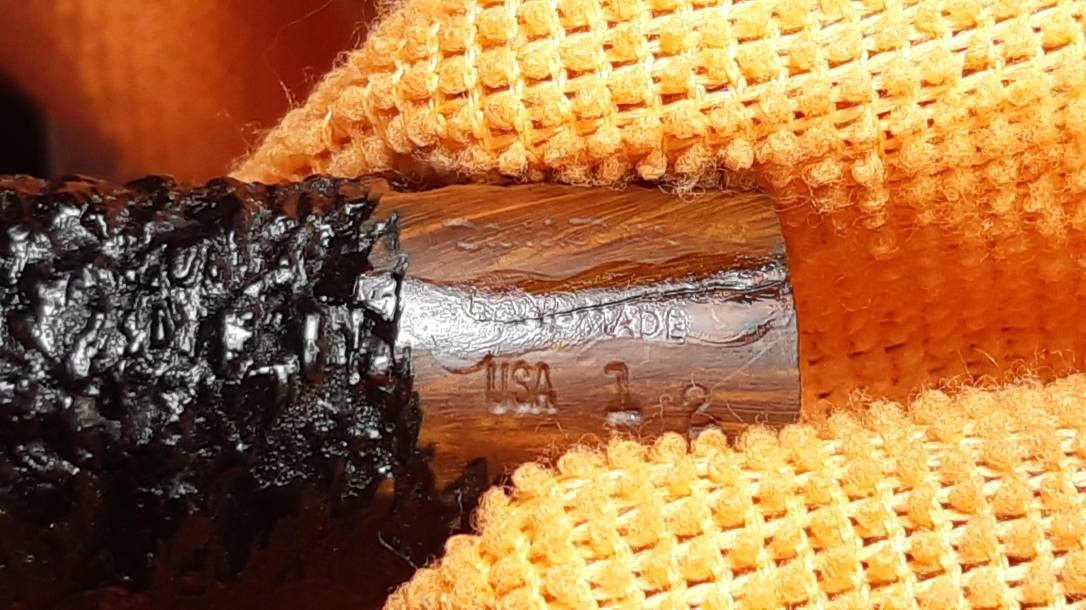
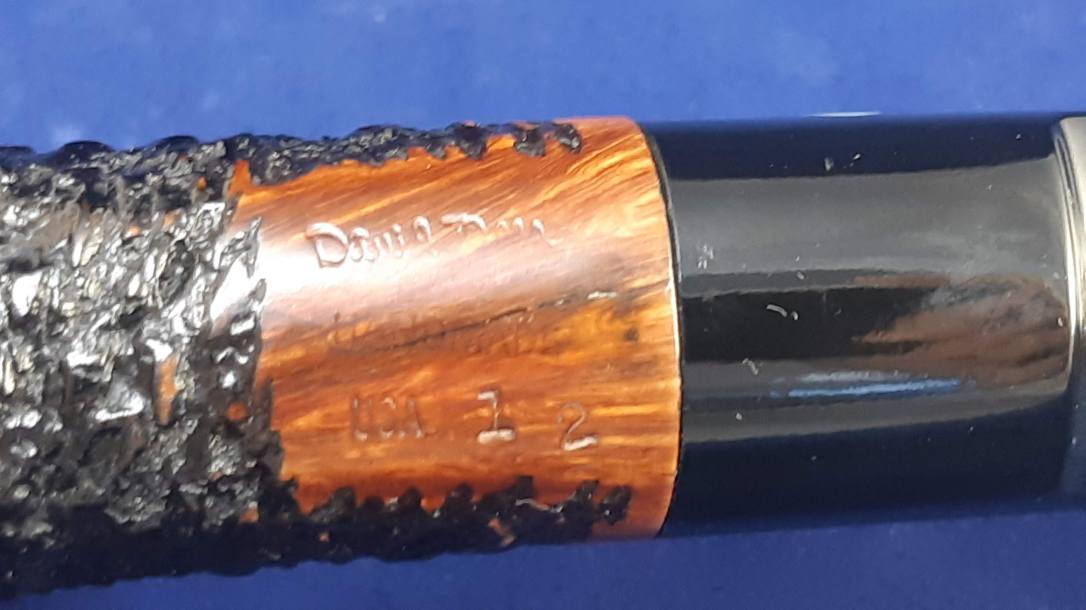
The pipe is stamped on the smooth underside of the shank with “David Jones” in script over “HANDMADE” over “USA”, the “1” and “2”.
According to David Jones’ website,
From this, I understand this pipe to be a Grade 1 pipe made in 2002.
The traditional repair for a cracked shank is to fit a metal repair band to the exterior of the shank. In this case, the owner wished to avoid hiding the nomenclature under a band, so I suggested an internal repair. Instead of reinforcing the shank from the outside, I would install a sleeve of brass tubing inside the mortise and then touch up the crack cosmetically on the outside. Unfortunately, the crack ran right through the “HANDMADE” stamp; I would try to preserve the stamp, but it would be tricky.
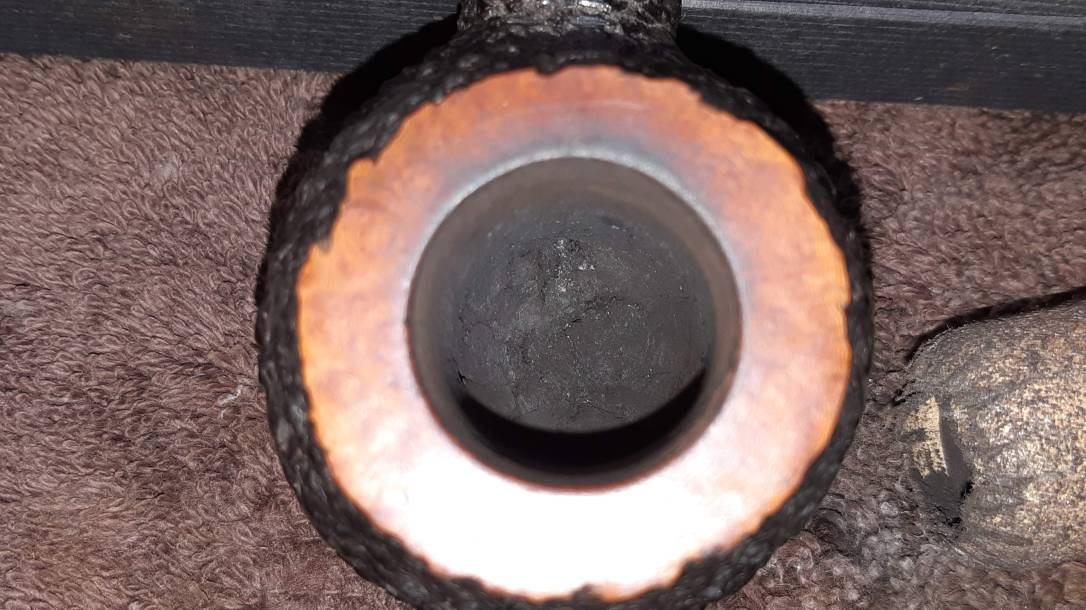
To get the ball rolling, I cleaned the pipe thoroughly inside and out. I reamed the old cake from the chamber, and used pipe cleaners, cotton swabs and alcohol to remove the old tars, debris and dirt from the stummel’s internals. The exterior got a scrub with Murphy’s Oil Soap but I forgot to take a pic there.

Before fitting the brass tubing splint, I closed up the shank crack with some CA glue, using my bench vise lined with a soft towel to pinch the crack shut until the glue dried.
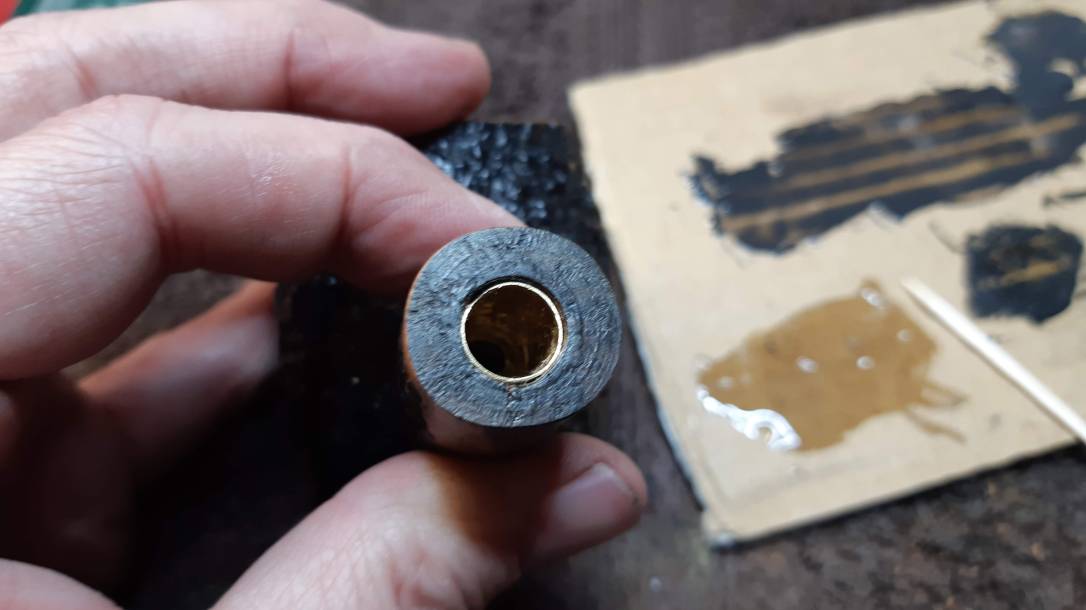
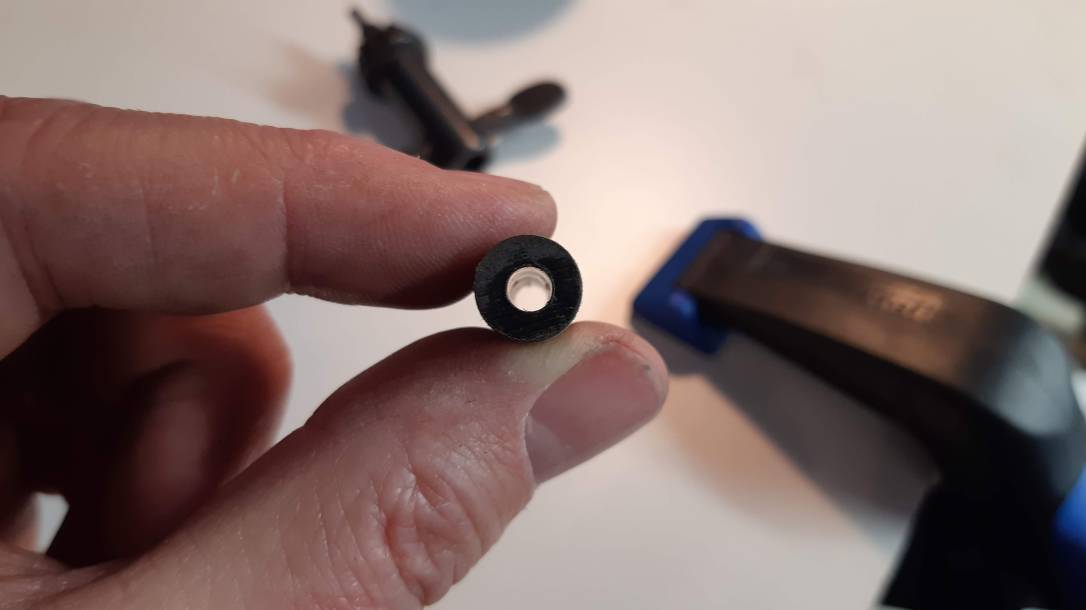
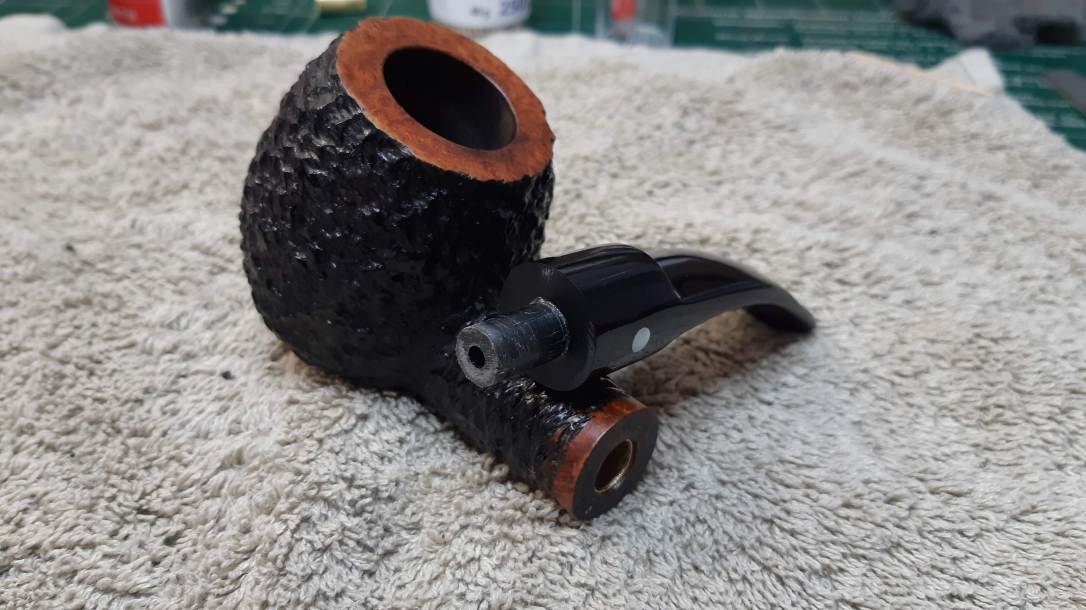
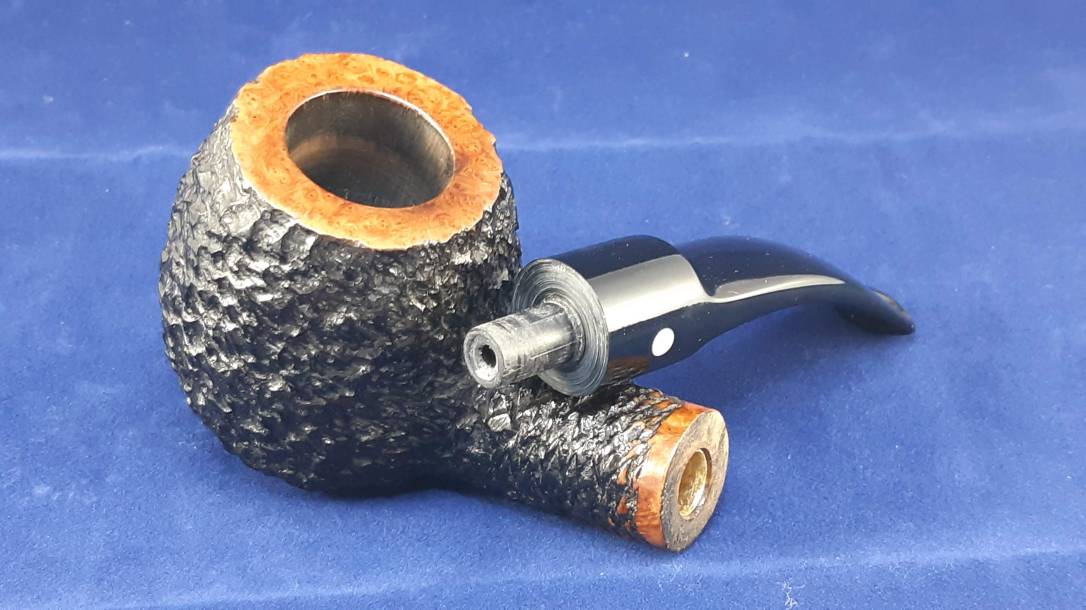
With the crack sealed, I selected some tubing from my supplies that was slightly larger in outside diameter than the mortise. I used a drill bit, turned by hand, to open the mortise just enough to accept the tubing, then cut a section long enough to extend the full depth of the mortise and glued it into place with some 2-part epoxy.
With the shank stabilized and the mortise repaired, I could move on to fitting a new tenon to the stem. I made up the new tenon by cutting a section of Delrin rod to length and drilling an airway through it on the drill press. I used the drill bit that came with my PIMO tenon turning tool to ensure a perfect fit when using the tool to size the tenon to the mortise.
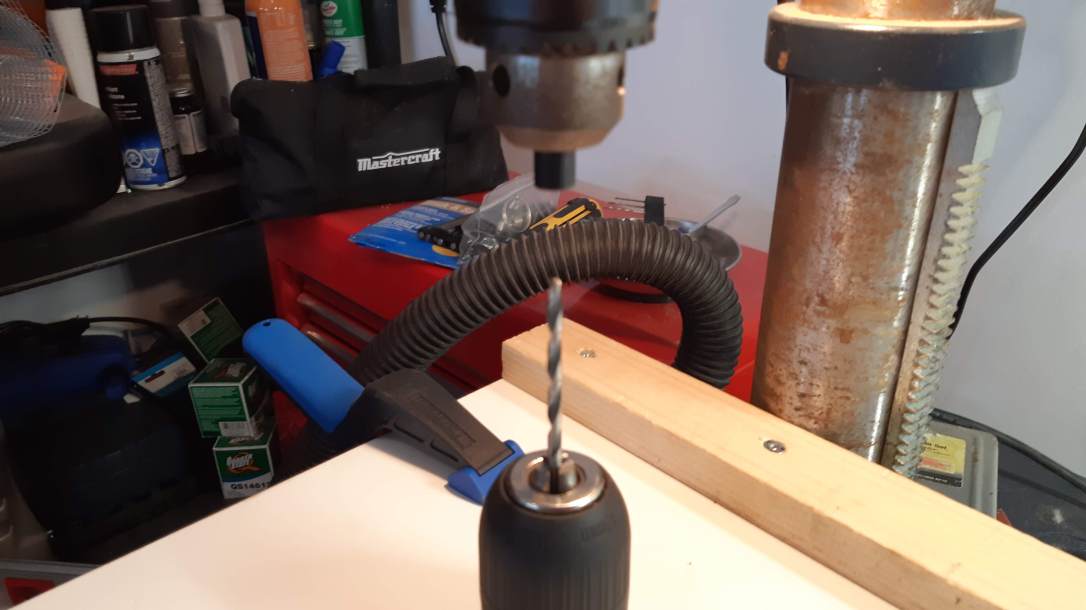

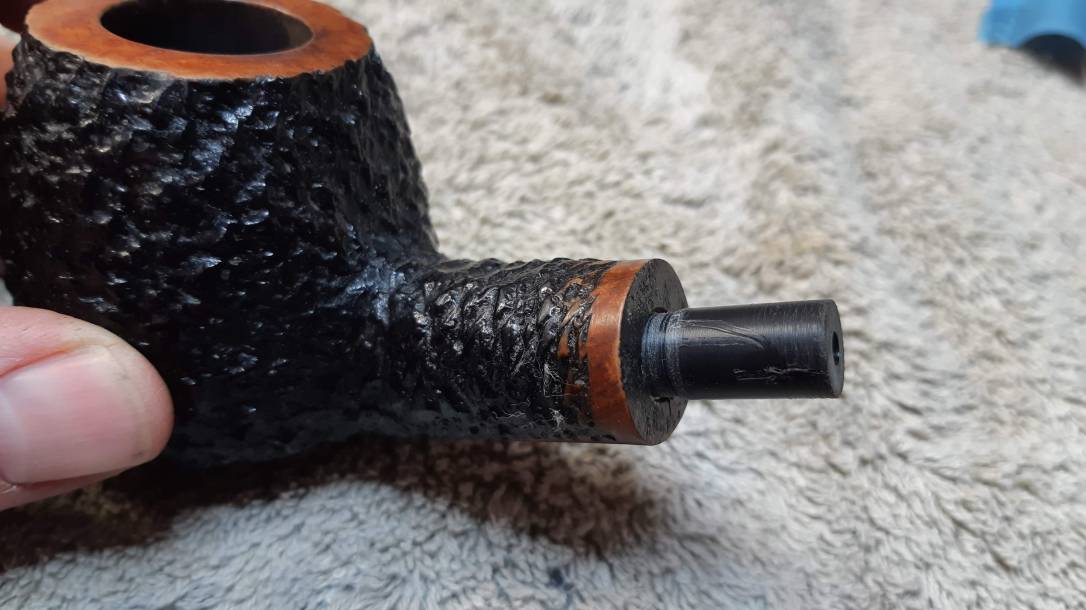
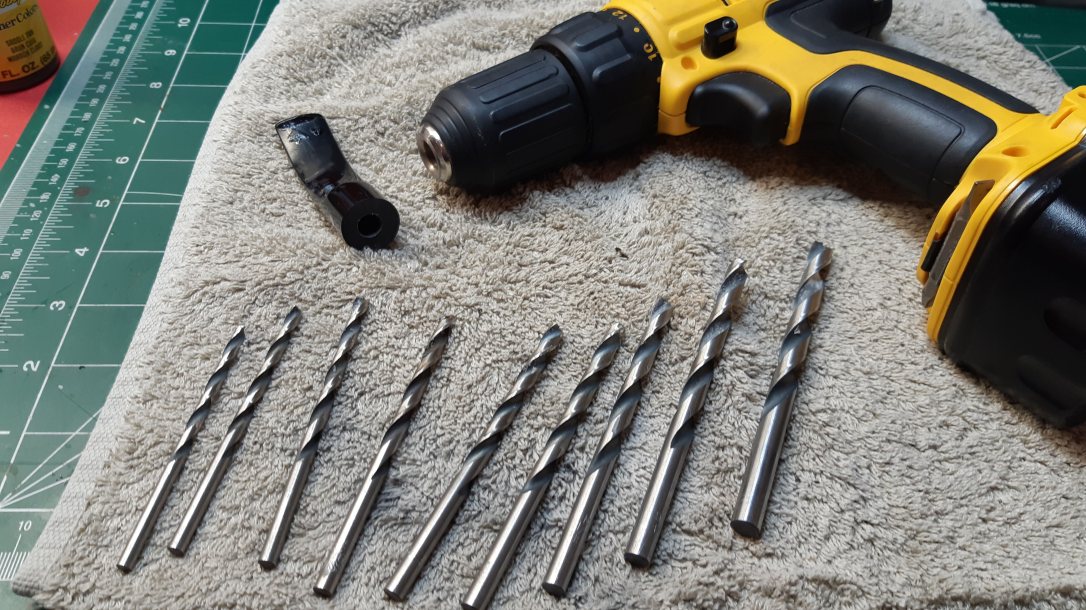
With a nice snug fit in the new mortise, it was time to fit the other end of the tenon to the stem. I removed the stump of the old tenon and sanded the stem face smooth and square. I followed this by using a small army of drill bits and my cordless drill to slowly open up the airway.


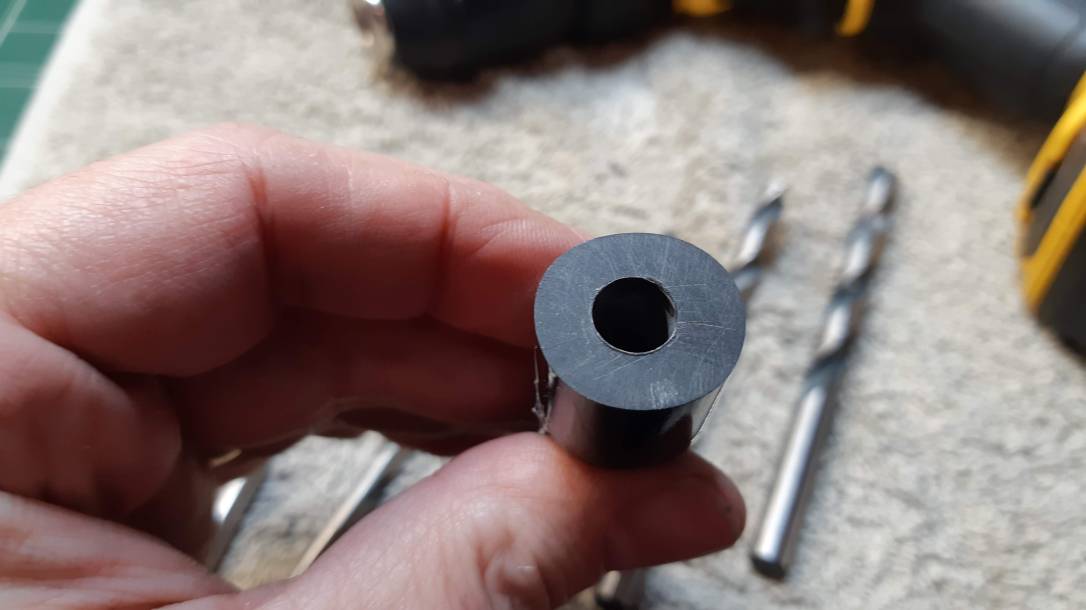
I drilled out the mortise somewhat smaller than the full diameter of the tenon. I like to leave thicker mortise walls where possible to provide a good strong socket for the tenon. I used my PIMO tenon turning tool again to shave material off the stem end of the tenon, then used my tap and die set to cut threads into both the tenon and mortise to create ridges that would give the epoxy a much stronger grip on both parts when I glued the stem up. Think of the ridges as fingers that interlock with the epoxy and you’ll get the idea.

Inevitably with hand drilling, the alignment between stem and shank was slightly off when I first dry-fit the parts. I used needle files to remove material from both the tenon and mortise walls until the pieces lined up properly.
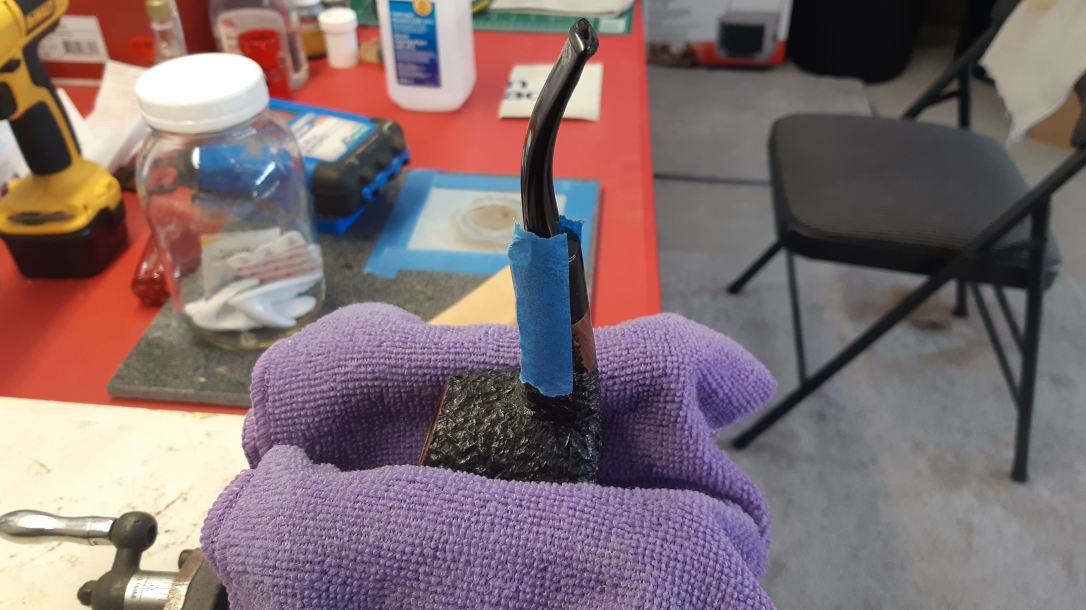
I mixed up a little two-part epoxy and spread the glue over both the end of the tenon and the inside of the mortise, pushing it into the threads I cut previously. To facilitate final alignment of the stem, I clamped the stummel upright in the vise and dropped the stem down over the tenon. A bit of painter’s tape held the stem in place until the epoxy cured.
As a final touch to the tenon replacement, I funneled the leading edge of the tenon’s airway to smooth out the draw.

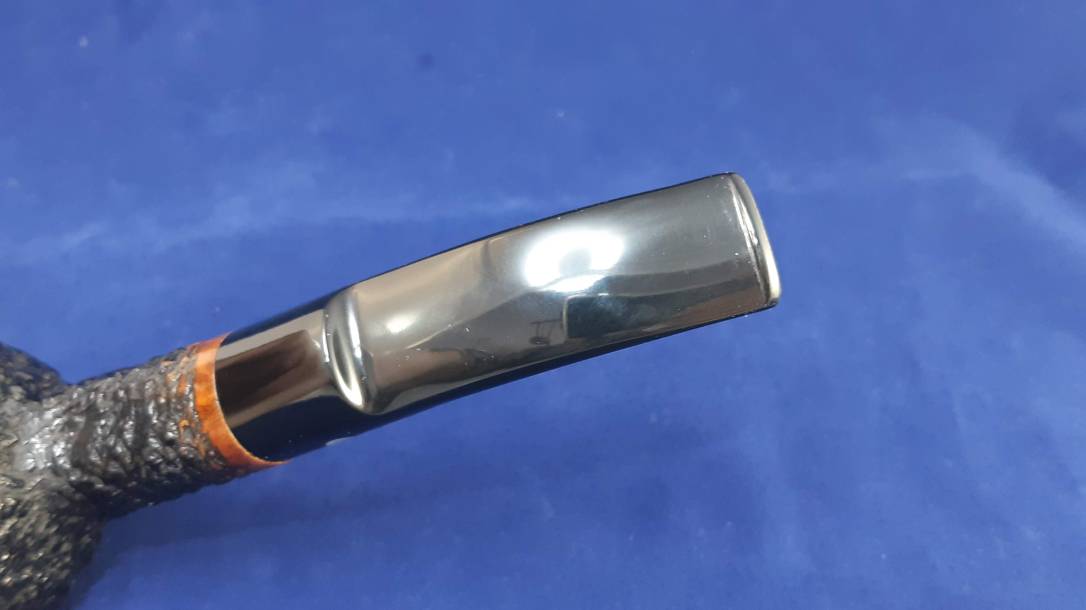
All that was left was to touch up the tooth dents on the stem with a bit of CA glue and sand it all smooth. I also tidied up the excess CA glue on the outside of the shank before taking the pipe to the buffer for a run of White Diamond compound and several light coats of Carnauba wax.
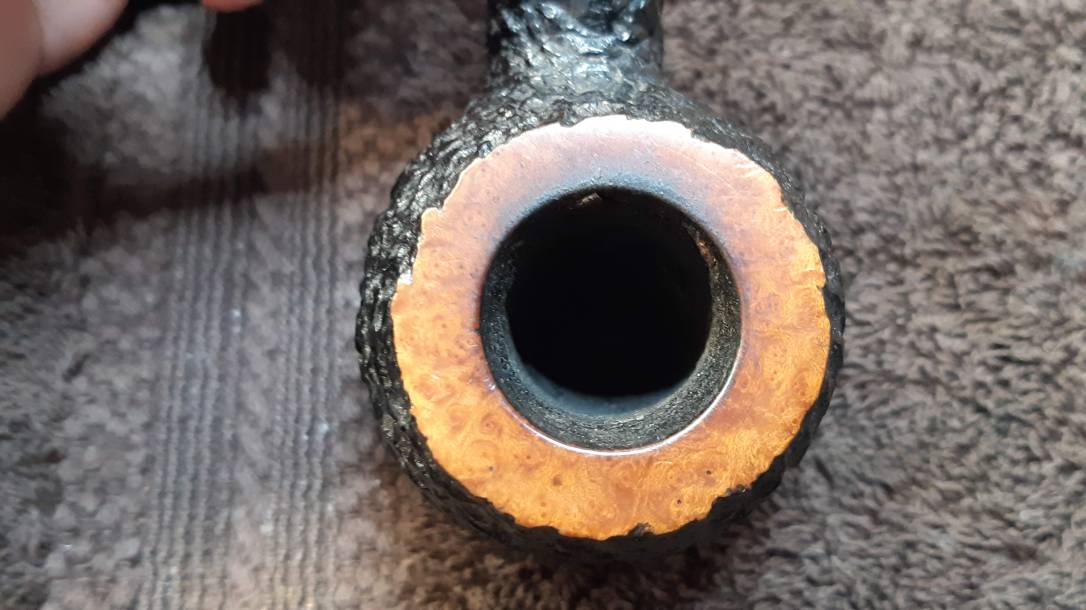
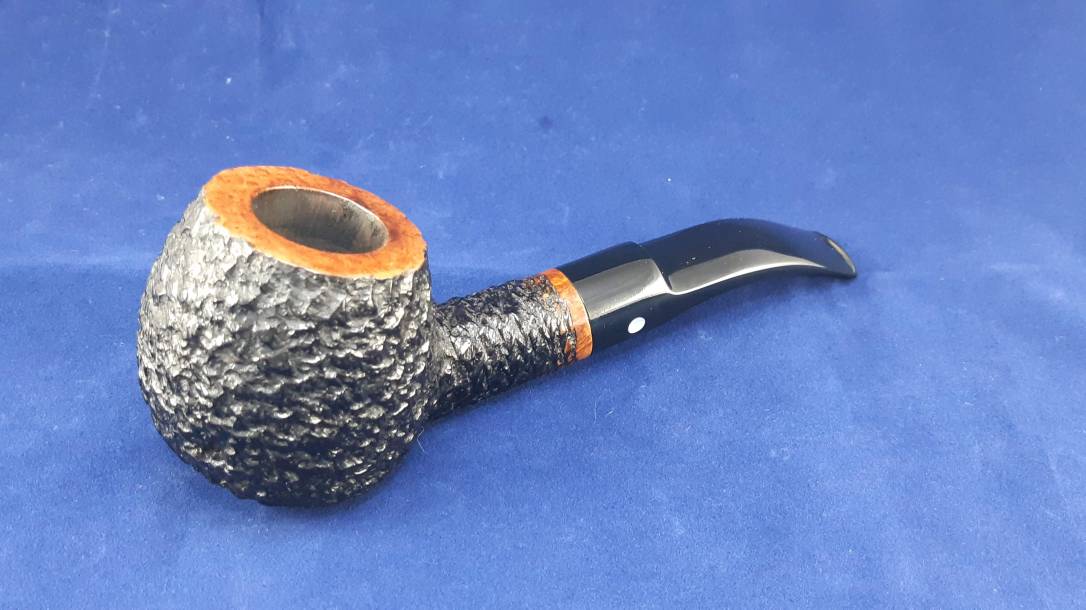
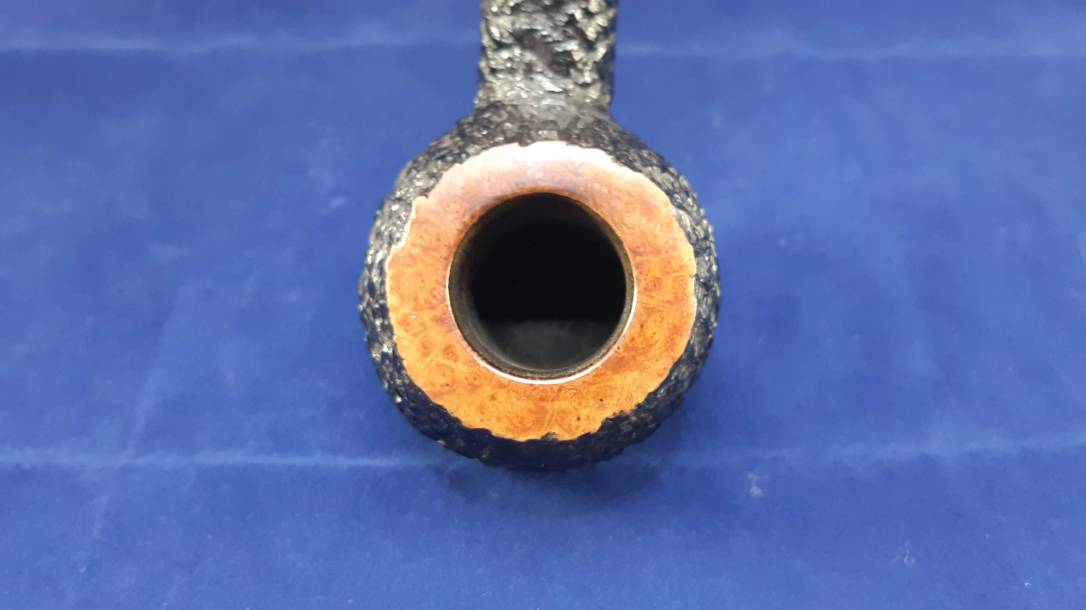
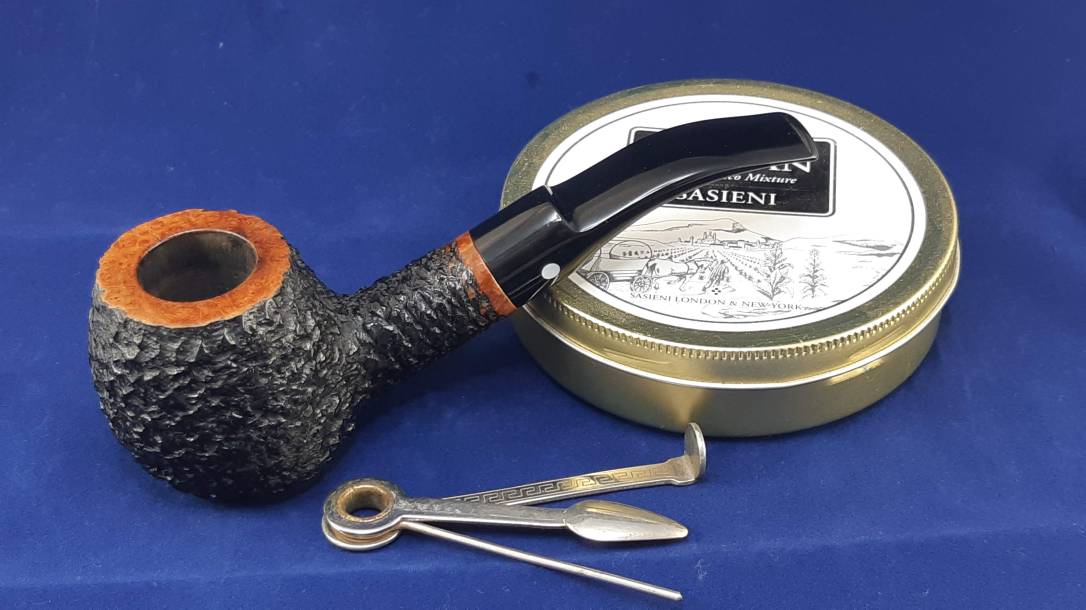
The restored pipe is once again ready to provide years of service to its owner. The shank repair went very smoothly and the new tenon fits snugly in the brass-lined mortise. The refreshed stummel shows a pleasant contrast between the dark rustication and smooth reddish rim.
As I had feared, the “HANDMADE” stamp on the shank was sanded out somewhat (or, more correctly, filled with glue) during the repair, though it’s still identifiable. The rest of the nomenclature is in excellent condition – much better than hiding it all under a repair band and much prettier than a large crack running through the stamps.
This was a fairly involved restoration that draws on almost all the techniques in the pipe repair arsenal. I hope you enjoyed following along – I certainly enjoyed working on this David Jones Colossal Author. I think the pipe’s owner will appreciate having this American artisan pipe back in his rack and rotation.
Here’s the finished pipe. Until next time, Happy Piping!

Thank you Charles for another great restoration. I am gladthe pipe is back home and back in rotation. It is a fantastic smoking pipe.
LikeLiked by 1 person
Glad to hear it, Jeff! My pleasure.
LikeLiked by 1 person
Charles, again, a great step by step guide that is very helpful to see what you do. Great results. Thanks!
LikeLiked by 1 person
Thanks, Dal. I take away just as much from your posts!
LikeLike