
A recent eBay purchase left me wondering about the habits and motivations of a certain subset of old pipe smokers, specifically those that seem to show no care or concern for maintaining their favourite briar companions.
The eBay lot was made up of five old Brigham pipes which included both high end and entry level briars. Curiously, the 1 and 2-Dot pipes in the box were virtually unsmoked while the higher grade pipes, including the 6-Dot Bent Pear I wrote up last week, were used and abused to within an inch of their lives. This week’s pipe was a real train wreck, while another 7-Dot in the lot will require a briar transplant to pull through – but that’s another post altogether.
This series of pics shows this week’s patient as it looked when I brought it to the worktable. It was once a handsome pipe in an interesting Dublin-Meets-Rhodesian shape featuring a tapered bowl with a back-beveled upper section, a conical chamber bore, stout shank and a longish, straight tapered stem.
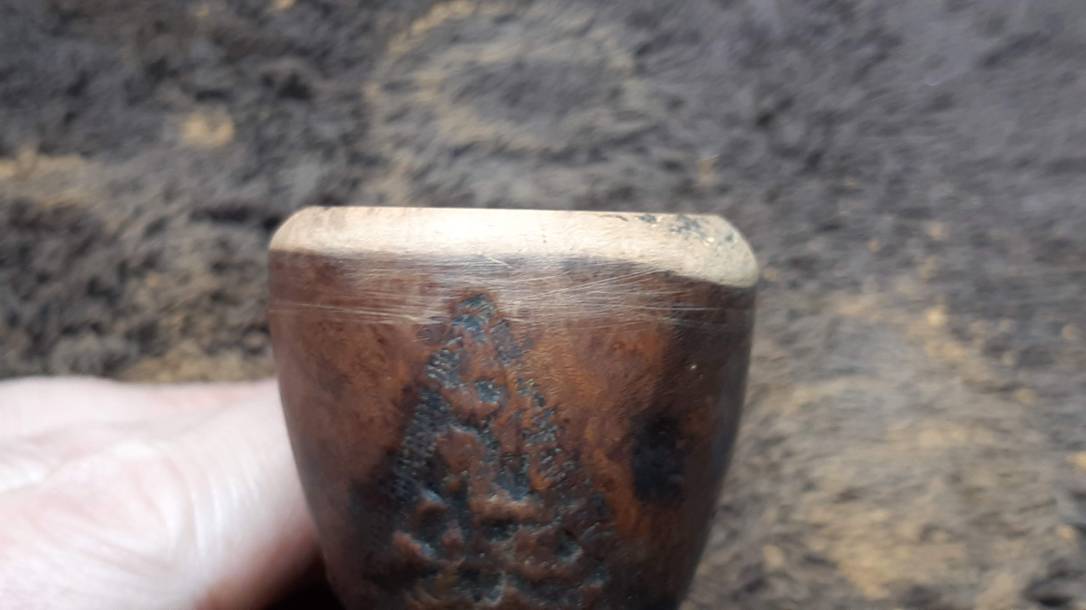
As you can see, the pipe was in decent enough shape until you look at the rim, which had been completely destroyed through vigorous and careless dottle-knocking against rough surfaces. The stem was oxidized, cracked and missing a chunk of vulcanite from the upper button area.


The stem was pinned with the 7-Dot starburst pattern which represented the very best of Brigham pipe production in their classic shapes. The stamps on the stummel were very faded, but under magnification and good lighting they are just legible as “720” then “Brigham” over “Canada”. This COM stamp dates the pipe to the 1980s, contemporary with the rest of the pipes in the lot.

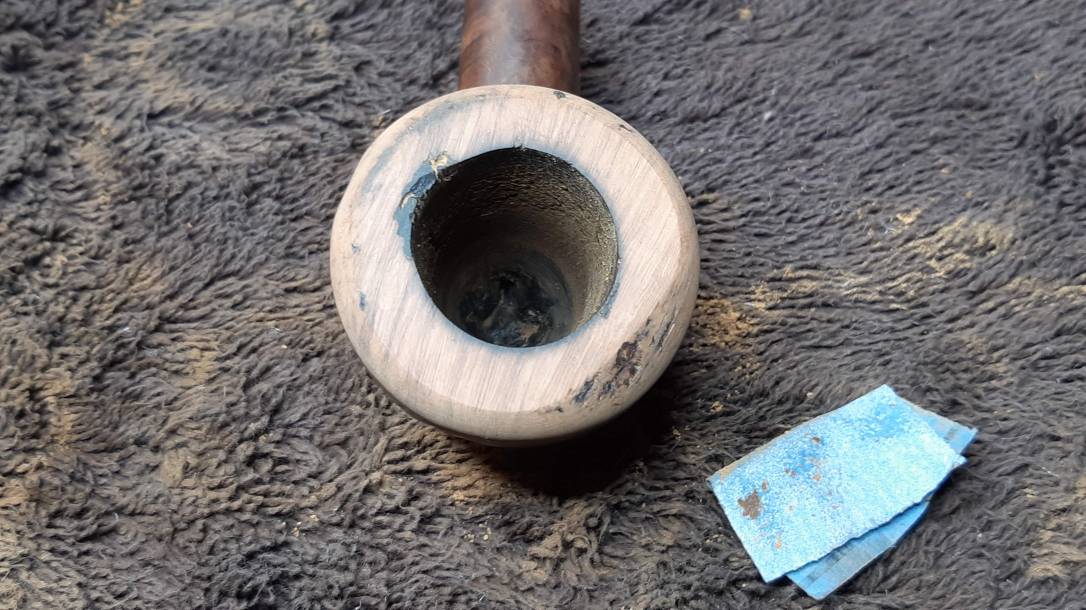
I knew I could repair the chipped and cracked stem with a little work, but I wasn’t sure it would be worth it if the stummel proved to be unsalvageable. To investigate the state of the briar, I set the stem aside and took some close-up pics of the damaged briar. These shots show the thick crust of lava coating the entire rim. Also note the odd flat section of outer rim at the five o’clock position. I have no idea what caused this but it’s clearly not factory.


To expose the extent of the damage, I used a brass bristled tire brush to scrub the lava off the rim. The state of the briar underneath was not encouraging.

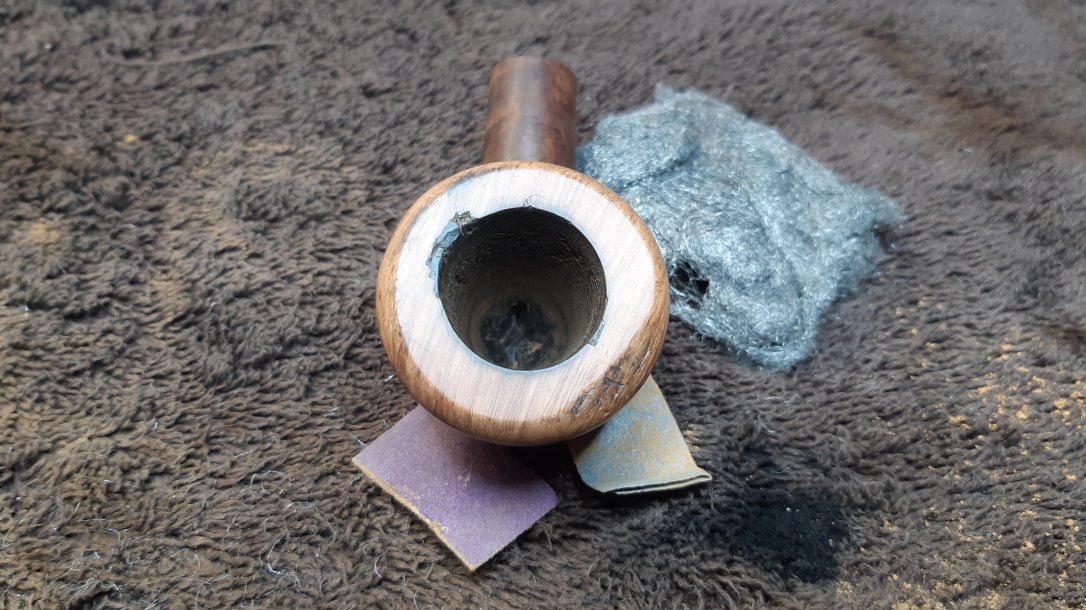
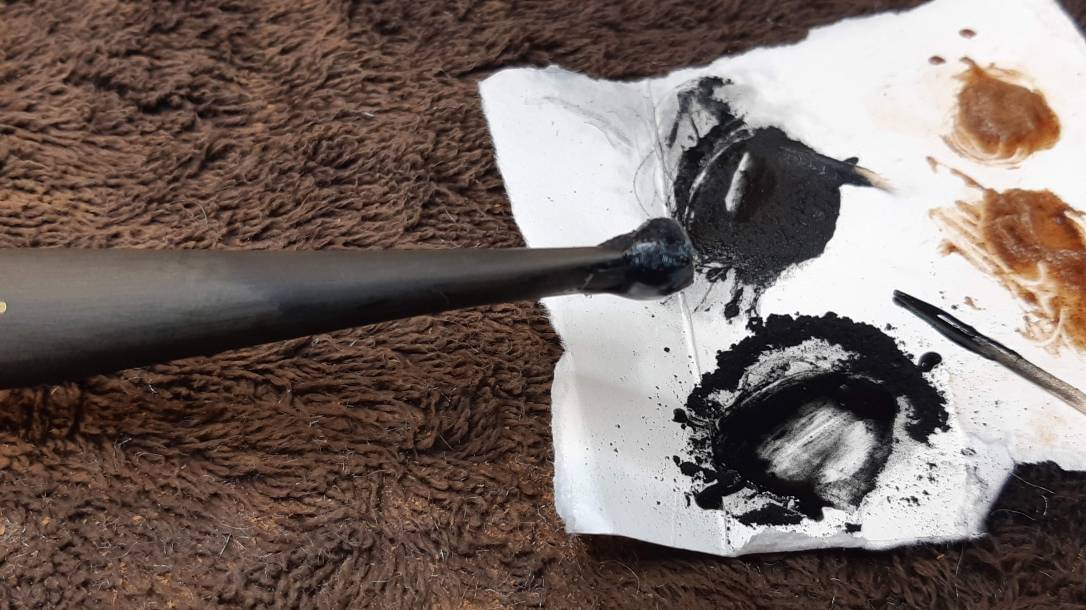
I reamed the chamber back to briar, which helped clean up the appearance of the inner rim, though not by a lot. Surprisingly, the chamber itself was in good shape under all the carbon.


After staring at the stummel for a while contemplating my options, I decided to have at it and try to recreate the original factory bowl shape. This would take quite a lot of work, sanding by hand to first re-establish a flat rim before smoothing out an inward bevel on the outer rim. I spent several hours at the worktable on this process. This series of pics shows the progress.


Though about an eight of an inch shorter then before, the stummel was taking shape nicely at this point. I had found solid briar under most of the damaged areas, though as you can see in the last pic above, that odd flat area was still an issue, as was a large chunk of briar missing from the inner rim at the ten o’clock position.
Here is where I took a somewhat gutsy decision. Instead of adding large fills to this 7-Dot stummel, and taking inspiration from several other 1980’s vintage Brigham pipes in my collection, I decided to extend the rusticated area on the right side of the bowl up and over the rim to incorporate the chipped area. The odd flat spot on the outer rim would be dressed off with a leaf-shaped island of rustication as well.
I sketched out the new rusticated areas with a marker directly on the briar and then mounted a small carving burr to my rotary tool. I first carved the outline of the rustication, then went back and filled in the areas, working carefully to blend the new rustication with the old.


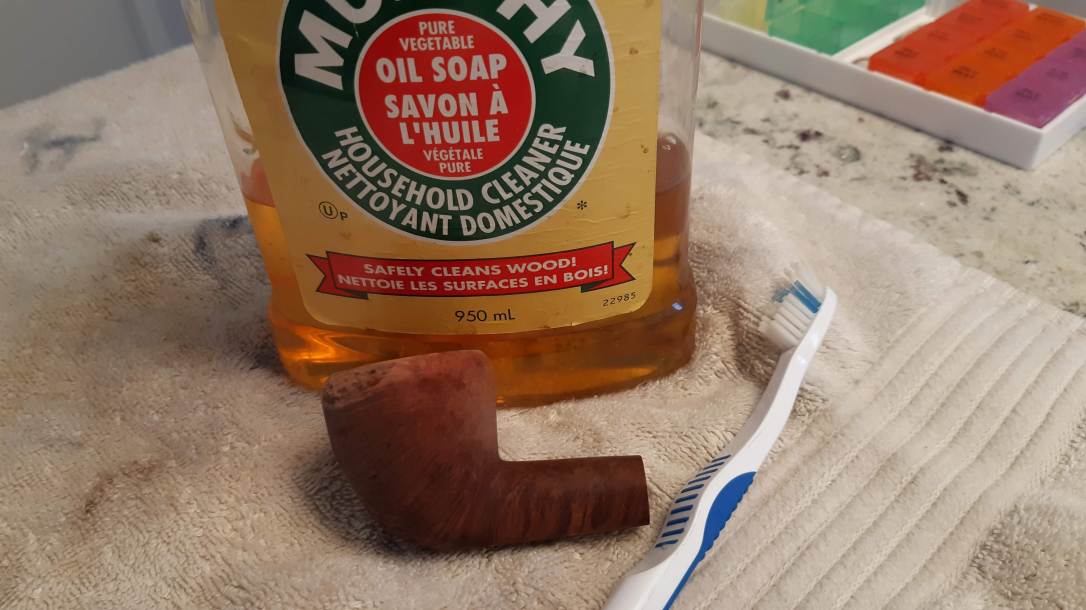
I knocked the sharp edges off the new rustication with both my brass bristle brush and sandpapers to match the feel of the original work, and then cleaned the exterior of the stummel with Murphy’s Oil Soap. The soap lifted a surprising amount of dirt, grease and wax from the finish, reminding me just how dirty a smooth pipe can get. I also cleaned the mortise and airway with pipe cleaners and alcohol, though forgot to take pics of that process.
With the briar clean inside and out, it was time to recreate the original brown-on-black finish. I started by applying a coat of Fiebing’s Black leather dye to the entire stummel. When it was dry, I scrubbed the black from the surface of the smooth areas, leaving it only in the grain. The black dye was followed by a coat of Dark Brown dye and then a light wipe with mineral oil to set the finish and enliven the briar.


After all the work to get the briar to this point, I was happy to set the stummel aside for a while to work on the stem. After soaking the stem in Oxyclean and warm water overnight, I scrubbed away the softened oxidation and ran a few pipe cleaners dipped in alcohol through the airway to clean out the old tars.

The bit end of the stem was on the fragile side of solid after its cleaning. To stabilize the Vulcanite and start the rebuilding process I fitted a cardboard wedge covered in clear tape into the slot and dropped in a healthy dollop of thick CA glue mixed with charcoal powder. When the patch mixture set, I wiggled the wedge out and added more patch material to give me enough to work with as I carved a new button.


What I won’t show here is the dull, “lather-rinse-repeat” work of filing the patches, uncovering air bubbles, adding more patch material and filing again. I spent quite a bit of bench time working on the stem, and just as I was thinking I was done, the button cracked again, this time from the underside, requiring a complete reboot of the repair. Ugh!
It’s a good thing I can be a real stubborn SOB sometimes, or this 7-Dot Brigham would probably still be waiting for a stem. In hindsight, I may have been better off making a new stem rather than attempting to salvage the damaged original, but I stuck with it and eventually got the stem to an acceptable, if not quite perfect, condition.
I reassembled stem and stummel and took the pipe to the buffer where it received a good run of White Diamond compound and several coats of Carnauba wax to shine and protect the refurbished pipe.
This restoration was a marathon project, but the results were well worth the effort, I think. The stummel is unrecognizable as the lava-covered monstrosity that first hit the worktable. Rough, damaged briar has been replaced by smooth lines and tidy rustication and both stem and stummel glow with an inviting vitality. The metaphorical Phoenix has risen from the flames!
I’ll be adding this Brigham 720 to my personal collection, and updating the Brigham Shape Chart to include this new-to-me pipe shape.
Thanks for following along on this long and involved estate pipe rescue. I hope you enjoyed the journey. Until next time, Happy Piping!
Here’s the finished pipe.


Great job, Charles. These are the pipes I see on eBay and think to myself sarcastically, “Yeah, right,” and just keep going. Amazing how you resurrected this one.
LikeLiked by 1 person
Thanks, Todd. This was a real challenge! I had no idea going in whether the rim was salvageable or not. Thankfully I hit solid briar under all that lava!
LikeLike
Wow, nicely done. I wouldn’t have the patience.
LikeLiked by 1 person
Sometimes it’s more stubbornness than patience! 😁
LikeLike
Trashed was an accurate description of what that pipe was. I just can’t believe the way some people treat things. You can assume that pipe was not a prized possession of the previous owner. Anyways, fantastic job on that restore. It looks amazing, I hope you enjoy it for a long time
LikeLiked by 1 person