
Welcome to 2019, everyone! I hope it is a peaceful and prosperous year for all.
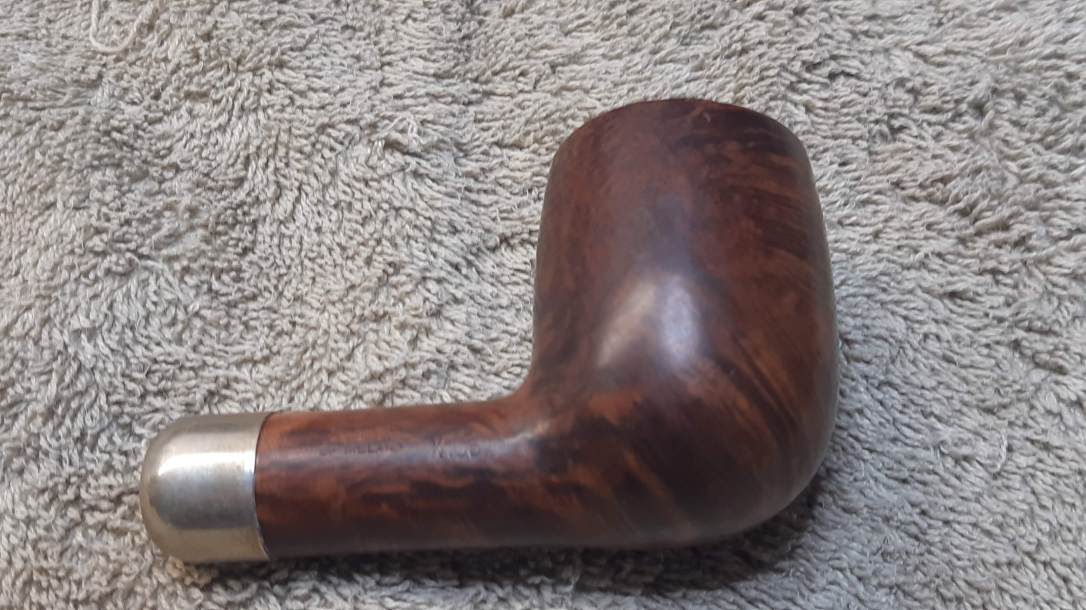
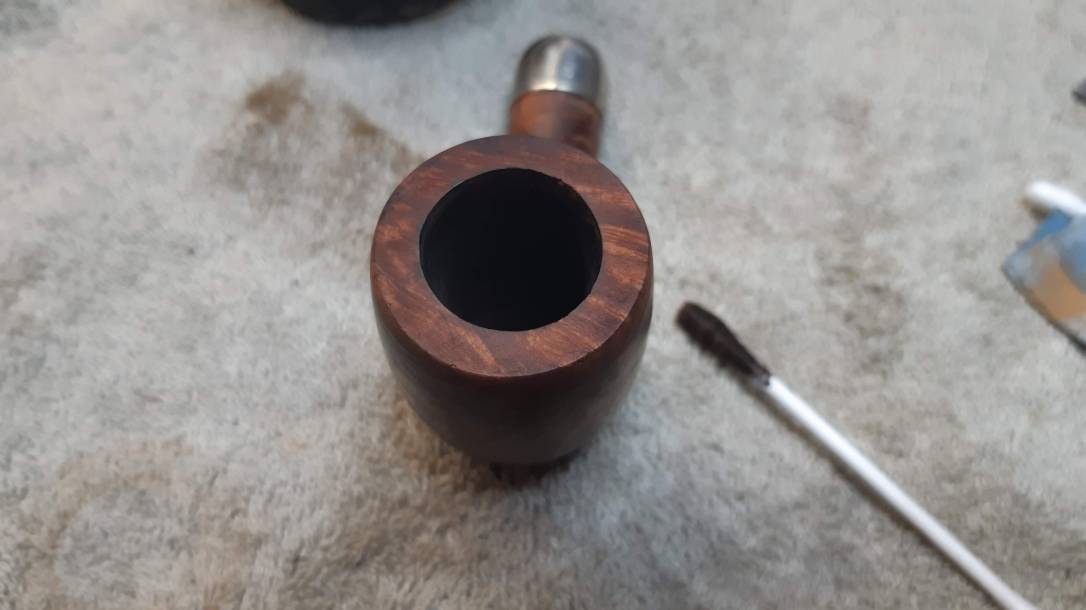
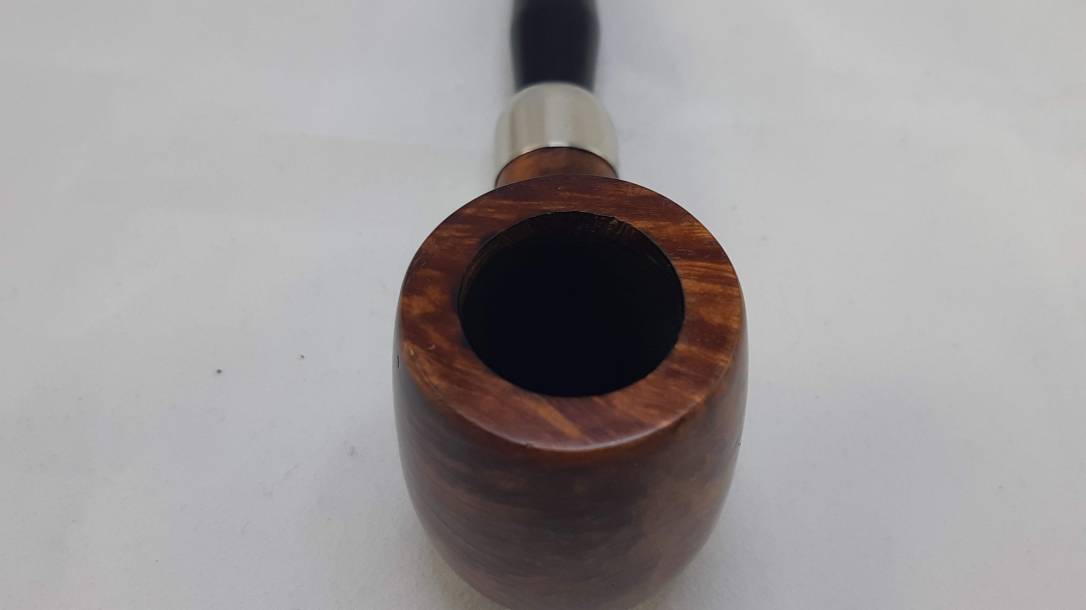
I’ve been putting off and putting off this particular job, but finally pulled myself together and sat down to get it done! On the worktable today is a Peterson K&P Irish Made X105 Army mount Billiard. It came from a pipe friend sans stem, with the request that I see what I could do with it to make it useable again. The stummel was in quite good condition – a little lava on the rim and a bit of old tobacco and cake in the chamber, but overall, the briar was in quite good shape.
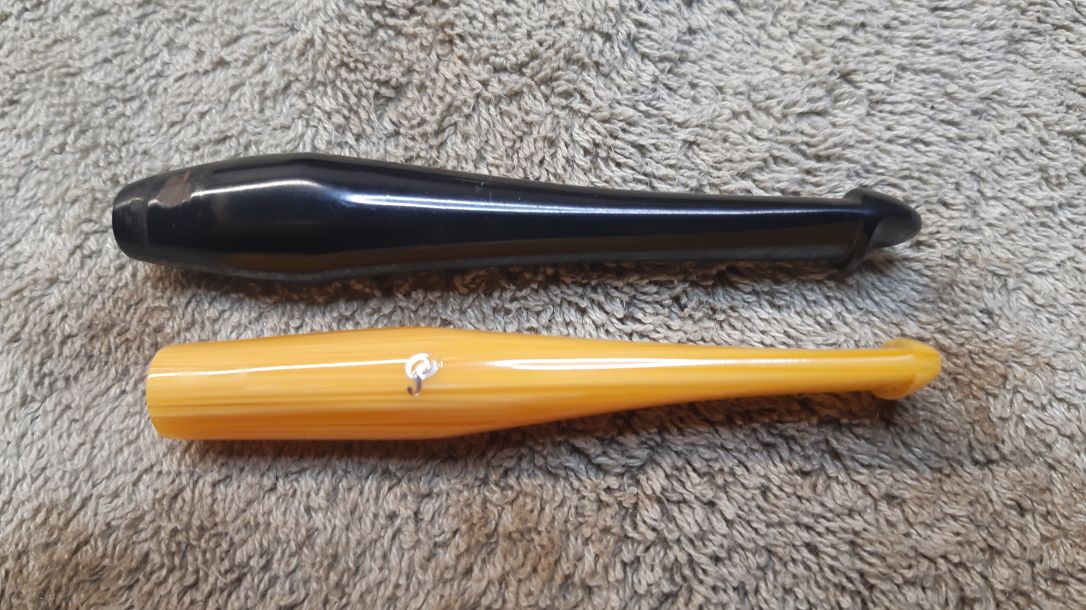
These pics show what I had to work with:


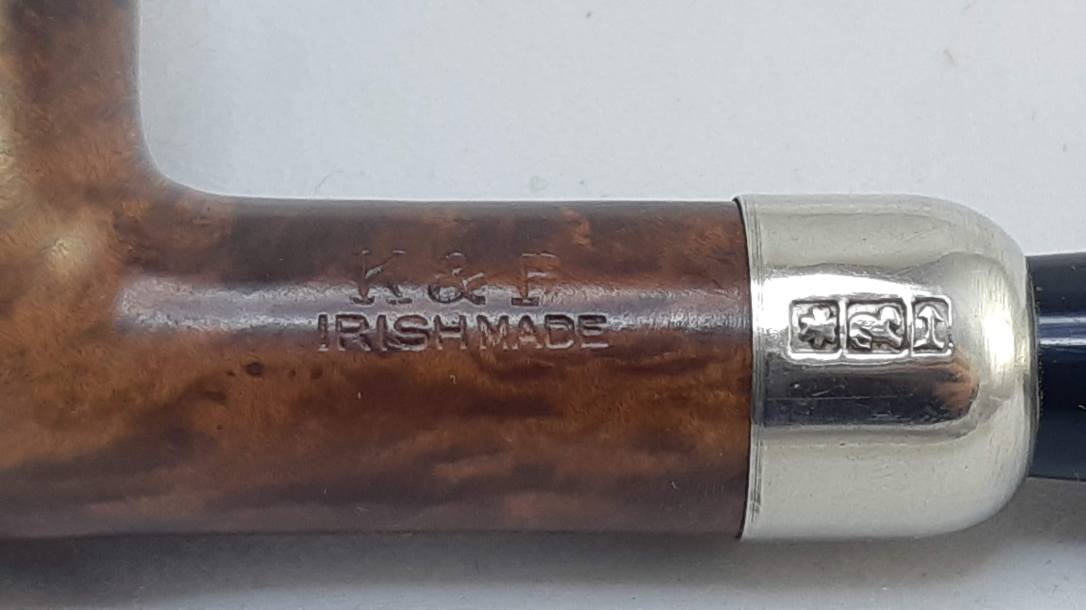
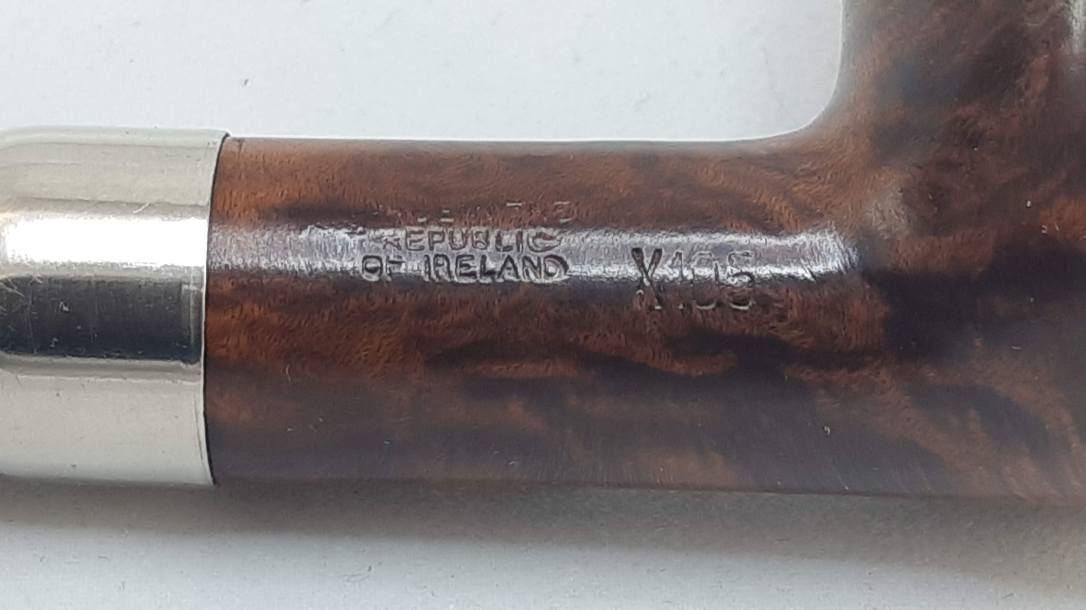
The stummel is stamped “K&P” over “Irish Made” on the left shank, and “Made in the” over “Republic” over “of Ireland” followed by the shape number, “X105” on the right shank. The shank cap carries the Peterson faux hallmarks of Shamrock, Wolfhound and Tower.

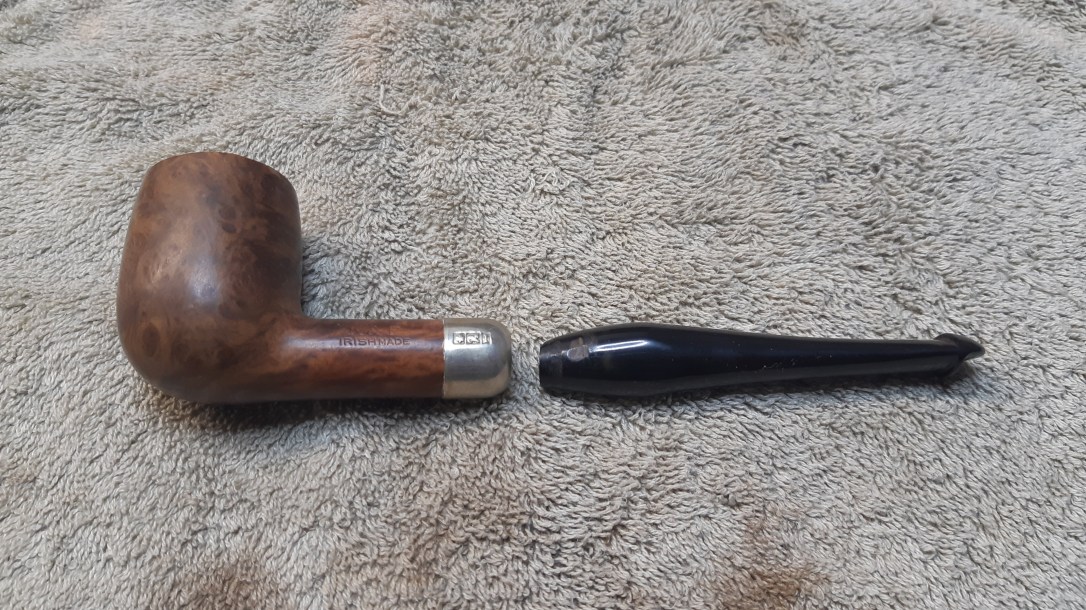
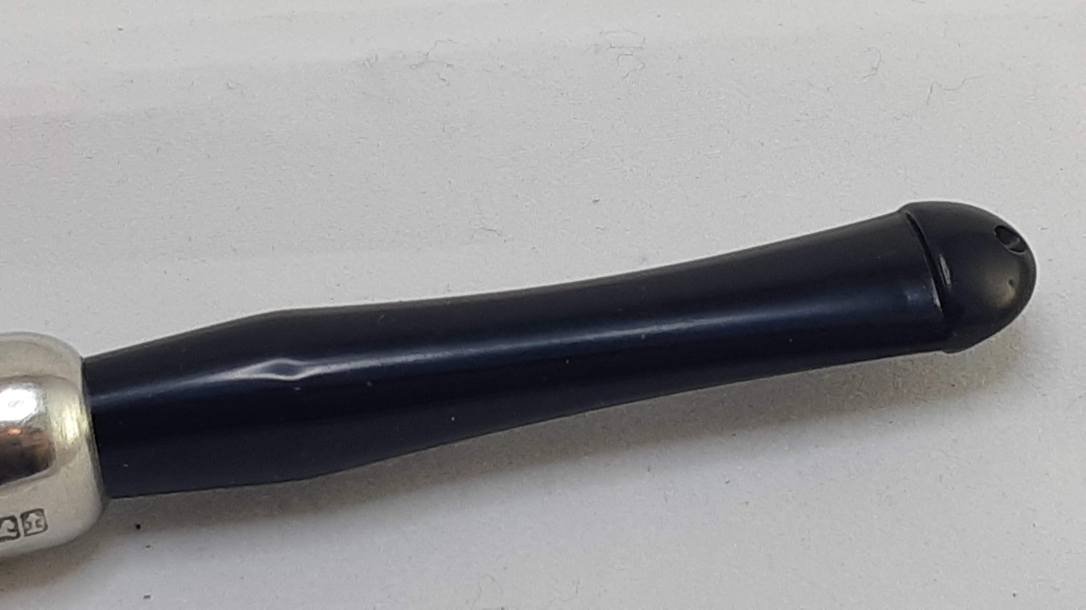
I dug around in my box of stems and managed to come up with one P-lip stem which I thought could be made to work. It was larger than necessary, and bent at that, so it would take quite a bit of doing to make the pipe look factory. Took these pics of the stem after heating it and straightening it out.


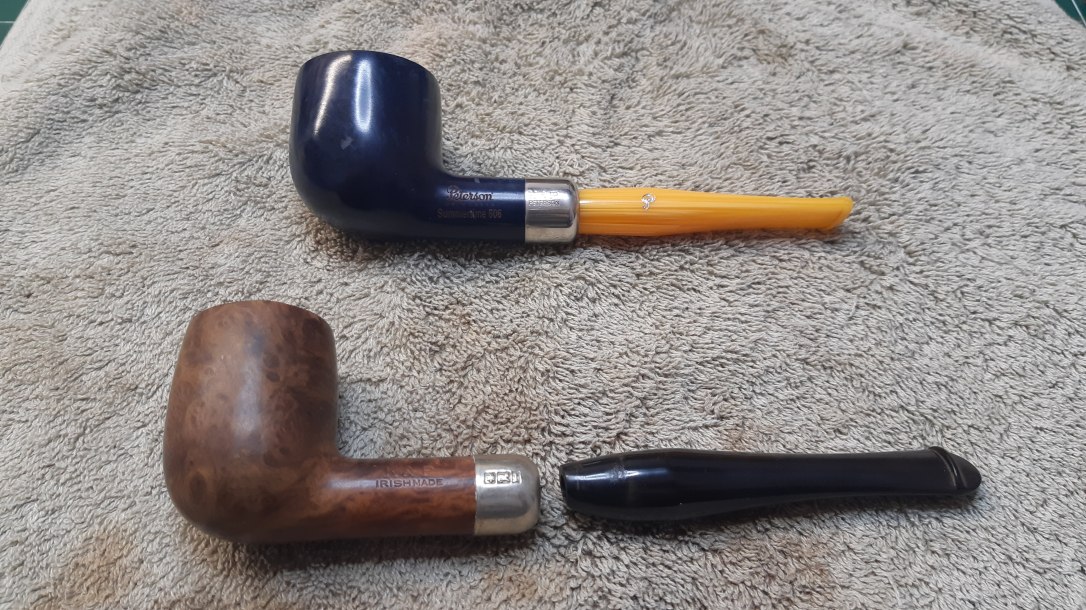
The end of the stem was a bit dinged up but that wouldn’t matter as I’d have to shave a fair bit of material off to get it to fit the shank. Thankfully, I wasn’t exactly working blind. I found several pics of Army-mount X105 pipes online, and closer to hand, I had a Peterson Army-mount 606 I just received for Christmas. Though not a direct fit to the X105 stummel, the stem from my 606 would serve as a good template for the replacement stem.
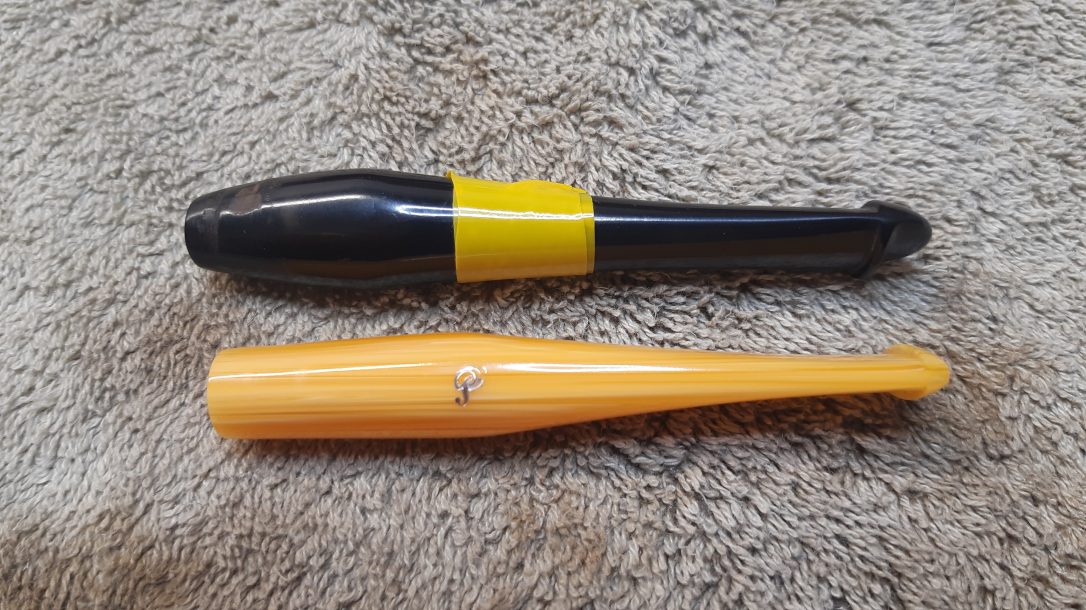
I lined up the two stems one above the other on my worktable and used electrical tape to mark off the location of the shoulder, or break point, of the new stem. The material to the left of the tape in the pic below would need to be removed and shaped into a cone to fit the shank of the X105.
The most nerve-wracking (and messy) part of the entire process was shaving off the excess vulcanite with my rotary tool and a sanding drum. I highly recommend wearing a mask and/or dust extraction system when sanding this much vulcanite – the fine dust gets everywhere!

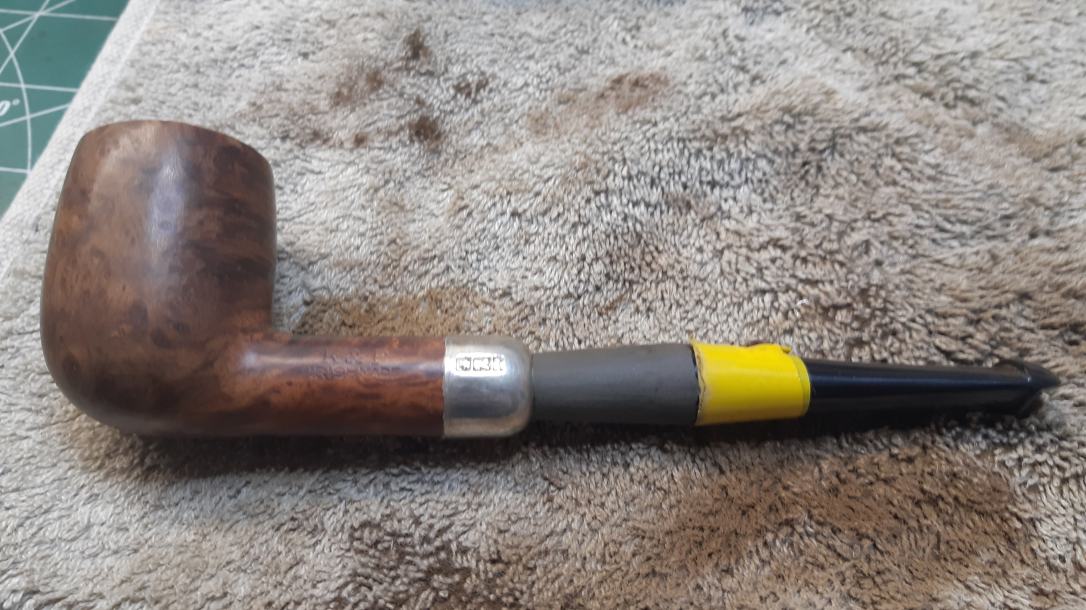
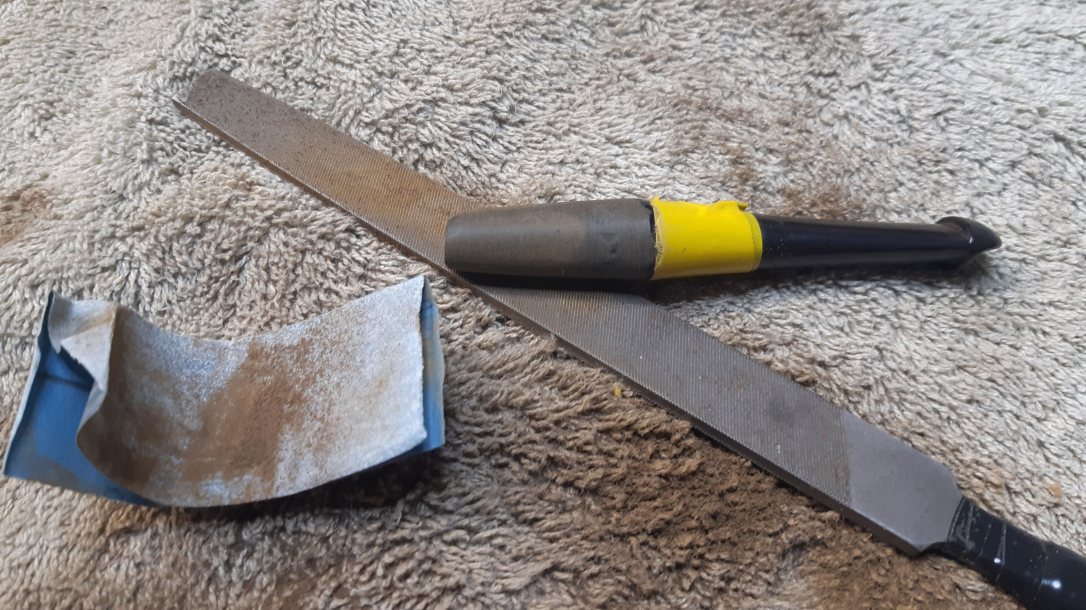
When I had established the basic shape of the cone at the end of the stem I switched from power tools to manual files and sandpaper, slowly but surely refining the shape of the stem to fit the mortise. This pic shows the first test fitting of the stem. The slope of the cone is good, but after checking the specs of the X105 online, I realized that I had left the stem too long by a half inch.
I cut off the excess length and again worked with files and sandpaper to shape the stem to fit. This was a time-consuming and pain-staking process that used up about 3 hours of bench time. I was really wishing for a belt sander by about the two-hour mark, though doing the work by hand helped ensure that I didn’t remove too much material and pooch the stem in the process!
After much sanding and test-fitting, I achieved what I think is a very nice fit. The stem twists firmly into the shank and holds without wobbling (which tells me that I judged the taper of the stem cone properly – whew!). At this point I moved from shaping to smoothing and polishing the new stem, first with 320-grit sandpaper, then 0000 steel wool and 800 and 2000 grit wet papers.
A firm buffing on the wheel with White Diamond compound at a high speed (about 3200rpm) smoothed out the last of the sanding marks. I slowed the wheel to about 1600rpm to put a final polish on the stem and apply a few coats of Carnauba wax to bring up the shine.
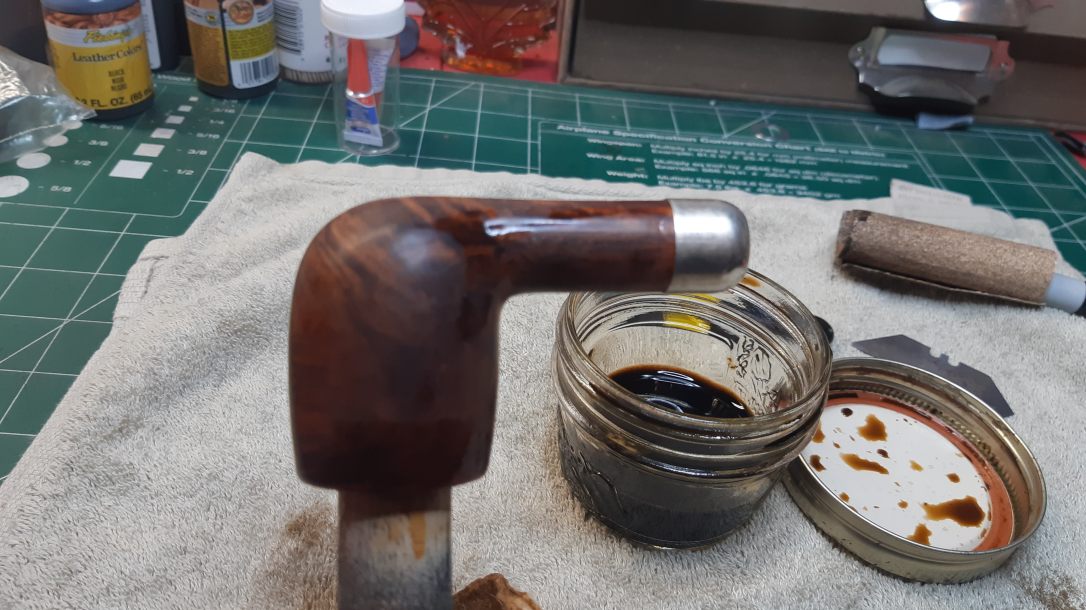
With the stem finished, I turned my attention to the stummel. Strictly speaking, I wasn’t asked to do anything to the briar, but I usually can’t resist giving a stummel a bit of spit-and-polish while it’s on my table. I topped the rim lightly to remove the lava and a few small dents, and touched up the stain with a bit of Fiebing’s Dark Brown leather dye to match the original finish. I freshened the entire stummel by applying a wash coat of diluted brown dye to the briar.
I finished up this project by giving the stummel a light buff and wax on the wheel, then assembling the pipe and giving the entire thing a once-over on the wax wheel as well.
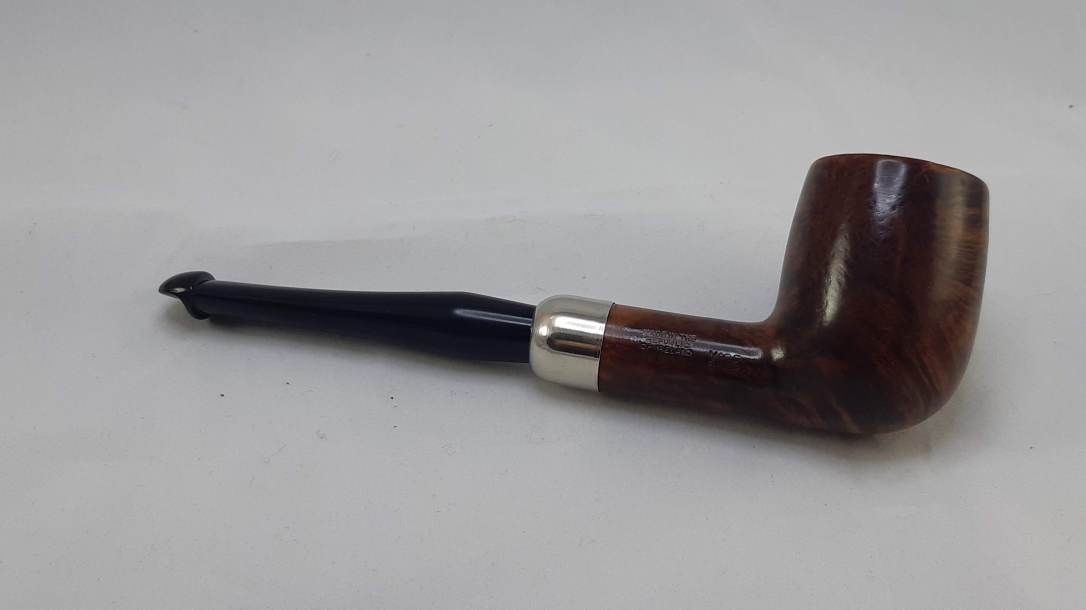
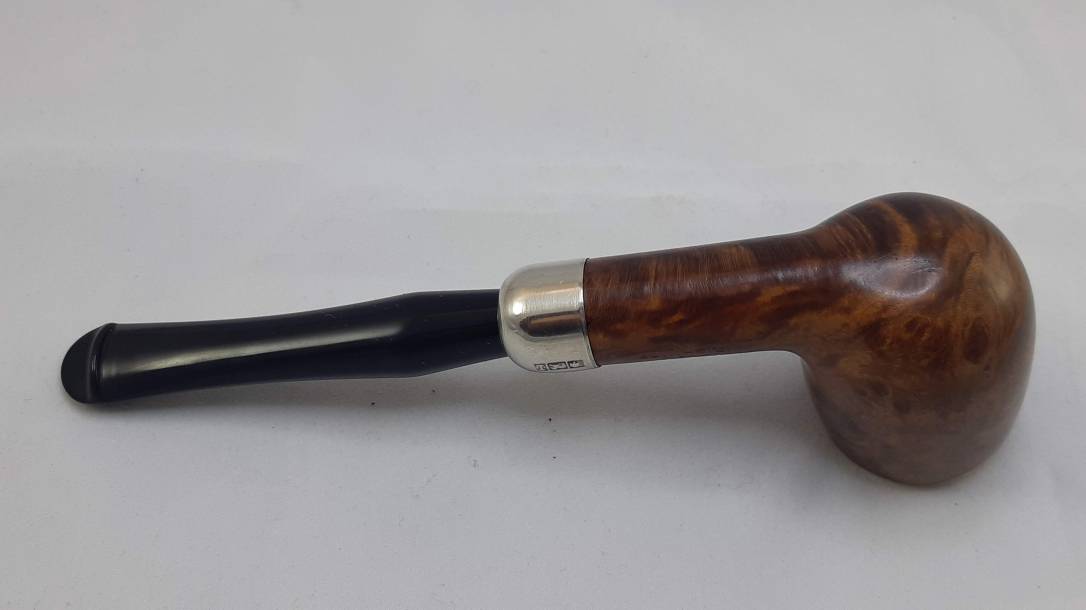
I’m glad I finally got up the nerve to tackle this restoration – the reality of the work required was much less nerve-wracking than I had built it up in my mind to be, and the end result is quite rewarding indeed. This K&P Irish Made X105 is once again ready to serve a lucky piper. I’ll soon be returning it to its owner, who I hope will be as pleased with the final result as I am.
Thanks for joining me on this restoration journey. I learned a lot about Army-mount stems working on this pipe, and I hope you picked up a few ideas to use with your next project as well. If there is one take-away tip from this repair, it’s a firm reminder to take your time, plan your approach and check your work often during the process to make sure you don’t accidentally take things too far.
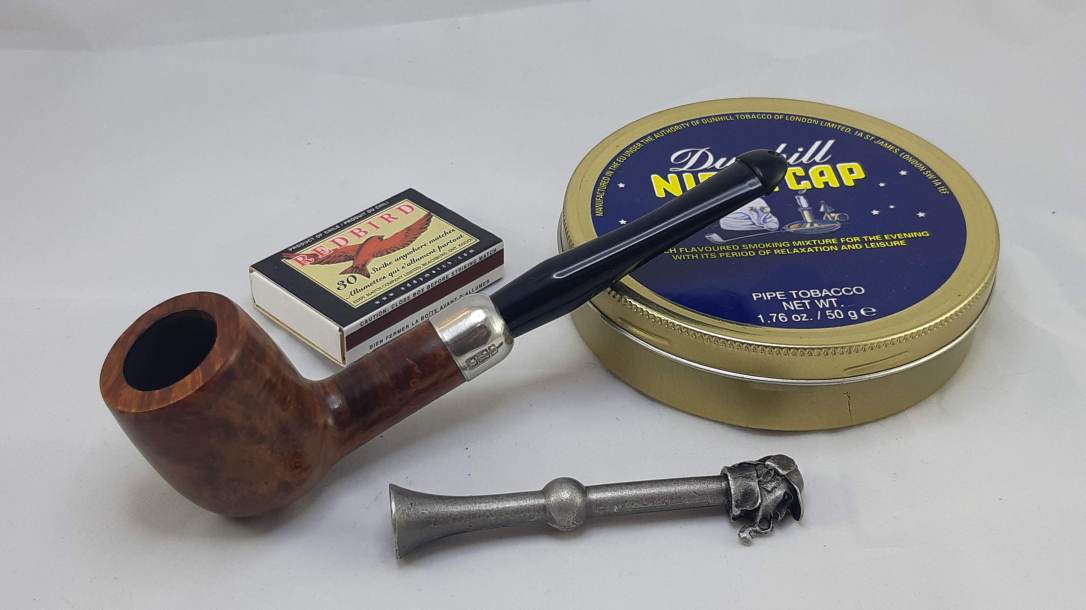
Until next time, Happy Piping! Here’s the finished pipe.


Reblogged this on rebornpipes and commented:
Charles did a great job. His methodology on this one is textbook. Well done.
LikeLiked by 1 person
Cheers, Steve & thanks for the reblog!,
LikeLiked by 1 person
Reblogged this on peterson pipe notes and commented:
This is an important post from Charles Lemon over at Dad’s Pipes for anyone interested in how to go about fitting and resizing Peterson army-mount stems.
LikeLiked by 1 person
Thanks, Mark! Much appreciated indeed.
LikeLike