
I had a bit of work done in the garage (aka my workshop) recently, including the installation of a most effective heater to prevent my pipes, tools and supplies from freezing in these cold winter months. While I was tidying up afterwards, I decided to sift through my boxes of pipes waiting to be restored.
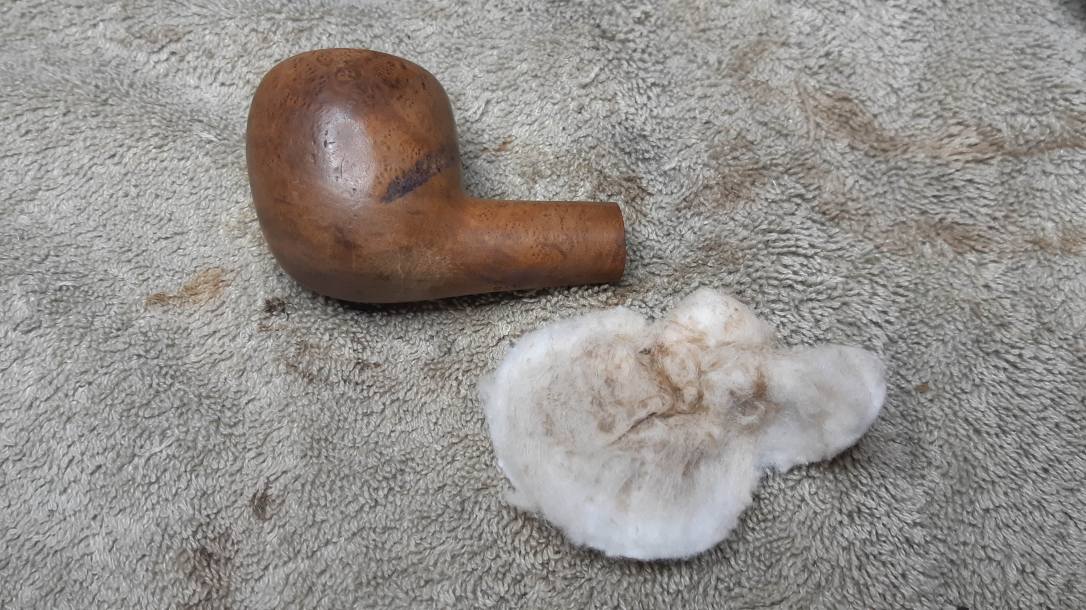
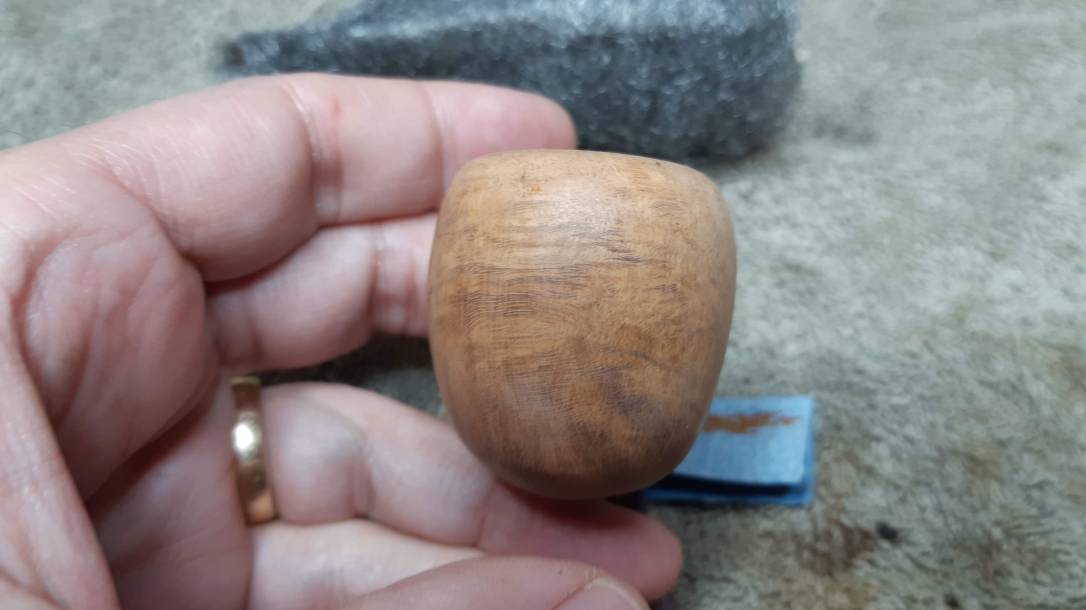
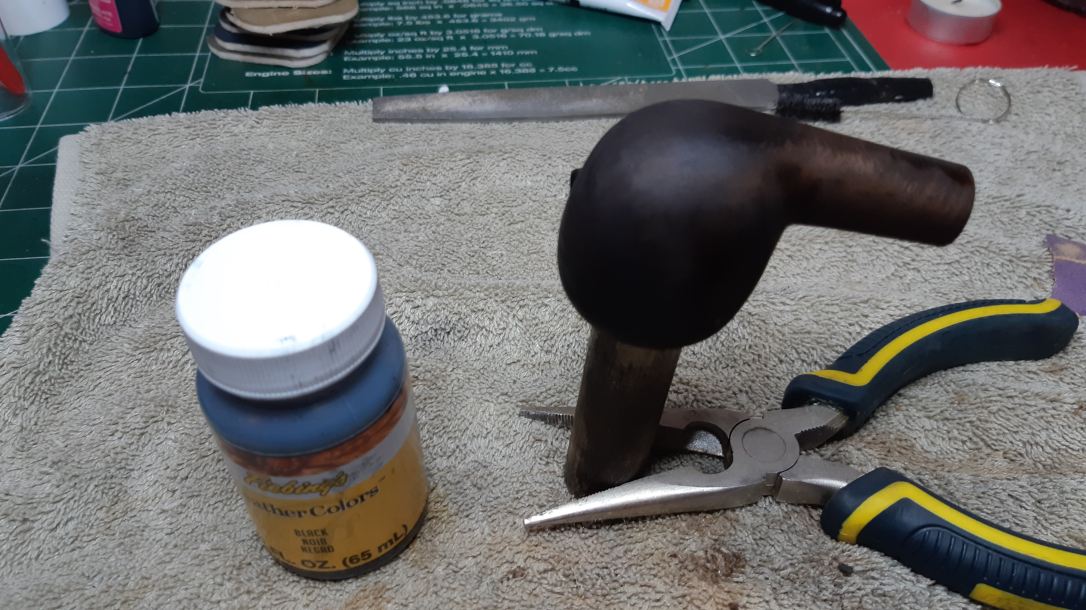
At the bottom of one box I found this Brigham 2-Dot pipe looking decidedly the worse for wear. It was in such a state that I initially failed to recognize it as a Brigham at all as the brass Dots were so covered with dirt that they blended into the grey-green of the oxidized stem. Add in a chamber full of cake, a good cap of lava on the rim and a worn, colourless finish for good measure and this pipe really wasn’t looking promising. I was also hoping that the dark patch on the bottom of the bowl was dirt and not the beginnings of a burn-out.
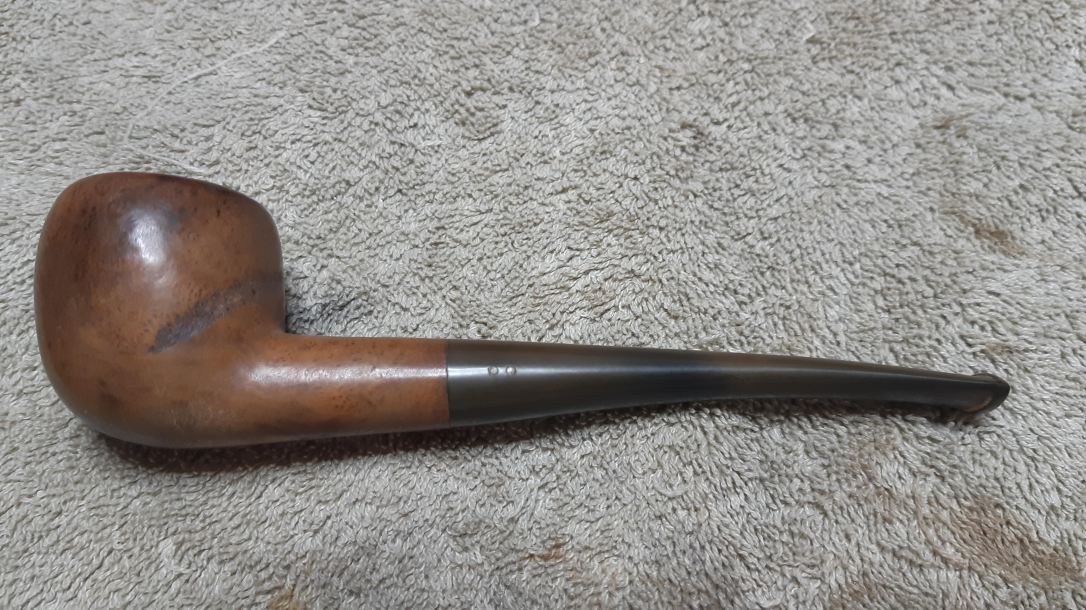


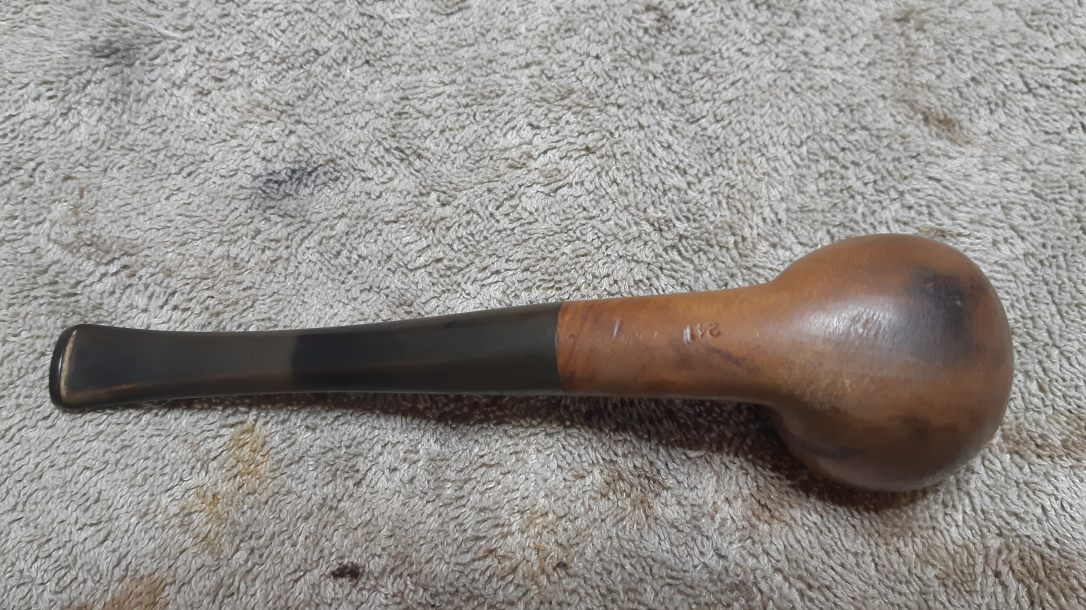

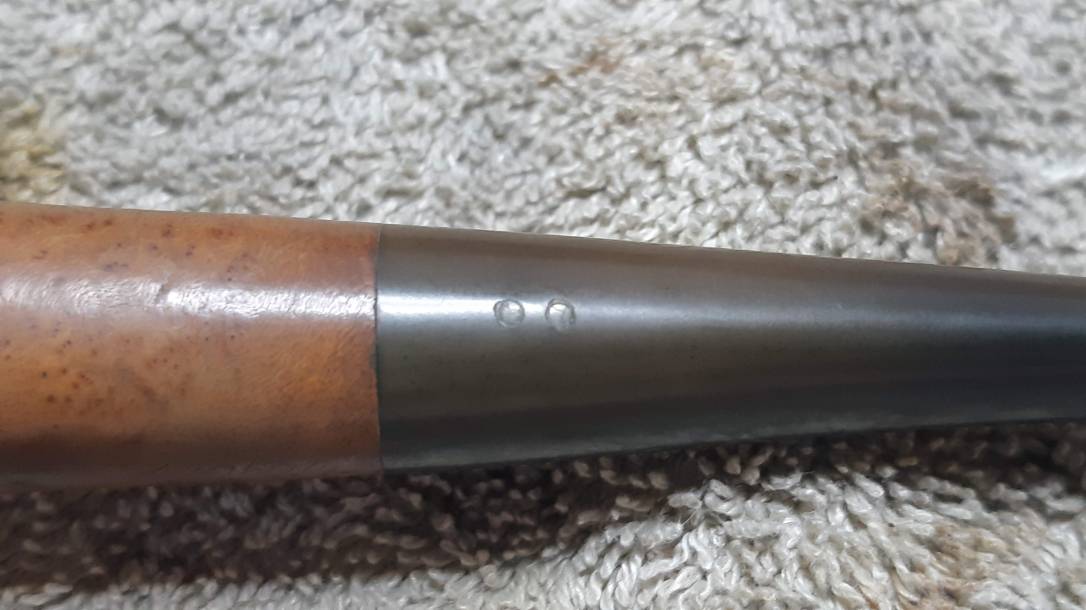
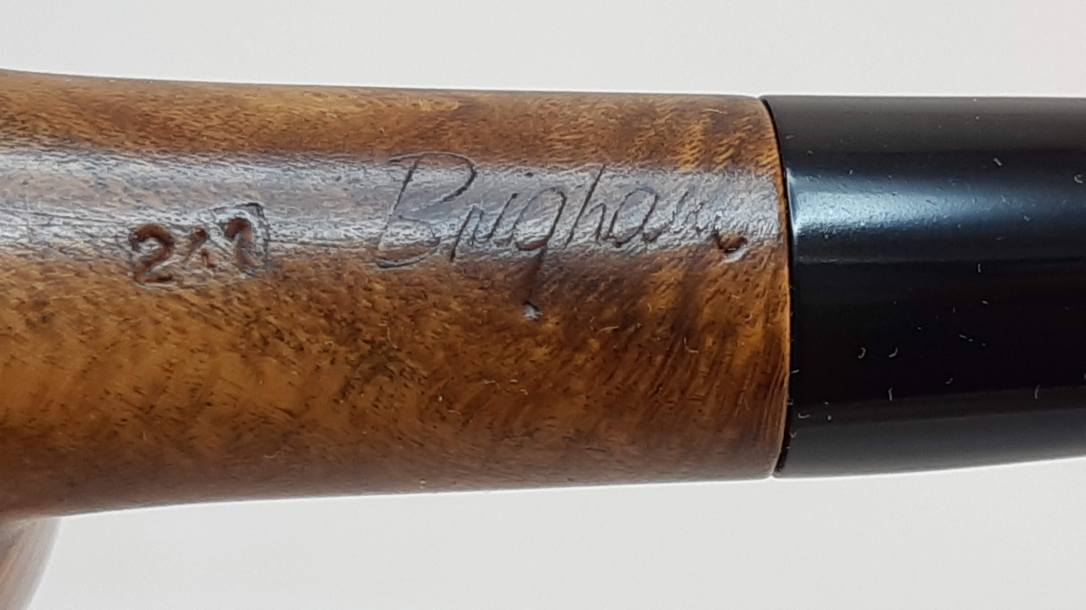
The pipe is stamped on the underside with “241” and “Brigham”. The stem, original to the pipe, is inset with two brass pins, or Dots in Brigham-ese.

The stamps indicate a 1990’s production era. Interestingly, I cross-checked the shape number, 41, against other pipes in my collection and came up with a match of sorts. I wrote about this Brigham 341 a while ago, identifying it as an oval-shanked Bent Acorn.
The pipe on the worktable, though marked with the same Shape 41 number, bears little resemblance to its 1980’s brother. Where the older 3-Dot pipe is definitely an Acorn, I am more inclined to call the 241 an Apple. Further, the oval shank is gone on the 2-Dot, replaced by a conventional round shank.
The final difference is the bend in the stem – more pronounced in the 1980’s 3-Dot 41 than in the 1990’s 2-Dot version. These pics show the two pipes. The differences are quite pronounced, though the overall dimensions are nearly identical.
The evolution of pipe shapes notwithstanding, now that I had some idea about the pipe on which I was working, I got on with the cleanup and reamed the copious cake from the tobacco chamber. Surprisingly, the briar was in good tick underneath and the chamber floor, though slightly over-reamed, showed no sign of heat damage.

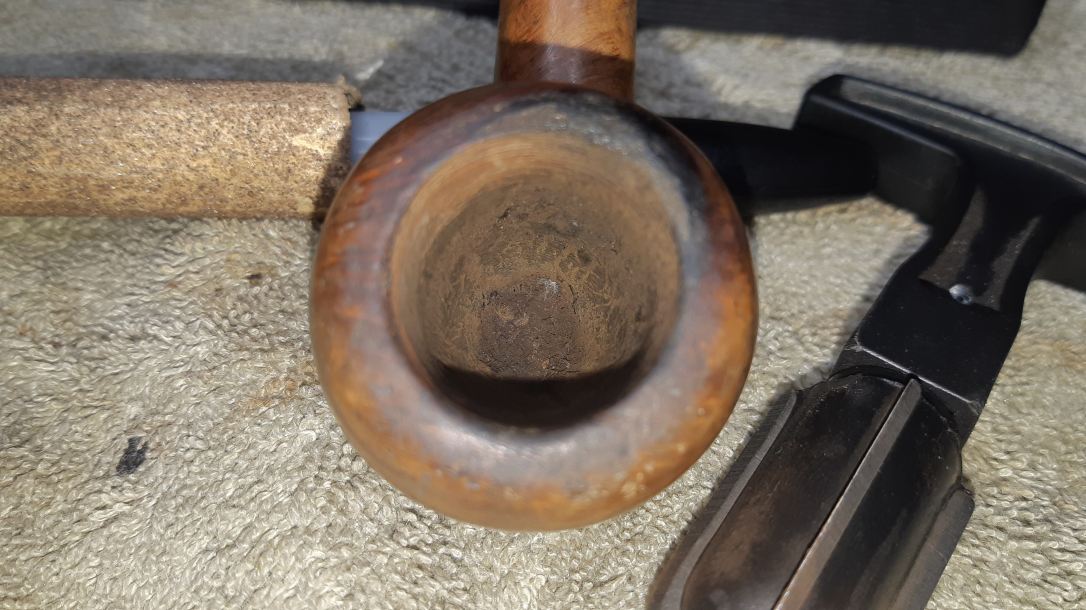
Reaming the cake removed a lot of the lava crust from the rim, though a stubborn patch at the 2 o’clock position remained. I scrubbed the rim with 0000 steel wool, which removed most of the remaining carbon. A cotton pad dipped in alcohol wiped away the worst of the dirt and grease from the exterior of the stummel.
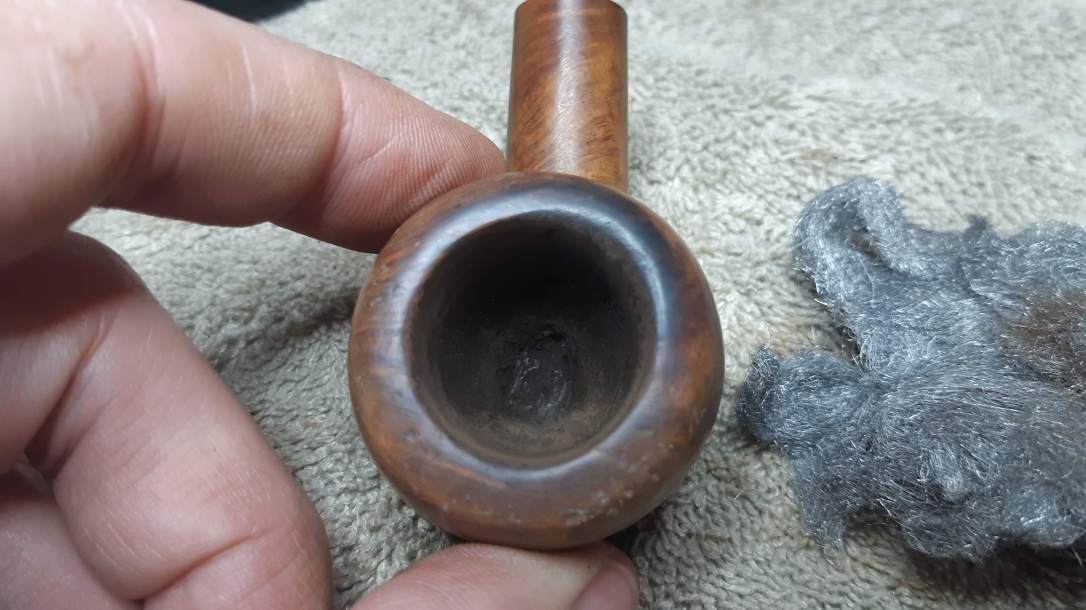
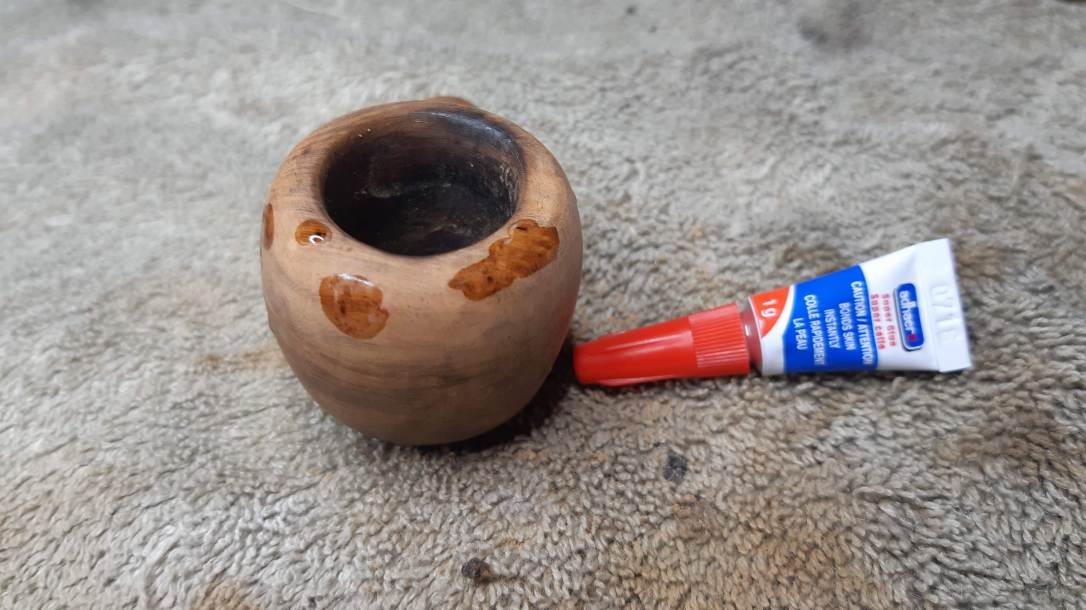
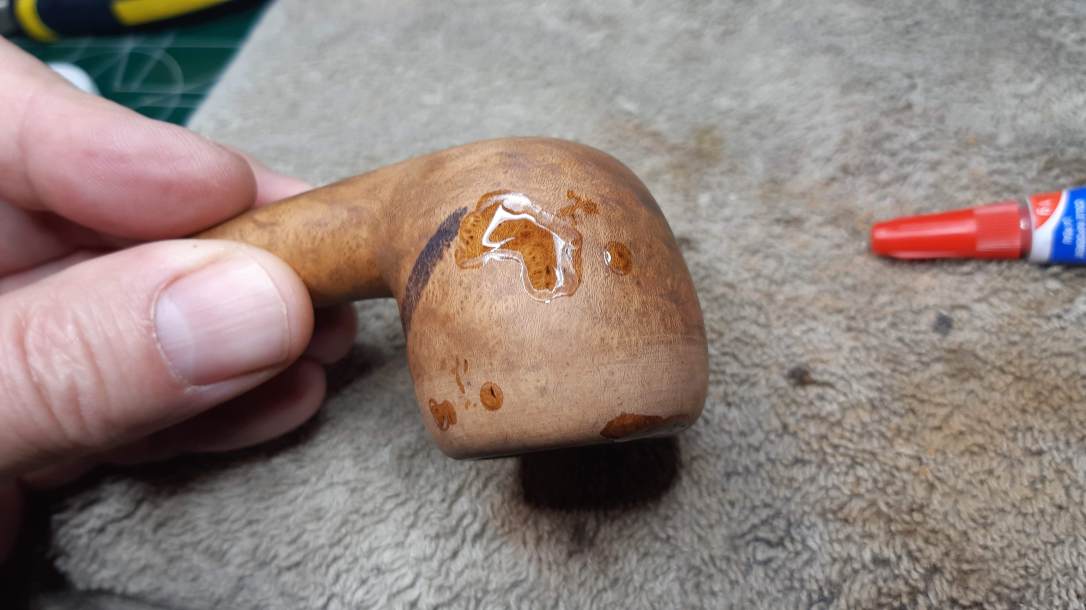
Clean briar has its advantages, but hiding damage to a pipe is not one of them. With the dirt gone, a constellation of dents, dings and scratches was revealed across the face and front rim of the pipe. I sanded the entire stummel (less the stamps) with 220 and 320 grit sandpapers to smooth out the worst of the mess, but decided to drop-fill the remaining deeper sand pits and other marks with clear CA glue. When the glue cured, I sanded everything smooth again.


The stummel was starting to look good at this point, so I switched gears and spent some time on the stem. As found, the stem was pretty manky. – an old rock maple filter was stuck in the tenon/filter holder, the tenon itself was sticky with tars and the slot at the end of the bit was packed nearly solid with detritus.
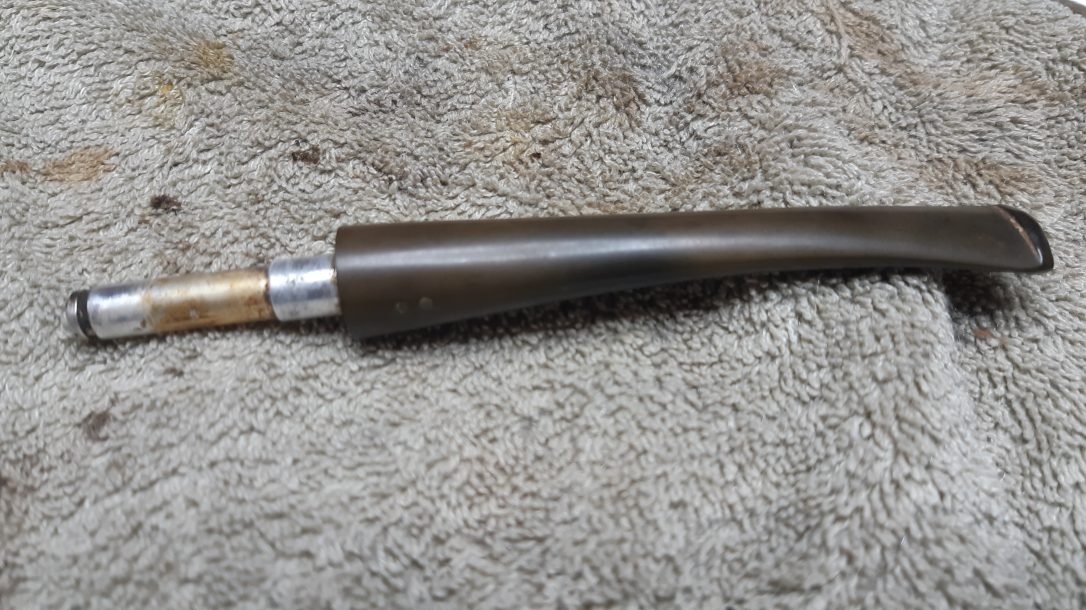
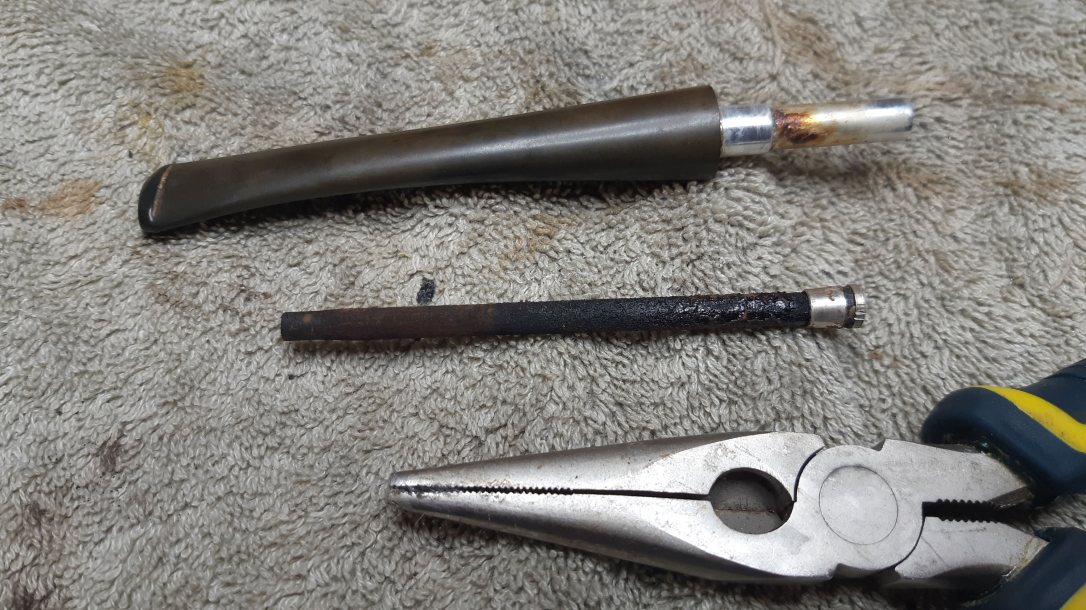

I soaked the stem in an Oxyclean and warm water solution for a few hours to loosen things up. When it came out of the bath, the stem got a good scrub-down with 0000 steel wool and Magic Eraser to remove the softened oxidation. I used a fair pile of pipe cleaners dipped in alcohol to clean the stem’s internals. There was quite a lot of tar stuck in there!
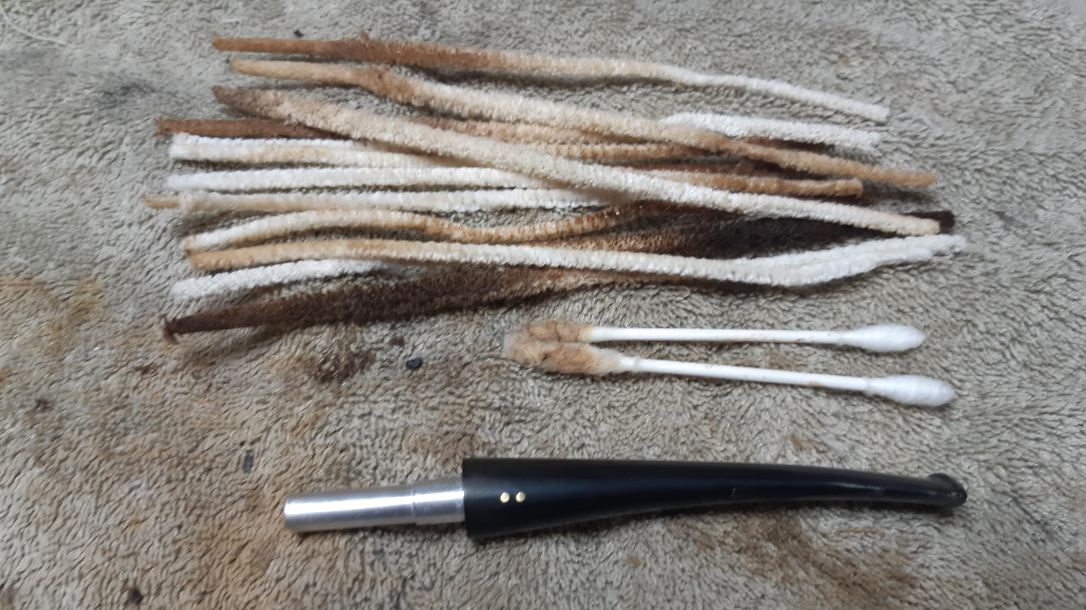
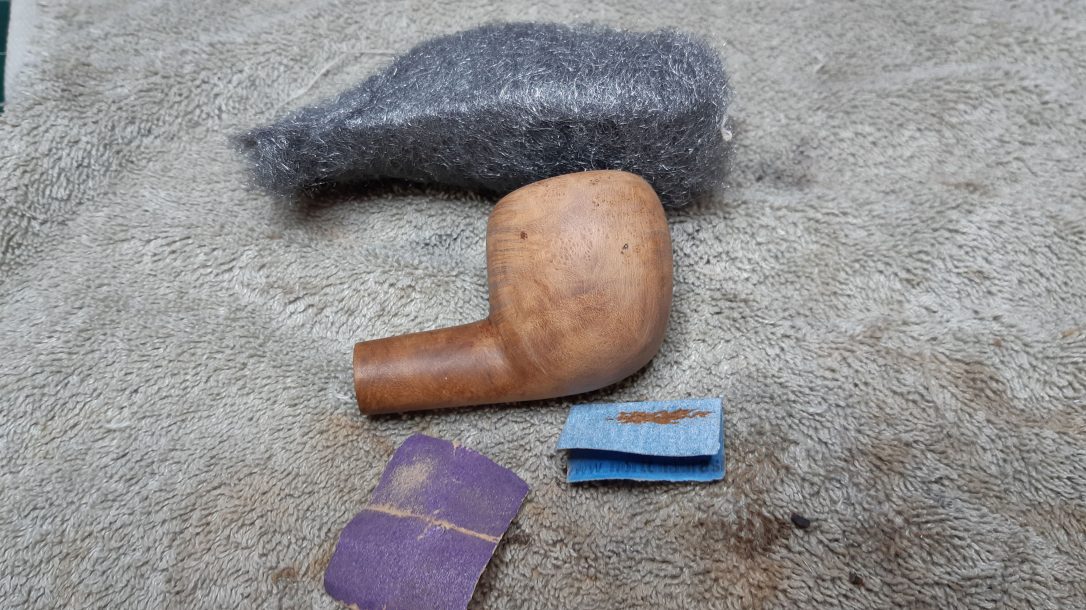
When the stem was clean inside and out I gave it a final wet-sanding with 800 and 2000 grit papers and gave it a wipe with mineral oil before setting it aside to rest. I used the same high grits of wet paper to smooth away the sanding scratches in the briar.
When the stummel looked the way I wanted it, I hit it with a coat of Fiebing’s Black leather dye. I let the dye dry before scrubbing away as much as I could using damp 0000 steel wool. I use water-based dyes so a wet scrub is very effective in removing the colour from the briar, leaving it only in the softer, more absorbent grain.
I added some warmth to the briar with a wash coat of very diluted Saddle Tan dye, just enough to give the wood some life. The overall effect of the two-stage finish is a near-virgin colouration over black graining. A wipe of mineral oil deepened the finish another degree and added some depth and shine to the briar.
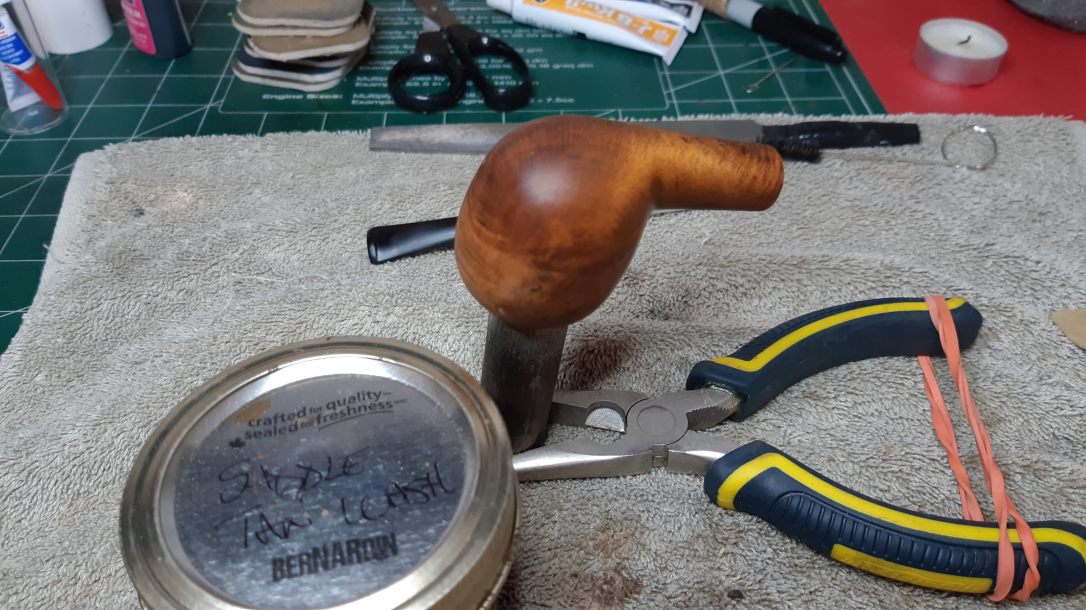

I let the oil sit on the stummel for just a minute before rubbing away the excess by hand with an old towel. I let the stummel rest for a bit before reassembling the pipe and taking it to the buffer where I went over both stem and stummel with White Diamond compound on the wheel and then applied several coats of Carnauba wax.
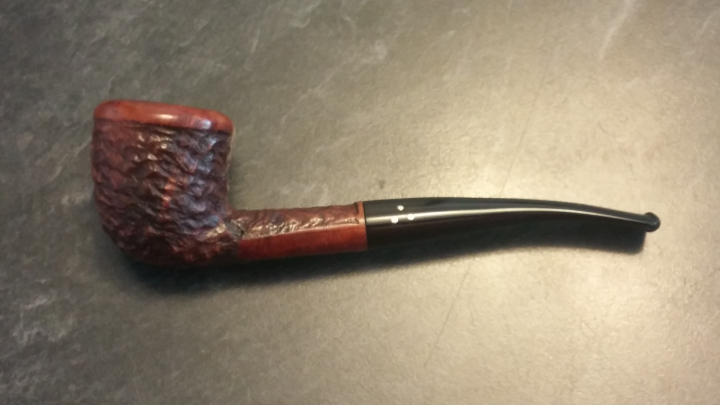
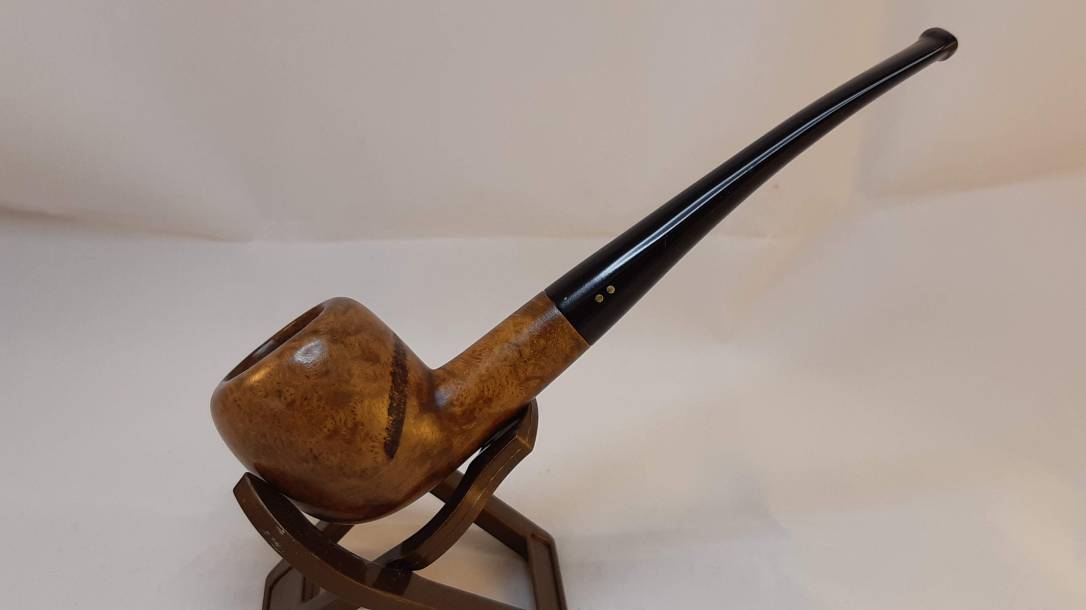
The finished pipe bears very little resemblance to the battered and neglected briar I brought to the worktable a few days earlier. There was a pretty little pipe hiding under all that dirt! The briar grain, though nothing to write home about, is nevertheless pleasant to look at, and the myriad small fills have disappeared into the new honey-toned finish.
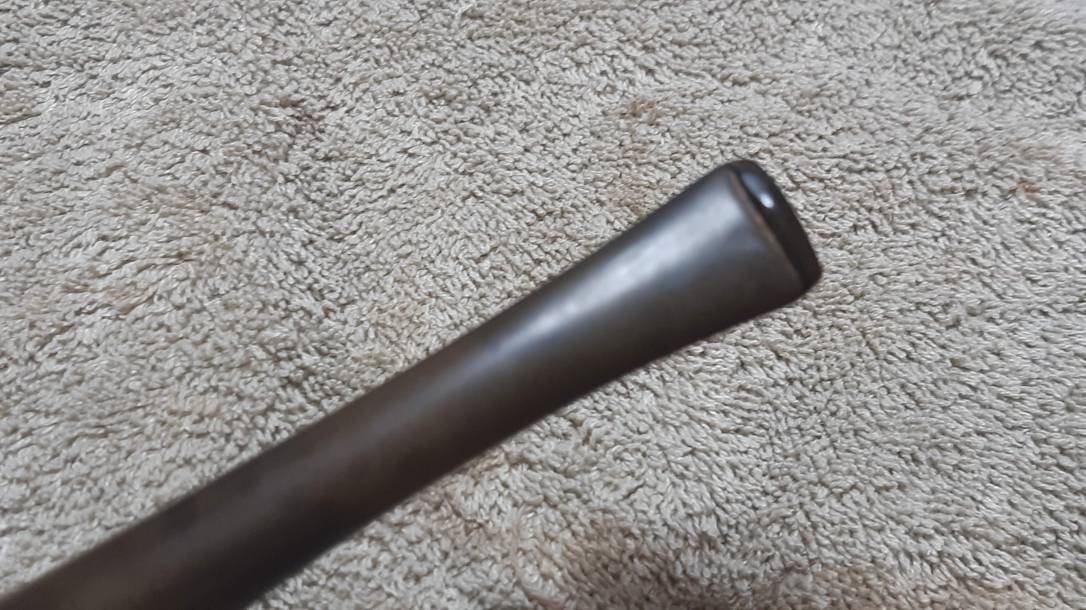
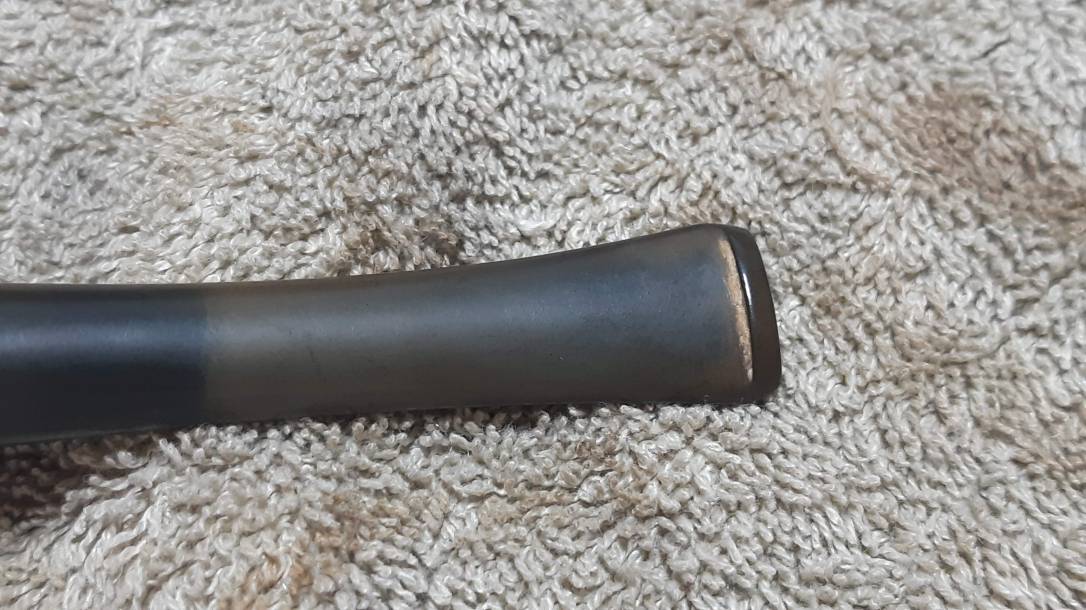
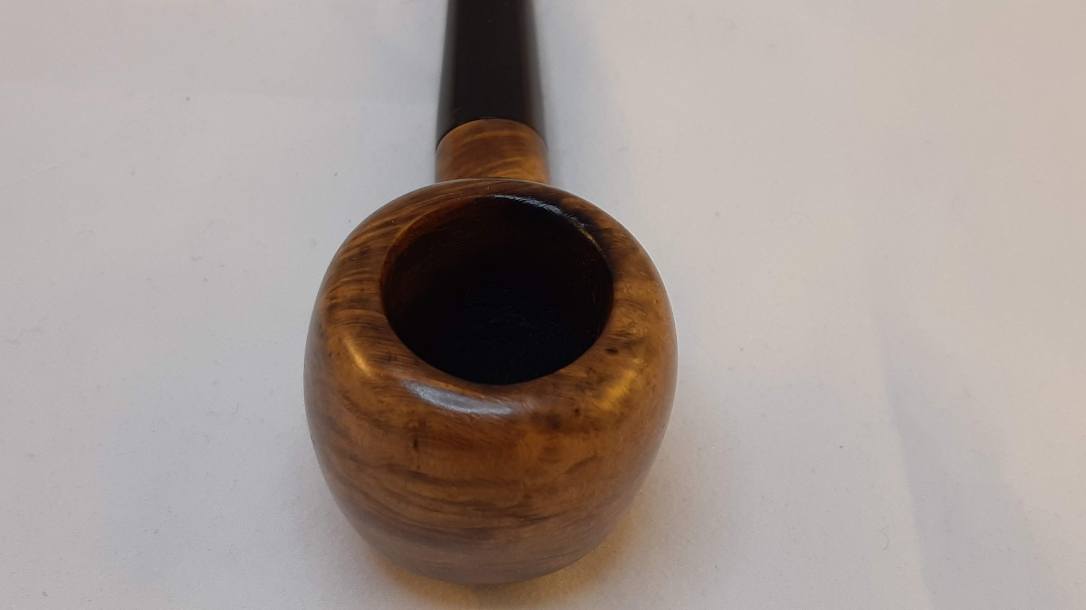
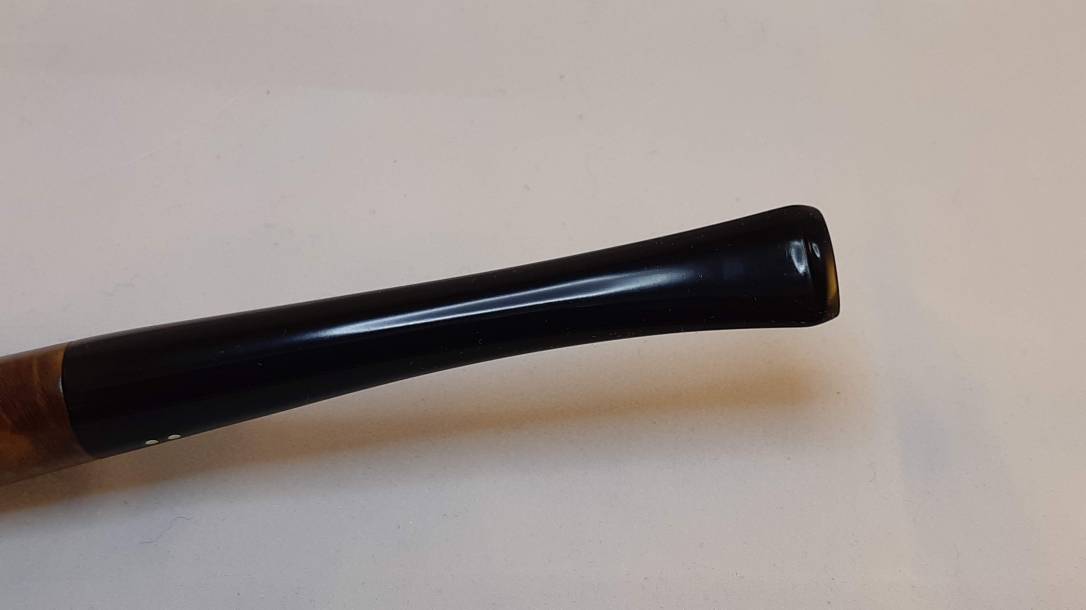
The crowned rim is especially attractive with its splash of cross-grain that was previously hidden under a thick lava crust. The revived stem shines a clear glossy black, offset nicely by the twinkling of its two brass Dots. Better yet, the airway is open and unrestricted by nasty old tars!
This project has been a good example of the need to see beyond the dirt and damages when deciding whether to restore an estate pipe or move on to another prospect. I’m glad I stuck with this one. Is there an Ugly Duckling in your refurb box waiting to be discovered?
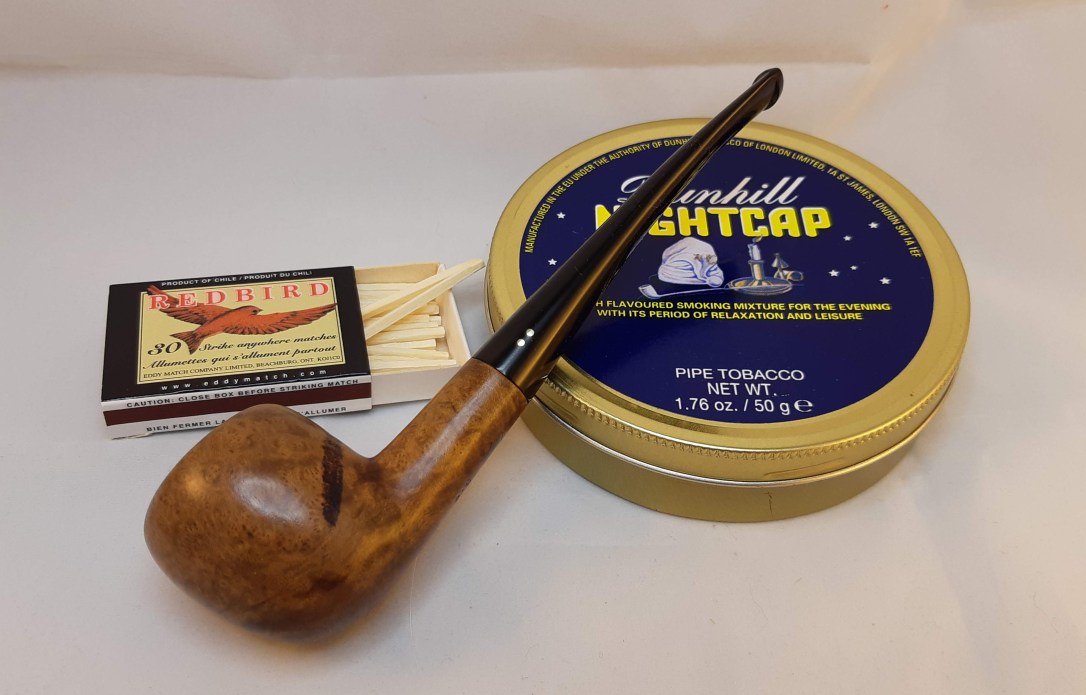
Here’s the finished pipe. Until next time, Happy Piping!


Another interesting and enjoyable read! Thanks Charles.
LikeLiked by 1 person
Thanks Marlowe. This was a fun project. It really looked like junk when I started! I’m always surprised by the difference a good cleaning makes. 😁
LikeLike