
Black pipes present the pipe restorer with a slightly different set of challenges than those faced when refurbishing a briar finished with the more common “woody” brown and red stains. The vast majority of black pipes to come across my worktable have been of the “opera pipe” style, finished with an opaque black or “ebony” stain (or sometimes paint) covered with a high-gloss topcoat. Over time, the topcoat wears, flakes, peels or otherwise degrades and the owners of these pipes begin wondering about ways to restore the pipe to its former glory.
There are a few points that restorers must keep in mind when preparing to work on a black or other solid colour pipe:
- That gloss coat will have to come off. Even if you intend to apply a new gloss coat to the refurbished stummel, the original will need to be removed first. There is no practical way to top a bowl, replace a loose fill or sometimes even steam out a dent with the gloss coat in place.
- Gloss coats are typically either shellac-based or modern urethane-based. A shellac gloss coat may be removed relatively easily by either wiping with, or immersion in, alcohol. A urethane topcoat is not affected by alcohol or any other solvent you’d want to soak your pipe in, so will need to be sanded away – a tedious and labour-intensive.
- Black pipes are black for a reason. This is a great way for manufacturers to make use of lower-grade briar that won’t pass muster for a transparent stain or natural finish. Generally you can expect to find a fair number of fills or other flaws, sometimes of significant size. I liken the stripping of a black stummel to opening a wall during home renovations – you never know what you’re going to find until you get started. Expect to find one or more issues hiding under the colour coat.
My first question to a piper who has brought me a black pipe to restore is usually “Would you like to change the colour of the pipe?” Once the black coat is gone, the briar can usually be treated like any other stummel, and the usual CA glue & Briar Dust fills are much easier to blend into a brown finish. I used this approach when refurbishing this Big Ben bulldog pipe.
If the fills or flaws are particularly numerous, my next question is “What are your thoughts on rusticating the pipe?” Rustication is a great way to hide fills, and can also open up any number of artistic possibilities. In last week’s post I rusticated a pipe with a huge fill in the briar.
These options, however, are not always the preferred course of action. Sometimes the pipe in question is a valuable piece that would suffer from such non-factory treatments. Other times personal preference rules out a change of colour or texture.
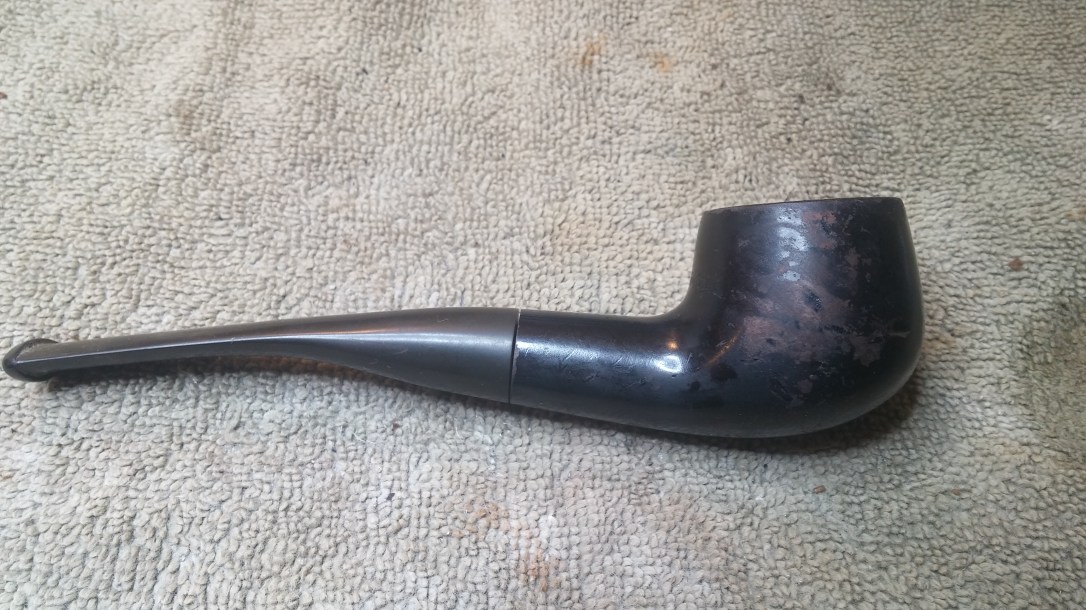
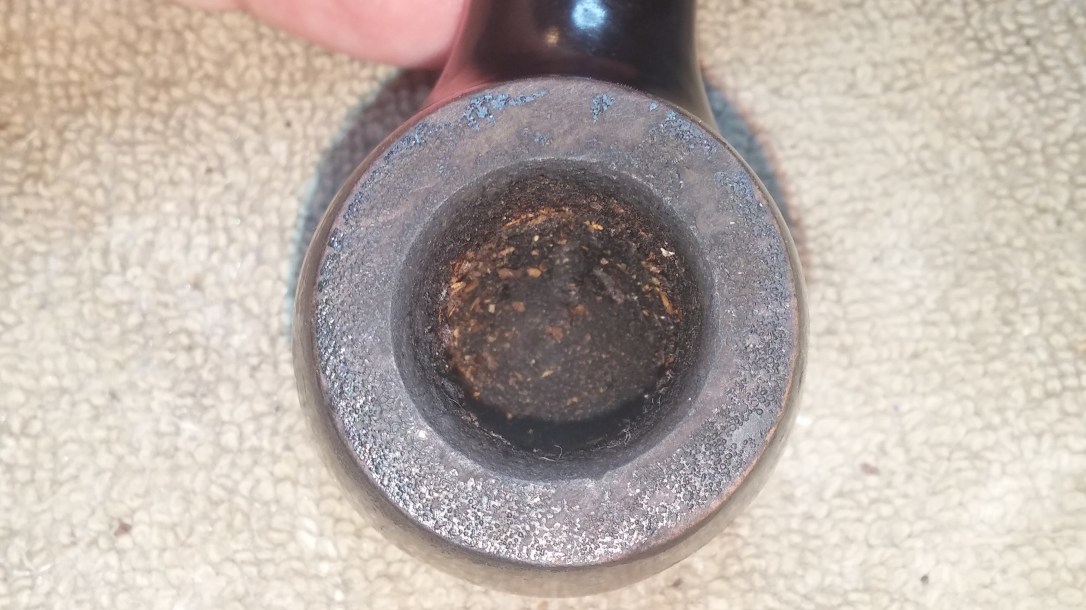
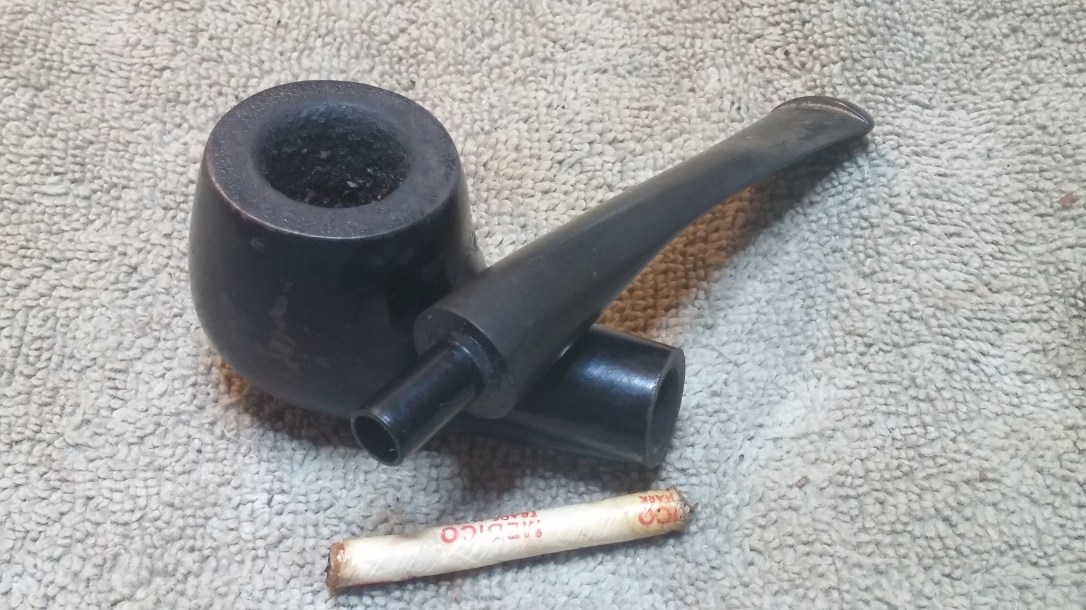
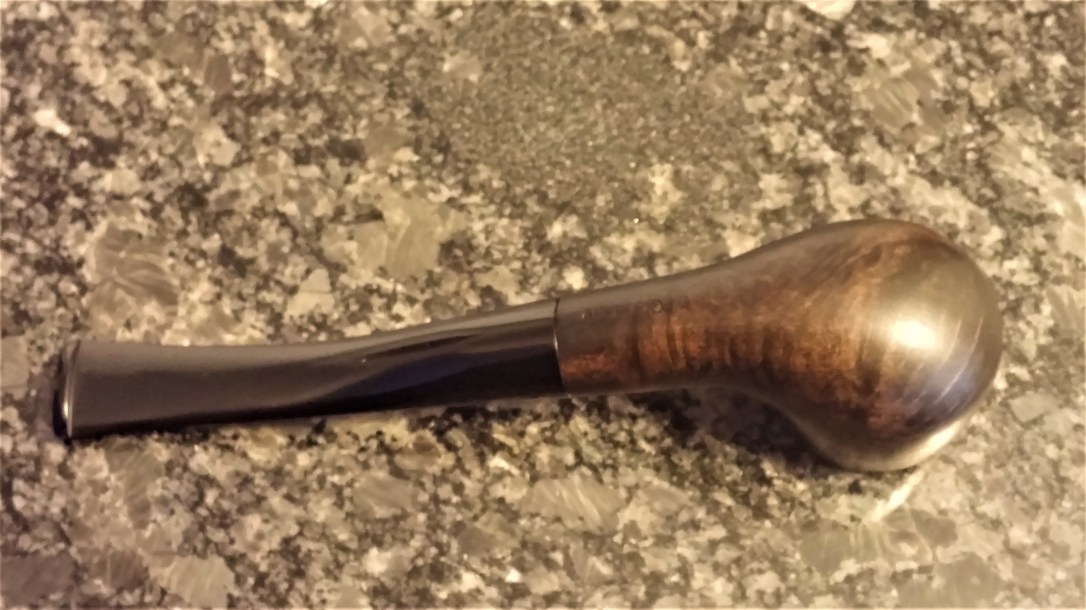
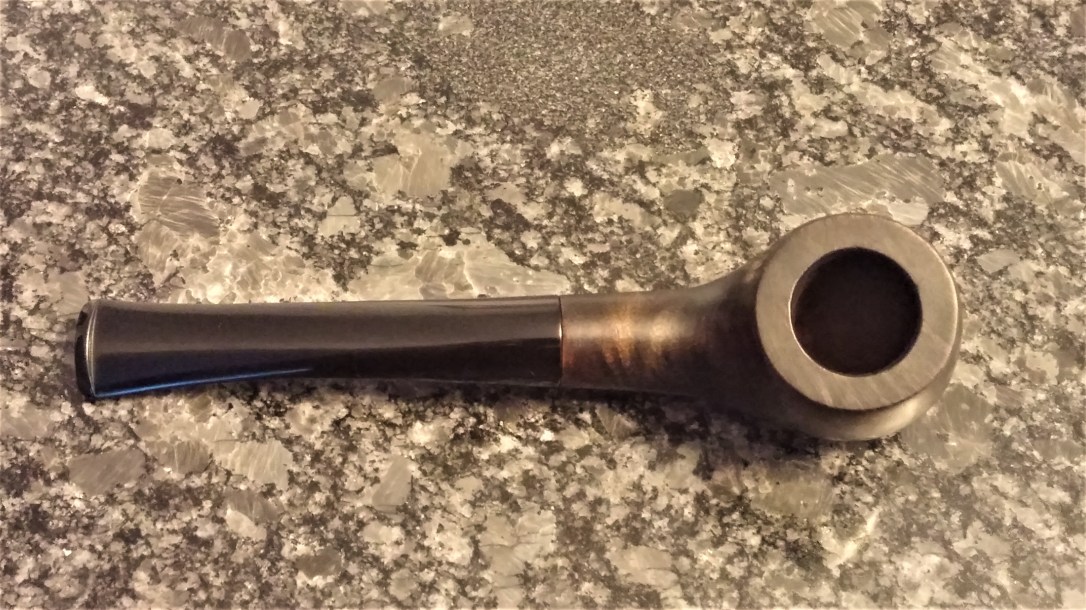
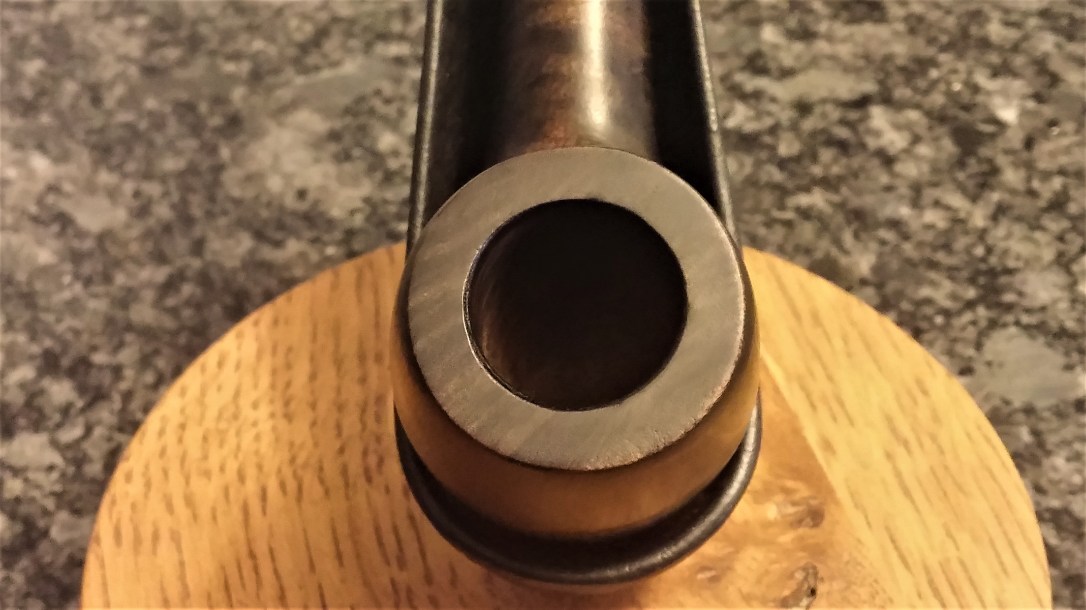
The latter was the case with this black German-made Bent Pot I recently had on the worktable. The gloss topcoat was worn off on either side of the bowl, the rim was hidden under a layer of carbon “lava”, and the rest of the stummel was peppered with dents, dings, scratches and other handling marks. I also found the remains of the last tobacco smoked at the bottom of the chamber.
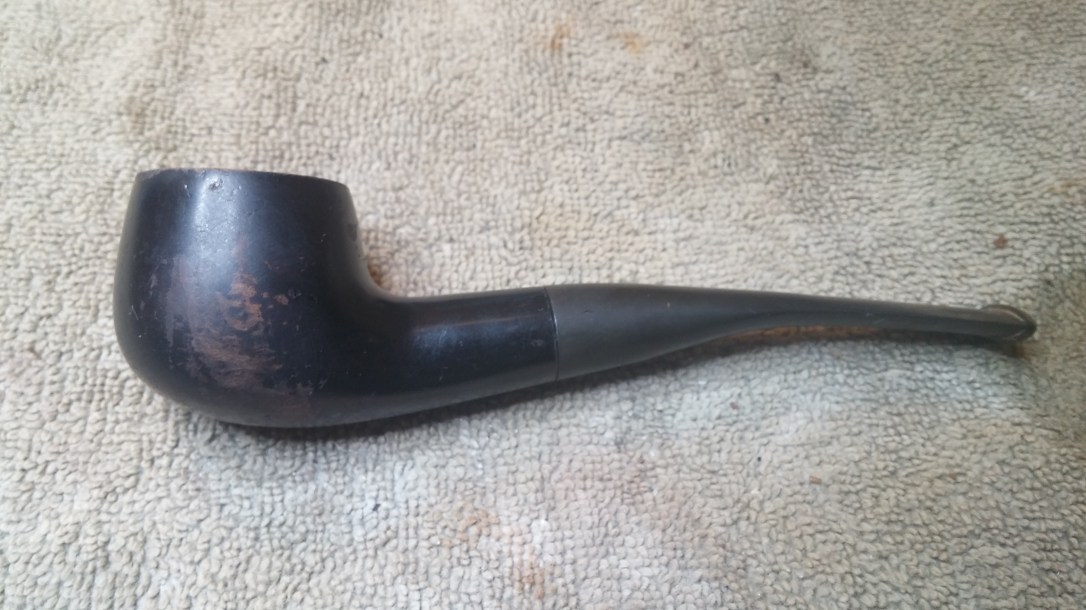


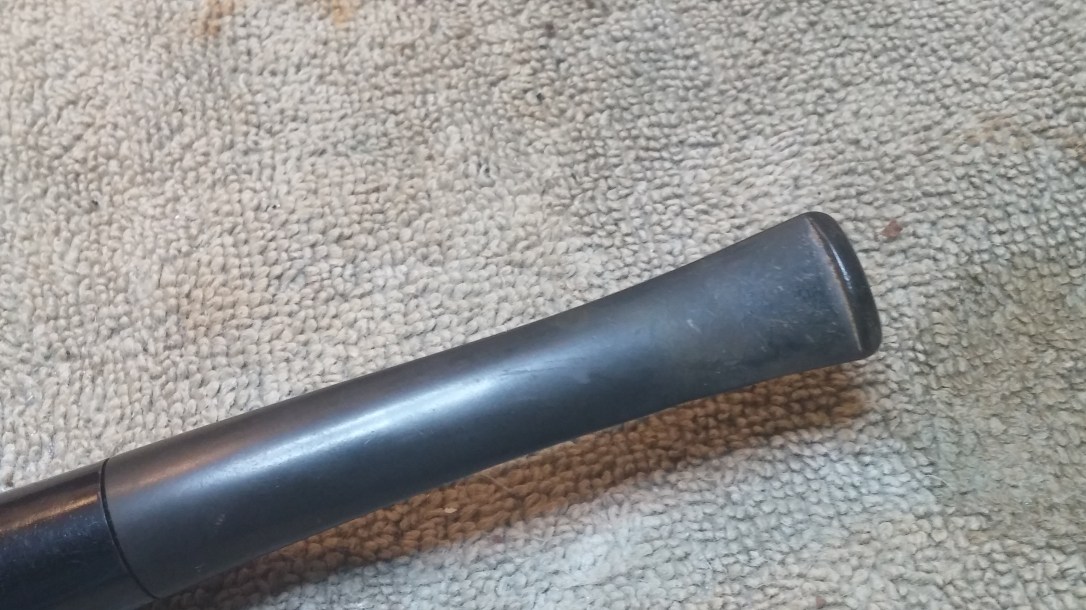
The stem was in relatively good shape, showing some oxidation but only light tooth chatter at the button. As the last picture shows, this pipe accepts 6mm Dr. Grabow style paper filters.

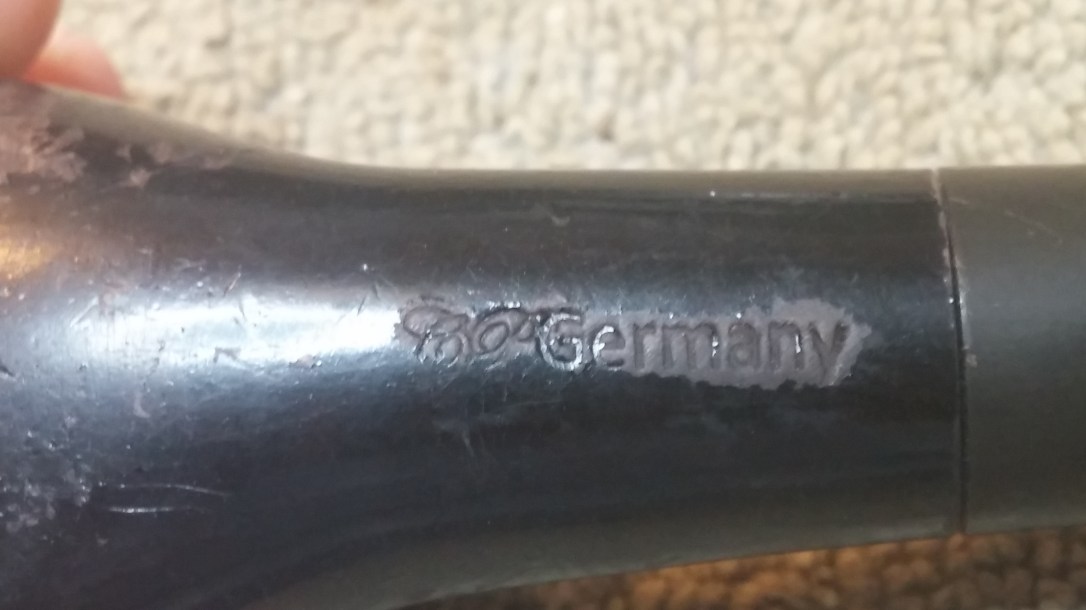
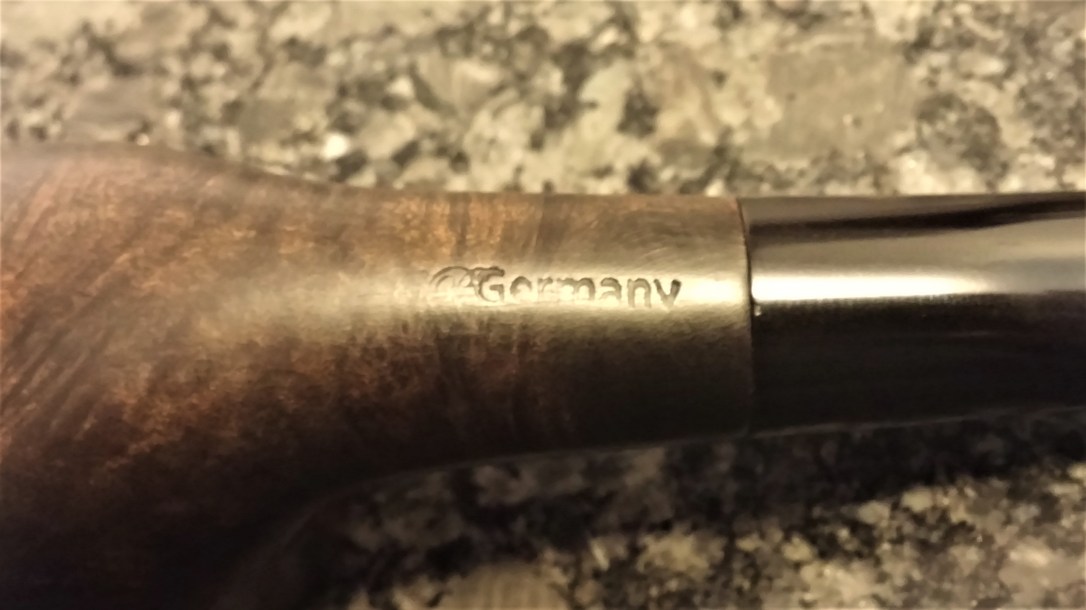
I’m not sure who made this pipe. The underside of the shank is stamped with two letters in a flowing cursive script and were worn and difficult to read. I deciphered them as “CP” followed by “Germany” in a Roman-style font. I haven’t been able to match the stamp with a known brand, so if anyone has any insight here, please share in the comment section below.
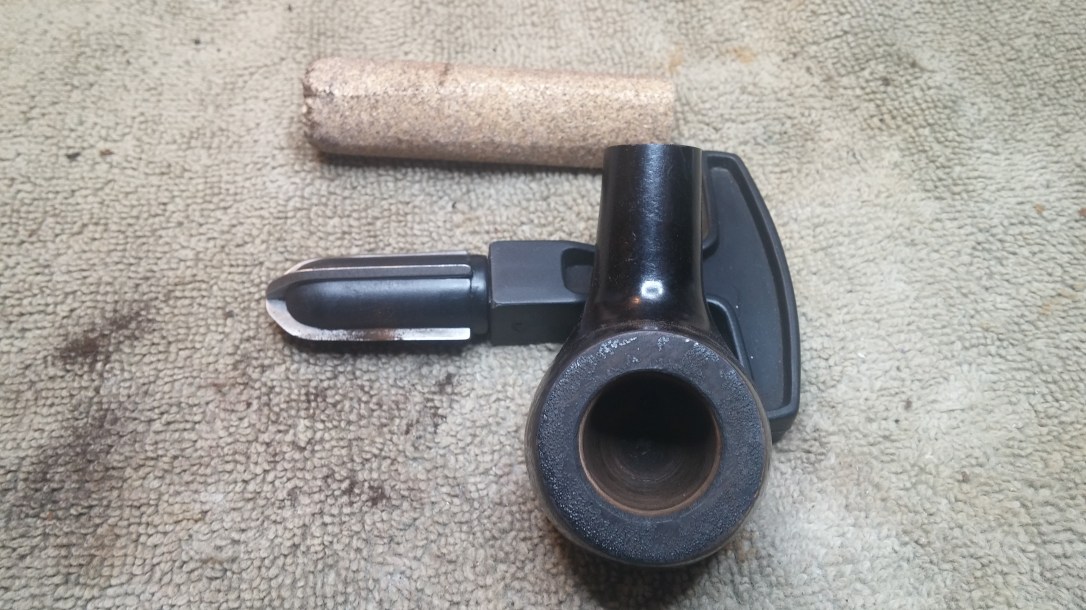
The pipe stem cleaned up very easily with my usual Oxyclean soak and a bit of sanding and polishing. Let’s assume the stem is ready to go, and I’ll concentrate this post on the stummel work, which started with reaming the old tobacco and carbon cake from the chamber.
I cleaned the internals with pipe cleaners and alcohol, then topped the bowl lightly on 320-grit sandpaper twice – first to remove the layer of lava, and then to smooth out a number of dents and dings I found hiding underneath.
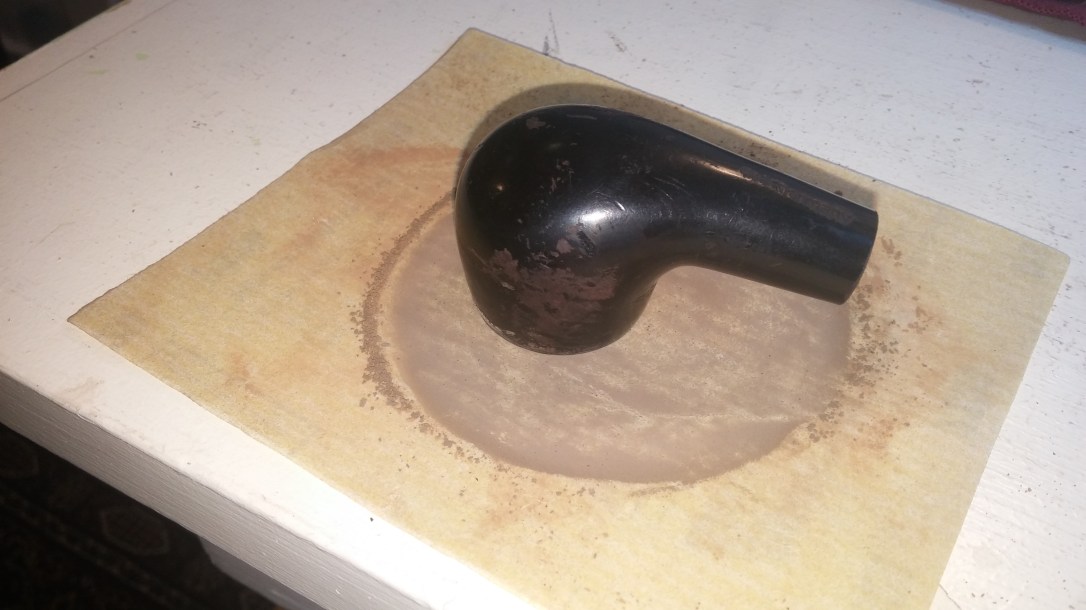

A wipe with alcohol on a cotton pad had no effect on the worn topcoat, confirming that this was indeed a urethane-based gloss coat. I’d have to sand it off by hand to get at the briar. The pic below shows the stummel mostly sanded back to bare wood. Once I had the topcoat out of the way, I wiped away as much of the black colour coat as I could using nail polish remover (aka acetone) on a cotton pad. This saved me a fair bit of sanding.

As I had expected, there were a number of fills in the briar under the black finish. Most were small and easily dealt with, but one large fill across the rear right quarter of the bowl proved troublesome. My first attempt at filling the flawed area with CA glue and briar dust produced less than satisfactory results as the black dye I applied to the sanded stummel refused to colour the fills at all, leaving a streak of brown fill against a black background.
I dug out the offending fill and altered my patch mixture, this time mixing activated charcoal powder into the CA glue instead of briar dust. This mixture proved much more effective in this application. The leather dye still didn’t penetrate the cured CA glue, but the black fill blended much more easily with the black stained briar.

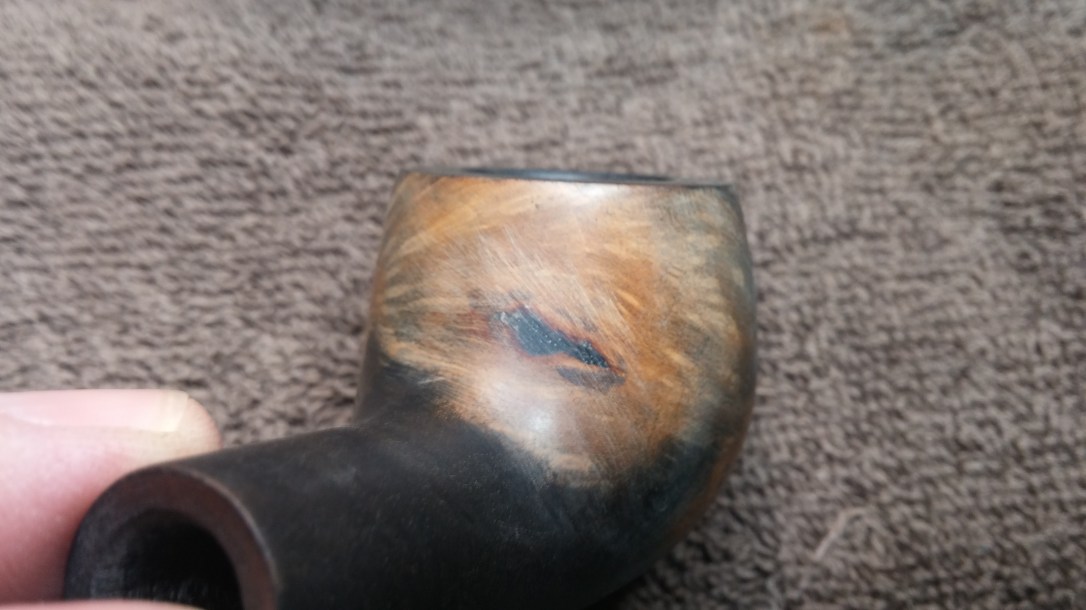
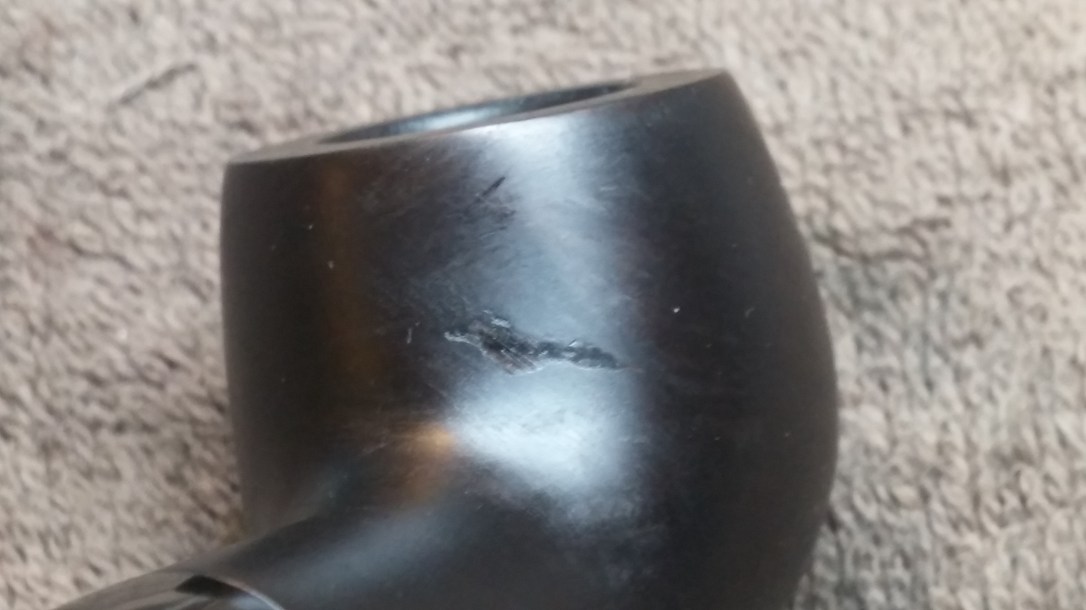
Trying to emulate the original finish, I applied the black dye generously and had another long, critical look at the stummel. This series of pictures shows how evidently the fills stood out against the black finish. Note that these fills are all smooth and flush with the surrounding briar, and the stummel has been buffed and waxed. Argh!
Frustrated, I walked away from the worktable for a bit and let the problem rumble around in the back of my mind for a while. I find this practice very helpful when dealing with a sticky issue. It both removes me from the immediate situation (thus preventing me from doing something foolish out of frustration) and allows me to get on with some useful or otherwise necessary task while my subconscious mind works on a solution.

When I came back to the pipe, I had a plan in place. I realized that the fills themselves weren’t actually the problem. The real issue, I hypothesized, was the heaviness of the stain. CA and briar dust fills disappear into a lighter finish not because they are brown but because the lighter stain allows the grain to show through the finish, creating a natural pattern of light and dark that distracts the eye from the fills!
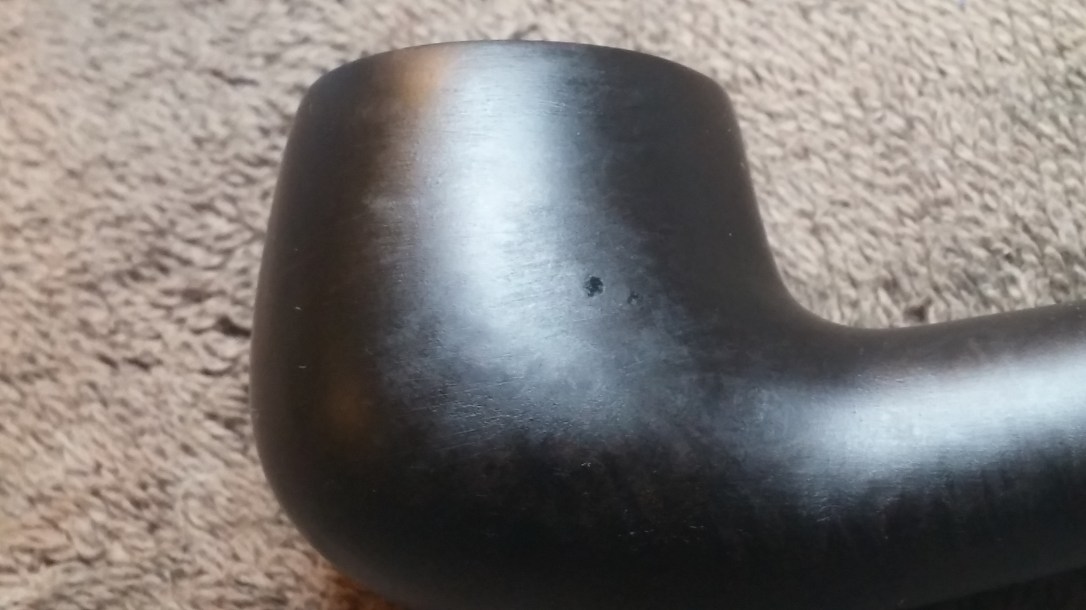
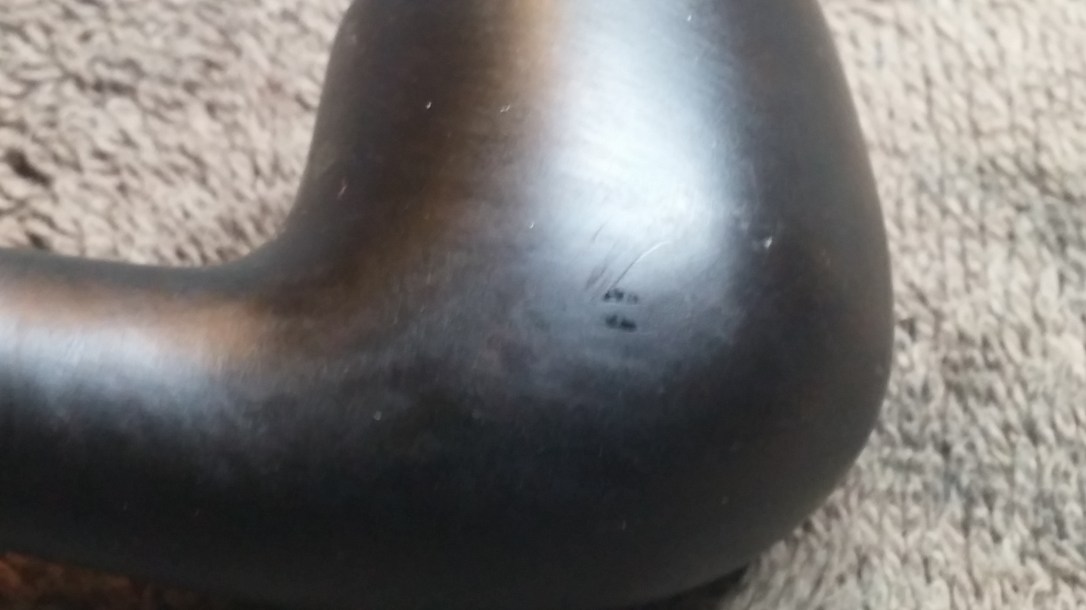
Putting my idea to the test, I wiped off the wax finish and some of the black stain underneath with alcohol and cotton pads. As I revealed more of the wood grain, the fills began fading into the background. Yay!
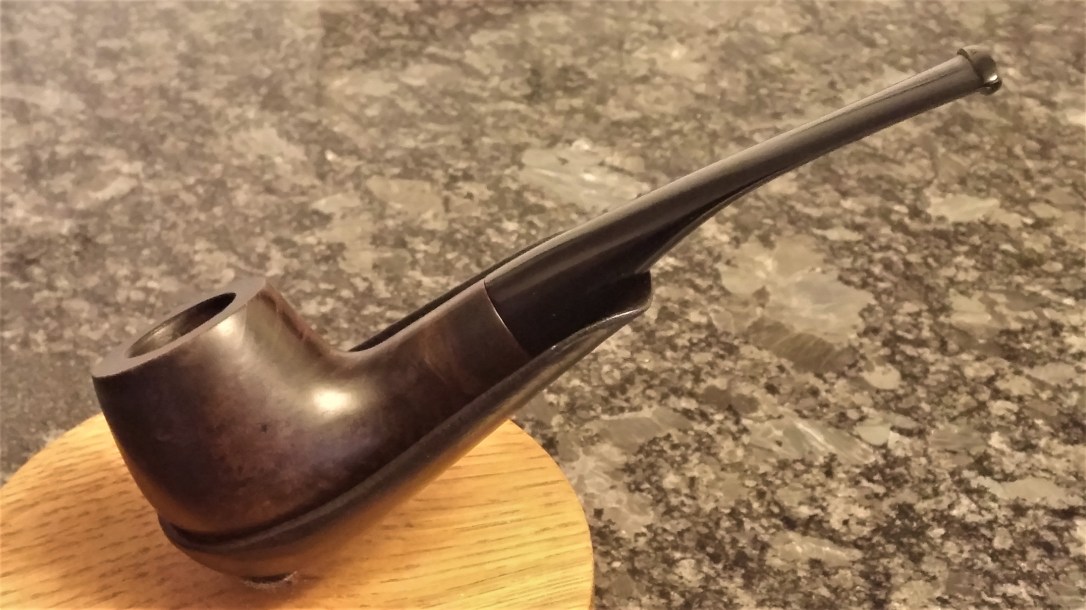
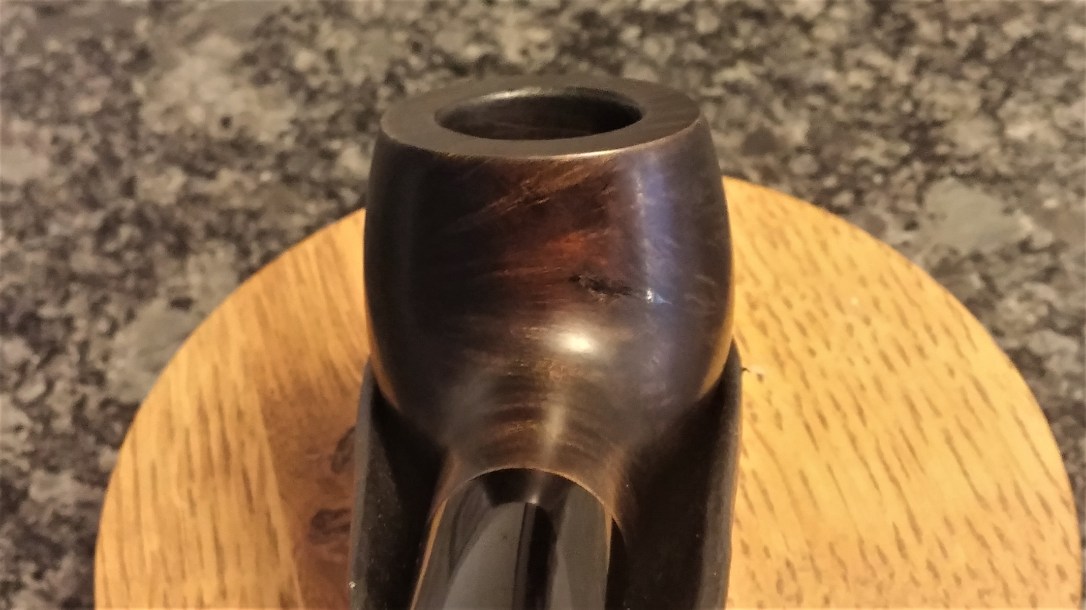
I stopped when I thought I had struck an optimal balance between a traditional opaque black pipe and showing enough grain to hide the fills. Then I took the pipe back to the buffer for a final polishing with White Diamond compound and several coats of Carnauba wax to shine and protect the new finish.
The restored pipe shows more brown tones in the pictures below than it does in real life, where it is much more a black-on-black finish that is quite appealing and, to my mind, gives the pipe a much higher quality appearance than did the old opaque finish. Thankfully, the pipe’s owner agrees with me and is quite pleased with his transformed briar. He is already making plans to have another black pipe in his collection restored in the same manner.
I hope this post provides a few tips and insights that may be helpful in your own refurbishment of a black pipe. Not many pipers carry a Dress Pipe to the opera anymore, but, judging by current pipe catalogues, the high-gloss black finish has not lost its appeal. Chances are good that one of these black beauties will end up on your worktable eventually!
Thanks for joining me for another estate pipe restoration. Until next time, Happy Piping!
Here’s the finished pipe.


Charles, this was a very helpful essay. I have run into the bane of fills not blending with black stains- standing out and revealing a different surface texture. You solved it by lightening the overall finish to provide a better blend. I agree with you that the finished pipe is very attractive and I wouldn’t mind having it in my collection! I am still left wondering though, what if you want the black finish to remain or be restored? That’s still seems to be a sticky wicket! This one’s going in my file, thank you!
LikeLiked by 1 person
Thanks, Dal. From a practical point of view, I think repairing or restoring a black pipe means a complete refinish one way or the other. If you want to regain that factory look, you need to strip the old varnish/gloss coat and apply a new one.
LikeLike
Thanks Charles. I agree but one can hope! The thought that came to mind was the use of Osmo finish that Steve reposted on Reborn Pipes from Mark’s restoration of an ebony Pete. It seemed to provide an opaque finish that might help in this situation. I was so intrigued with Osmo that I did research and discovered that it can be purchased here in Bulgaria!
LikeLiked by 1 person
Indeed! I haven’t sought it out here in Canada yet. It looks very interesting.
LikeLike
Well that was easy! Osmo products are indeed available in Canada! THe product Mark used can be found here:
https://osmo-store.com/product/polyx-oil-high-solid/
LikeLike
Thanks Charles, I agree but one can only hope! I was thinking about a recent repost that Steve did on Reborn Pipes where Mark used Osmo finish to restore a Pete. I wondered if the opaque finish that it’s seem to leave behind would be helpful in this situation. I was so intrigued by the Osmo finish that I researched it and discovered I could buy it here in Bulgaria!
LikeLiked by 1 person
Sorry for the double post! Working on an iPhone!
LikeLike