
After 16 days my doctors finally tired of me haunting the hospital hallways and sent me home to convalesce in the relative comfort of my own four walls. I’ve still got a ways to go before I am declared fit, but I’m moving in the right direction. Today I was feeling relatively energetic, so I sat in my pipe room and finished off the restoration of this 1940’s K&P Dublin Pot which I had started after Christmas. I hope you enjoy it! – Charles
This old K&P Dublin pipe came to my worktable as a result of one of the worst eBay listings I’ve seen in a long time, complete with terrible pictures, inaccurate description and padded shipping fees. The obvious lack of care in the listing must have scared away other potential bidders, as I won the auction with a single low-ball bid I though was commensurate with the risk of buying what amounted to a mystery pipe.
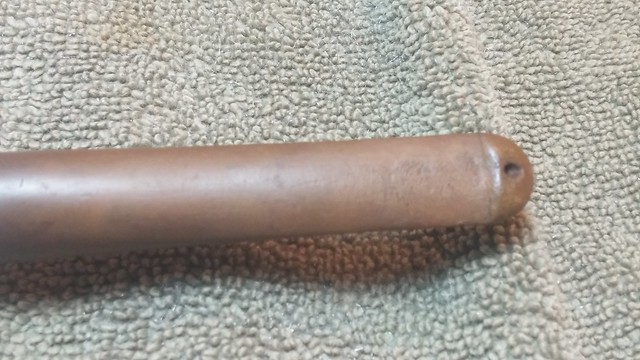
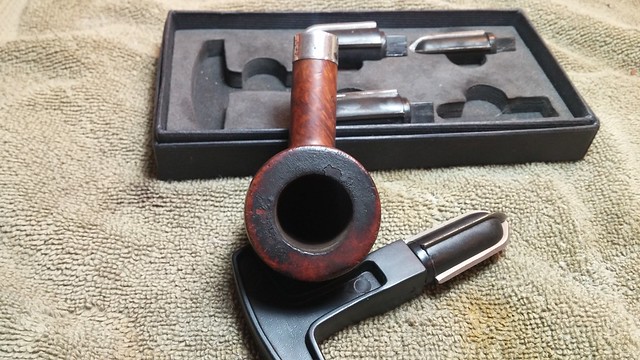
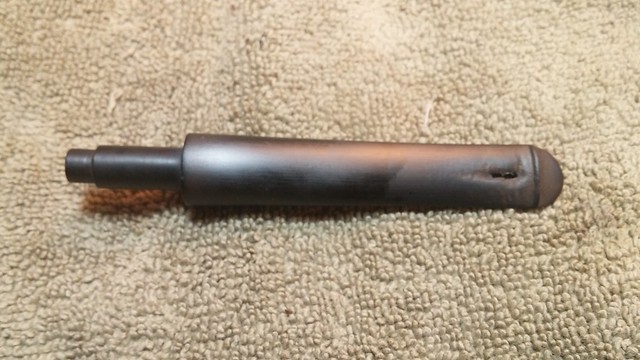
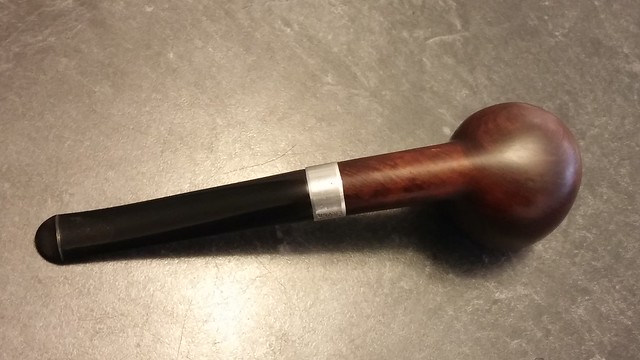
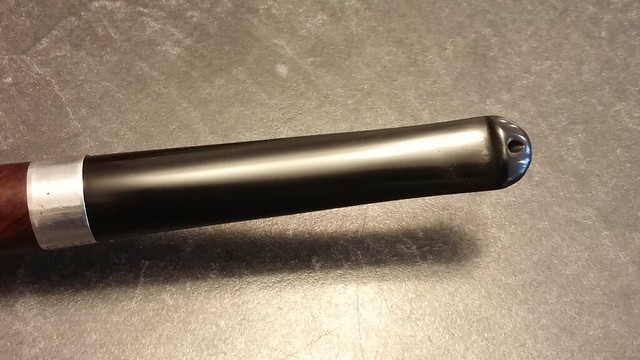
A few days later the pipe arrived at my house and I got my first good look at its condition. First to jump out at me was the heavily oxidized P-lip stem that had been bitten through the bottom side (which was euphemistically described in the eBay listing as “some wear to stem”!!). The shank band was also heavily tarnished and dirty; I had to give it a preliminary scrub just to confirm that it was a factory-installed sterling band and not a later repair.
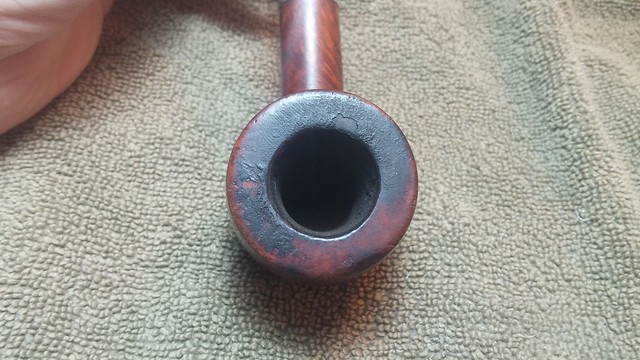
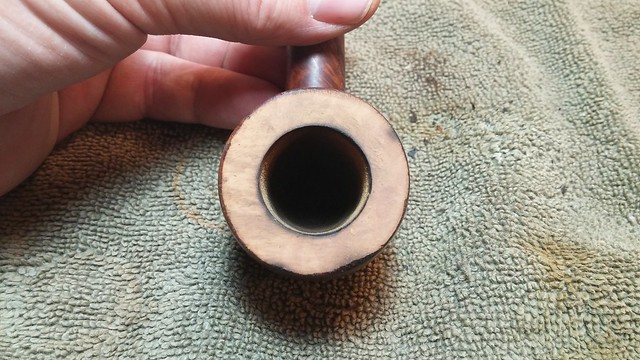
The stummel was in similar condition to the stem, and showed decades of use if not abuse. There was a thin crust of lava over most of the rim of this thick-walled pot, and several large dents around the outer rim which gave the bowl an out-of-round appearance. More concerning were several burn marks – smaller spots on the outer rim of the bowl and a large scorch mark on the front of the bowl. Could there be a burn-out waiting to be found in the chamber?

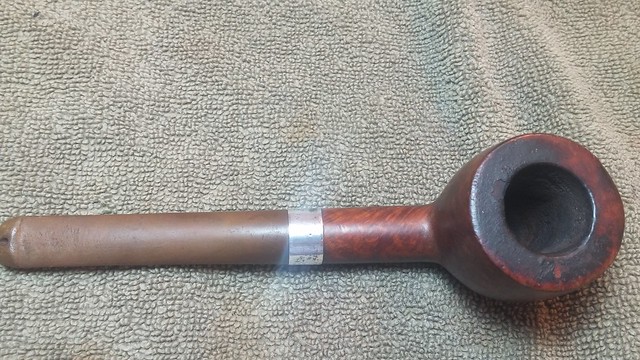
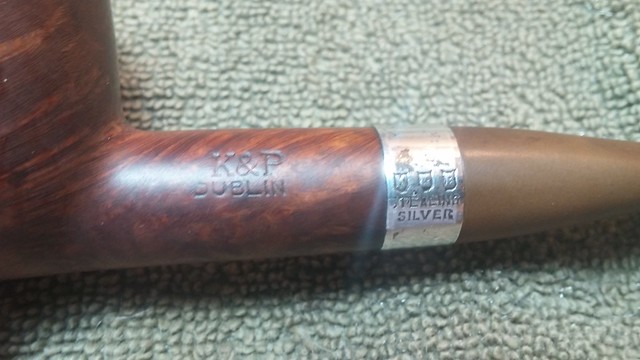
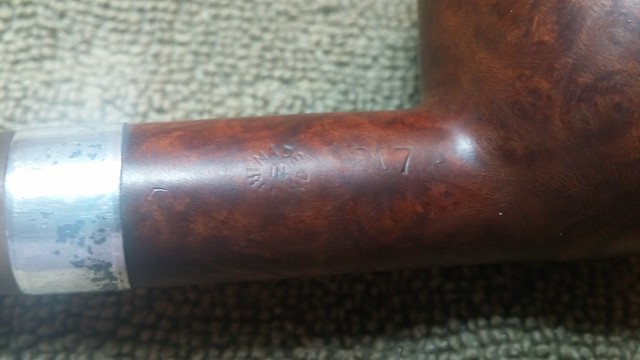
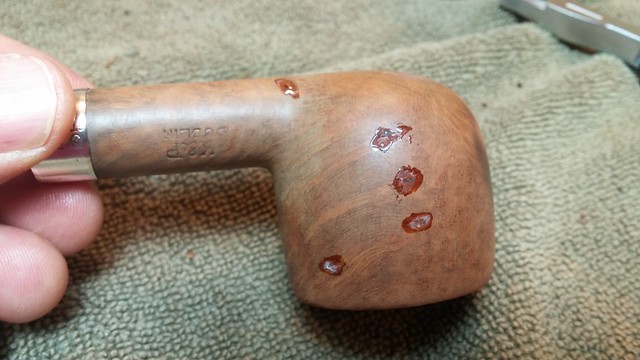
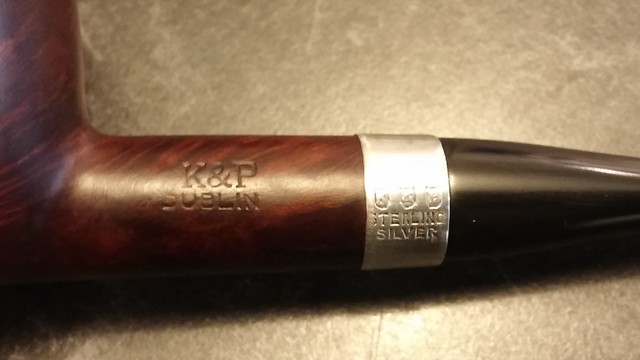
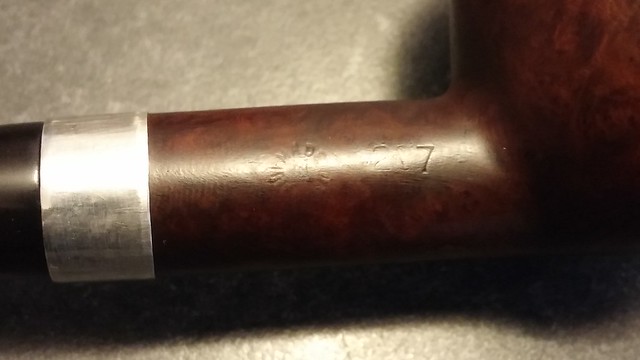
The pipe is well-stamped on the left shank with “K&P” over “Dublin” and on the right shank with a worn circular “Made in Ireland” COM stamp and an equally worn shape number “207”. The shank band carries the Peterson K&P trio of faux hallmarks over “Sterling” over “Silver”. A quick look at Pipephil.eu tells us that the circular “Made in Ireland” stamp indicates a Pre-Republic pipe produced between 1942 and 1947.
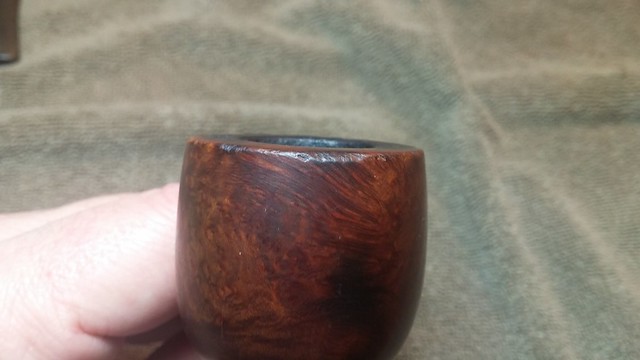
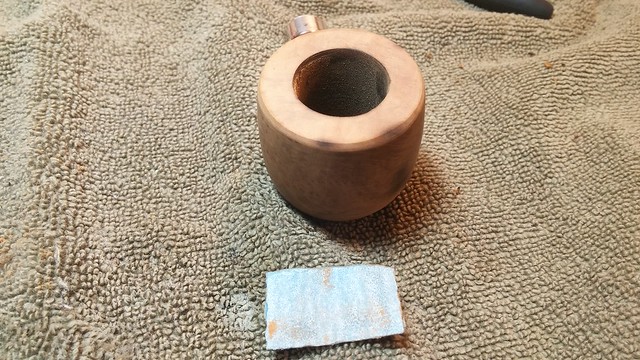
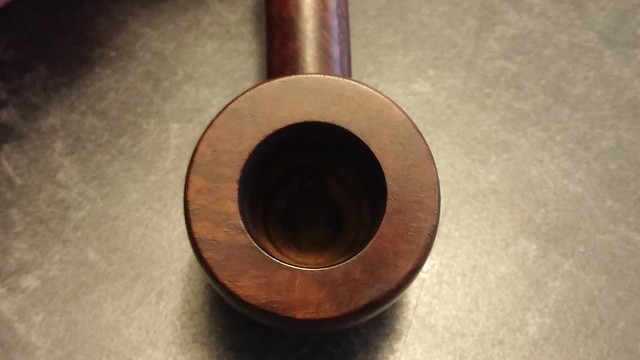
I began cleaning up this old briar with a good reaming of the tobacco chamber. My Castleford reamer made short work of the light cake in the bowl. To my relief, I found no sign of burn-out in the chamber walls, which were actually in excellent shape.
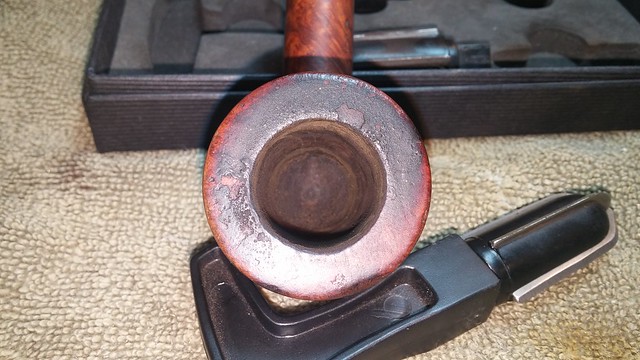
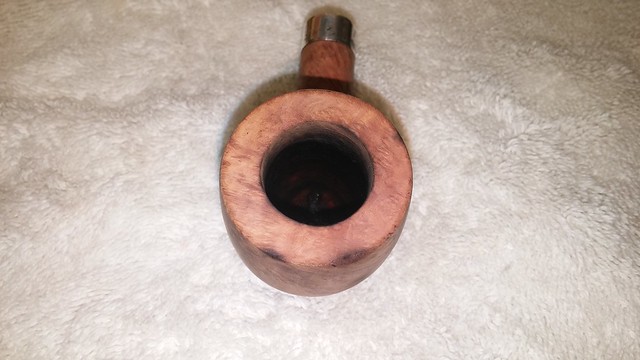
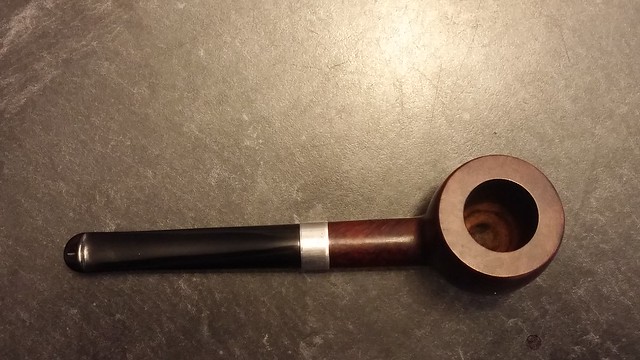
I topped the bowl to remove the lava and begin removing the rim dents. The second picture below clearly shows the scope of the rim damage – dents small and large practically all around the outer rim and scorch marks at the 2, 5 and 7 o’clock positions.
I kept working on the rim until I had all but erased the dents and scorch marks. I worked slowly and carefully to avoid removing more material than absolutely necessary.
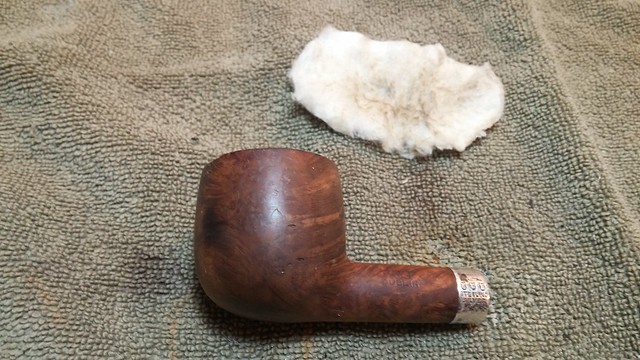
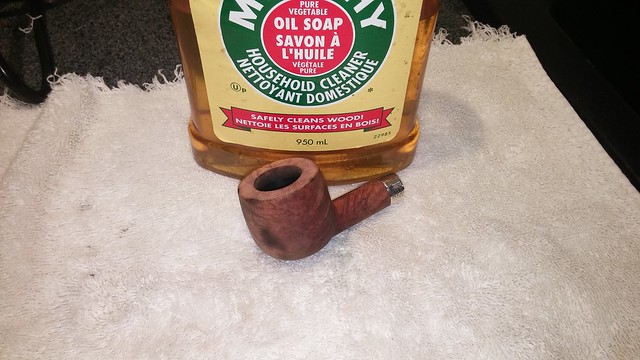
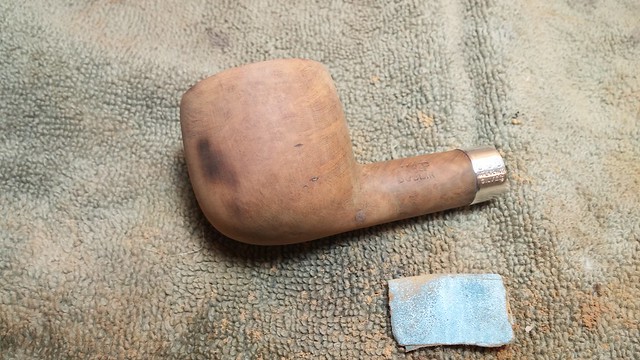
A wipe with alcohol removed the worst of the dirt from the exterior of the stummel. Murphy’s Oil Soap, scrubbed full-strength over the briar with an old toothbrush, removed the rest of the grime and old wax and lightened the finish considerably.
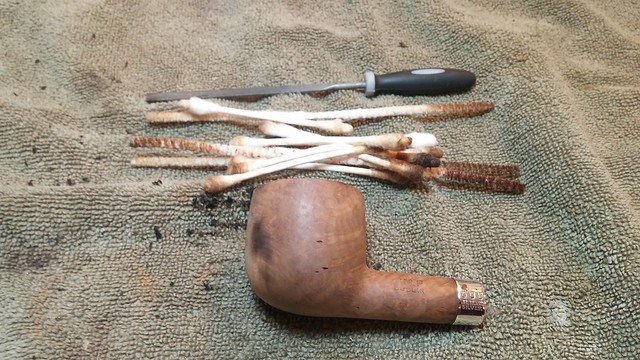
Moving to the internal cleaning, I scraped the mortise with the flat end of a square needle file to clear out a build-up of old tars and bits of tobacco. With the worst of the crud out of the way, it took only a few pipe cleaners and cotton swabs dipped in alcohol to clean out the airway.
Now that the briar was clean inside and out, I turned my attention back to smoothing out the rim damage. Rather than continue to remove material on the topping board, I sanded a very shallow bevel into the outer rim edge. This removed the last of the damaged briar, though not quite all of the scorch marks. An overall sanding of the stummel blended the bevel into the smooth lines of the pot shape.

I drop-filled a number of tiny pinhead-sized pits in the left side of the bowl with CA glue, sanding everything smooth after the glue had cured.
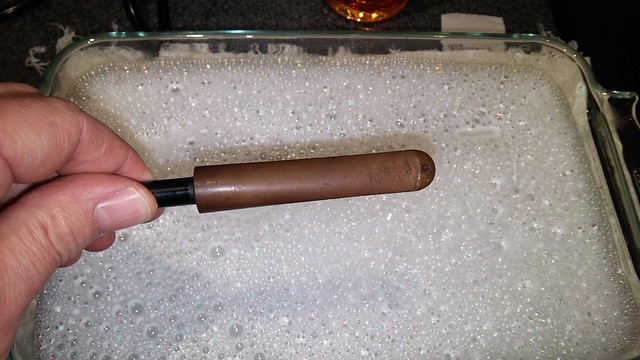
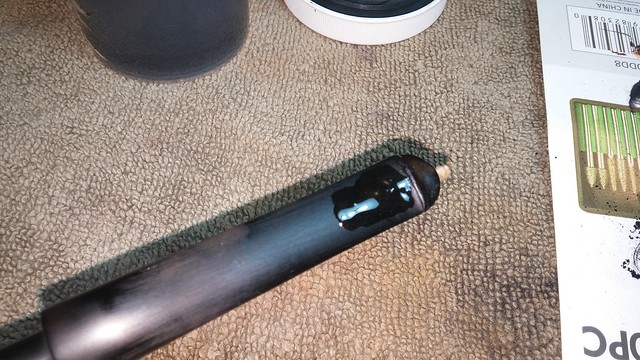
Finally I was ready to tackle the heavy oxidation and bite damage on the stem of this 70+ year old pipe. I let the stem soak in a solution of Oxyclean and warm water overnight. This softened the oxidation, which I scrubbed off the stem the next morning with 0000 steel wool and 400 and 1000 grit wet sandpapers.

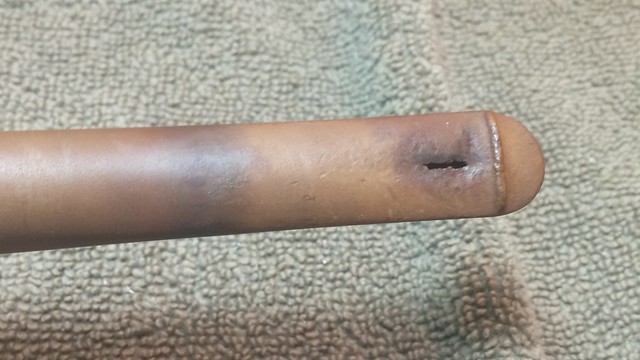
The bite-through on the bottom of the stem had crushed the airway in that section. In order to expand the airway back to its original dimensions, I heated the vulcanite over a lighter flame to soften the rubber and then slipped a pipe cleaner through the tenon and out the P-lip. I left the pipe cleaner in place as the stem cooled and set in its new shape.
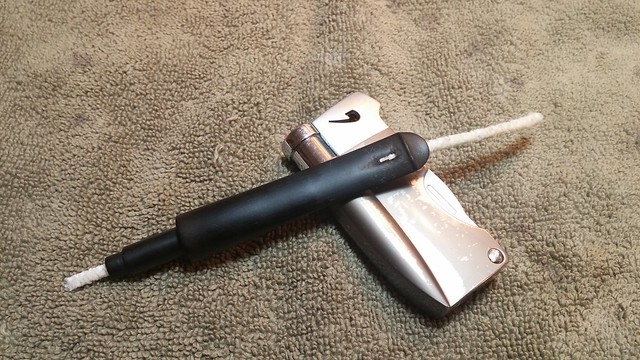
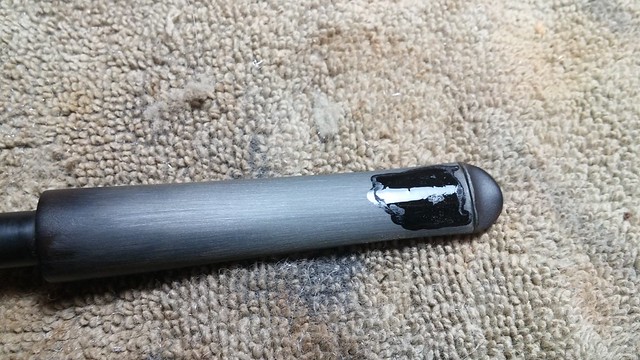
I roughed up the stem with 220-grit sandpaper to ensure my patch would adhere properly to the old vulcanite. After wiping the sanding dust away and slipping a Vaseline-dipped pipe cleaner into the stem, I applied a mixture of thick CA glue and charcoal powder to the damaged area, covering the bite-through completely.
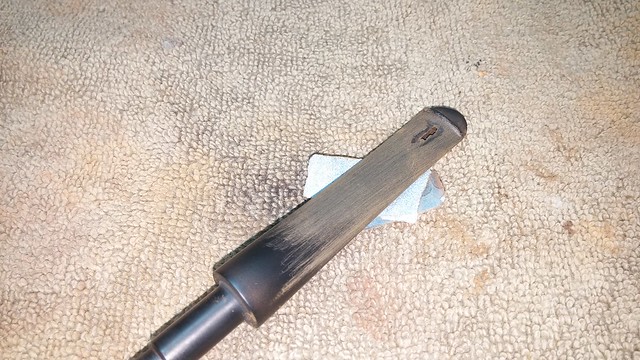
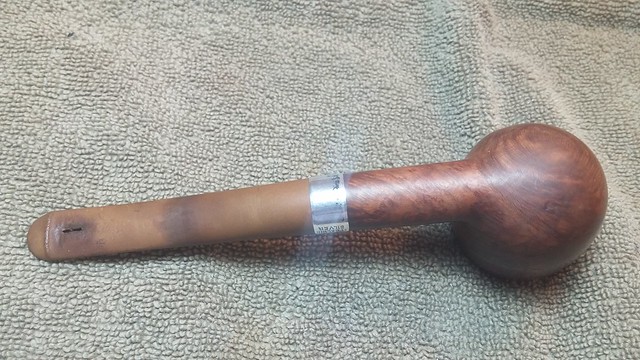
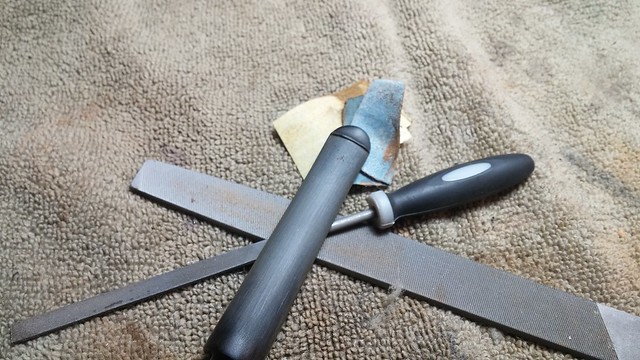
I like to let stem fills like this cure for at least 12 hours, so I set the stem aside and came back to it the next day. After removing the pipe cleaner, I used a selection of files and sandpapers to smooth the patched area and shape the fill, restoring the original curvature of the stem.
It was necessary to go over the repair area a second time with clear CA glue to fill a few tiny air bubbles that had been trapped in the original fill. Again I let the CA glue cure and then sanded the stem smooth again with 220 an 320 grit sandpapers and 0000 steel wool.

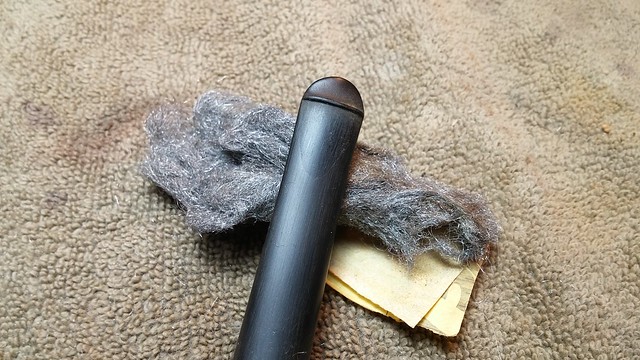
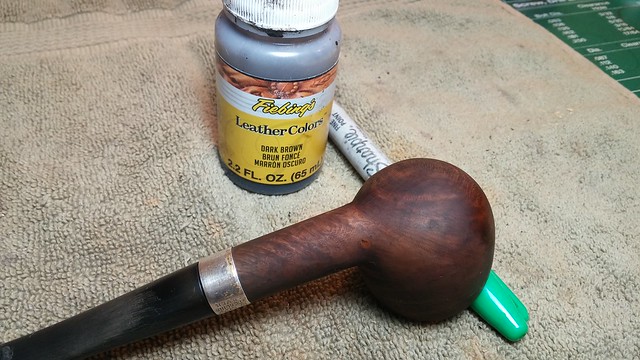
Moving back to the stummel, I stained the briar with Fiebing’s Dark Brown leather dye to restore the original vintage colouring. Conveniently, the dark finish also pushed the remnants of the scorch marks well into the background, effectively eliminating the blemishes. A final wipe of both stummel and stem with mineral oil refreshed the finish and restored depth and shine to the pipe.
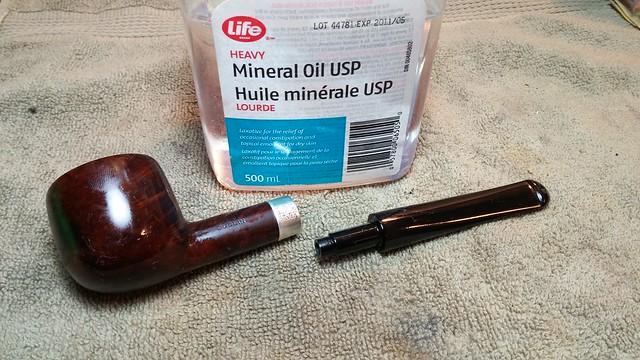
Then it was time to take this old-timer to the buffer. I worked both stem and stummel with White Diamond compound on the wheel before applying several light coats of Carnauba wax.
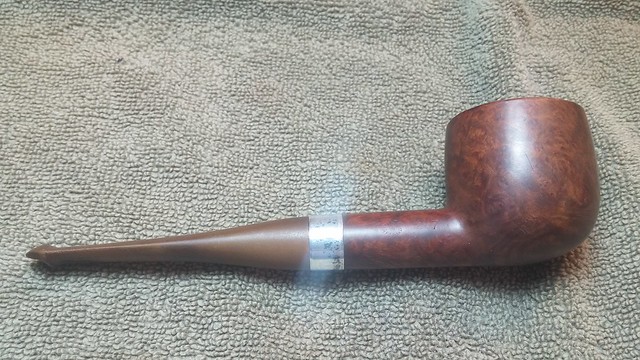
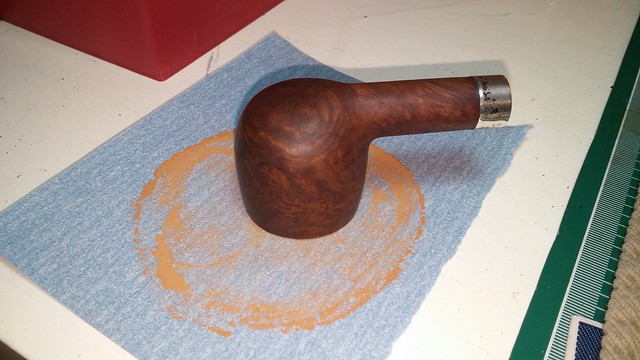
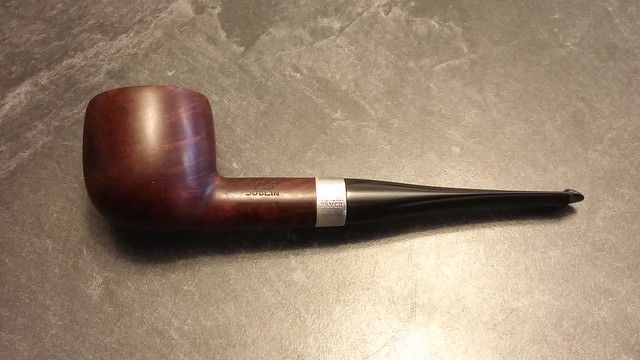
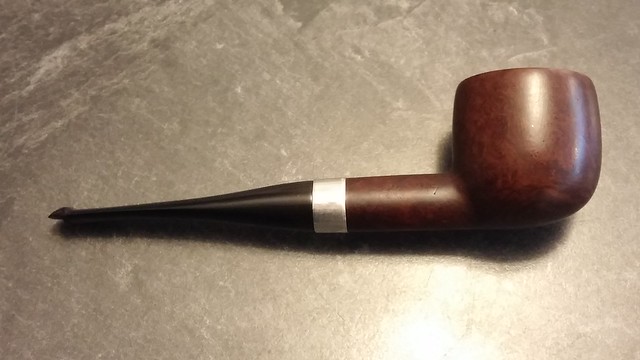
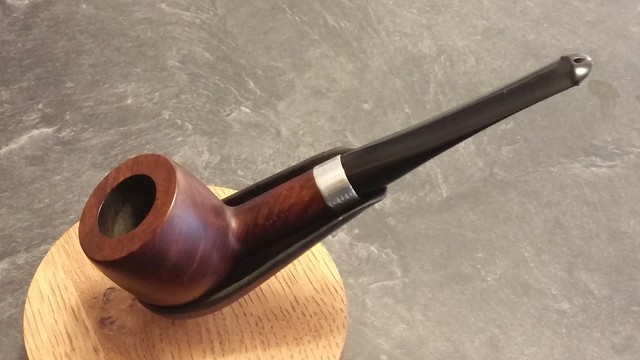
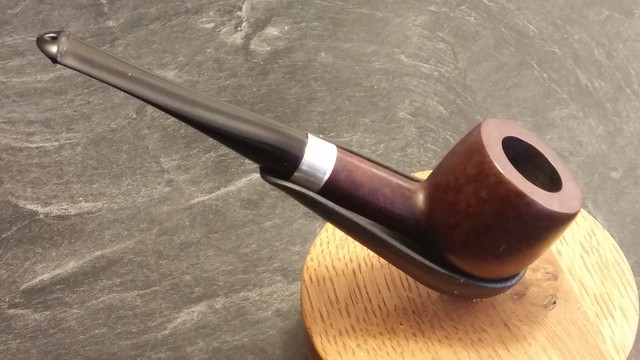
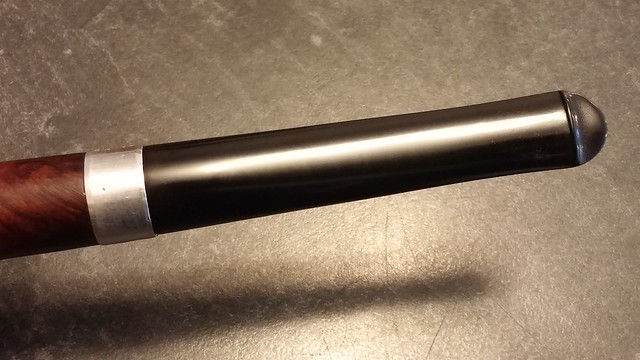
I’m quite happy with the transformation of this pipe from crusty relic to distinguished Elder Statesman. A few small wear marks remain to pay tribute to the pipe’s long history, but the major damage to stem and stummel is gone.
This classically-shaped K&P Dublin Pot is ready to serve a new piper for many more years to come, and with its thick chamber walls and thin P-lip bit, it promises a cool and comfortable smoking experience.
Here’s the finished pipe. Thanks for looking, and until next time, Happy Piping!


I’m glad to hear that you are on the mend and back in the workshop! The 207 is a great Peterson shape. Nice job on the bowl and stem repair. I’ve seen those kind of holes on various P-lips, I suspect it was from vigorous use of a pipe cleaner, finally breaking thru after a lot of use. Someone must have really like that one! Now, she’s ready for another 60 years of service.
LikeLiked by 1 person
Thanks Al. You’re probably spot on with your pipe cleaner theory. Very astute observation!
LikeLike
Nice job Charles! Glad to see that they can’t keep an old dog like you down. Missed you at the last meeting and I hope that you feel better and are back at the table soon my friend. Cheers, Adam.
LikeLiked by 1 person
Thanks Adam. Looking forward to seeing everyone at the next meet. 😀
LikeLike
Good to see you back at it, beautiful restoration. Nice job on the stem, seamless repair.
LikeLiked by 1 person
Thanks much. I’ve got a few bite-throughs waiting for attention. This stem was a good warm-up!
LikeLiked by 1 person
Good to see you are well enough to be back to posting, Charles. Nice work on the stem and rim.
LikeLiked by 1 person
Glad to see that you are back on your feet. As always, another great restoration. I did not think you’d be able to revive that stem. Good job.
LikeLiked by 1 person
Thanks Marc. I have found the CA and charcoal patch mixture effective for just about any stem repair. The trick is to keep the airway open and to be generous with the patch application. Excess material is easy to remove after it has cured.
LikeLike
Charles, so glad that you are moving in the right direction. Continue that way and listen to your wife now that your doctors have sent you home! I have a tenderfoot question for you. The procedure of expanding the airway by heating it up the stem and inserting a pipe cleaner, have you done that with a bent stem? I’m working on a bent now and having a bear getting a pipe cleaner through it. Would your technique work in this situation? Thanks! I love the K&P too and the old boy’s recommissioning. Great job.
LikeLiked by 1 person
Hi Dal. The technique should work for a bent stem as well as for straight. You may need to heat the stem and partially straighten it in order to feed the cleaner through. Leave the cleaner in place while you reset the bend.
LikeLike
Thanks, Charles. I’ll give it a go!
LikeLiked by 1 person