
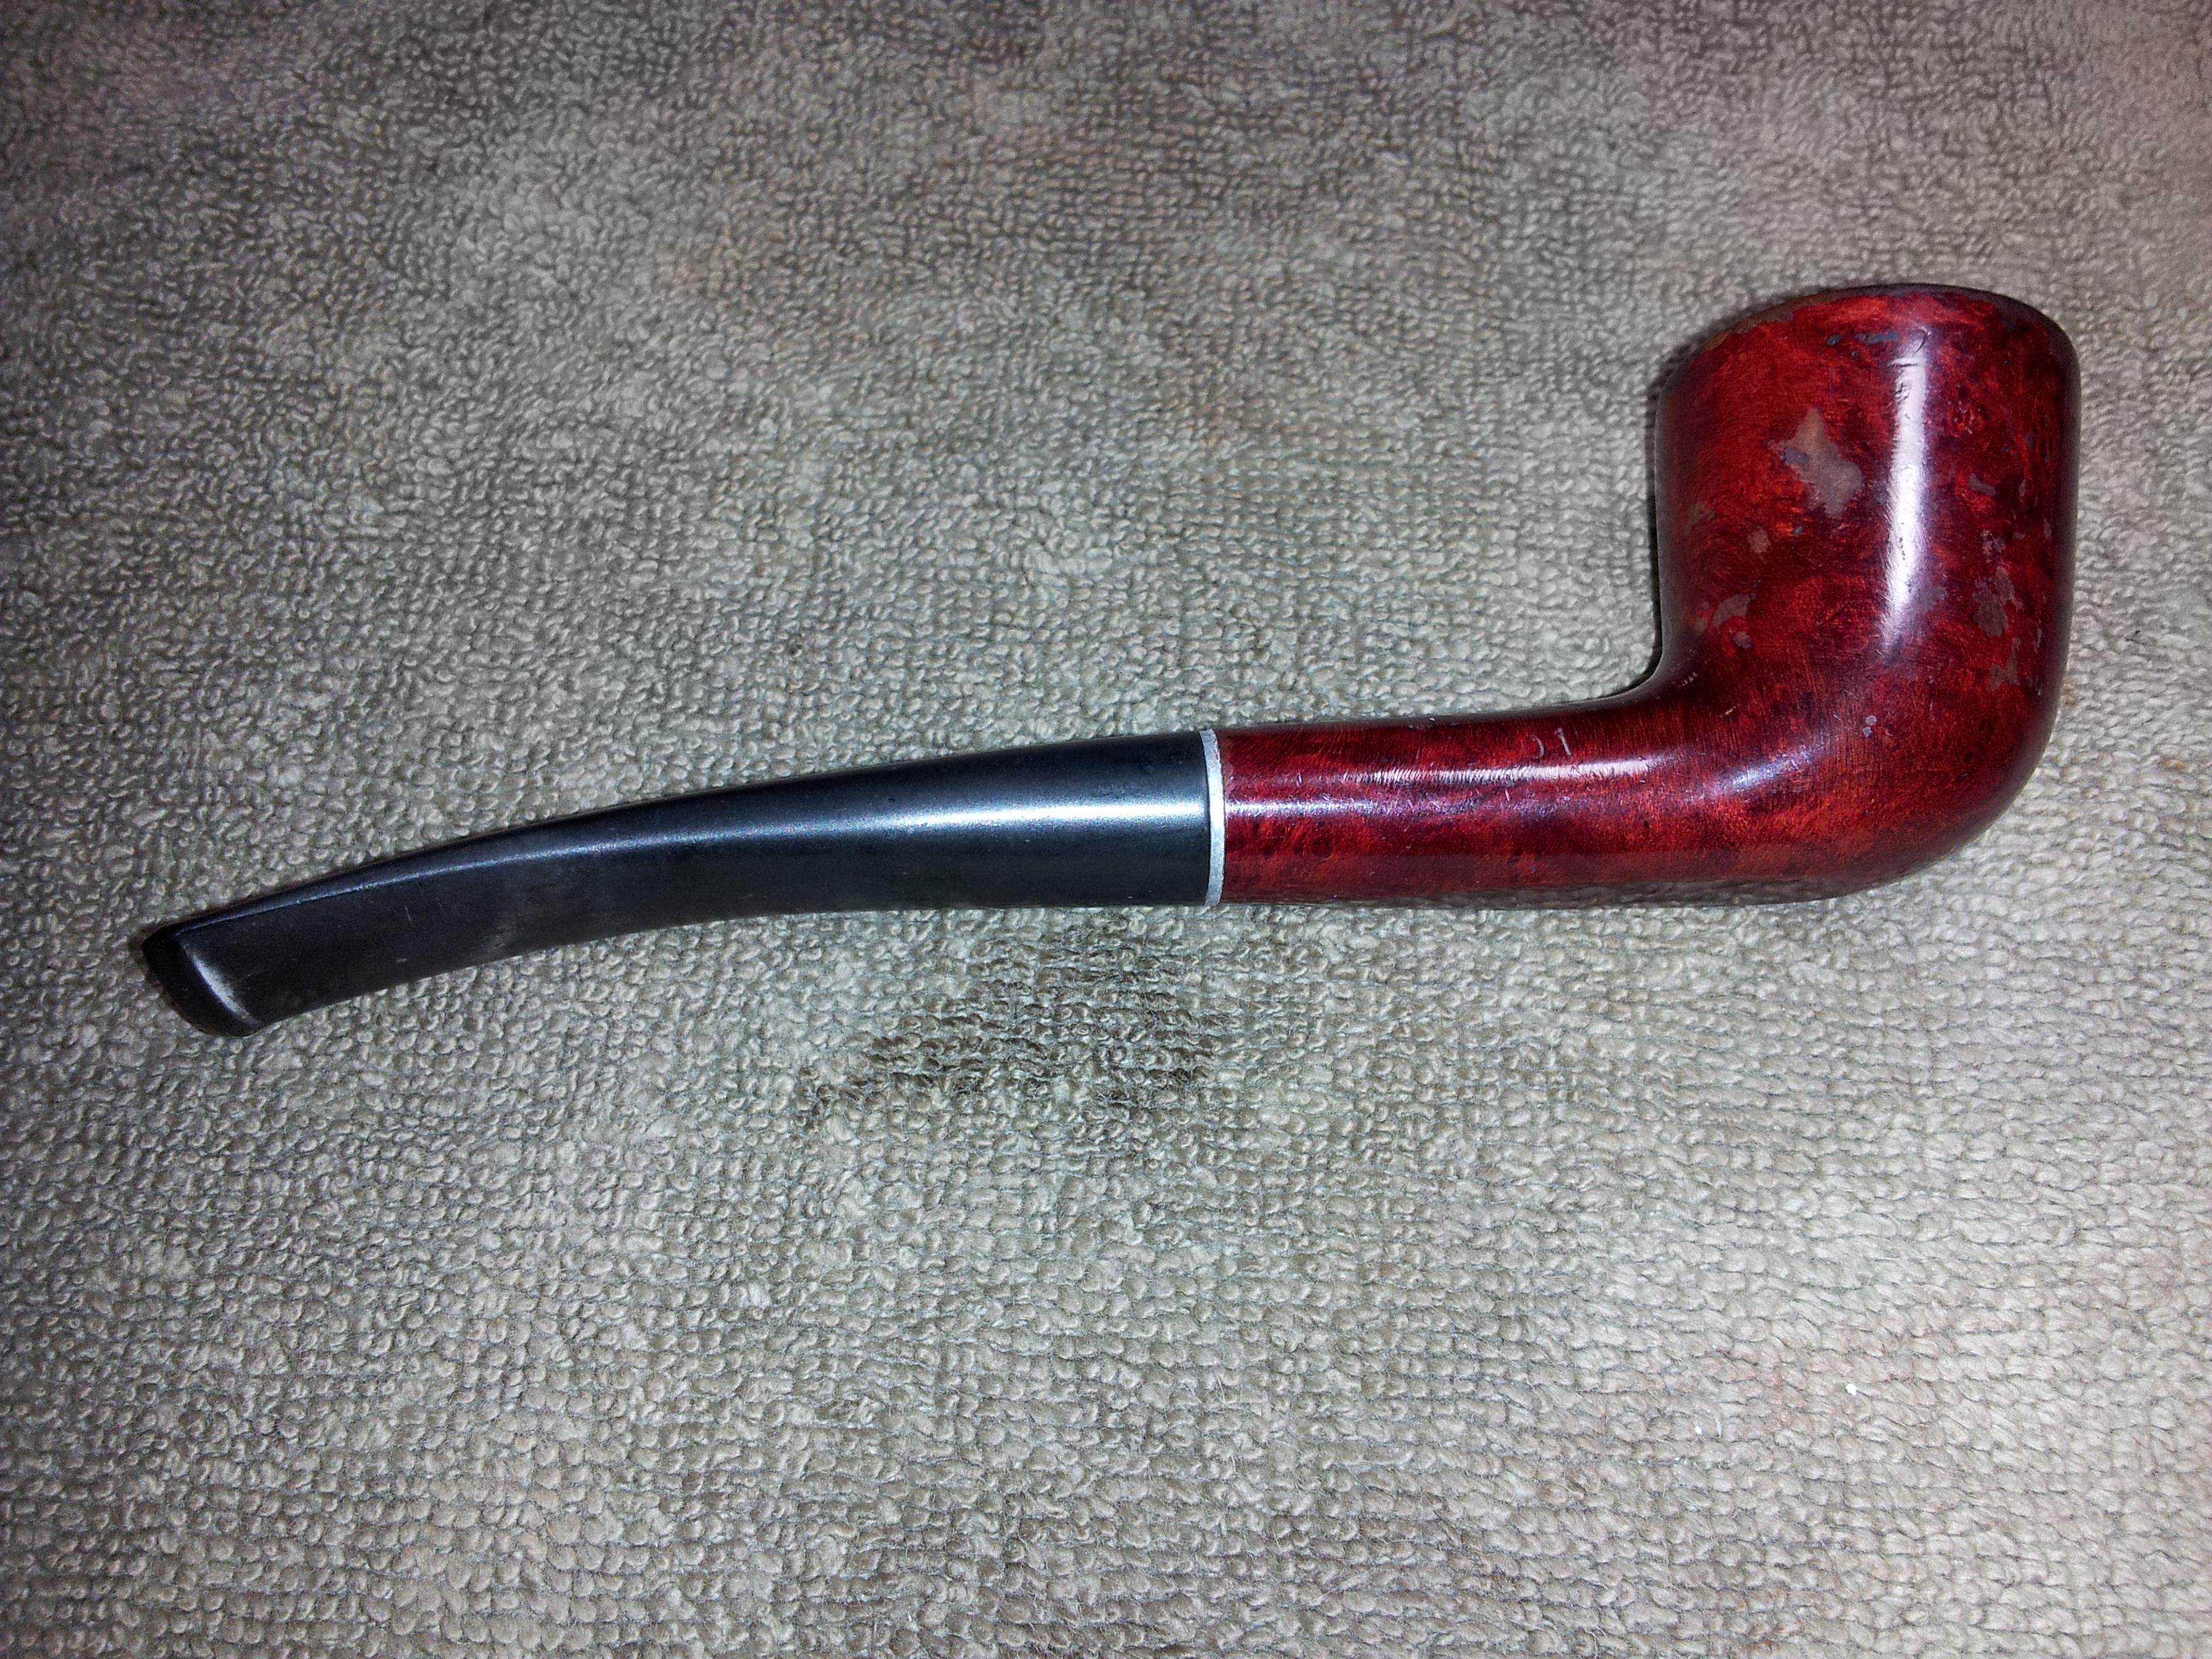
This old Kaywoodie “500” came in a recent auction lot and arrived in fair condition for a pipe that was likely never expected to last as long as it has. On the other hand, the 500 and 600 lines from Kaywoodie were cheap, low-end pipes manufactured between 1959 and 1967, so perhaps my specific 500 wasn’t doing too badly for its age. It did have a few things going for it to increase its longevity: a nowadays unheard of quality of briar for an entry-level pipe (I couldn’t find any factory fills), and a flexible nylon pipe stem, which doesn’t oxidize and can take quite a beating and still clean right up.
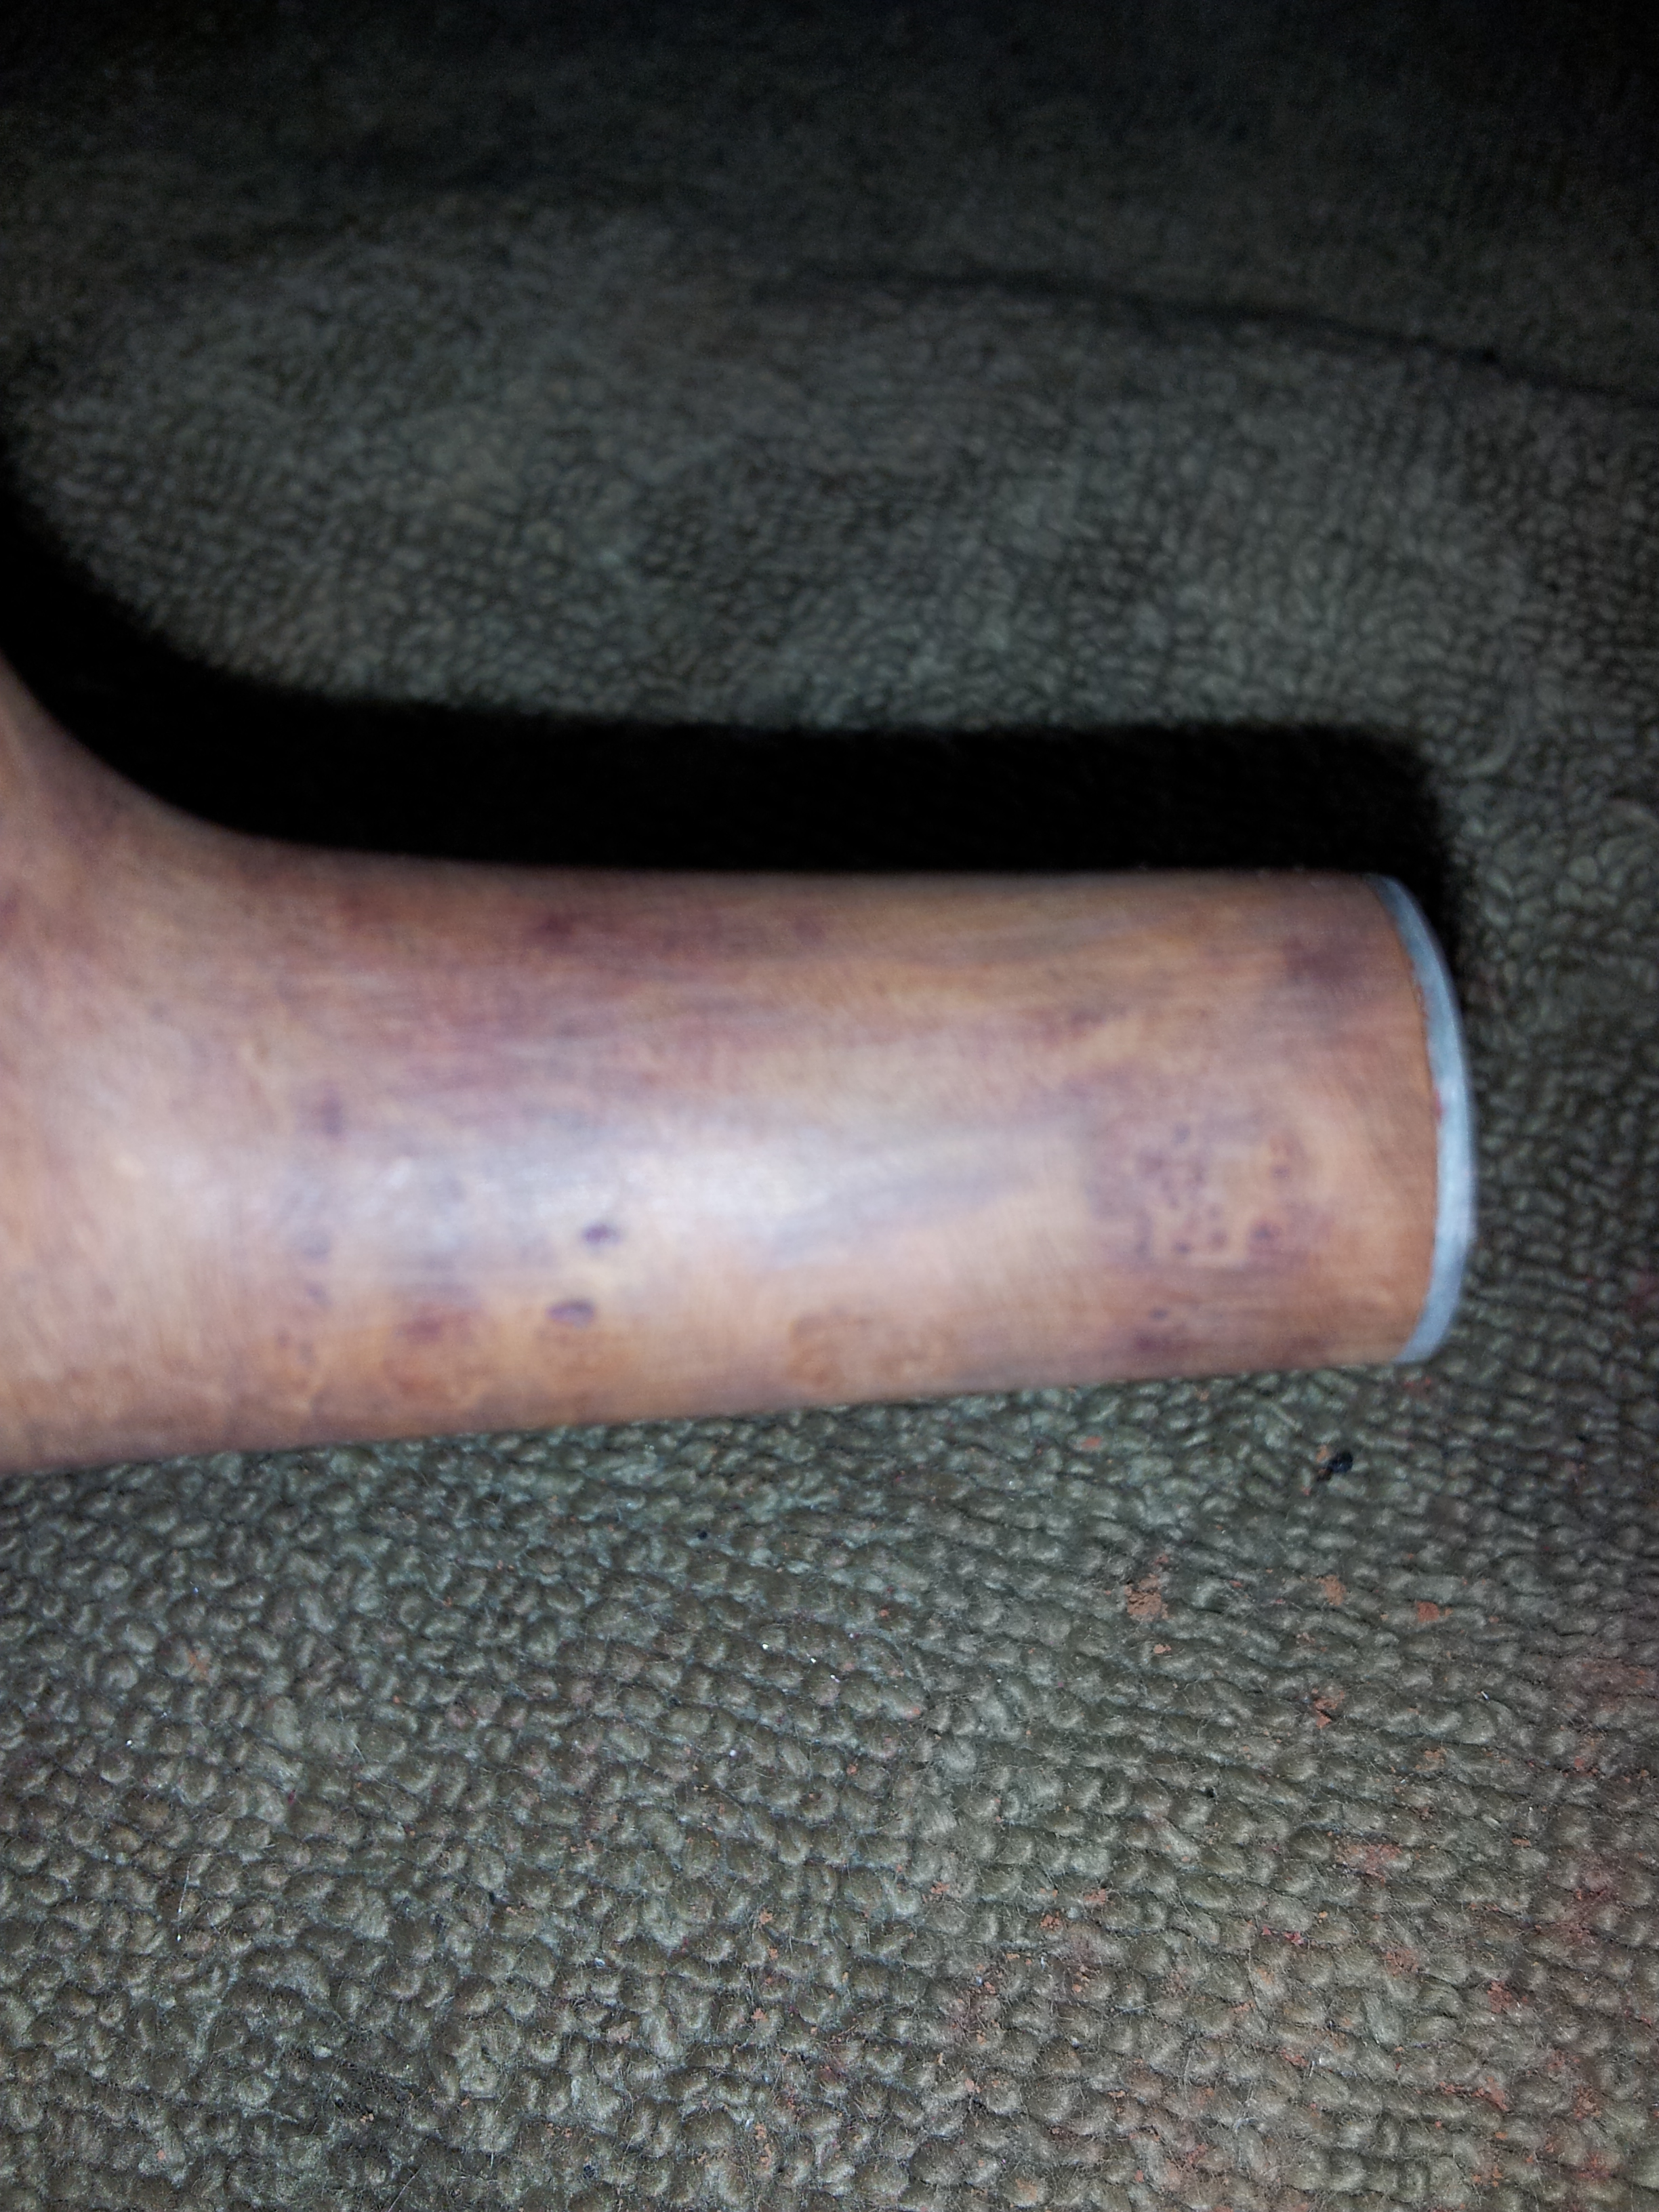
The pipe had also been given reasonable care, or at least not been outright abused, unlike other estate pipes I’ve come across. The internals were relatively clean, though the original lacquer finish was chipped and peeling, and the rim had a good amount of lava across it. The stem was in pretty good shape under the dirt, with only a few deeper tooth dents to deal with. Remarkably, the stinger was still intact, and as I found out, this particular pipe was equipped with an Adjustomatic-type stem, so it was a cinch to line up properly with the shank.


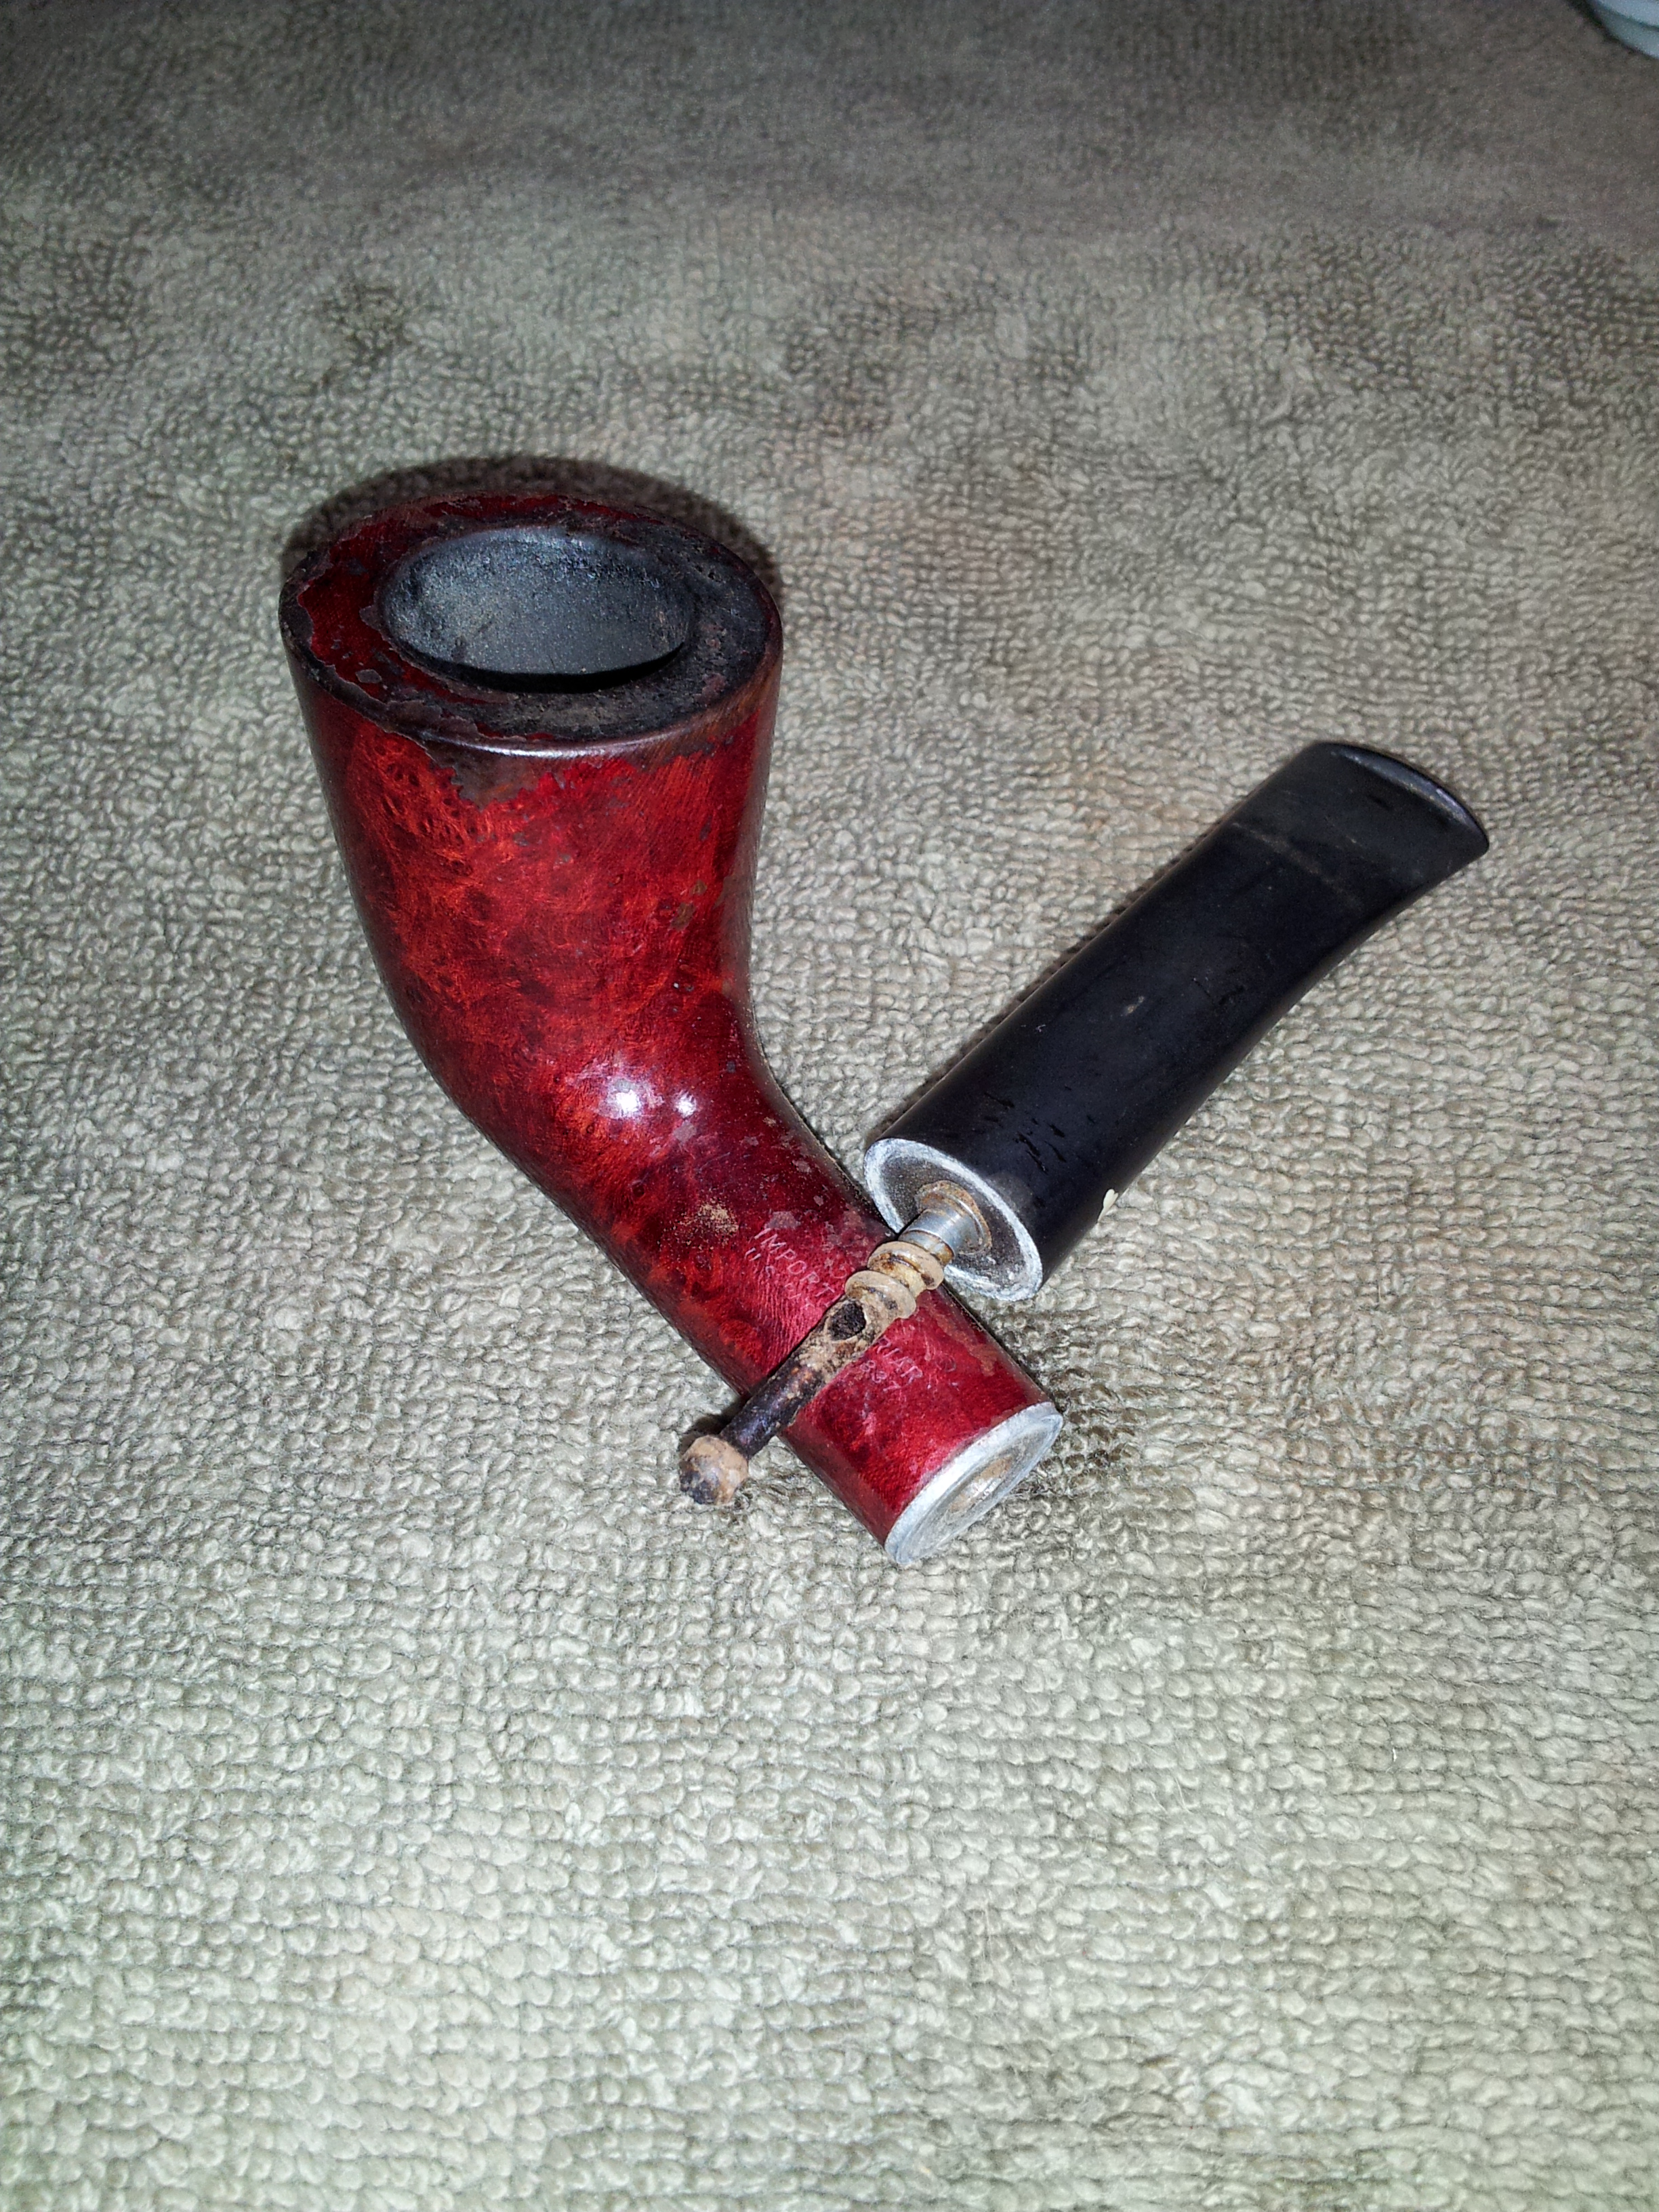
The stampings on this Kaywoodie were not in good tick. On the right side of the shank, the pipe was stamped “01”, while tthe markings on the left shank were partly obliterated. It looked like the factory had mis-struck the stamp on this one, with parts missing and the rest stamped only faintly. The peeling finish did nothing to assist the deciphering of the stampings. Here is a pic of the shank stamping beside a good example I found on Pipephil.eu. A quick look tells the story.

![]()
Learning from past experience, I used pipe cleaners dipped in white vinegar instead of my usual isopropyl alcohol to clean the internals of the nylon pipe stem. It wasn’t very dirty, taking only a few cleaners to do the trick. The stinger cleaned up with a few swipes of 0000 steel wool, and a bit of 220 and 320-grit sandpaper made short work of the tooth dents.


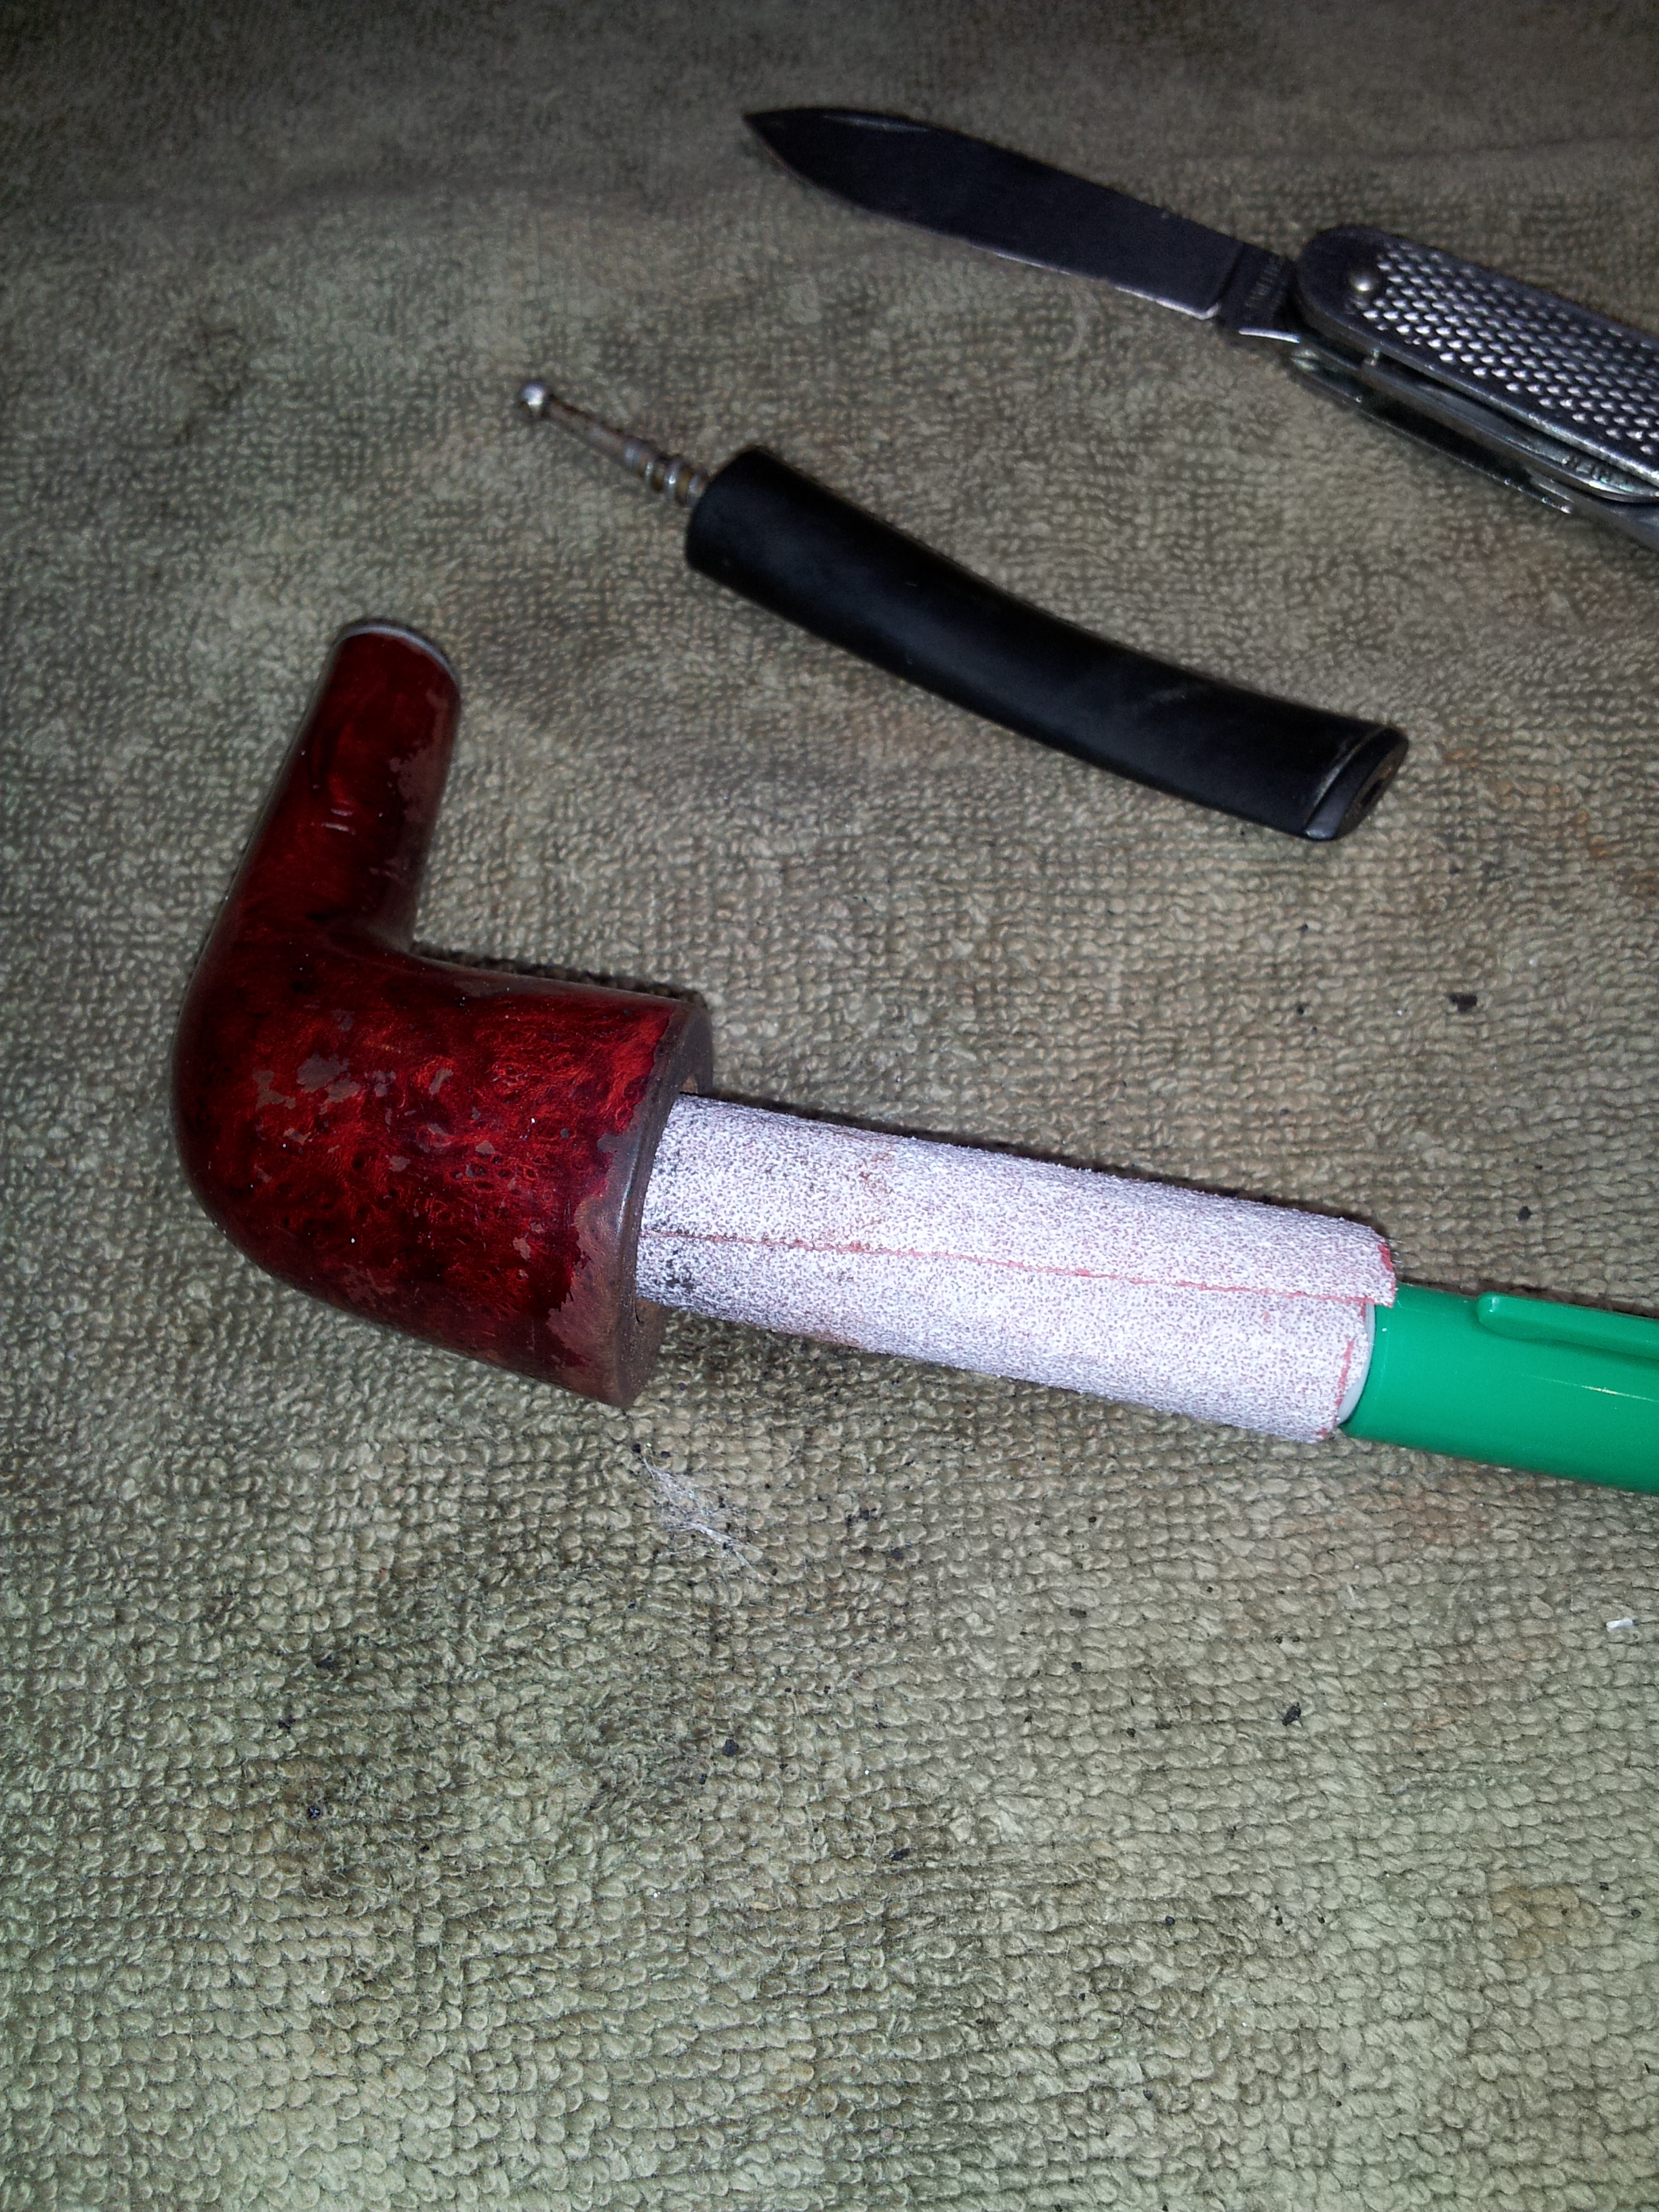
Turning to the briar, I reamed the uneven cake in the bowl back to bare wood. Here’s a pic of my high-tech reamer. That’s 100-grit sandpaper wrapped around a Sharpie. Basic, but the paper conforms to the taper of the bowl easily.

With the bowl clean, I ran a few alcohol-dipped pipe cleaners through the shank to remove the little bit of tars there, and then moved on to deal with the peeling finish. I found the lacquer coat on this stummel particularly thick. I lightly sanded the stummel with 320 grit paper to break the surface of the lacquer and then went to work with cotton pads dipped in acetone to dissolve the old finish.

It was at this stage that the combination of thick lacquer and poor stamping conspired against me. It turned out that the shallow stamping resided solely in the finish coat, failing to reach the briar underneath. When the acetone had finally removed the finish on the shank, I was left looking at smooth, unmarked briar. The only remaining vestige of the factory stampings is the “01” on the right shank, as it was struck true, pressing deeply through the finish coat into the wood. I try hard to avoid damaging stampings as I work on a pipe, as they tell most, if not all, of the pipe’s provenance, but I try to be prosaic when things like this happen. I’m not sure what, if anything, I could have done differently. At least the stem still has its distinctive Cloverleaf logo to identify the pipe as a Kaywoodie.

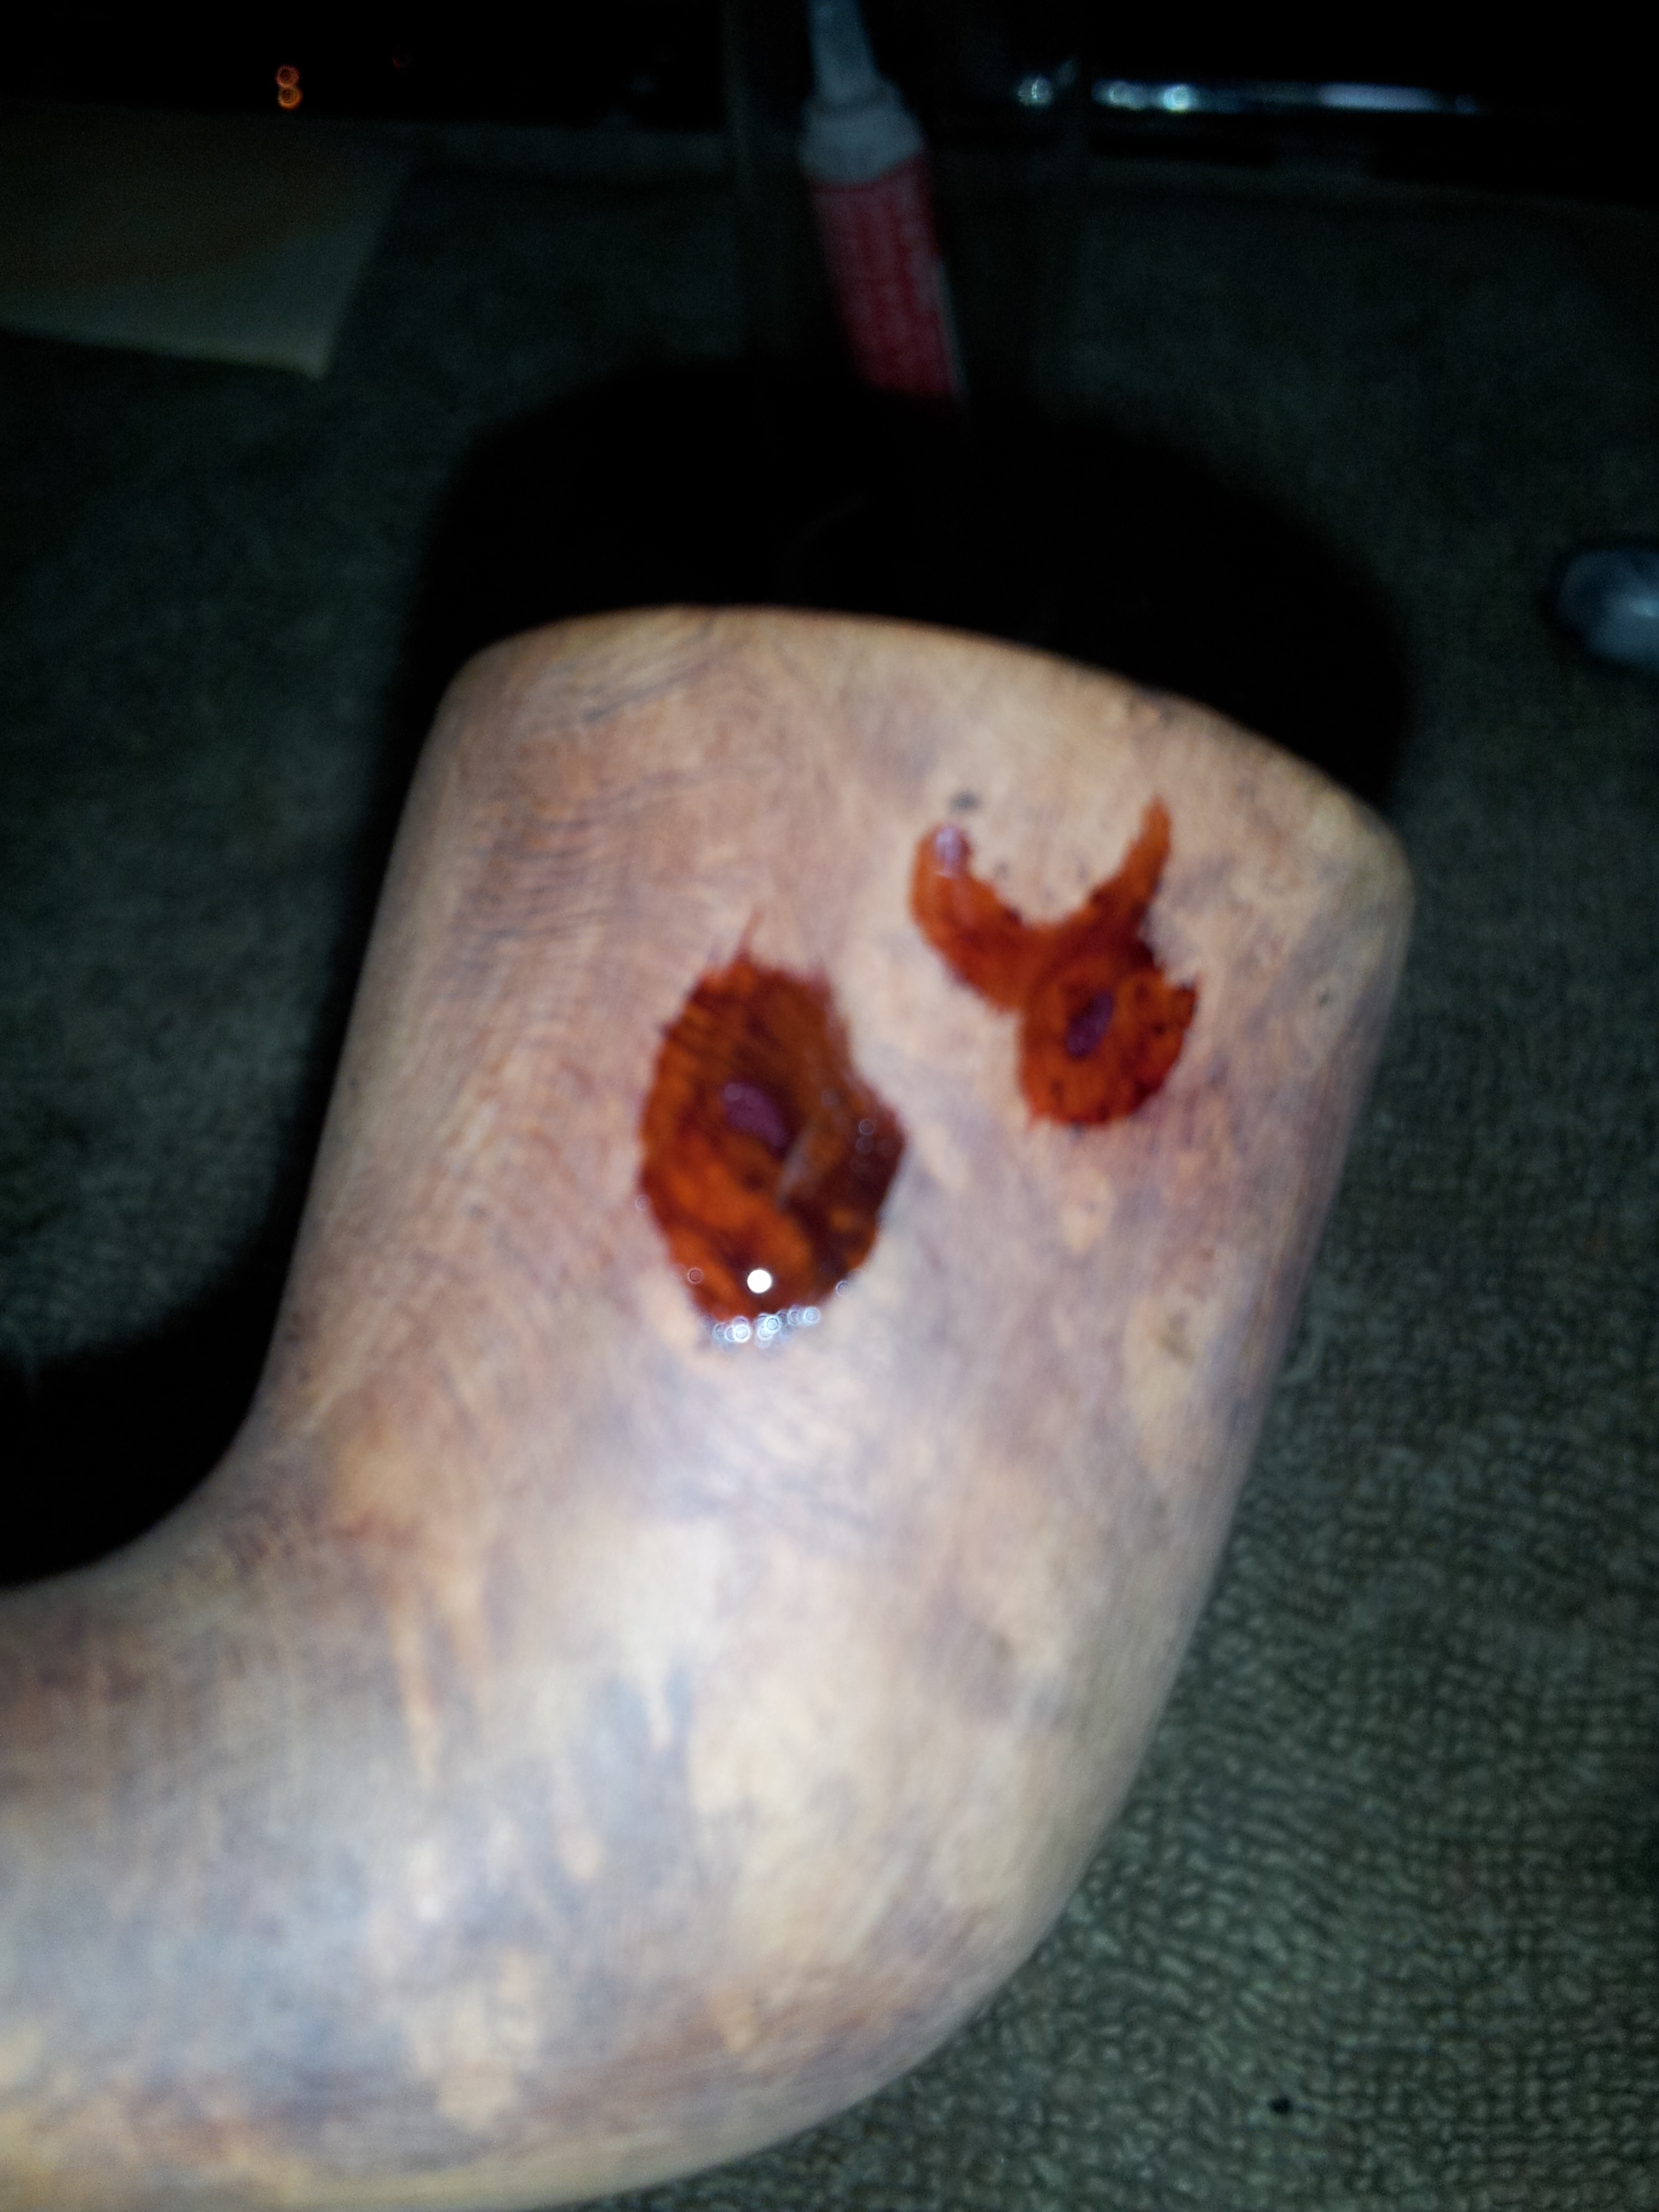
Shaking off the momentary distress of the obliterated stampings, I moved on to sand the entire pipe with 600-2000 grit wet paper to remove surface scratches and shallow dents. Examining the pipe closely afterwards, I found a few deeper but small dents that I decided to drop-fill with a bit of CA glue.
After the CA cured, I levelled the fills with 320-grit paper before sanding the entire pipe with MicroMesh pads in 1500-2400 grits. I then used the higher grits of Micromesh on the stem, finishing with a wipe of mineral oil.


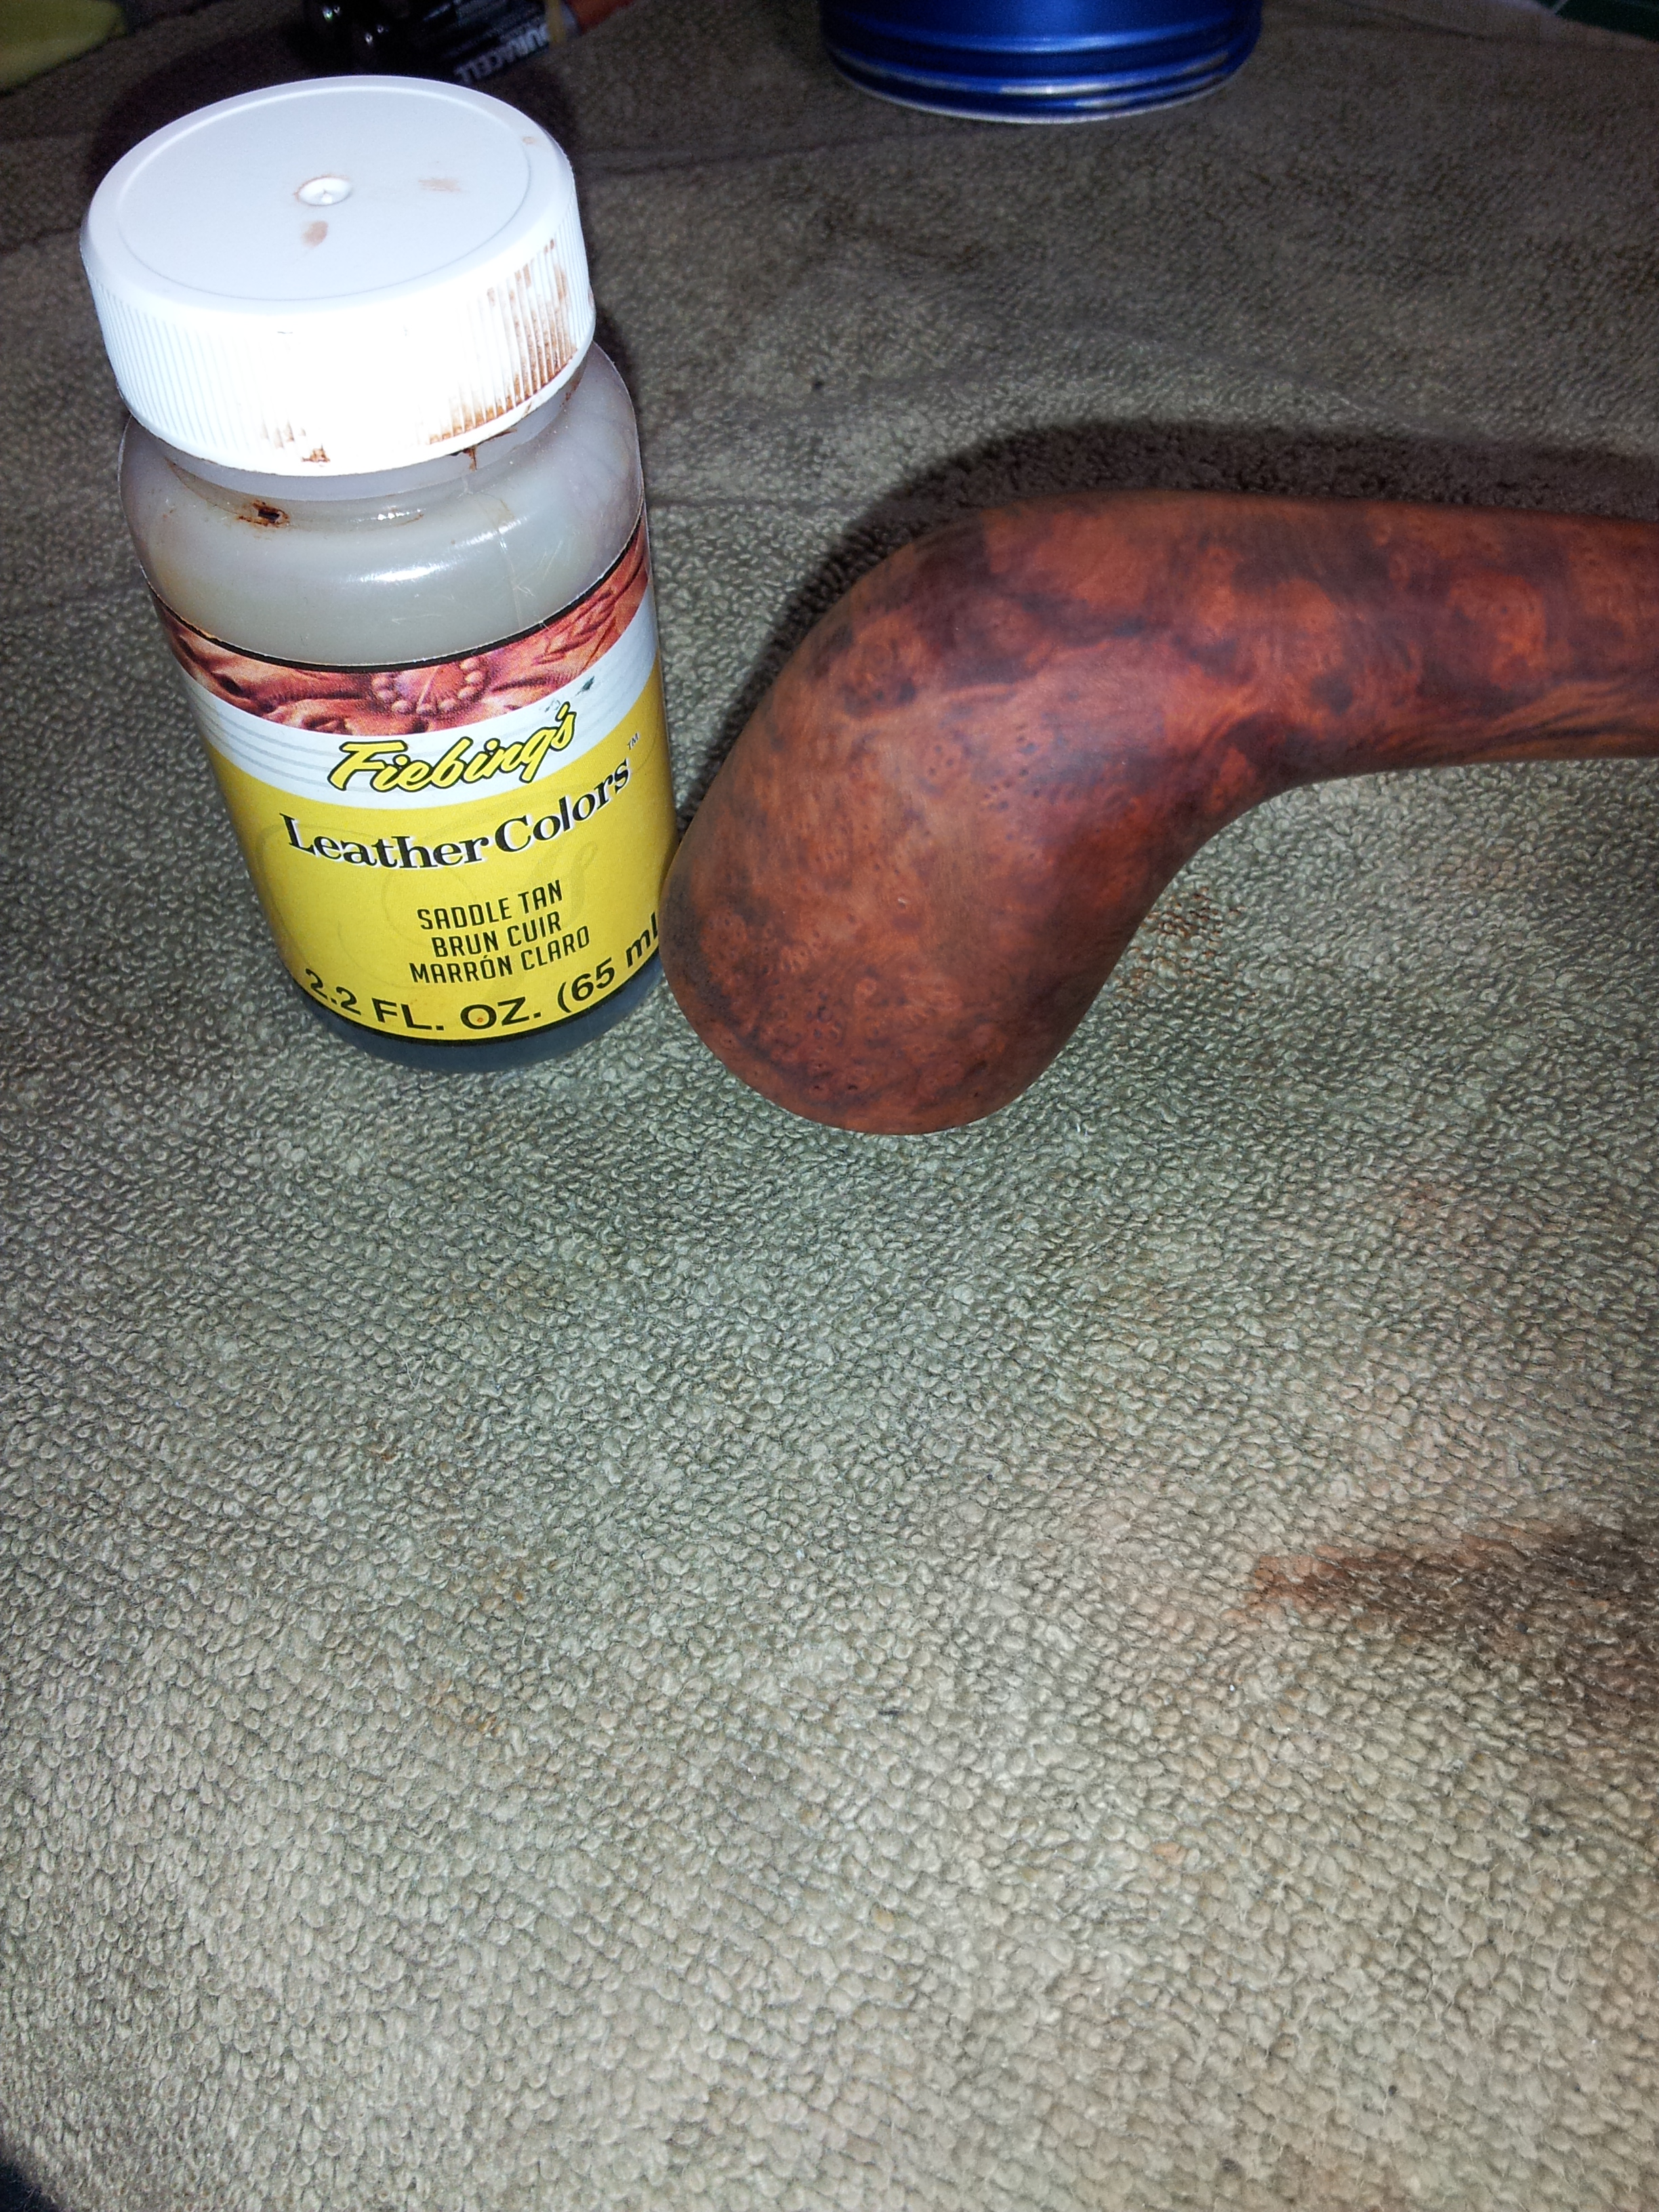
I stained the pipe with Fiebing’s Leather Dye in Saddle Tan. This is a water-based dye, so I let it dry completely before hand-buffing with an old terry towel to remove excess dye and bring back a bit of shine.

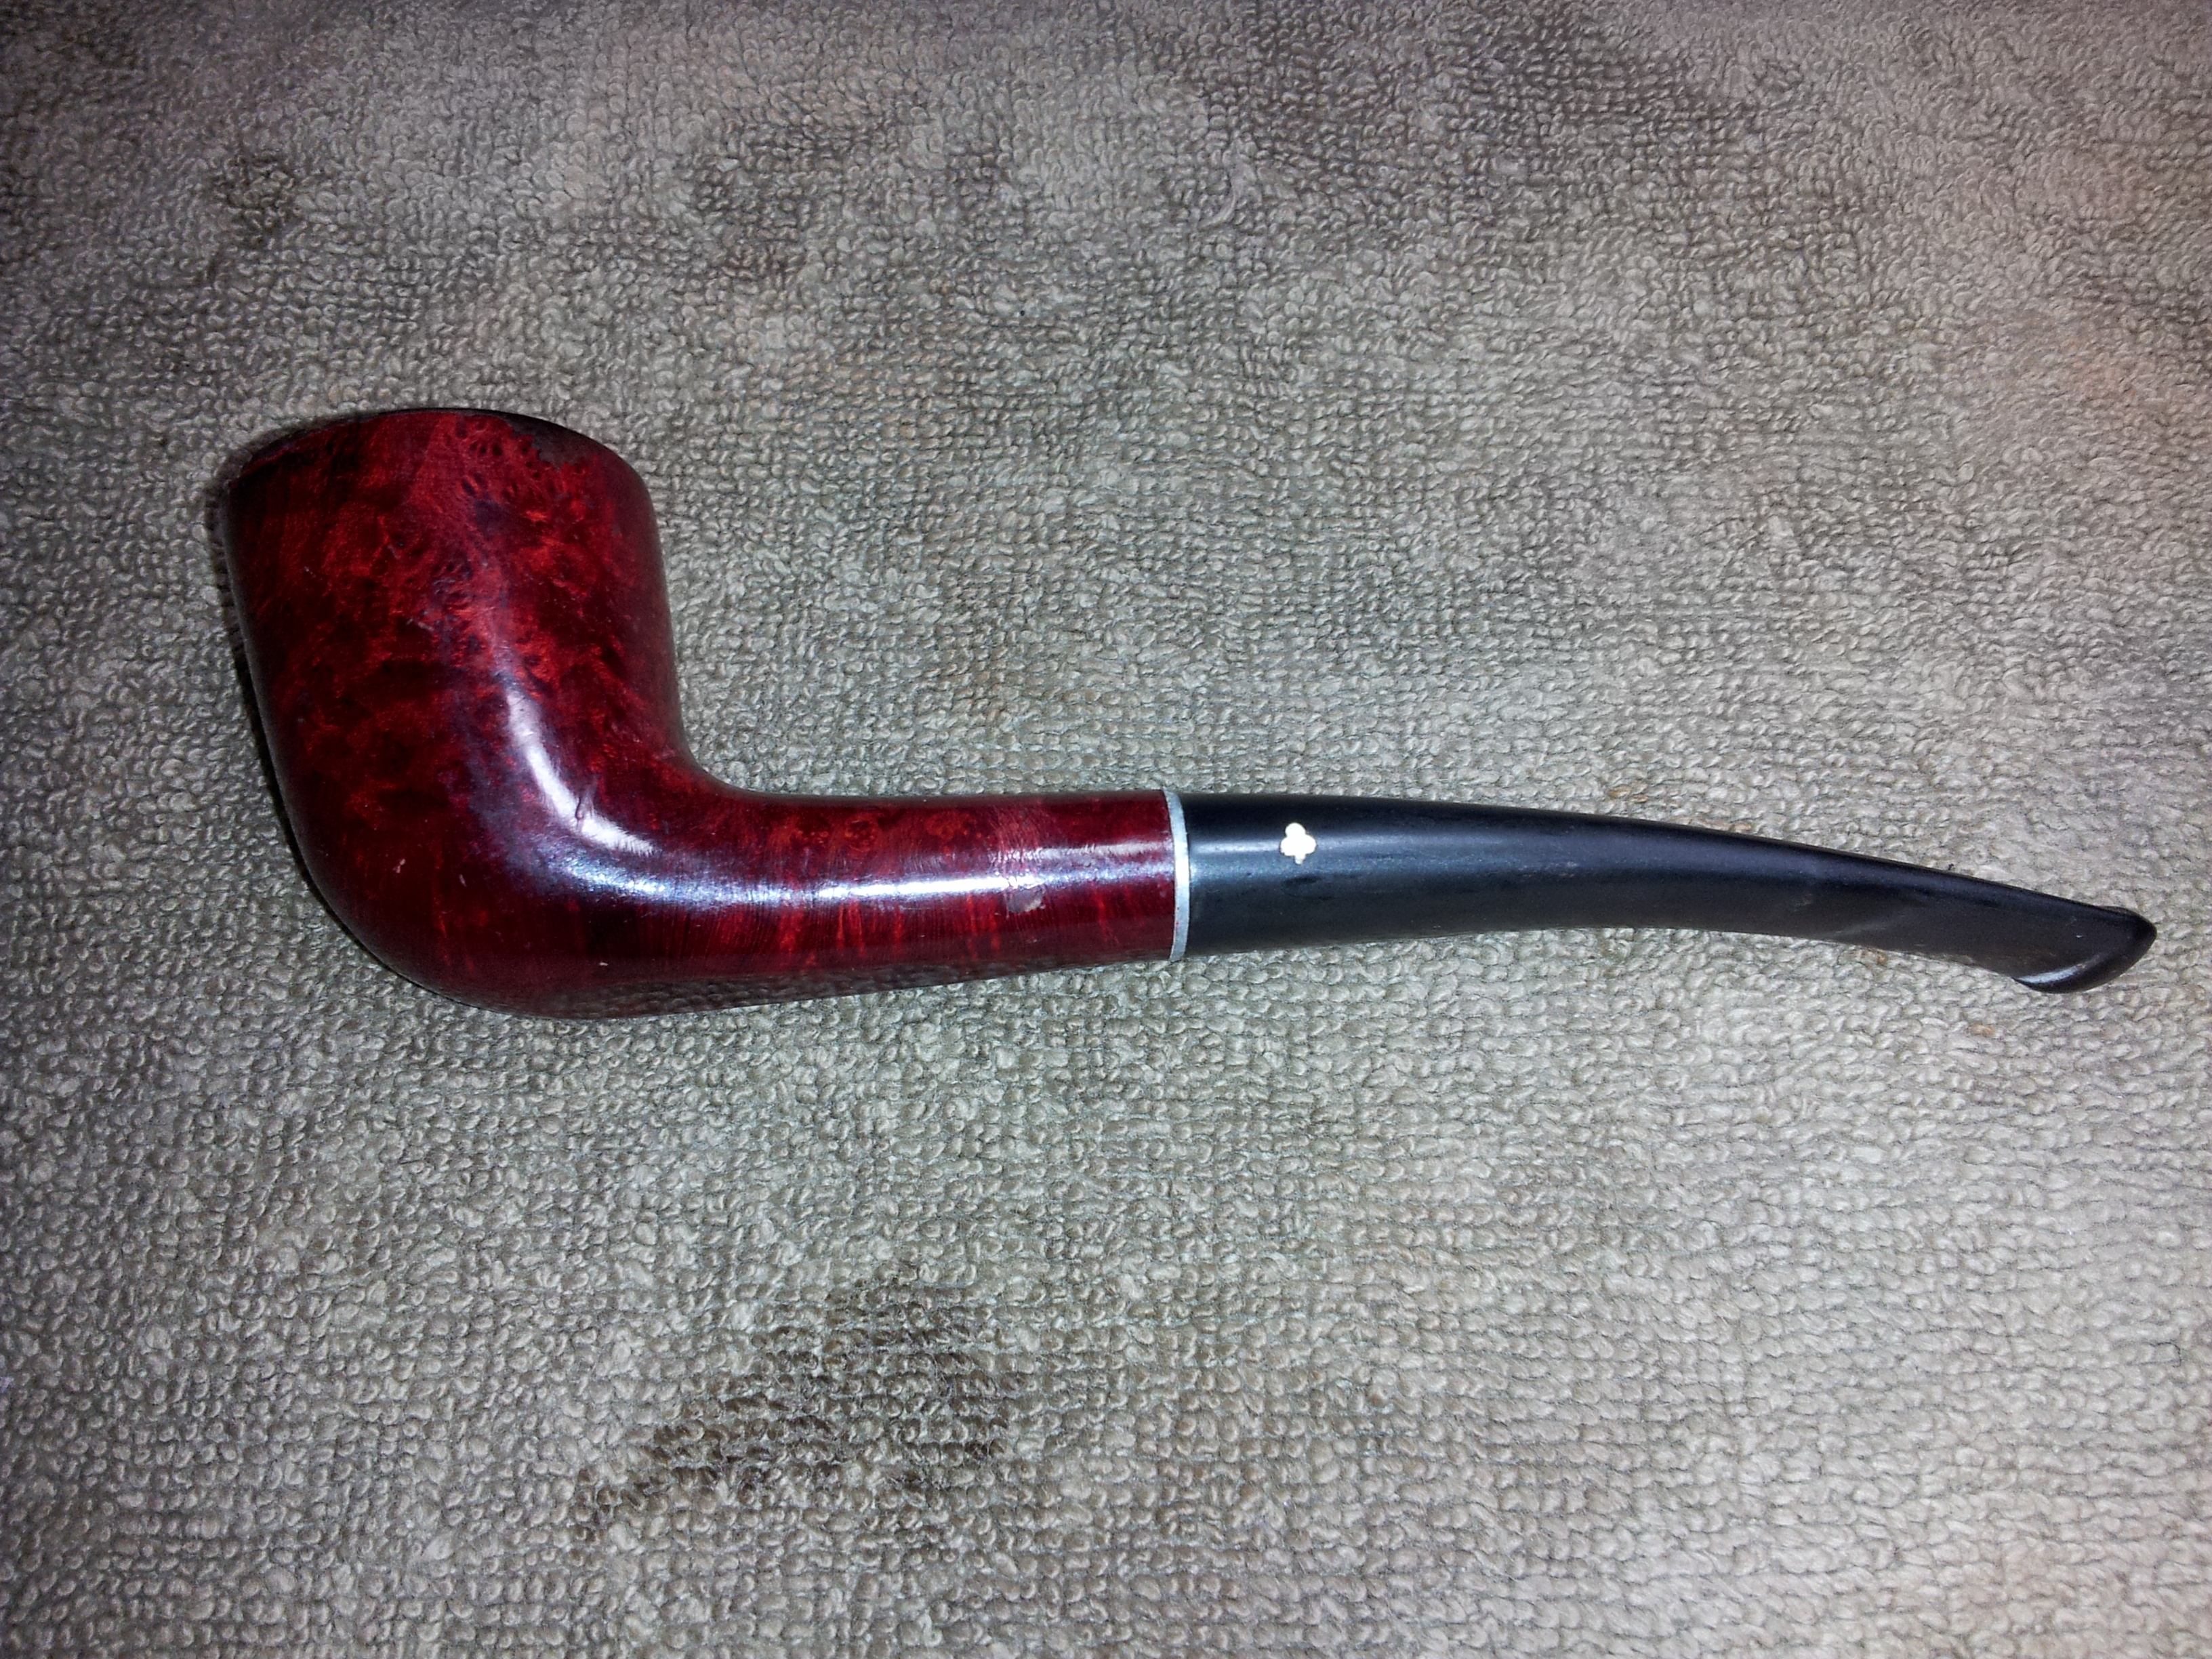
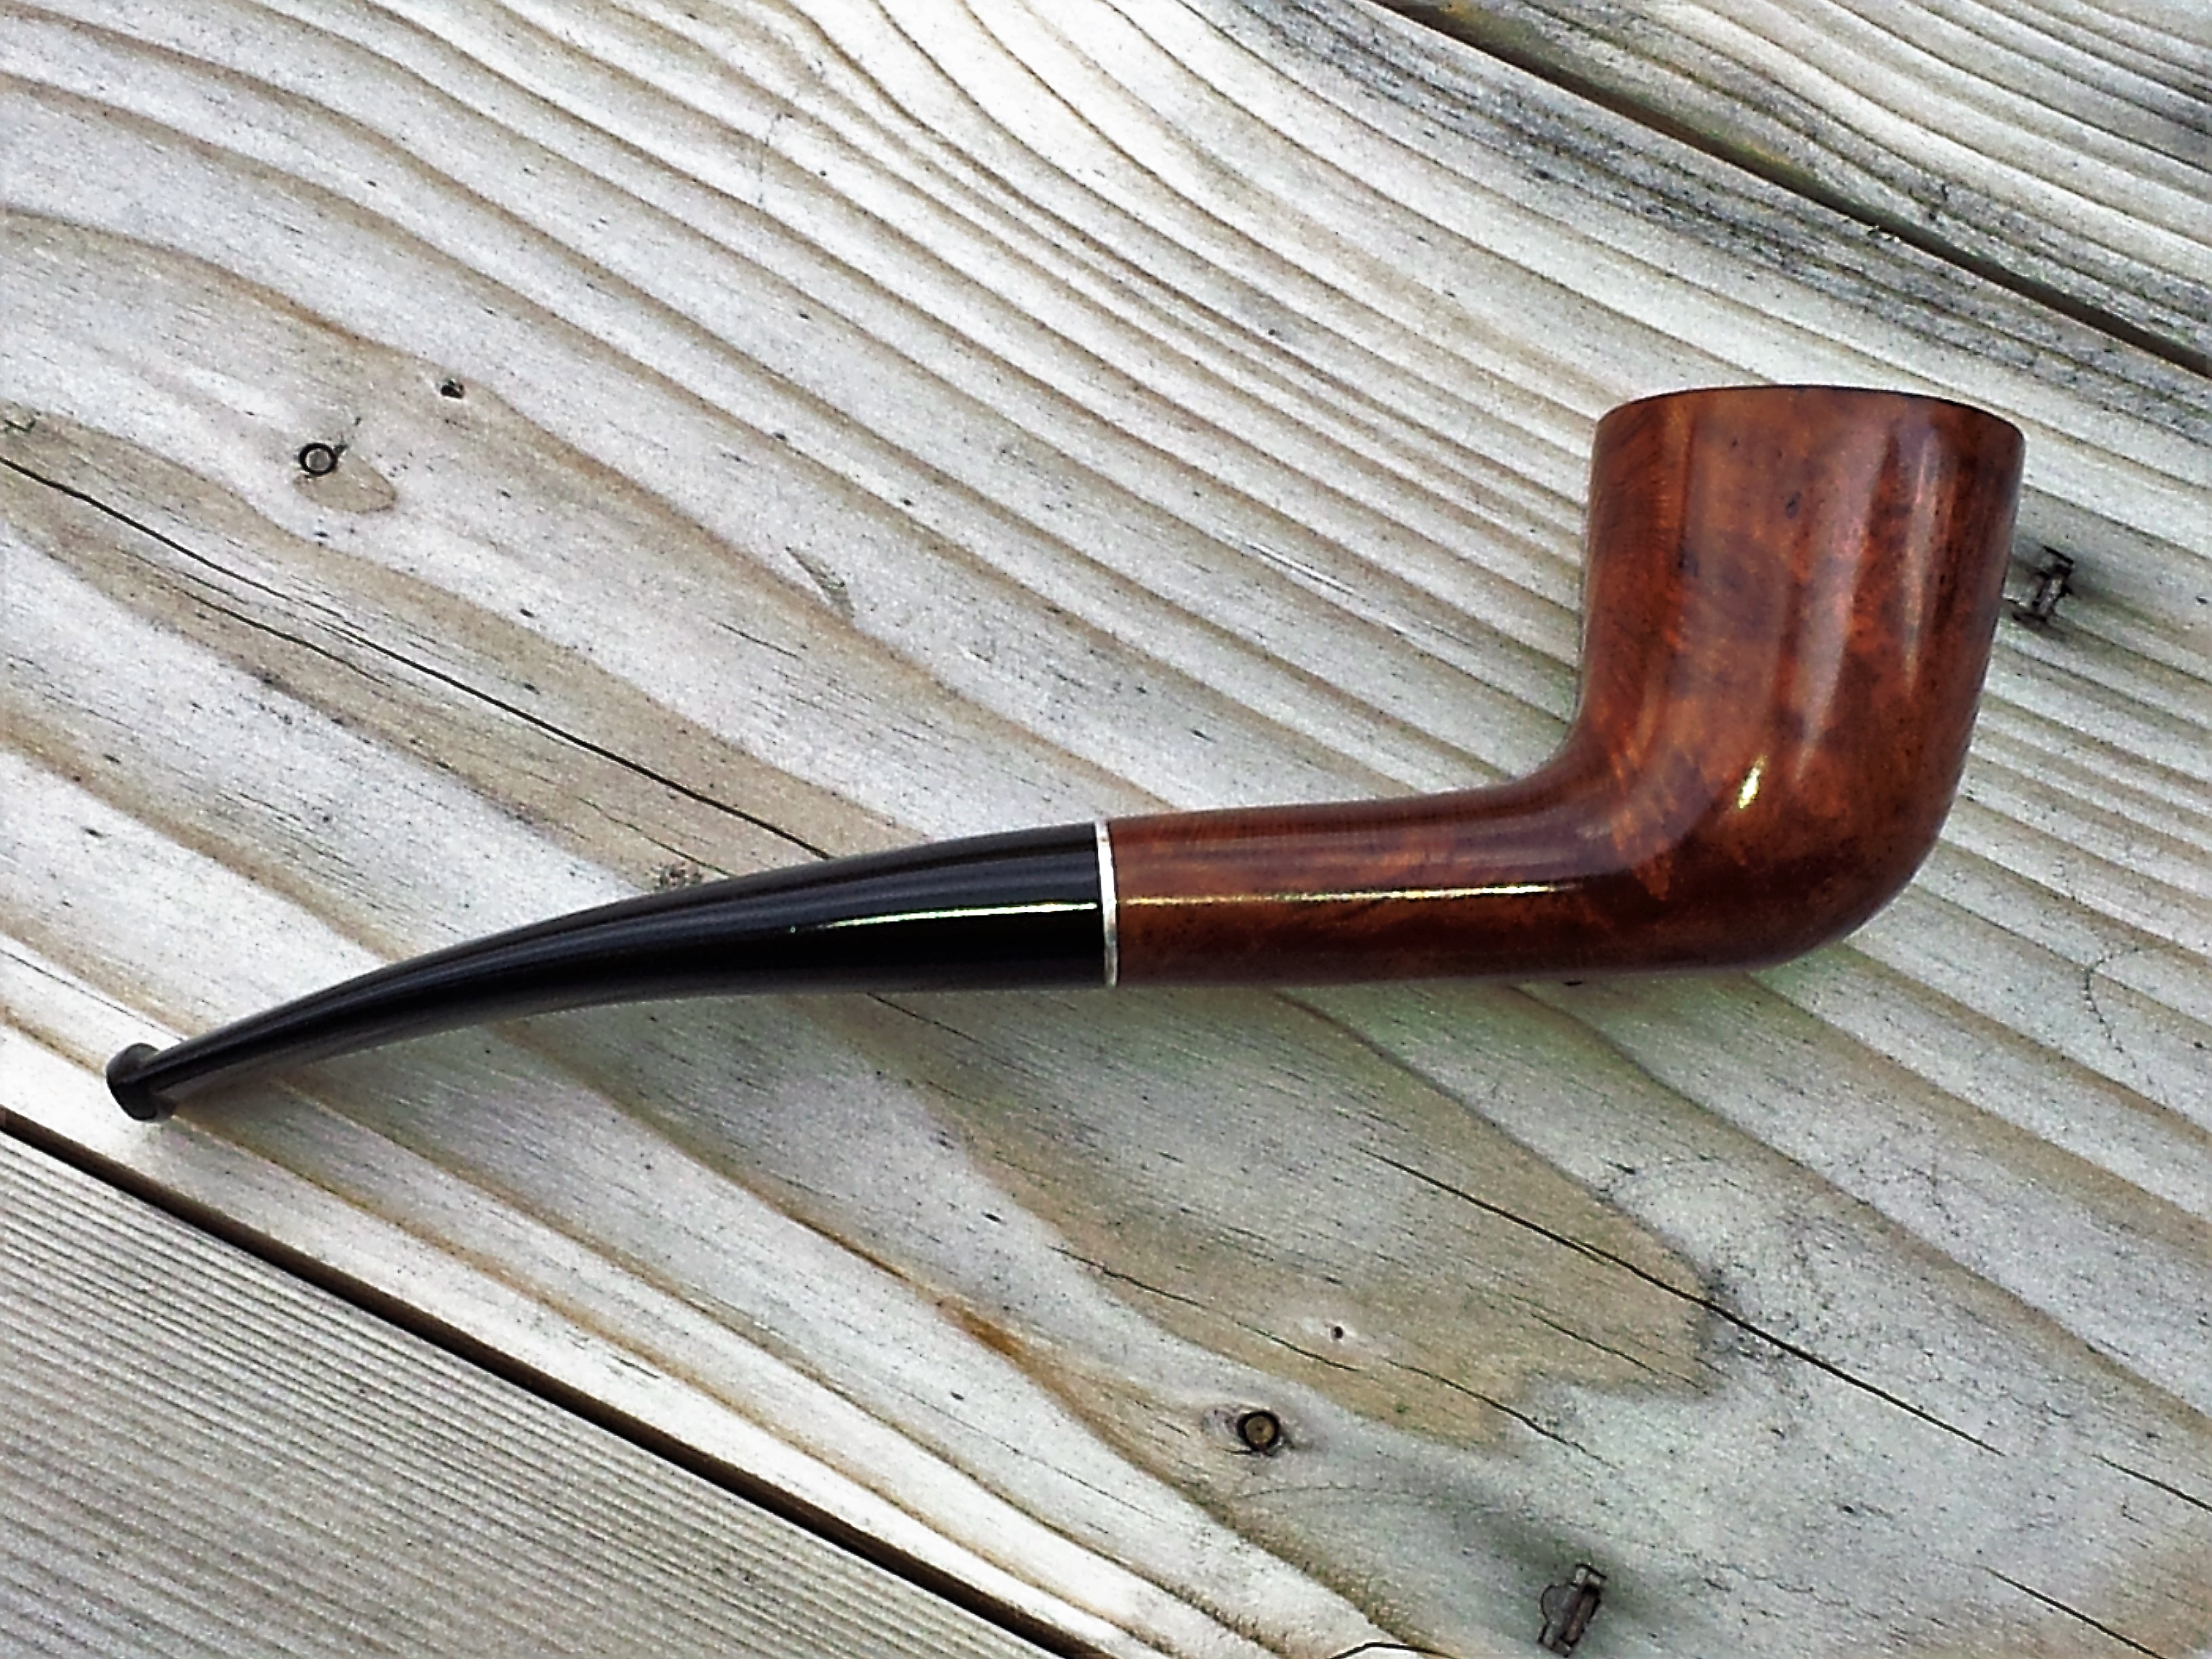
I wiped the entire pipe with mineral oil, letting it sit and soak in for a few minutes before wiping away the excess. Then the pipe was buffed with Red Tripoli and White Diamond compounds before getting several coats of Carnauba wax. The finished pipe is shown below. Again I’m impressed with the quality of the briar used for this cheap pipe. There was some great grain hiding under the old lacquer! This Kaywoodie 500 is ready to provide a new piper with years of faithful service.


Beautiful job. Definitely does not look entry level from here. That Saddle Tan by Fiebings is one color I see used a lot and it certainly makes that grain pop. It’s one of the colors I need to get.
LikeLike
Reblogged this on rebornpipes and commented:
Looks really good. I have not used the Tan before but I like it. I always dilute the dark brown to get whatever colour I am looking for 🙂
LikeLike
What a recovery that is , well done
LikeLike
Beautiful pipe and a job well done!!
LikeLike
I also haven’t used tan, I like the way that stain came out!
LikeLike
The Saddle Tan is a pretty close match for these red lacquered estate pipes. It seems to enhance the natural reds in the briar.
LikeLike
That’s a good looking pipe, right there. Nice work. I use the same “high-tech” reamer that you do. Except mine is black and I cut my paper in strips and wrap it length wise over the pen end.
LikeLike