
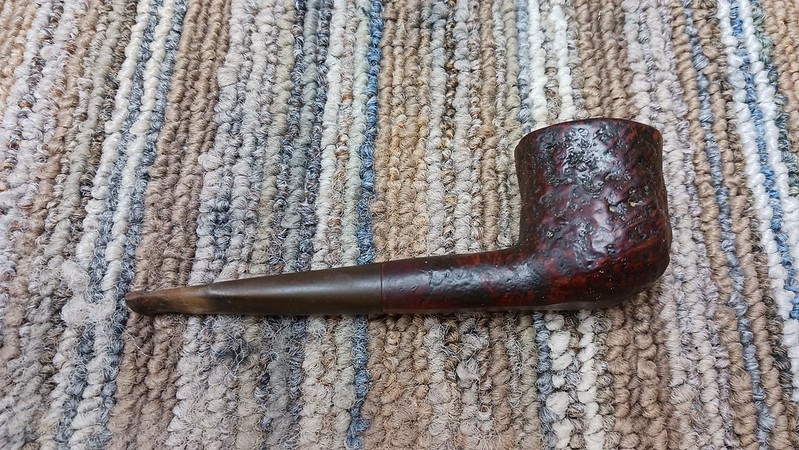
I always enjoy working on family heirloom pipes, and this Dunhill Shell Briar Pot, passed down to the current steward from his father, certainly fits the bill.
As you can see from this first series of images, the pipe was in need of some TLC when it arrived on the bench. Like many much loved pipes, this old Dunhill had that tired look that spoke of many happy bowls but not quite enough “care and feeding”. The rim of the bowl was completely obscured by a thick layer of carbon lava that also contributed to the slightly out of round appearance of the chamber.
The exterior was dirty, with dust, soot and oils packed into the sandblasted finish, and the stem was oxidized and carried an accretion of minerals near the button that didn’t quite hide some very deep tooth dents. The trademark White Spot on the stem had also shrunk and was partially hidden by debris. All in, the pipe was due for a refresh.


The stamps on the flat underside of the shank were rather worn and difficult to read. With good lighting and magnification, it is just possible to make out “Dunhill” over “Shell Briar” followed by “Made in” over “London England” and “4” in a circle (indicating a Group 4 size) followed by an “S” (for Shell finish).
Sadly the date stamp printed after the “d” in “England” was too faint to make out, but the pipe’s steward indicated that the pipe was purchased new by his father sometime in the 1960s.


After a bit more digging, I managed to find the remains of a shape code, “R” stamped on the underside of the bowl. This is the old letter code for Dunhill’s Pot shape.

Twisting the stem out of the shank revealed an aluminum innertube, one of Dunhill’s earliest patents, introduced to the market as a convenient way to keep your pipe clean in an age before the advent of the now ubiquitous pipe cleaner.

A closer look at the White Spot on the stem provided a clue that this stem was likely not original. Instead of a solid dot inlay, this White Spot appears to have been made using some sort of putty that was easily scraped out with a dental pick.

It had already been decided with the Pipe’s steward that a new stem would be fit to the pipe, so rather than dwell on the vagaries of White Spots, I set the old stem aside and moved on to cleaning the stummel. First up was a good reaming of the chamber to remove the old cake and inspect for any damage to the chamber floor or walls. The briar was in excellent condition underneath the cake, indicating that the pipe had been cared for if not often cleaned.

With the chamber clear, I turned to the crust of carbon lava on the rim, first using a dental pick to carefully remove the worst of it, then tidying up with a brass bristled brush and some 0000 steel wool. There was a tiny bit of round-over to the front edge of the bowl from dottle-knocking, but overall the briar was in much better shape than anticipated.
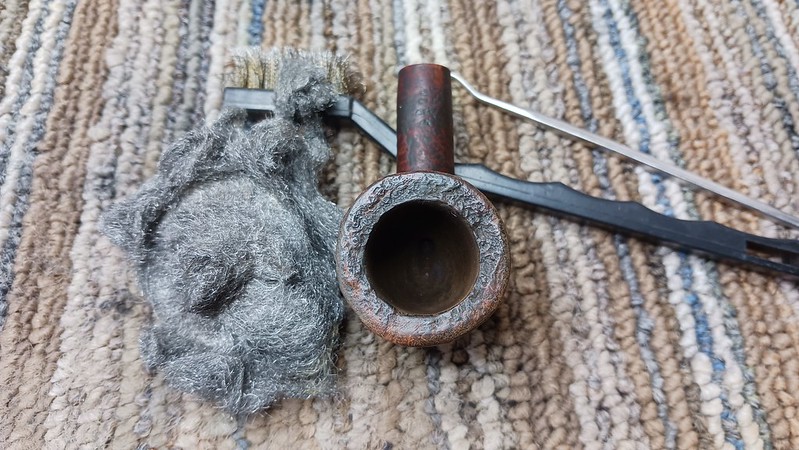
I spent most of the cleaning time on the stummel’s internals. It took a small pile of pipe cleaners, cotton swabs and shank brushed dipped in 99% isopropyl alcohol to clear out the old tars and debris lurking within. You can also spot a couple of cotton pads I also dipped in alcohol to start the cleaning of the exterior of the stummel.

When the shank and airway were celan, I completed the exterior cleansing by scrubbing the briar with Murphy’s Oil Soap and a toothbrush. This dissolved and lifted away the remaining dirt, oils and old wax from the sandblast finish.


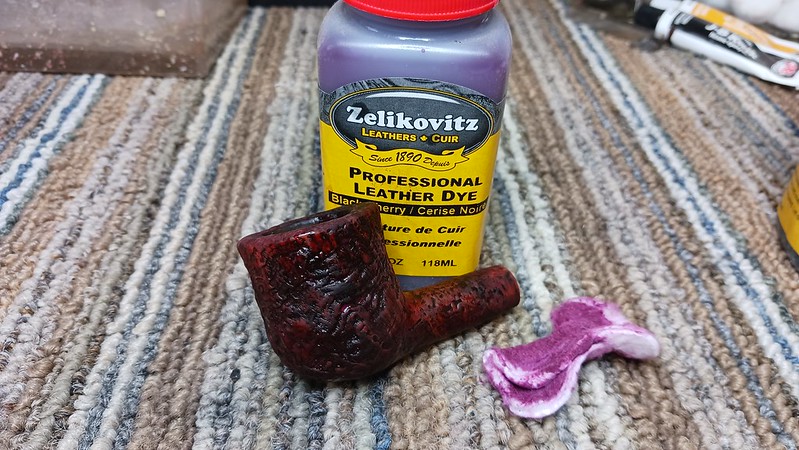
To refresh the original black over red Shell Briar staining, I hit the stummel first with a coat of Black Cherry leather dye followed by a coat of Black dye. When the dye was dry, I applied a thin wipe of mineral oil to both help set the new finish and inject some moisture into the briar. I allowed the oil to sit on the stummel for a few minutes, then hand buffed the briar to remove the excess.


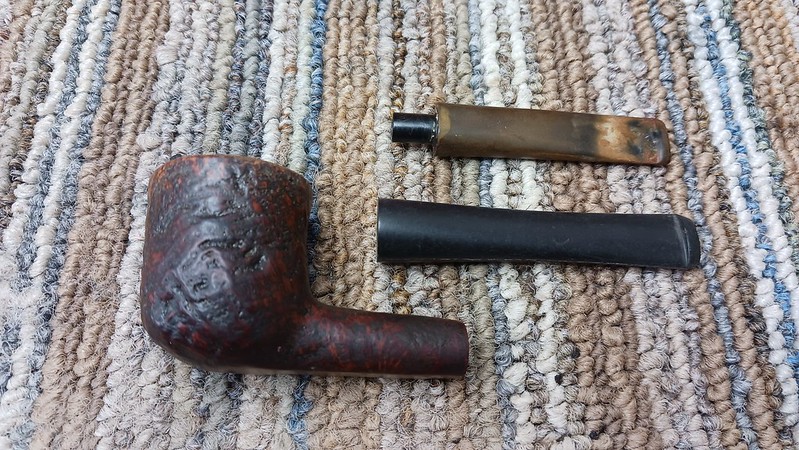
With the stummel ready to go, I turned my attention to the stem. As I mentioned previously, the old stem was going into the bin and a new Vulcanite stem was to be fitted. This pic shows the old stem above the new stem piece.
I turned a section of Delrin rod to make a new tenon. Digital calipers really help size the new part quickly. I did a quick test fit while the tenon was still in the lathe – snug but not too tight.

I used my PIMO tenon turning tool to cut the stem end of the new tenon down to 7mm in diameter (the smallest the tool will cut). This step down in diameter allows the larger shank end to cover the mortise I drilled into the stem face when the tenon is glued in place. A nice side benefit is that I can instantly see if the shank mortise is drilled square to the shank face and take corrective action if it is not.


The stem blank was a bit longer than the old stem, so I marked the piece and cut off the excess material. A quick run on the topping board ensured that the cut was square and even.

After test fitting the stem on the new tenon to ensure a light-tight fit against the shank face, I mixed up a small amount of two-part epoxy an added a drop of black epoxy pigment to colour match the glue to the stem. This isn’t strictly necessary but it adds to the final “fit and finish” of the completed stem.

After roughing up both the exterior of the tenon and the inside of the stem mortise, I applied epoxy to both surfaces and slid the stem into place. I held it tight against the shank face until I felt the epoxy begin to grip the work, then clamped the pipe upright in the vise to let gravity keep the stem in position while the glue cured overnight.

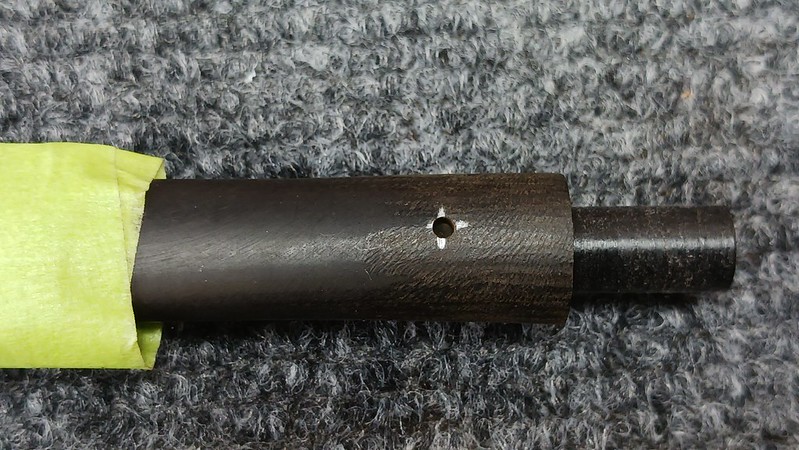
When I came back to the bench the next day, I taped off the shank and used a narrow file to reduce the diameter of the stem to match the shank. When I was happy with the fit, I used the old stem as a template and marked the position of the White Spot on the new stem.

This two-block arrangement in the drill press vise keeps the stem from turning as I drilled a 1/16″ hole for the new White Spot. The painters tape around the button end of the stem is there to position the stem horizontally. I simply added tape until the thinner end of the stem was the same size as the thick end. This way, the drilling for the White Spot goes in square. If it is off kilter, the Spot will appear ovoid instead of round.

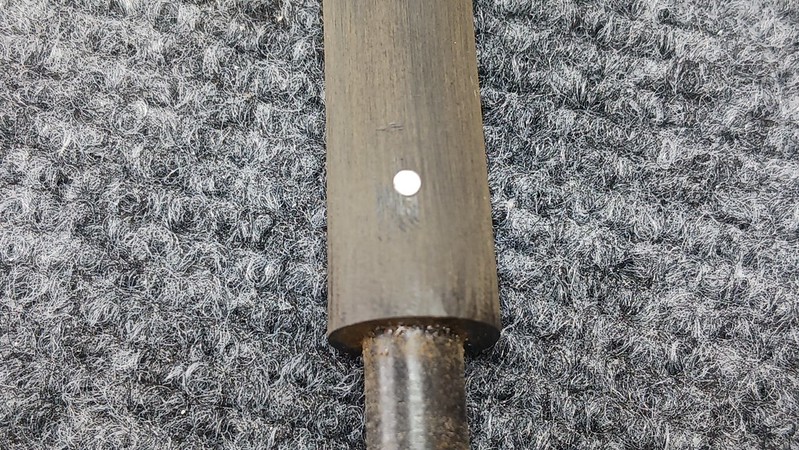
Installing the White Spot is easy at this point. A drop of CA glue in the hole is quickly followed by a length of white plastic rod. When the glue sets, a few strokes of the file levels off the inset.
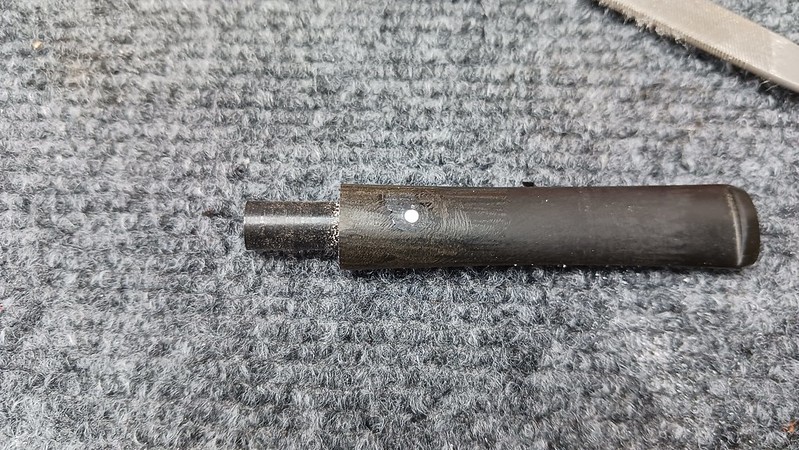
Here is another shot of the Spot after preliminary sanding. Looks good!
All that was left to do was to complete the sanding and polishing of the new stem. I worked through progressively finer grits of abrasives, from 220 through 2000, before taking the pipe to the buffer for final polishing with Red Tripoli and White Diamond compounds. A few light coats of Carnauba wax to the entire pipe completed the restoration of this heirloom pipe.
The finished pipe has come a long way from the rather depressed looking piece that arrived on the workbench just a few short days ago. It is now clean, fresh and looking its very best as it makes its way home to its steward. May he enjoy it in good health for many years to come.
Thanks for joining me for this estate pipe restoration. I hope you enjoyed the process as much as I did. Until next time, Happy Piping!
Here’s the finished pipe.


I am always amazed at your work. Beautiful. R
LikeLiked by 1 person
Thank you Charles for your beautiful restoration work. My Dad would certainly have approved of all the care and craft you exhibited in bringing back this beauty. And, of course as always, it is fascinating to see the step by step process. Bravo. And when I get my act together I have that Dunhill red bark to get that loving treatment.
Neil
LikeLiked by 1 person
Thank you for entrusting your Dad’s pipe to me for the work. It was a joy to restore.
LikeLike