
This Pre-Republic K&P Dublin 207 Pot is a bit of an old friend as I first restored it for my own rack almost exactly five years ago, back in November of 2017. I enjoyed it for many of those years but, as many pipe smokers do, I found that I reached for other pipes more often. I decided it was time to refresh the pipe and find it a new steward who would enjoy it.
I started by giving the pipe a basic ream, clean and polish to get the briar looking its best, but I had to pause and consider my course of action when it came to the stem. If you’ve had a look through the details of the original restoration, you’ll recall that this pipe dates from 1945-1947 and needed a bit of help to reclaim its past glory. Part of that was a patch on the underside of the P-Lip stem to smooth out some deeper tooth dents. That patch, done five years ago, had weathered somewhat, taken on tooth dents of its own and was generally not looking its best anymore.
Here is the pipe as it looked after its initial ream and clean. The patch is quite noticeable on the underside of the stem.


I would normally have simply sanded the patch smooth again and touched it up as necessary to make it acceptable for it’s next steward, but there was a confounding factor: the stem was already very thin through the bite zone behind the button. Any removal of material posed a real risk of breaking through to the airway.

And so on to Option #2 – replacing the old, worn stem with a new Vulcanite P-Lip. A short search through my somewhat limited stock of P-Lip stems turned up just what I needed. This pic shows the original stem above the new stem blank.

As the stummel was already clean and ready to go, I got right down to business. I have all but given up on finding a useable pre-cast tenon on these stem blanks, so the first task was to cut the integral tenon off the new stem and sand the stem face flat and true. I then drilled a mortise in the stem face, slowly expanding the airway to just over 1/4″ in diameter to accept the smaller end of a Delrin tenon made up in-house.
This pic shows the stummel, drilled stem and Delrin tenon, ready to assemble. I’ve taken to shaping my tenons this way where possible so that the larger, shank end sits flush to the stem face and completely covers the mortise for a nice, tidy look.

I used my tenon-turning tool and several grades of sandpaper to size the business end of the tenon for a snug fit in the shank mortise.

It usually takes a bit of fiddling to get the stem face to sit tightly against the shank – file off a bit of tenon here, enlarge the stem mortise slightly there, but that’s why I drill the mortise slightly oversized to begin with. The airway on these precast stem blanks is rarely perfectly centred, so some adjustments to compensate are to be expected.
Once I have that nice, light-tight fit at the shank/stem junction, it’s time to mix up some epoxy and get the tenon installed permanently. To give the glue some extra mechanical holding power, I cut slots in the tenon with a needle file and use my rotary tool and a carving burr to cut small pockets on the inside walls of the stem mortise. The epoxy fills these little gaps, interlocking the parts together with a very strong bond.


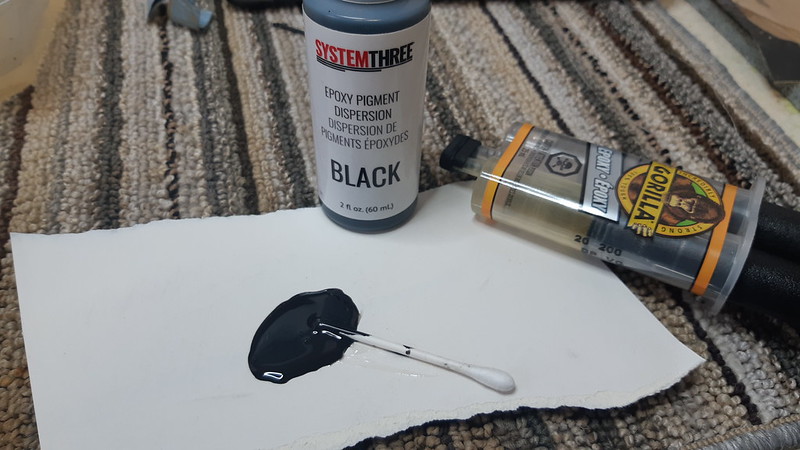
I’m often asked which specific glues and other supplies I use, and the answer is almost always the same – I use what I can find readily on the hardware store shelves! In this case, I used a small blob of Gorilla brand 5-minute epoxy mixed with a tiny drop of what is, admittedly, a specialty product, some black epoxy pigment made by SystemThree. Is it absolutely necessary? No, but any squeeze-out is virtually invisible against the black Vulcanite. A little of this pigment goes a long way – I’ve had this 2 ounce bottle for a few years and expect it to last for many more.
I applied the mixed epoxy to both the tenon and the inside of the stem mortise before carefully slipping the stem into place. Pro Tip: A light wipe of petroleum jelly on the shank face helps prevent any excess epoxy from binding to the briar here.
I aligned the stem properly on the shank and held the parts together for a minute or two until I could feel the epoxy begin to grip. A bit of painter’s tape helped to keep the parts aligned as the pipe went into the padded jaws of my vise overnight. Another Pro Tip: Give the epoxy plenty of time to cure completely. You do not want to rush this step unless you enjoy undoing and redoing your work (don’t ask me how I know this….).

I allowed the pipe to sit for 24 hours, then carefully separated stem from stummel. Everything looked good, with no gaps and no squeeze-out.

To improve the air flow through the pipe, I used a countersink bit to funnel the airway at the end of the tenon.

Then it was time to reassemble the pipe and dress off the rough edges of the precast stem. I put a few wraps of clear hockey tape around the sterling silver shank band to protect it from errant file marks while I refined the shape of the new stem. Here you can see it after sanding to 220-grit.


And then more sanding – this time with wet sandpaper to 2000-grit.

When I was happy with the size, shape and general aesthetics of the new stem, I took the pipe to the buffer and polished the new Vulcanite with Red Tripoli and White Diamond compounds to erase the last of the sanding marks and bring up the shine. A few light coats of Carnauba wax finished the job and provided some temporary protection against oxidation.
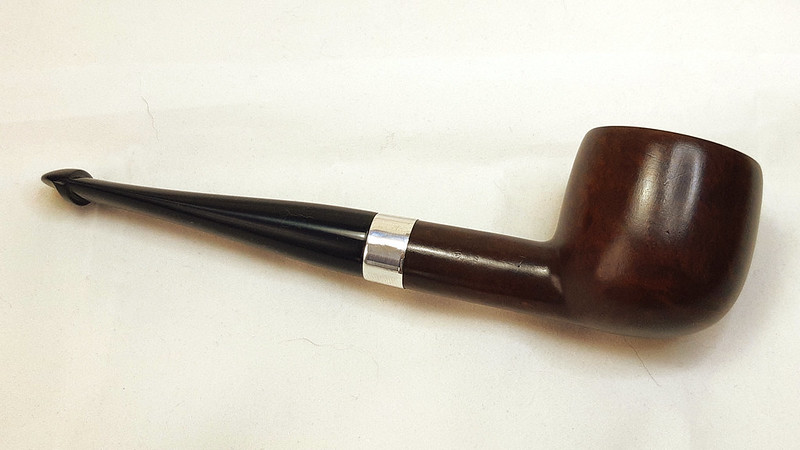
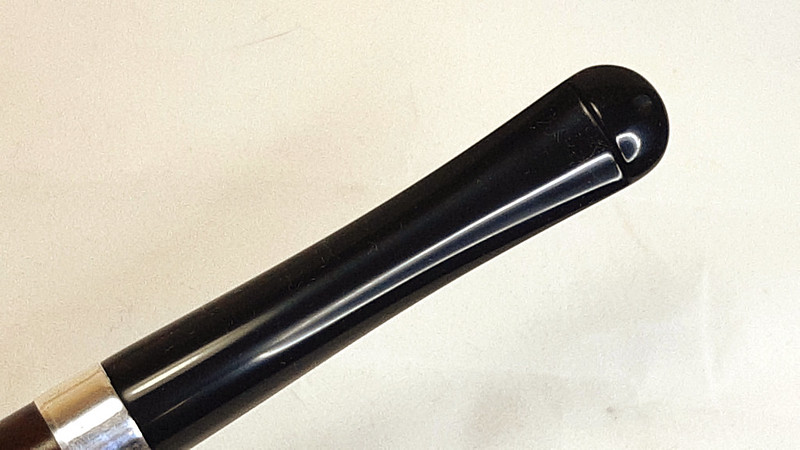
The re-restored Pre-Republic Peterson K&P Dublin 207 Pot is once again in fine fighting form. The new stem matches the old in length and width but is. of course, somewhat thicker through the bite zone. With care and regular maintenance, this septuagenarian Irish briar should last at least another lifetime of active service.
I’m pleased to say that this well-seasoned Pete has already found a new home with a new pipe steward.
Thanks for joining me for this estate pipe restoration. I hope you enjoyed following along!
Until next time, Happy Piping! Here’s the finished pipe.
(My apologies for the lint stuck to the stem – it’s one of the hazards of having your photo booth in a corner of the shop!)


That’s a beauty, Charles. Someone is a lucky steward.
LikeLiked by 1 person
Thanks, David. It was fun revisiting this pipe and I’m glad it found a new home.
LikeLike
Reblogged this on rebornpipes and commented:
Thanks Charles for sharing your process. I like the hand cut tenons. They are pretty much the same shape as the Delrin Jobey Links that I get from JH Lowe. I trim them back to the same shape… Well done
LikeLiked by 1 person
Thanks, Steve. There are a few extra steps using Delrin over the precast tenons but the end result is, I think anyway, a better product. 👍
LikeLike