
It’s been a while since I had a really challenging repair on the worktable. Straightforward restorations are great, don’t get me wrong, but after the twelfth basic ream & clean job, a more intricate repair can be refreshing and a chance to exercise some muscles not often engaged during less complicated projects.
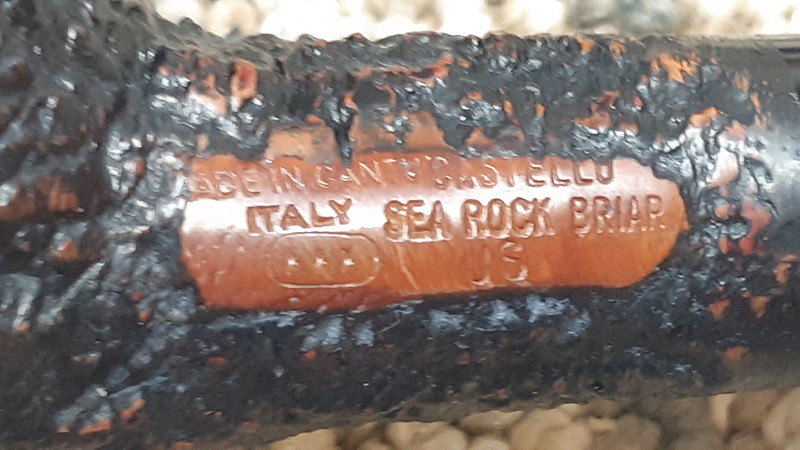
This pair of Castello Sea Rock pipes arrived in the shop as a handful of parts in ziplock sandwich bags. Both had suffered what I can only call catastrophic damage to the acrylic shank extensions. The results were not pretty – one shank extension was cracked into three pieces and the other into four – five if you count the broken end of the stem tenon lodged inside the remains of the shank mortise.


The briar portion of both pipes was in great shape – no dents, dings or scars to mar the lovely deep craggy rusticated surface. This really made me wonder what caused the damage the shank extensions – a hard fall, perhaps, or possibly a case of deliberate vandalism? Unfortunately, the story behind it all was not shared with me, so after my bit of idle speculation, I set my mind to formulating a plan for restoring this pair of Italian beauties.
As the damage to the two pipes was so similar, I used the same repair techniques on both. To simplify things, I will be using pictures of both pipes throughout.
I began by carefully reassembling the shattered pieces of the shank extensions using regular CA glue. Black CA could also be used, but I didn’t have any on hand and I don’t feel it’s absolutely necessary. Clear CA reflects the colour of the material around it, so in most cases, clear CA on black acrylic shows as black.

A complicating factor on the square-shanked pipe was the broken end of the tenon jammed up in the mortise. A little isopropyl alcohol helped to loosen the part, which I extracted using a wood screw and pliers before gluing the shank extension back together.


So far so good, but glue alone would not make a permanent repair. To add the extra support and structural strength required to stand up to repeated mounting and dismounting of a push stem, I used some two-part epoxy, tinted black, to bond a section of Delrin rod, predrilled with a starter airway, into the shank.

After allowing the epoxy to cure overnight, I cut off the excess Delrin and began sanding the repaired shank extensions smooth. Both pipes had many small dents and dings on the exterior of the shank extensions. Repairing these was a case of applying multiple thin coats of clear CA glue, allowing each to cure, then sanding smooth.

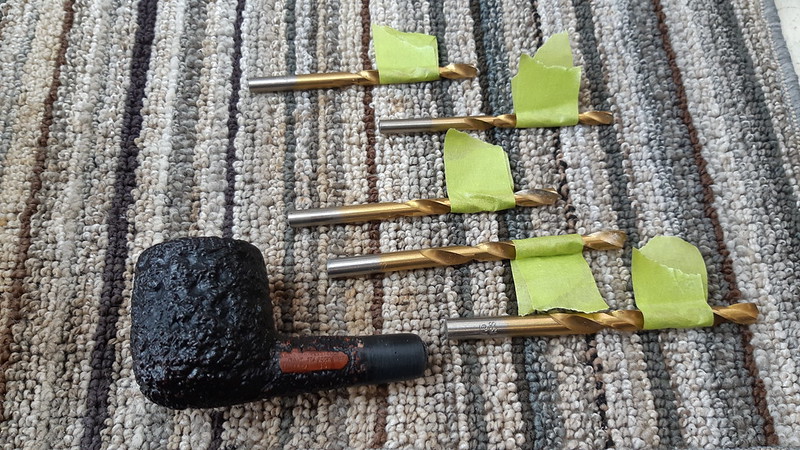
Clearly, the pilot airway through the Delrin reinforcement was too small to act as a stem mortise. To open the airway sufficiently, I worked up through multiple drill bits, expanding the mortise in steps to keep the alignment straight. Note the tape on each bit marking the drilling depth.

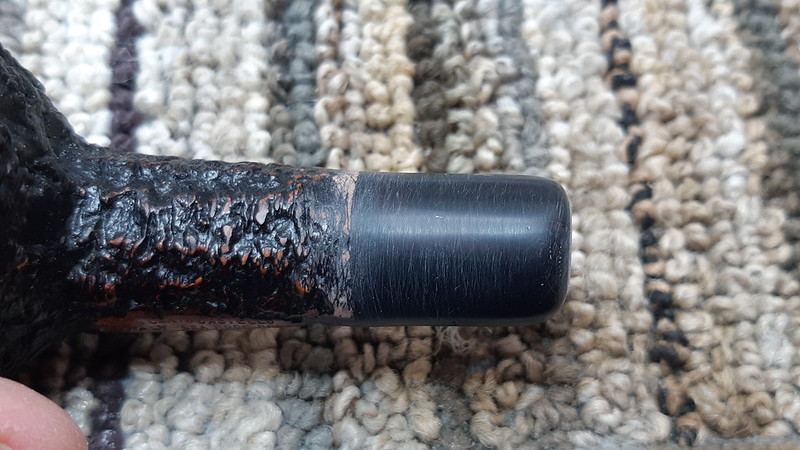
Looking good!

I mentioned above that clear CA usually reflects the colour of the surrounding material. Here is an example of a situation in which that was not the case. The glue joint on this round shank extension was a bit thick due to missing material and the glue stood out as a paler grey against the black acrylic.

To remedy this, I used a dental pick to scrape out some of the glue down the length of the crack. When I had a trough dug out, I coloured the remaining glue black using a Sharpie marker, then filled the crack and surrounding area with fresh CA glue, essentially encasing the colour inside the glue.


After the glue had cured, a little sanding removed the excess to reveal, well, nothing!
The Sharpie trick is a great addition to the repair toolbox, and I employed it multiple times on each shank extension during the slow and sometimes tedious process of rebuilding these acrylic parts. Eventually, though, the scrapes, divots and most of the scars were filled and the shanks could be sanded and polished for the final time.
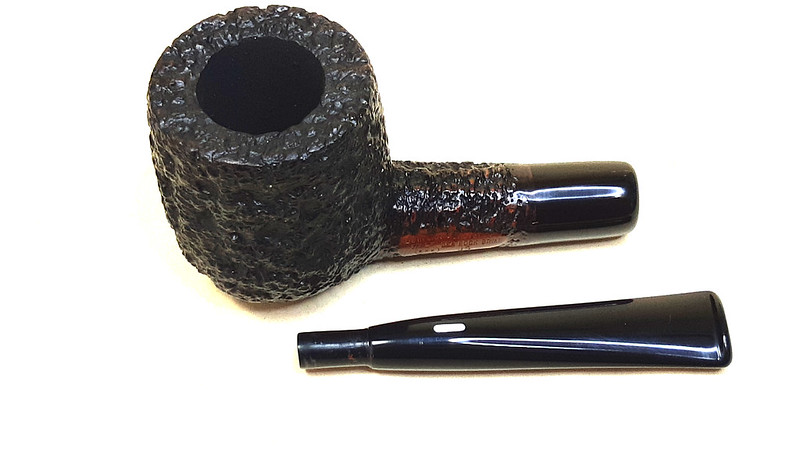
That was only really half of the job done, however. The stems, now too large for the new mortises. had to be reworked to suit. First, though, I needed to repair the broken one. Thankfully, the pieces of the broken stem fit together reasonably well and I used a short length of brass tubing to splint the acrylic back together.

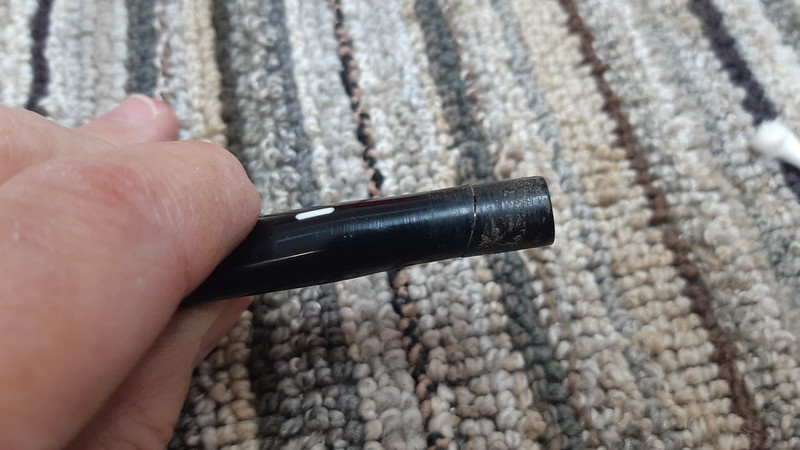

I’ll skip over showing you the process of adding CA glue and sanding it smooth again, as it’s essentially the same process as that used on the shank extensions. Picking up at the point that the stems were both whole again, I began the process of removing material from the tenon end to fit the corresponding mortise. As you can see from the pic below, the stem wasn’t very thick to begin with, so I had to work carefully to avoid removing too much material.

After some fiddling about, the stems mounted snugly but smoothly in their respective shanks. There is a tipping point here that I will bring to readers’ attention. The Delrin shank inserts have a small amount of give to them, so if the tenon is too large, the glue joints on the repaired acrylic shank extensions can reopen.
At the other end of the scale, if the tenon is too small, the stem will fit loosely or even fall out, so it is essential that the tenons are sized exactly right. It is a time-consuming and fiddly process, especially if you need to backtrack after popping a glue joint. Practice, patience and a decent set of calipers really help here!

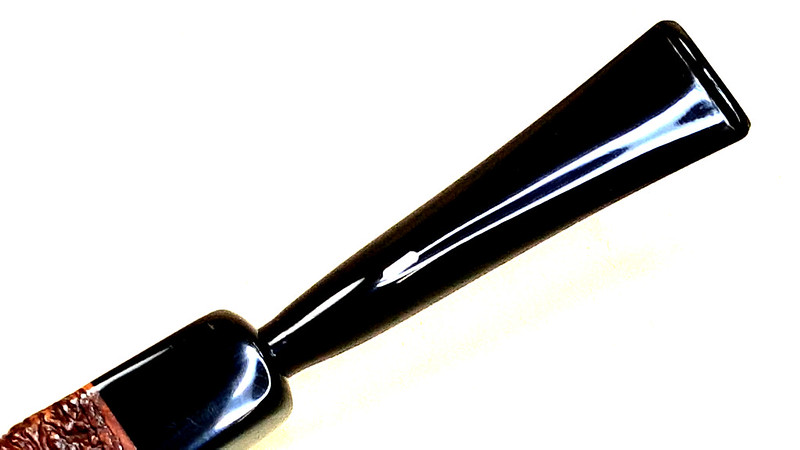
After the initial sizing was accomplished, the tenons (and the rest of the stems) needed to be smoothed and polished to remove the sanding scratches and bring the finish up to snuff. My process here is straightforward enough – I sanded the acrylic to 2000-grit, then buffed with Red Tripoli and White Diamond compounds.
I also reamed, cleaned and buffed the stummels, refreshed the chambers with a bowl coating of maple syrup and activated charcoal powder, and applied a light coat of Carnauba wax to each finished pipe.
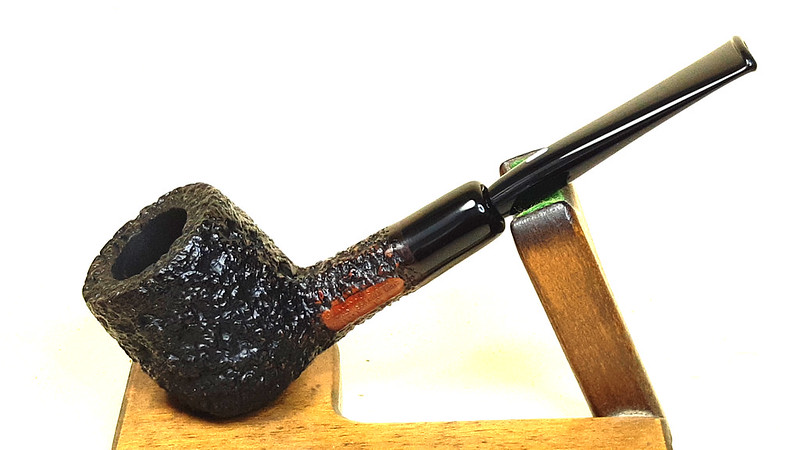
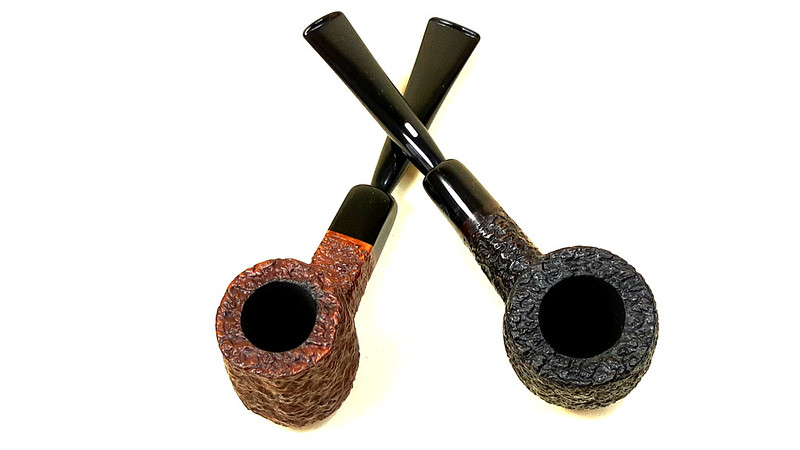
The repaired pipes have gone from bagged junk to not only functional but, dare I say, attractive smoking companions! Though there are a few scars here and there, they are not glaring and will not be noticed in the course of regular use. Instead, the lucky pipe smoker who adds one or both of these Sea Rock pipes to their rack can enjoy the deep, tactile rustication and overall quality for which a Castello pipe is known. I’d say Mission Accomplished!
Thanks for joining me for this rather involved repair and restoration project. The write-up reflects the tasks and techniques used to save this pair of pipes, but can’t adequately convey the investment of time, energy and patience necessary to achieve the results shown below. These Castellos were on my bench for the better part of ten days start to finish, and while a lot of that time was occupied watching glue dry, the majority was spent on some rather technically challenging repair work.
I hope that this post encourages you to take an other look at some of the “junker” pipes most of us in the restoration world have collecting in corners or dusty boxes. With time, patience and ingenuity, some amazing results are possible!
Until next time, Happy Piping! Here are the finished pipes.


Great Job. Beautiful !!!!
LikeLiked by 1 person