
I’m asked fairly regularly about where and how I source the estate pipes featured in the blog. I have bought many individually or in small groups from antique shops and fairs, but every now and then I buy an estate lot. Last summer I did just that, bringing home a mixed batch of about 60 estate pipes. Some were higher-end briars that needed little more than a touch up on the buffer, and others, like this Brigham 229L, were in decidedly rougher shape.
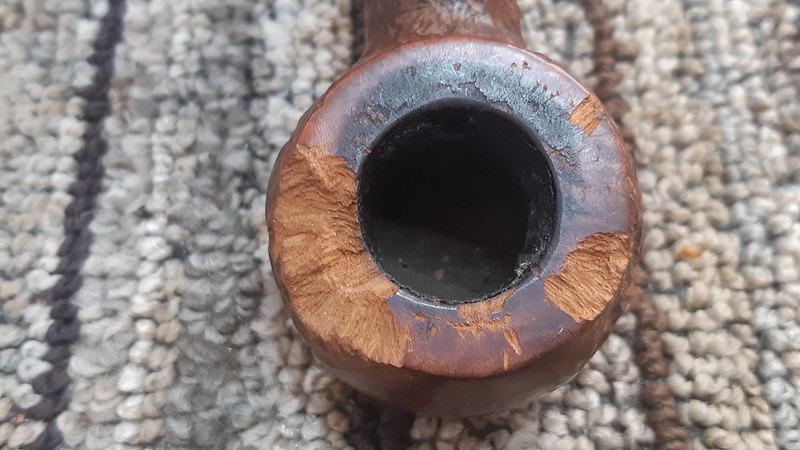
I\m not sure what happened to cause the damage shown in this series of pictures. Perhaps the pipe fell under a lawn mower, or maybe it was left somewhere for the rats to chew on. However it was caused, there was significant damage to the right front quarter of the bowl with a few deeper gouges around the rim. Curiously, the stem was free of major damage. Though the button was a bit on the shallow side, the biggest problem there was a pair of tooth dents, the deeper of which was on the bottom of the stem.


The pipe is stamped on a smooth patch under the shank with “229L” then “Brigham” over “Made in Canada” in block letters. The block letter COM stamp replaced the Brigham CAN PAT stamp in about 1956 and was used until about 1970. The three-digit shape number indicates a 2-Dot Shape 29 Author. The “L” stands for Large size (at the time, a pipe smoker could order any of the regular shapes in Small, Medium or Large configurations).

When I first acquired the pipe, I more or less wrote it off as not much more than a stem donor for another vintage Brigham, but I had another look at it and decided to attempt to remove the damaged briar and replace it with new wood taken from a slice of briar block.
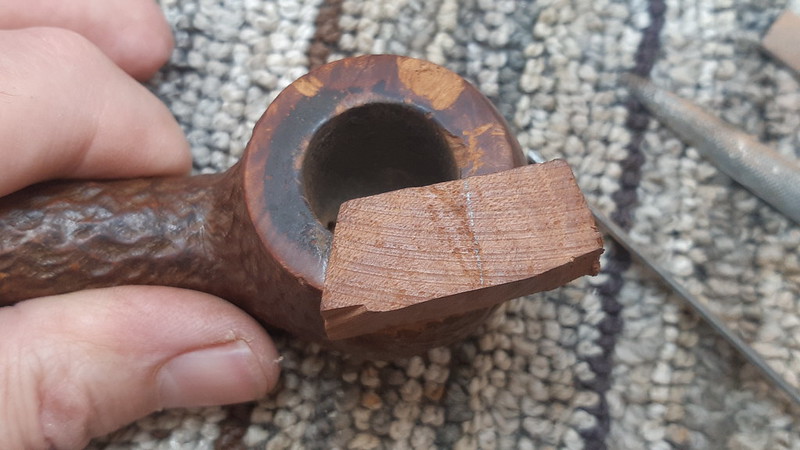
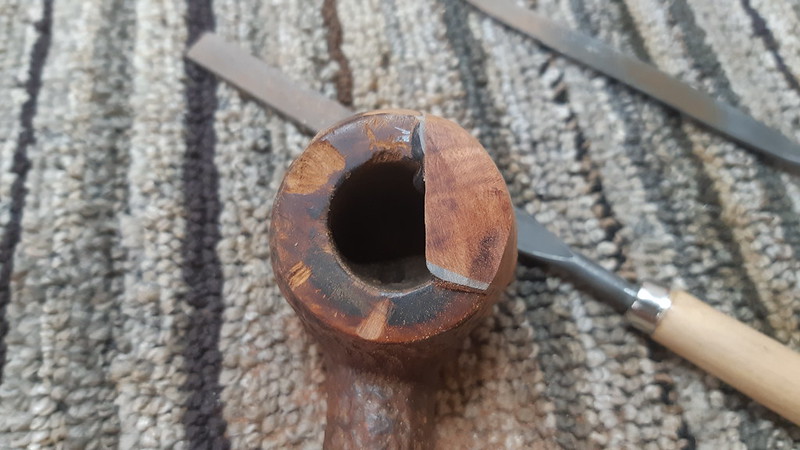
To start the restoration of this mangled bowl, I used a number of files to carve away the damaged wood and square up the edges. I traced the shape of the briar scrap onto the rim and cut out the wall of the bowl to match the tracing. These pics show the process, including a test fit of the briar insert.

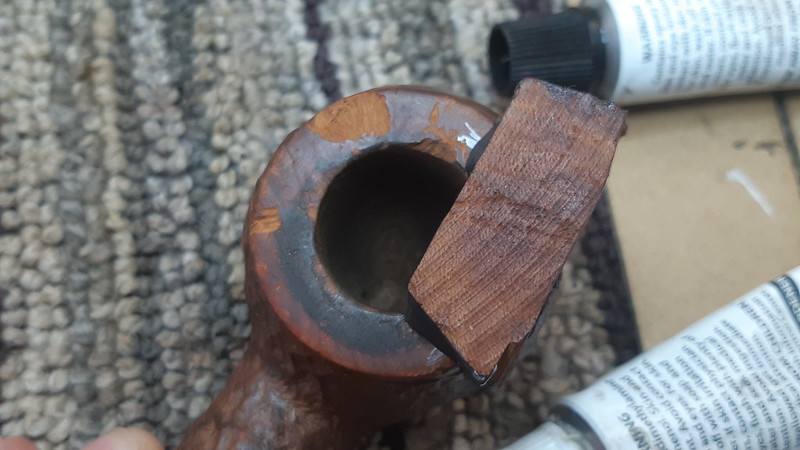
When I was happy with the fit of the new briar, I mixed up a bit of JB Weld high-heat epoxy to bond the new briar to the old. I held the piece in place until the epoxy took hold, then set it aside to cure overnight.

I took advantage of the overnight cure time by dropping the stem into an Oxyclean bath. An overnight soak would raise the oxidation and also dissolve any built-up tars or other gunk lurking in the stem’s airway.

The next morning, I gave the stummel’s shank and airway a scrub with pipe cleaners and cotton swabs dipped in alcohol. The pipe was cleaner than I had expected. It may have been only gently used before being put away after the bowl damage occurred.

Moving back to the repair, I removed the bulk of the excess briar using a sanding disc mounted in my drill press. I refined the shape of the briar insert with files and sandpaper until it matched the original profile of the stummel.


A bit of CA glue and briar dust helped to fill in a few smaller voids around the insert. When the patches had cured, I sanded everything smooth again.


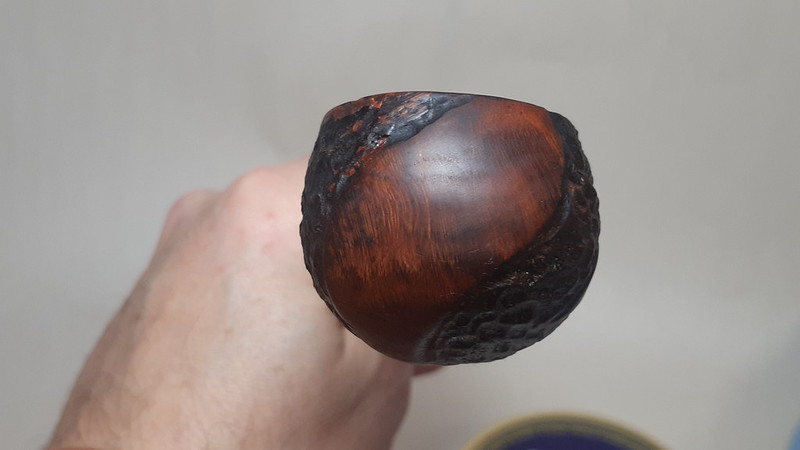
The next step was a bit of rustication to blend the new briar into the old before refinishing the stummel. I attempted to reproduce the original rustication pattern, with limited success, though you need to pay attention to see the difference. Sadly I forgot to take pics of this step, but you’ll see the results below.
When I was happy with the rustication, I refinished the stummel, first applying a coat of Fiebing’s Black leather dye to the entire stummel then removing the dye from the smooth areas of the pipe. A coat of Saddle Tan dye followed to bring out the reds in the briar. When that coat was dry, I hand buffed away the excess dye then applied a light coat of mineral oil to refresh the briar and give the finish depth and pop.


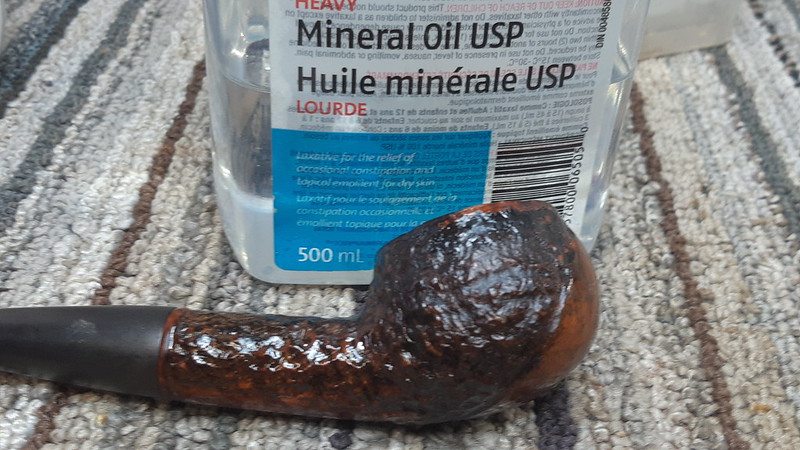
I let the oil sit on the stummel for just a minute or so before hand buffing away the excess with a towel before taking these shots to show the progress to date.


The last thing to do with the stummel before final polishing was to apply a quick bowl coating to freshen up the appearance of the chamber. I plugged the airway with a pipe cleaner then wiped a bit of maple syrup around the insides of the chamber. About a teaspoon of activated charcoal power then went into the bowl, which I covered with a scrap of cardboard and shook vigorously for a minute or two. This spread the charcoal evenly around the chamber. I dumped out the excess charcoal and set the stummel aside to rest and give the bowl coating time to dry.


While the stummel rested, I turned my attention back to the stem, pulling it from the Oxyclean bath and scrubbing the exterior with 0000 steel wool followed by Magic Eraser. This removed the oxidation and any grease and dirt stuck to the Vulcanite. A few pipe cleaners dipped in alcohol took care of the residual tars in the airway.


To remedy the tooth dents, I mixed up some tick CA glue with a bit of activated charcoal powder and applied it to both sides of the stem.

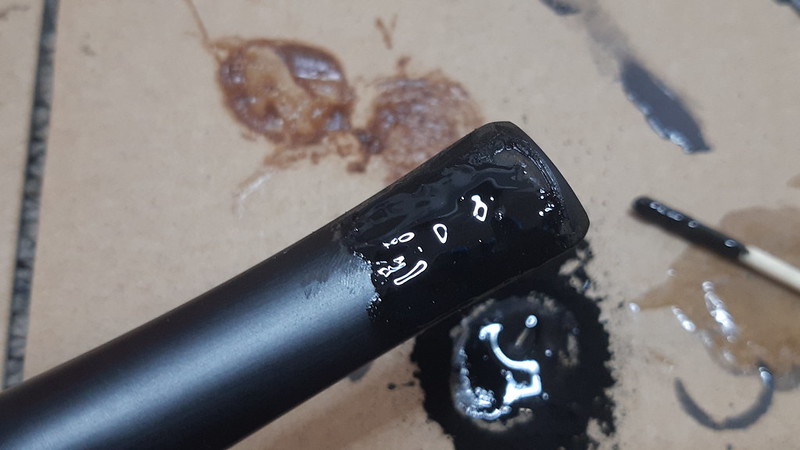
When the patches had fully cured, I filed away the ecess, bringing the patches flush with the surrounding Vulcanite.


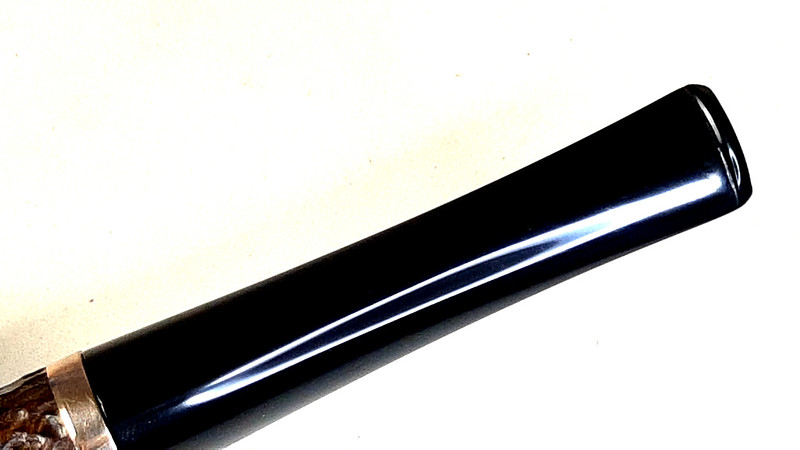
Then I used successively finer grits of sandpaper from 220 through 2000 grits to smooth and polish the stem. I also sharpened the button while I was at it.

While I was testing the stem fit, I noticed a slight misalignment of the shank face which left a sliver of light showing between shank and stem on one side. Rather than mess about trying to reface the shank, I opted for a quick fix and installed a thin brass shank band to square things up. The band is actually a bit of a shank cap as it covered the edges of the shank face as well as wrapping around the shank itself.
Then it was time to reassemble the pipe and take it to the buffer. The stem got a run on both the Tripoli and White Diamond wheels to erase the sanding marks and bring up the shine, while the stummel was more gently polished with just the White Diamond compound. A few light coats of Carnauba wax to shine and protect the revived pipe completed this restoration process.
Looking at the finished pipe, I am hard pressed to spot the repairs even though I know exactly where to look. I’ll take that as a good sign! This 1960s vintage Brigham 229L hasn’t looked this good since it left the factory. The briar is clean, fresh and most importantly, whole again and the refreshed stem shines a deep black. The brass shank band looks great and brings out the two brass Dots on the stem.
This briar will be staying with me as part of my collection of vintage Brigham pipes. I’ll give it a few days to allow the bowl coating to dry completely, then I plan to pack it with a favourite tobacco and fire it up for a test run.
Thanks for joining me for another rather involved restoration project, I hope you enjoyed it as much as I did. Until next time, Happy Piping!
Here’s the finished pipe.


Addendum: After smoking a half dozen or so bowls through the pipe, I am pleased to share that the repairs are holding up just as expected. The new briar patch has been thoroughly integrated into the bowl, which, with its thick walls, smokes very coolly. I would prefer a bit more button on the stem, but that will be left for another project.

Amazing work on this one
LikeLiked by 2 people
Thanks, Josh. This one was a bit of a gamble as I more or less made it up as I went along. I am pleased with the end result, though.
LikeLiked by 1 person
Fantastic job.
LikeLiked by 2 people
Thanks very much. This project was a lot of work but I enjoyed doing it – and adding another old Brigham to the collection. 😁
LikeLiked by 1 person
Stunning work!
LikeLiked by 2 people