The range and diversity of meerschaum pipes never fails to impress me. From traditional shapes to intricately carved designs and figurals, there is a meerschaum pipe to meet any taste.
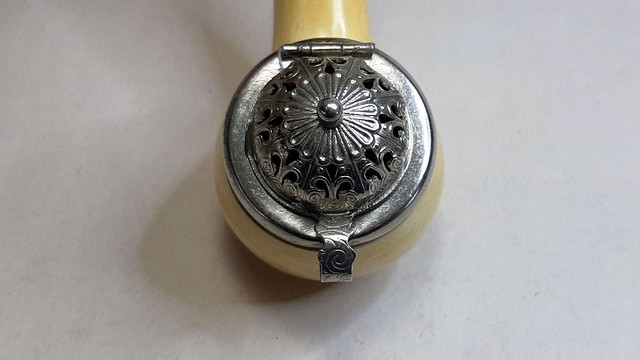
The pipe on the worktable today is a traditional smooth Author with a bit of Teutonic flare in the shape of a crowned nickel wind cap. It came to me with a cheap, ill-fitting plastic stem better suited to a corncob pipe that melted when I attempted to polish it on the buffer. I quickly tossed it in the bin, which left me with a stummel in good but dirty condition.
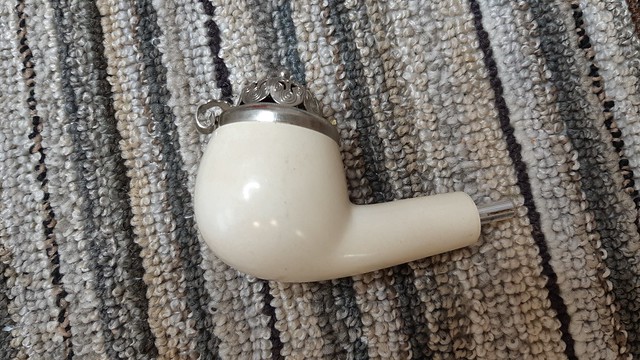

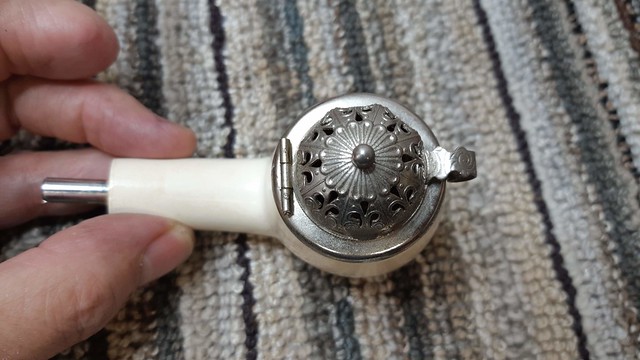


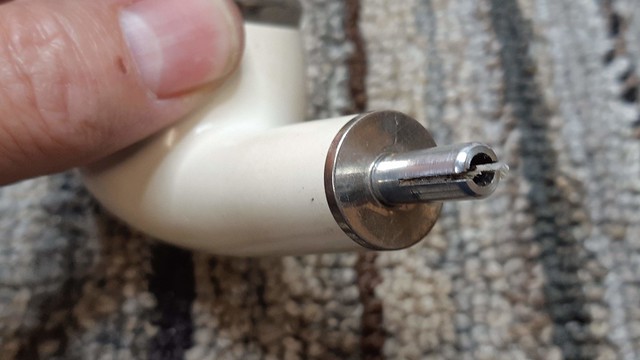
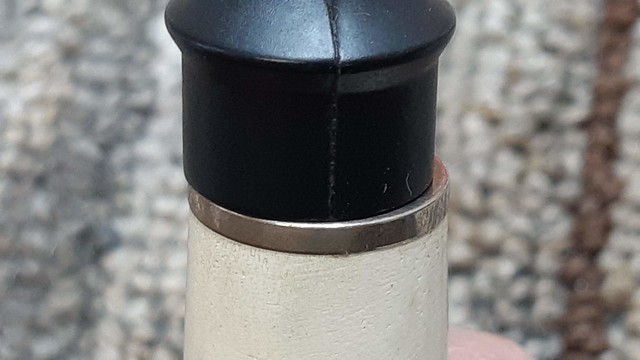
As the pics above show, the stummel was in good shape, without major dings or dents. It was, however, dirty and greasy-feeling in the hand. Presumably it had come with a fitted hard case originally, but given the web of small handling marks and scratches on the bowl, the case had been lost or discarded some time ago. The stummel was fitted with a stainless steel reverse tenon with a slot cut in the end for adjusting the stem fit.
After a quick rummage through my supplies, I came up with a vulcanite stem blank I thought would look good on the stummel as well as a thin steel shank cap/band that would complement the wind cap and give the shank a more finished look.

The shank cap slid nicely over the reverse tenon and fit the shank diameter perfectly. A dot or two of glue helped secure it in place.

Before getting too far ahead of myself, I ran a couple of pipe cleaners dipped in alcohol through the shank and airway to clean out any accumulated tars or debris. It didn’t take much work to get the internals ship-shape. I also swept out the tobacco chamber, which had a few stray bits of dottle in the bottom.

To prepare the new stem for the shank, I cut off the molded tenon and sanded the stem face flat, only to run into a pretty significant issue – the stem’s airway had been molded off-center. This threw the stem out of alignment when I mounted it to the tenon.

One step forward, two steps back, as the saying goes! Another dig through my supply of stems turned up a new candidate, this time a plain round taper stem. What the new stem may have lacked in design flare it made up for with better casting. The airway on this stem was properly centered so the stem fit very nicely after removing the precast tenon.


Having achieved a flush fit at the stem face, I began the process of smoothing and polishing the new vulcanite. Needle files and 220-grit sandpaper removed the excess material along the seams.

As already proven during this restoration, precast vulcanite stems are rarely perfect. Removing the casting marks on this stem revealed some small gaps along the seams that would need to be remedied. Sanding out the flaws would have reduced the stem diameter too much on this pipe, so instead I filled the gaps with some clear CA glue which I then sanded smooth after the glue had cured.

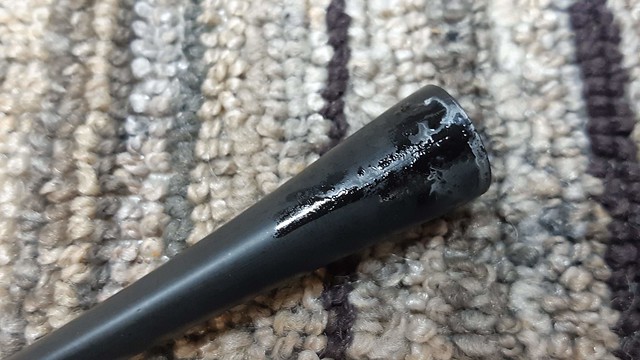

When I was happy with the stem fills, I sanded and polished the vulcanite to 2000-grit, erasing the rough sanding marks and starting to raise the shine.

I gave the stem a gentle bend by warming the vulcanite over the heat gun until pliable. A pipe cleaner kept the airway open during the bending process. When I had achieved the desired shape, I ran the stem under cold water briefly to set the new shape.

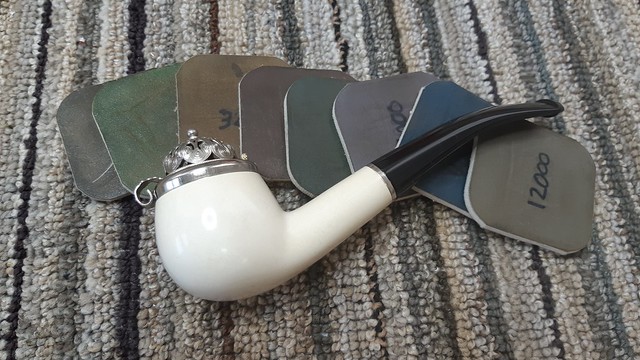
Then it was time to take care of both the handling marks on the meerschaum bowl and the remaining sanding scratches on the stem by polishing the entire pipe with micromesh sanding pads in 1500-12000 grit.
This meerschaum Author was looking pretty good at this point in the restoration. The new stem and shank cap made the pipe whole again, but before I could call the work complete I needed to wax the pipe, something that appeared not to have happened since the pipe was made.
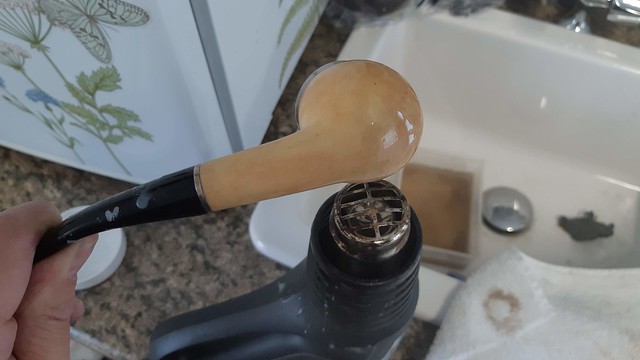
The process is simple enough – warm the meerschaum over the heat gun and mop on melted beeswax until the stummel is saturated. The results of this simple task, however, can be quite dramatic depending on how much use the pipe has had since its last waxing. The melted beeswax is readily absorbed by the warm meerschaum, where capillary action pulls the tars captured during smoking to the exterior of the stummel, giving the meerschaum its distinctive coloration. In this case, the pipe turned from a chalky white to a warm, light caramel in just a few minutes.
When the meerschaum had absorbed as much beeswax as it could hold, I set the pipe aside to cool, after which I buffed the stummel by hand with a towel. This removed the excess wax from the surface and brought up the shine.
To finish off this project, I brought the pipe to the buffer where the stem received a run on the Tripoli and White Diamond wheels followed by a few light coats of Carnauba wax to shine and protect the stem from oxidation. I also buffed the entire pipe on a clean wheel to deepen the shine.
The finished pipe is looking miles ahead of where it started. The meerschaum is clean and well on its way to developing the distinctive colour and patina that has enthralled pipe lovers for hundreds of years. The new stem fits well and provides a deep black counterpoint to the caramel meerschaum, while the wind cap and shank band give the pipe a bit of bling as well as a taste of Old World charm.
If you’ve been considering adding a traditionally-styled meerschaum pipe to your rack and rotation, this Capped Author is available on the Pipe Inventory page now.
Thanks for joining me for this estate pipe restoration project. I hope it has provided a few tools and tips to add to your own restoration kit. Until next time, Happy Piping!
Here’s the finished pipe.