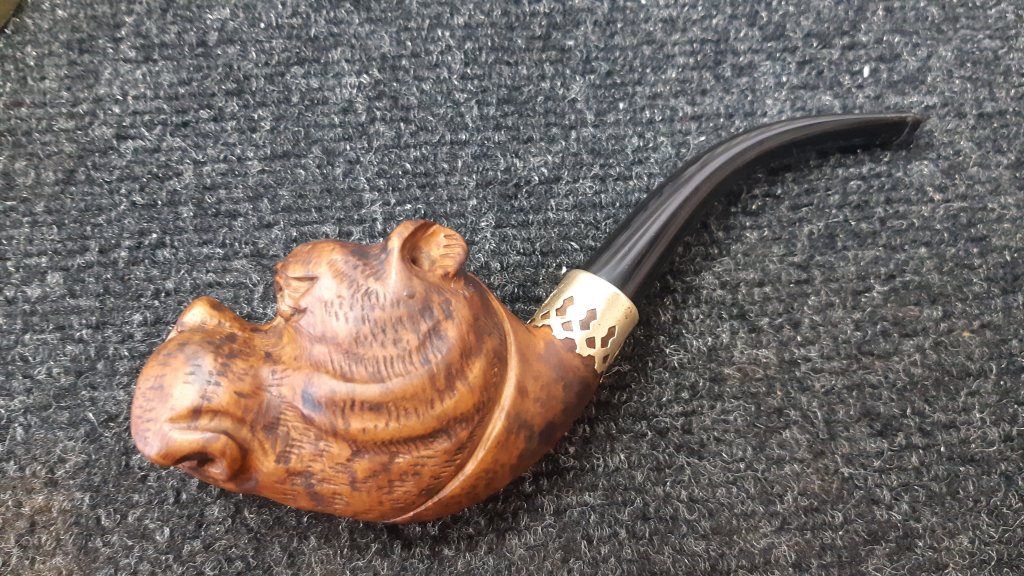
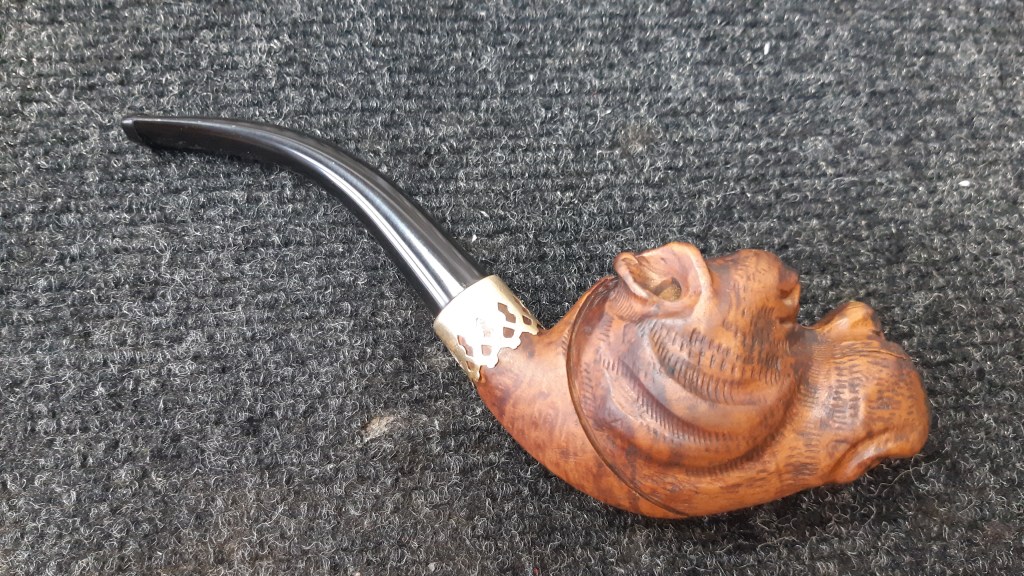
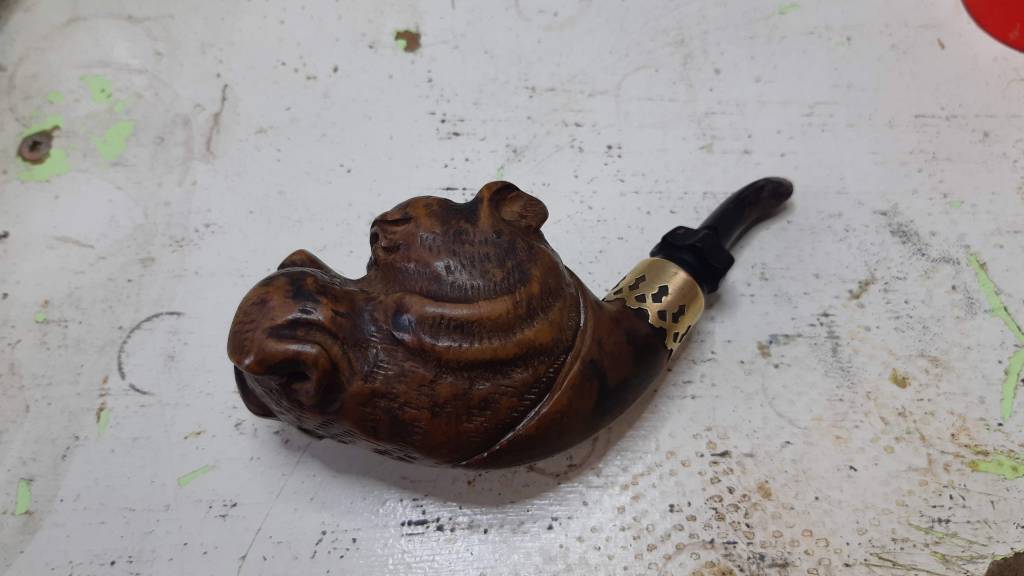
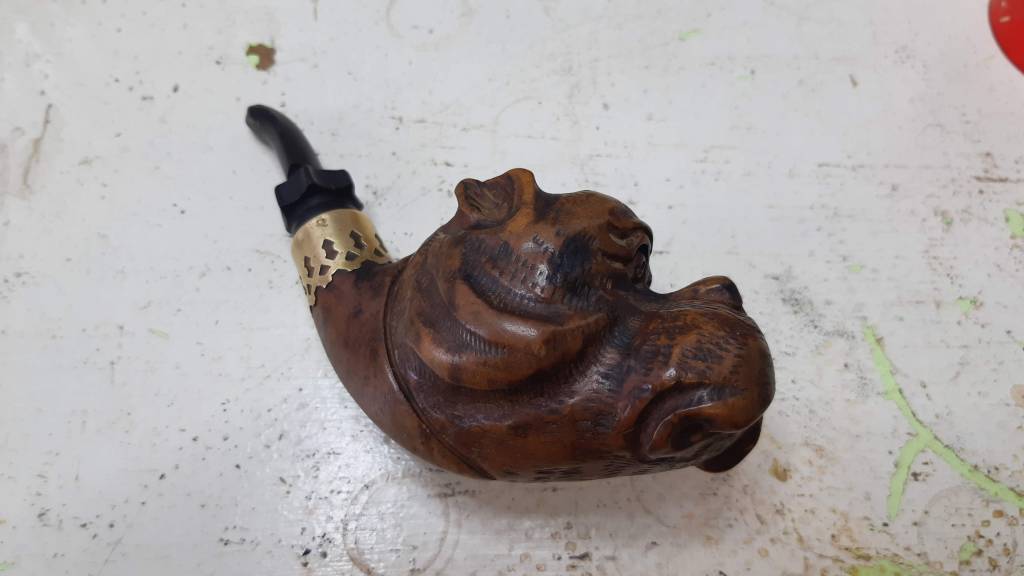
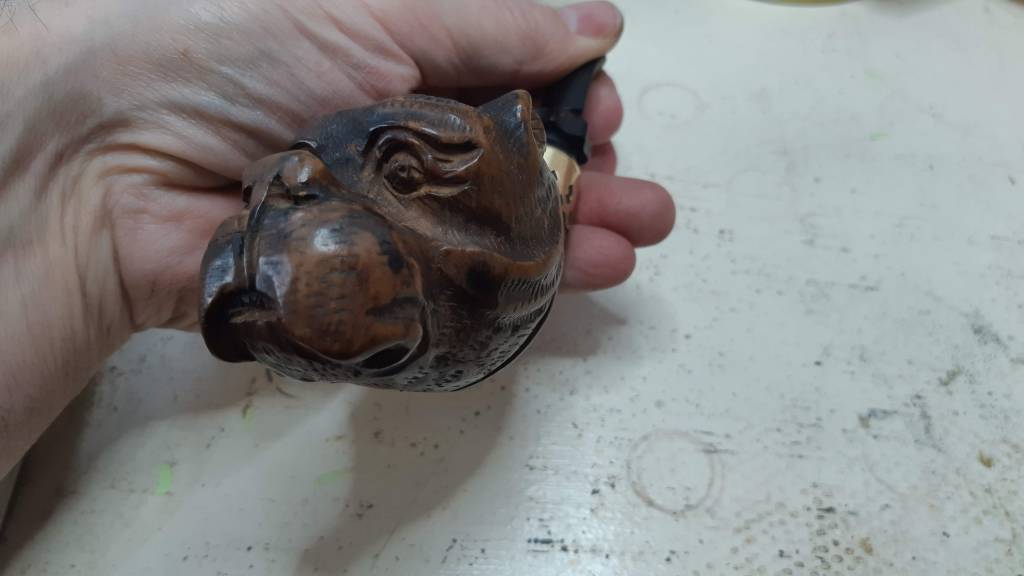
This pipe came to me in a large mixed lot of estates for repair. It is an attention-commanding fist-sized chunk of briar carved into an equally commanding bulldog figural pipe.
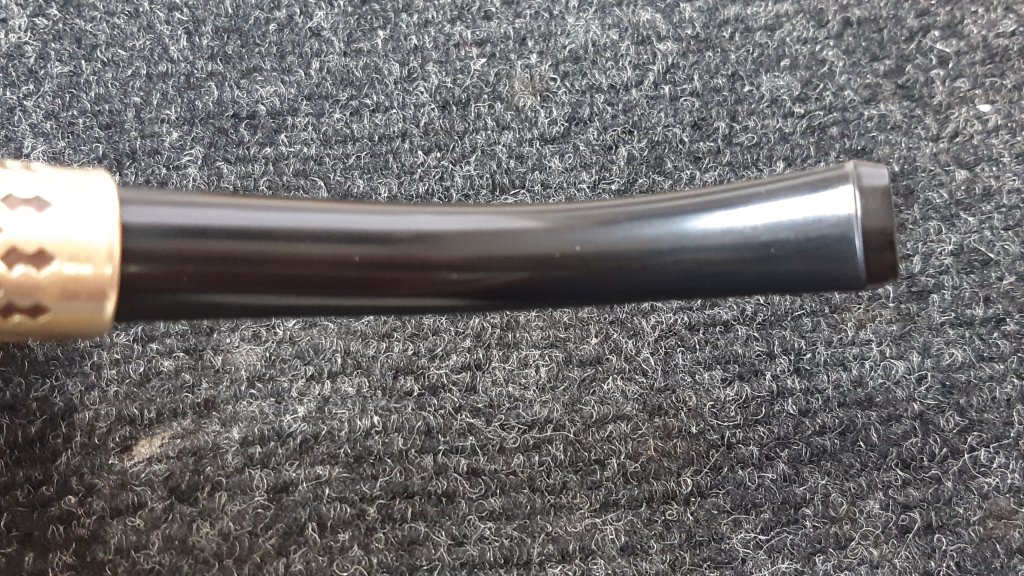
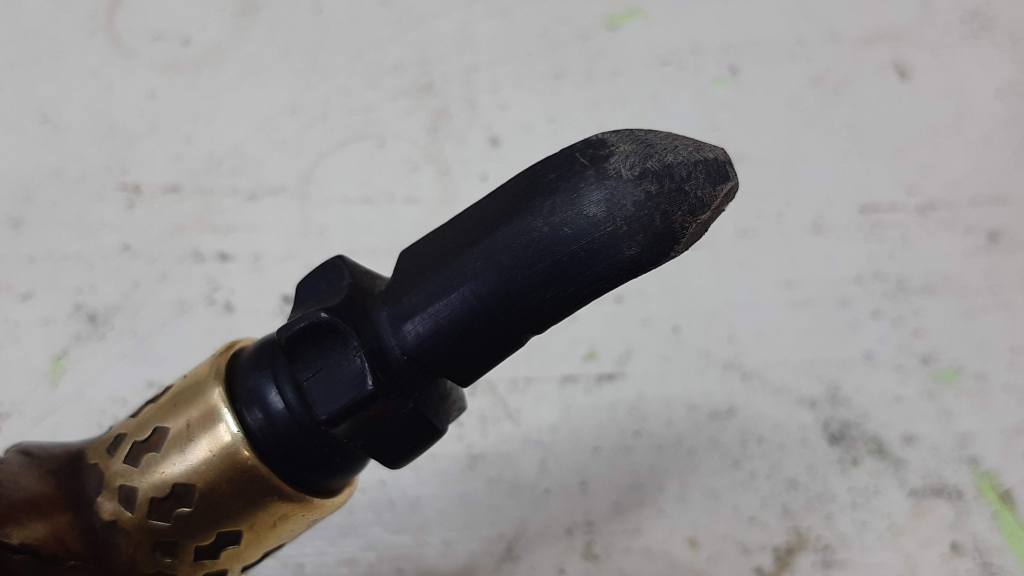
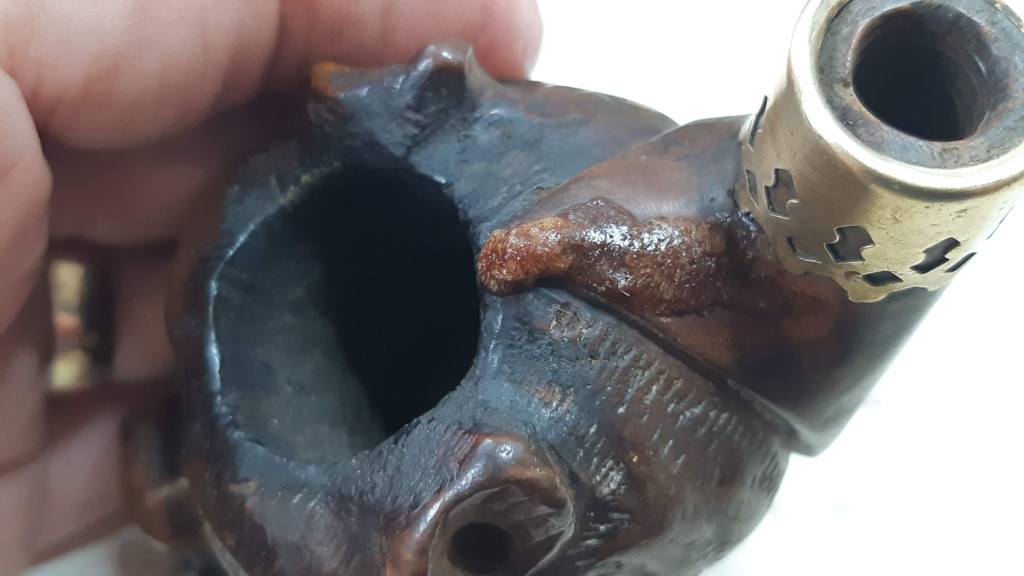
As you will see in this series of shots taken when I first brought the pipe to the worktable, the briar was in pretty good condition, though quite dirty and greasy feeling in the hand. The stem had lost much of its length and had been DIY hacked into a rather short appendage with a very roughly carved button.
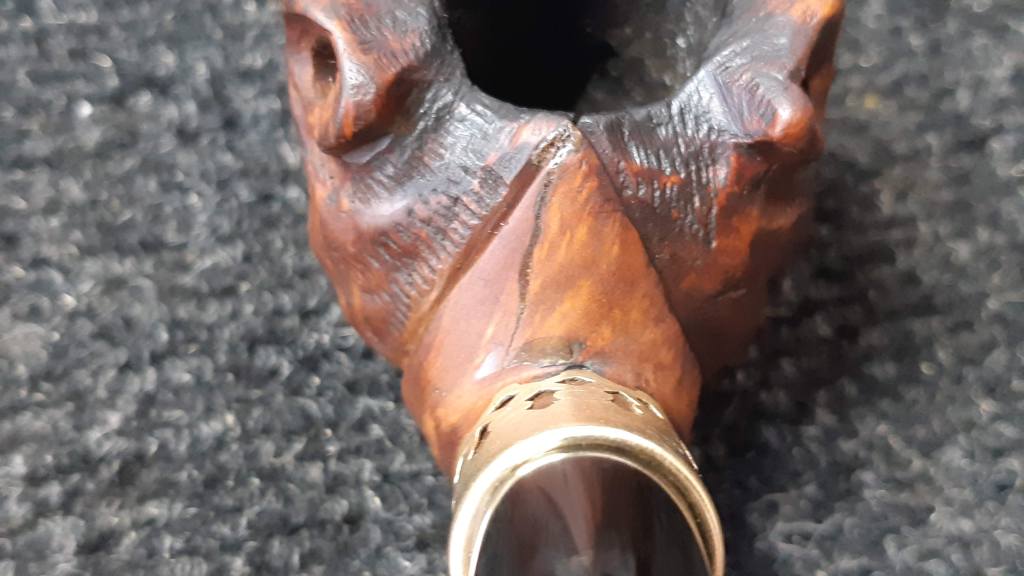
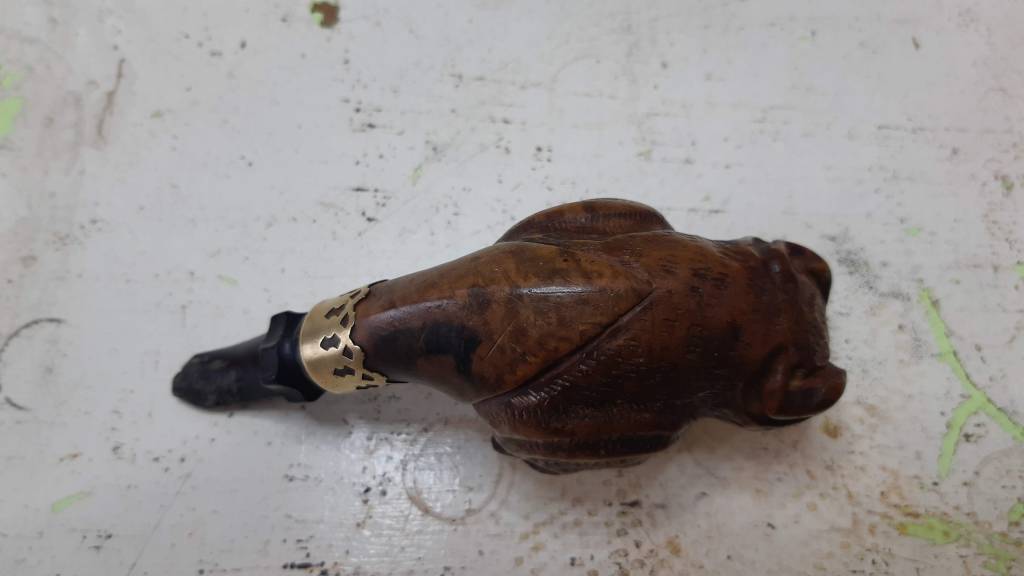
Apart from the obvious stem issues, the pipe had a long, thin crack in the briar running from the chamber’s rear edge to the front edge of the shank.
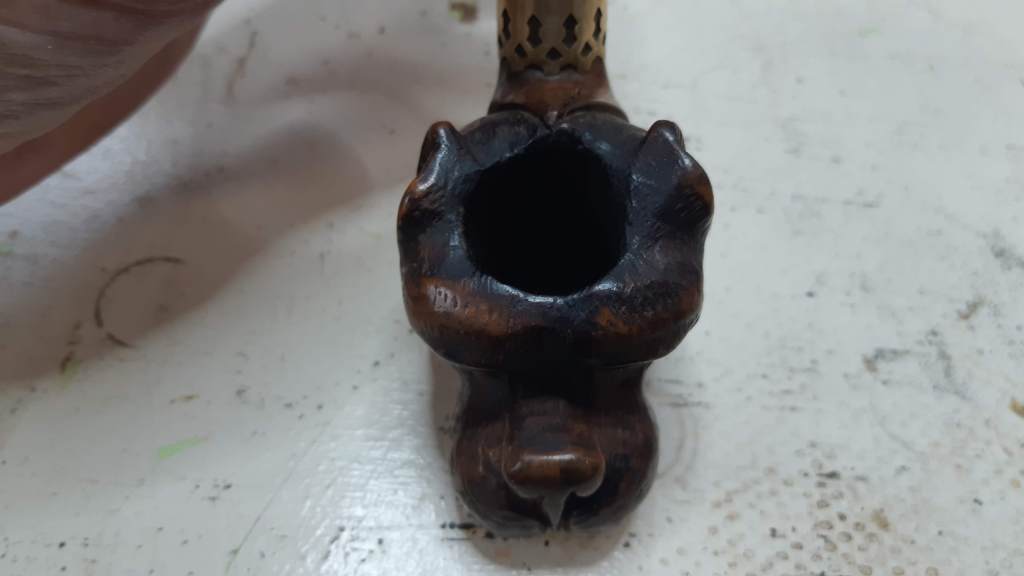


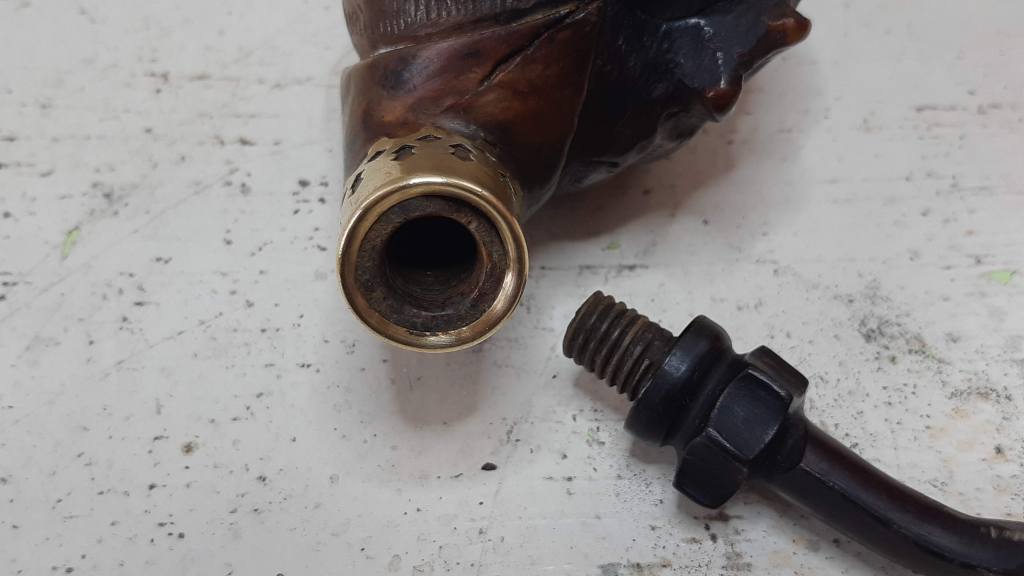
The stem was equipped with a fairly chunky threaded tenon – close to 3/8″ in diameter. This is a fairly good indication that the pipe originally had a lot more stem attached, as befits such a large stummel.
There are no markings or identifying stamps on the pipe so I have no information to share about the carver or the pipe’s age, but based on the threaded tenon and the general appearance of the pipe, I would say it has some years on it, possibly dating back to the early 1900s.
My brief on this project was fairly limited. I was to deal only with the crack and the stem, so I cleaned up the briar around the crack with isopropyl alcohol, scraped out some old putty fill with my dental pick, and refilled the crack with thick CA glue mixed with briar dust. I used the dental pick to push my patch compound into the crack as much as possible before the CA glue set.
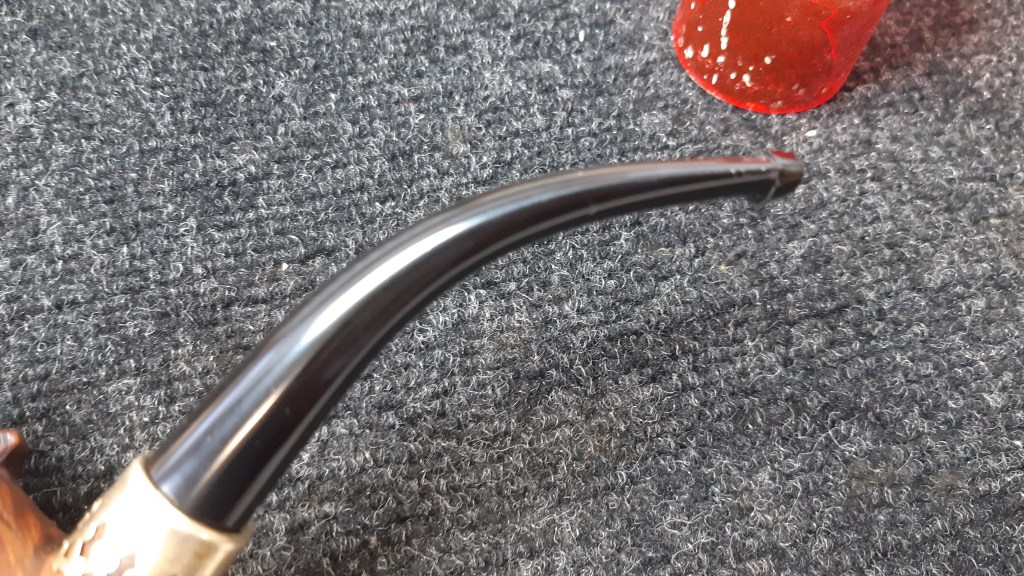
I left the patch to cure completely before removing the excess. While I waited, I dug through my stock of stems and found the largest and longest Vulcanite stem blank I had. It was slightly smaller than the shank, but the step-down would look pretty good paired with brass shank cap.
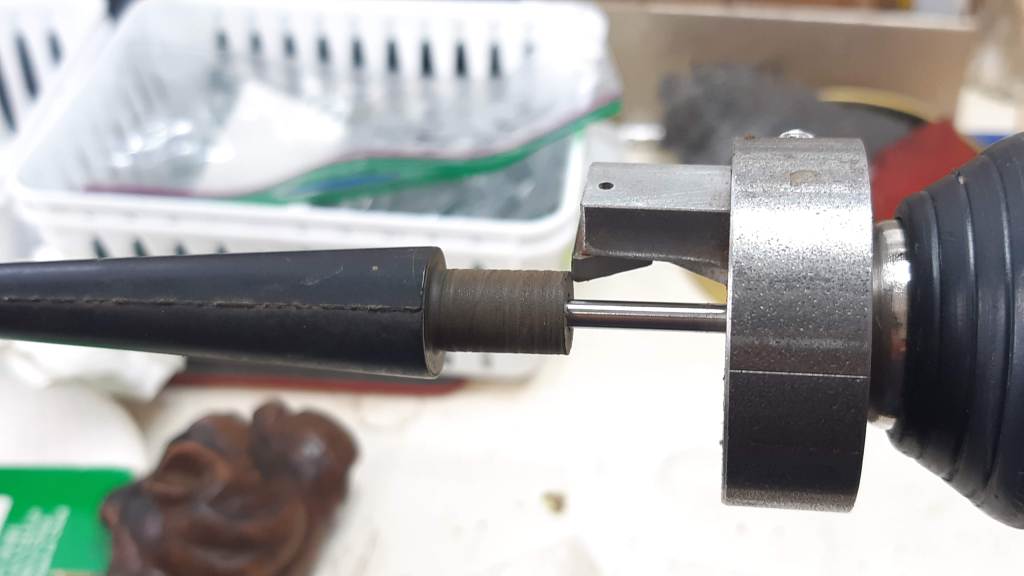
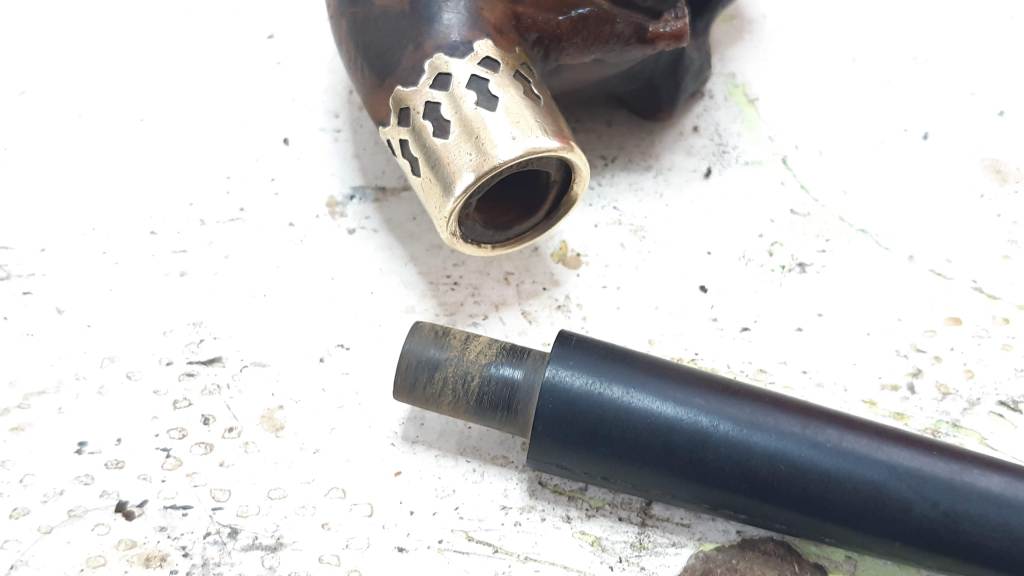
As there was lots of briar to play with and an extra-wide tenon on the stem blank, I made the decision to modify the shank mortise to accept a push tenon. After carefully drilling out the threads to create a smooth mortise, I used my tenon-turning tool to cut the stem tenon down to slightly oversized. A few minutes with some sandpaper adjusted the final tenon diameter for a good snug fit.
The stem blank needed to be filed and sanded to remove the molding marks. I started with a flat file then progressed through 220, 320 and 400-grit sandpapers before pausing to bend the stem before completing the polishing. I like to bend new stems at this early point as I have found that some stems have a tendency to ripple slightly during the bending process. It’s a lot easier to sand out these tiny ripples at the 400-grit stage than at 2000-grit or higher.

This was also the point in the repair process that I went back to the crack repair and very carefully filed away the excess fill. It was a bit tricky to file the domed top of the dog’s head without nicking his protruding ears, but I eventually got there.
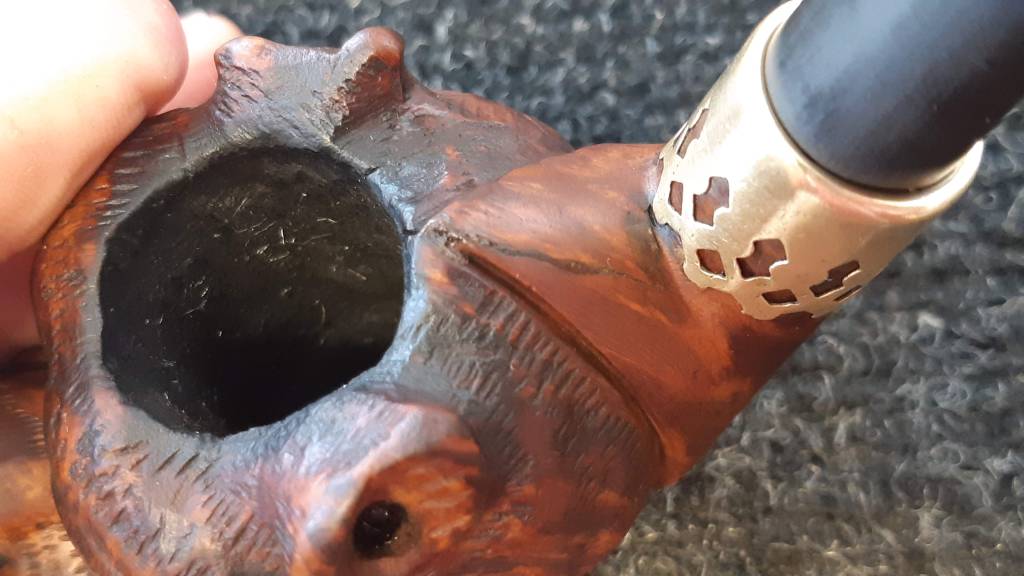
With the structural work complete, I tidied up the repair by sanding and polishing the briar to 2000-grit. I then stepped slightly outside my brief on this one to clean the stummel’s exterior with Murphy’s Oil Soap, scrubbing with a toothbrush to lift the dirt and grime from the crevices. Cleaning the briar really helped when it was time to touch up the finish around the repaired crack. A few minutes with a stain pen did the trick.
I then went back to the stem, wet-sanding the Vulcanite to 2000-grit before taking it to the buffer where the Red Tripoli wheel removed the last traces of sanding marks, and a run of White Diamond compound brought up the shine. I followed up with several light coats of Carnauba wax.
Due to the brief on this one, the finished pipe still shows some areas that could use a bit of tidying up, but overall it looks a lot better than when I started. The crack repair, though still visible, is solid and the new stem looks good too. Arguably, it could have been a little bit longer, but as ordering new parts has become almost impossible during the COVID pandemic, I’m happy with the results using the supplies on hand.
This pipe has been returned to its owner along with the rest of the repair lot.
Thanks for following along on this estate pipe repair. I hope you found it interesting. Until next time, Happy Piping!
Here’s the finished pipe.