The Coronavirus pandemic is keeping most of us in self-isolation, and I am no exception. While I am missing my usual wanders through antique shops, I have a fairly full box of estate pipes to work on while holed up.
This Brigham 354 is one such pipe, acquired as part of a larger eBay lot. In the Brigham Shape Chart I have identified Shape 54 as a 1/4 Bent Large Pot. I like the overall lines of this shape. Something about the angle at which the bowl and shank meet gives the pipe a “chin-forward”and somewhat cocky look, almost like it is particularly proud of itself.
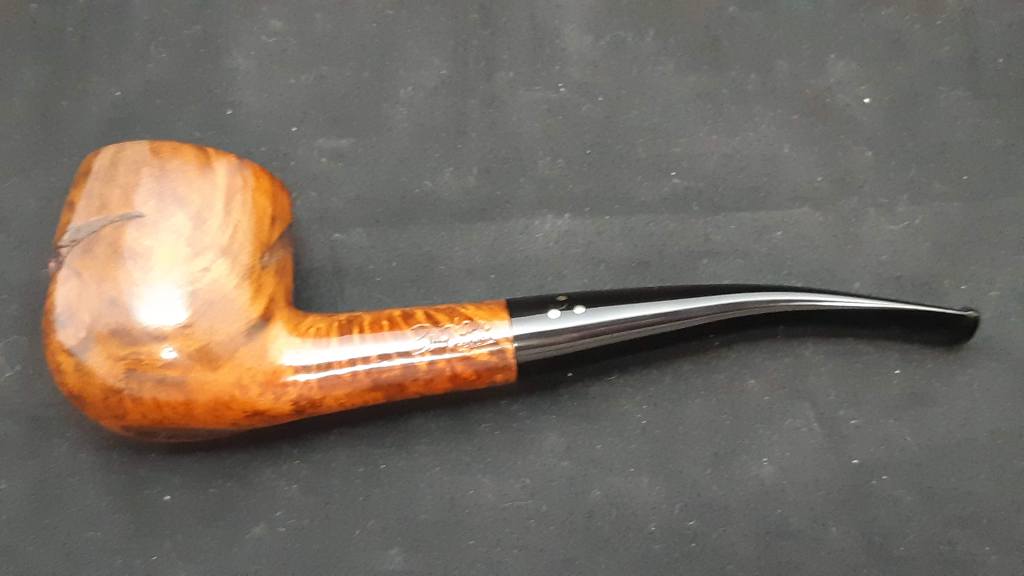
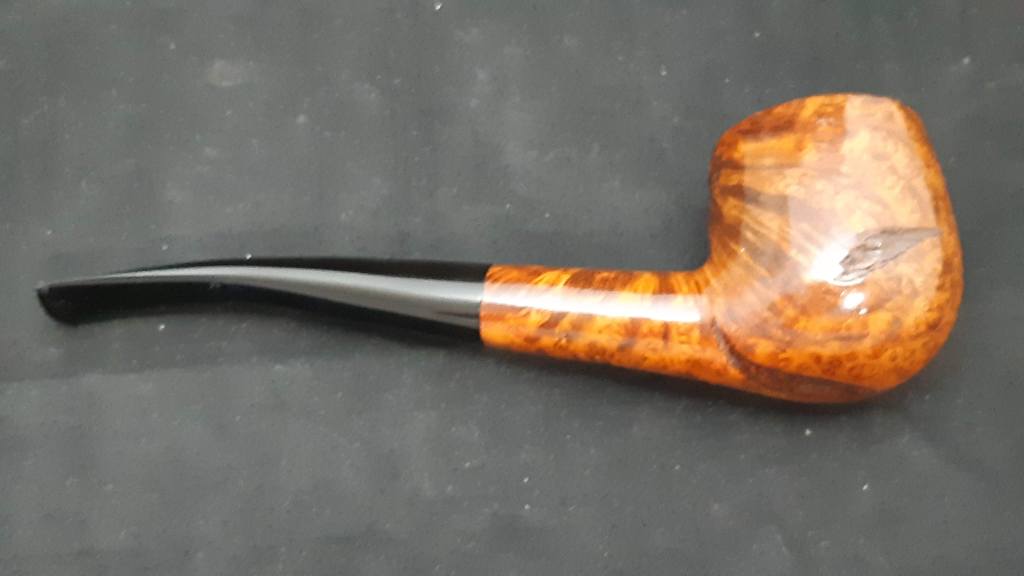
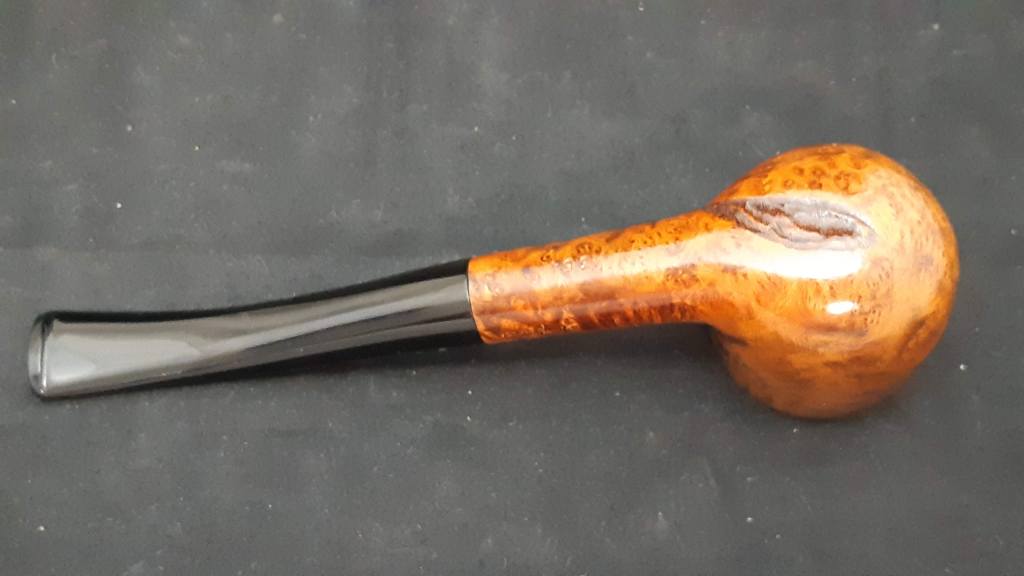
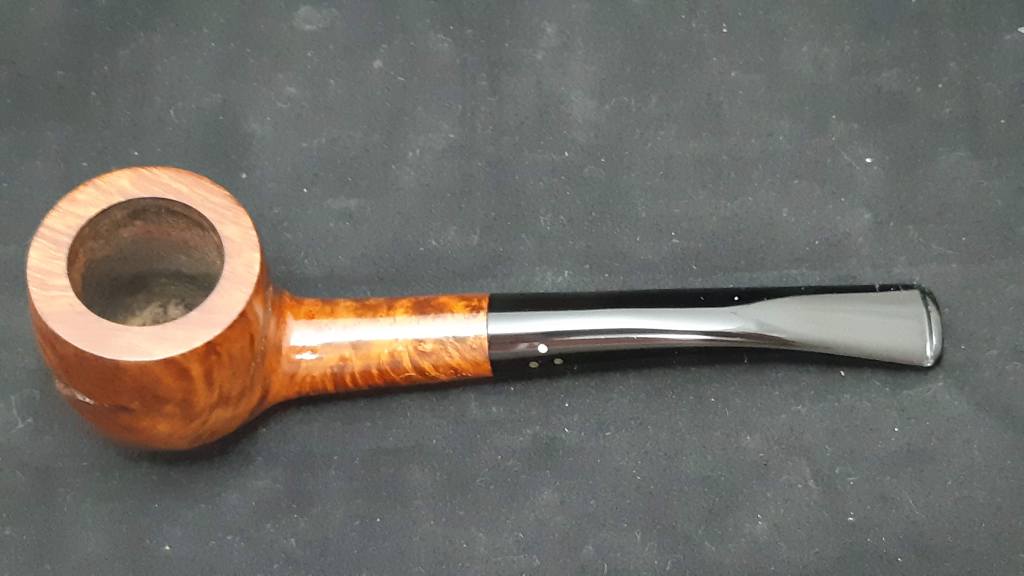
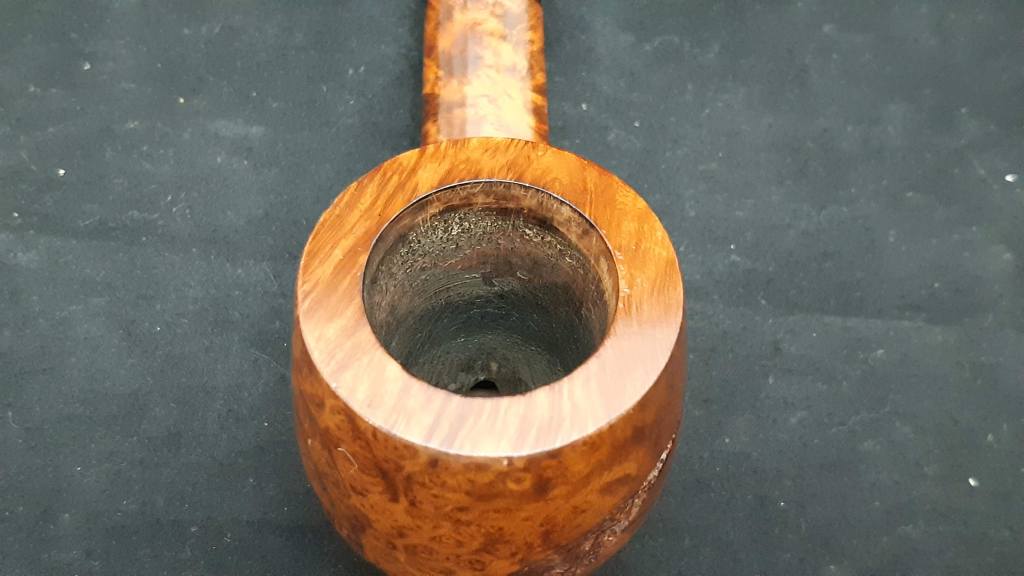
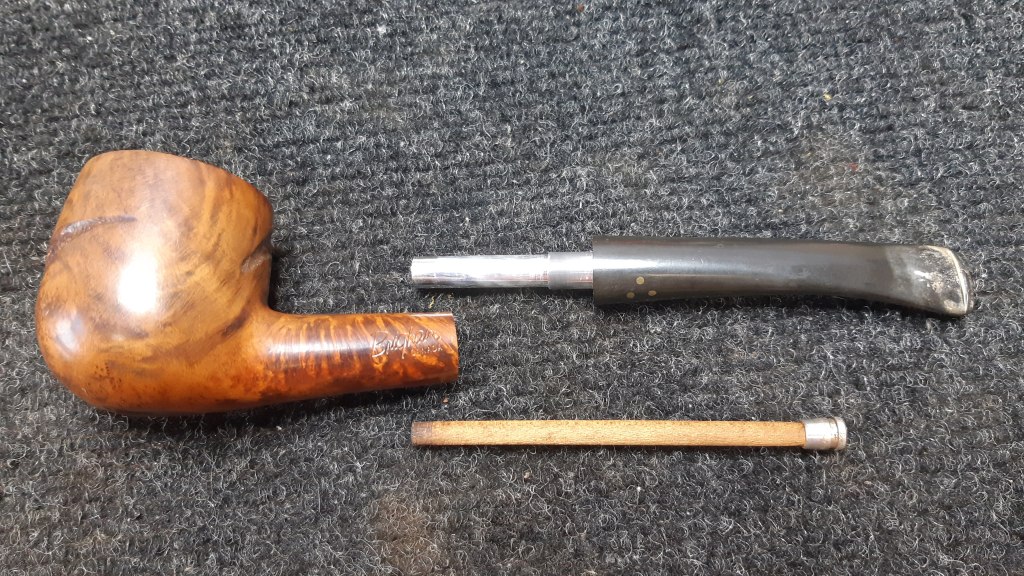
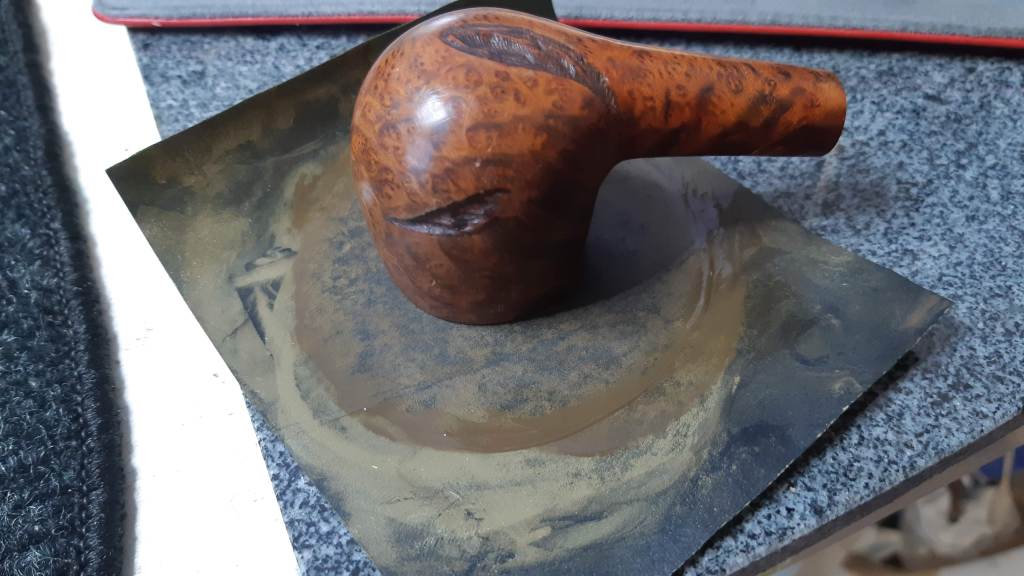
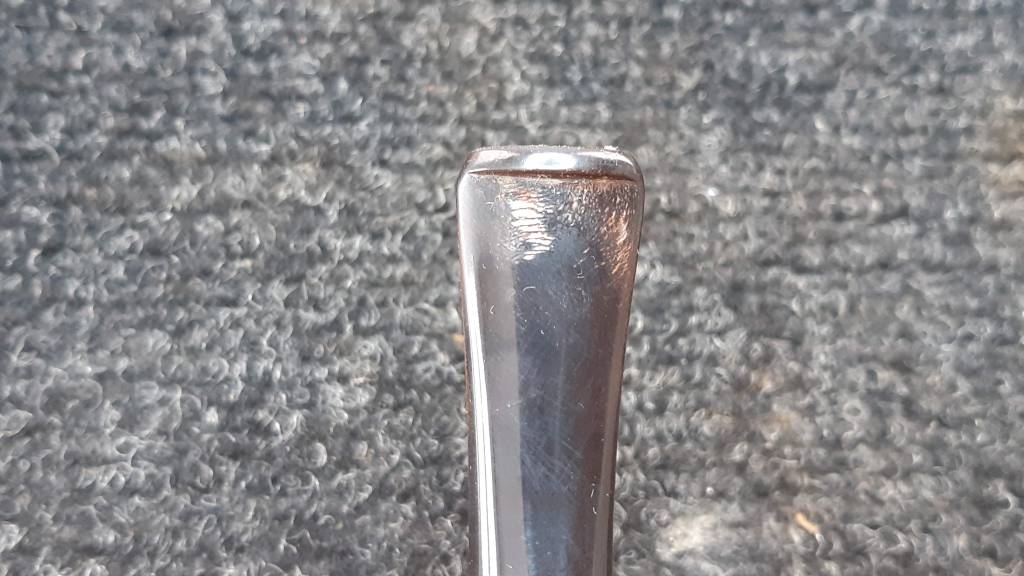
This 354 was in pretty good estate condition when I brought it to the worktable, as demonstrated in this series of pictures.
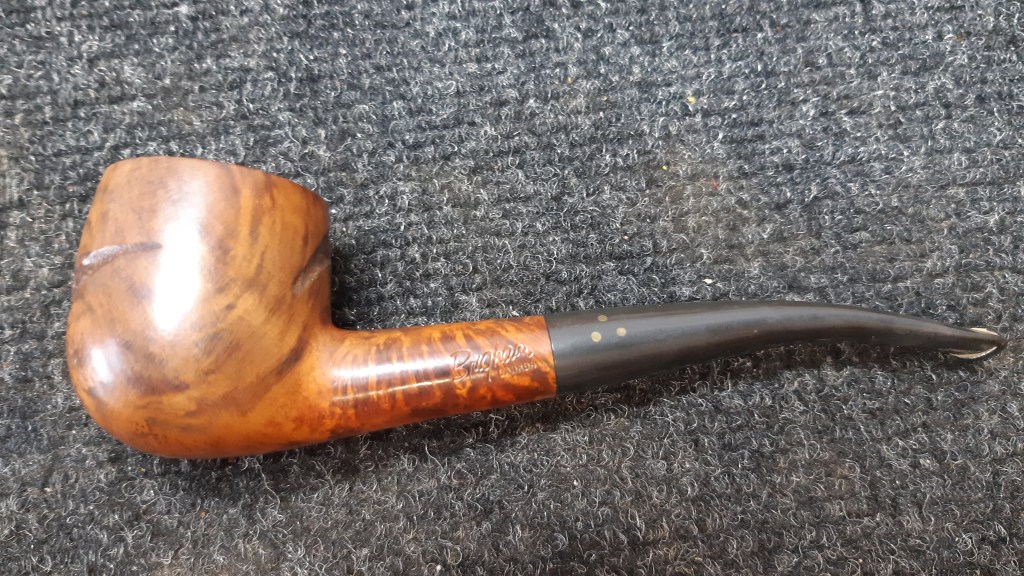
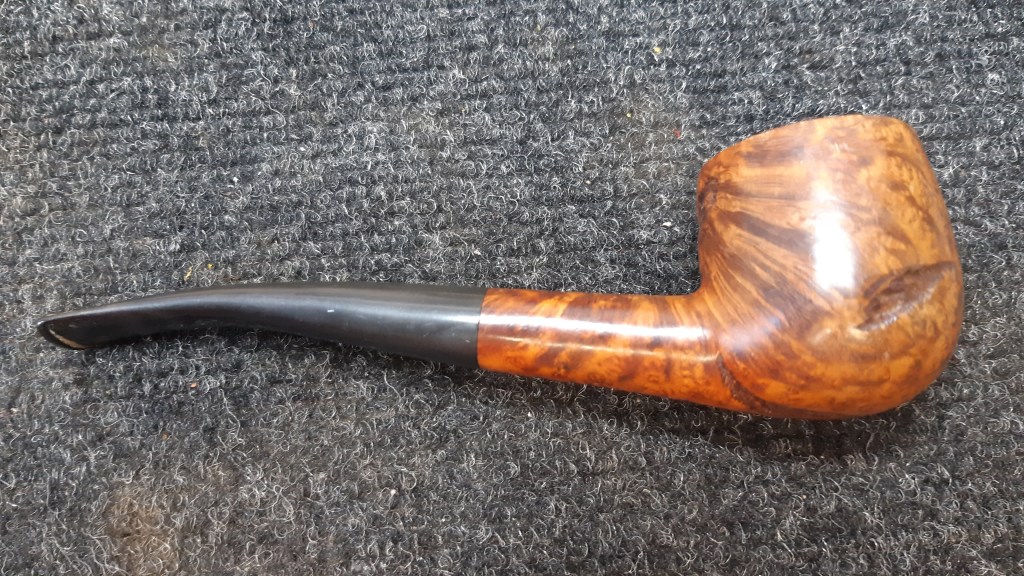
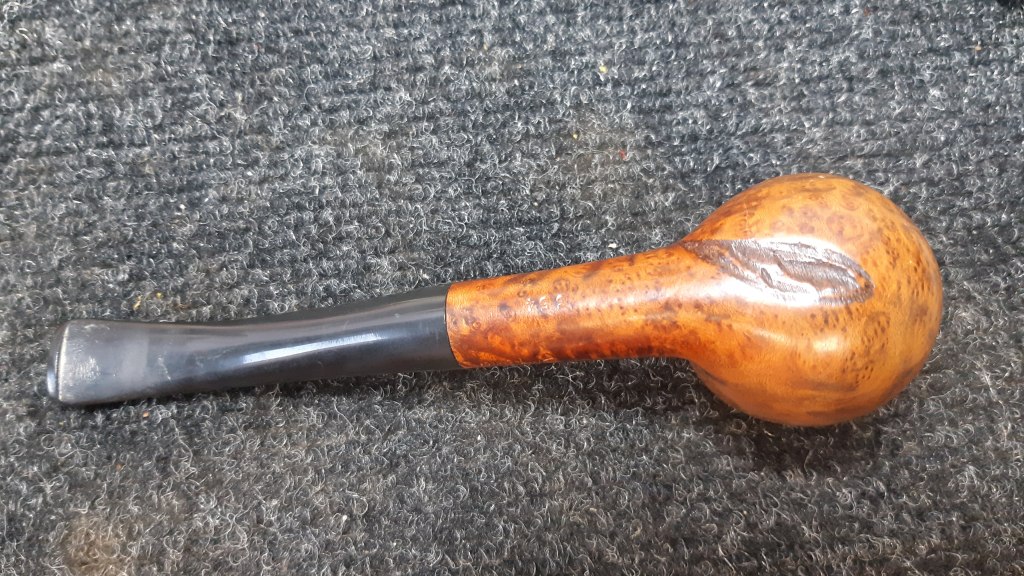

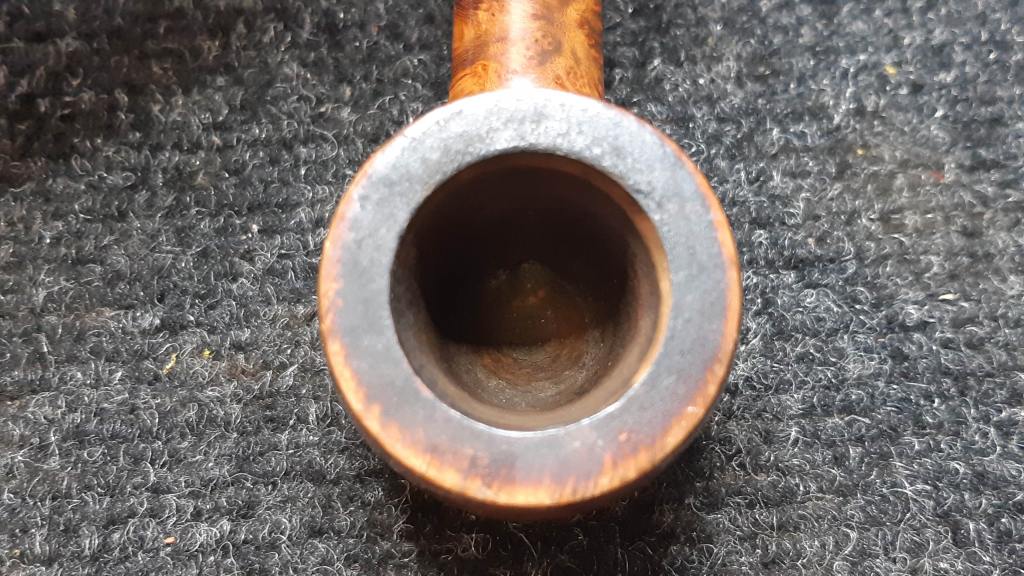

As you can see, the pipe had a light layer of tarry “lava” on the flat rim, and a few light tooth dents near the stem button, but the finish was still shiny under a light coat of dust.
One of the first things that jumped out at me after this initial assessment was the really interesting grain in this piece of briar, a swirling, swooping mixture of tiger striping, birds-eye and cross-grain that, to my eye, was enhanced by several flaws-turned-accents by the skilled hand of a Brigham carver.
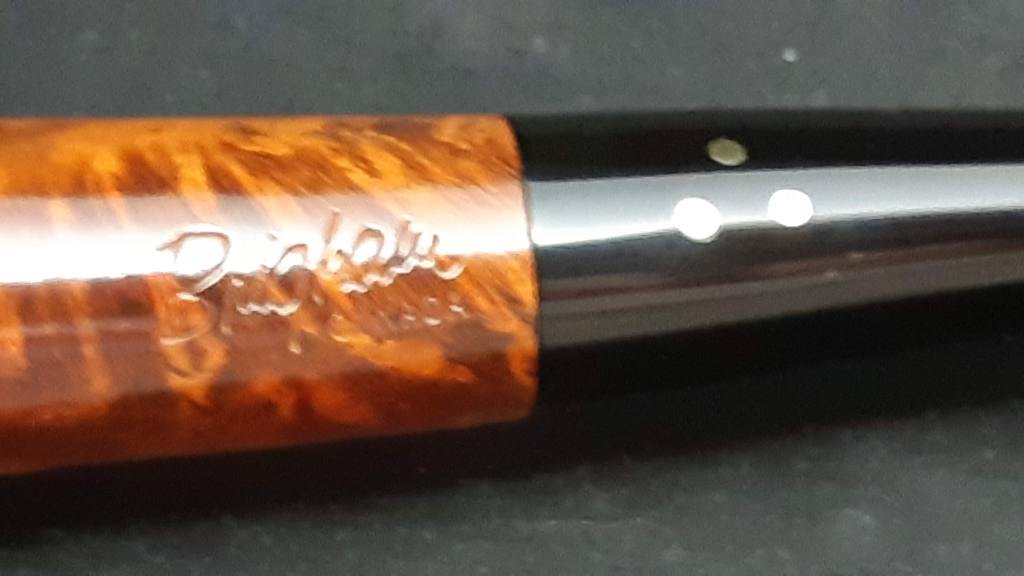
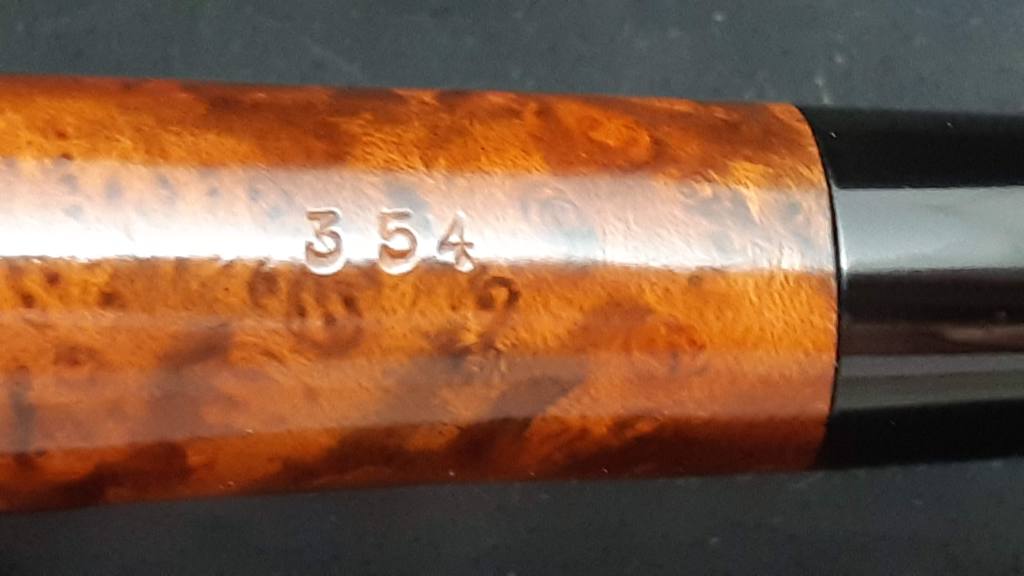
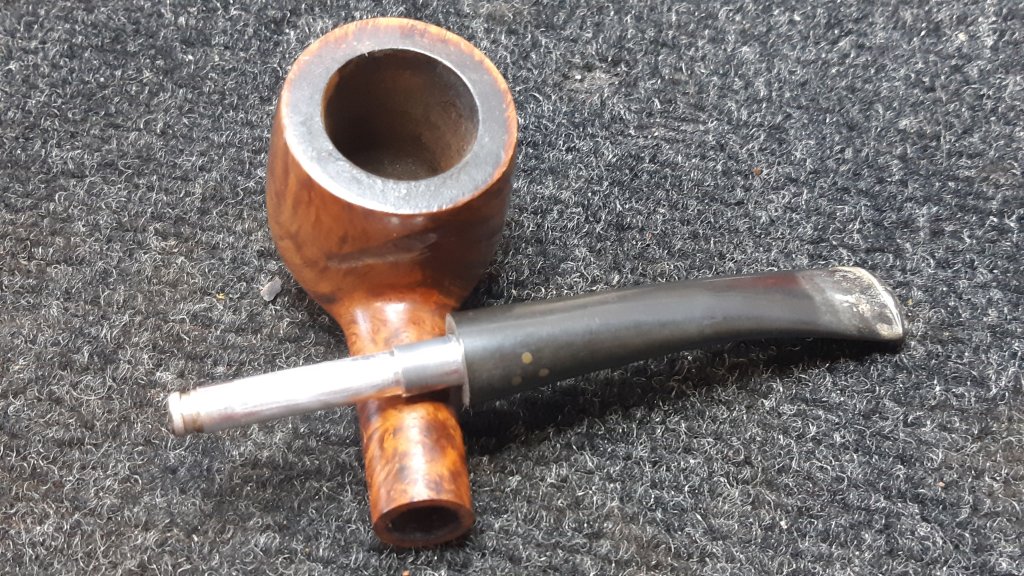
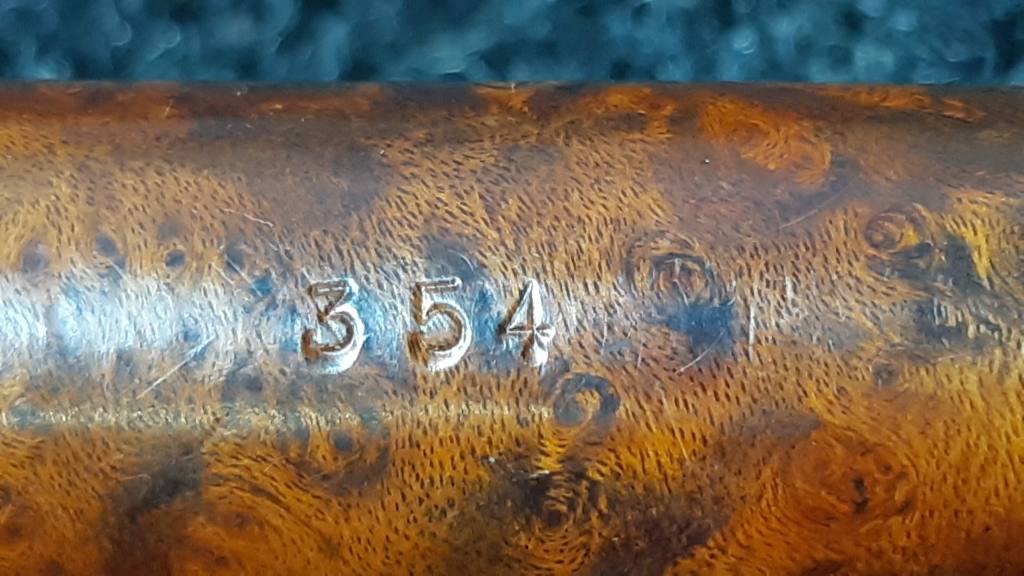
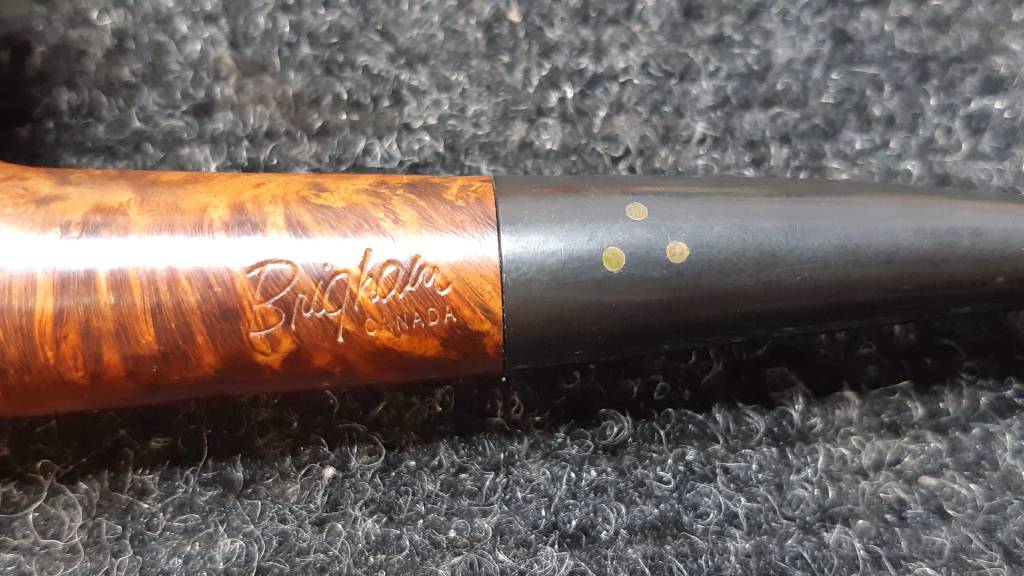
The pipe is stamped “Brigham” over “Canada” on the left shank, which dates this pipe roughly to sometime in the 1980s, and “354” on the shank’s underside. The original stem is inset with three brass pins, or Dots.

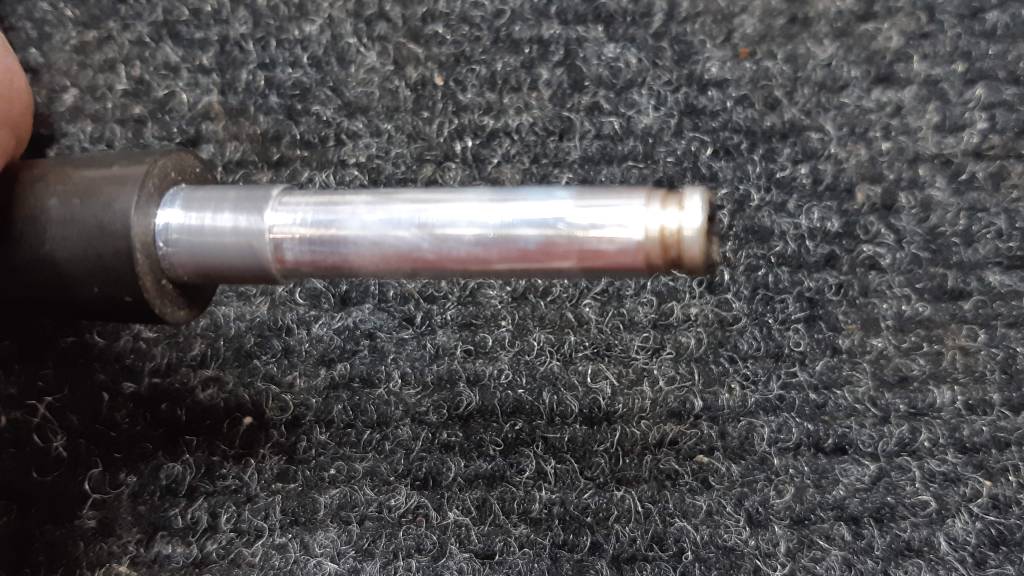
I did find one thing that personally I find irritating – an old, dirty Rock Maple Distillator had been left in the pipe after its last smoke. Besides the ick factor here, a wet, tarry filter can cause the aluminum tenon/filter holder in these vintage Brigham pipes to corrode over time – a tricky and expensive repair should the corrosion get out of hand. In this case I was lucky. The old filter hadn’t created any issues other than a dirty airway.
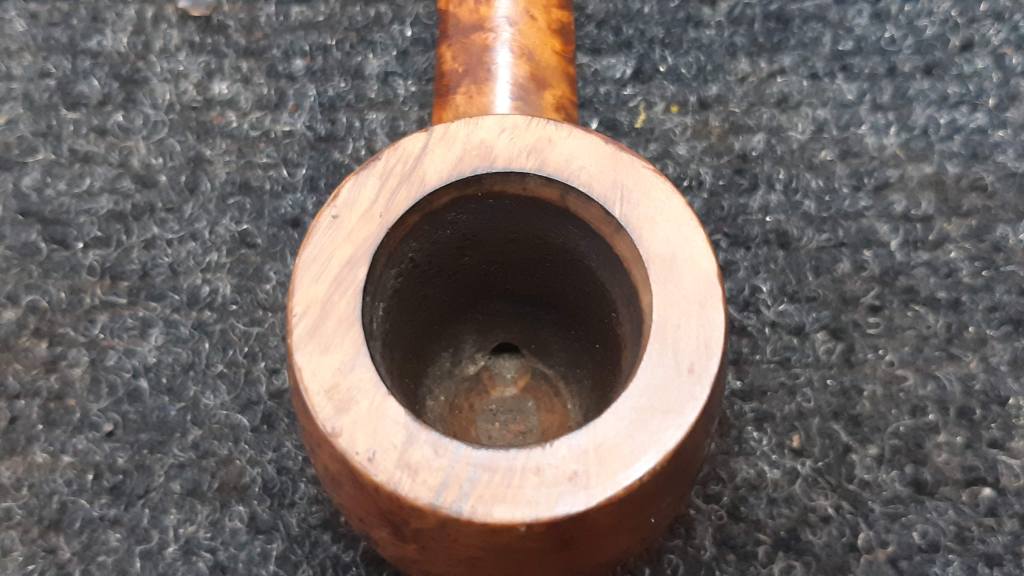
I started the restoration work by sanding out the light cake from the chamber with sandpaper wrapped around a dowel. Underneath the cake layer the briar was in great condition so I moved on to the rim. A light topping on 1000-grit wet sandpaper removed the sticky film while also taking care of a few random handling marks.
I used a few pipe cleaners and cotton swabs dipped in 99% isopropyl alcohol to remove the tars and other dirt from the shank and airway. The pipe was surprisingly clean – it looks like the original piper took good care of this one. Just to be sure I had removed all of the gunk from the stummel’s internals, I packed bowl and shank with cotton balls and added alcohol to the bowl until it began to saturate the cotton poking out of the shank. I left it to sit overnight for a deep internal cleanse.
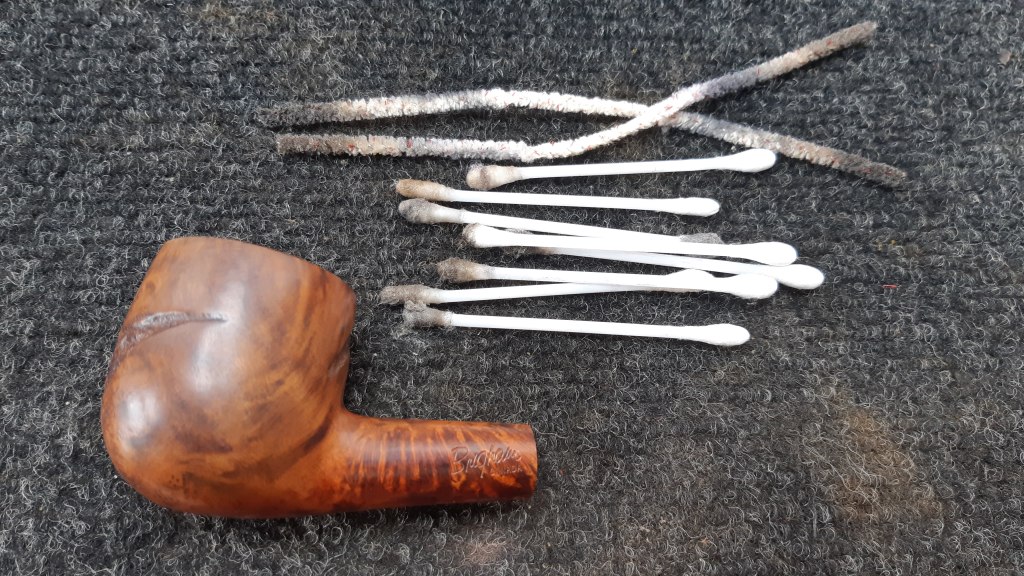

While the stummel sat, I turned my attention to the stem. I ran a couple of pipe cleaners dipped in alcohol through the airway but found the stem’s internals nearly pristine despite having had an old filter left in place for who knows how long.

With the housekeeping duties out of the way, I could move on and address the exterior of the stem. I passed on my usual Oxyclean soak as the stem had only a very light amount of surface oxidation. I knew that would be taken care of as I worked to smooth out the tooth chatter and a few deeper dents.
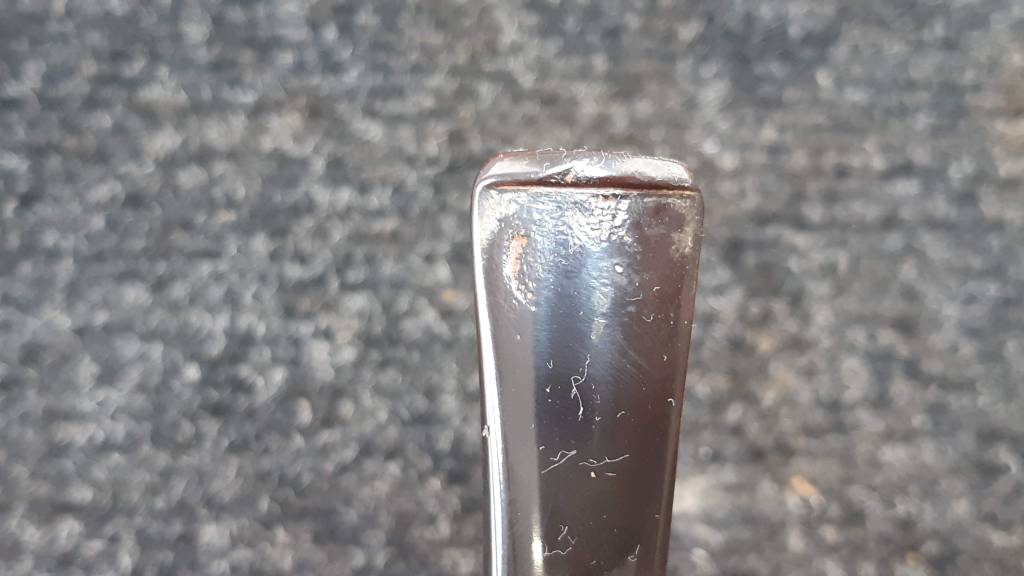
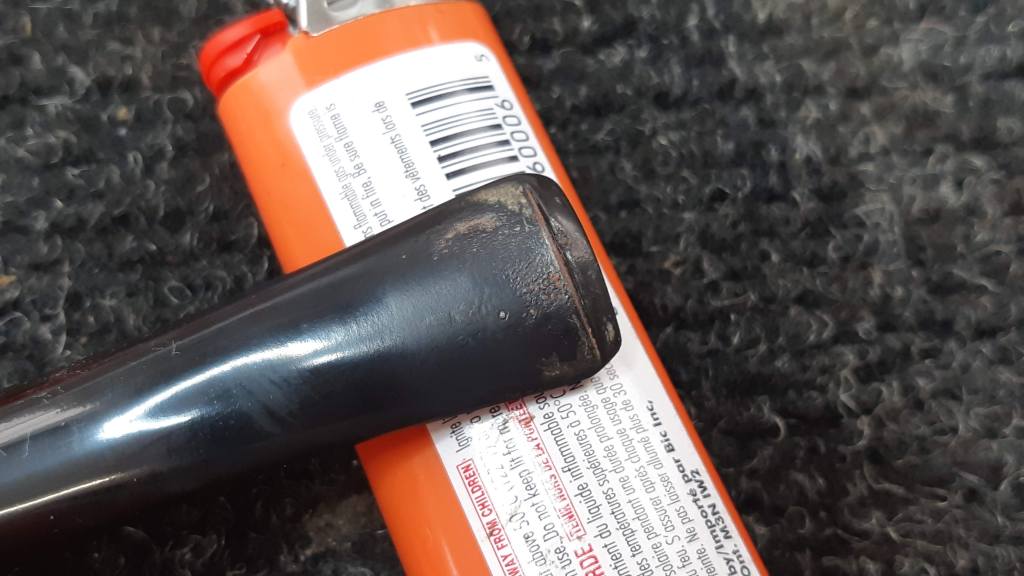
The process here is fairly straightforward. I began by applying heat from a lighter flame to tempt the vulcanite to “remember” its original shape. Sometimes this works beautifully and other times it seems to have little effect on stem dents, but it’s always worth a shot as when it works the amount of filling and sanding required is greatly reduced.
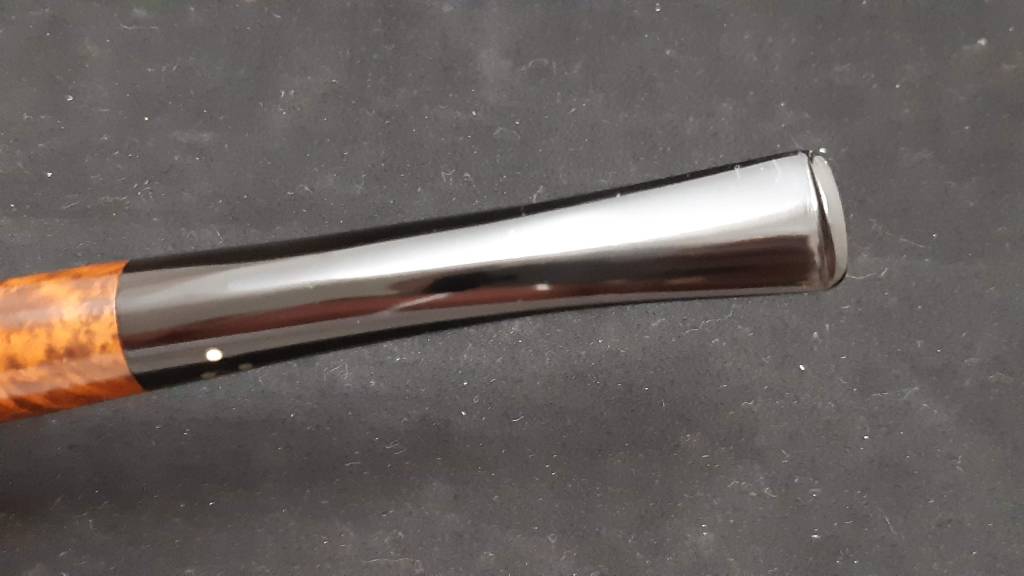
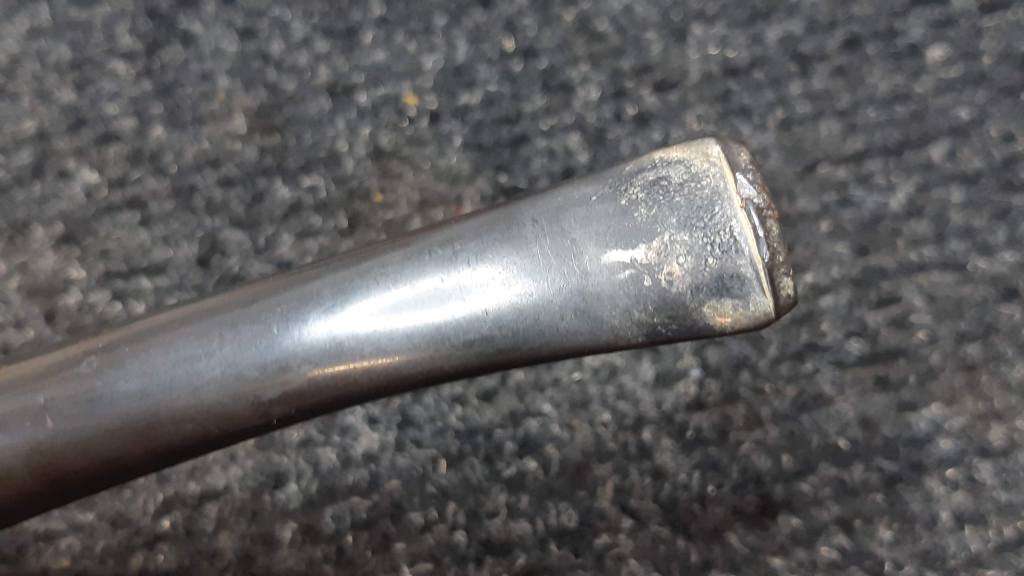
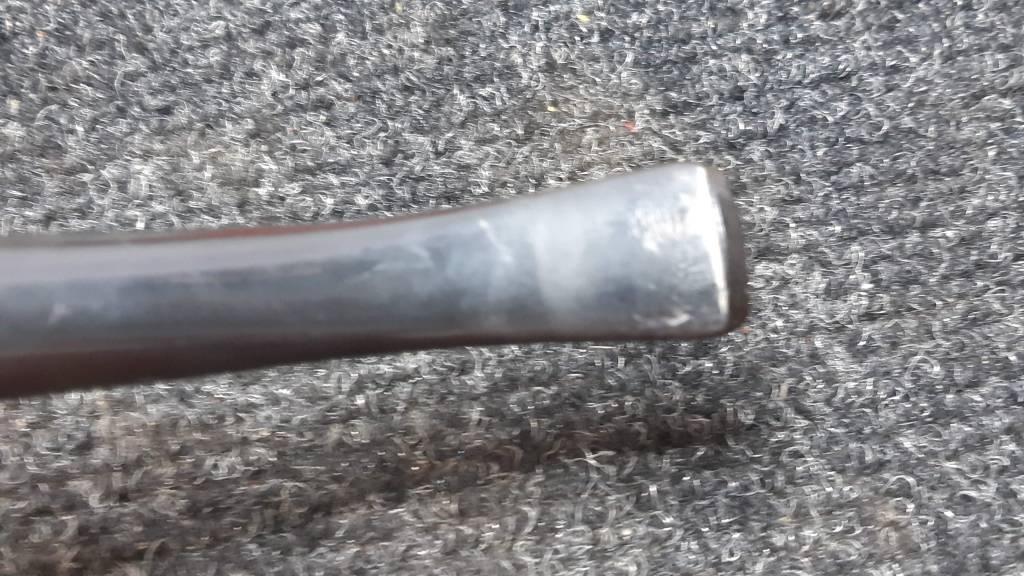
These pics show the stem as it was on arrival, and again after applying heat. You can see that the tooth dent in the top button raised up nicely, though other dents were not so cooperative.
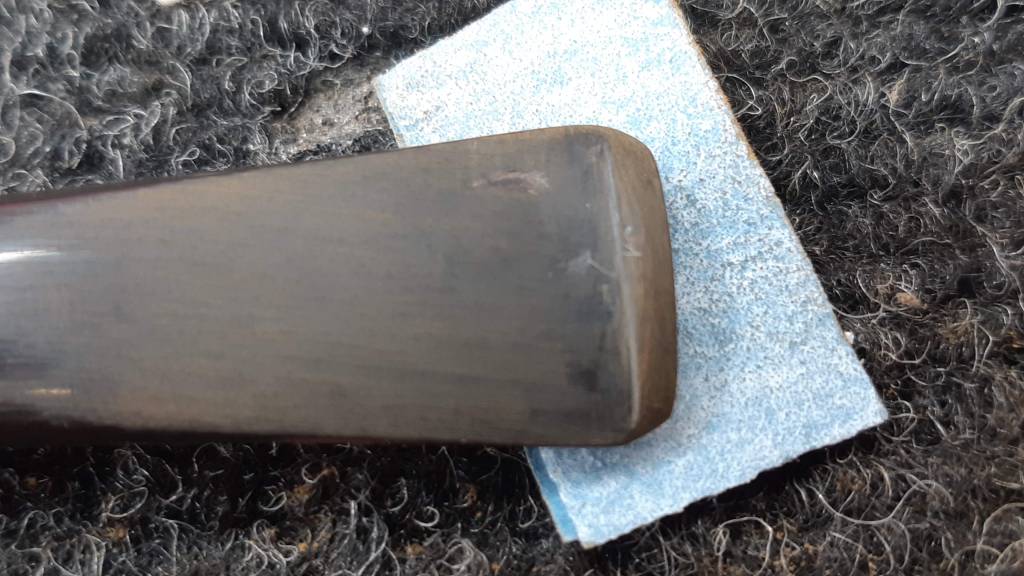
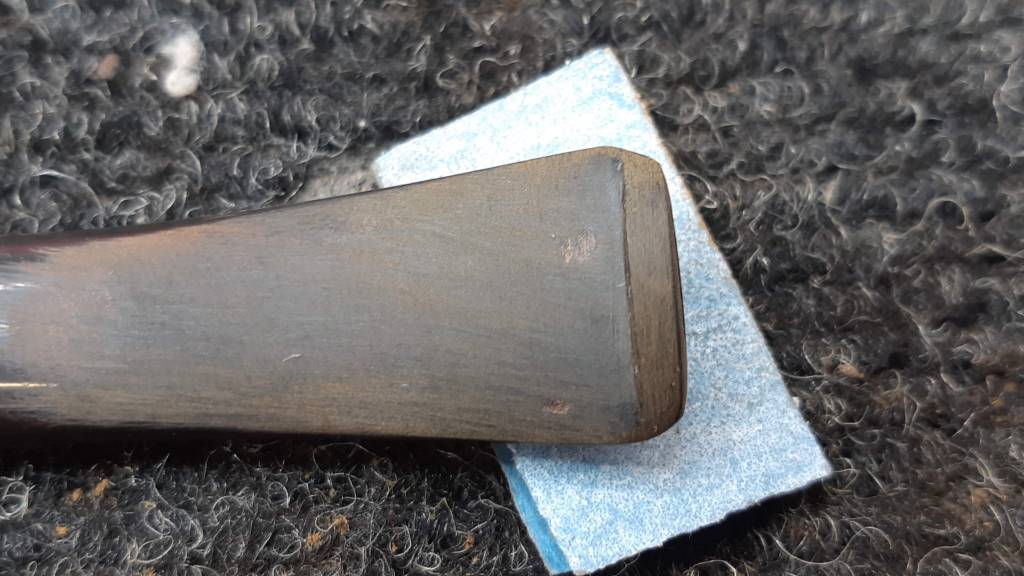
A light sanding with 220-grit paper smoothed out the tooth chatter and revealed the areas of deeper dents that would need to be filled.
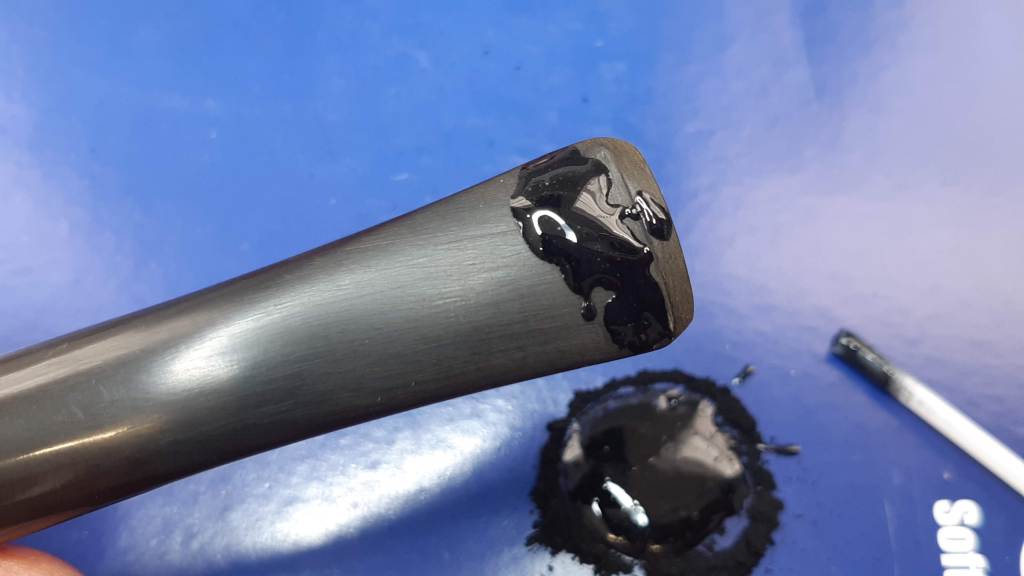
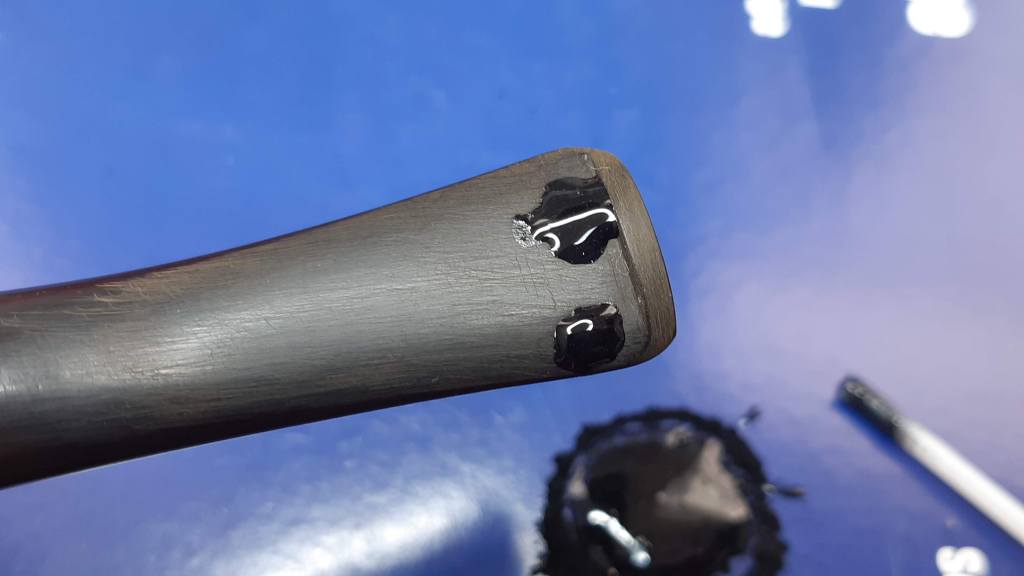
I stirred up a roughly 50:50 mix of thick CA glue and activated charcoal powder and applied it to the dents, adding enough to fill the depressions and flow over the surface of the stem a bit. I set the stem aside to let the patches cure overnight.
The next day, I came back to the stem and used a variety of files and sandpapers to level the fills and blend them into the surrounding vulcanite. Sanding to 320 or 400-grit is enough to show up any imperfections, and there are usually a few that need retouching before proceeding to higher grits of abrasive. Eventually, though, I sanded and polished the stem to 2000-grit, then reassembled the pipe and took it to the buffer.
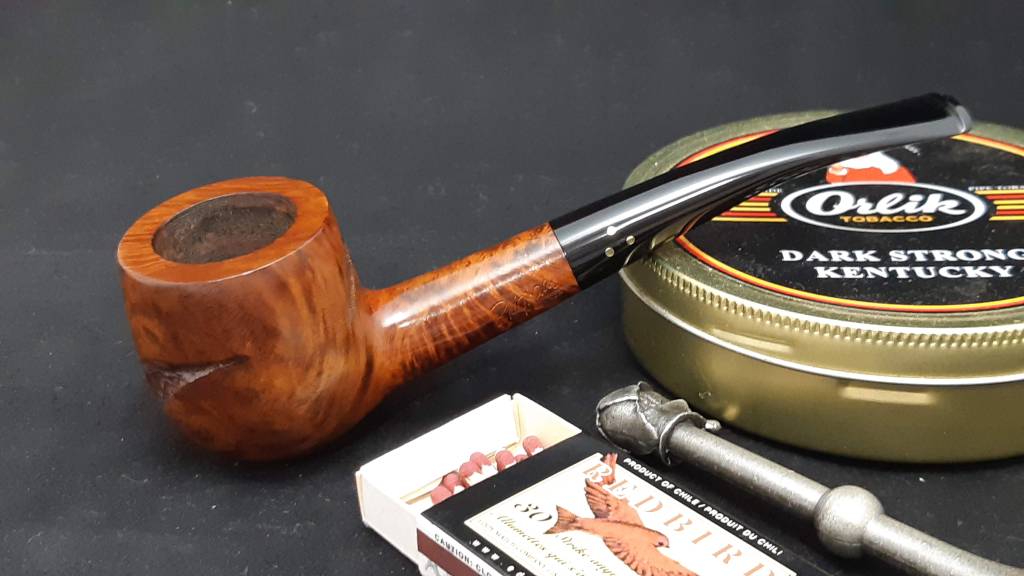
I buffed the stem with Red Tripoli to remove any stray sanding scratches and then gave the entire pipe a run on the White Diamond wheel to bring up the shine. A few light coats of Carnauba wax deepened the gloss and really made the grain and brass Dots pop.
The finished pipe is, in my opinion, a real stunner. The mix of grain and the artistic incorporation of the briar’s natural occlusions is rather captivating, especially now as the pipe looks nearly new after its time on the bench.
As much as I love the grain on this pipe, I already have a Shape 54 in my collection, so this 1980s Brigham 354 is available, ready and waiting for a new steward. If you’d like to add it to your own rack and rotation, it is available on the Pipe Inventory page now.
Thanks for joining me for another estate pipe restoration. I hope you enjoyed the journey. until next time, Happy Piping!
Here’s the finished pipe.