
I received an email from a regular DadsPipes reader a few weeks ago asking for help. A favourite pipe had been dropped and the tenon snapped off at the shank. Ouch! As anyone who has been a pipe smoker long enough will tell you, this sort of accidental damage is fairly common but always heartbreaking when it happens to you.
Of course I agreed to help and in due course the pipe arrived in the workshop, despite a Canada Post error that saw the package sit at the local post office for a few weeks before anyone bothered to notify me. But that’s another story!
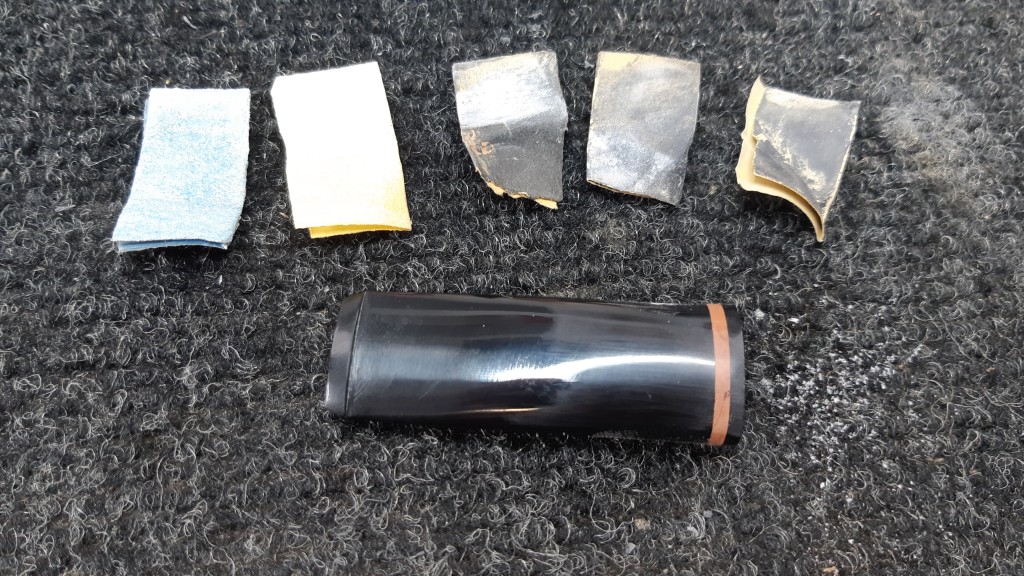
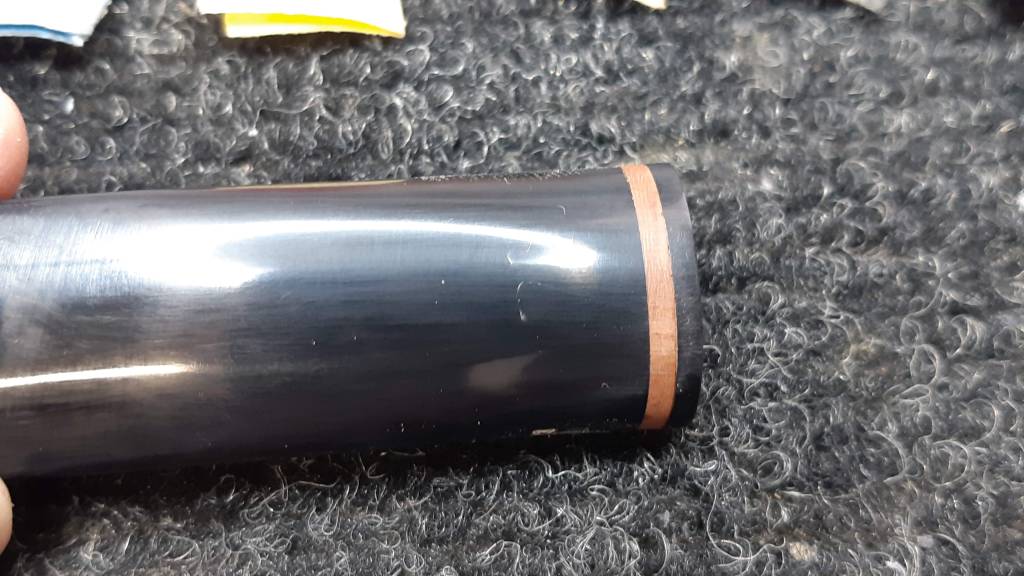
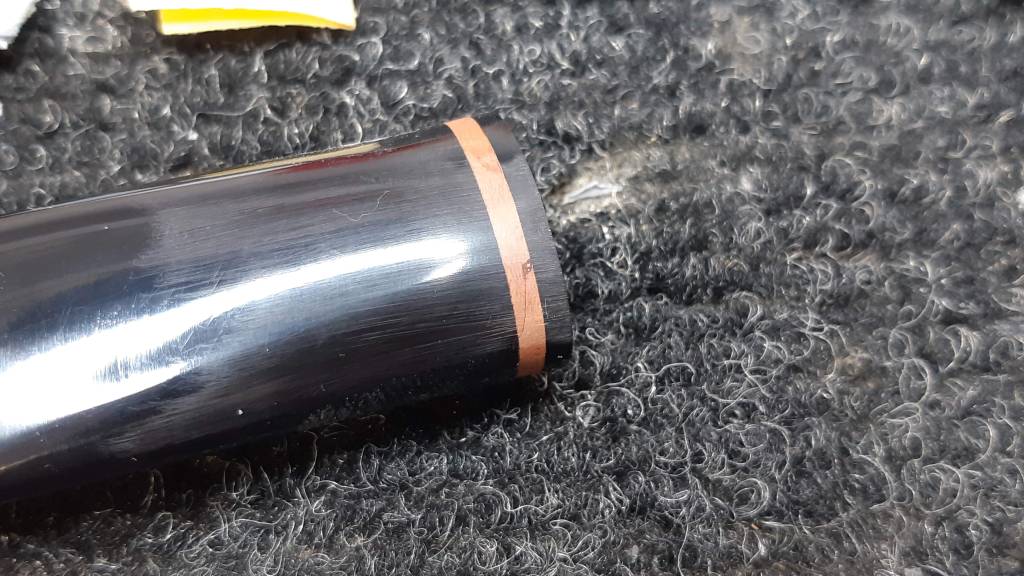
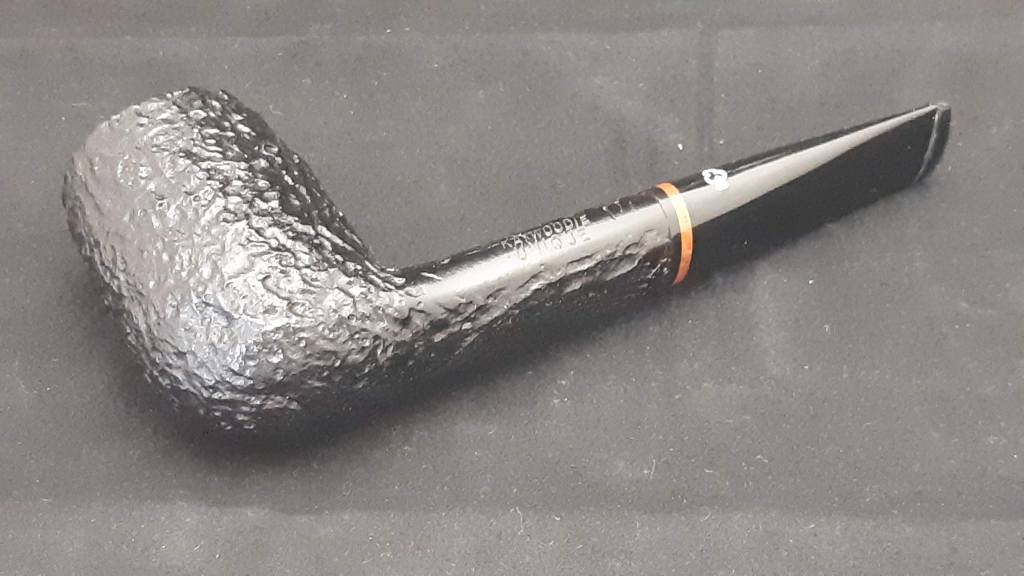
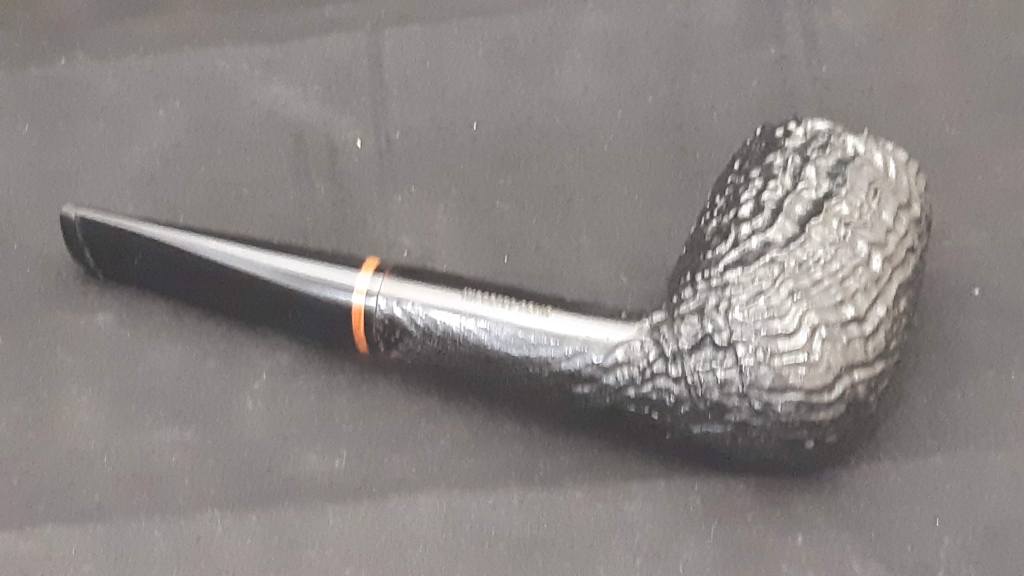
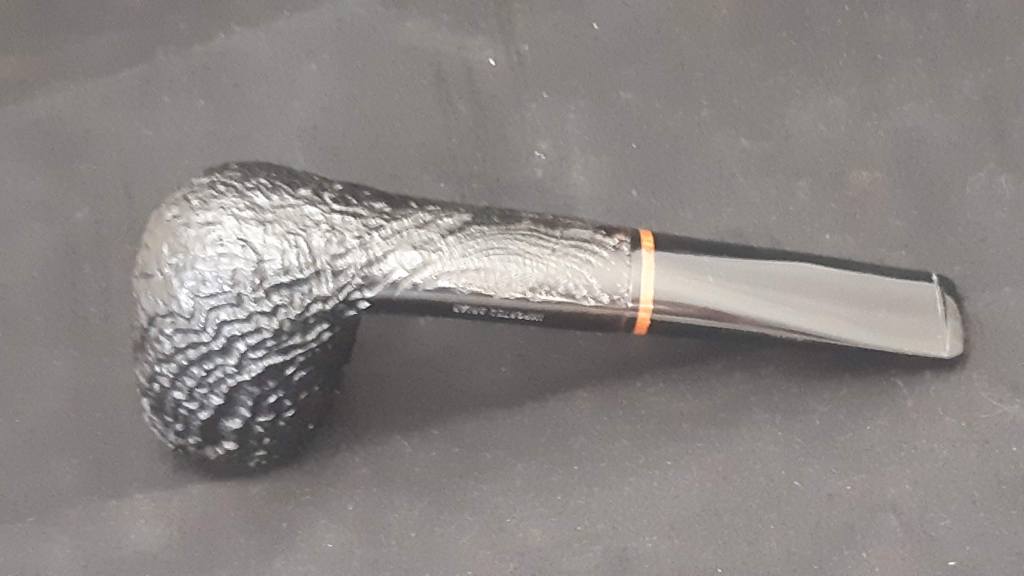
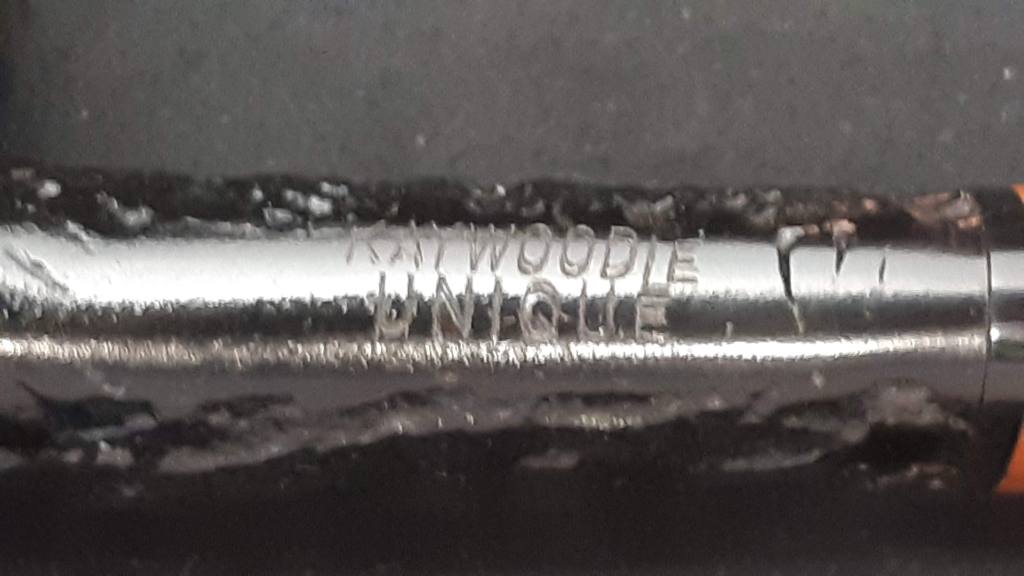
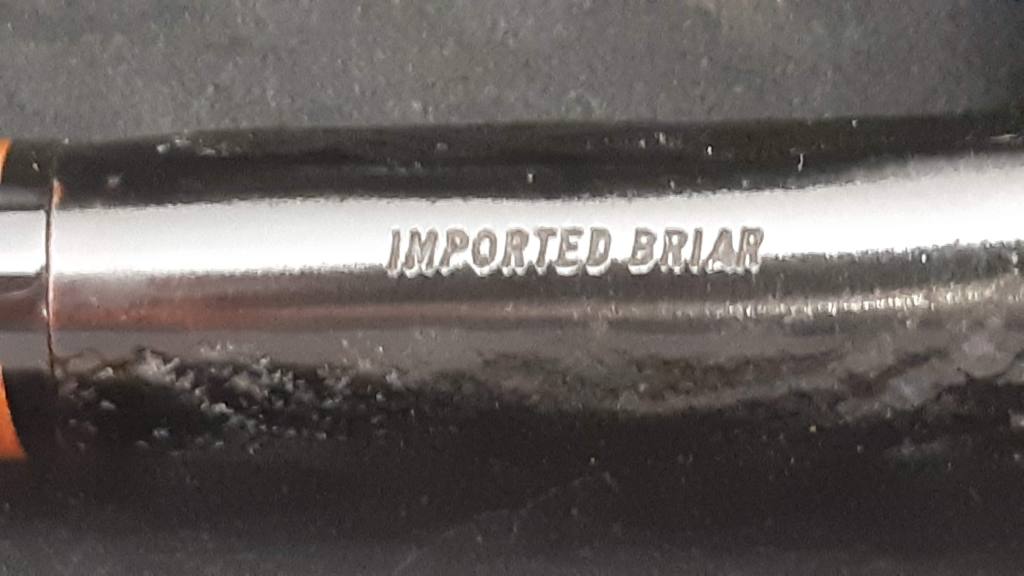
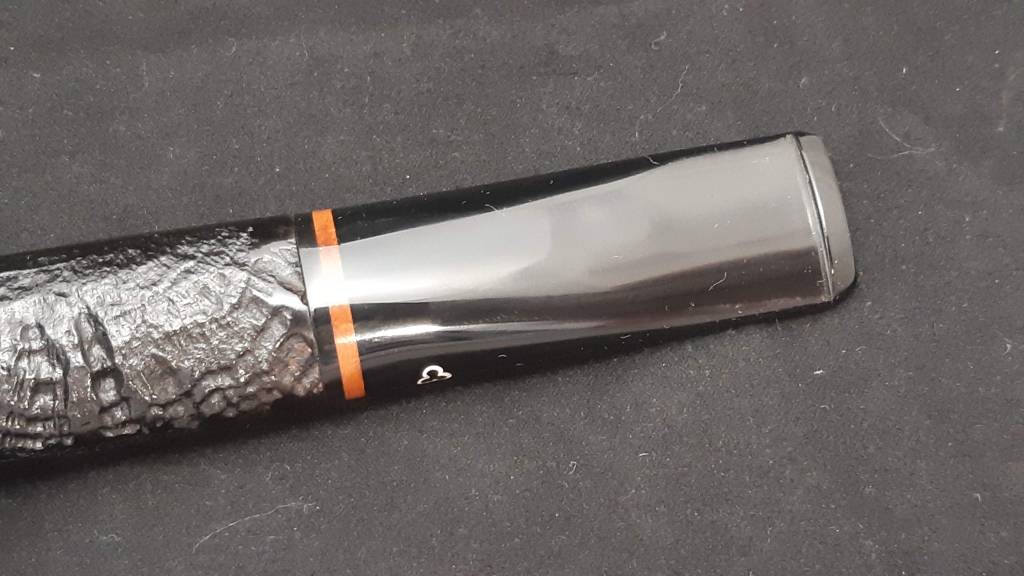
this series of pics shows the pipe as it looked on arrival. Overall it was in tip top shape, a testament to the care given it by its current steward. In fact the only real issue with the pipe was the broken tenon.
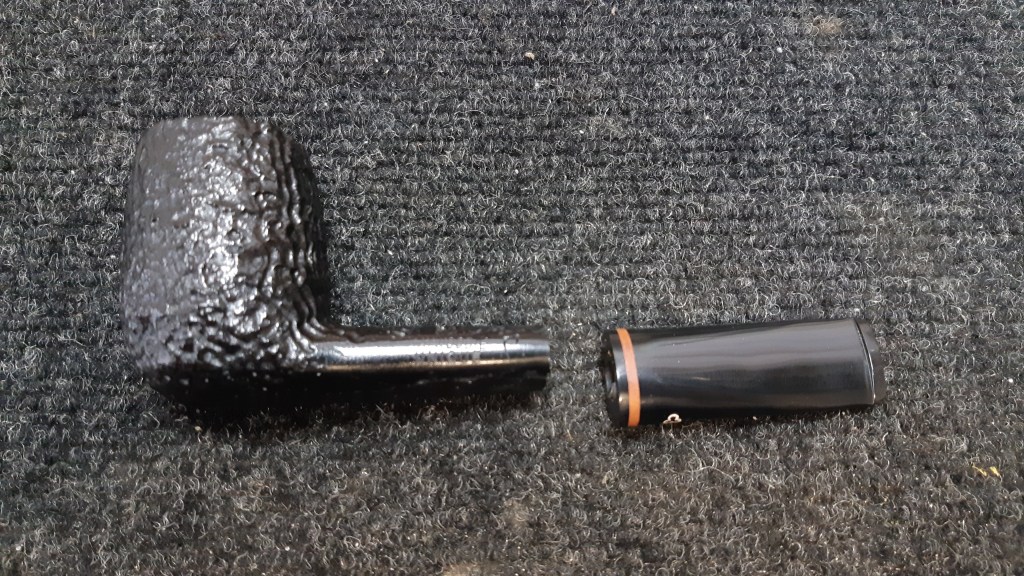


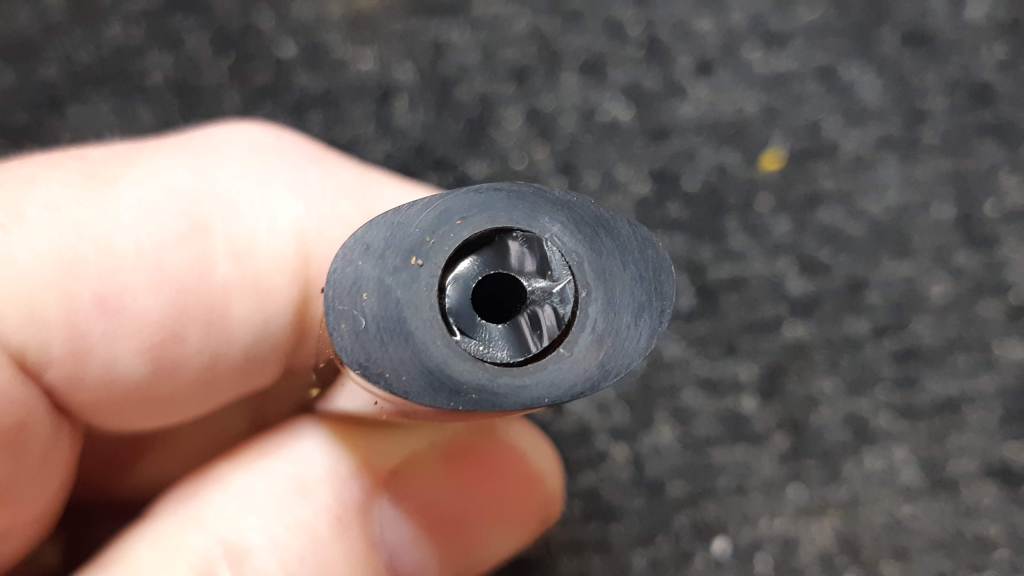
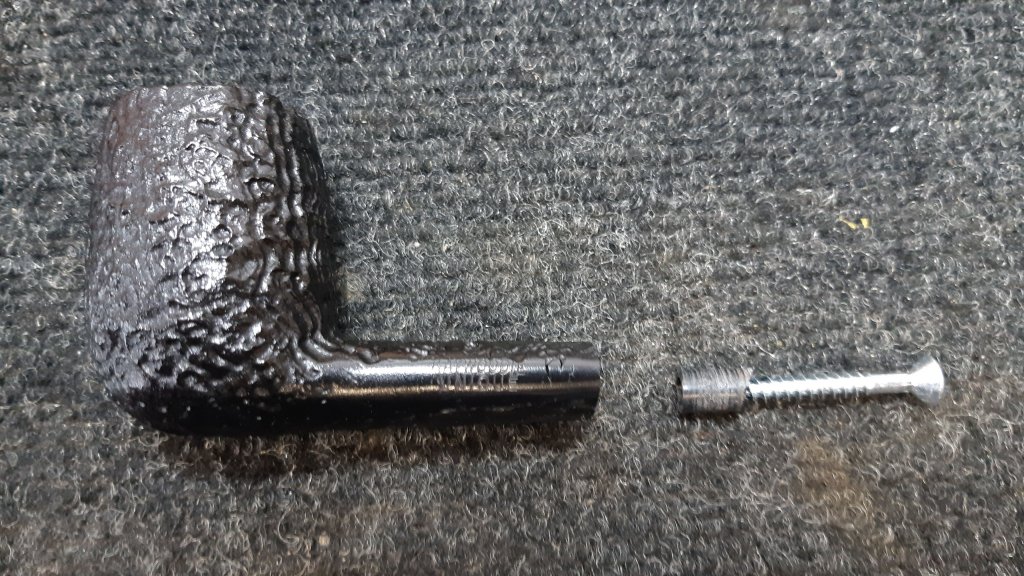
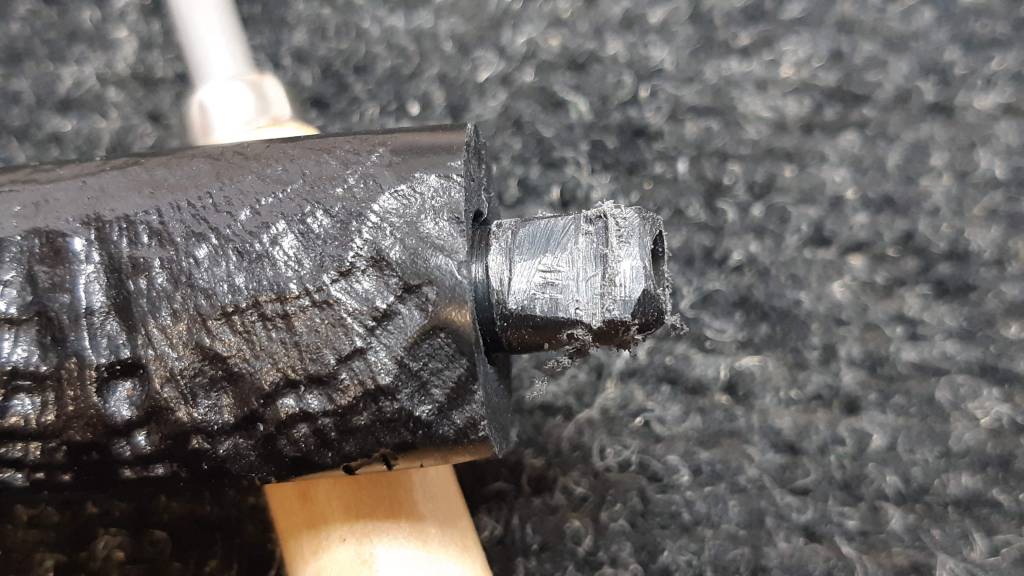
As you can see in the last pic above, the tenon had broken off relatively cleanly at the end of the stem. The other half of the tenon was stuck in the end of the shank. I used a wood screw and a pair of pliers to extract the tenon. This is accomplished by threading the screw into the broken end of the tenon and pulling on the screw with the pliers. The tenon was a bit stuck, so a drop or two of isopropyl alcohol was used to break the bond.
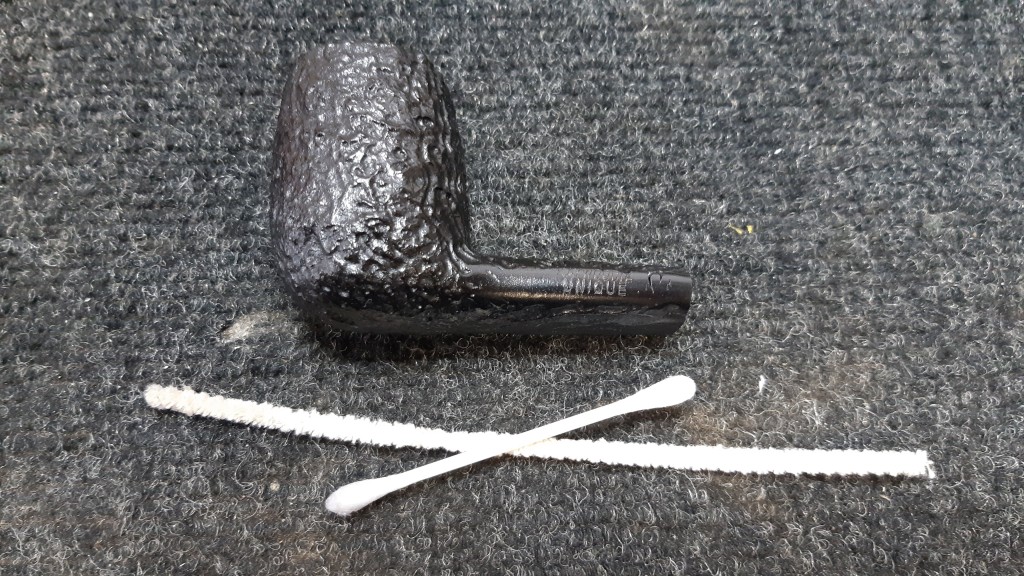
With the tenon out of the way, I ran an exploratory pipe cleaner dipped in more alcohol through the shank and airway to make sure there were no further obstructions. As you can see in the pic below, the pipe was very clean inside.
With the stummel taken care of, it was time to deal with the stem. Task number one was to drill out the remains of the broken tenon. I worked my way through several sizes of drill bits, gradually increasing the tenon’s airway until the whole thing had been removed.
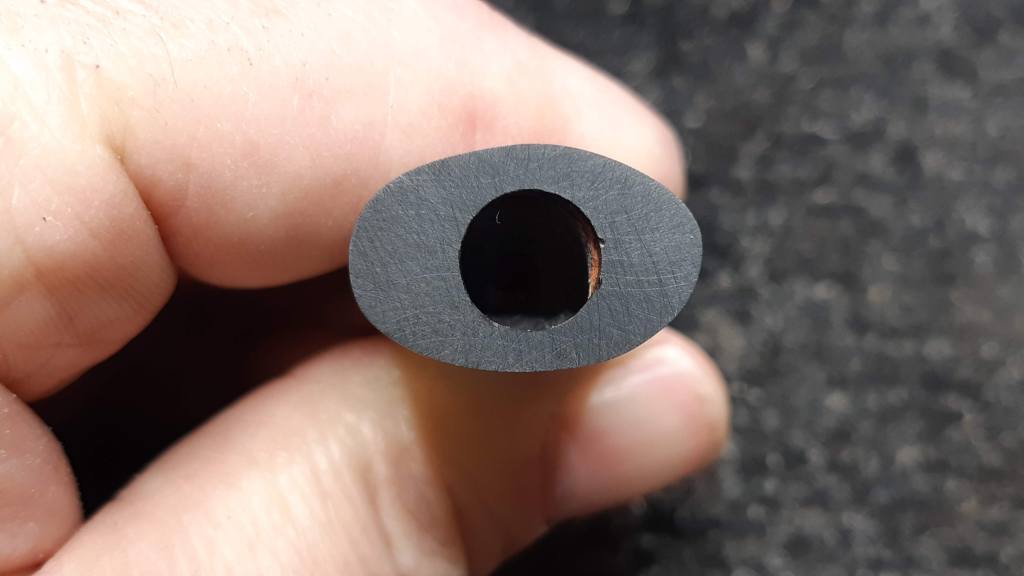
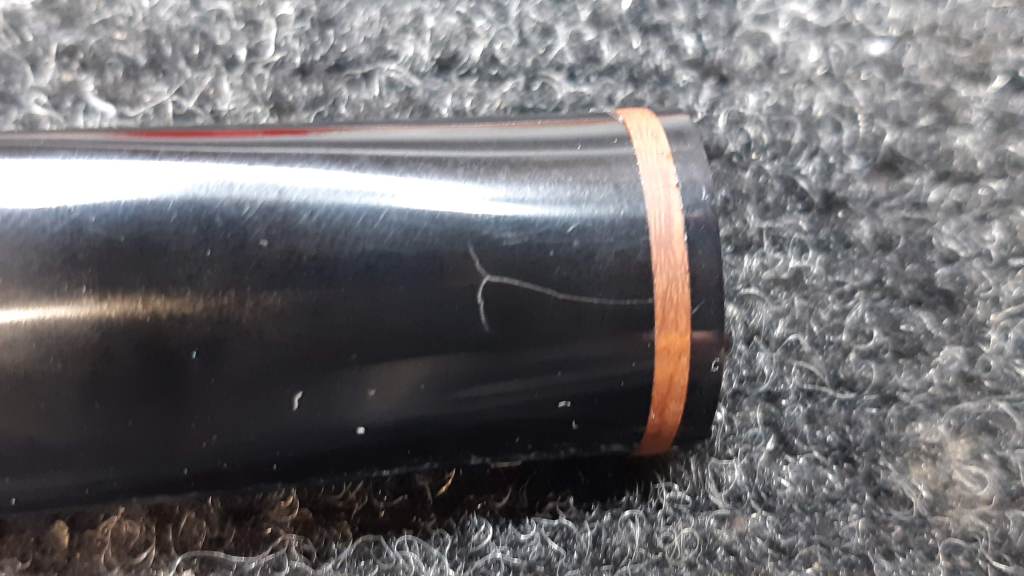
Here is where the repair took a slight detour. In handling the stem up close, I spotted a potential problem – a hairline stress fracture stretching from the briar ring down the back of the stem for about a half an inch. I also found a tiny chip missing from the briar ring. Both issues were most likely caused when the pipe was dropped.
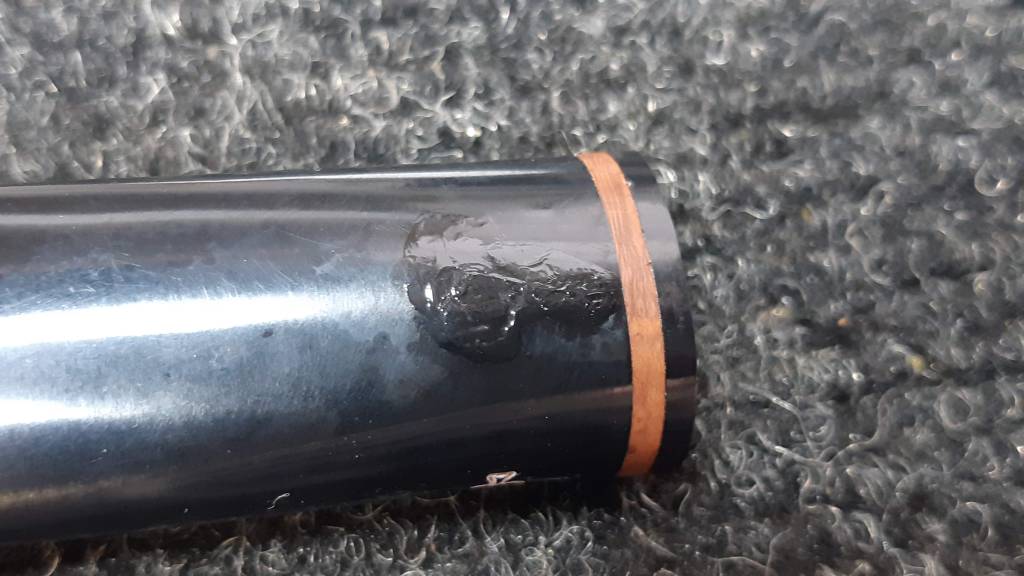
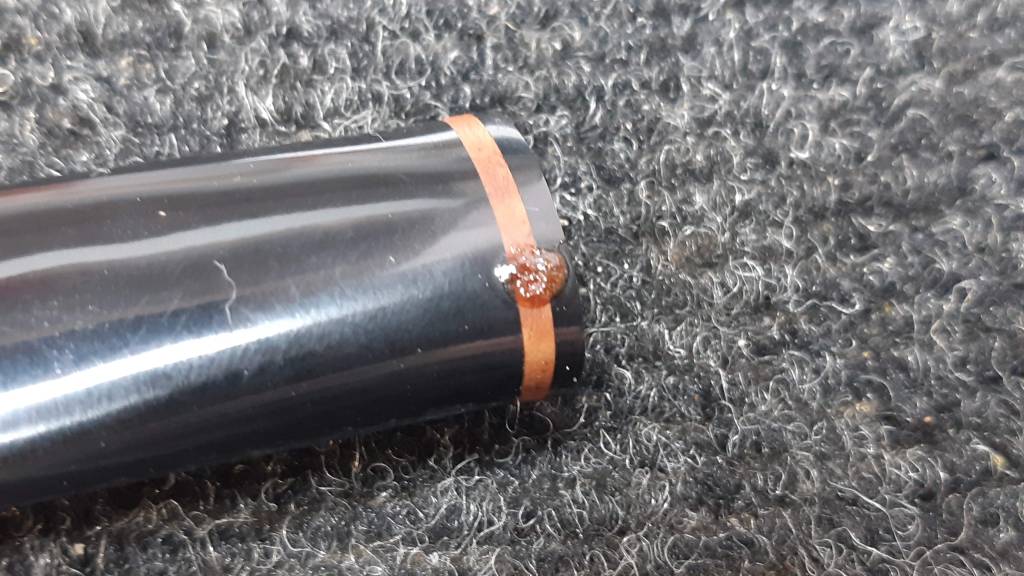
The epoxy I would use to secure the replacement tenon in the stem would also take care of any structural issues, but it was both prudent and easy for me to flow some thin CA glue into and over the fissure to seal it from the outside. The chip in the briar ring also got some love in the form of a dab of CA glue mixed with briar dust. Once sanded and buffed, the repairs would be nearly invisible on the acrylic stem.
The next stage on this repair was sizing a Delrin tenon to fit the pipe shank. I make up these tenon blanks from Delrin rod cut to length and drilled out in the shop. It’s much more cost effective than buying pre-made replacement tenons.
The tenon blank was slightly too large for the shank, so I worked on it briefly with files and sandpaper to reduce its diameter and achieve a snug but not over-tight fit. Delrin is a strong and somewhat slippery compound nearly perfect for tenons, in my opinion, but can be a bit tricky to glue up.
My process for this is to file down the stem end of the tenon to let the stem slip easily over the tenon with a bit of wiggle room in all directions. This pic shows the tenon ready to take the epoxy. Note the ridges cut into it – these provide essential gripping areas for the epoxy to hold onto. Without them the slippery Delrin might pull right out of the cured glue.
I mixed up a small amount of two-part epoxy and applied it both to the exposed end of the tenon and to the inside surfaces of the socket drilled in the stem. A smear of petroleum jelly on the shank face helps keep any errant epoxy from gluing the stem to the shank permanently. That would definitely be gong off brief!
With epoxy applied, I clamped the pipe upright in my bench vise and slipped the stem over the tenon. That wiggle room I mentioned came into play now as I adjusted the stem’s position to line up neatly with the shank. I held the stem in position until the epoxy began to grab hold, then left it in the vise for an hour or so while the glue cured completely.


Waiting for the epoxy to cure is always a bit nerve-wracking for me, I must admit. If too much glue is applied there is a real risk of bonding the parts together permanently, but there is no easy way to tell until the glue is set. I strongly suggest trying this repair on a few junker test pipes before performing it on a pipe of any intrinsic or sentimental value.
Finally the wait was over, and I’m happy to report that all went smoothly, though i did have to run a drill bit up the airway to clear a bit of excess glue there. I don’t fuss about that anymore, as it’s an easy fix.
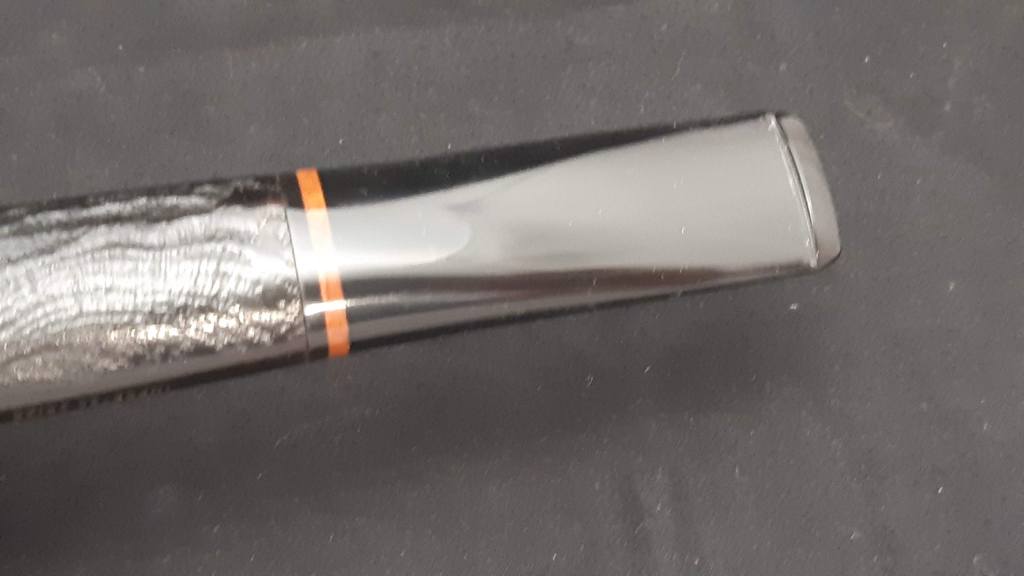
To finish off this repair job, I took the pipe to the buffer and polished the stem with red Tripoli and White Diamond compounds before applying a few light coats of Carnauba wax to shine and protect the revived pipe.
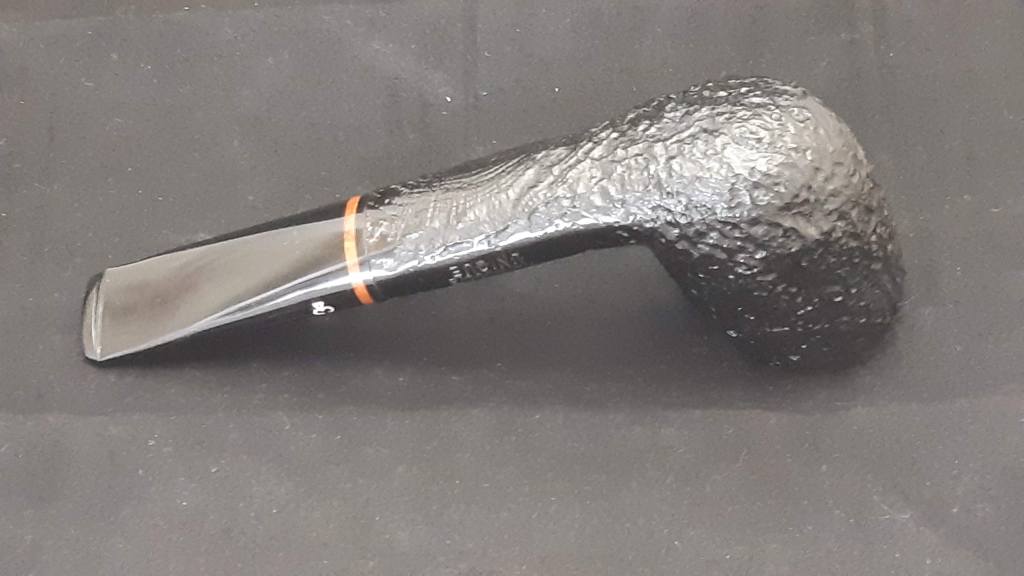
I hope this post provides some hope or reassurance that a broken tenon, though heart-stopping when it happens to a favourite pipe, is a relatively quick and common repair that any competent repair person can undertake to get your pipe back in smoking shape. This repaired Kaywoodie Unique is on its way back to its steward, who is looking forward to having it in his rack and rotation once more.
Thanks for joining me for another pipe repair adventure. Until next time, Happy Piping!
Here’s the finished pipe.


Another great read Charles with some excellent insight on the process. I was wondering how you’d be removing the broken pieces.
I swear I found it like that though. It must’ve dropped itself somehow; the physics behind such an event are yet to be explained and perhaps, they never will… …
LikeLike
The world is a very mysterious place! 😁
LikeLike