
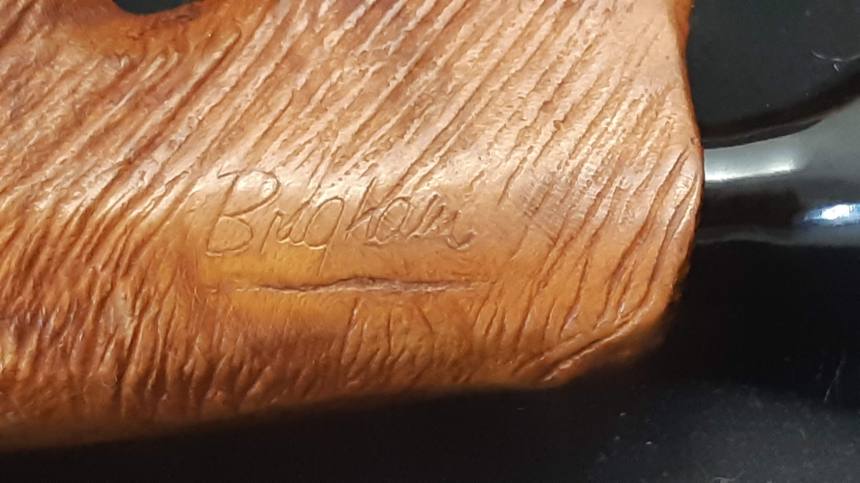
Here’s an interesting Brigham pipe for those with a penchant for something out of the ordinary. I spotted this 5-Dot on eBay and though I admit that the shape isn’t really my thing, I was nonetheless captivated. I entered a bid and won the auction.
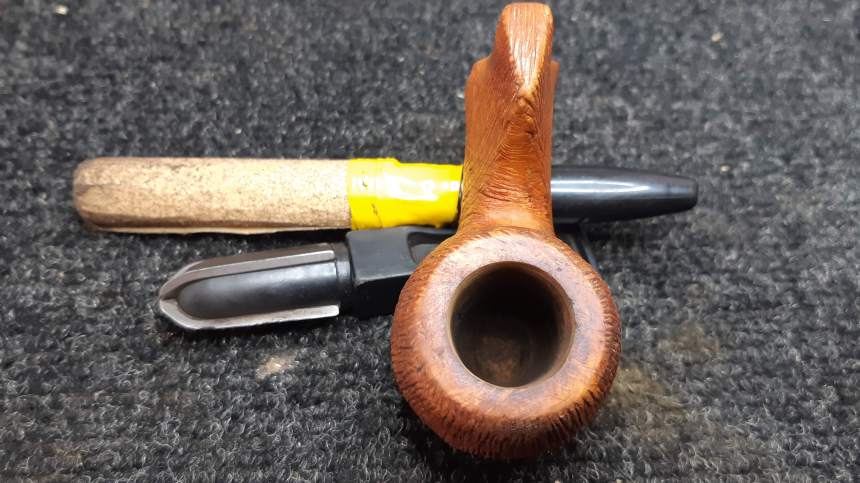
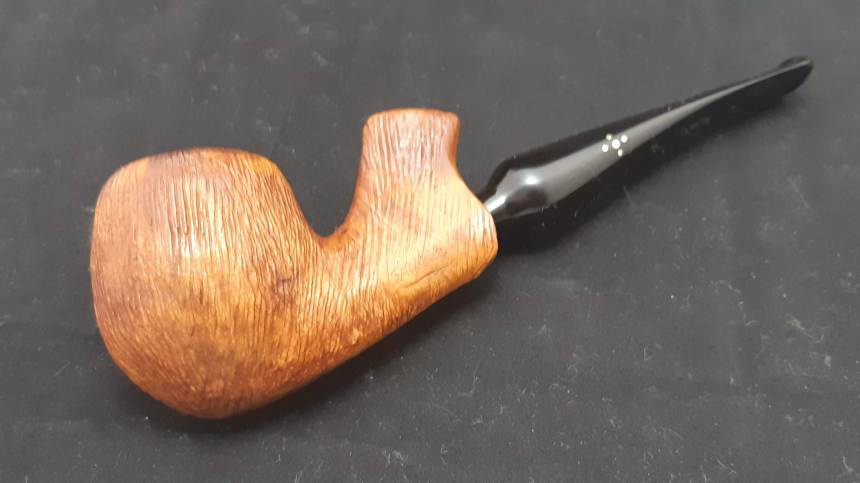
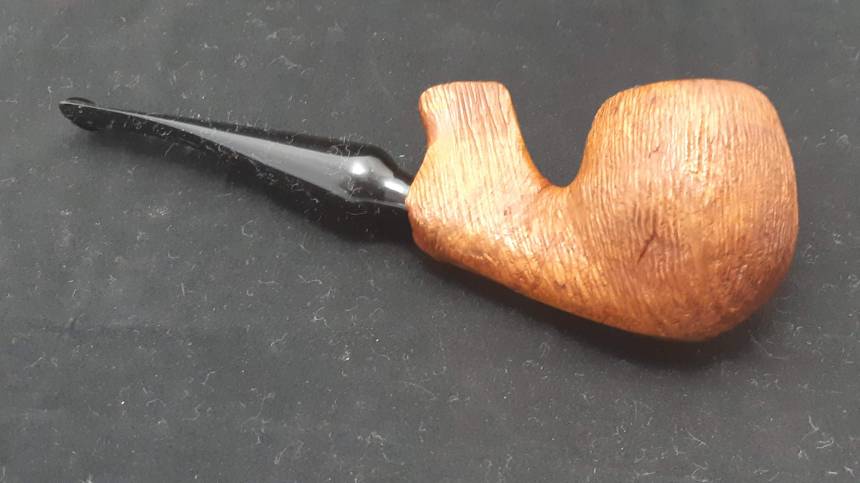
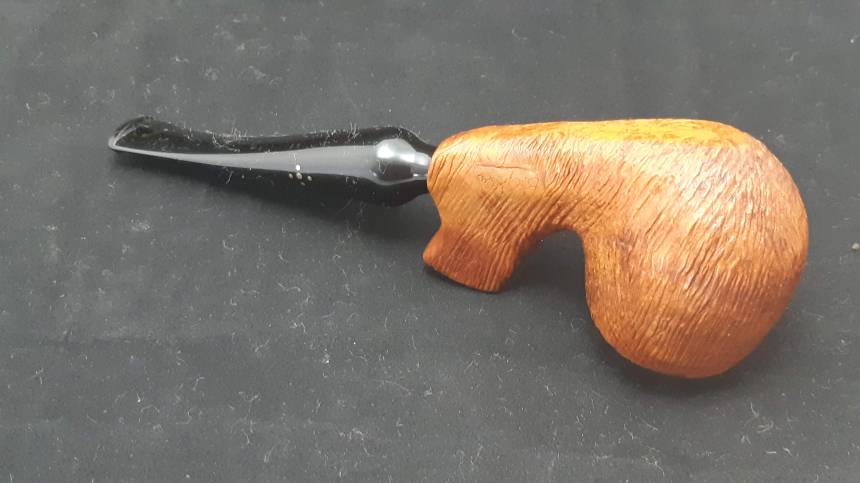
In due time, the pipe arrived at the house and I took this series of pics.

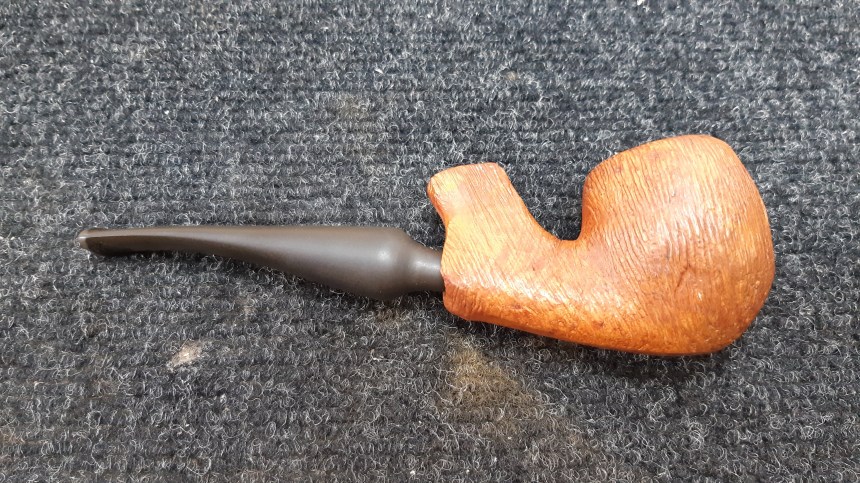
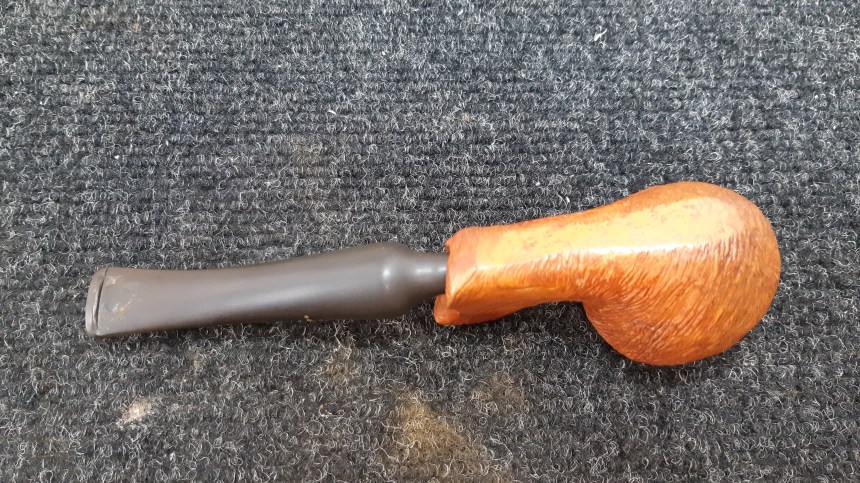
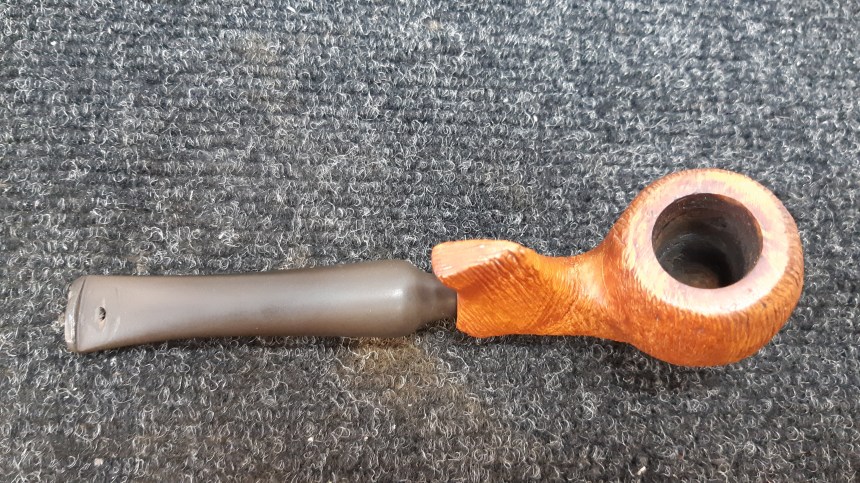
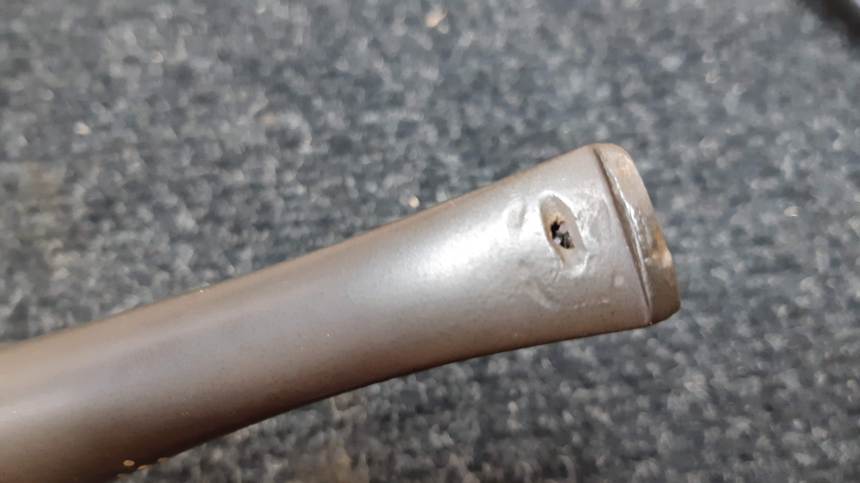
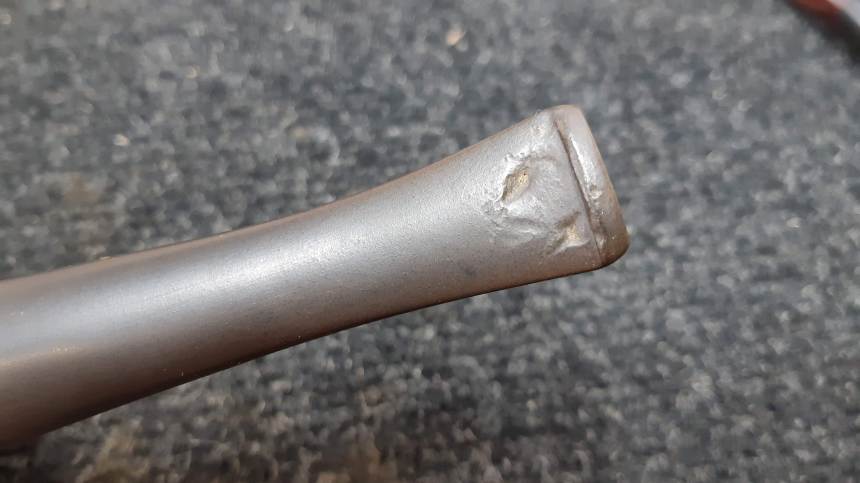

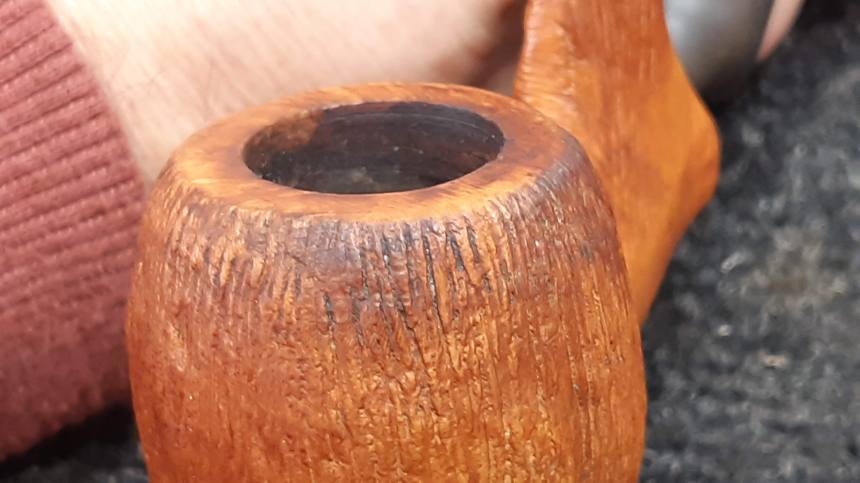
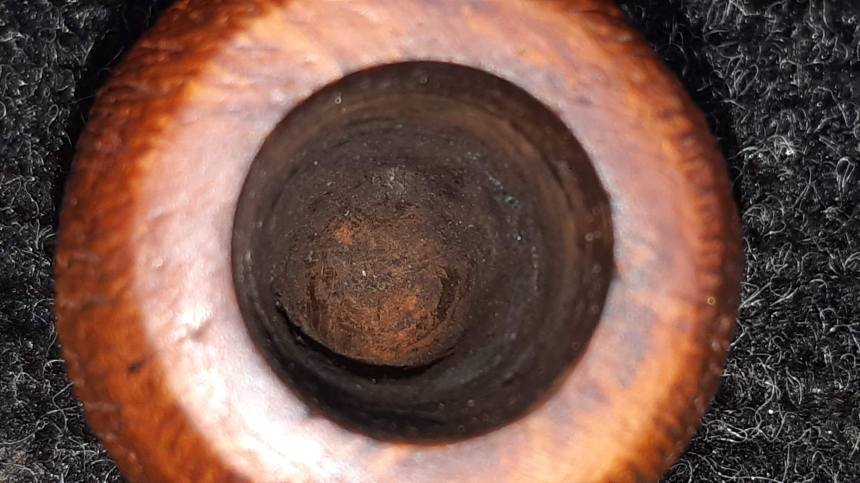
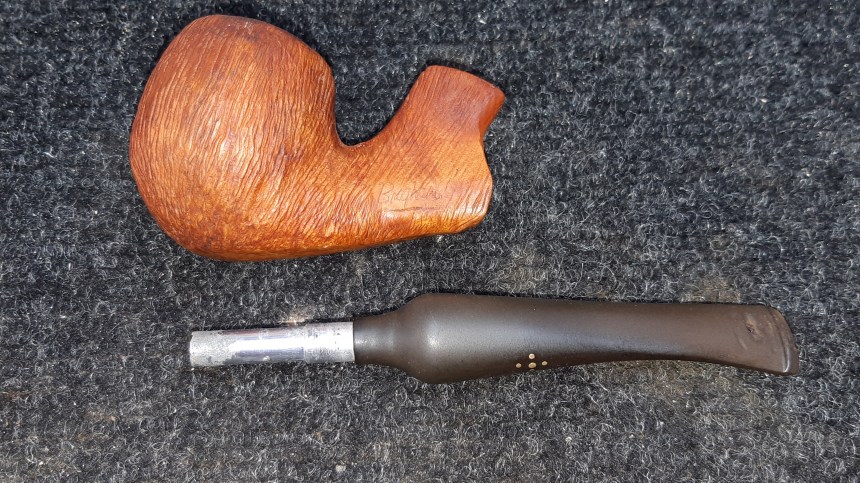
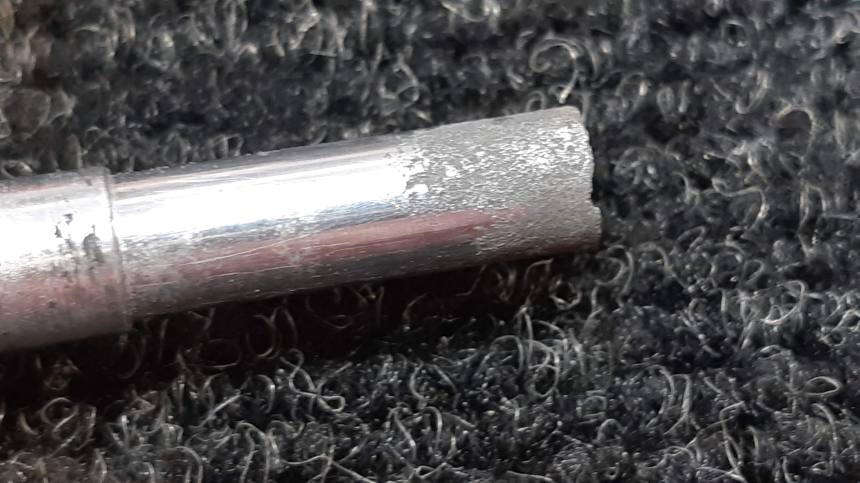
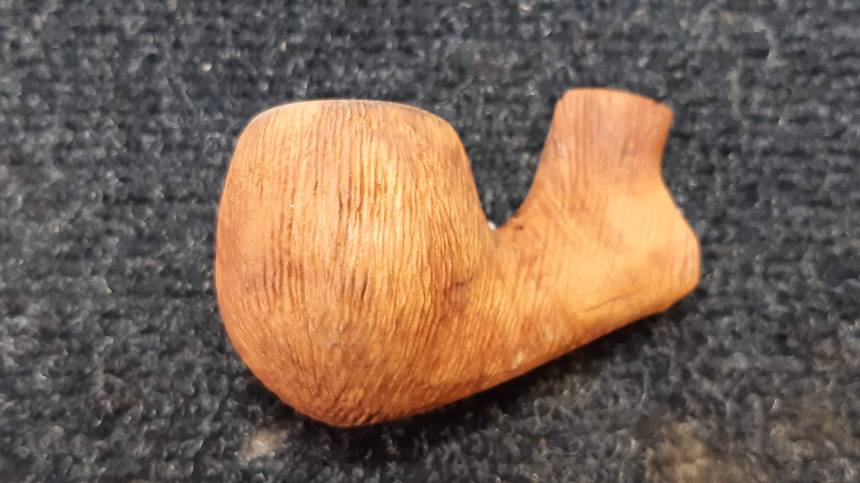
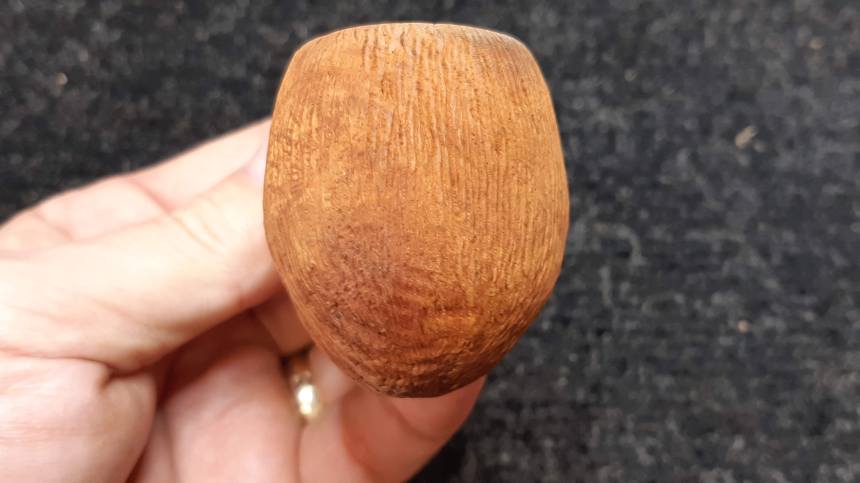
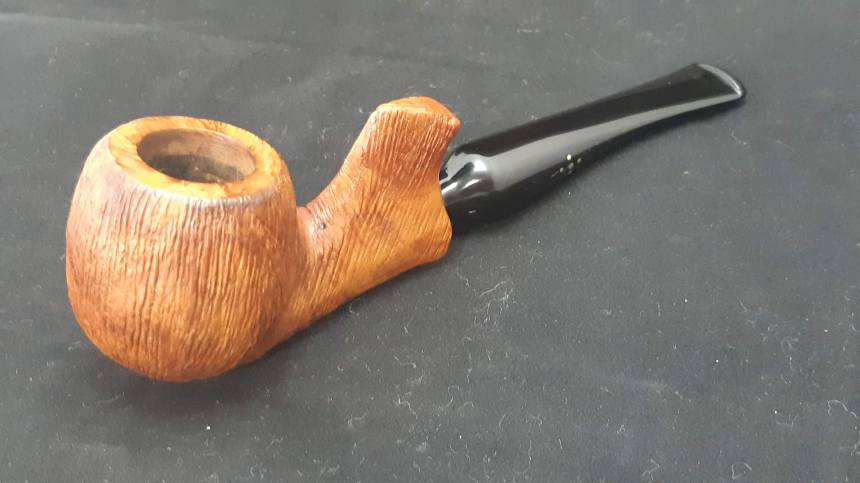
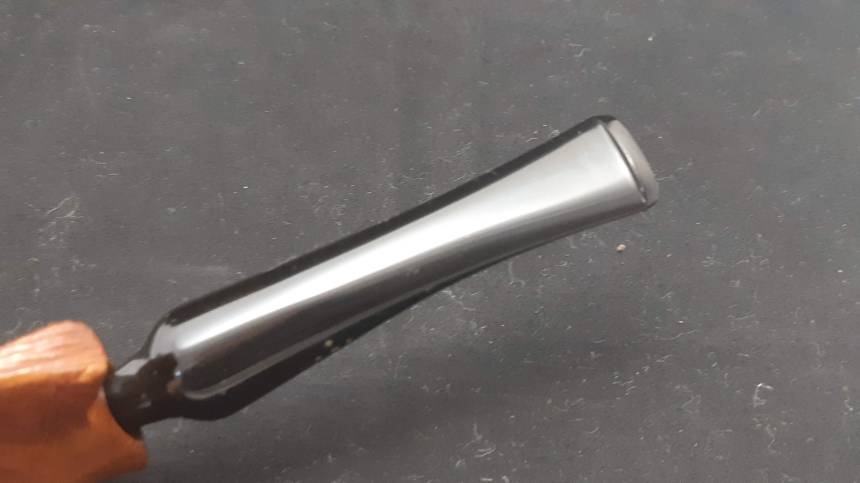
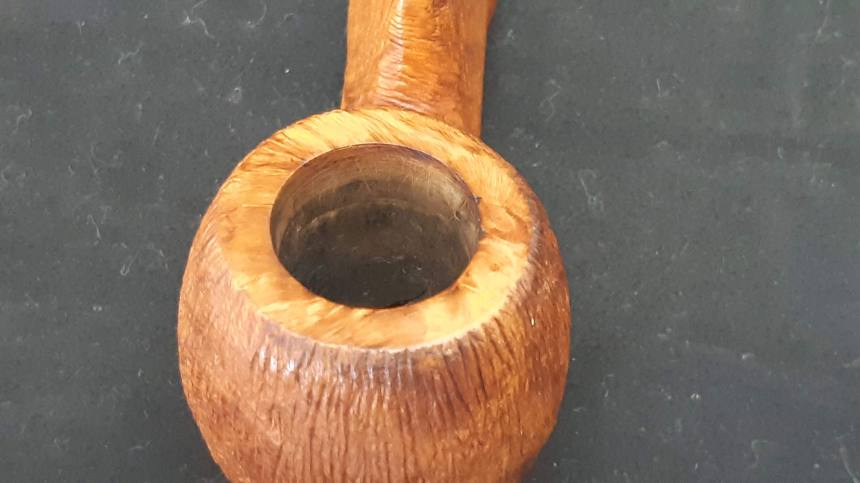
As the pictures show, the stummel was in pretty good shape with only a light carbon cake and some surface dirt to contend with. The stem, on the other hand, had some deep dents in the bottom of the bit and a bite-through in the top. The aluminum tenon was also corroded, with an uneven tip.
Here’s a bit more info on the pipe. While researching for the Brigham book, I learned that Herb Brigham, son of founder Roy Brigham, was an inveterate tinkerer and would, from time to time, sit down at a workbench and carve a one-off pipe as he played with ideas for different shapes, patterns and other aspects of pipe design. These “just for fun” pipes often found their way up front to the retail shop.
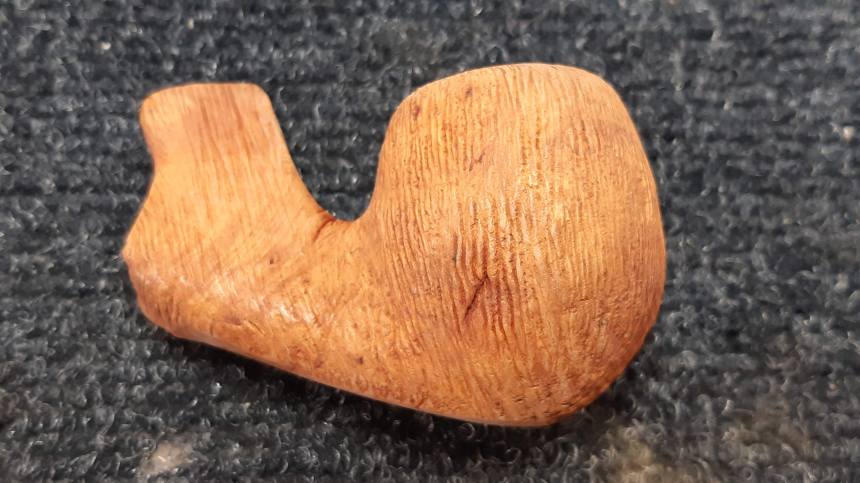
This pipe is so different from Brigham’s standard production with its wire rustication and large shank spur that I strongly suspected it was one of Herb’s unique creations. An email to Brigham confirmed this theory:
Yes these were definitely one of Mr. B’s “just for fun” moments. The “fin” in these is the result of French frazing that used to require having to be cut or sanded off. Mr. B experimented with a couple of designs like these but settled for a more tapered fin like a 1959 Cadillac. I don’t recall specifically the chunkier “fin” on these pipes and therefore suggest an early edition making it more late ‘80’s than early ‘90’s. — Daniel More, President, Brigham Enterprises
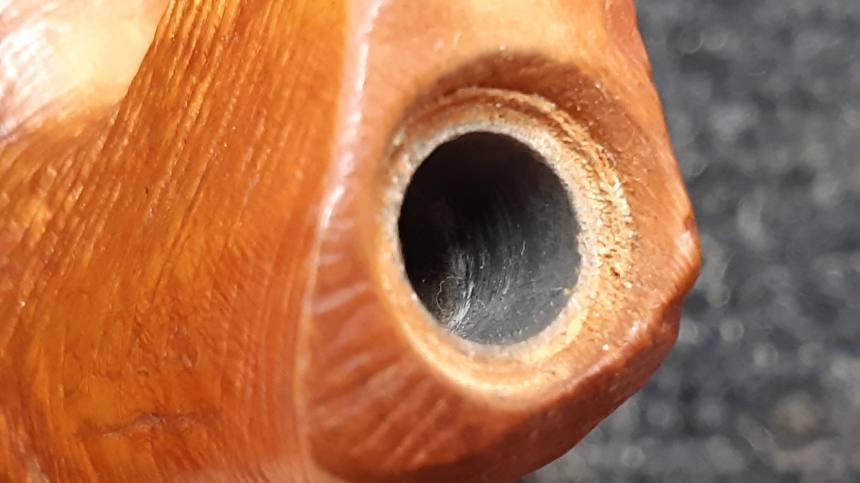
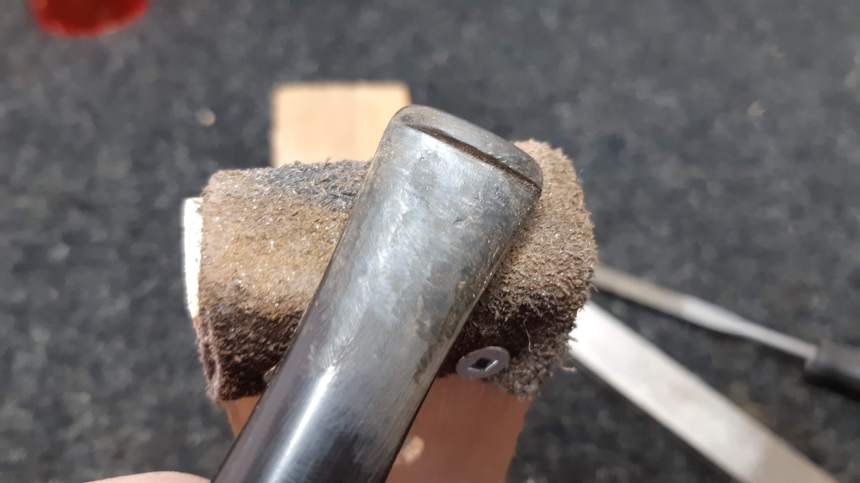
Now that I had the backstory on the pipe, I moved ahead with the refurbishment. Here is a close view of the tenon. This sort of damage is usually due to a wet distillator being left in the pipe for a long time. The moisture captured by the Rock Maple tube interacts with the aluminum, leading to corrosion. The second pic below shows a layer of grey muck lining the shank mortise – more aluminum corrosion. This can eventually “glue” the tenon into the mortise. Luckily I caught this one in time – the stem was resistant to being removed from the shank, but it did come out without me resorting to stronger methods.
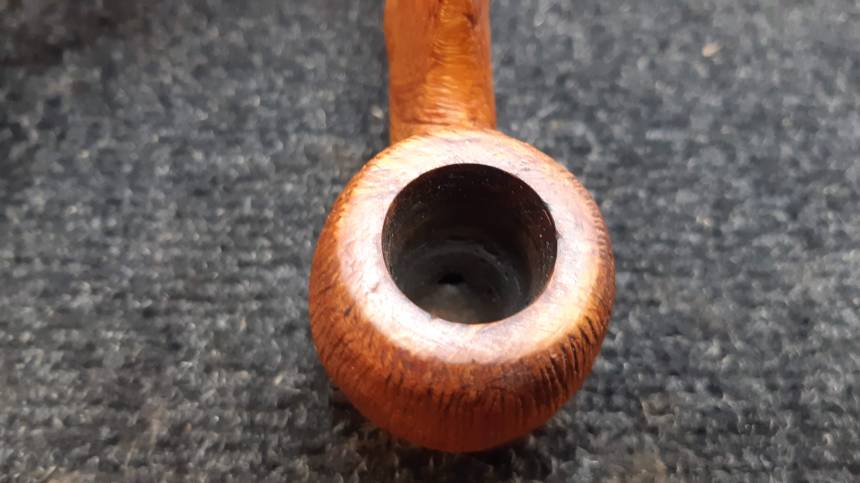
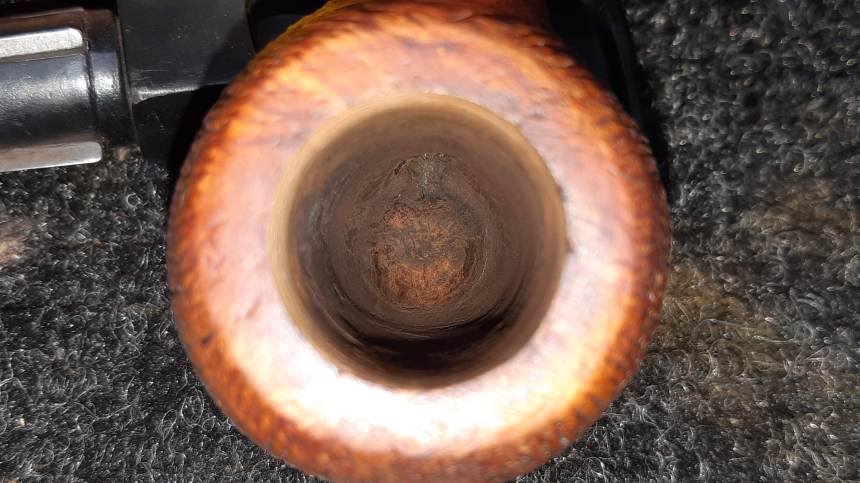
I reamed the old cake out of the chamber. A combination of reamer and sandpaper tidied things up nicely.
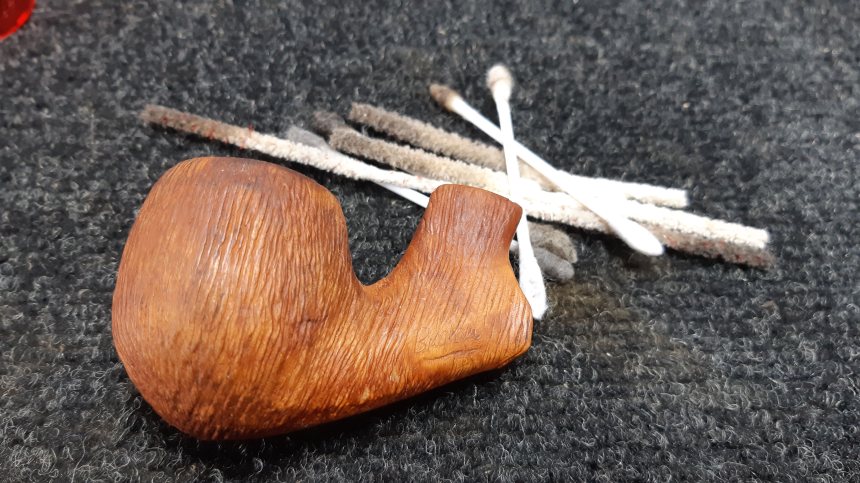
While I had the stummel in hand, I cleaned the internals using pipe cleaners and cotton swabs dipped in alcohol. The pipe was surprisingly clean – despite the deep tooth damage to the stem, this Brigham had been well cared for, it seems. Most of the discolouration on the swabs in the pic is aluminum oxidation, not tobacco tar.
The smooth rim carried a small array of light scratches and dents. To reclaim that factory-fresh look, I topped the bowl very lightly on the board. I had to hang the end of the shank off the edge of the topping board to avoid sanding down the spur on the upper shank.
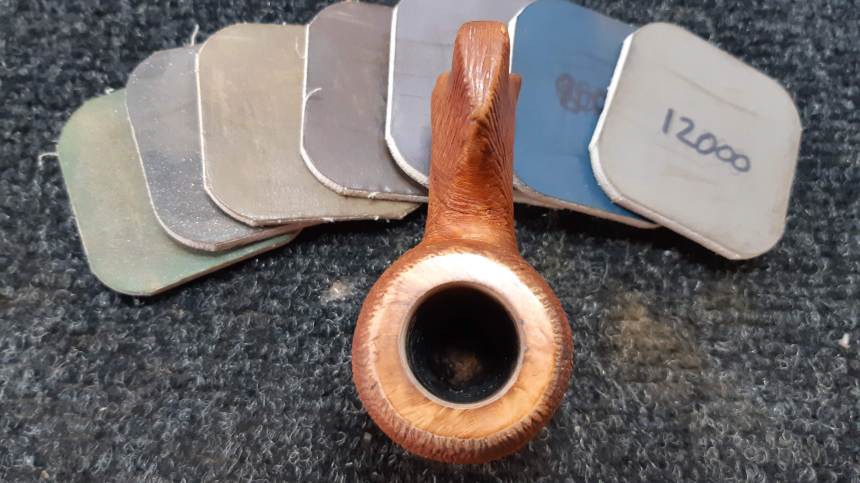
I followed the topping with a full course of micromesh sanding pads in 1500-12000 grits. This erased the sanding scratches from the topping board and brought up both the colour and shine on the fresh briar.

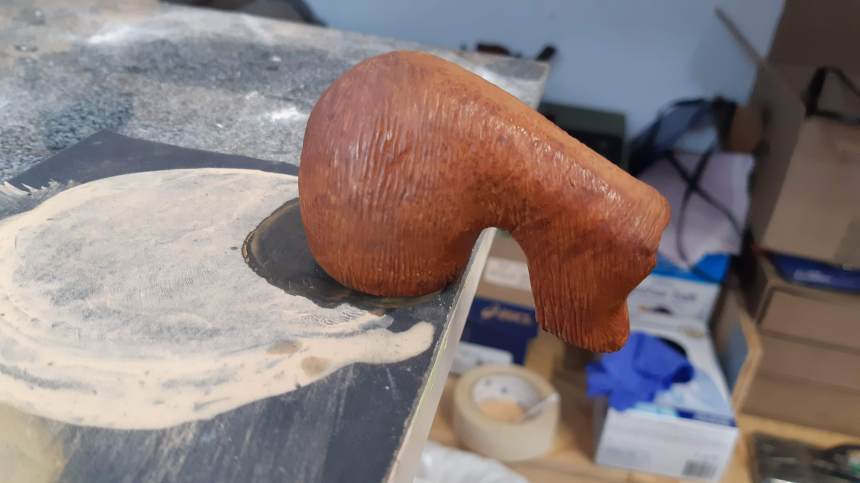
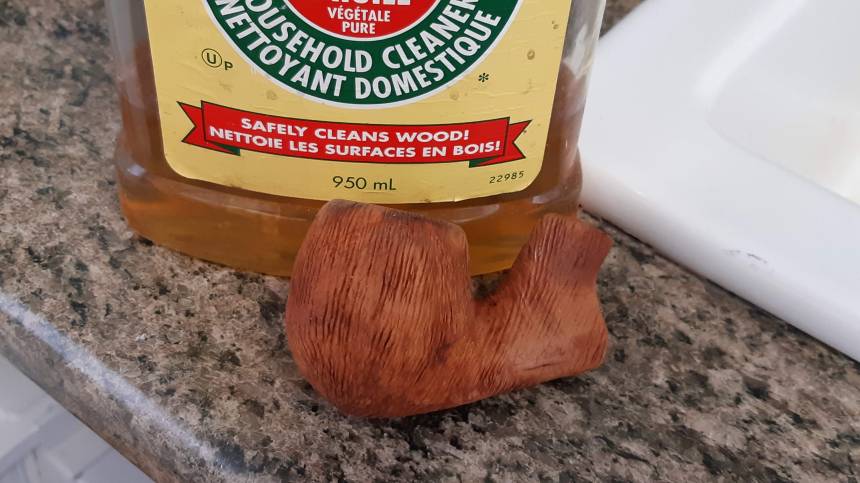
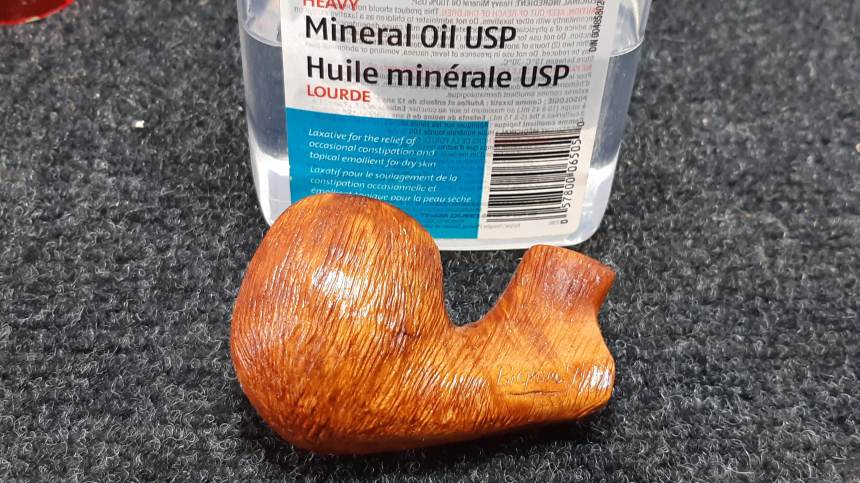
To complete the stummel rehab, I scrubbed the briar with Murphy’s Oil Soap and a toothbrush. This lifted the dirt from the wire rustication, along with any grease and old wax. Much improved! Before setting the stummel aside to work on the stem, I gave the briar a light wipe with mineral oil to refresh the wood and deepen the finish.
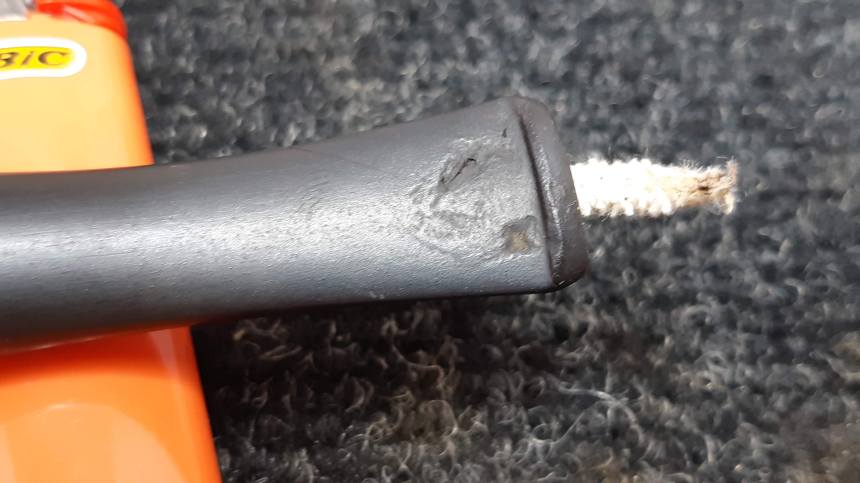
Moving on to the stem, I first tried to pass a pipe cleaner through the airway, but got jammed up in the bit – those tooth dents had crushed the airway down at the bit end. To open things up, I heated the bit with a lighter to soften the Vulcanite. When the stem became pliable, I pushed a pipe cleaner through and then left it in place while the stem cooled.


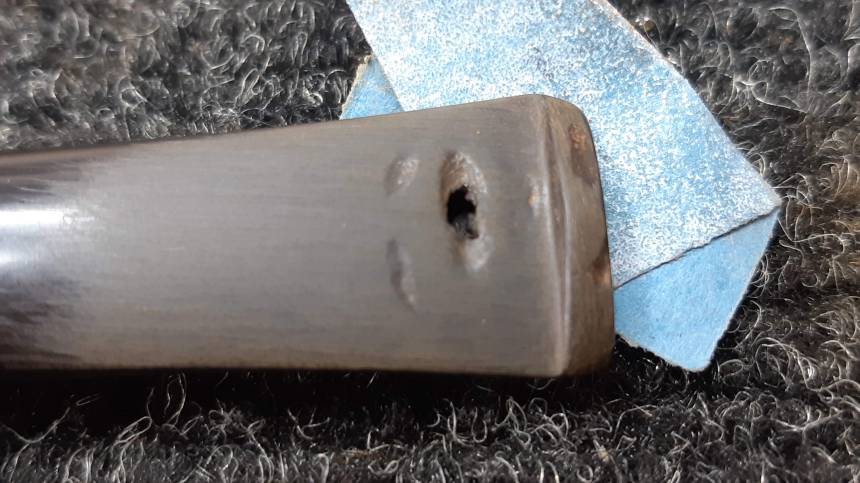
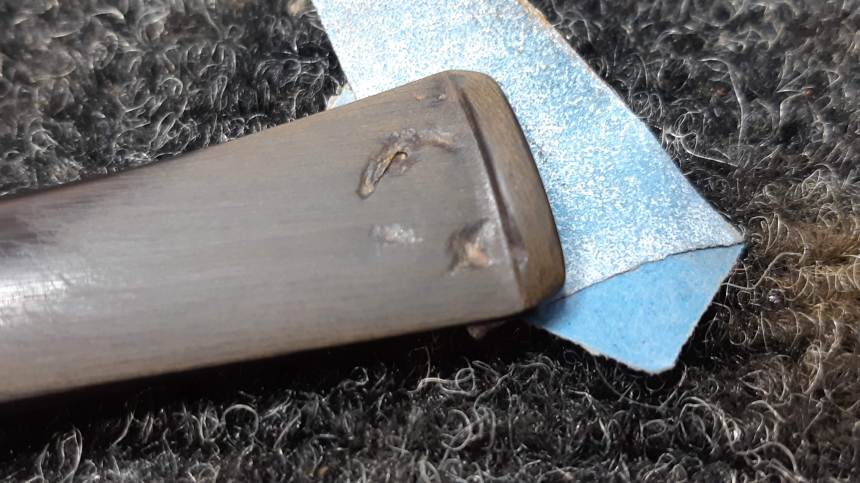
Now I could deal with the main issue – that bite-through! Regular readers will have seen this repair many times before. The crux of the method is that CA glue does not stick to tape. I covered a small cardboard wedge with Scotch tape (packing tape will also work), and pushed the wedge into the slot at the end of the bit. It’s important to shape the wedge so that it completely fills the slot. We want the patch mixture to fill the hole, not the airway.
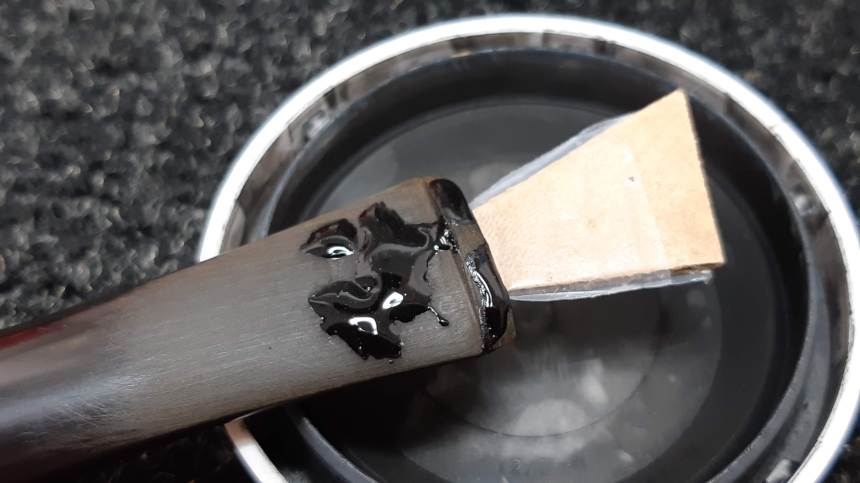
These pics show the stem after I applied a patch mixture of roughly 50:50 thick CA glue and activated charcoal powder. I let the mixture cured overnight, then wiggled out the cardboard wedge and filed the patches smooth.

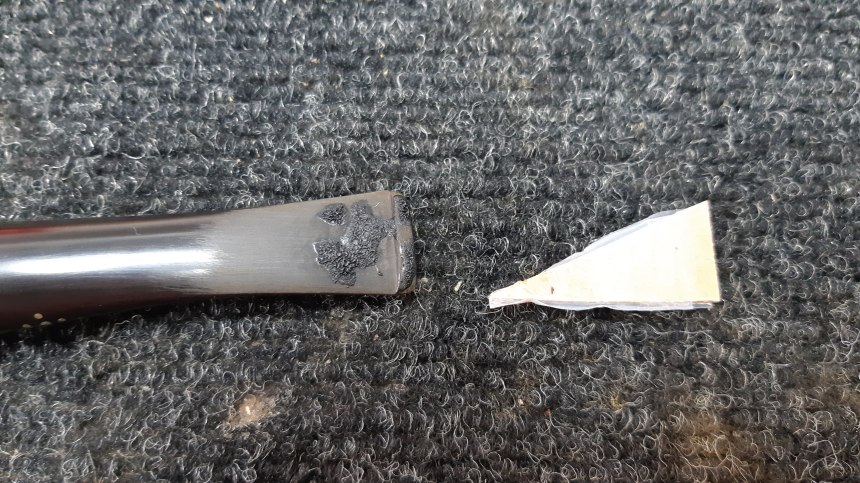
Inevitably, filing and sanding revealed small bubbles in the patches, creating during the chemical curing process. To fill these tiny imperfections, I dripped thin clear CA glue over the pits and again let it cure before sanding smooth.
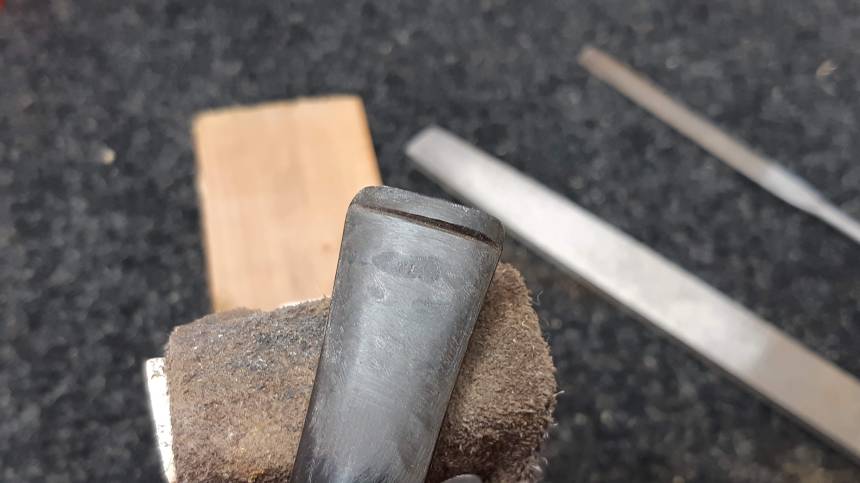
It took a few applications of CA glue to completely fill the microbubbles, which can be both a tedious and frustrating process, but eventually I was pleased with the results and gave the stem an overall sanding and polishing to erase the file marks and bring up the shine. For this process I use dry and wet sandpapers in 220, 320, 400, 600, 800, 1000 and 2000 grit.

Then it was time to take the completed pipe to the buffer. I polished the stem with Red Tripoli and White Diamond compounds, and also use the White Diamond very sparingly on the stummel to bring up the shine. I then buffed with Carnauba wax to add a layer of protection to the refreshed pipe and give the stem a mirror shine.
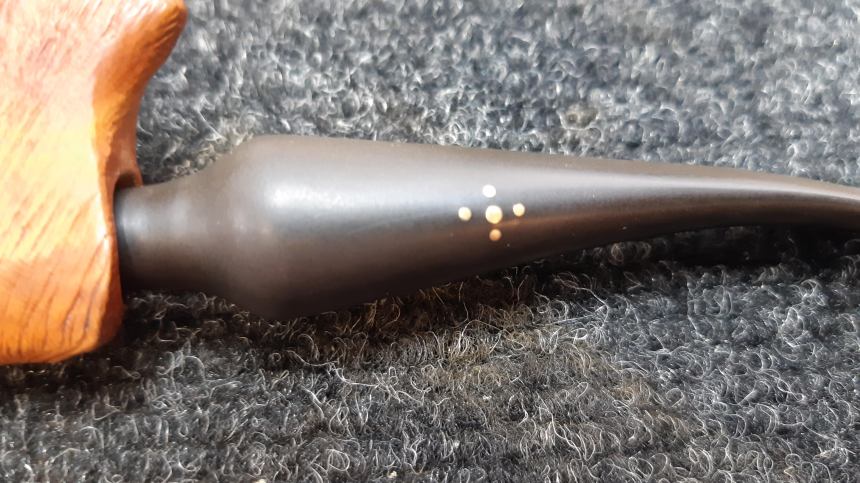
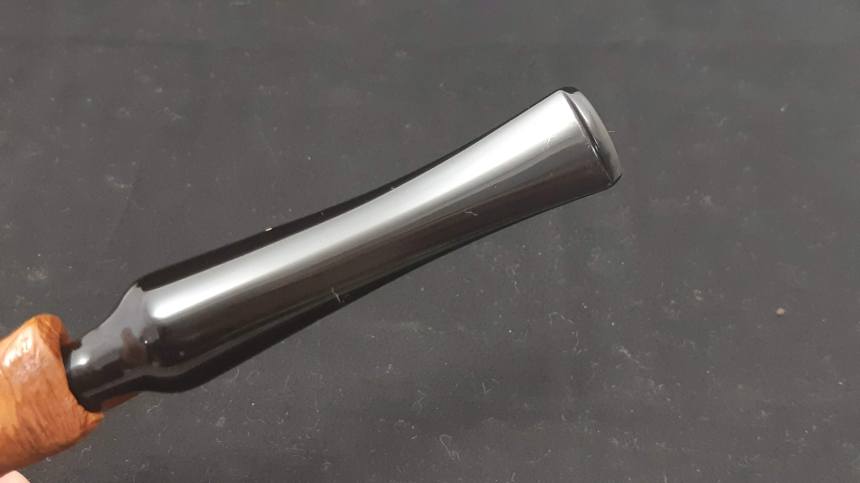
This interesting Brigham 5-Dot looks a lot better after its time on the bench. The briar is clean and refreshed, though it retains the patina of age, and the stem is whole again with the 5-Dot starburst shining brightly against the deep black Vulcanite.
I have added this unique “just for fun” pipe to my personal collection, though I will be adding some other estate Brigham pipes to the Pipe Inventory page in the near future so check in regularly.
Thanks for joining me for this week’s restoration. I hope you enjoyed the journey.
Until next time, Happy Piping! Here’s the finished pipe. Apologies for the linty stem in these pics – freshly buffed Vulcanite is a magnet for fluff!


Thanks for your clear how-to on the fix.
LikeLiked by 1 person
Glad you find it helpful, Todd!
LikeLike