Today’s post is another trial of the replacement aluminum tenon/filter holders I designed and made in my shop for use in repairing vintage Canadian-made Brigham pipes. If you missed the earlier post on the development of these tenons, you can find it here.
As I’ve mentioned previously, Brigham moved to the newer composite tenons in the early 2000’s after rising costs and lack of material supply made the continuation of the aluminum tenon nonviable. A bonus feature of the composite tenon is that is it designed to break well before the briar shank cracks, making repairs much easier ( a quick tenon replacement versus a shank repair).
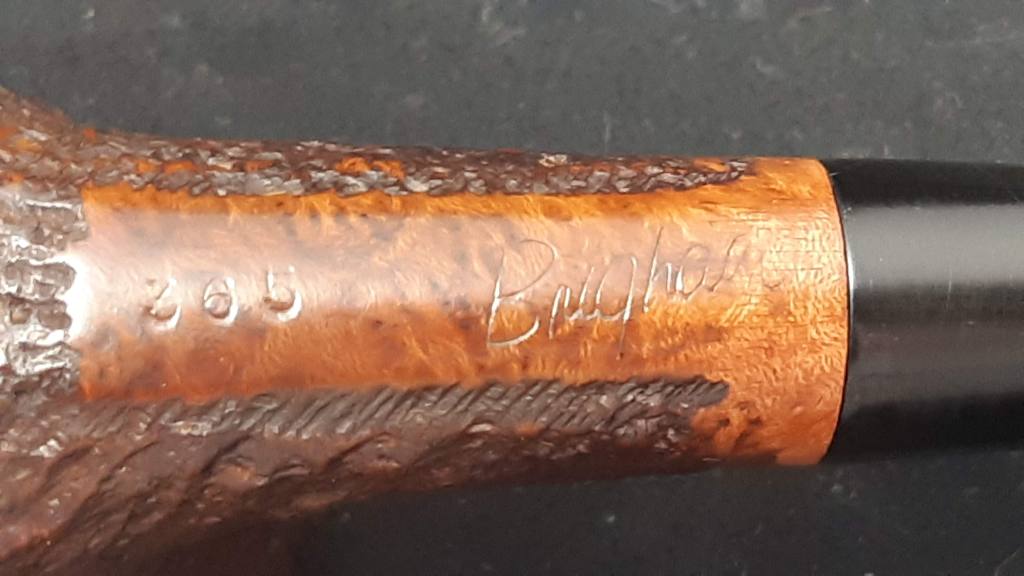
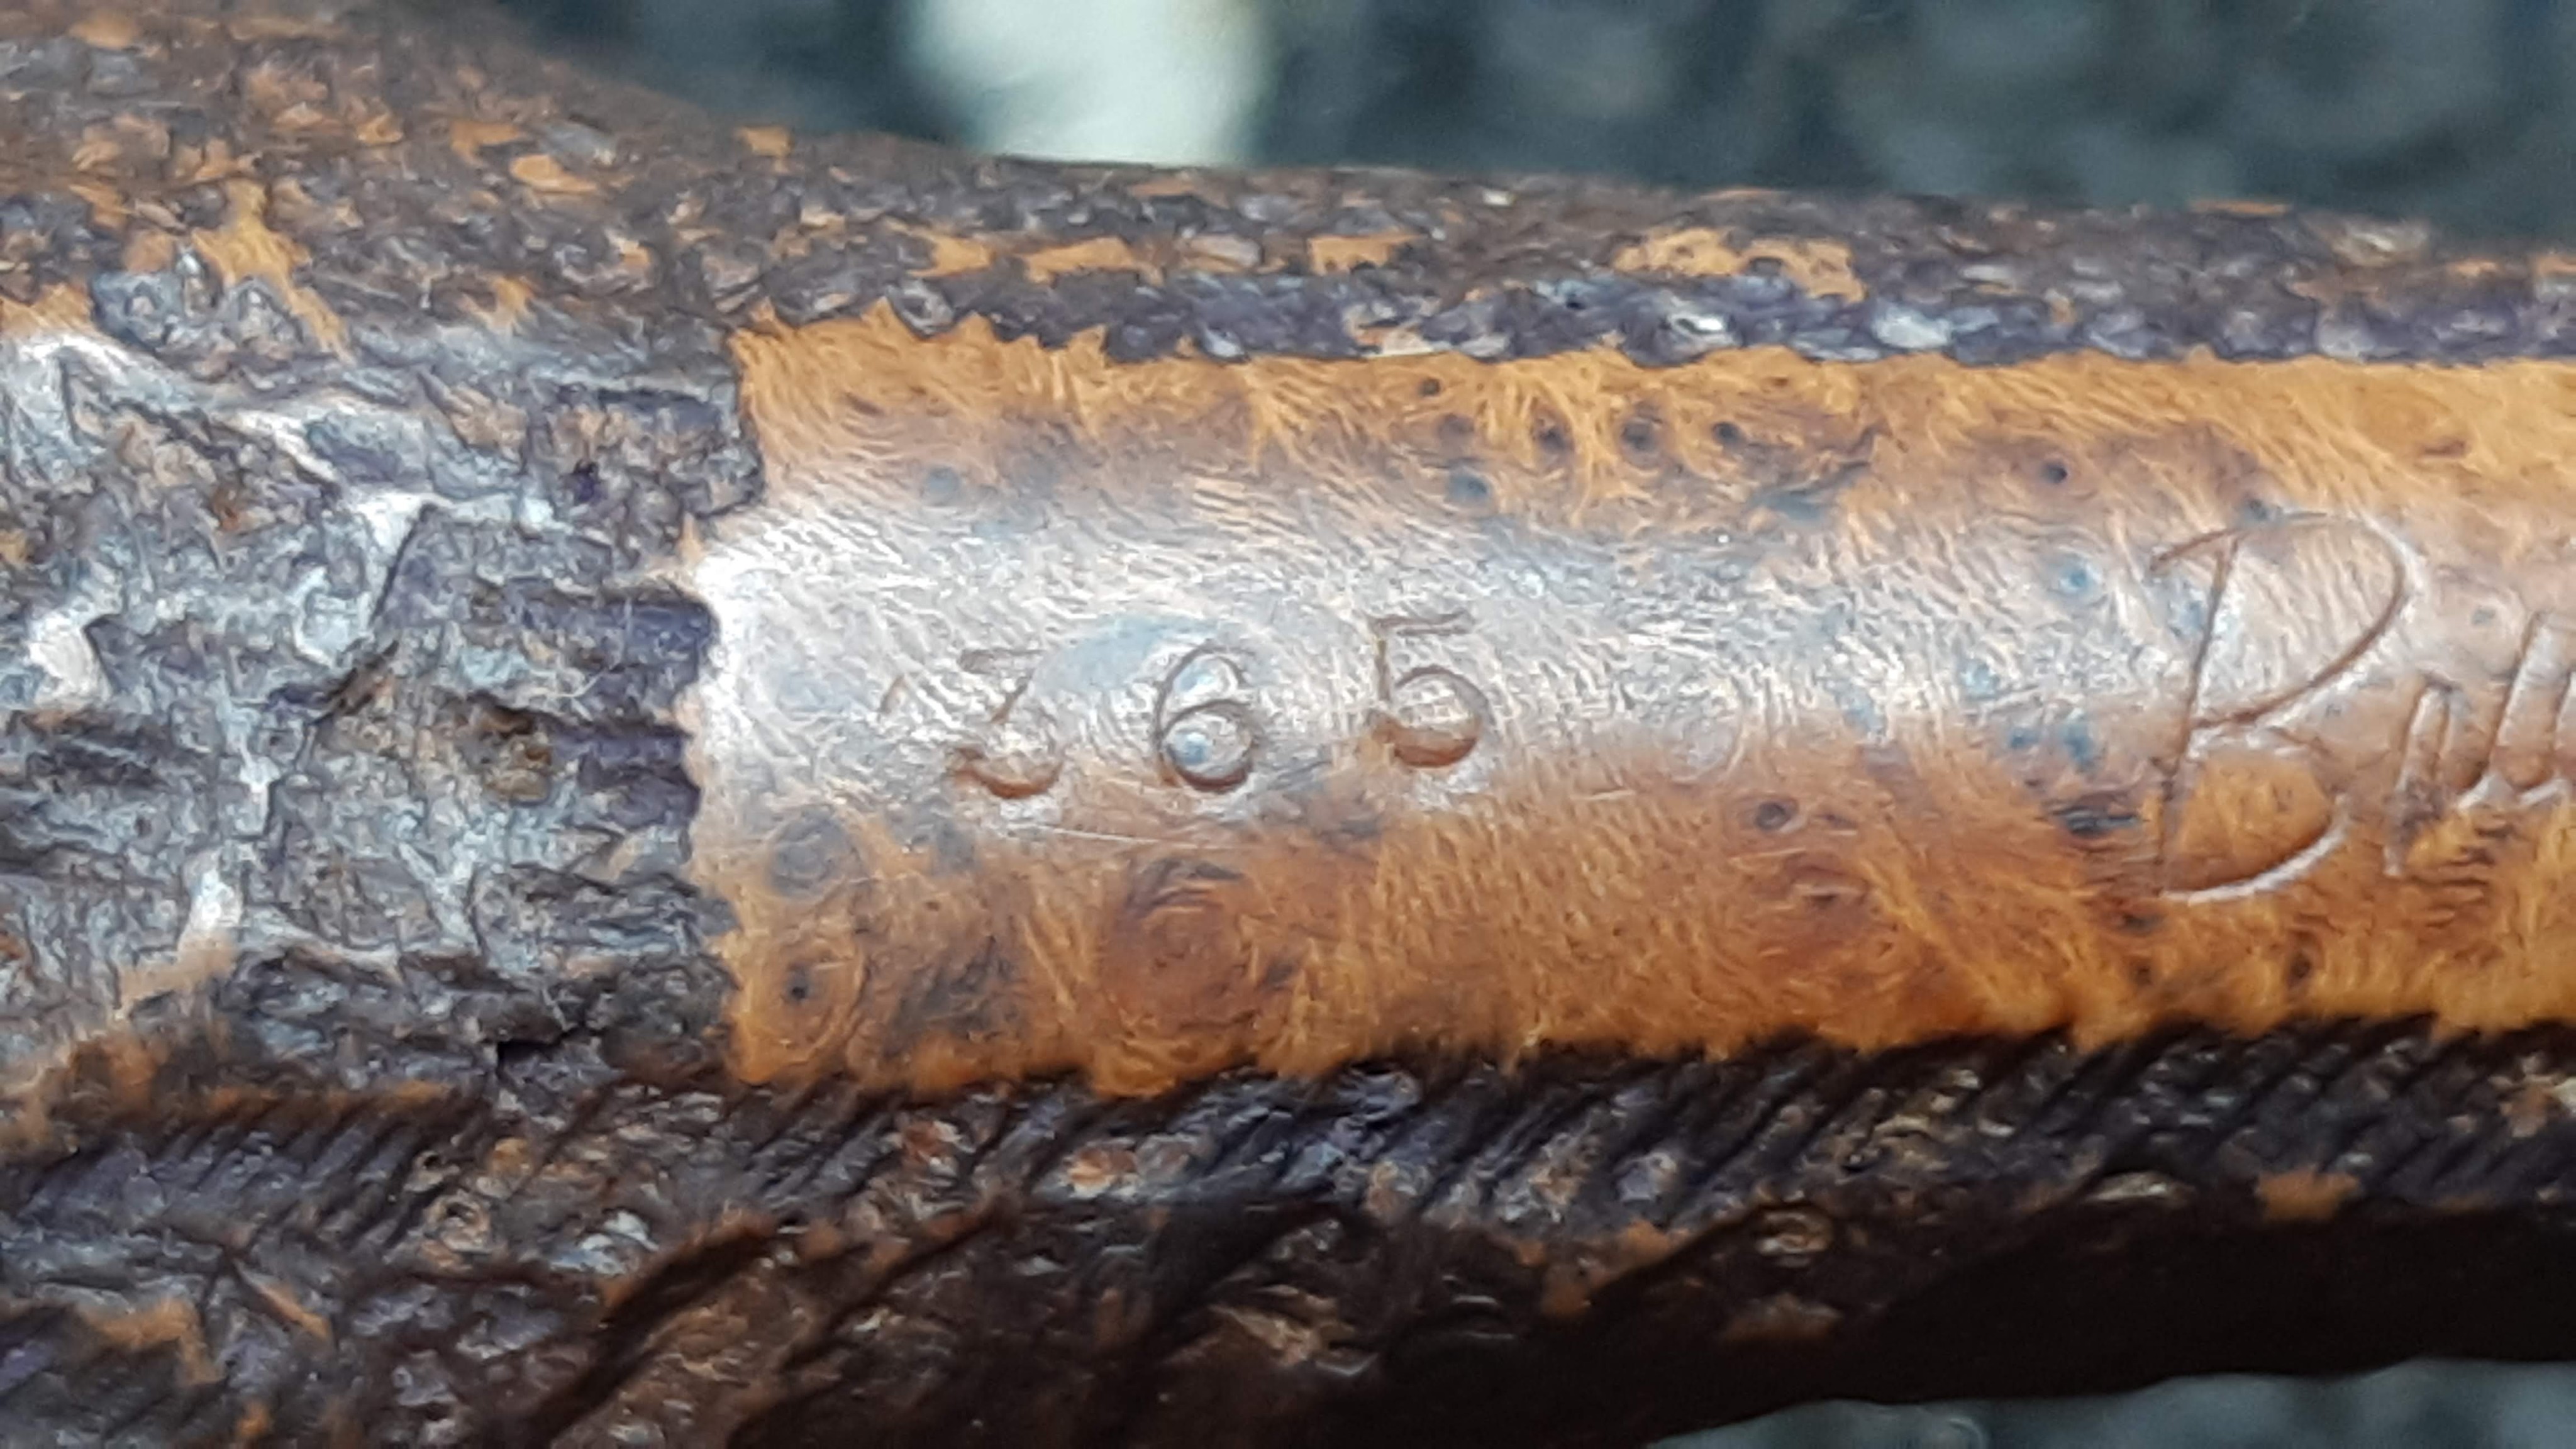
Unfortunately for owners of older Brigham pipes, the composite tenon is not a one-to-one fit for the original aluminum setup. While some vintage Brigham pipes have enough shank/stem girth to adapt to the composite tenon, many others, like the 365 Bent Acorn on the table today, do not. This pic shows a modern composite tenon next to an example of the original aluminum version.

I’ve had this 1980s-vintage 365 in my refurb box for several years. I cleaned up the stummel early on in my restoration journey, but was, thankfully, clever enough to recognize my own limitations at the time when it came to repairing the stem.
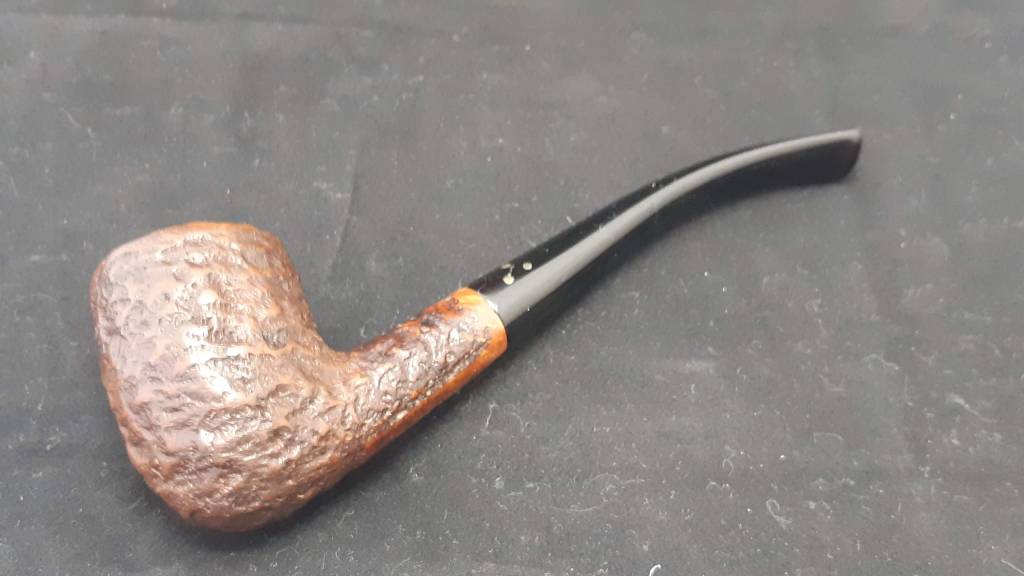
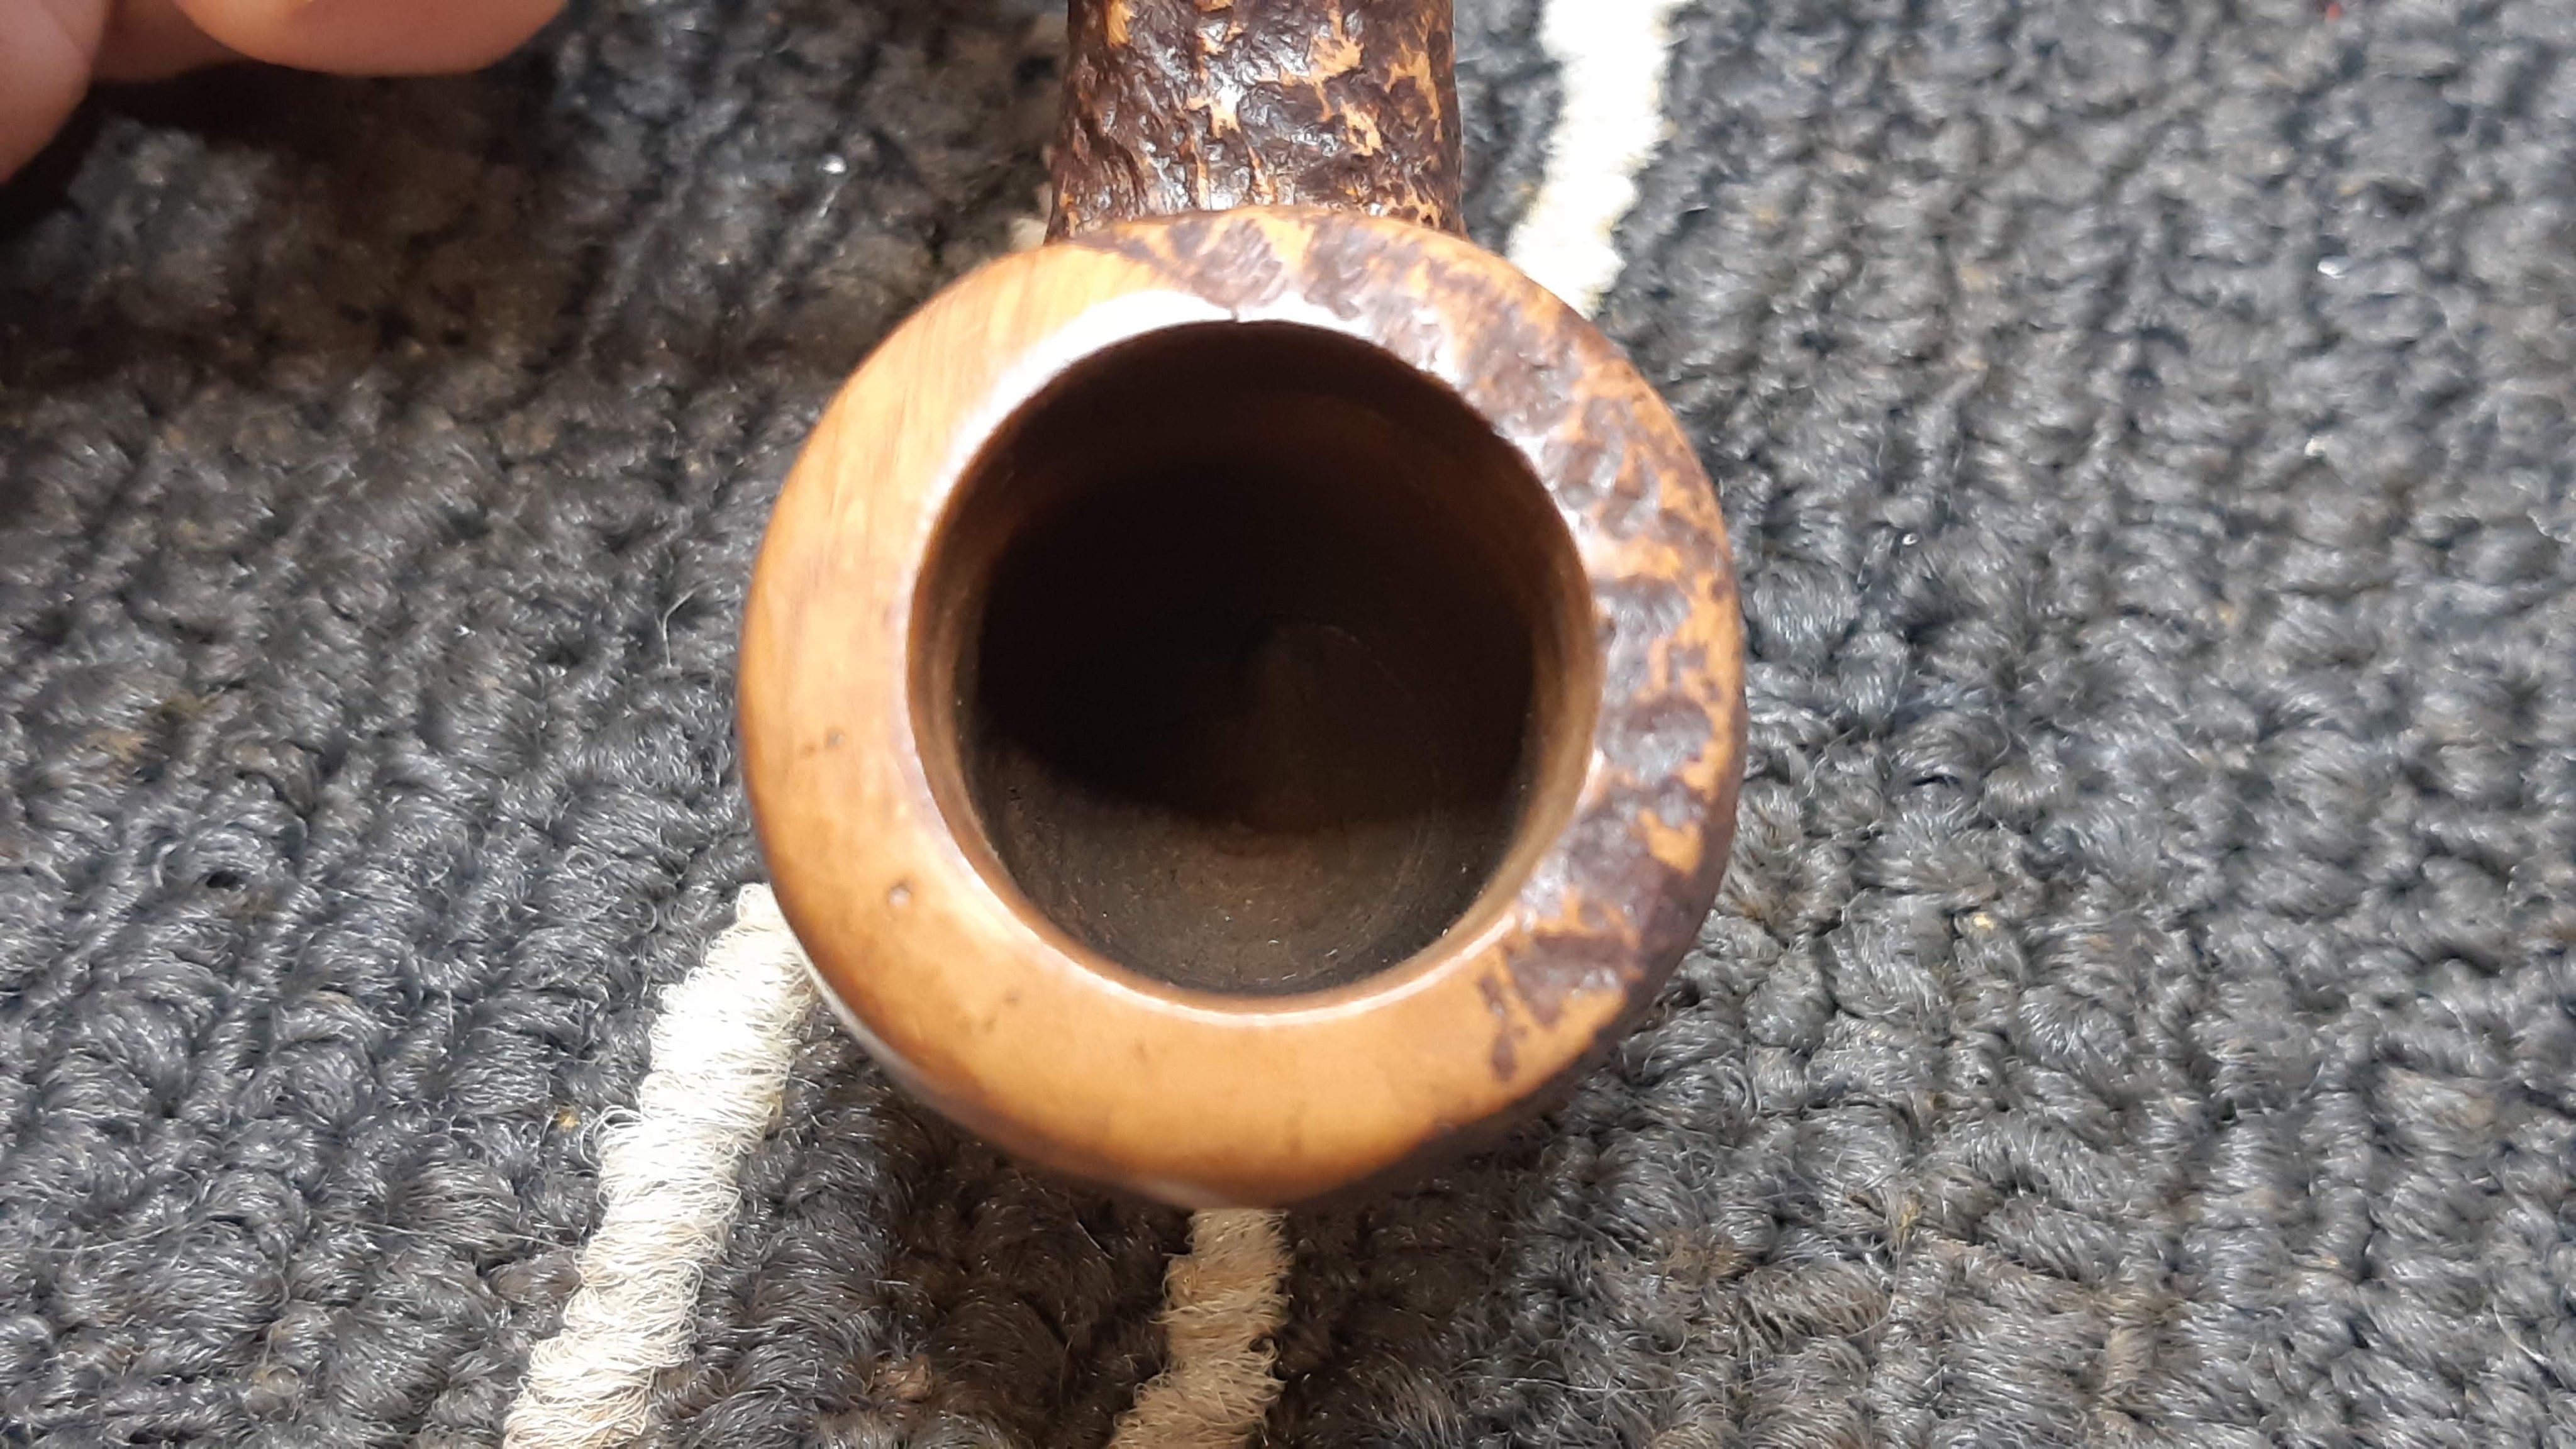
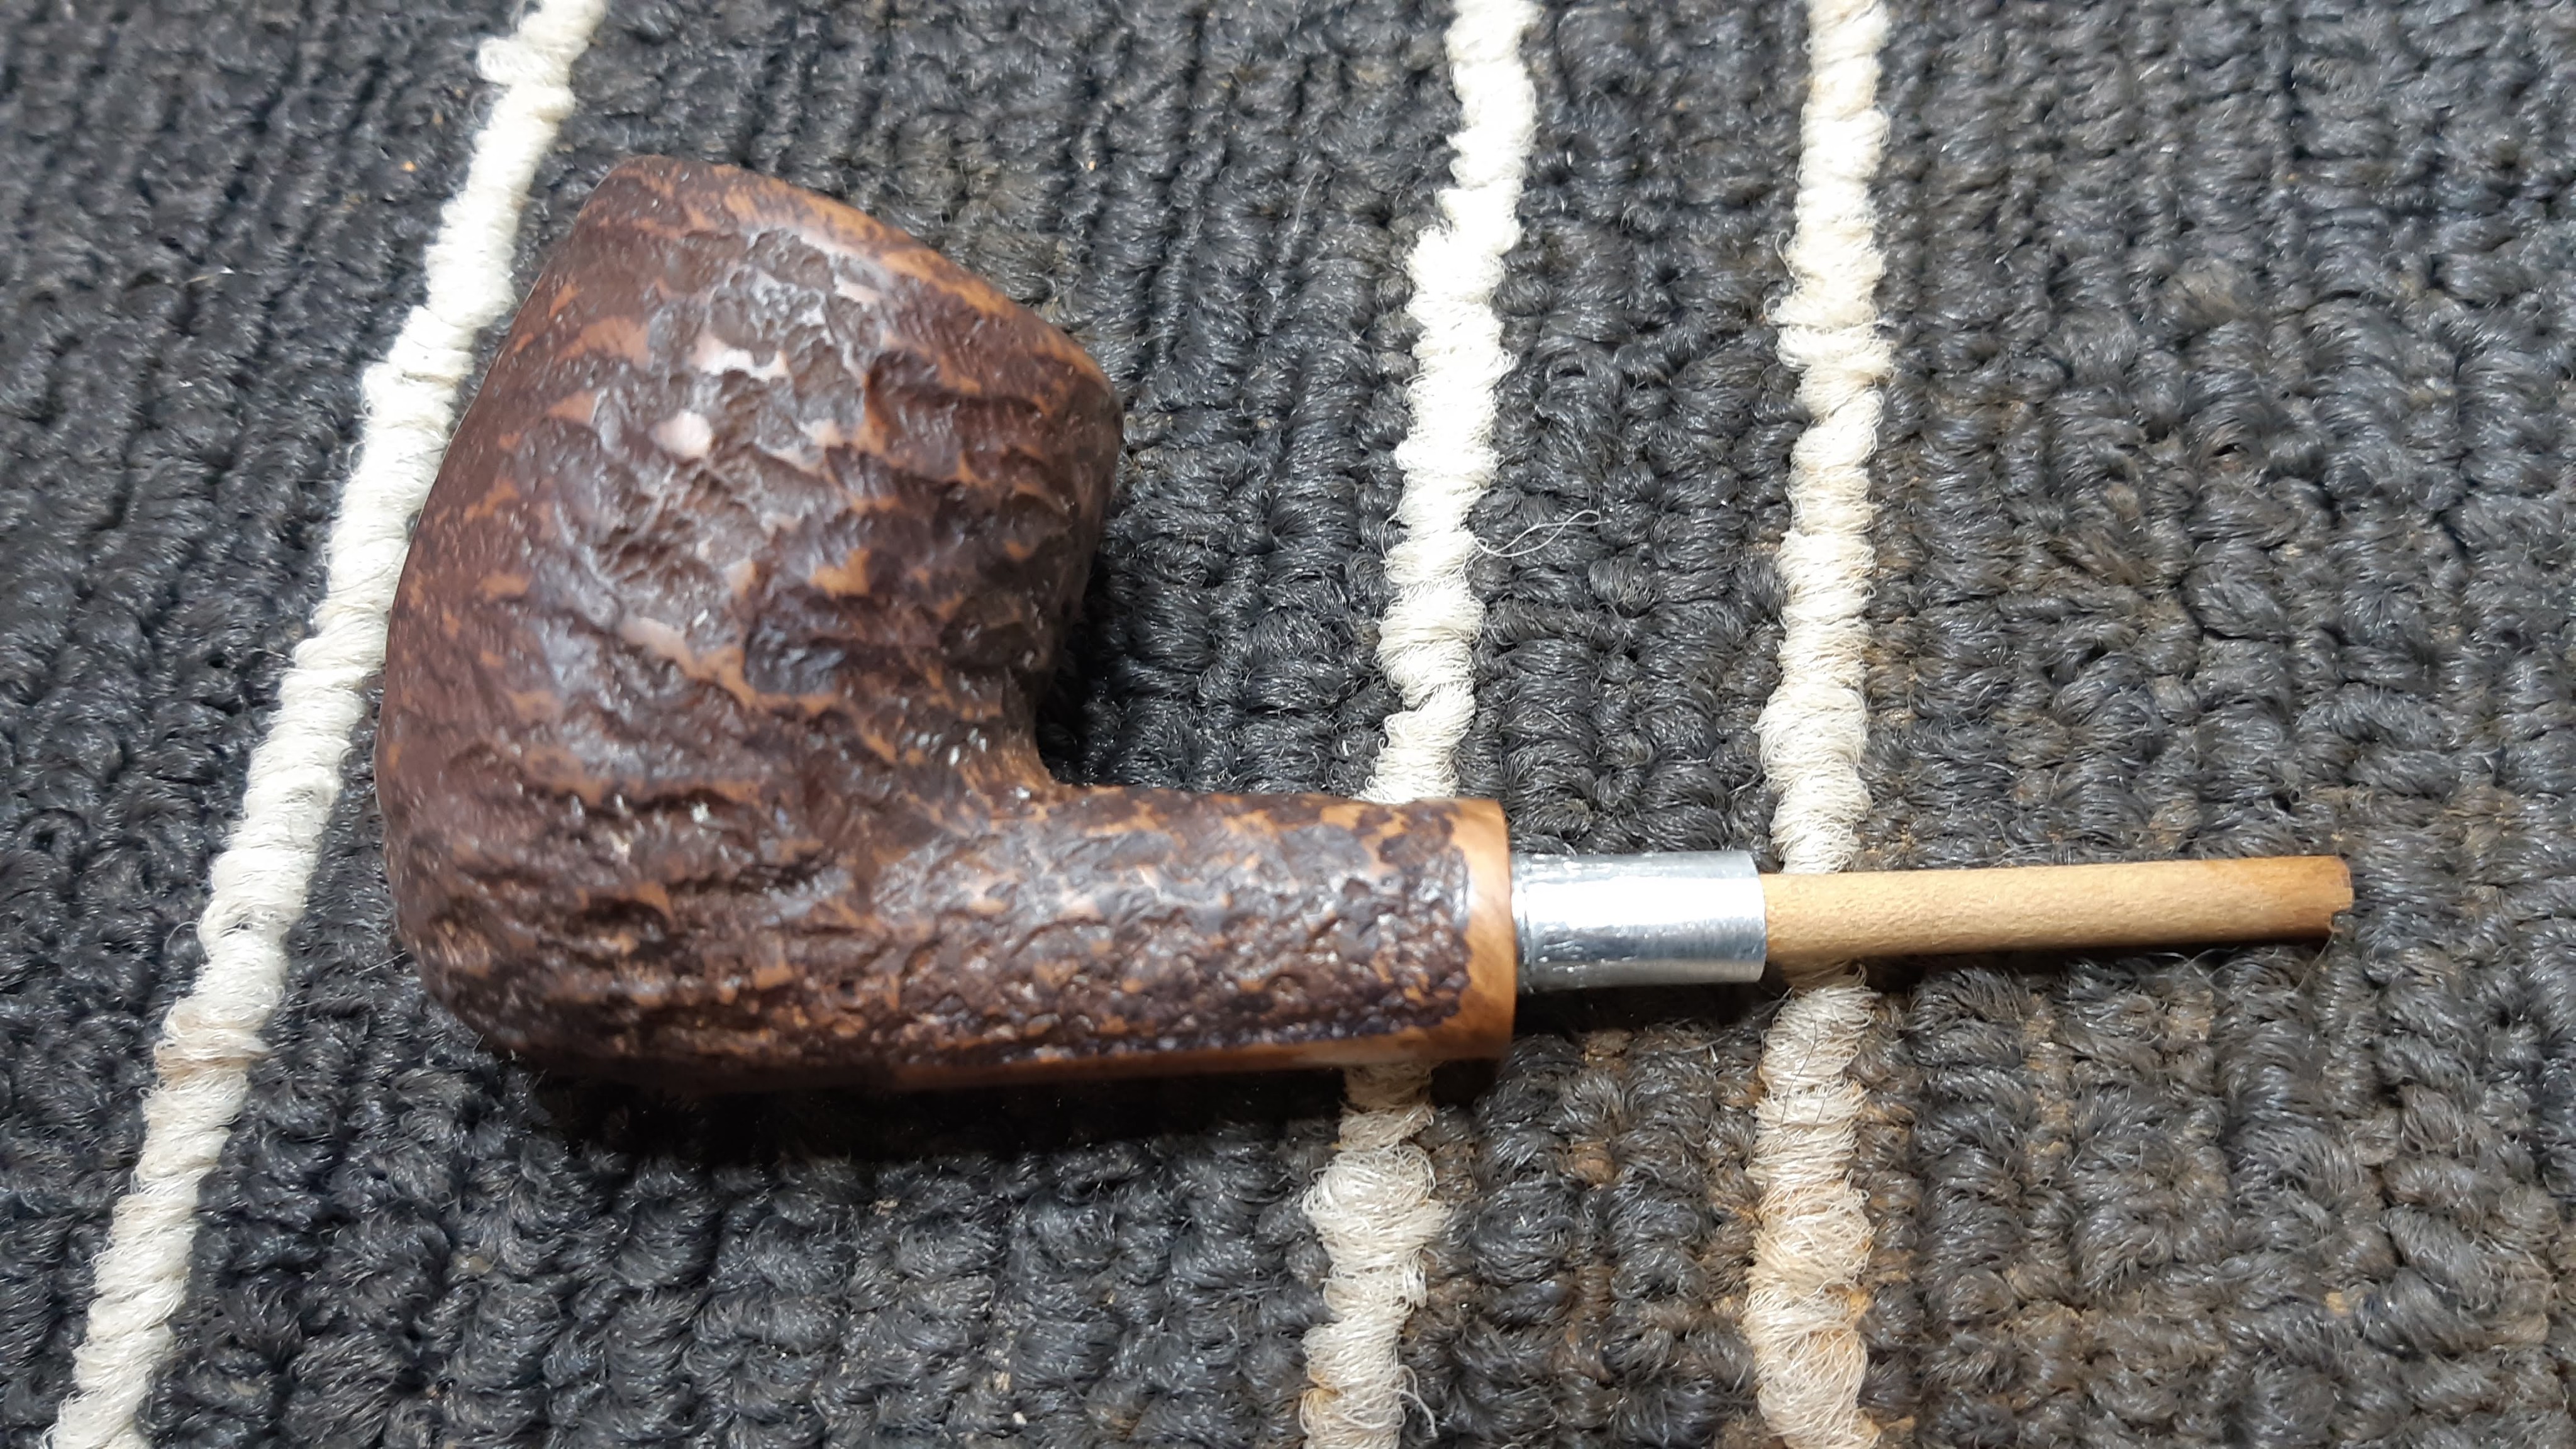
First, a few shots of the stummel. It won’t take much to finish the work here.


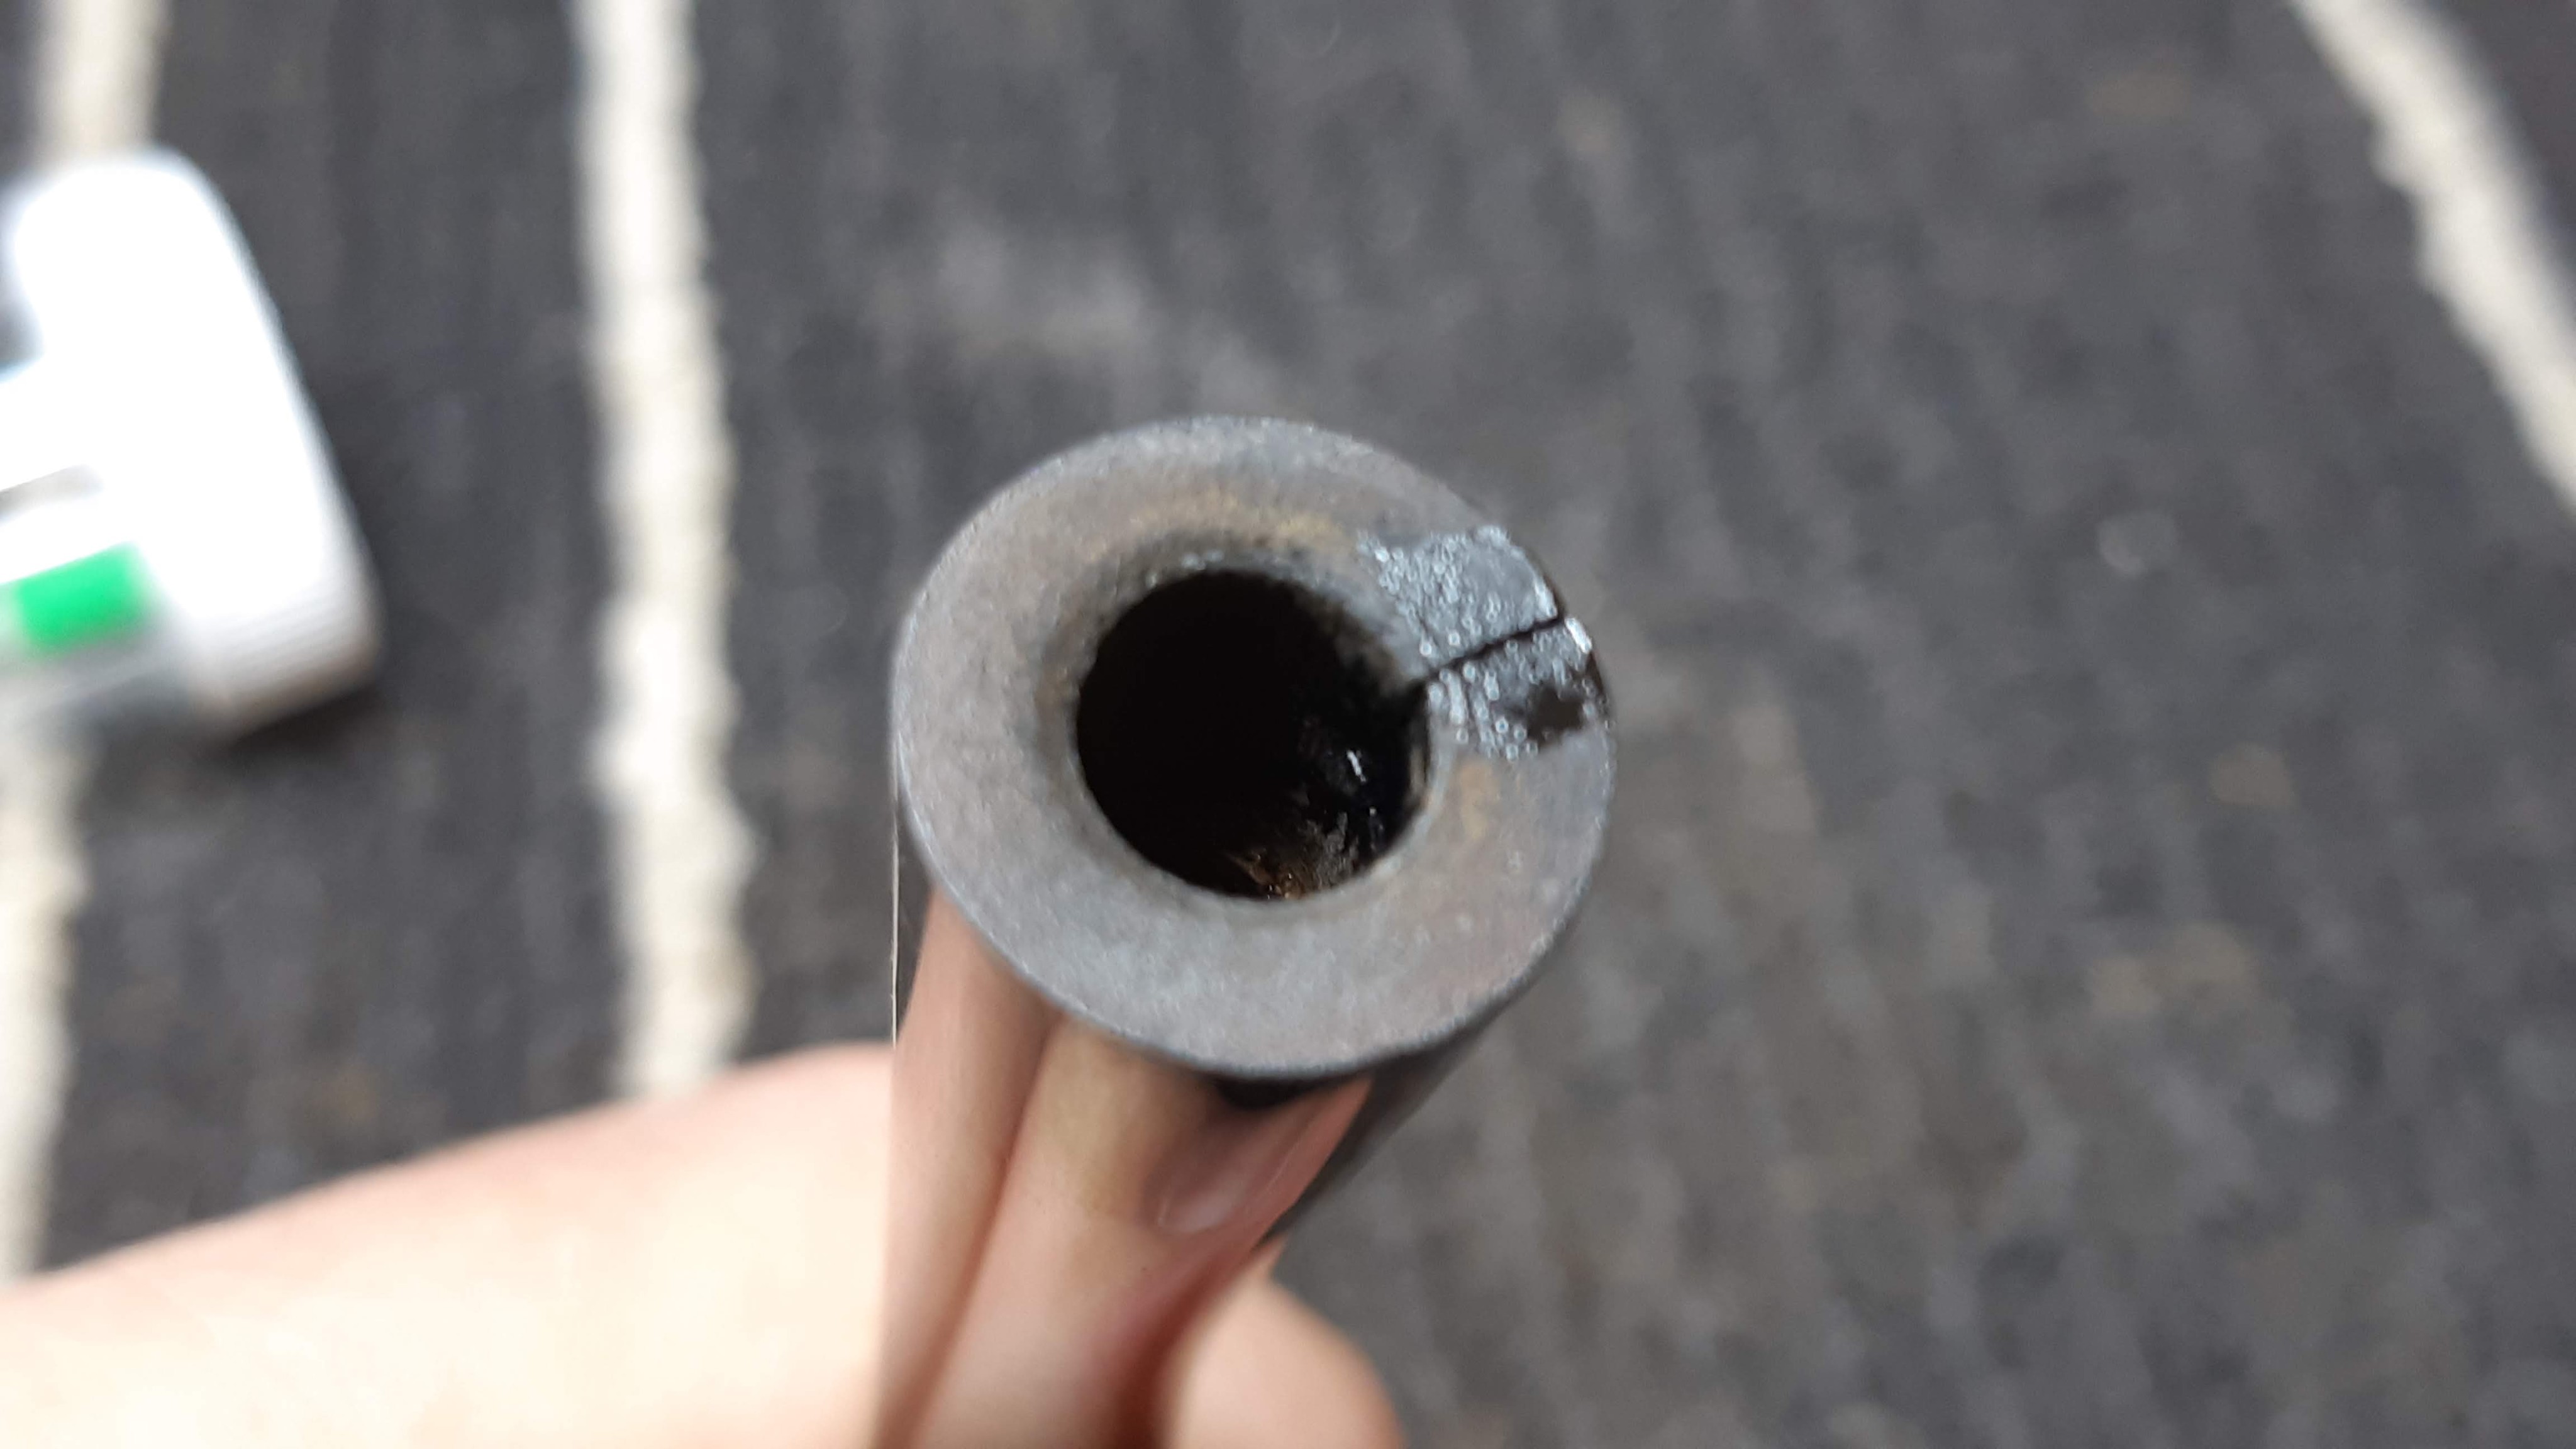
And now the tenon and stem. The aluminum tenon on this pipe had corroded to the point where it finally gave out. It is missing material from the end and has also cracked lengthwise. It’s toast.
I had removed the tenon from the stem, which is reusable, or will be once I repair the damage I inadvertently inflicted on it when twisting the tenon out. As you can see below, the brass pin anchoring the tenon in the stem caused quite a bit of havoc during removal- ugly at the moment, but not irredeemable.


Here is a shot of all three original pieces of the pipe. The tenon is short, but still longer than any salvaged Brigham tenons I have on hand.

I started the repairs on the stem by flowing CA glue into the cracks left behind by the removal of the damaged tenon. After careful sanding, this repair should be virtually invisible.


I set the stem aside to let the glue cure completely. While I waited, I prepped one of my shop-made replacement tenons for installation. This pic shows the original tenon next to the replacement. Thankfully, there is enough of the original remaining to get an accurate measurement. I’ll have to mark and cut the replacement tenon to length before gluing it into the stem.

After a bit of tweaking, the new tenon fit nicely in the shank. I dry-fit the tenon with a rock maple distillator in place to make sure I left enough room in the shank for the distillator’s aluminum cap.

And here is a shot of the pipe with the stem dry-fit onto the tenon. It almost looks like a pipe again!

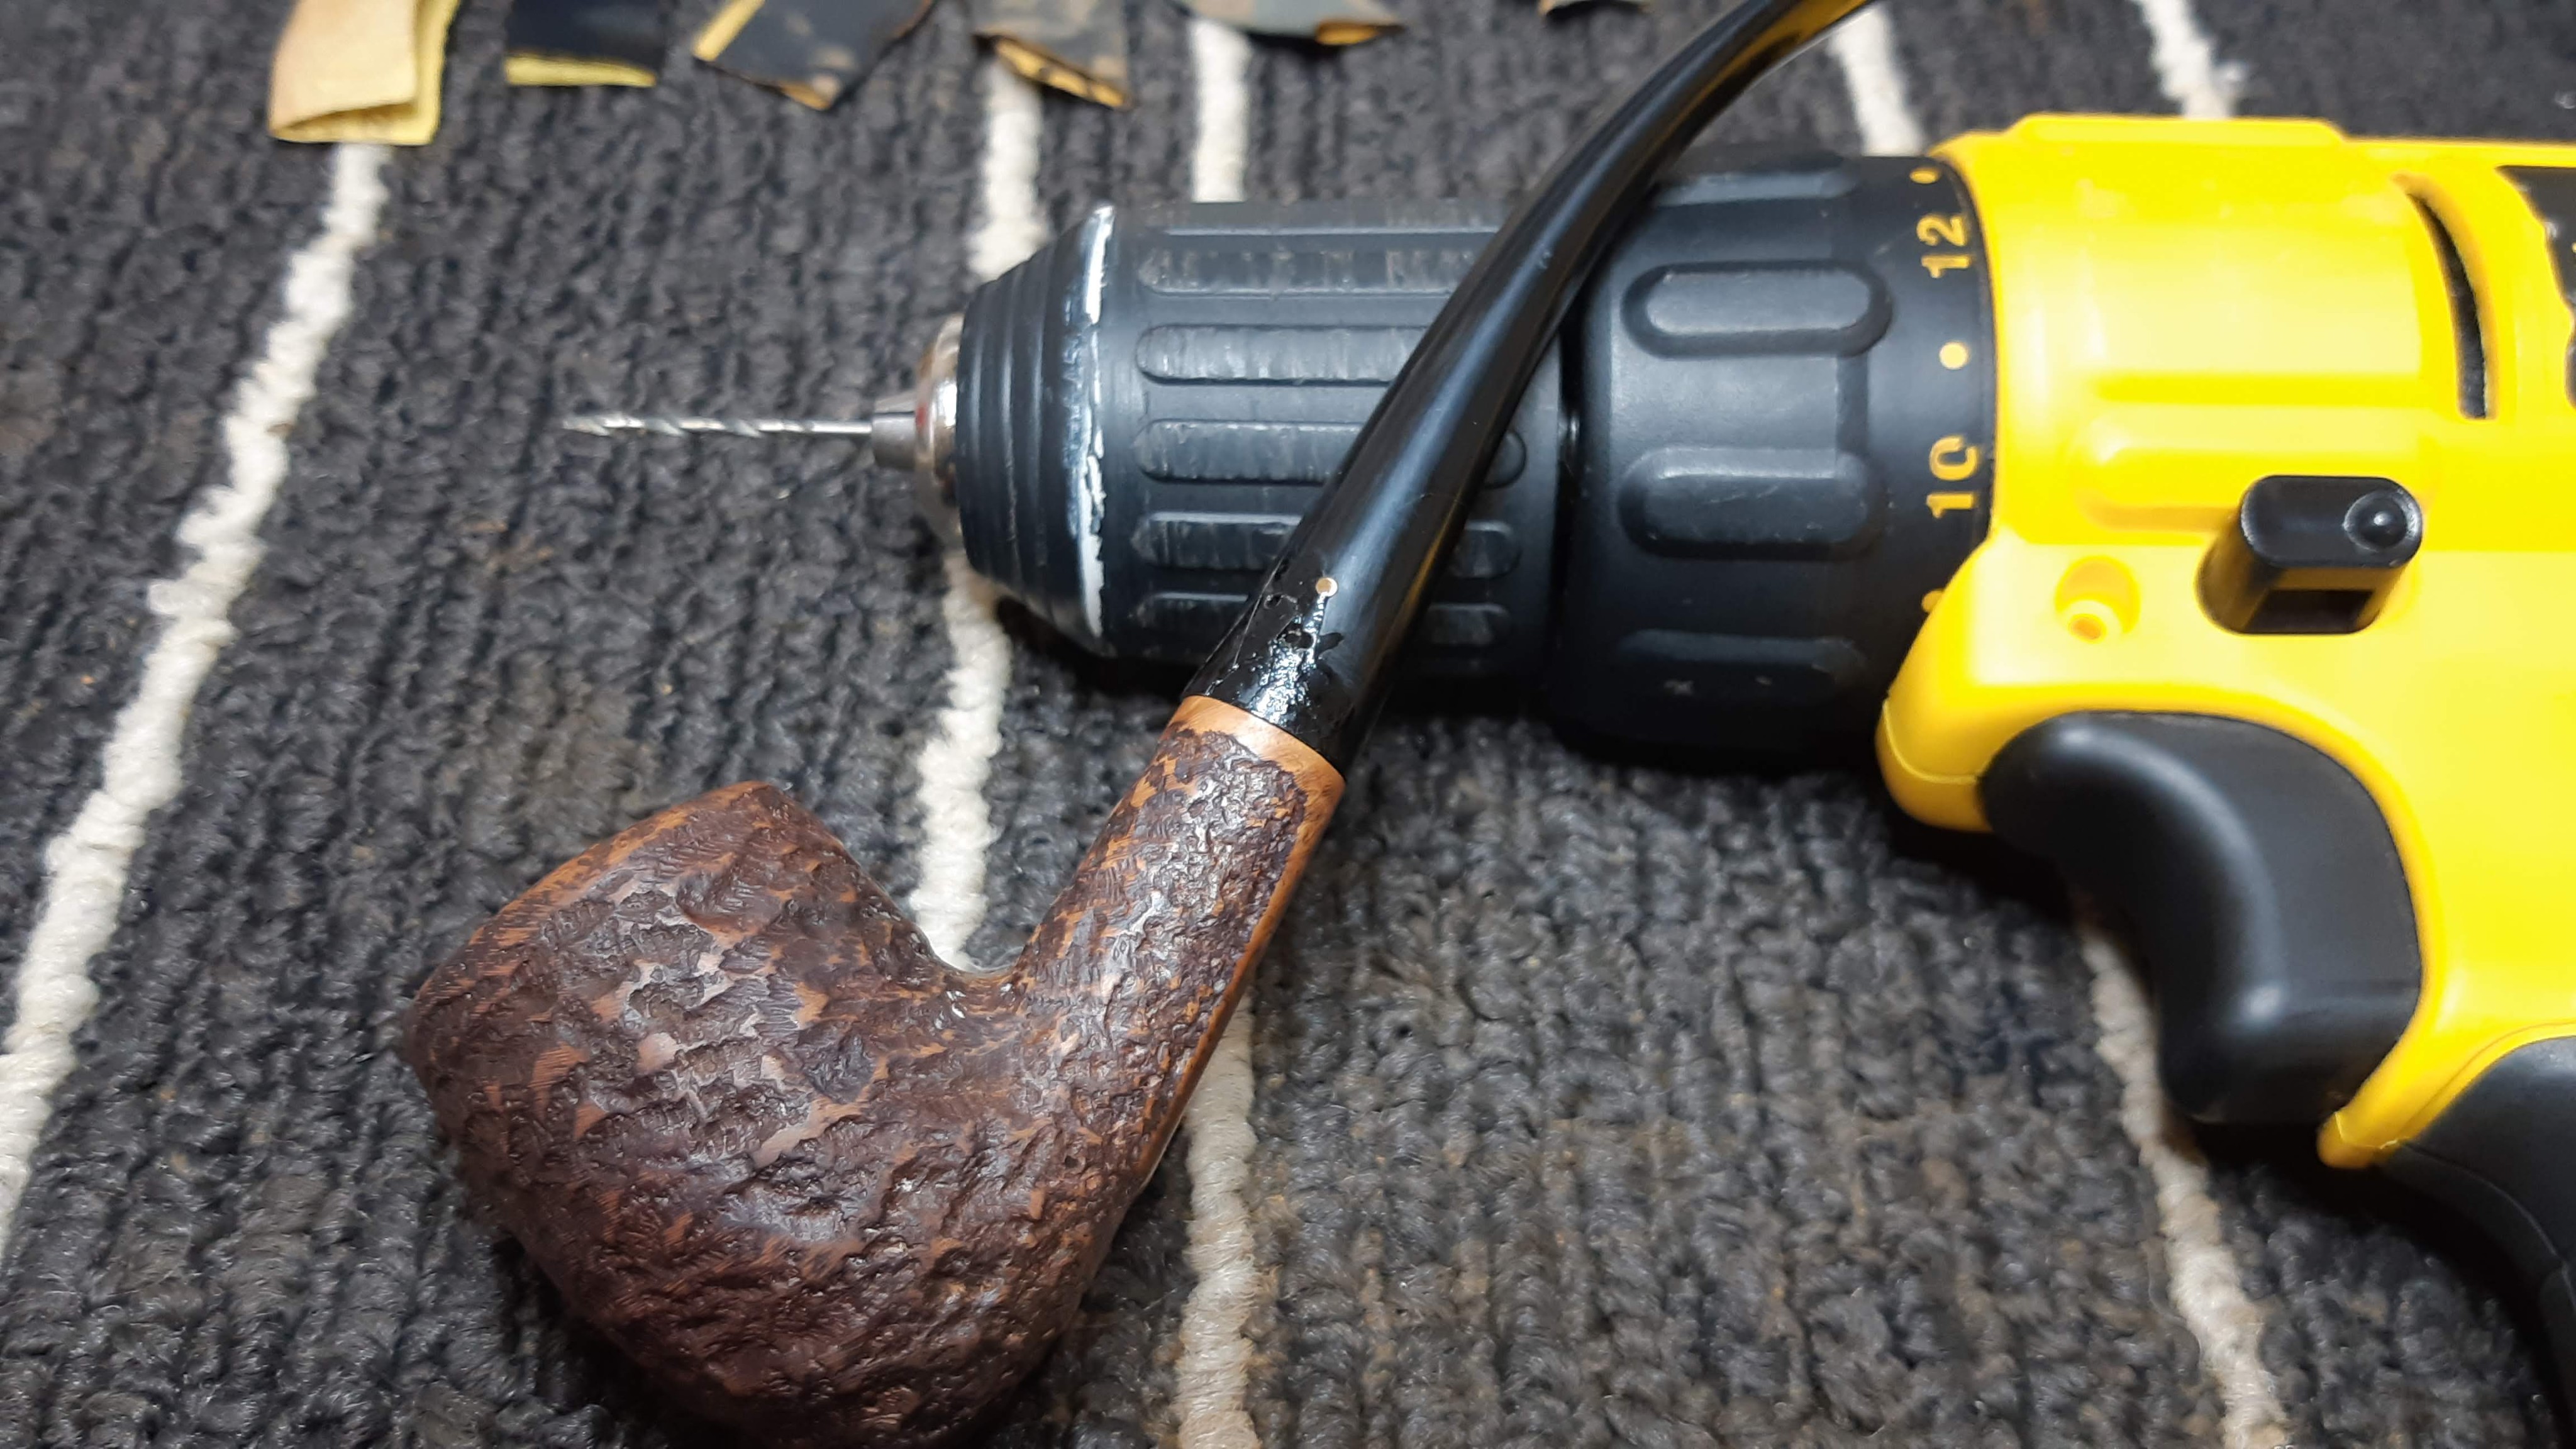
My normal practice when replacing Brigham tenons is to secure them in the stem face with epoxy. Given the damage to the end of the stem in this case, however, I decided to add a bit of mechanical fastening as well. I drilled through the first of two empty pin holes in the stem, drilling through the side of the aluminum tenon as well. When I replace the missing pins, or Dots, on the stem, the tenon will be pinned into place through this hole.


Using a half-round needle file, I cut grooves into the aluminum tenon to give the epoxy something to grab onto.

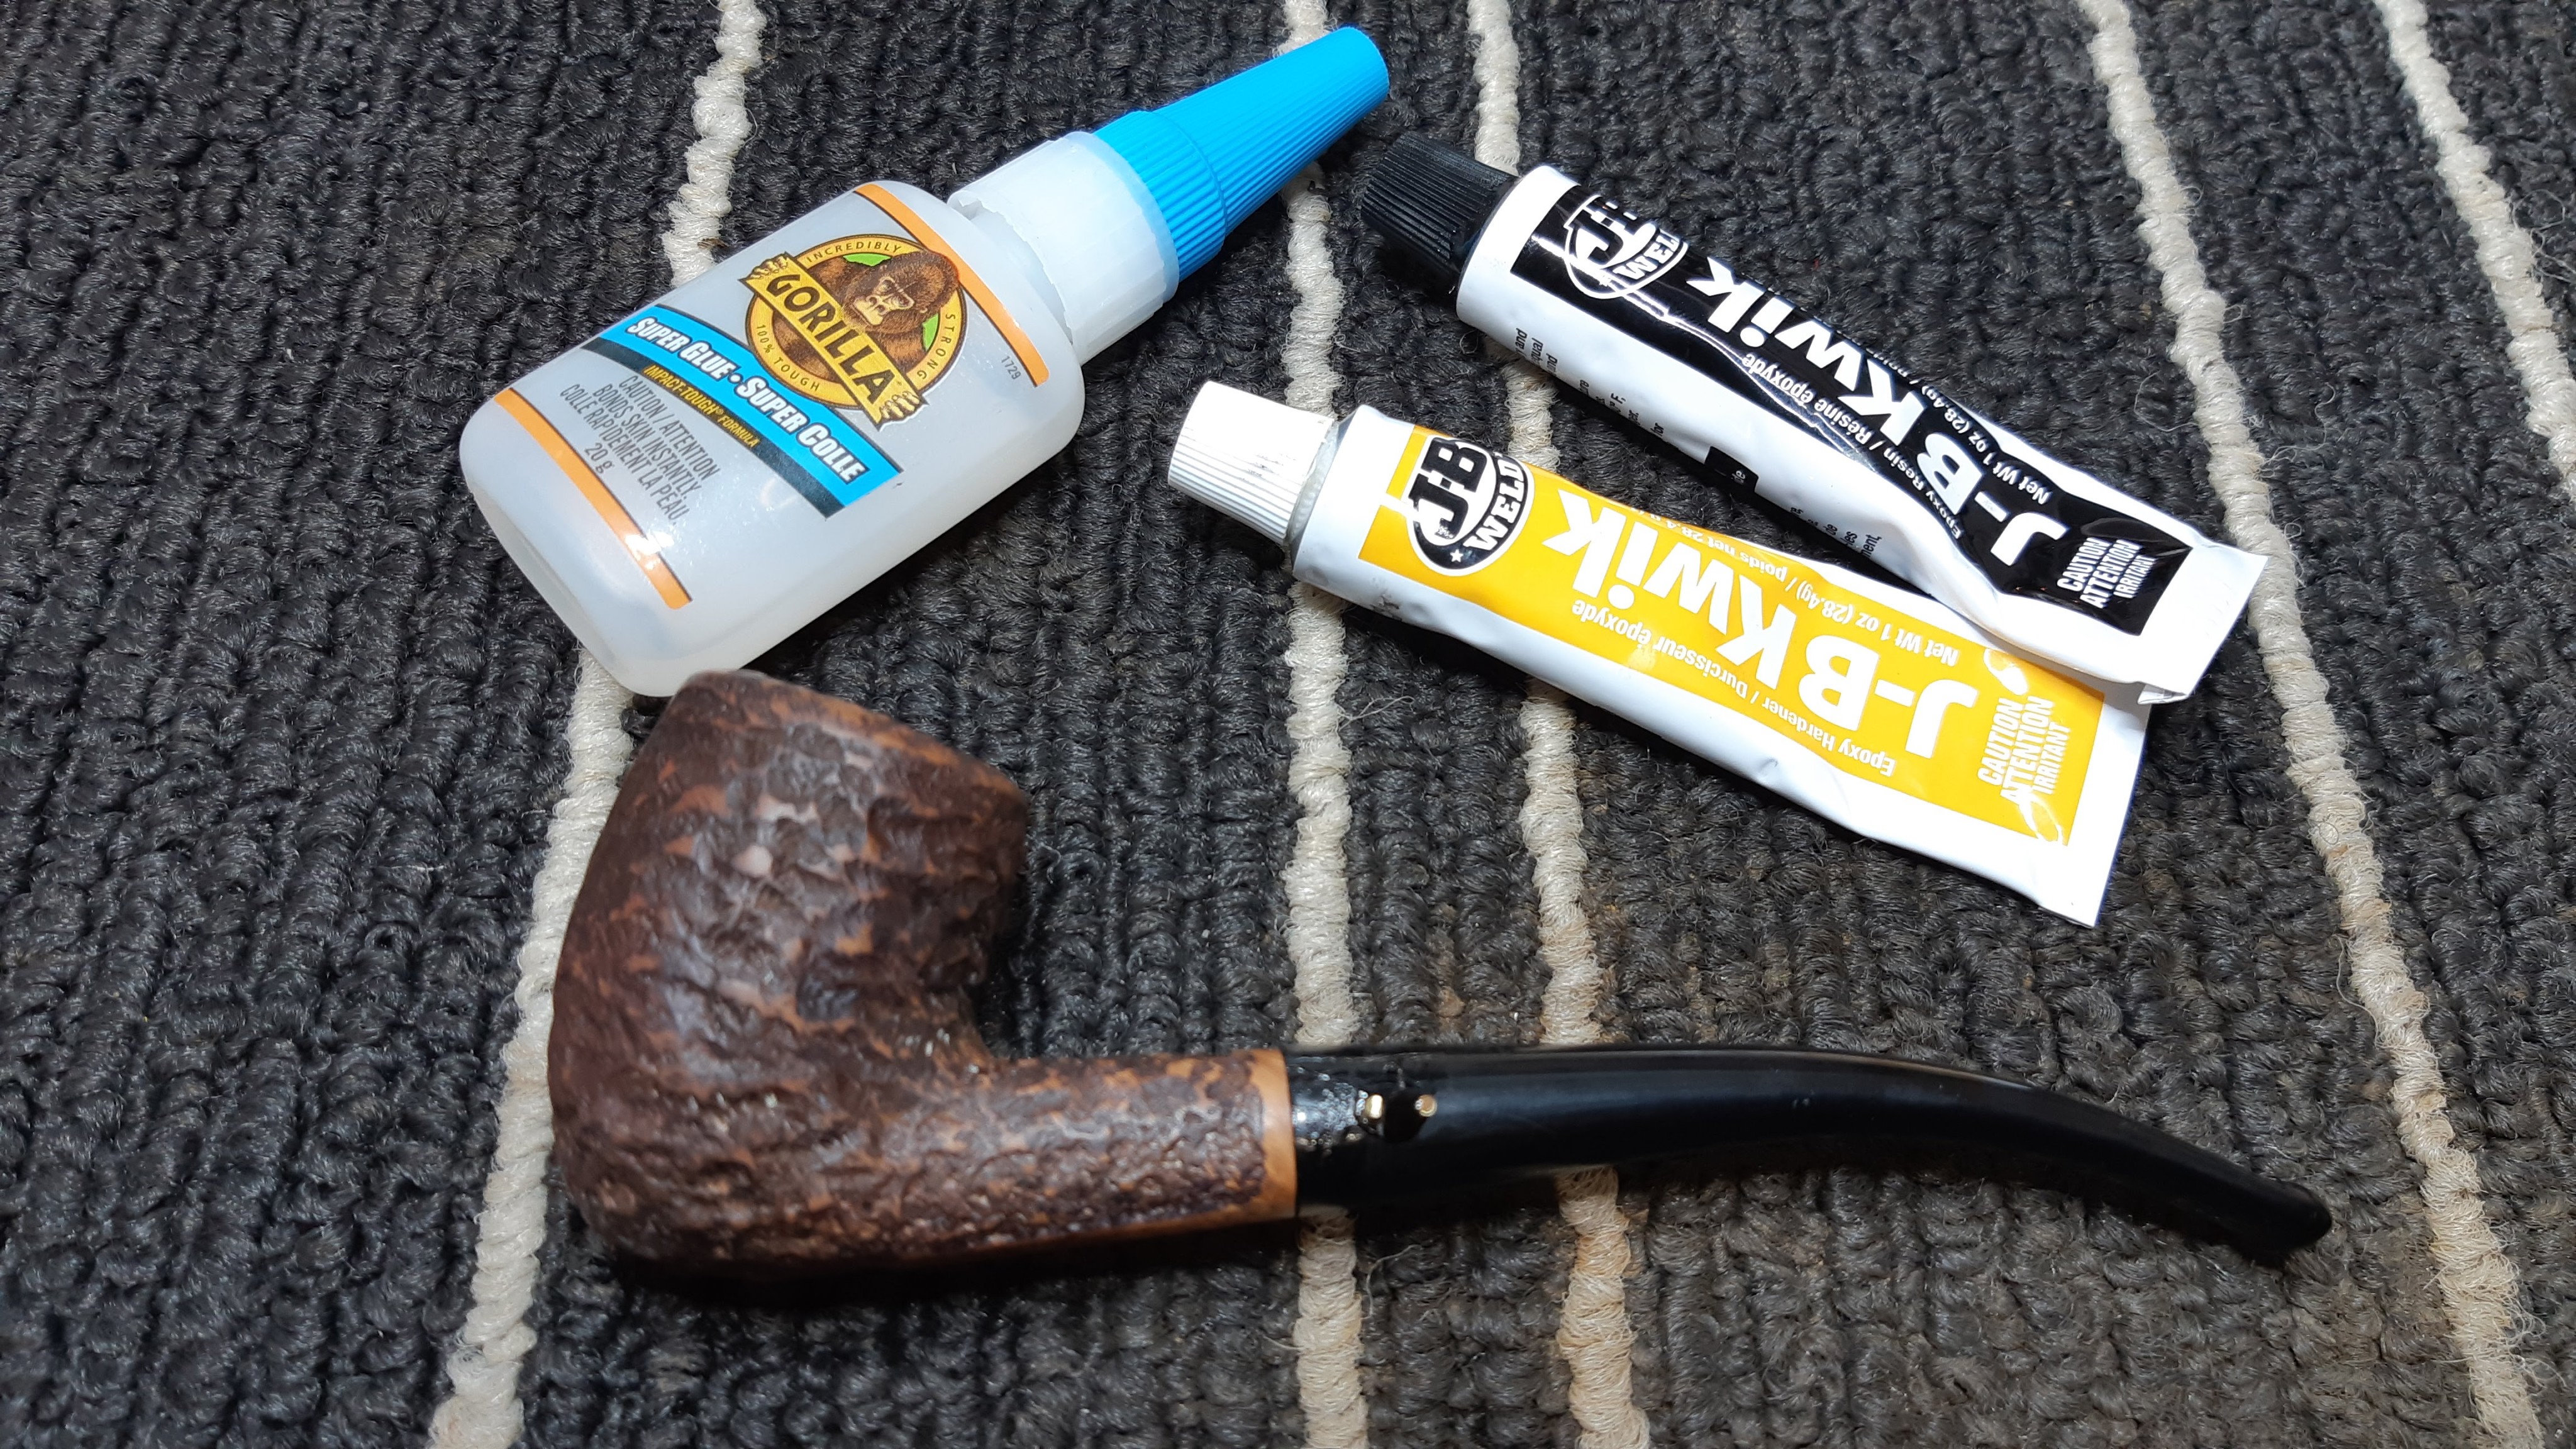
For glue, I used a bit of JB Kwik-Weld, both for its fast hold and its heat resistance.
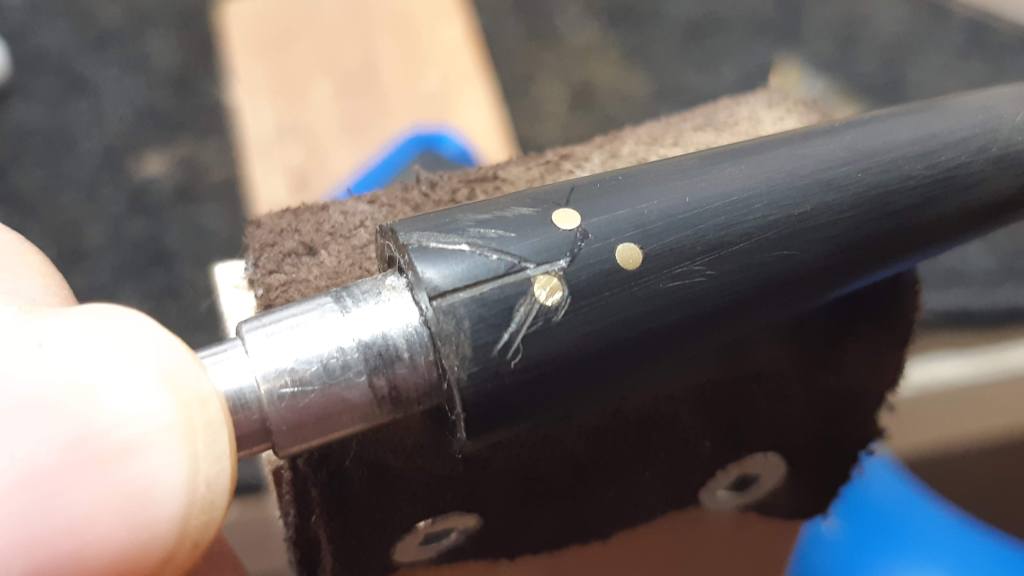
And here is a close-up of that first brass pin set into position. A dab of CA glue in the hole secured the pin in position through the stem and tenon walls.

While I had the materials out, I set the other missing pin to complete the triangular 3-Dot pattern on the stem. This pin is set only into the vulcanite as it is purely decorative.

The Dots looked rather unappealing at this point, but once the CA glue cured, I filed and sanded the excess brass away. I had a few small pits to fill afterwards, but overall the Dots looked great.


This completed the structural repairs to this 1980s-vintage Brigham 365; everything done after this point was purely cosmetic but just as important to the final product. The stem, not surprisingly, was slightly off-centre in relation to the shank, so the next task was to file and sand the stem/shank junction to restore the smooth flow of the pipe shape from bowl to button.


This close-up pic shows that there was still some detail work to do on the stem. The cracks didn’t fill completely, leaving small pits in the surface that catch the sanding dust.

I cleaned the debris out of the cracks and applied a layer of CA glue mixed with charcoal powder to fill the tiny divots. After curing, I sanded things smooth again. The result was better this time but still not perfect.

I decided to give the patch material a bit more surface area with which to bind. Using a needle file, I scored the stem along the repair lines and then repeated the patch application.
In the end I needed to lather, rinse & repeat the process a few times again before I decided things were as good as they were likely to get. The stem still isn’t perfect but the repair doesn’t jump out against the Vulcanite anymore. The casual observer will never notice the tiny defects; those with keener eyes may still need bright light and magnification to make things out. Good enough!
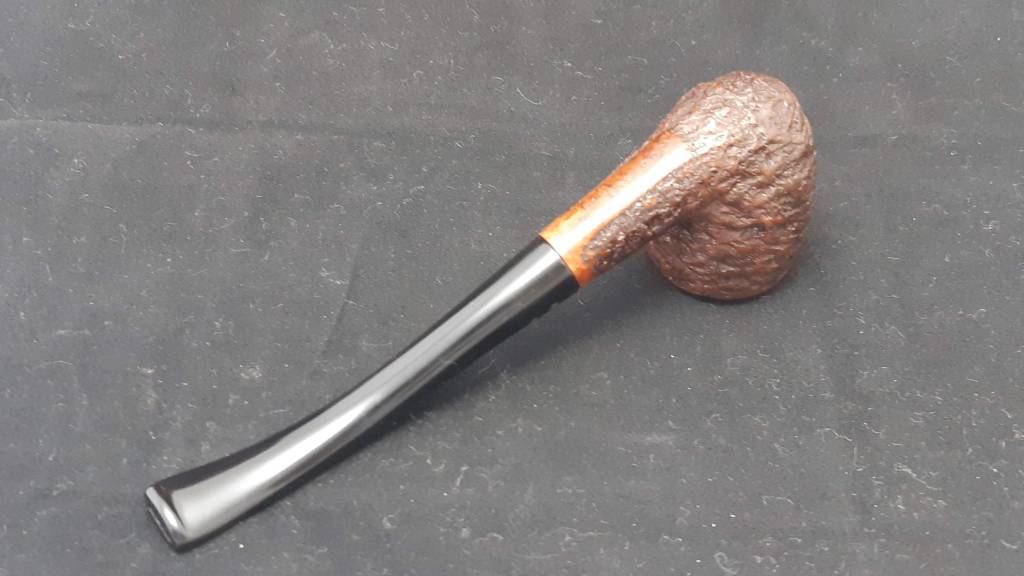
To finish the restoration of this Brigham 365, I took the pipe to the buffer for a run of Red Tripoli and White Diamond compounds followed by several light applications of Carnauba wax to shine and protect the refreshed finish.
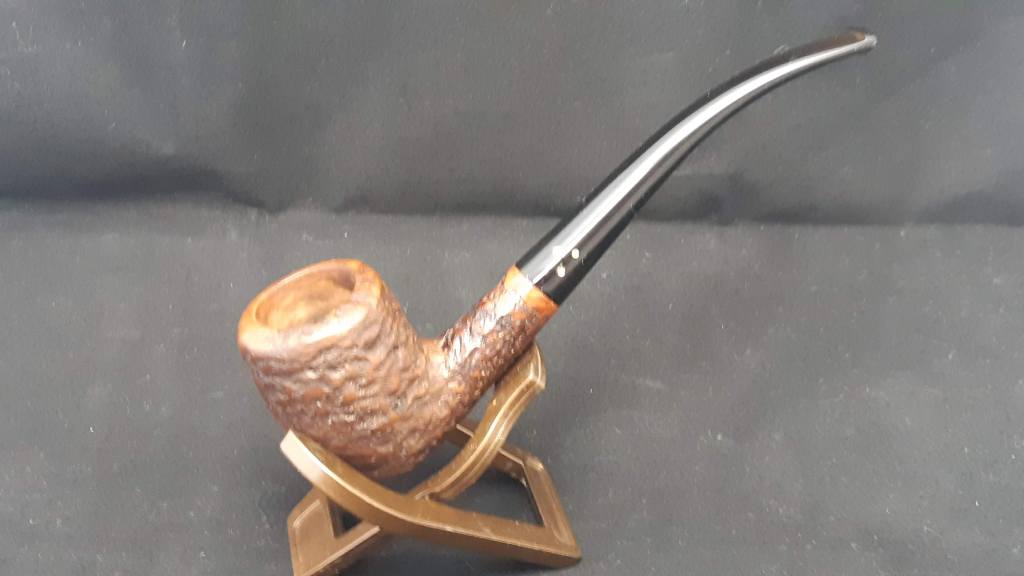
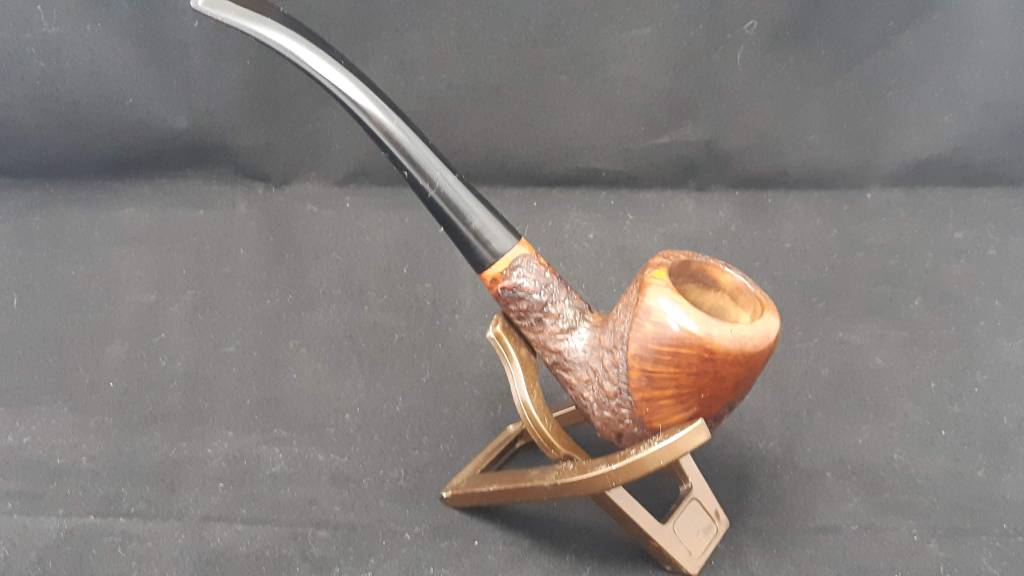
This 40-year-old Bent Acorn has gone from write-off to right on! The new shop-built aluminum tenon fits well and looks (nearly) factory, and the original stem has been saved from the scrap heap and rejuvenated to match the refinished briar.
It is ready to provide decades of smoking companionship to a new piper. If you’d like to add this Brigham 365 to your own rack, it is available on the Pipe Inventory page now.
Thanks for following along with this interesting repair. It’s not necessarily one that I’d recommend to someone beginning their restoration hobby, but it is certainly achievable with skill and practice.
Until next time, Happy Piping! Here’s the finished pipe.