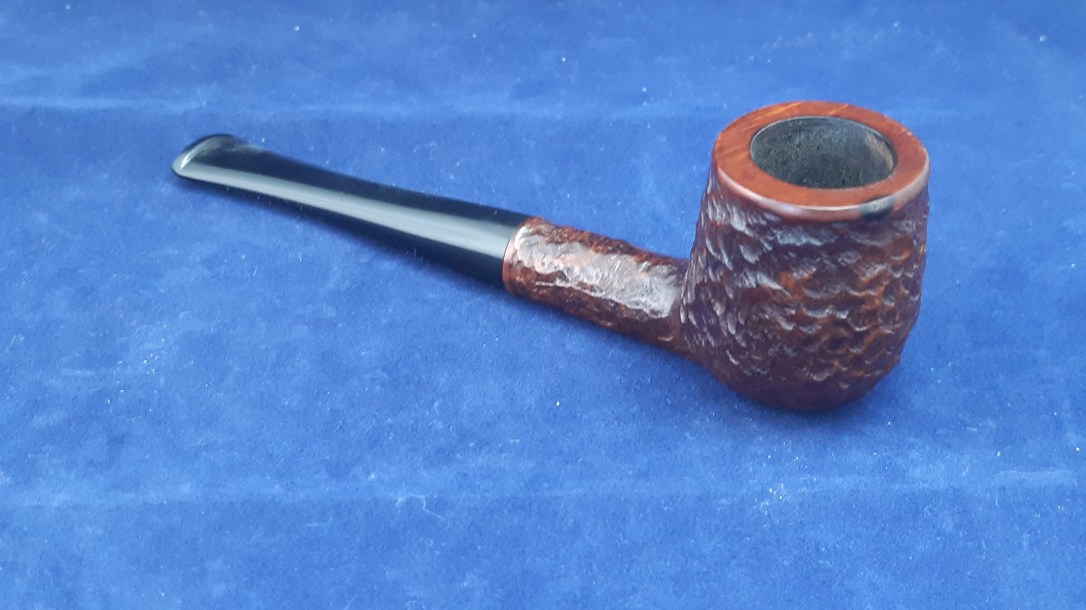
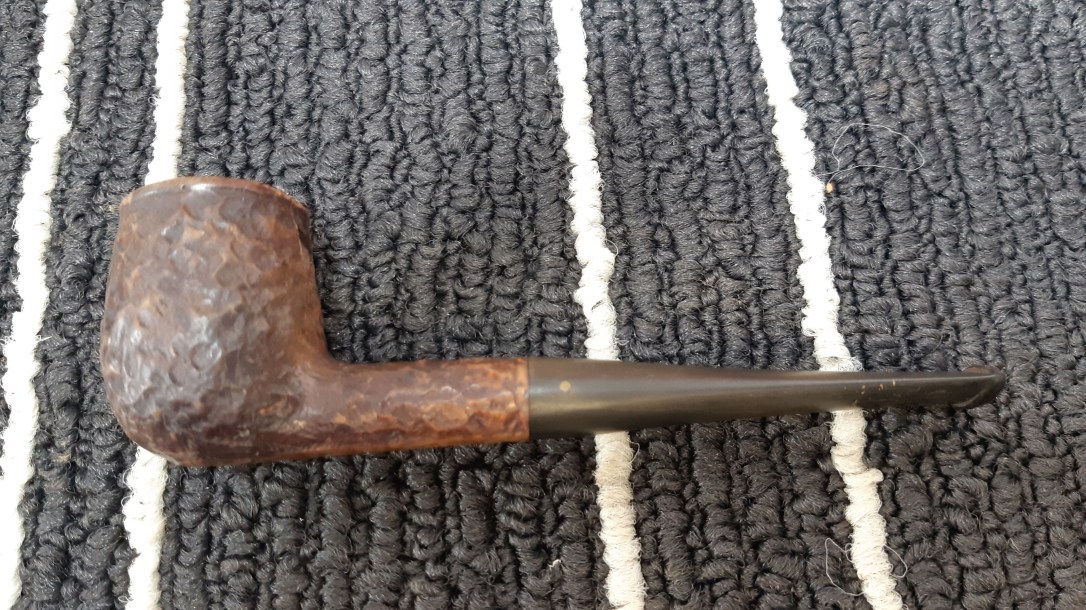
This older Brigham pipe came to me in a mixed eBay estate lot, and at first glance I took it for a basic Billiard. Closer examination and a shape number unrelated to Brigham’s Billiard pipes changed my mind. Ultimately, I’ve labelled this pipe a Straight Brandy Sitter as the bowl walls taper inwards from base to rim and the bottom of the shank is flat.
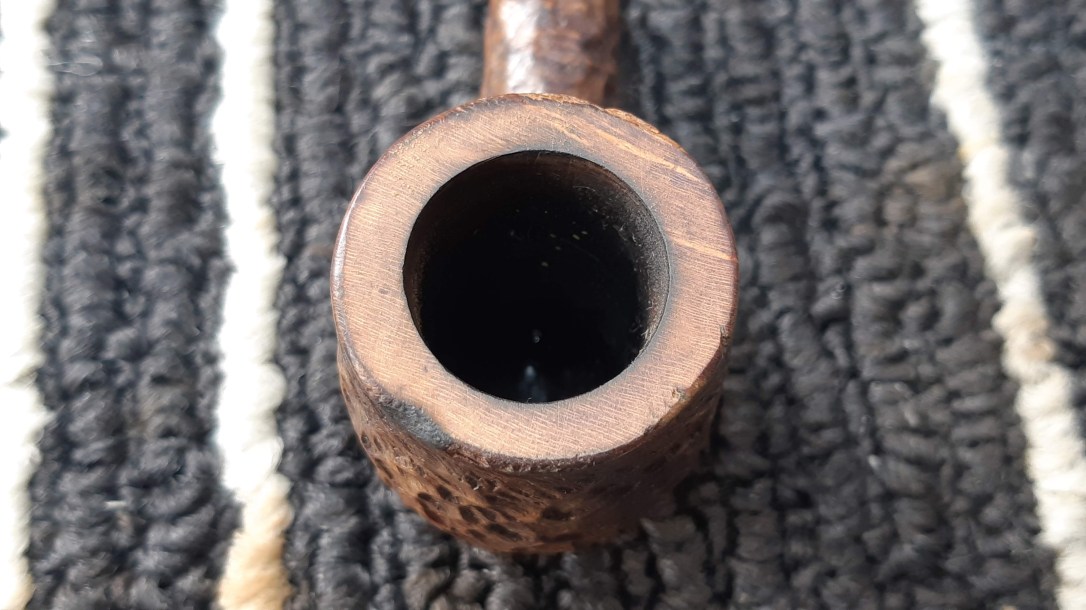
Here is the pipe as it looked when I started working on it. It wasn’t in the best of shape – dirty, greasy feeling briar, oxidized stem, rim damage and a burn mark on the front edge of the rim all indicated that this pipe had been well used and then left uncleaned in storage for many years.


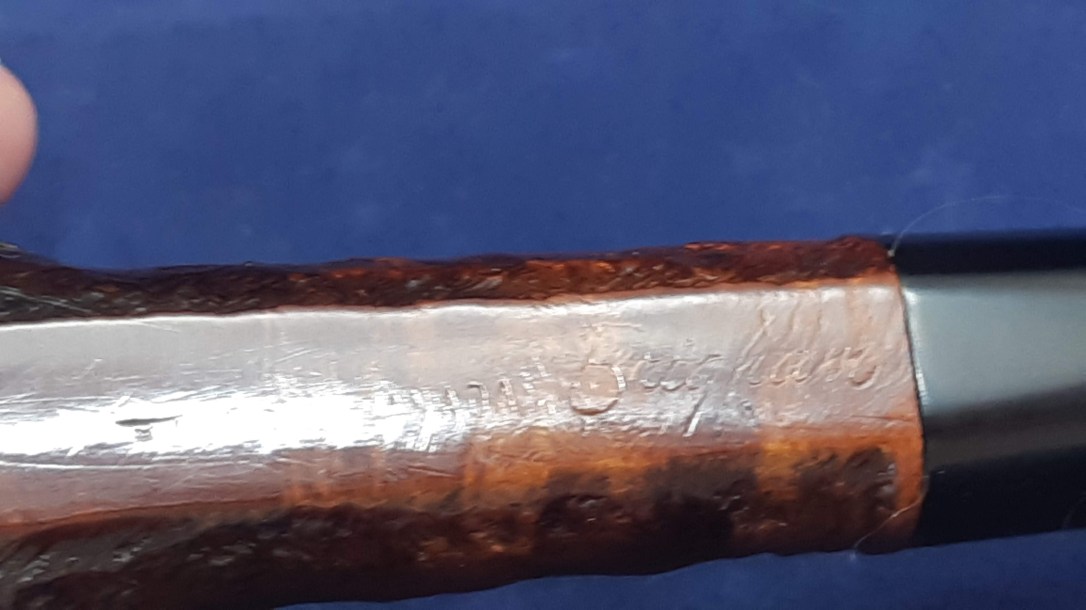
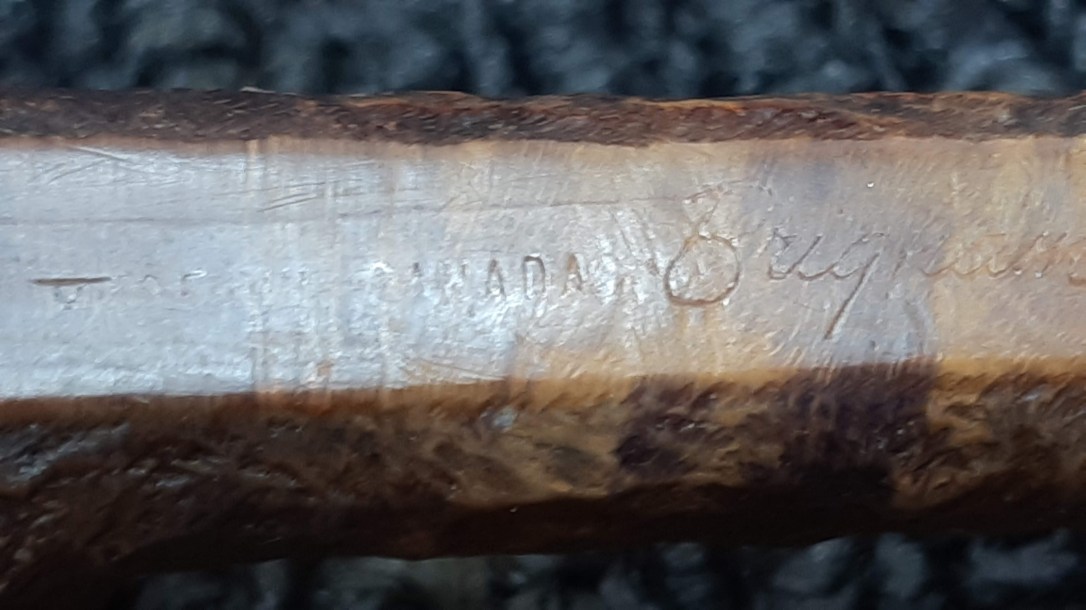
One of the first things I check when working on a Brigham pipe is whether the Dots on the stem tell the same story as the stamps on the stummel. In this case, the stem is inlaid with a single brass pin, and the stummel is marked “127” followed by “MADE IN CANADA” in block letters, then “Brigham” in a thin script.
The stem fits well at the shank face, and the single Dot matches the 100-series “Brigham Standard” shape code, thus I can safely conclude that the stem is very likely original to the pipe. The stamps also tell me that this is a Shape 27 pipe, produced sometime in the Post-Patent period between 1956 and about 1969.


I’m going to deal with the stem on this pipe first. A short soak in an Oxyclean and warm water bath raised the oxidation and softened whatever tar and general gunk might have been lurking inside the stem. 0000 steel wool and Magic Eraser made short work of removing the softened oxidation.
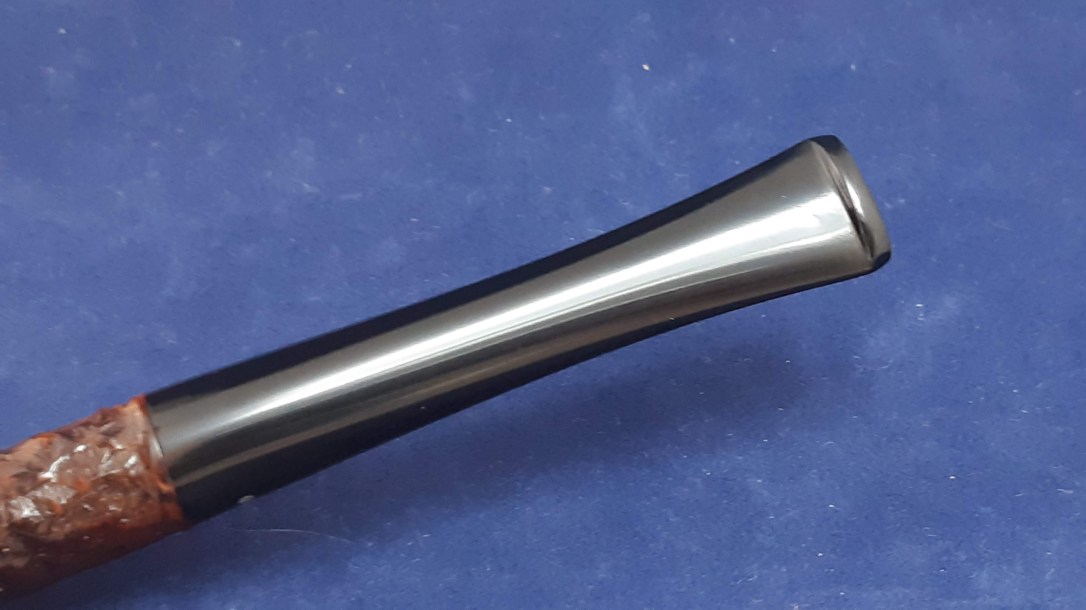
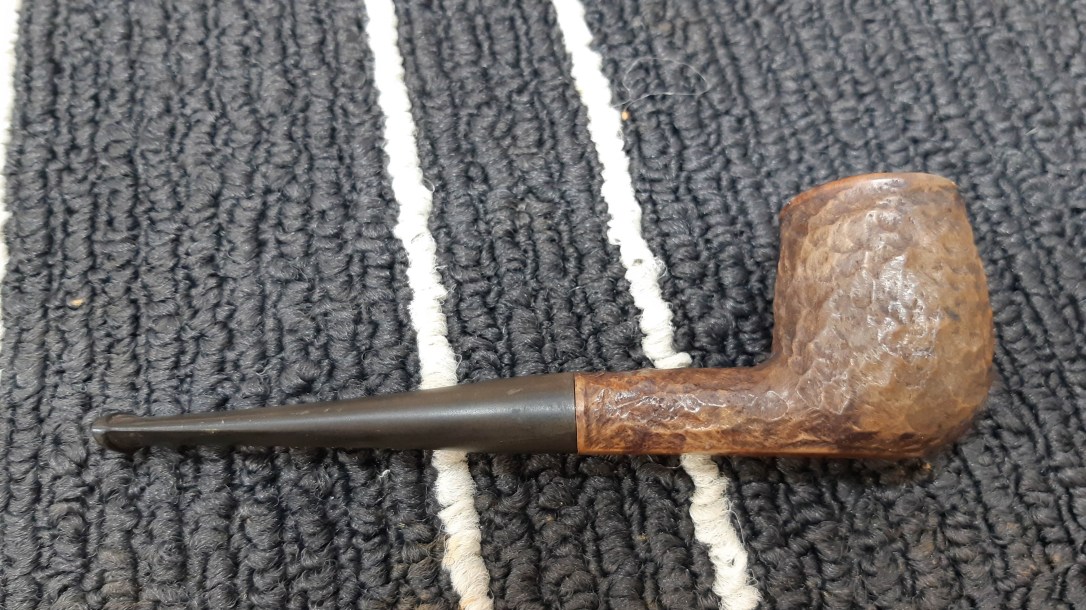
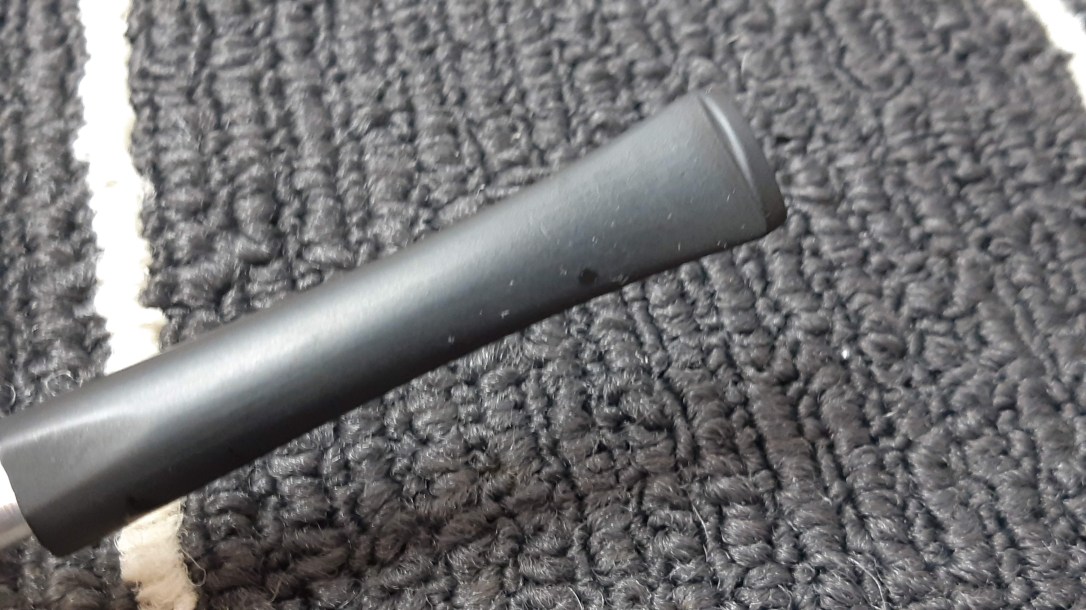
Here is the stem after deoxidation. The previous piper wasn’t much of a clencher – there are no tooth dents or chatter worth speaking of on the bite area.


Just when I was thinking that the pipe had been reasonably well kept, I discovered a real pile of tar and debris in the stem’s airway, especially at the end of the filter pocket. This is, for me, a hallmark of a filter pipe smoked without a filter in place. I needed a good pile of pipe cleaners and cotton swabs dipped in alcohol, along with a square-ended needle file to get things clean.

When I had finally defeated the Tar Monster, the rest of the stem rehab went very smoothly. Without tooth damage to deal with, I could move right on to sanding and polishing the Vulcanite. Here is the stem after wet-sanding with 400, 600, 800, 1000 and 2000 grit sandpapers. A wipe of mineral oil helped to refresh the stem and add a bit more depth to the finish.

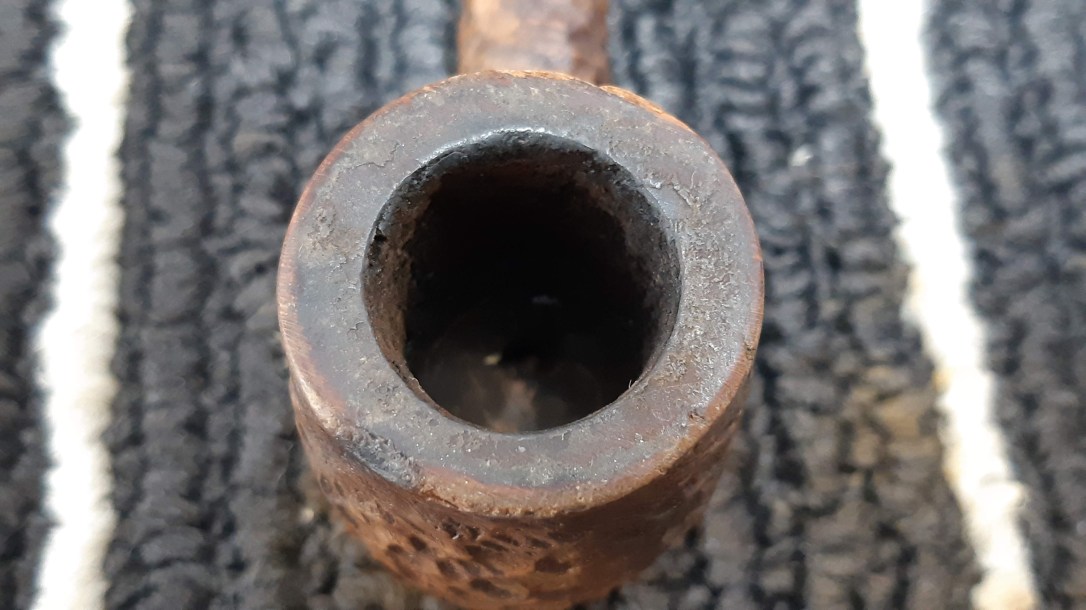
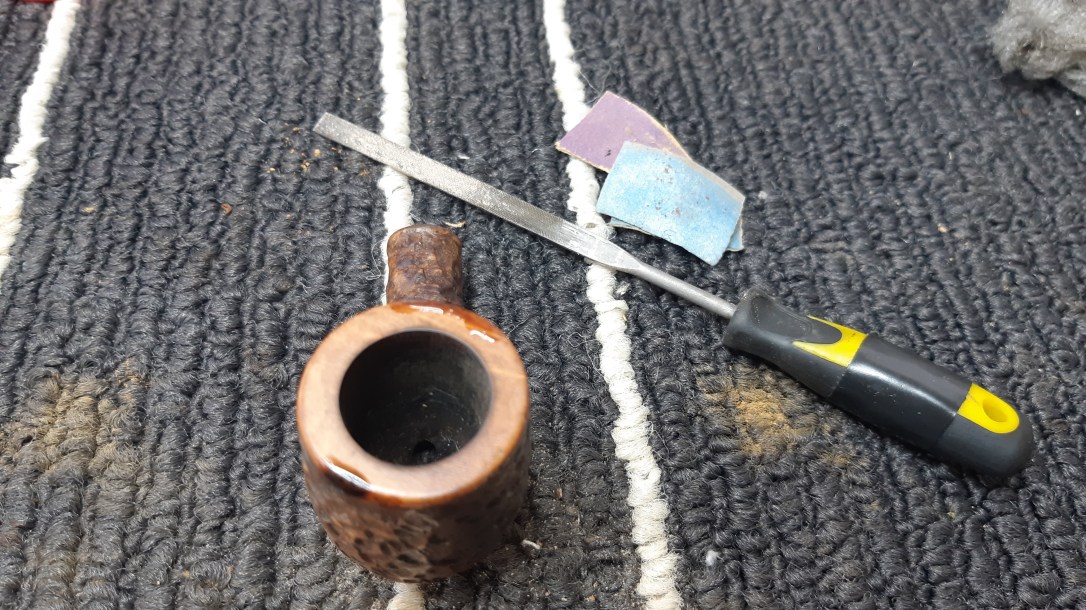
The stem was ready for final buffing and waxing, so I set it aside in favour of working on the stummel, starting with a good reaming. I removed the old cake with my Castleford reamer then finished off with some sandpaper wrapped around a Sharpie marker. The chamber was in really good shape underneath the carbon cake.

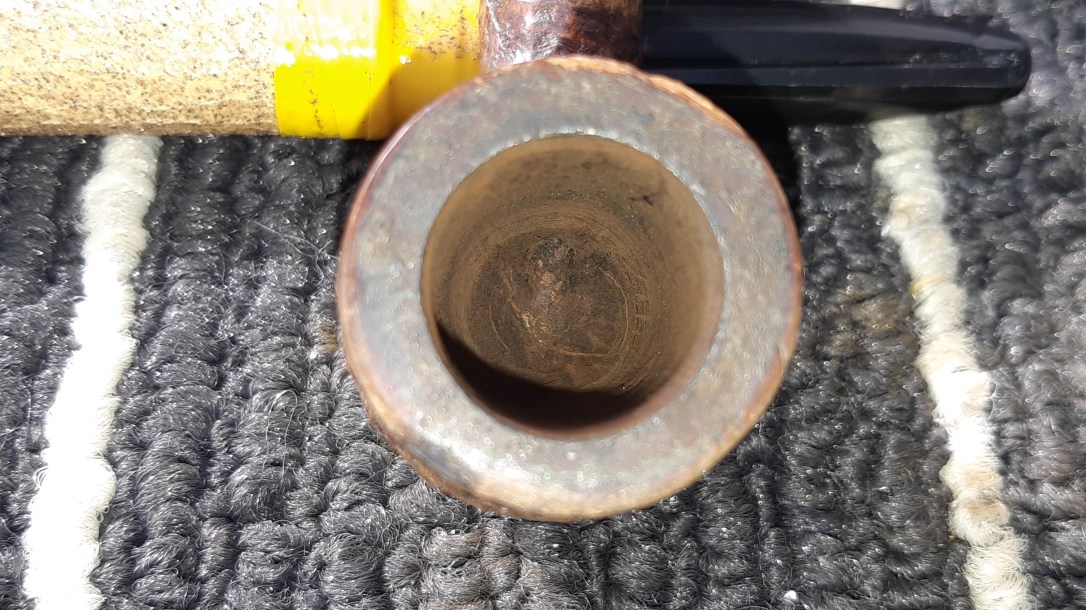
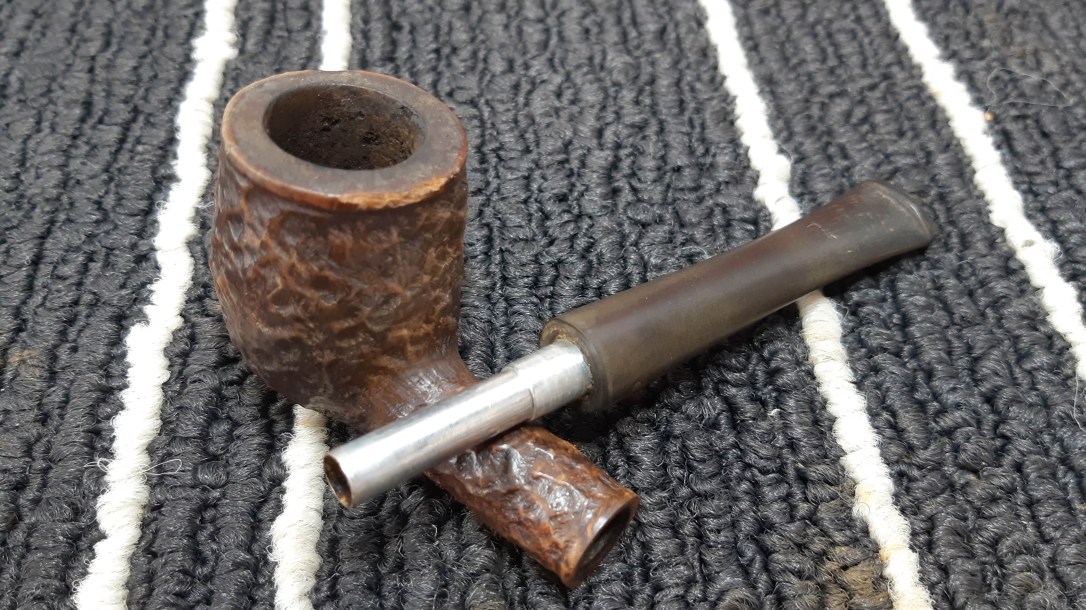
After my experience cleaning the stem, I wasn’t really surprised to find a fair bit of gunk in the mortise and airway here. I used more pipe cleaners, swabs and alcohol to clean things up.

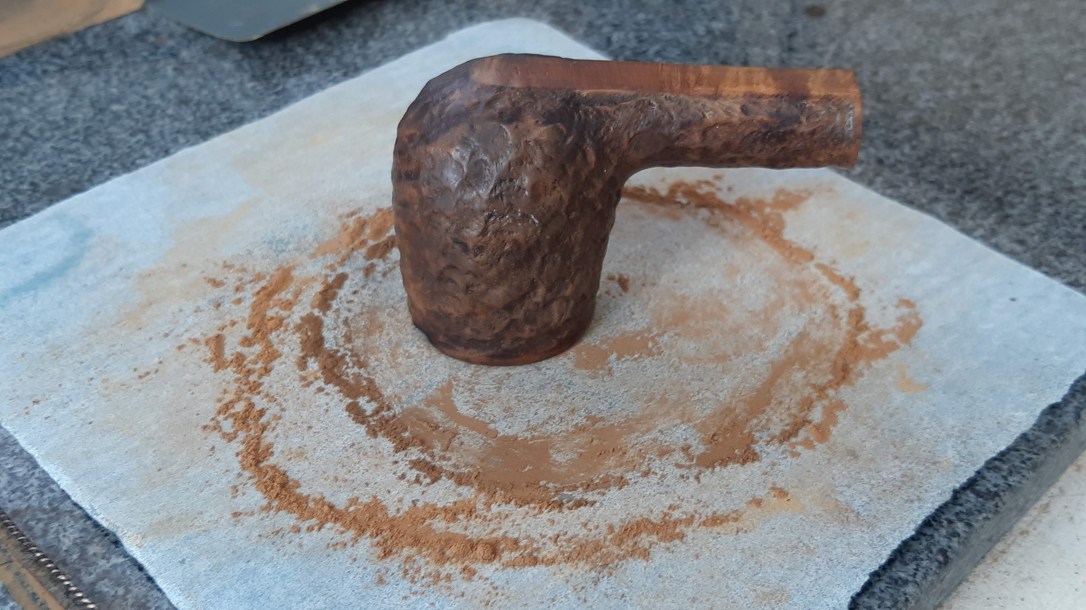
Based on my initial examination, I knew there would be some work needed to restore the rim of the bowl. Damage to the outer edge was visible even under the layer of lava, so I topped the bowl lightly to remove the tarry crust and bring the dents into the light.
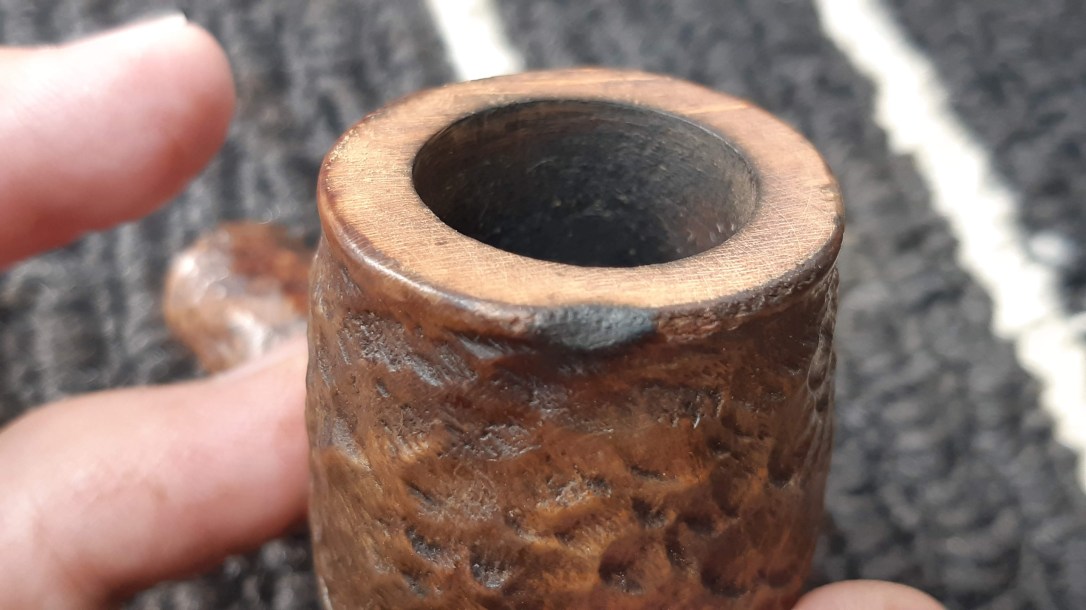

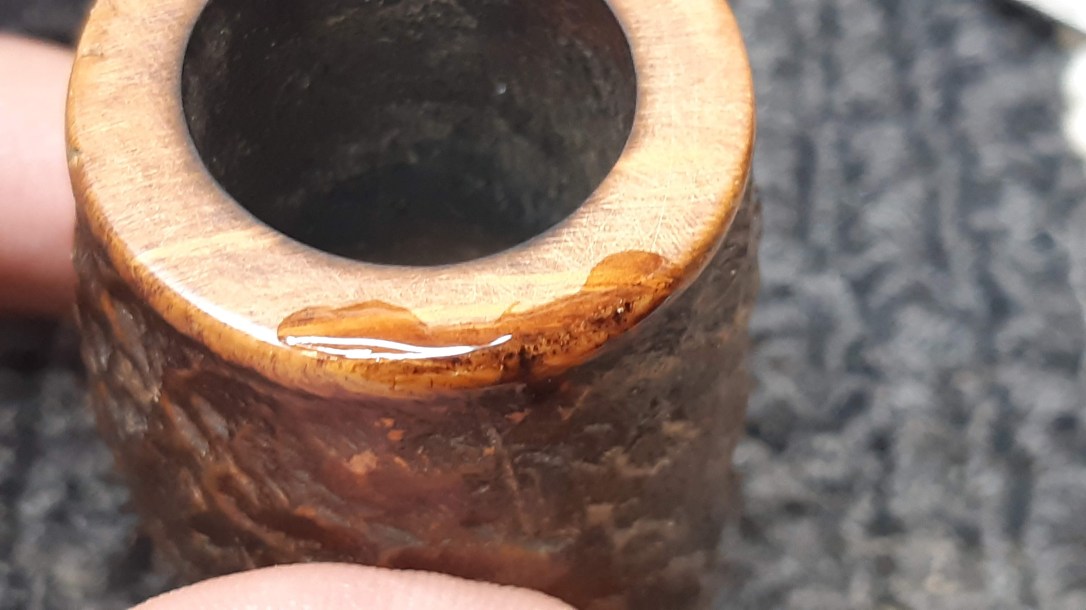
As you can see in the above pics, there was damage to the front and rear edges of the rim – the former from a scorch mark, and the latter from knocking the pipe against hard surfaces. Rather than sanding out the dents and fundamentally altering the lines of the bowl, I built up the damaged areas with a mixture of thick CA glue and briar dust.
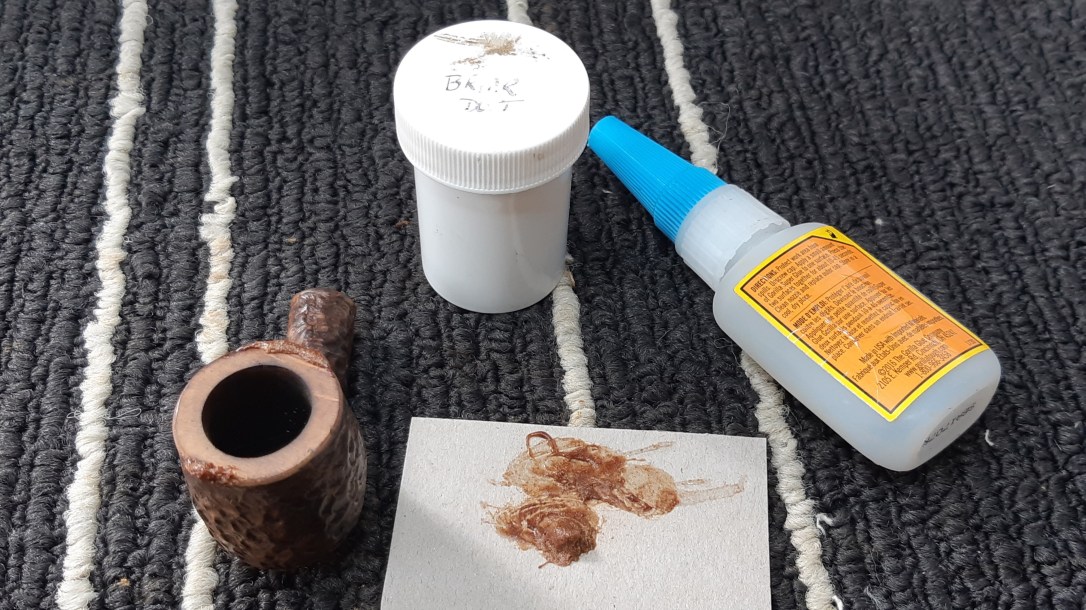
After the patches had fully cured, I filed and sanded the repairs smooth and flush to the surrounding briar. These pics also show a skim coat of thin CA glue applied to the patches to fill in small dimples and air bubbles.

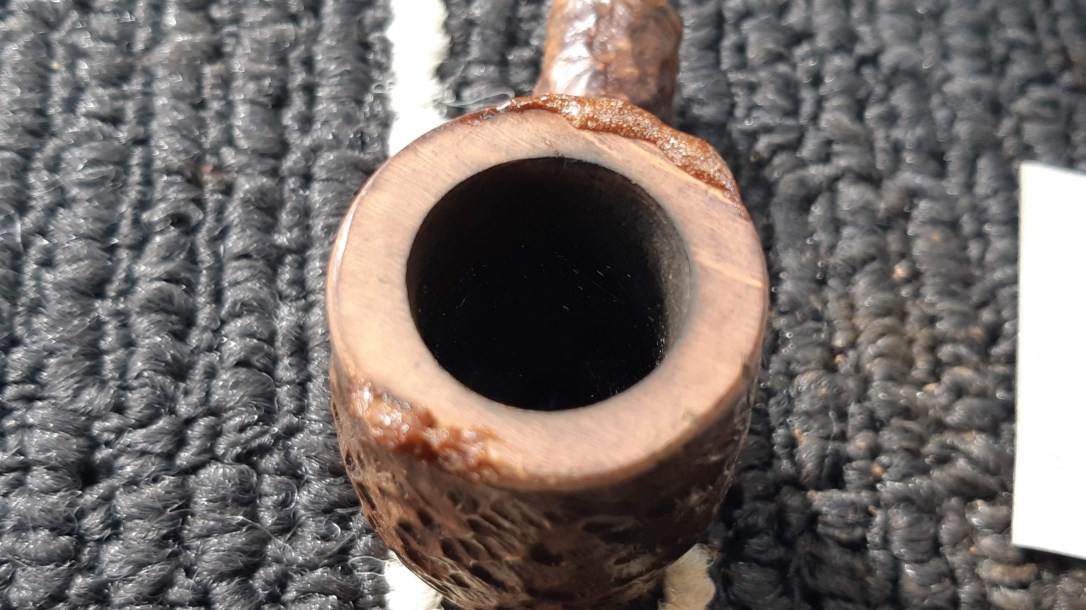
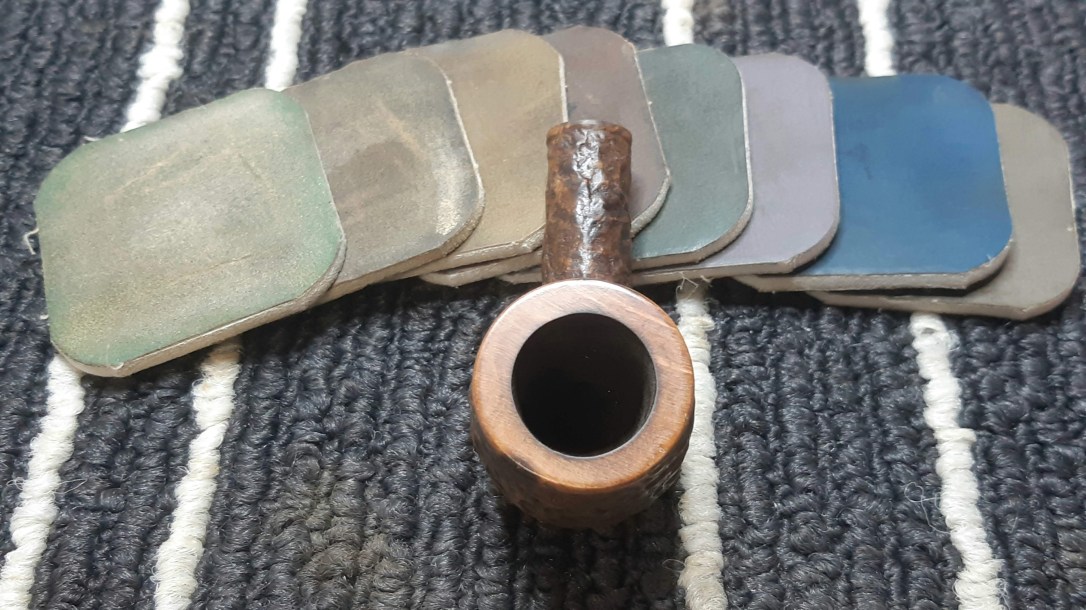
When the repairs were smooth and even, I polished the rim with micromesh sanding pads to 12000 grit. This erased the last sanding scratches and brought up the colour and shine.
The scorch mark on the front of the rim was still pretty garish after patching, so I refreshed the briar finish with a coat of Fiebing’s Dark Brown leather dye. This both matched the factory finish and helped to push the scorch mark a bit further into the background.

The only thing left to do now was to reassemble the pipe and take it to the buffer. I used Red Tripoli on the smooth rim of the pipe and on the stem, then gave the entire pipe an overall buffing with White Diamond compound to bring up the shine. A few light coats of Carnauba wax added some much needed protection as well as a bit more gloss.
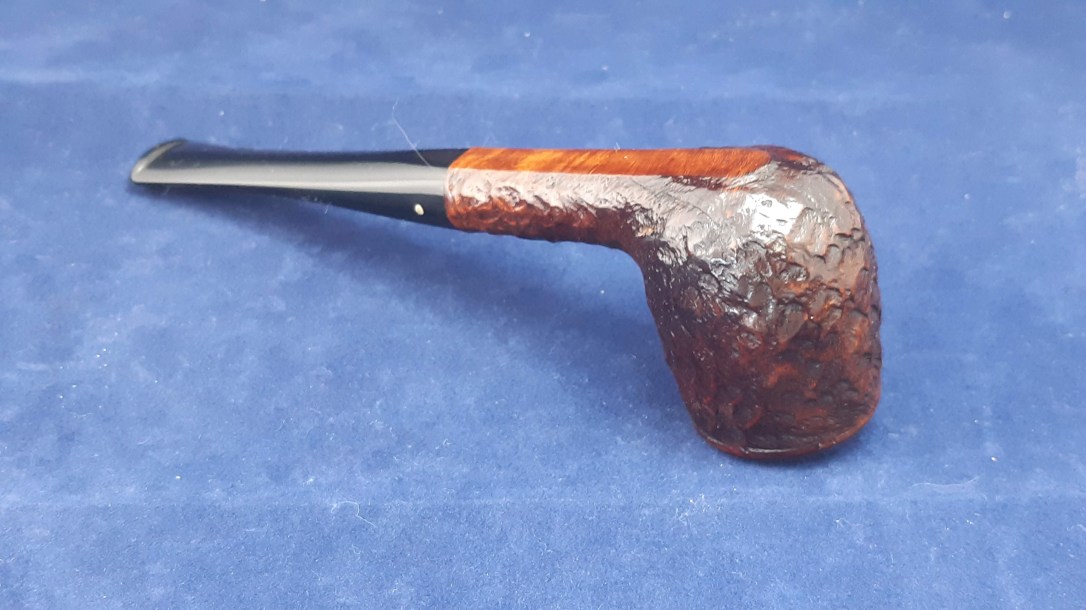
This 1960’s era Brigham 127 is looking fresh and rejuvenated after its time on the worktable. The stem is a deep glossy black, the brass Dot shines against the renewed Vulcanite, and the briar looks rich and inviting. The scorch mark on the rim remains, unfortunately, but it is structurally sound and ultimately no more a flaw than a fill would be on this entry-level pipe.
I’ve added this pipe to my personal collection, and to the newest version of the Brigham Shape Chart.
Thanks for joining me for another estate pipe restoration, I hope you enjoyed following along. Until next time, Happy Piping!
Here’s the finished pipe.