Although some pipe retailers out there carry estate pipes, many of us find our vintage briars at antique shops, garage sales or similar places. Sometime, however, a new pipe smoker will inherit a cherished pipe from a family member.
Such is the case with this Chacom Auteuil Bent Billiard, which belonged to the current owner’s grandfather. Judging by the thick cake and DIY repairs I uncovered during the cleanup, it was clearly a favourite smoking companion.
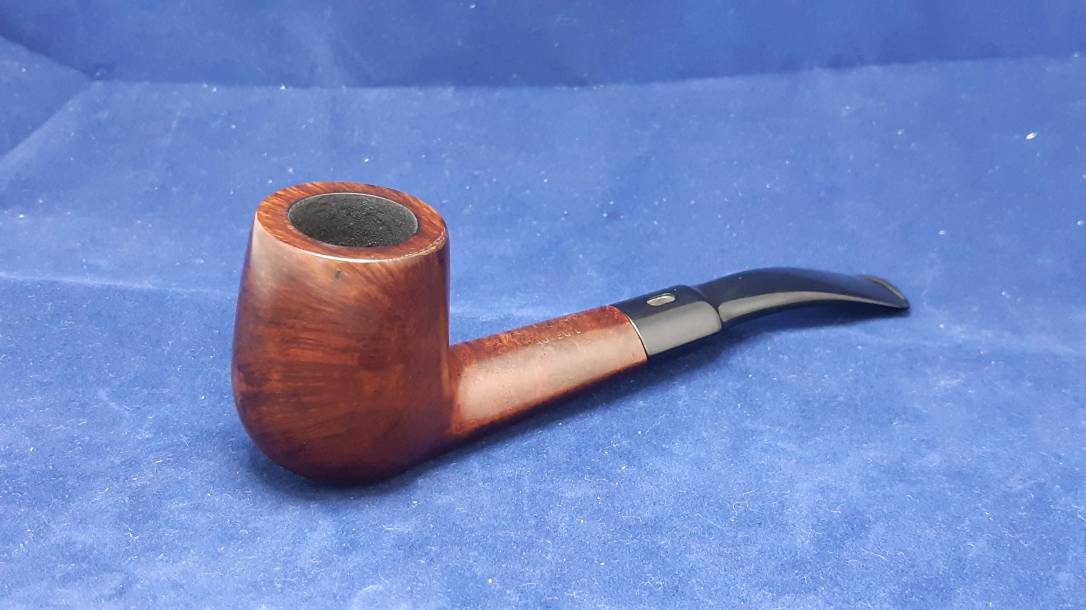
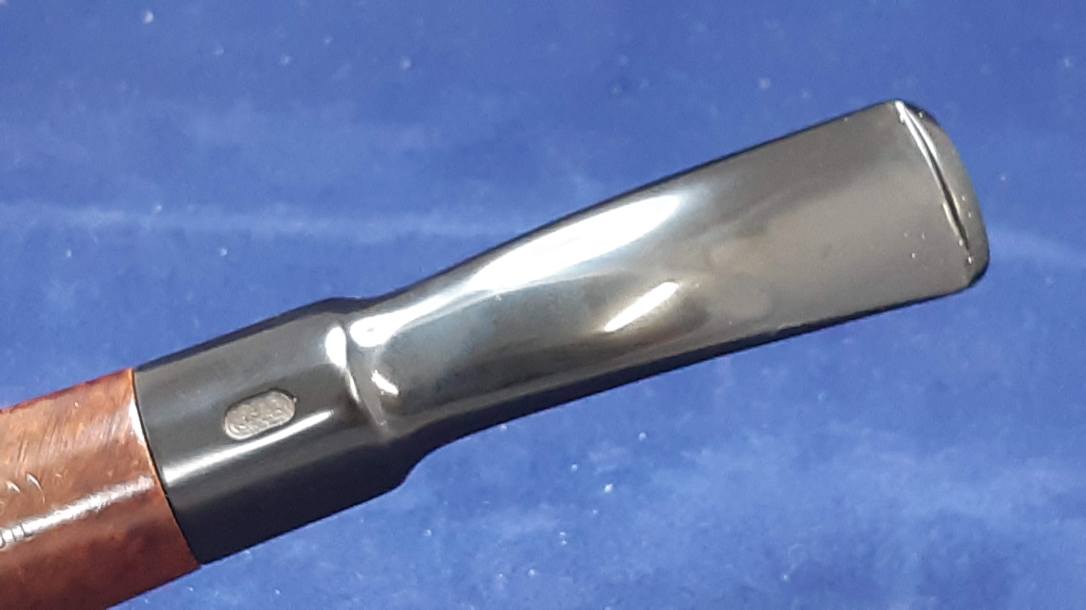
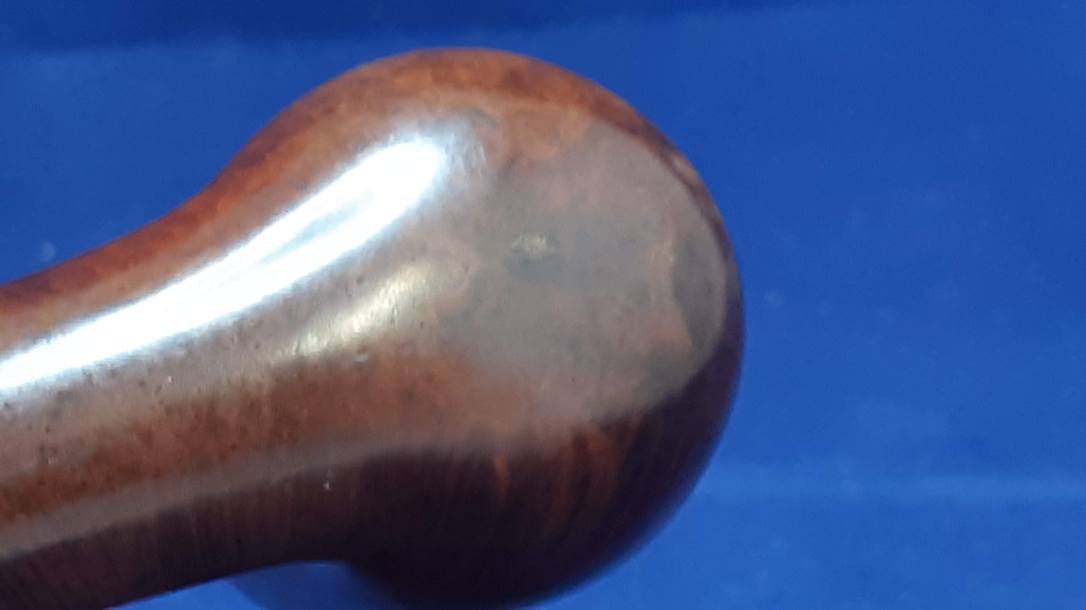
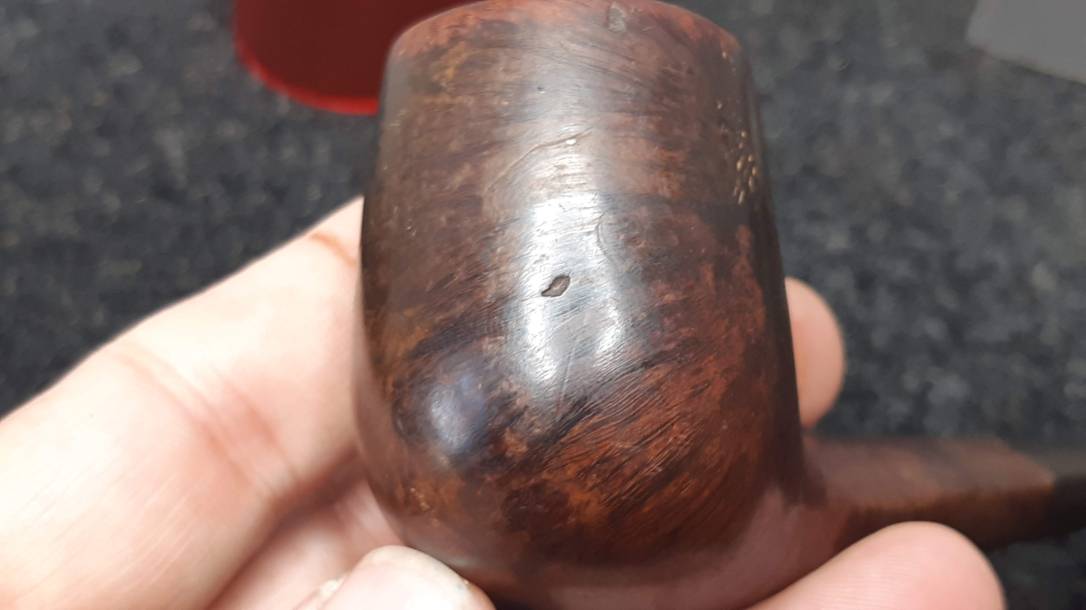
Here is the pipe as it appeared when I first brought it to the worktable. Note the thick cake in the chamber, tooth dents and mineral accretions on the stem and the worn outer edge of the rim along the left-hand side of the bowl. The stem had also lost its “CC” logo lozenge from the top of the saddle somewhere along the way.


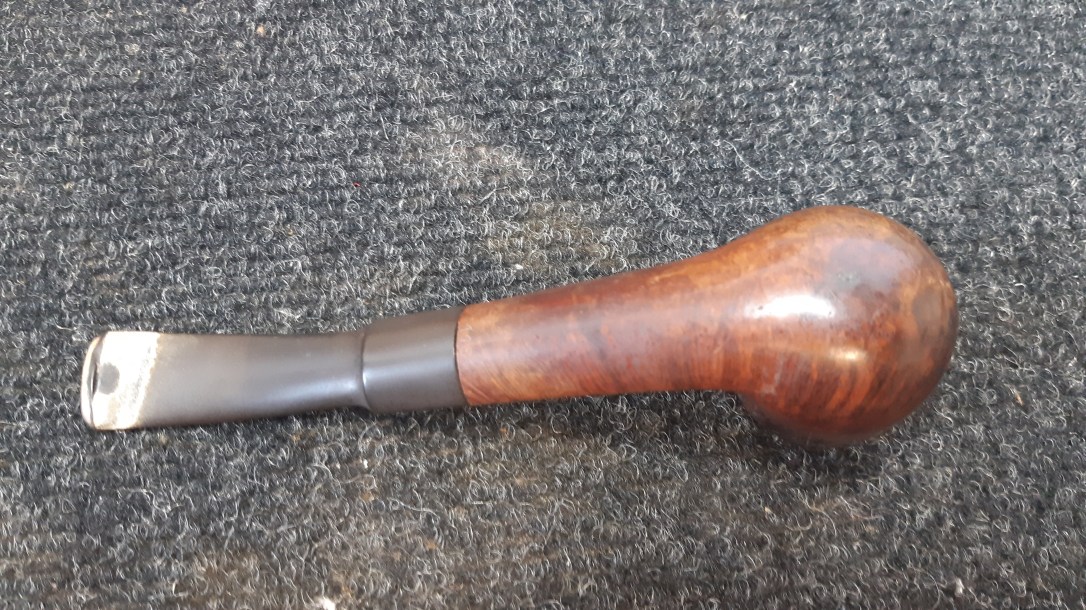
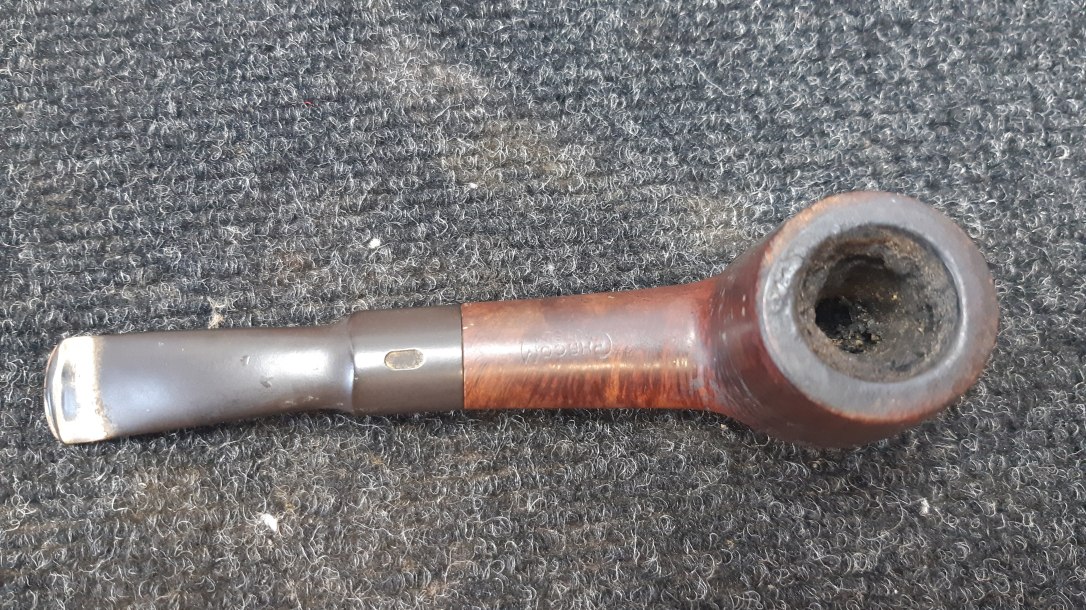

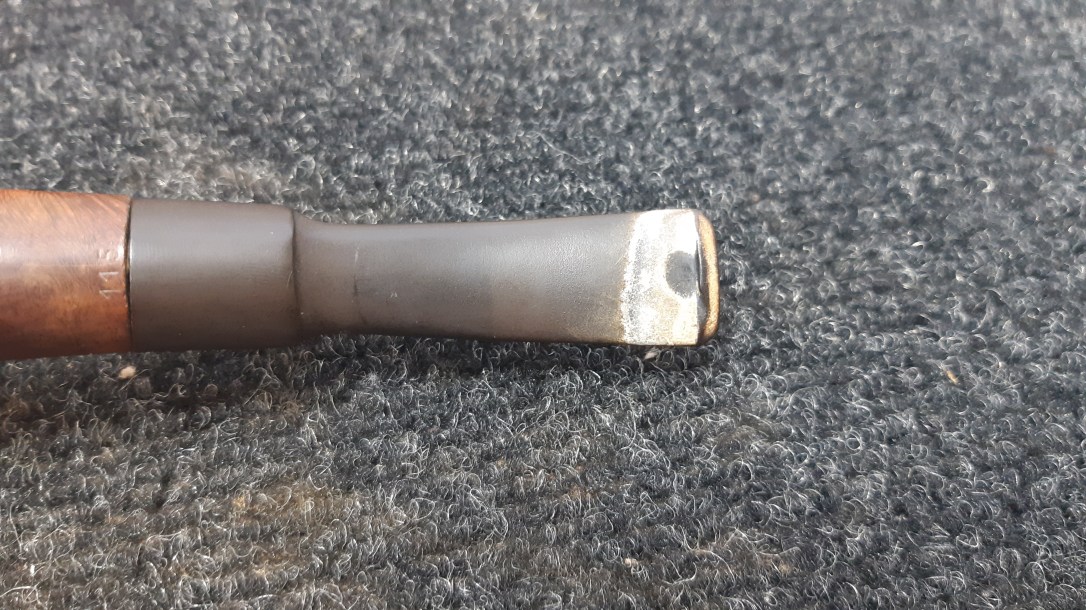

The pipe is stamped on top of the shank with “CHACOM” over “AUTEUIL”, and on the underside near the stem face with a shape number, “115”.


You can see in the last pic above that the stem to shank junction was a bit off-kilter. I removed the stem to investigate and found that the shank mortise had been lined with paper to narrow it down to fit the stem tenon. The stem was loose even with the paper in place, so I picked it out of the shank.


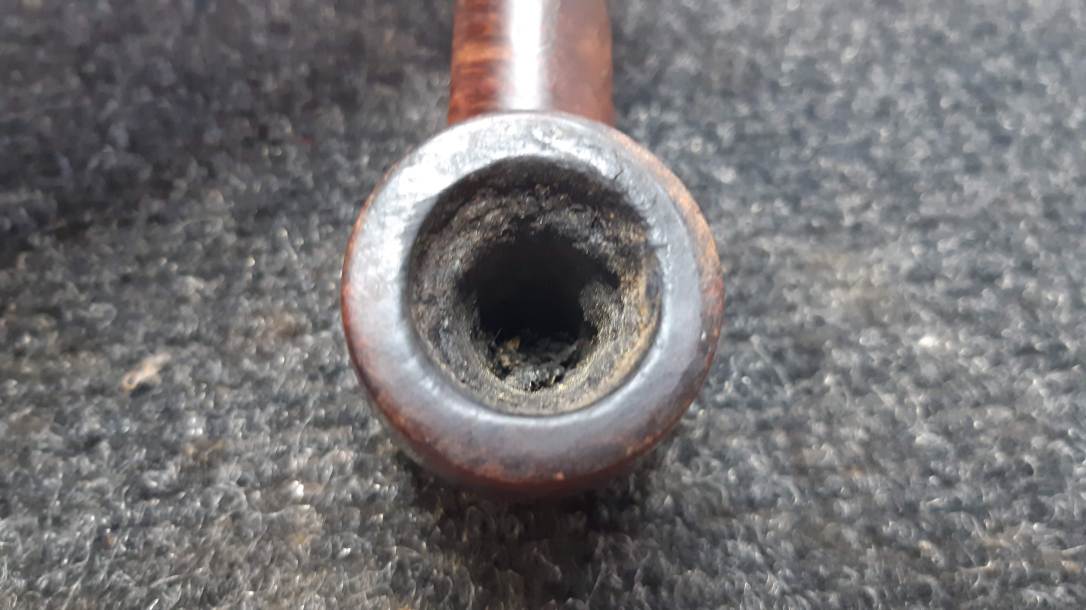
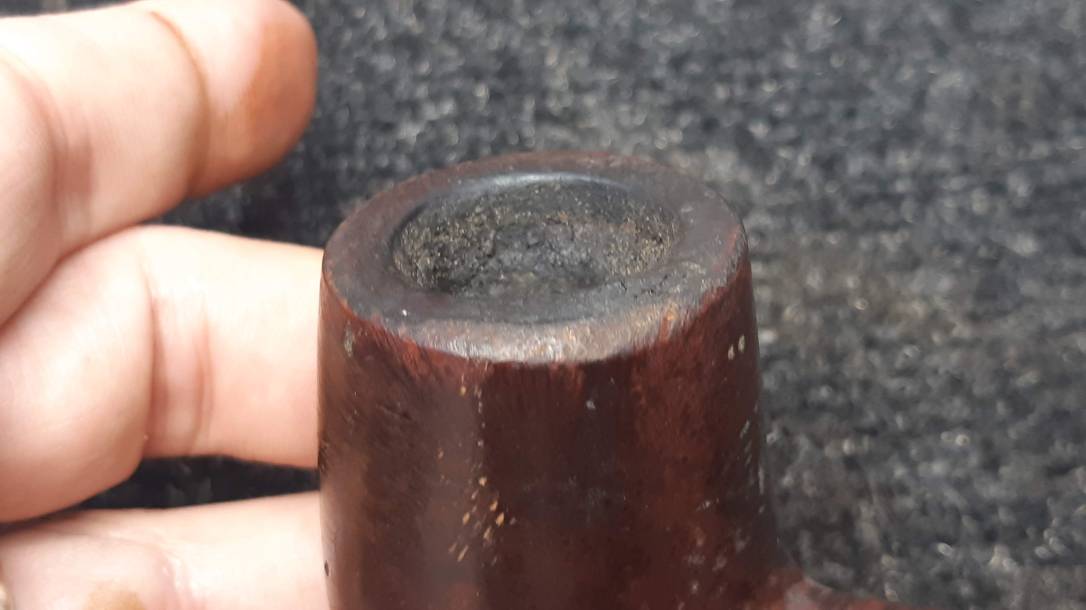
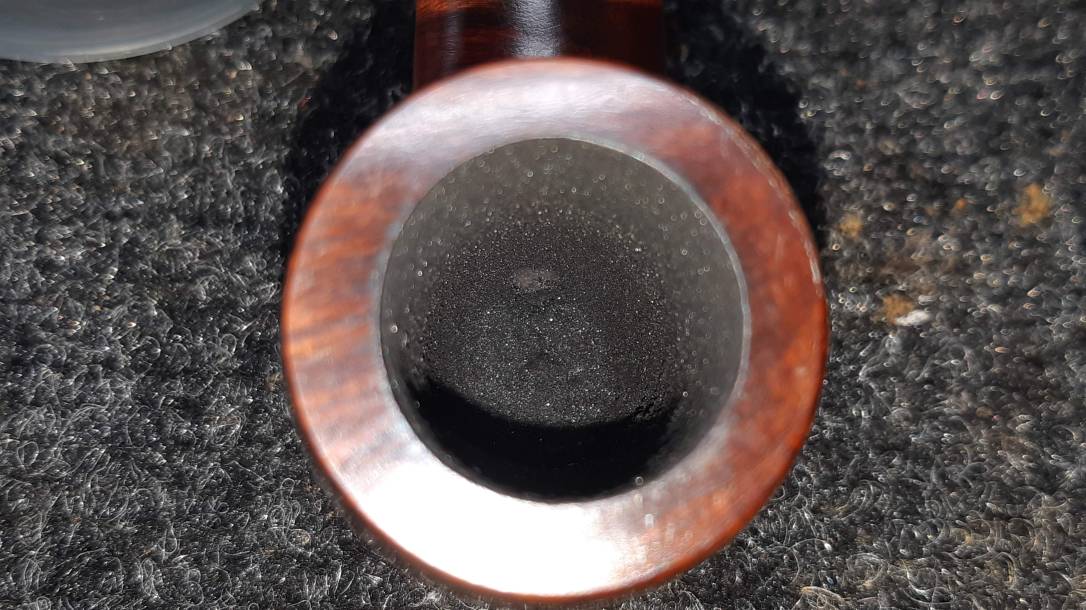
I’ve seen many DIY “fixes” for pipe problems before, but nothing quite like what I found next. I reamed the chamber to remove the thick old cake but met resistance when I got to the bottom of the chamber. Here’s what I discovered:

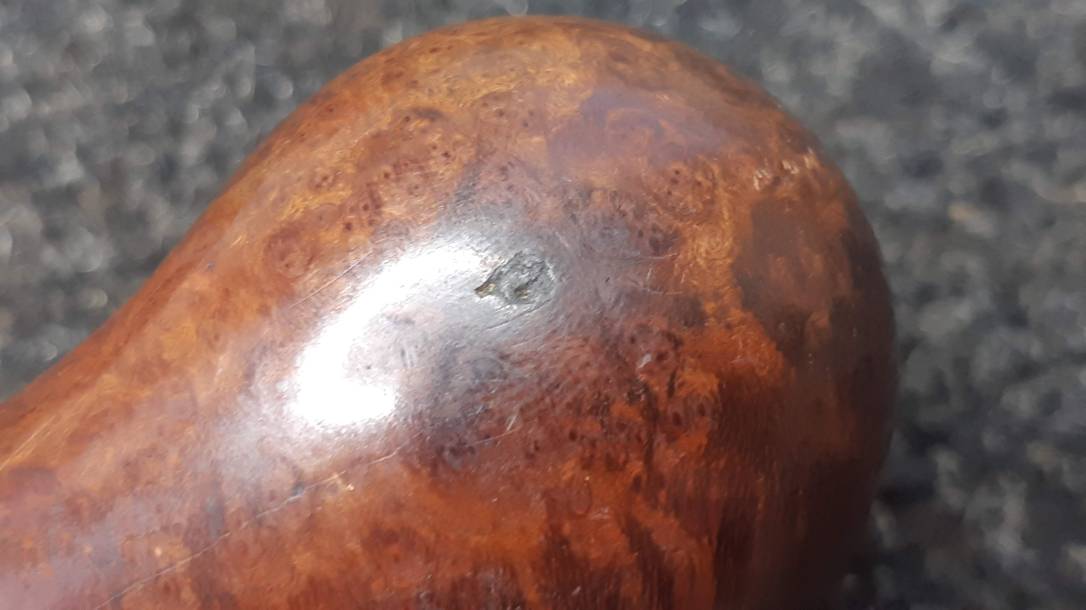
That silverish lump is lead. To confirm a suspicion, I turned the stummel over and used my dental pick to scratch at what I had assumed to be a small fill in the briar. Nope! Not wood filler, just dirty lead, poured into the bottom of the chamber in an attempt to repair a burnout. Yikes! During a chat with the pipe’s owner, I found out that Opa liked to cast his own fishing weights, so scrap lead was readily at hand. Inventive, but not the safest material. I wonder how much lead and other goodies Opa inhaled after “repairing” his pipe?

I managed to pick the lead out of the briar, then finished my reaming of the chamber. The chamber walls were in good shape, but the floor was another matter.


As I pondered next steps for the chamber repair, I tidied up the rim a bit on the topping board, sanding the briar smooth and restoring the chamber’s round appearance.


There would be more work on the stummel to come, but the vital repair was the burnout. I started by patching the bottom of the bowl with CA glue mixed with briar dust, filling the burnout from the exterior. I let the patch cure, then sanded it smooth. I had to reapply CA glue several times to fill the inevitable air bubbles, but eventually the bowl looked whole again, at least from the outside.


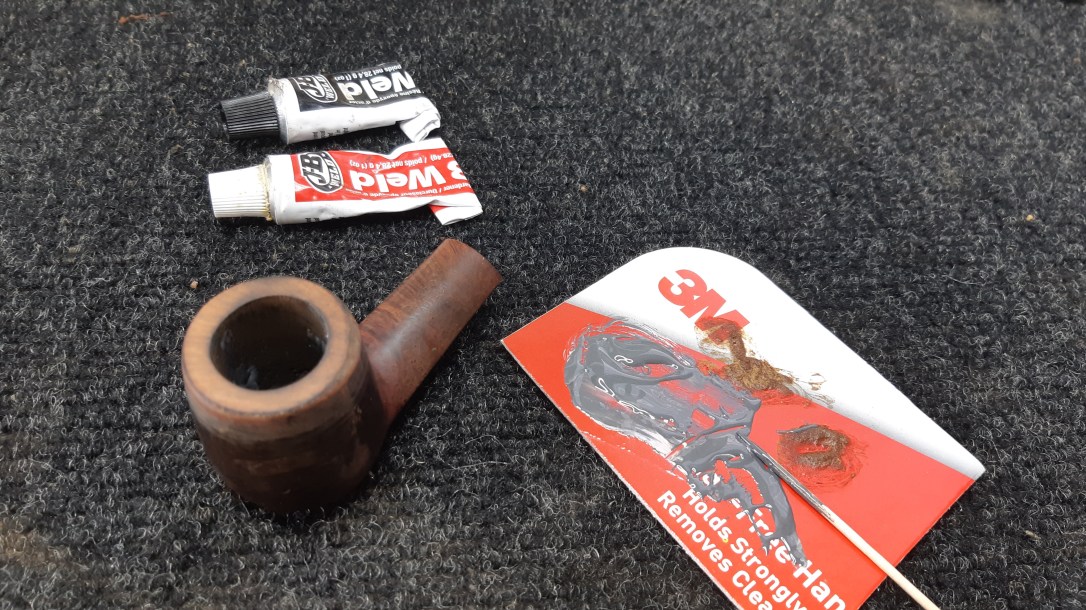
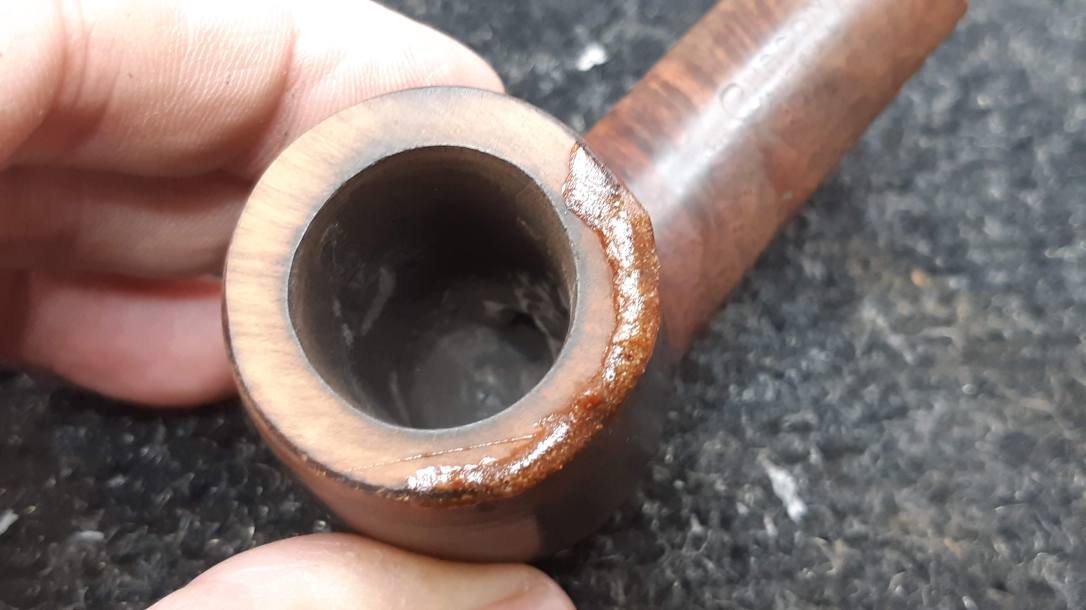
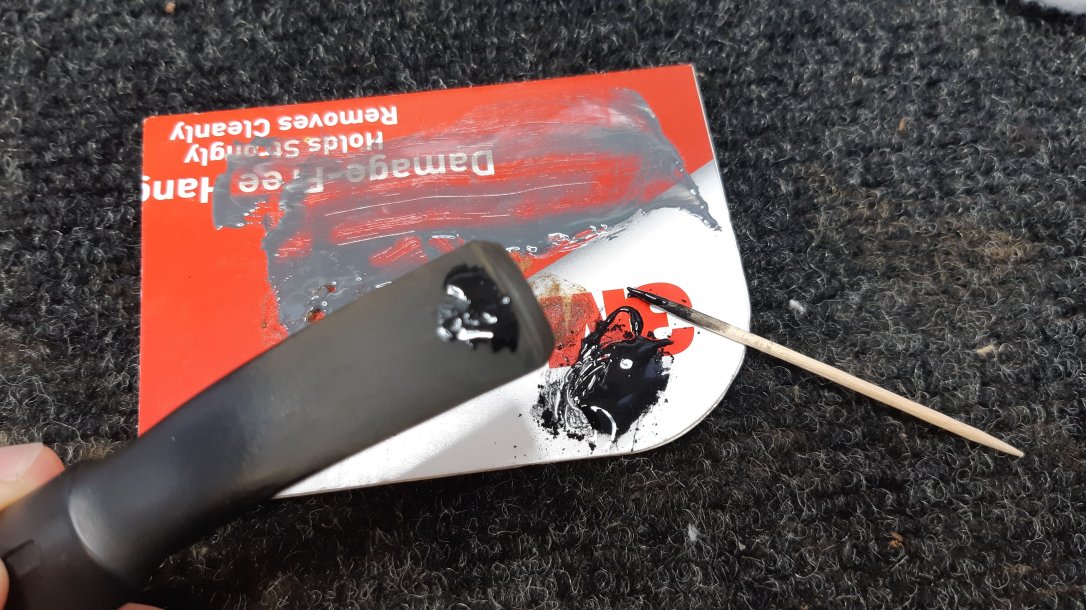
For the internal repairs, I used JB Weld high heat epoxy. I mixed a small amount of JB and dropped it into the chamber from a toothpick. When the level of epoxy was just slightly below the bottom of the draft hole, I set the stummel aside over night, carefully propping it upright, to let the JB Weld cure completely.

The next day I worked on the worn outer rim. I filled in the missing briar with more CA glue mixed with briar dust, overfilling the area to ensure a smooth finish when I filed and sanded the cured patch down to meet the original briar.


After a fair bit of filing, sanding and repeated applications of CA glue, the rim was looking good. The filler material remaining is nearly invisible after sanding to 2000-grit.


I set the stummel aside for a bit at this point to work on the stem. I had soaked it overnight in Oxyclean and warm water. Now I scrubbed the softened oxidation and other crud from the vulcanite with 0000 steel wool and Magic Eraser. A few pipe cleaners dipped in alcohol cleared the remaining gunk from the airway.

Much of the tooth chatter and shallower dents went with the oxidation, but the deeper marks needed filling. A drop of CA glue mixed with charcoal powder took care of this. I let the patches cure then filed and sanded them smooth.

It was time to reunite the two halves of the pipe. To do this, I needed to sort out the loose fitting stem. Very often a loose stem is caused by the piper removing the stem while the pipe is still warm from a smoke. This compresses the tenon, shrinking its diameter and leading to a wobbly joint.
There are other causes of a loose stem, but this one is easy to fix (or rule out) by simply heating the tenon briefly and allowing the vulcanite to “remember” its original configuration. I used a lighter to warm the tenon on this stem, and when it was cool I tried mounting it in the shank. I was rewarded by a snug fit. Hooray!
After all the patching and filing, the briar needed a gentle overall sanding to even out the coloration before applying a new stain. I sanded to 2000-grit, carefully working around the already worn stamps. I wiped the stummel clean of dust, then applied first a coat of Fiebing’s Black leather dye to highlight the briar grain.

I scrubbed away almost all of the black dye from the briar, then applied a wash coat of diluted Dark Brown leather dye over top. I finished off the staining process with a wipe of mineral oil to hydrate the wood and give the new finish depth and pop.


I let the oil sit on the pipe for a few minutes, then buffed off the excess with an old towel before setting the pipe aside overnight to allow the briar to find its equilibrium.
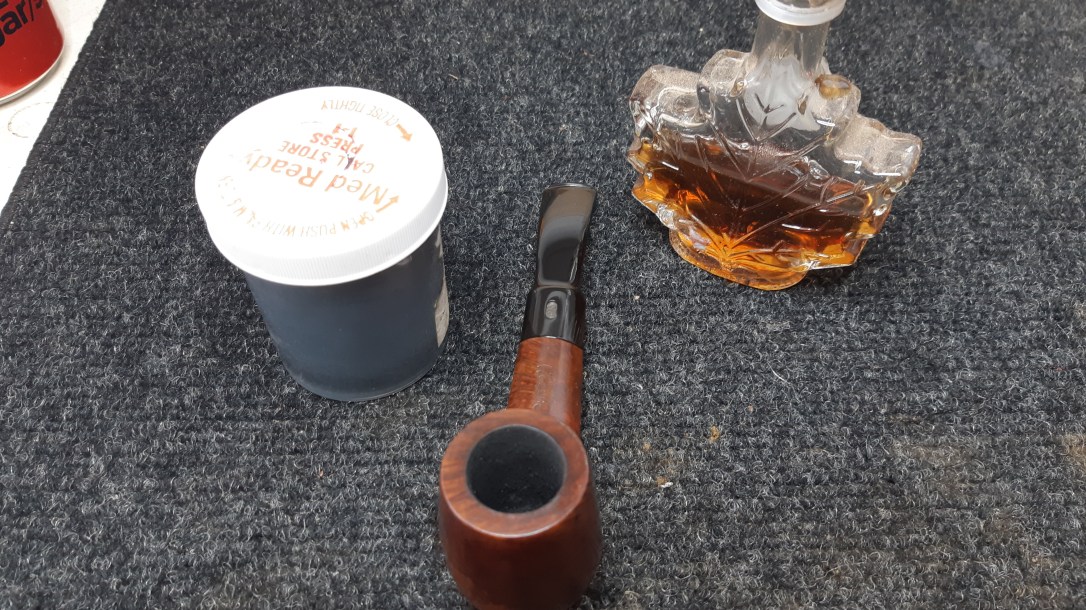
The following day, I added a quick bowl coating to the chamber. My standard bowl coating is made of two simple ingredients – maple syrup and activated charcoal powder. After plugging the airway with a pipe cleaner, I wiped a small amount of syrup around the inside of the chamber, making sure I got an even coating on walls and floor. In went about a half teaspoon’s worth of charcoal powder, which I distributed around the chamber by covering the opening with a bit of cardboard and shaking the stummel vigorously for a few minutes.
I dumped out the excess charcoal, and let the stummel sit to give the coating time to firm up. A completely dry coating can take several days, but it’s possible to work on the pipe after only a few hours of drying time.
Finally I took the restored pipe to the buffer for a run of White Diamond compound and several coats of Carnauba wax to shine and protect the new finish.
The revived pipe has come a long way since it first hit the worktable. Gone are the dents, dings and old carbon cake. More importantly, the lead is also gone and the pipe is clean and safe to smoke again should its owner decide to enjoy a bowl in remembrance of his grandfather. I’m quite pleased with the results, and doubly pleased that I could return an heirloom briar to active service.
Thanks for joining me for this restoration. It’s a good reminder that there’s no telling what you might find when you start working on an old pipe, and that a restorer needs to develop a diverse arsenal of skills and techniques in order to effectively deal with whatever issues crop up during a refurbishment. I hope this post has highlighted a few useful tips that you can incorporate into your own toolkit.
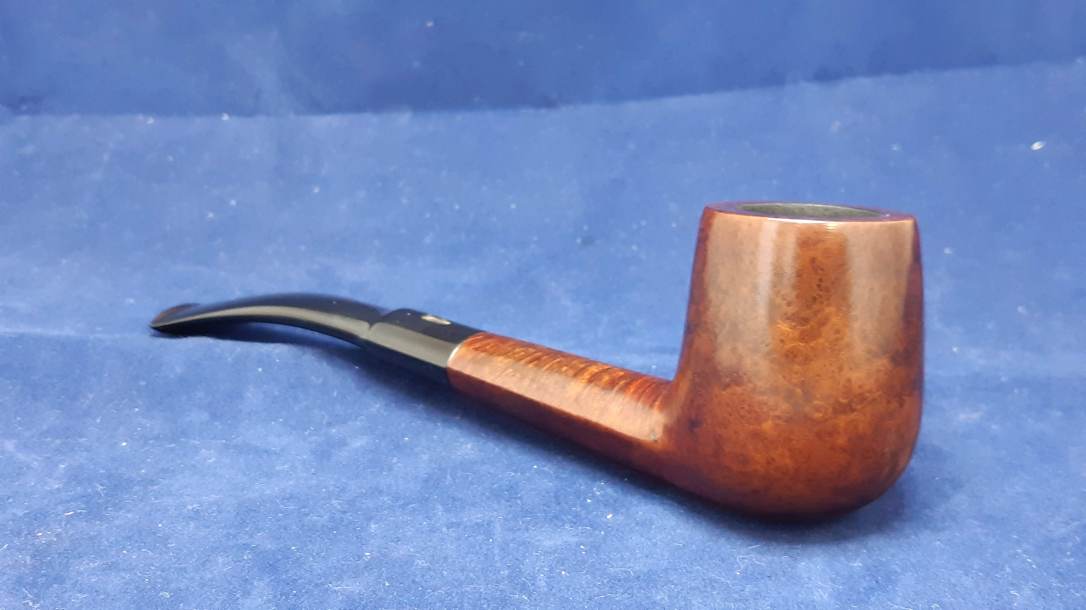
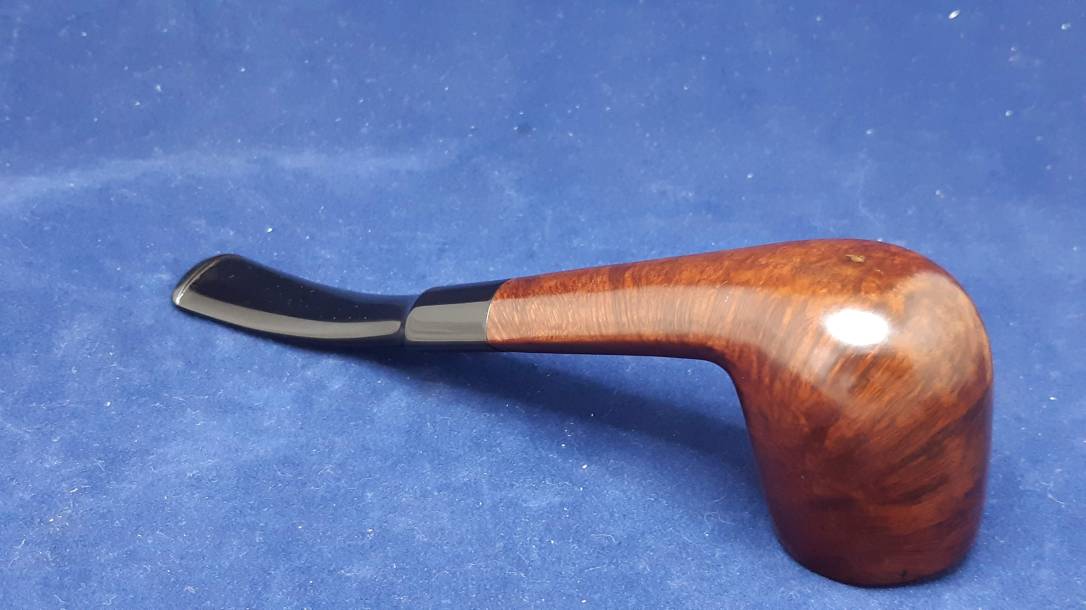
Until next time, Happy Piping! Here’s the finished pipe.