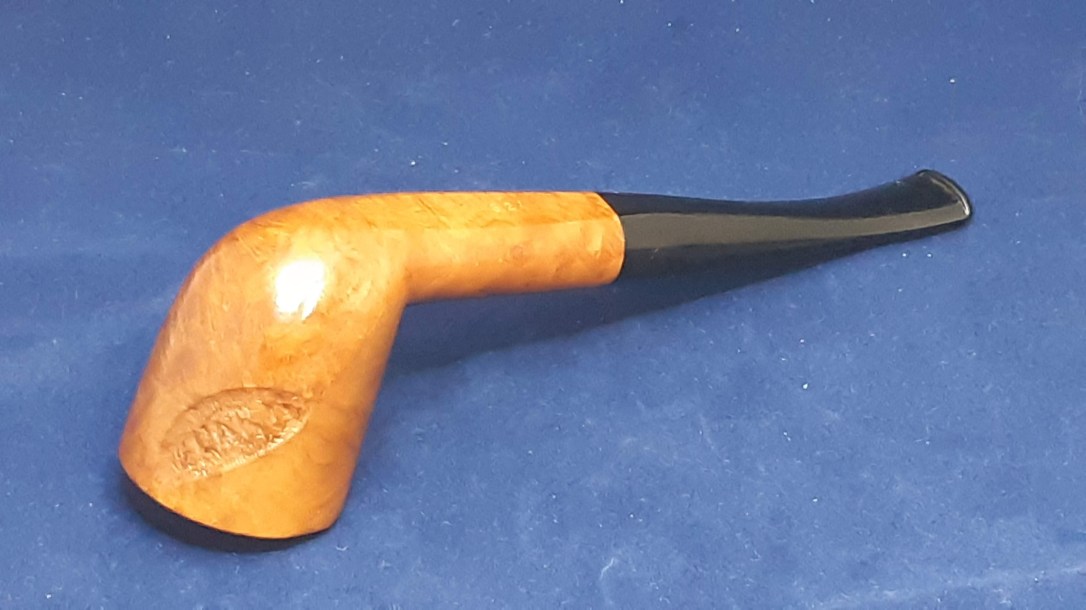
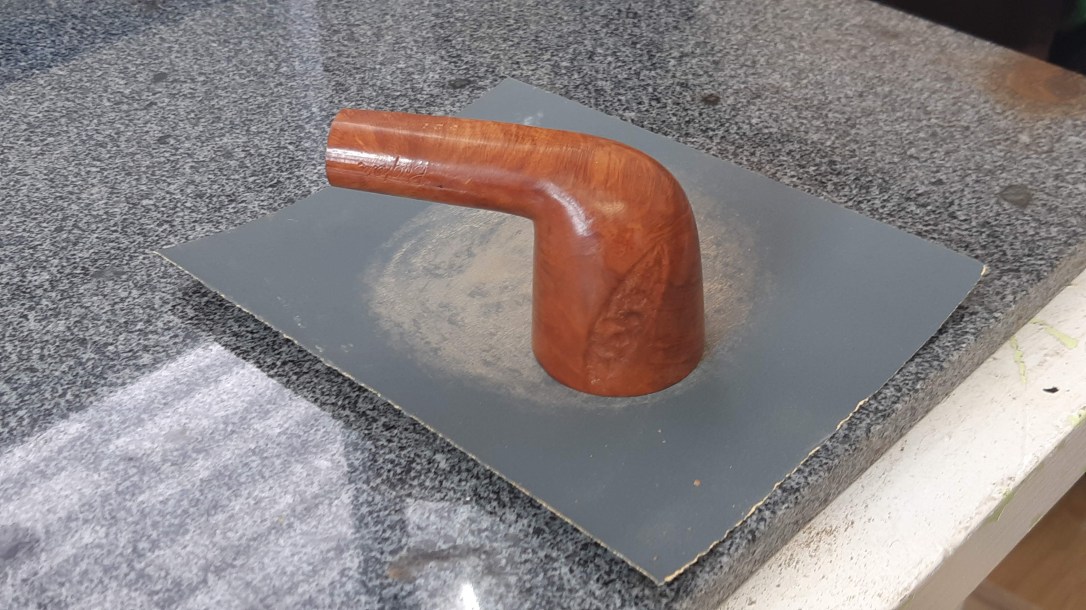
Today’s restoration is really more of a very good cleaning. This Brigham 321 (which Brigham called a Woodstock shape but other may label a Zulu) was well cared for by its previous owner as evidenced by the lack of dents, dings and scratches in the briar and vulcanite.
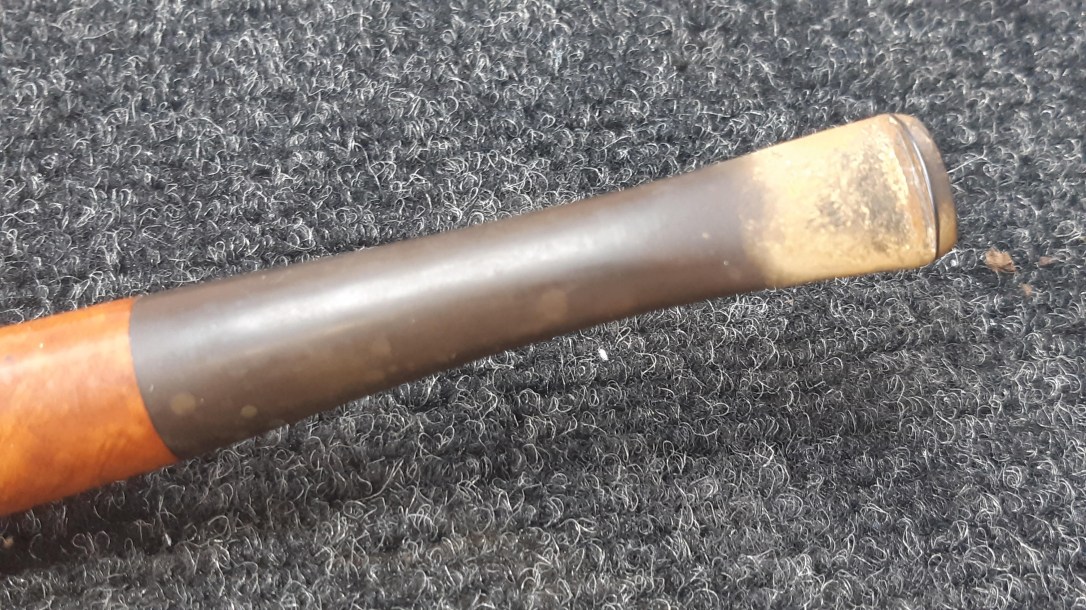
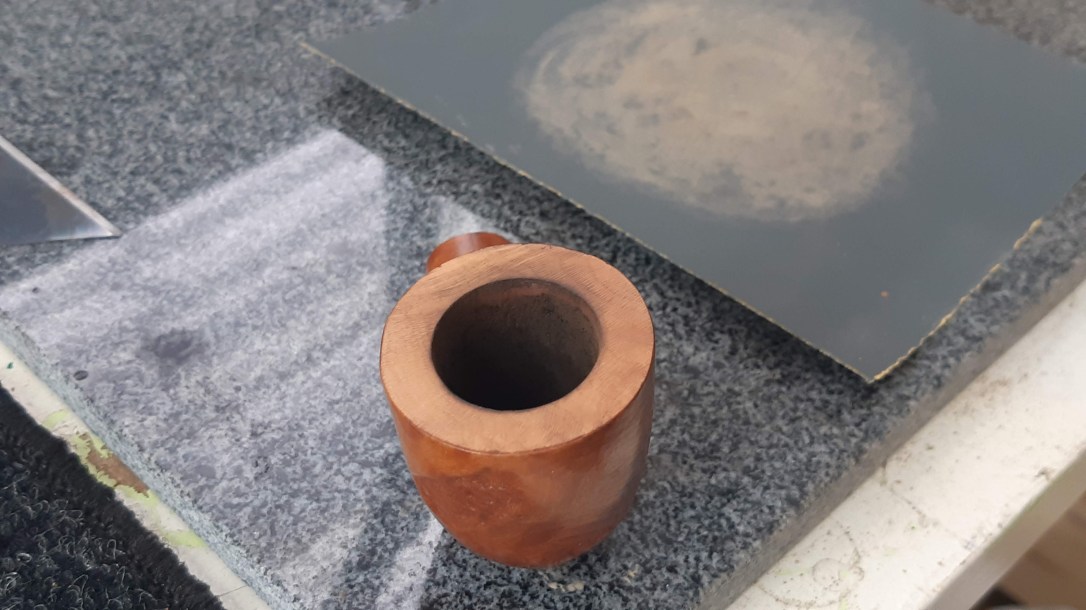
The pipe had certainly been previously enjoyed – the stem was white with mineral accretions at the button end, and the vulcanite underneath showed a few tooth dents. The chamber had a light cake lurking within, and a coating of lava across the back half of the flat rim. The honey-gold finish, however, was in good condition under a layer of dirt and grime.

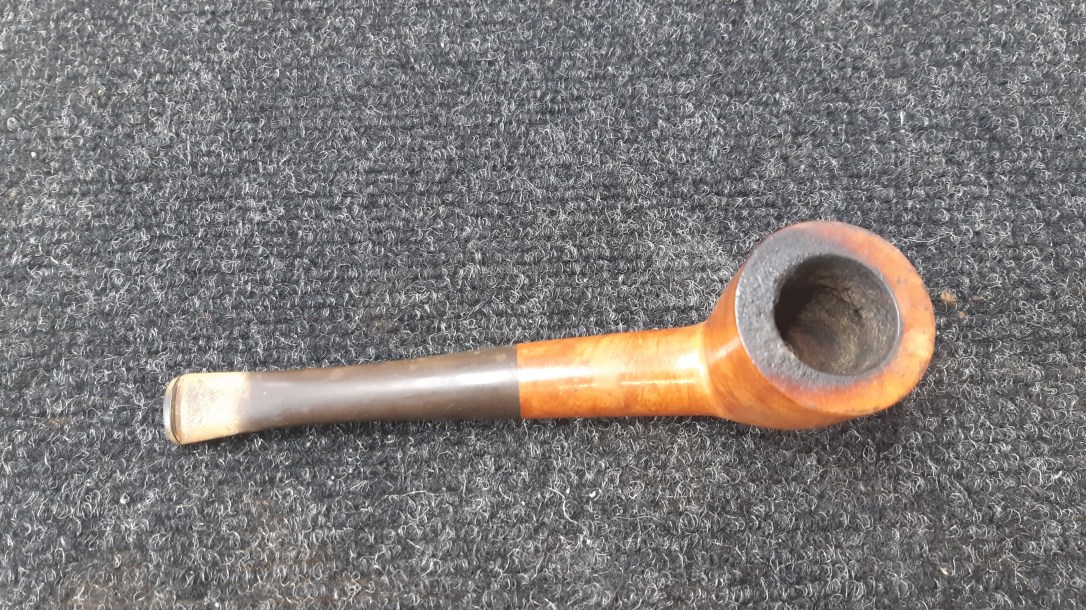


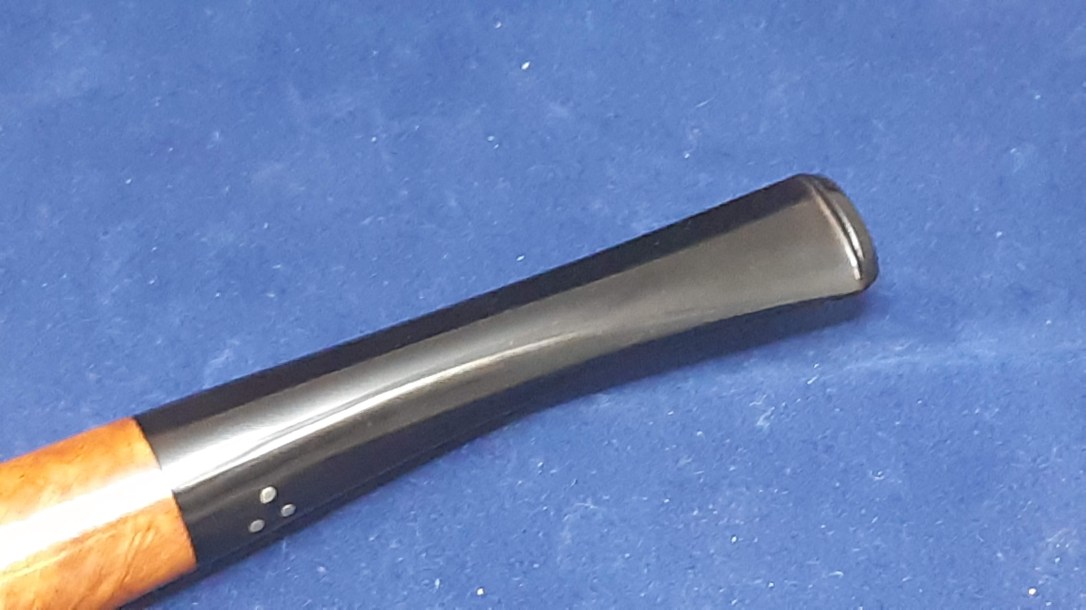
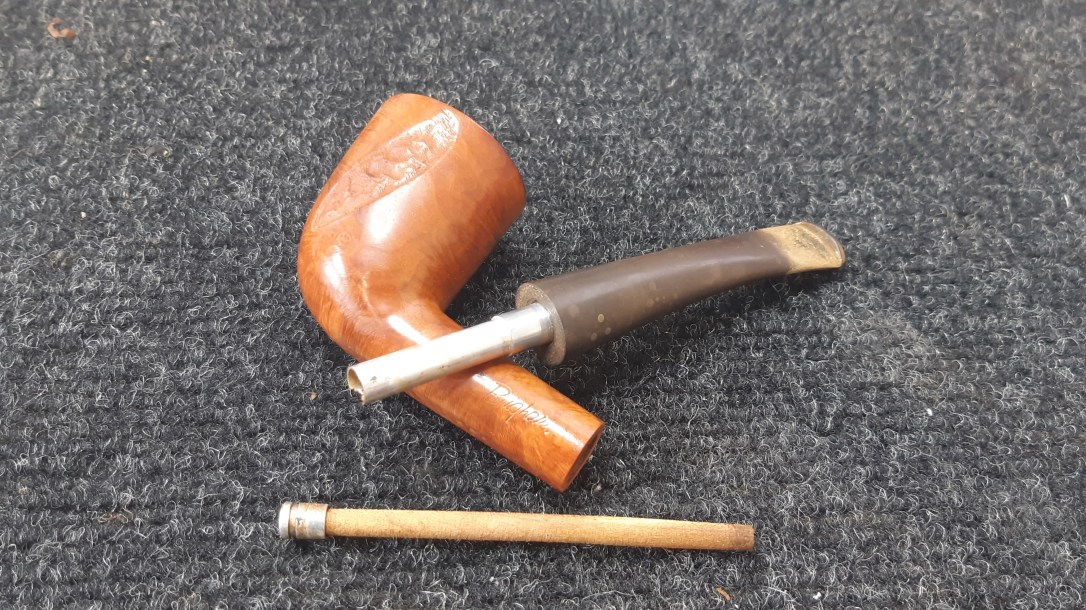
The pipe is stamped simply “Brigham” on the left shank, and “321” on the flat underside. The original stem carries three brass pins, or Dots, in a triangular pattern. These marks date the pipe to the 1990s, just before Brigham moved production out of Canada to the EU.


I twisted the stem out of the shank and found an old Rock Maple distillator sitting in the aluminum filter holder. This is fairly common with estate Brigham pipes, but it’s not ideal as the moisture captured by the distillator during the pipe’s last smoke can cause problems internally if left to sit for a prolonged period.
In these pics you can see that the aluminum filter holder had started to corrode, taking a chunk of aluminum out of the leading edge of the tube. Aluminum corrosion can also cause the stem to seize inside the shank, effectively gluing the two parts of the pipe together. Alcohol usually frees things up, but cleaning off the corrosion will thin the tenon, which can leave the stem slightly loose in the mortise.

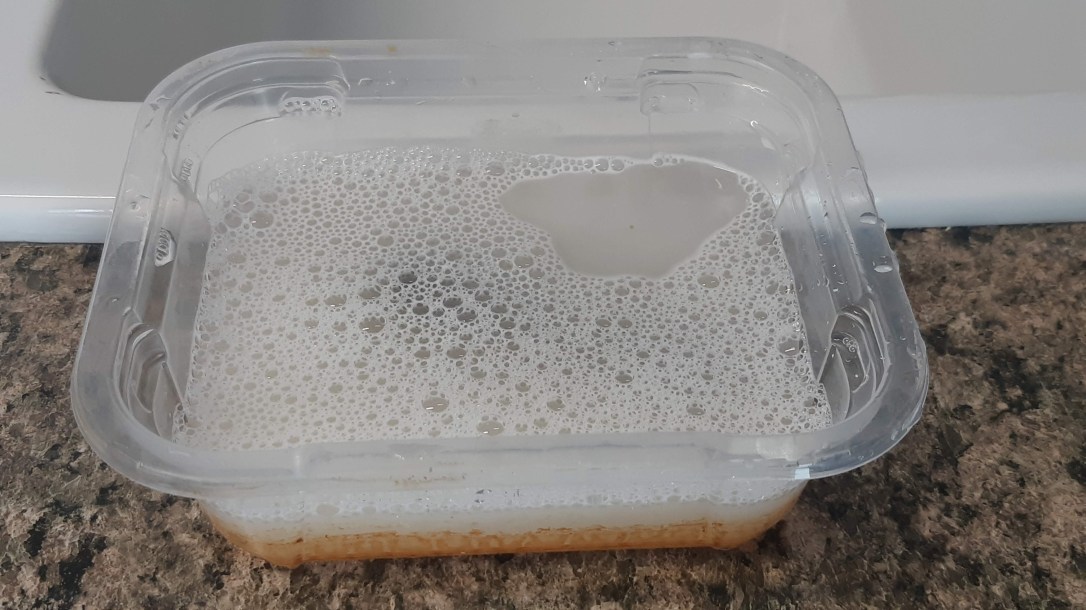
After removing the old distillator and checking that the stem’s airway was open, I dropped the discoloured vulcanite into a bath of Oxyclean and warm water to soak. The darkening of the water in this pic, taken only moments after I dropped in the stem, shows how quickly the Oxyclean starts working on the dirt and tars.
While the stem soaked, I worked on the stummel, first reaming out the light cake using my Castleford reamer then following up with sandpaper wrapped around a marker. The chamber walls were in excellent condition. The reaming actually caused most of the lava on the rim to flake away, so I removed the worst of what remained with the edge of a scraper blade.


I topped the bowl lightly on 800-grit sandpaper to remove the last of the lava and smooth out a few small surface marks. A bit of touching up with a stain pen matched the rim colour to the rest of the stummel.

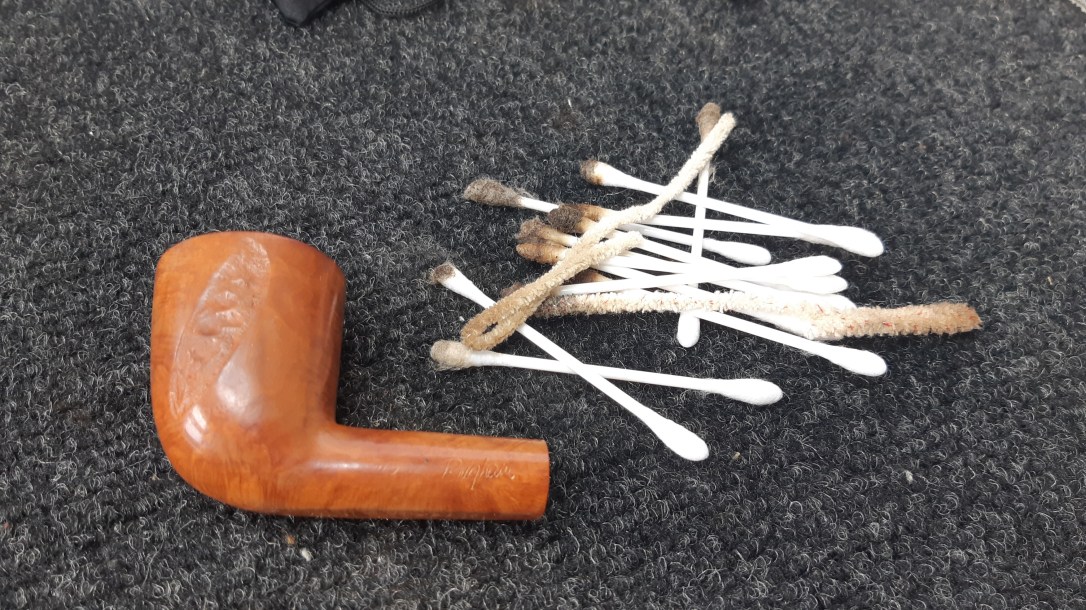
I used pipe cleaners and cotton swabs dipped in alcohol to clean out the stummel’s internals. Most of what came out of the mortise and airway was coloured a light grey – this is leftover corroded aluminum, not tars, which would show as dark brown or black. The internals were rather clean otherwise.
I forgot to snap a pic here, but the last job on the stummel was to wash away the exterior dirt, grease and old wax with a scrub of Murphy’s Oil Soap. I applied the soap full strength with an old toothbrush, scrubbing it across the surface of the briar and paying special attention to the nooks and crannies of the two rusticated areas on the sides of the bowl. I rinsed the stummel under running water, and dried it well with a towel.
With the stummel more or less ready to go, I set it aside and pulled the stem from its bath. The Oxyclean had softened the oxidation, which now scrubbed off easily with 0000 steel wool and Magic Eraser. Most of the tooth marks departed along with the oxidation, but a few deeper dents remained. I drop filled these spots with black CA glue and sanded the stem smooth again after the glue had fully cured.

I wet-sanded the stem to 2000-grit, then reunited both halves of the pipe and took it to the buffer. A run of White Diamond compound was sufficient to erase the lingering sanding marks and bring up the shine on both briar and rubber stem. A few light coats of Carnauba added gloss and an extra layer of protection for the revived finish.
As I mentioned in the opener to this post, this Brigham Woodstock didn’t take a lot of effort to bring back to life; neither did it require any specialized equipment or exotic techniques. Instead, this pipe is a great example of the transformative power of a good basic cleaning and a few small touch-ups with off-the-shelf materials. I hope it inspires you to spruce up your own pipes.
Thanks for joining me. Tune in next time for another estate pipe restoration story! Until then, Happy Piping!
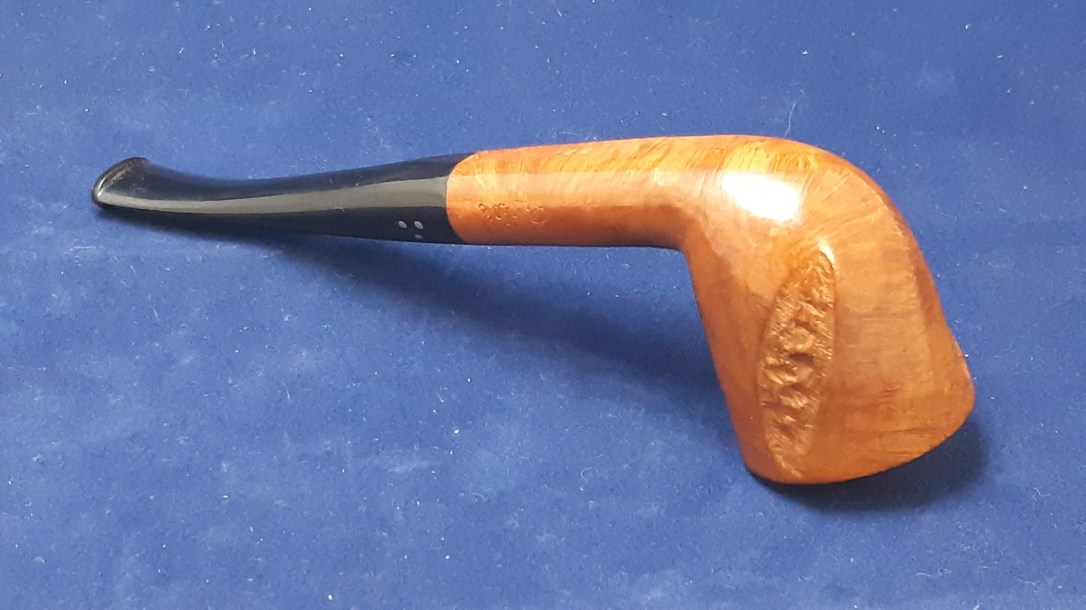
Here’s the finished pipe.