
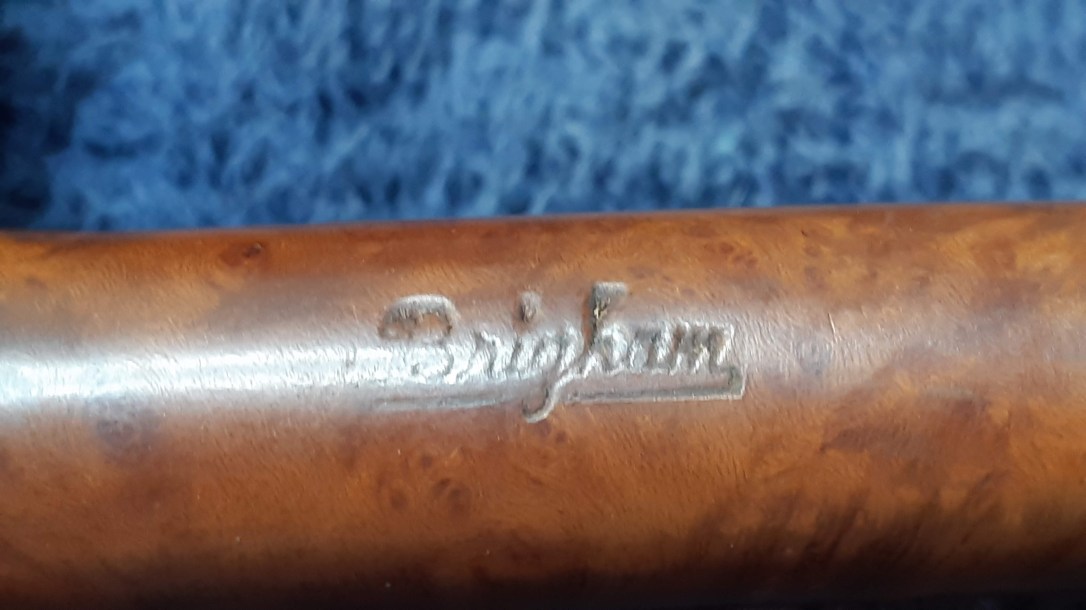
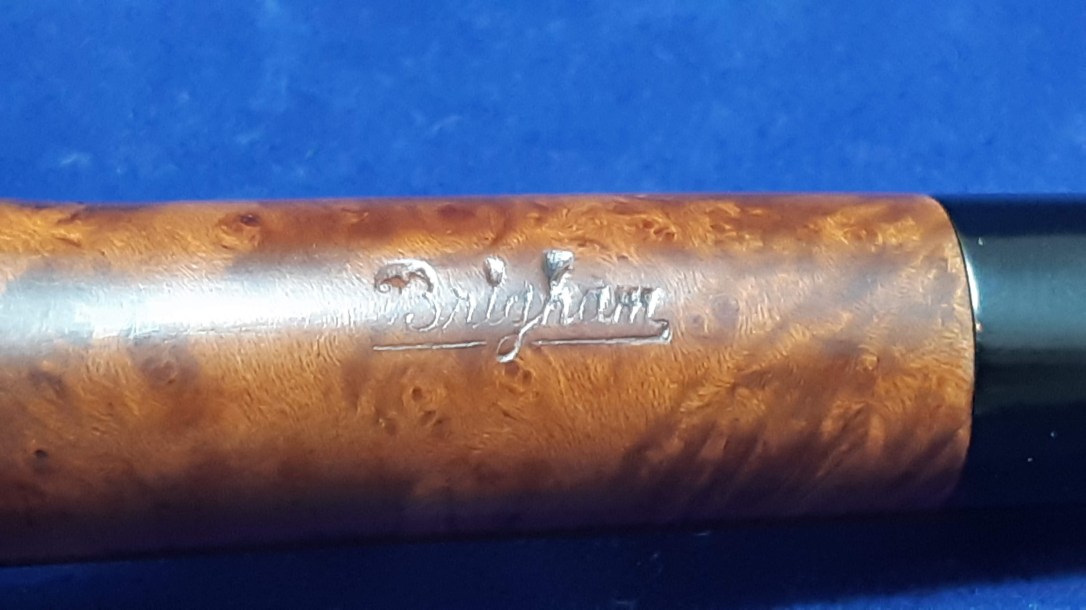
In today’s post I’ll be working on the first of two Brigham Canuck prototype pipes I wrote up last time.
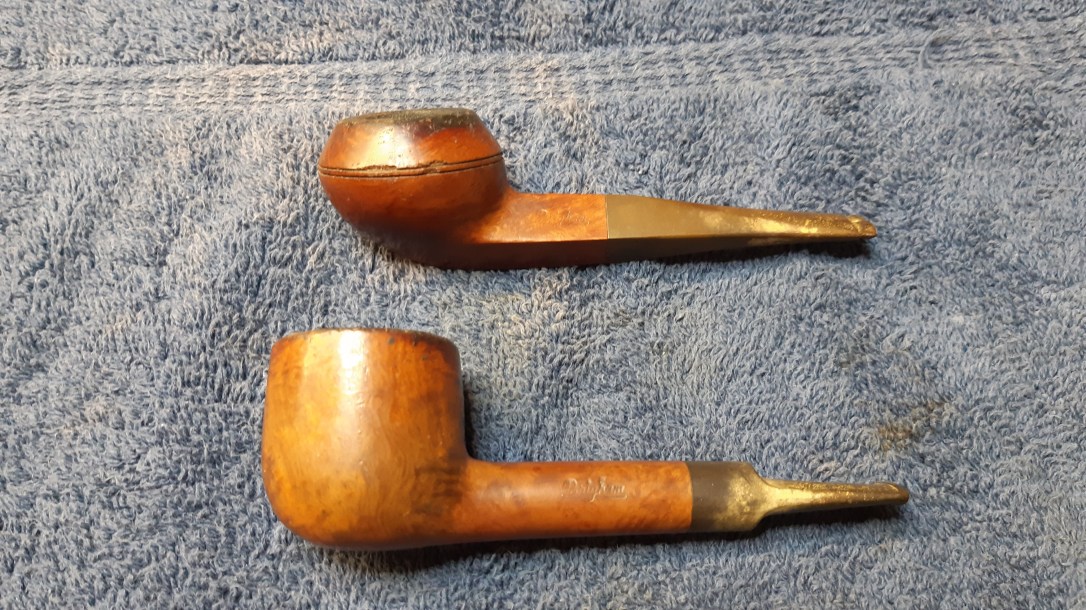
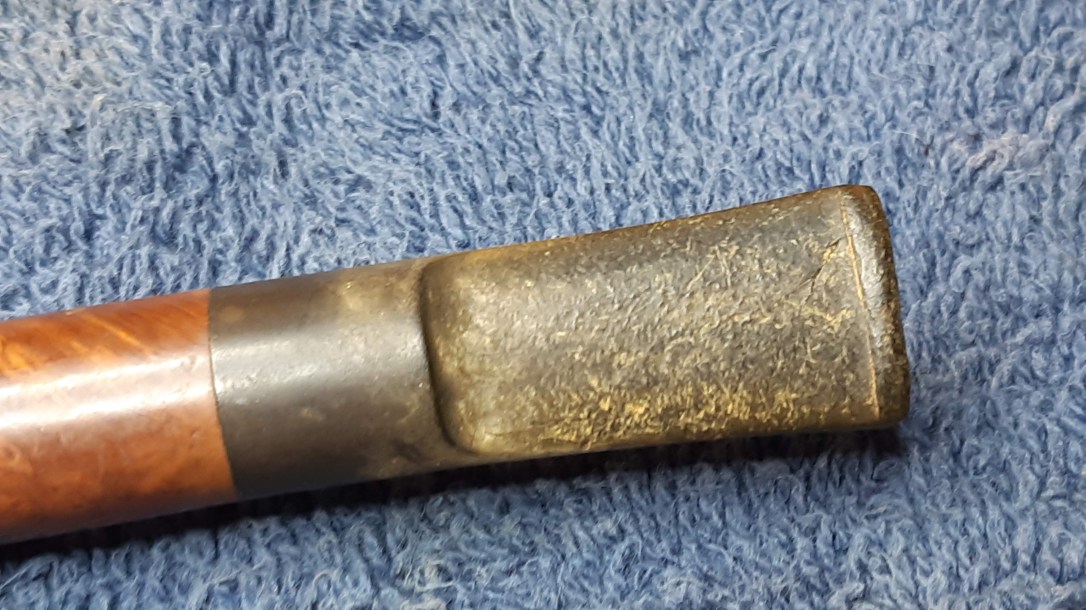
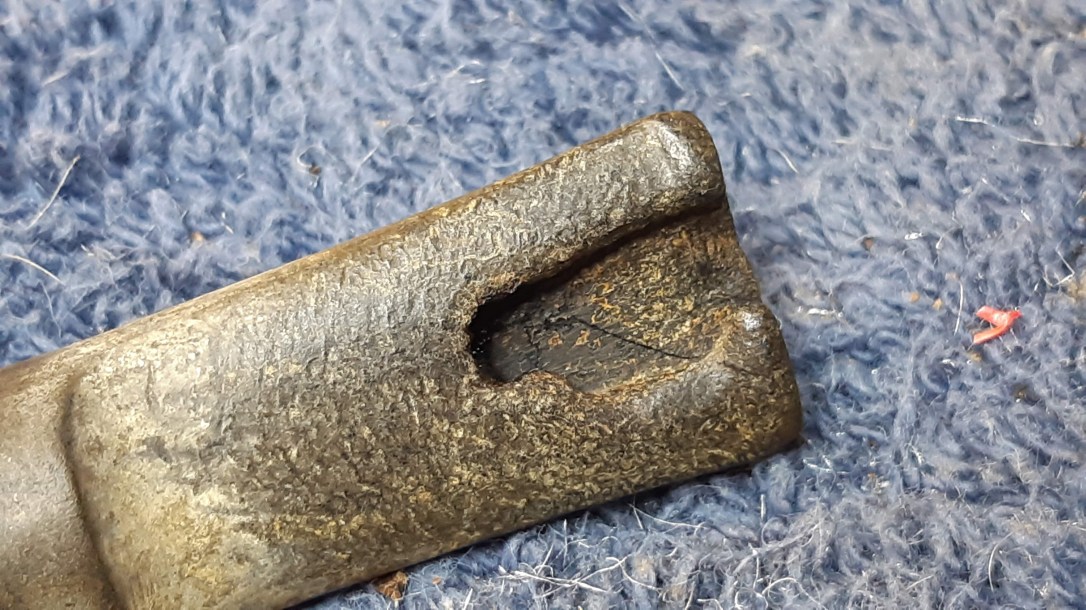
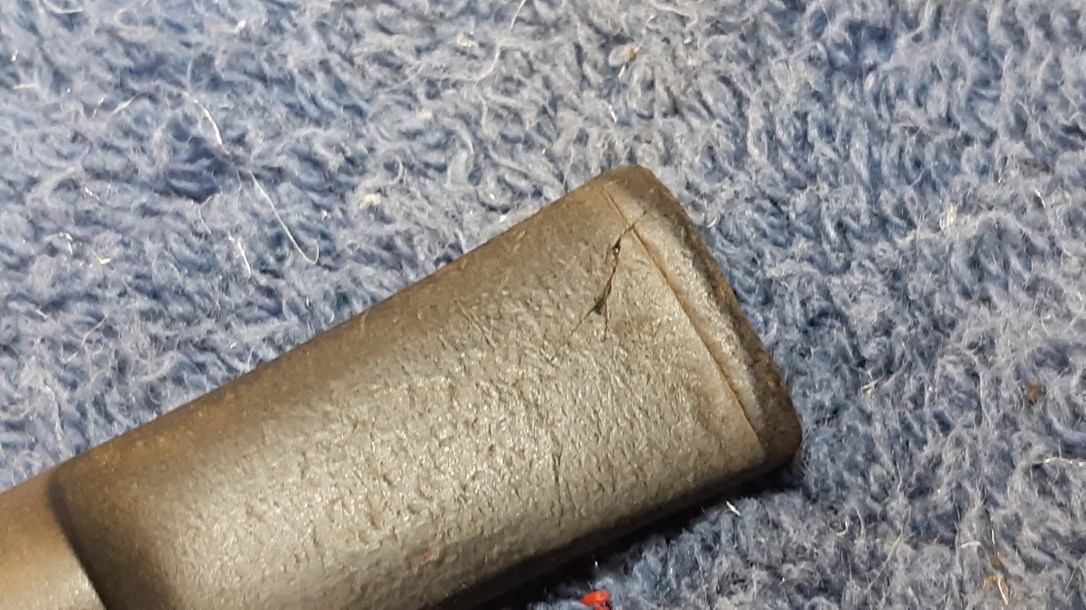
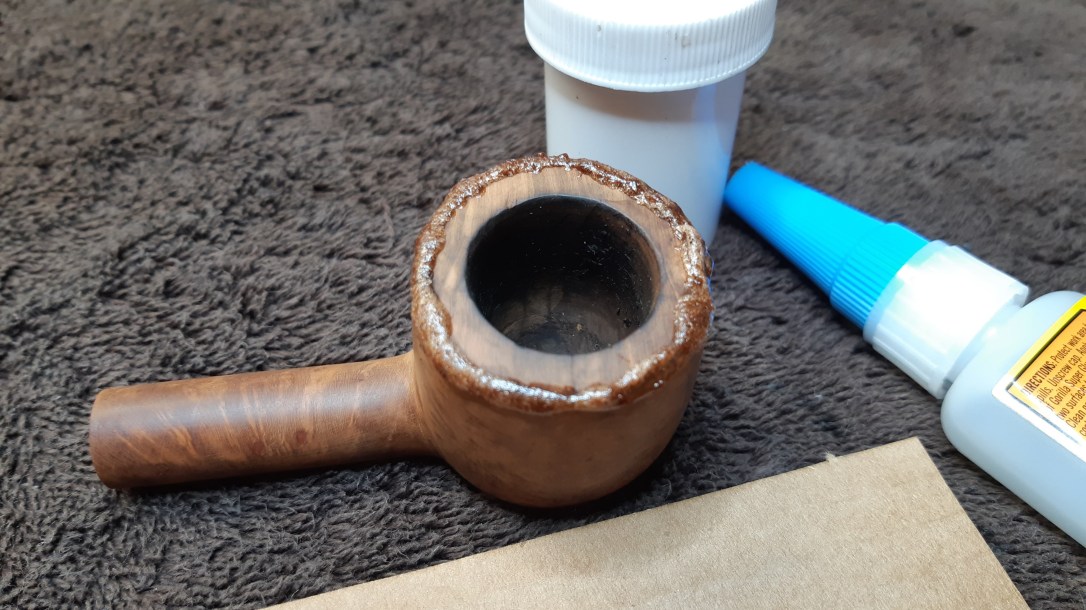
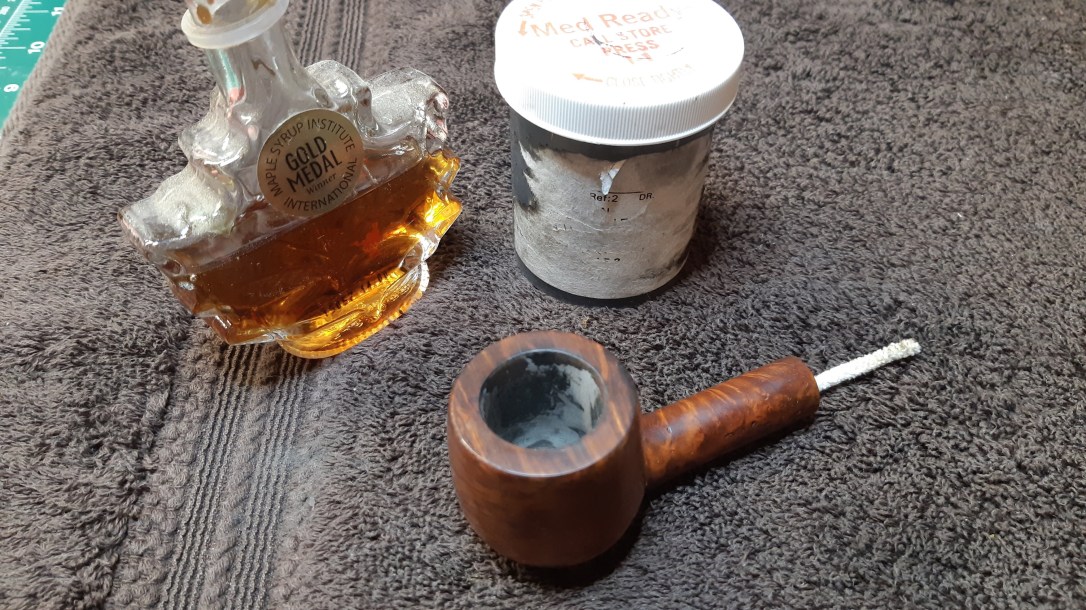
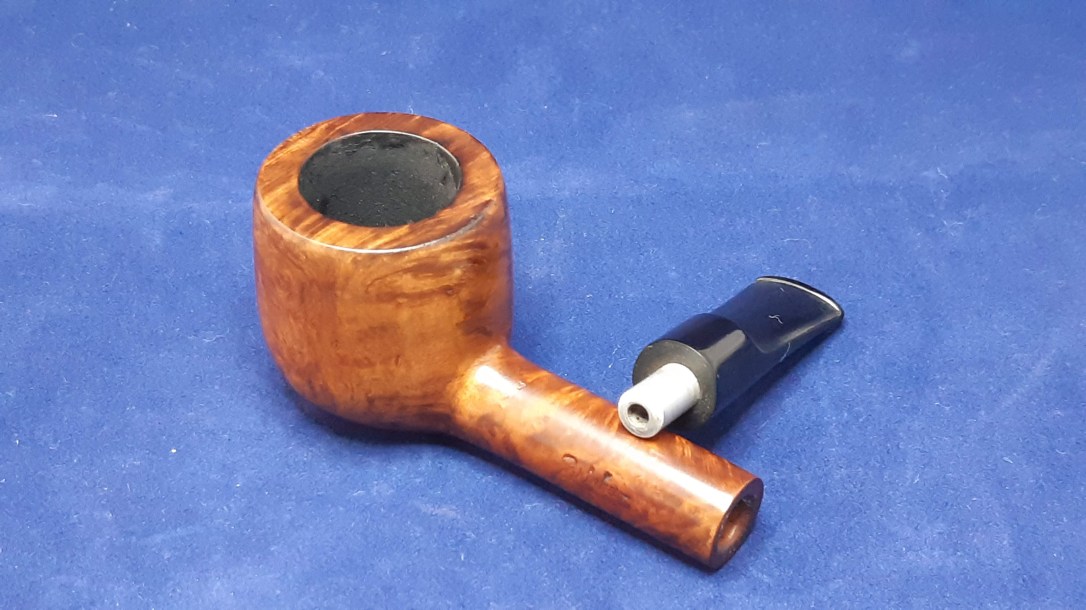
This Pot shaped pipe, probably made in the 1940’s or early 1950’s, was certainly showing its age when I brought it to the worktable to start cleaning it up. The body of the pipe wasn’t too bad, but the rim was dented nearly all the way around the outside edge and covered with a crust of lava. The stem was oxidized and had a great chunk missing from the underside, reaching from the button to a point about halfway to the shoulder of the saddle stem.
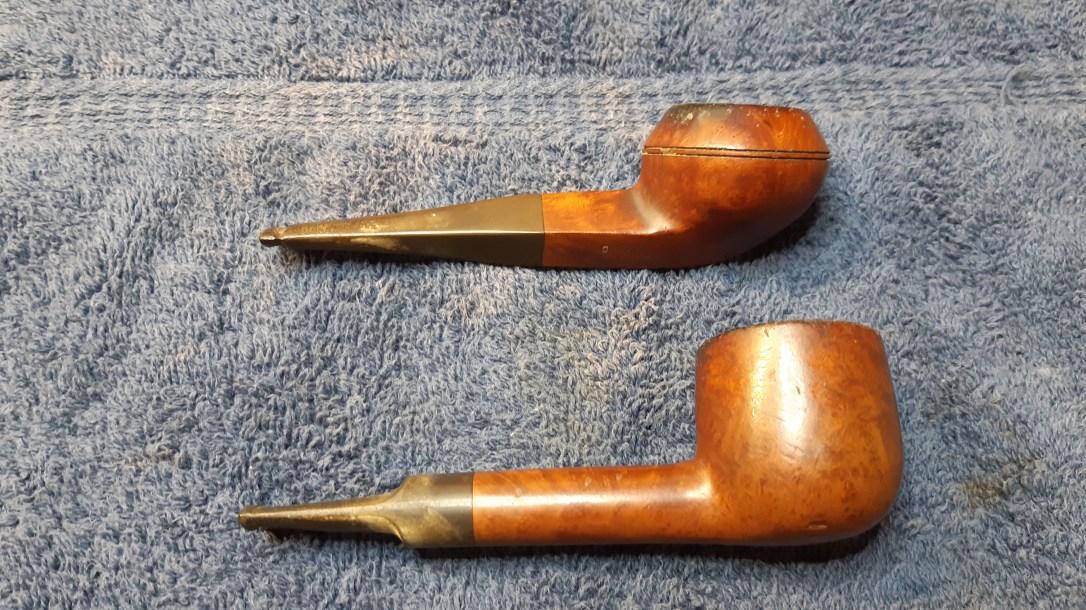
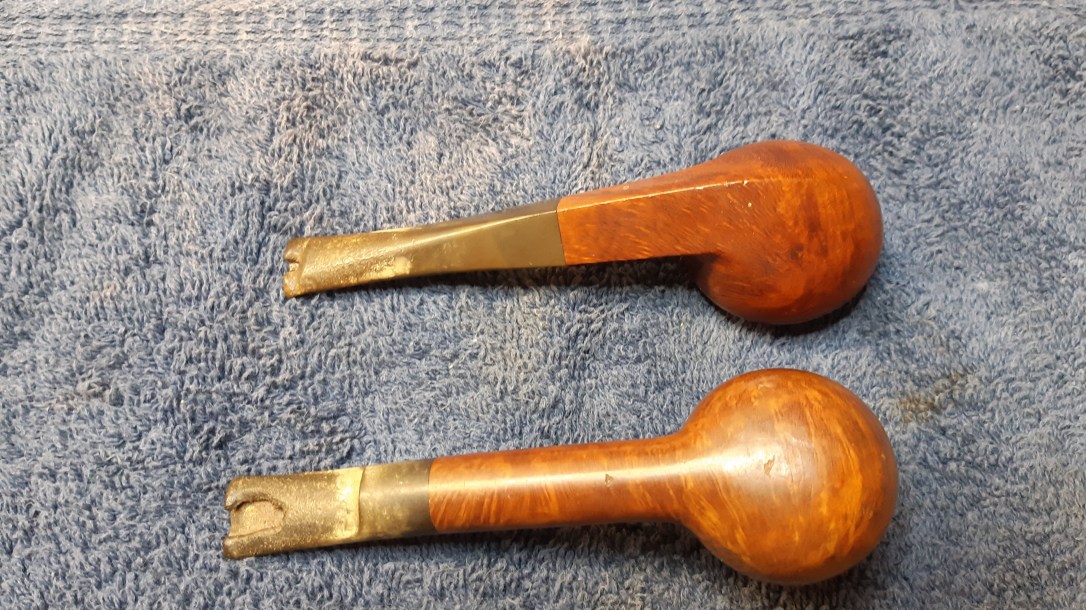
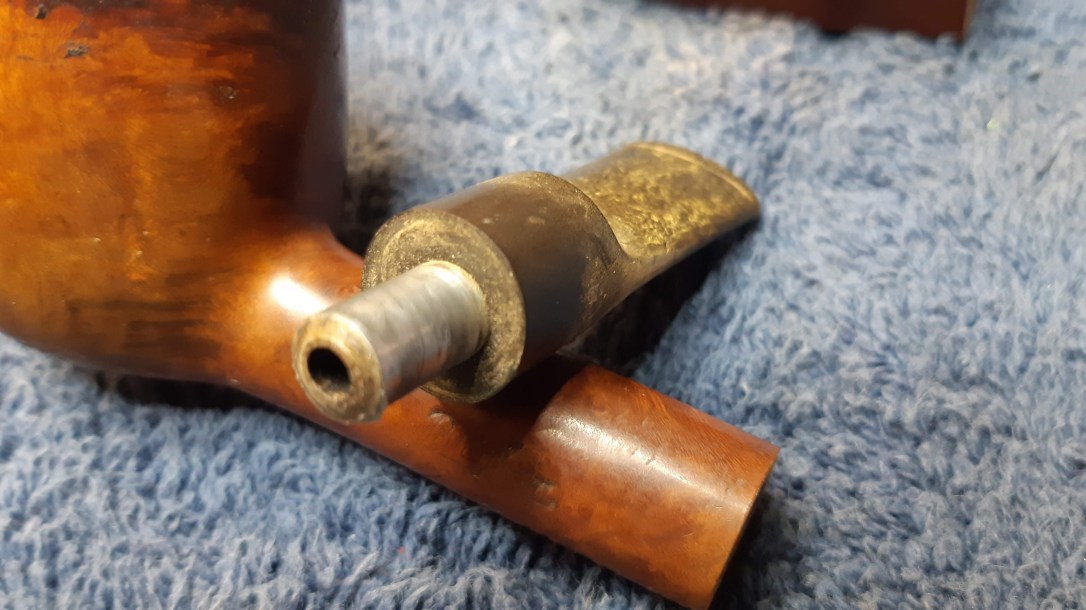
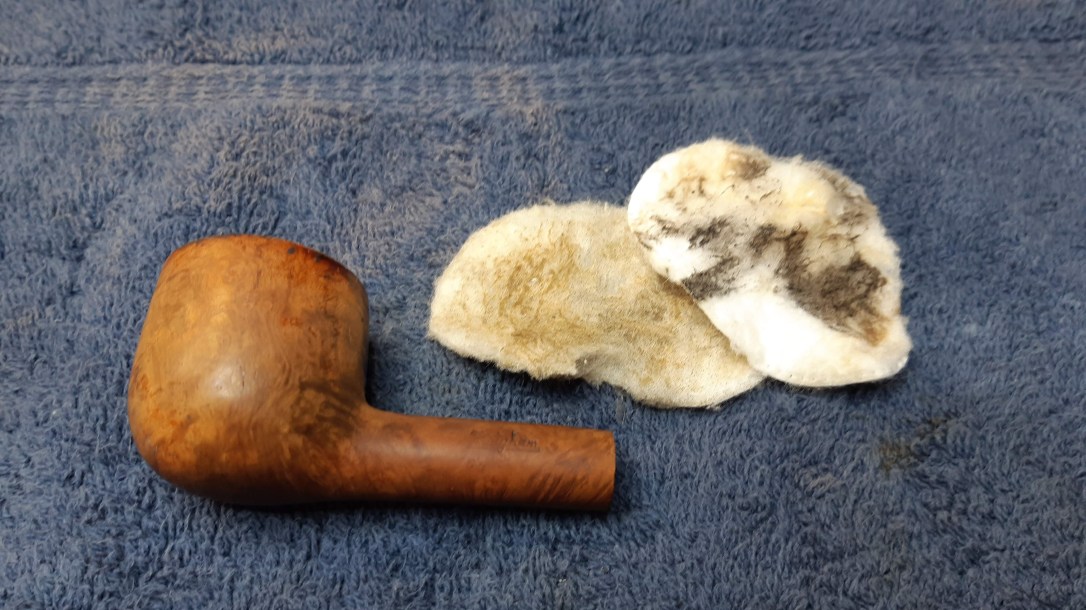
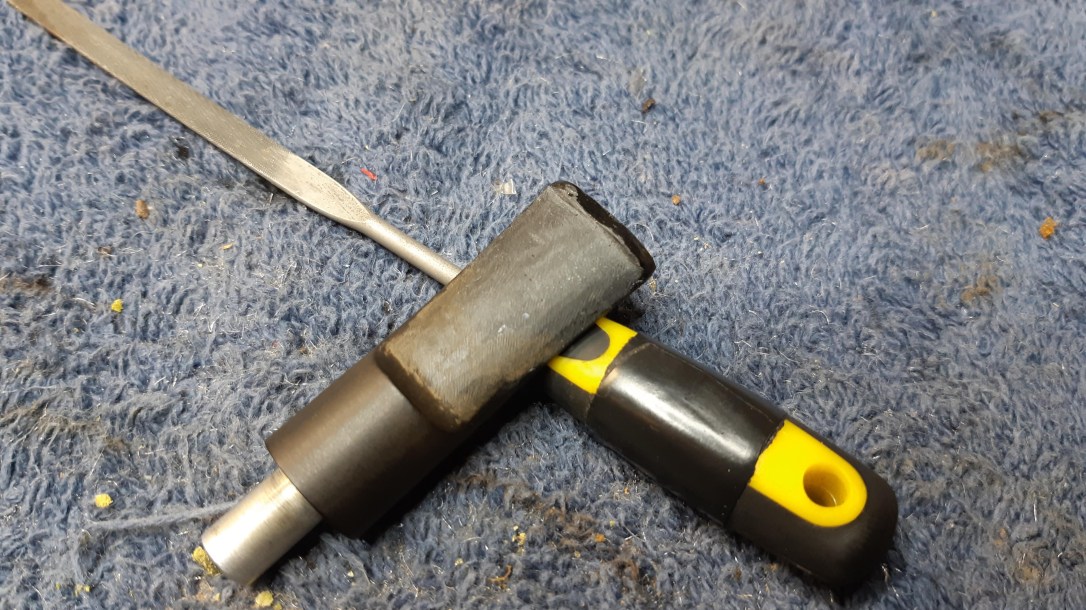
Here is the pipe as it looked before I started work, shown in several pics with the Bulldog that came with it.
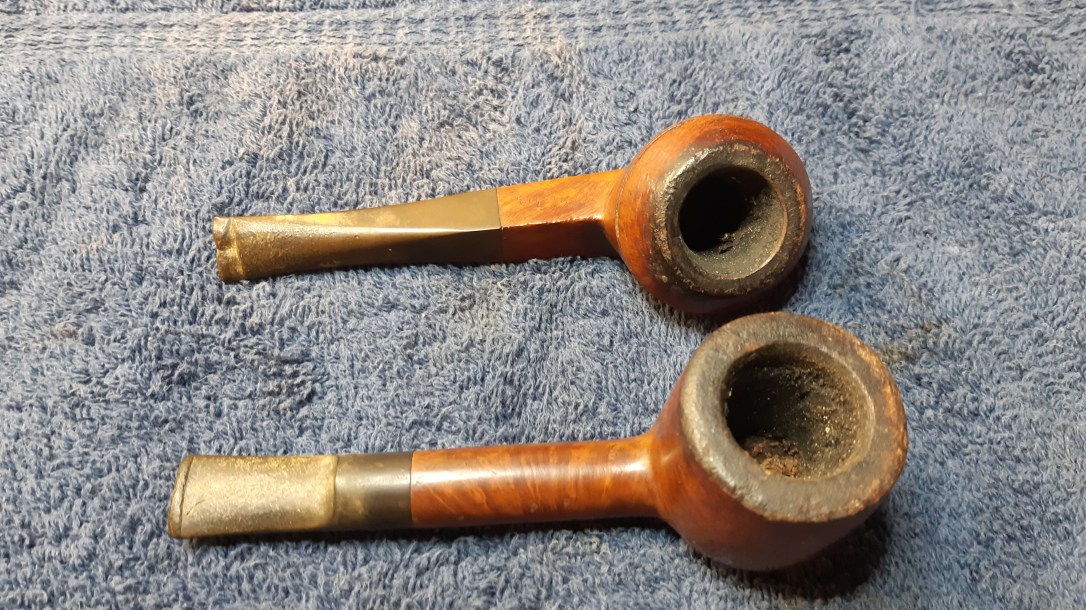
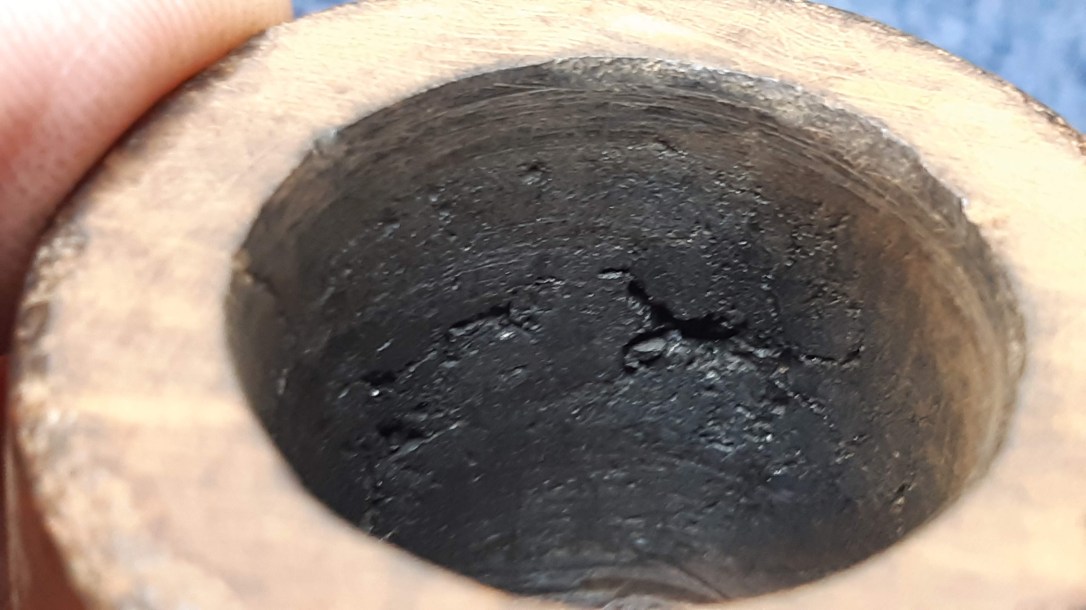
As usual, I started work by reaming the tobacco chamber to remove the old cake and get a look at the chamber walls. It wasn’t a great surprise to find a charred chamber on this 80-ish year old pipe.

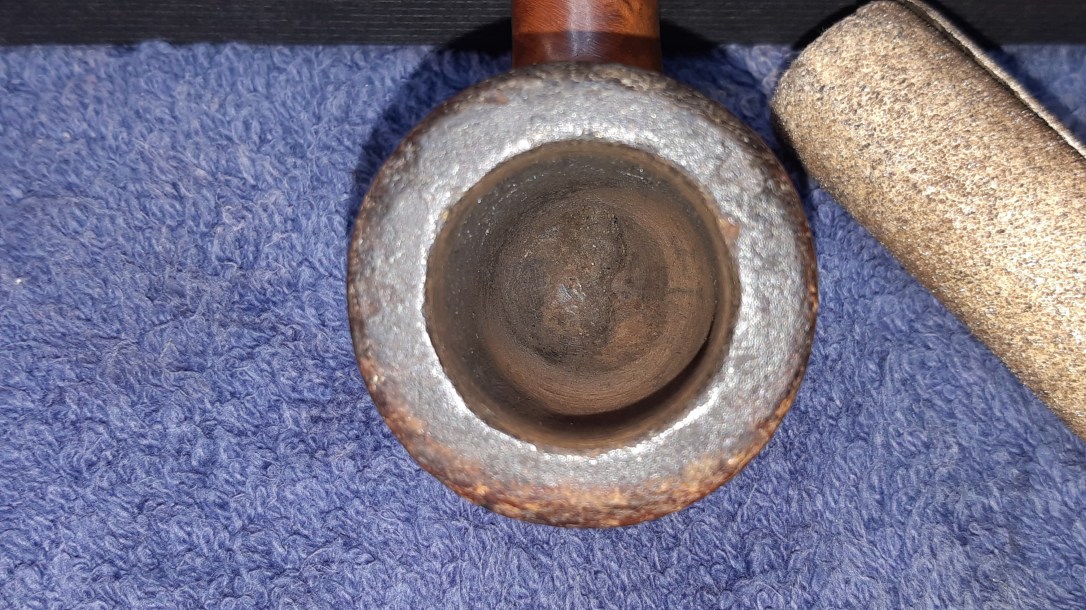
I scraped the worst of the lava crust from the rim, then topped the bowl gently to reestablish a flat surface. You can see from this pic that a lot of briar was missing around the outer edge.
Alcohol on a cotton pad cleaned the worst of decades of dirt and grease from the exterior of the stummel. I followed this with a light overall sanding of the stummel to smooth out the worst of the handling marks. I wasn’t going for a factory fresh look here. I wanted to conserve the pipe more than restore it.
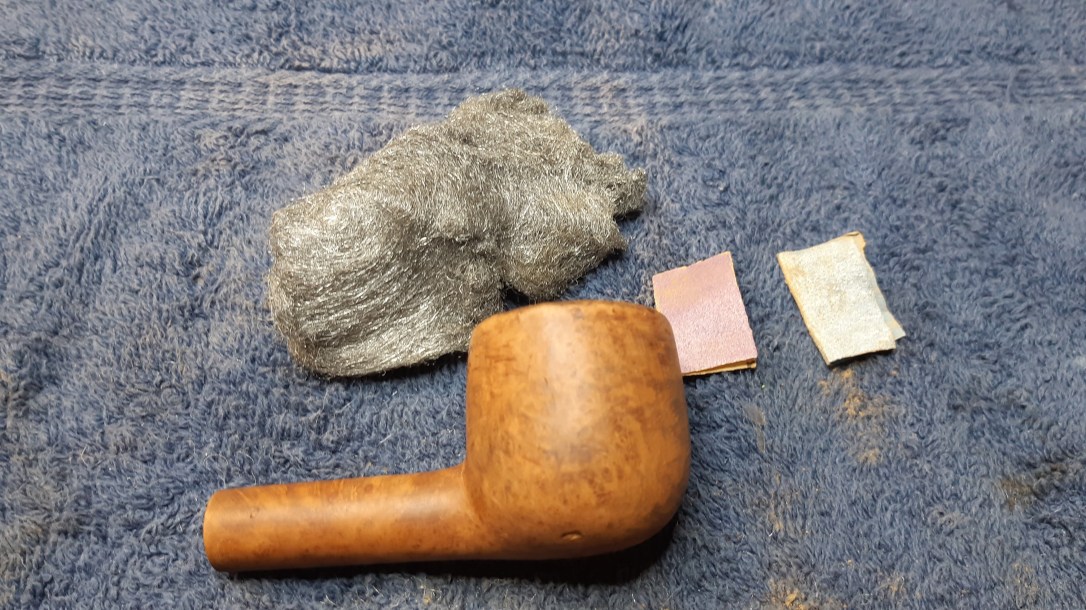
More alcohol, pipe cleaners and cotton swabs took care of the surprisingly light amount of tars and debris in the shank and airway.
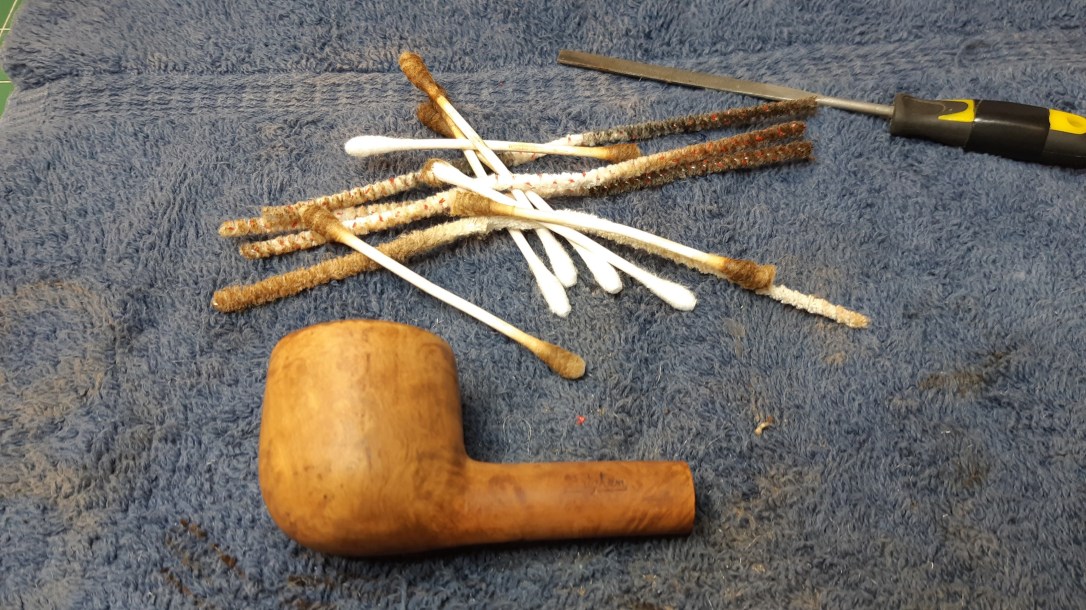
I also used alcohol and pipe cleaners to clear the airway through the damaged stem before dropping it into a bath of Oxyclean and warm water to soften and raise the oxidation.

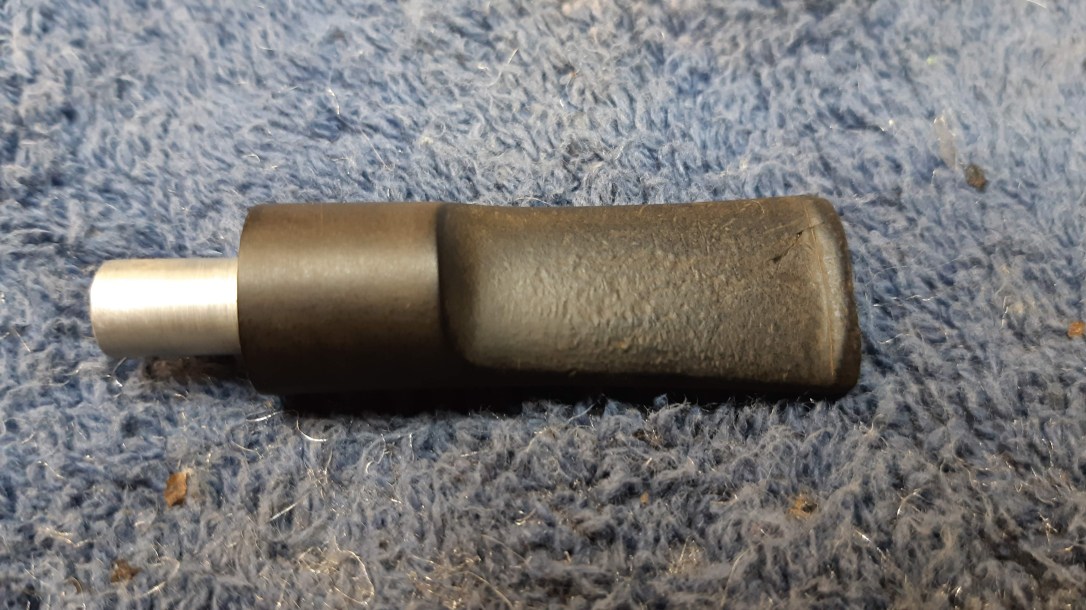
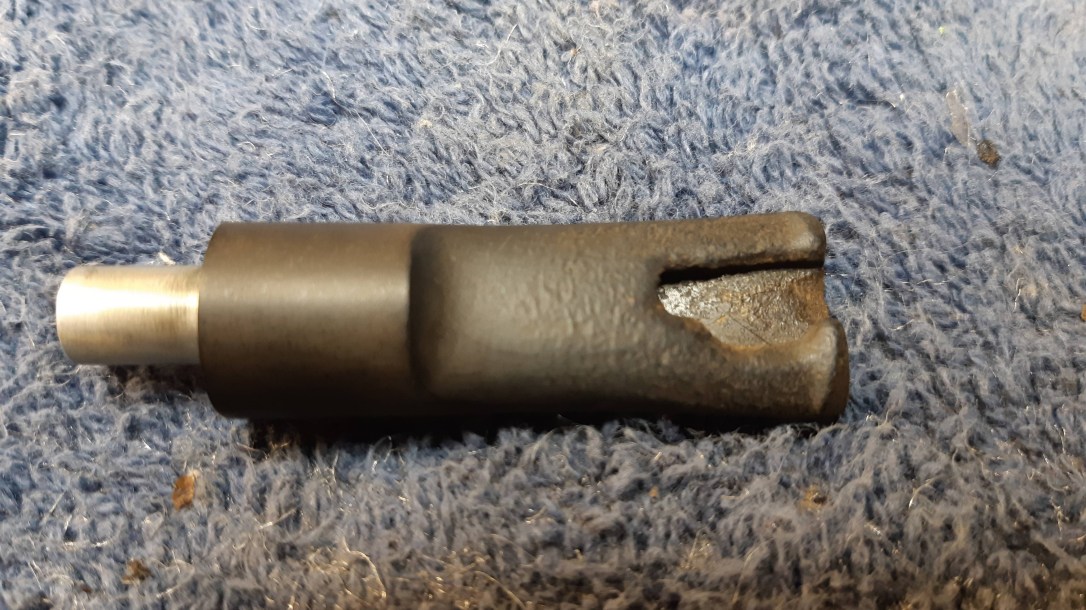
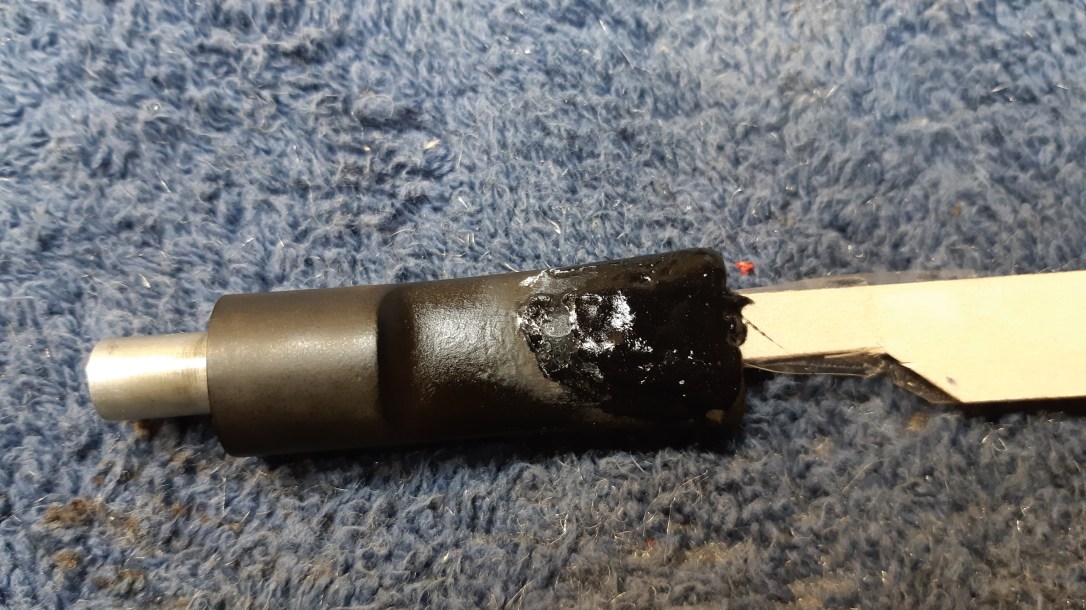
I left the pipe alone overnight while the stem soaked and I debated my approach to the rest of the stummel repair. In the morning, I retrieved the stem and scrubbed it down with 0000 steel wool and Magic Eraser. With the surface clean, the full extent of the damage to the vulcanite was revealed. Along with the large missing chuck, a long, forked diagonal crack ran from the corner of the button across the stem’s bite area.
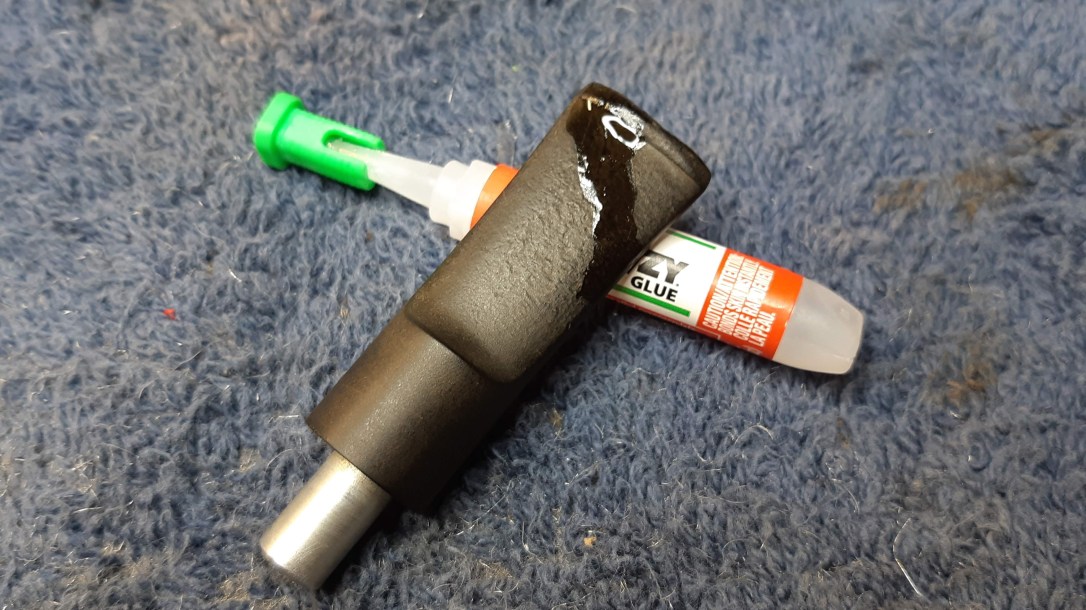
I flowed some thin CA glue into and over the crack from both sides – sometimes having access to the interior of the stem is helpful!
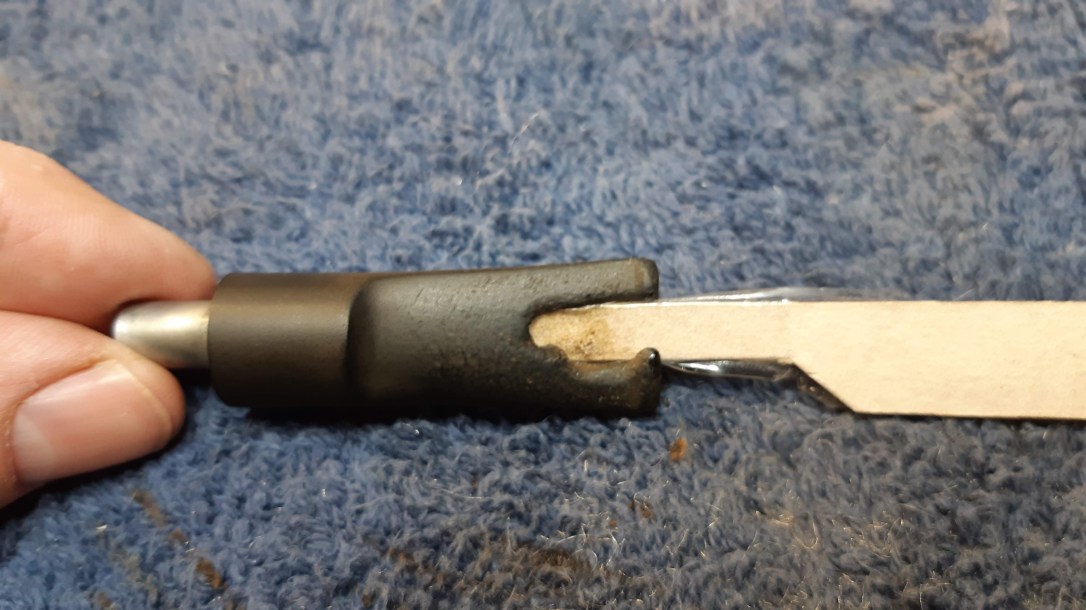
The next step was to fashion a wedge to push into the end of the stem to keep the airway and slot open while I applied a patch of CA glue and charcoal powder. Conveniently, the slot was a long, rectangular shape that almost perfectly matched the profile of an emery board I had in my kit. I covered the end of the board with clear tape to stop the patch from sticking to it and wedged it into the stem.
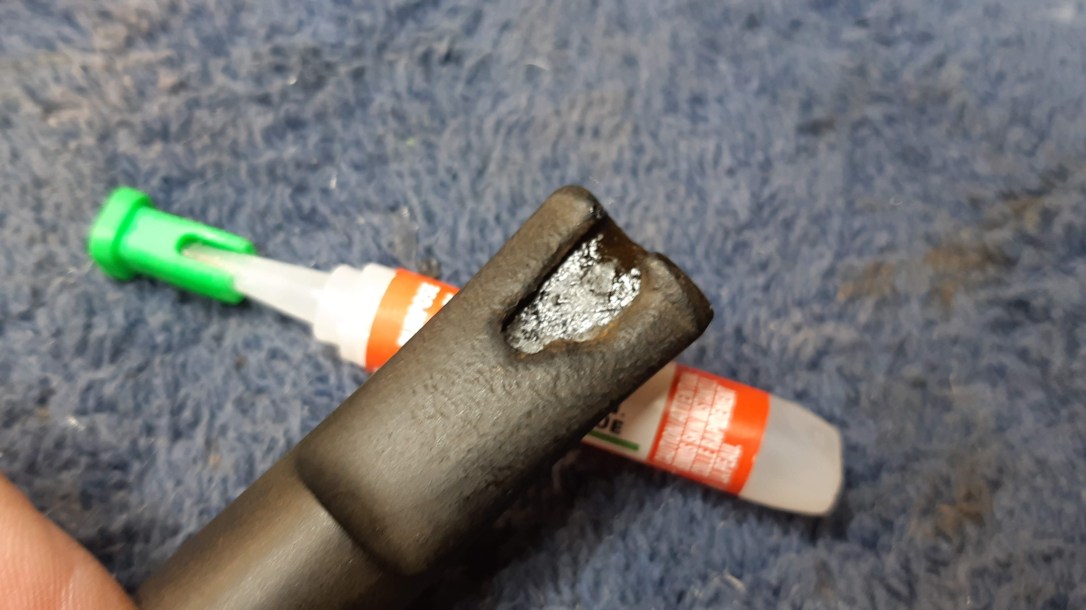
I mixed up some thick CA glue and activated charcoal powder and applied it to the stem, completely filling the area of missing vulcanite. I had to apply the mixture in several batches due to the size and thickness of the damaged area.
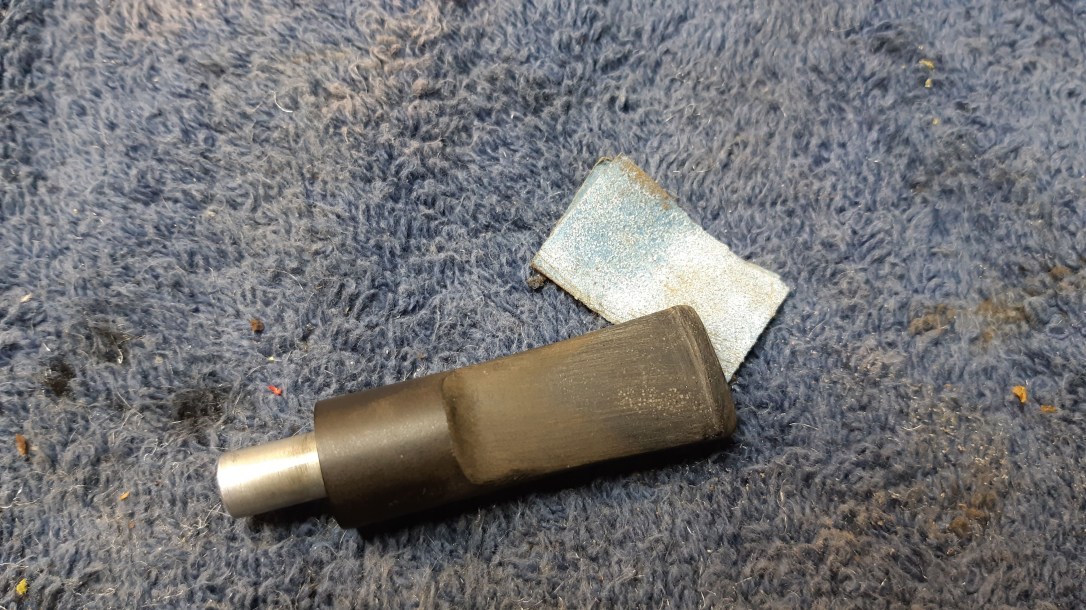
When the patch had fully cured (about 24 hours later), I filed and sanded the stem to rough out the shape of the new button.
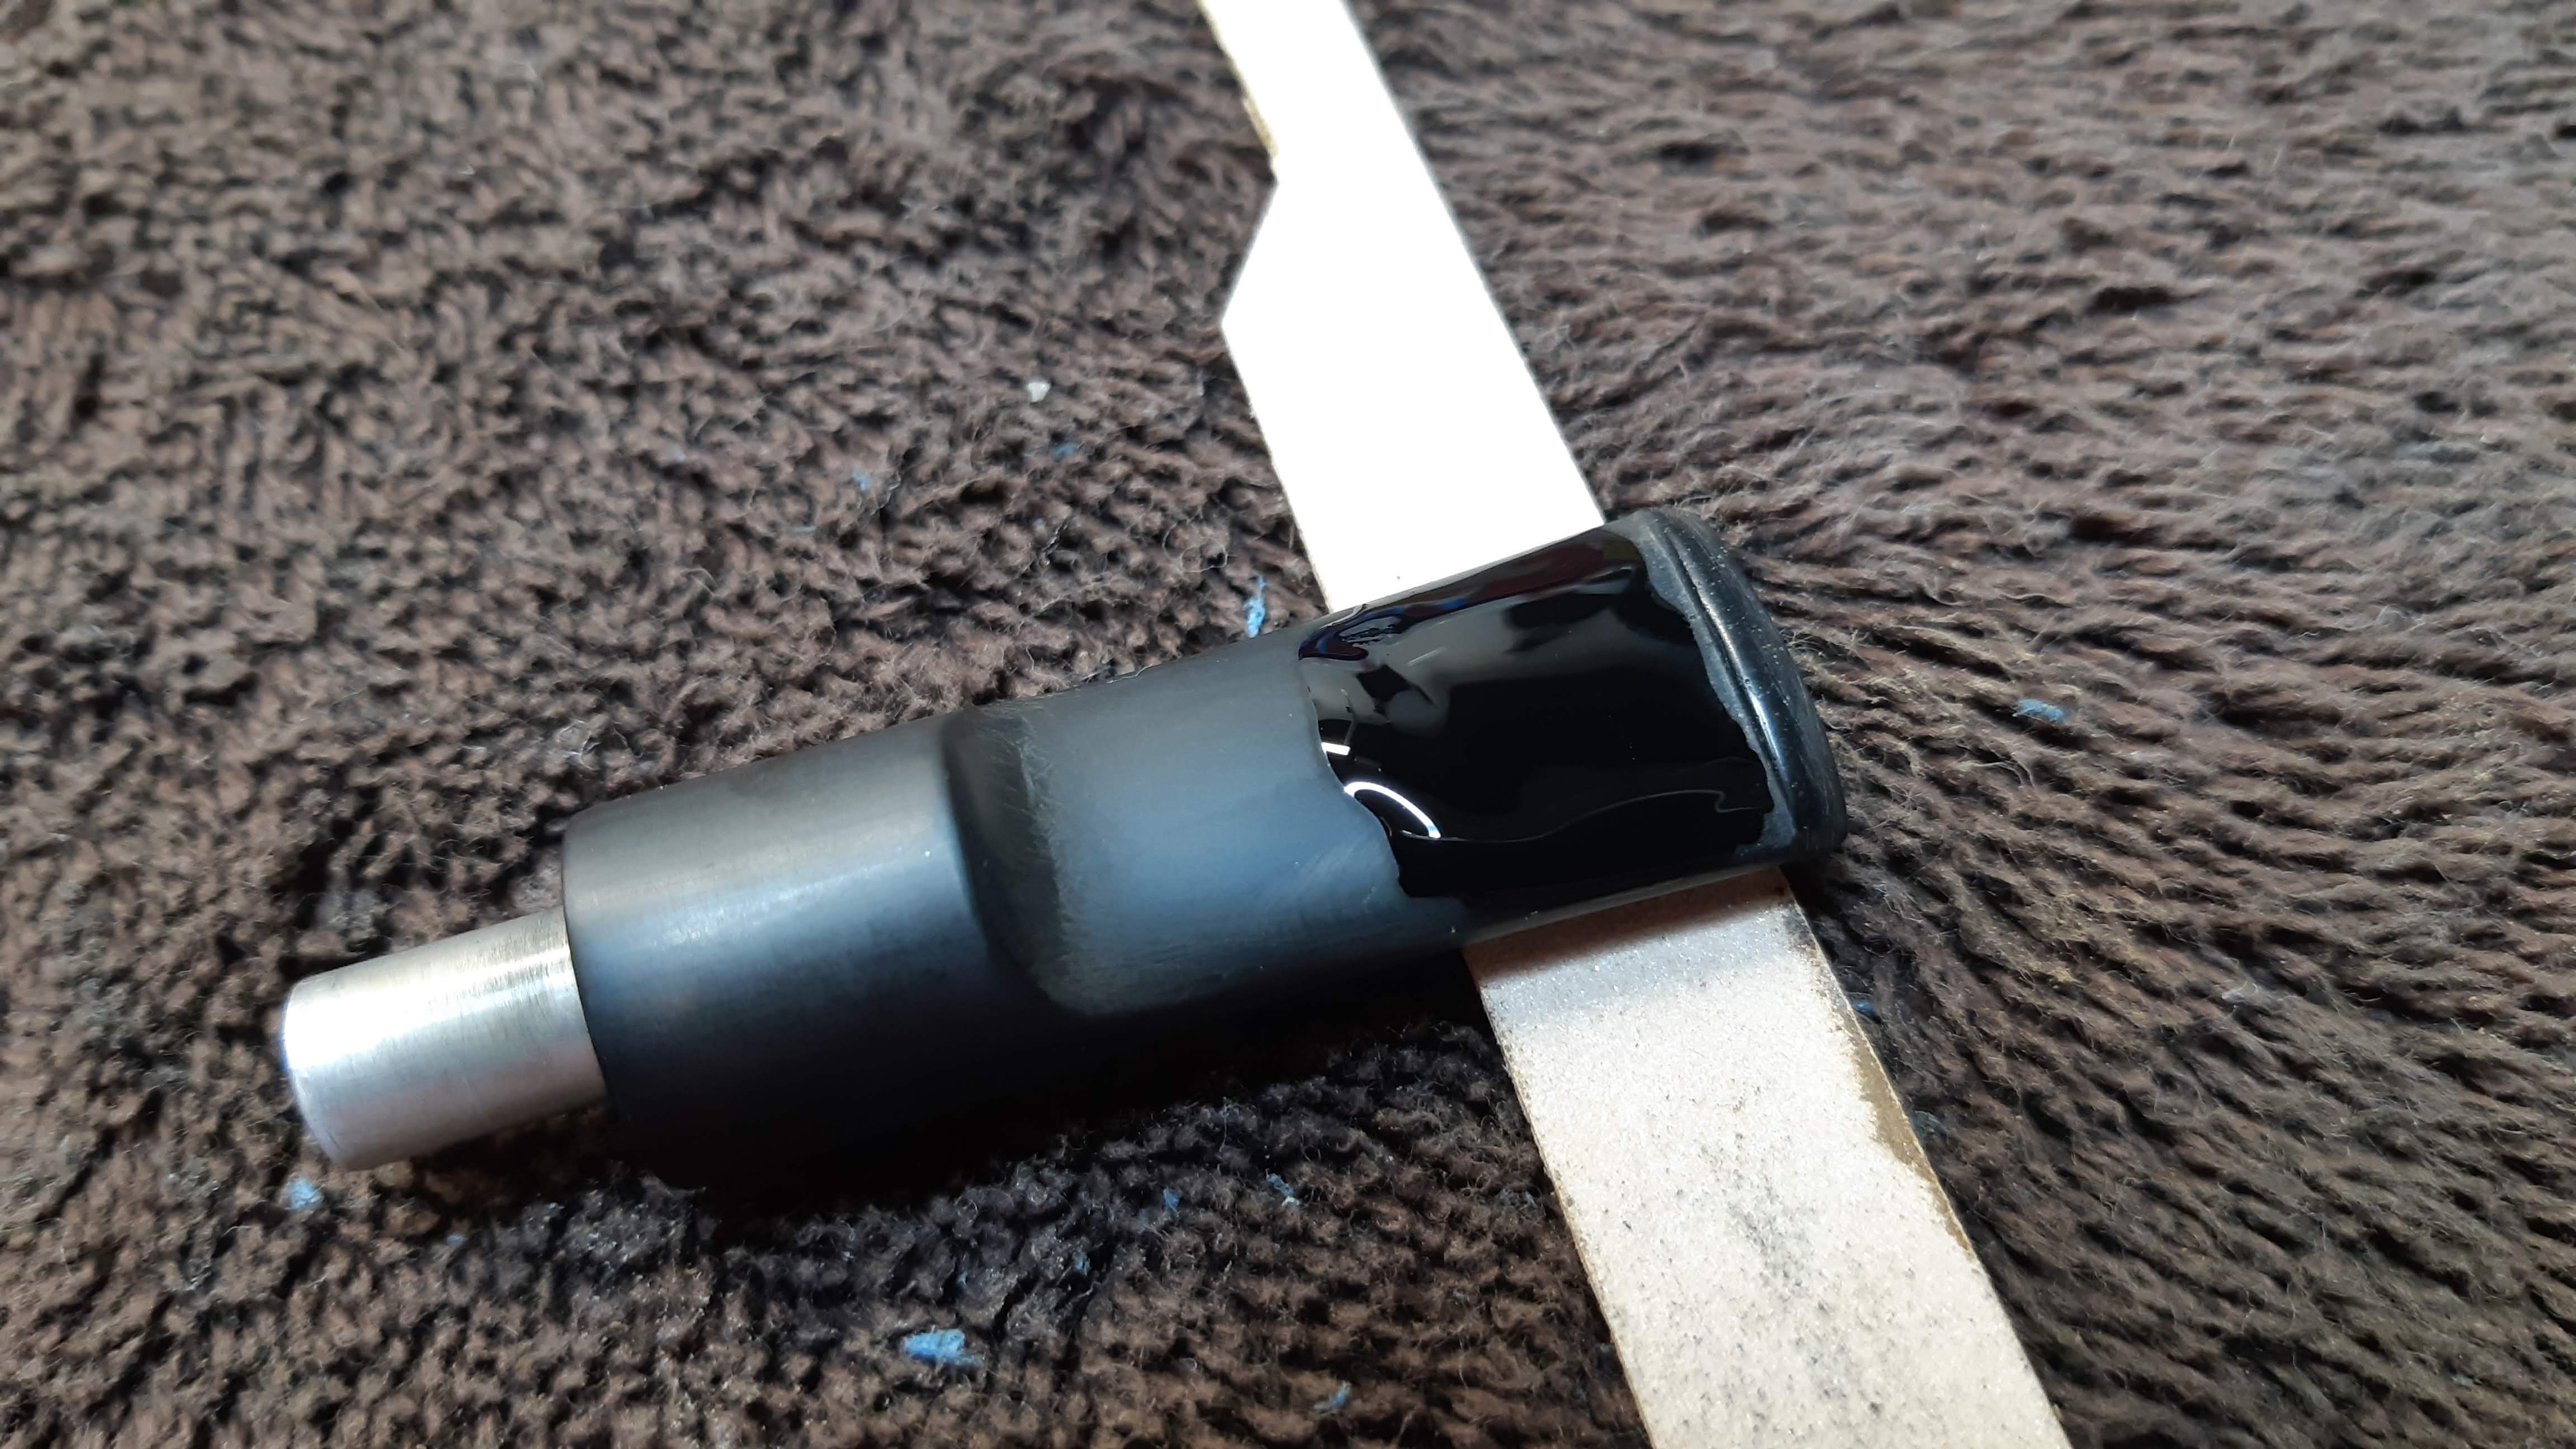
Small air bubbles in the patch material had created a honeycomb pattern in the stem, so I top-coated the area with clear CA. It took several applications of glue to completely fill the dimples, but eventually I got there.
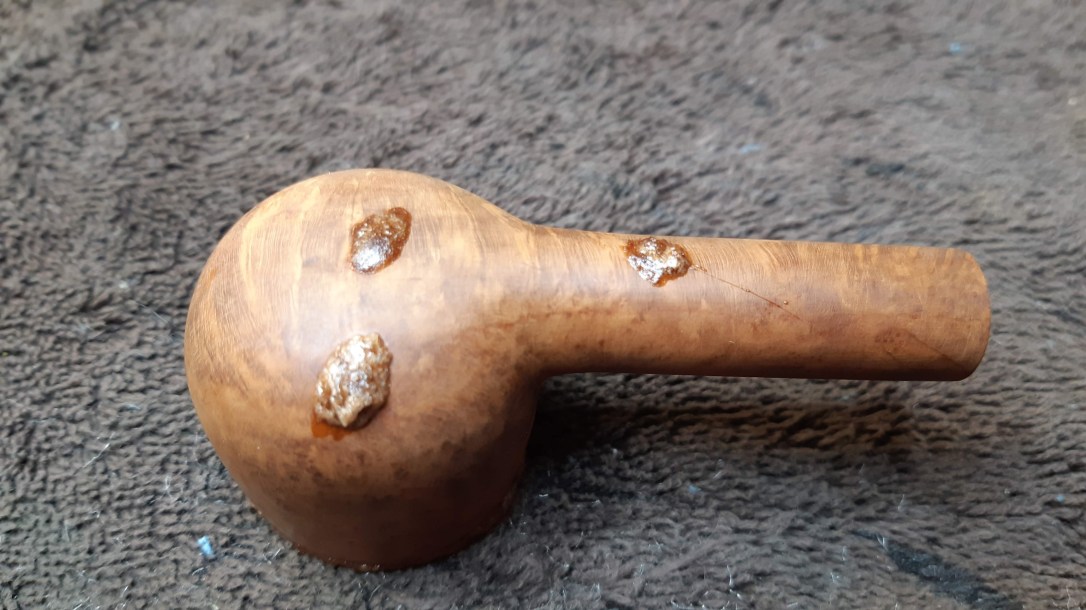
Setting the stem aside, I turned my attention back to the stummel. Instead of topping a large amount off the bowl, I elected to build up the damaged outer edge with CA glue and briar dust. I applied a liberal amount of patch material to the rim and let it cure. While I was at it, I filled a few deep pits on the bottom of the bowl and shank.

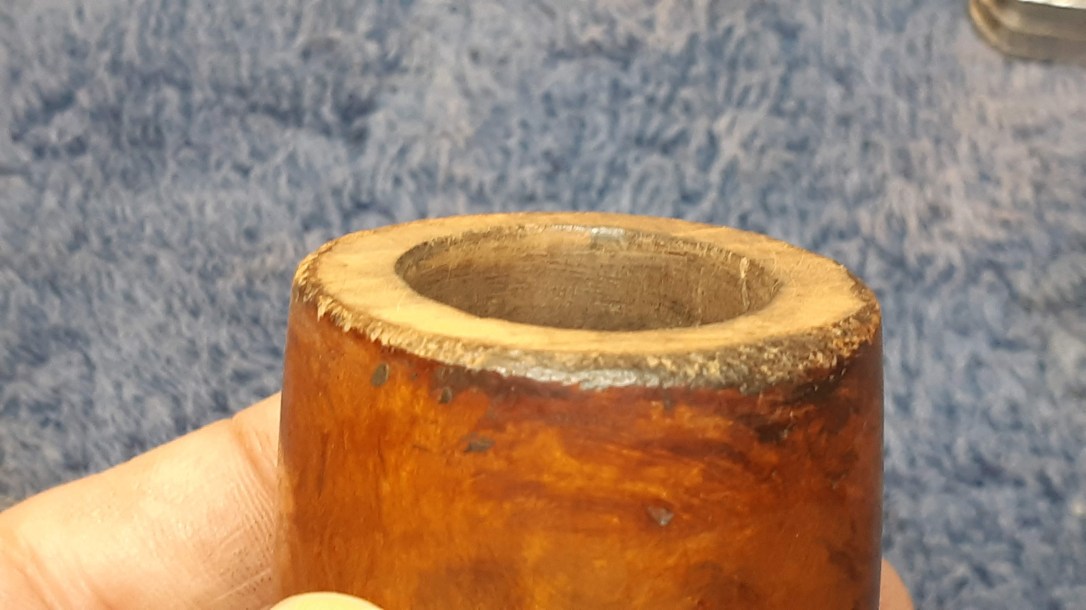
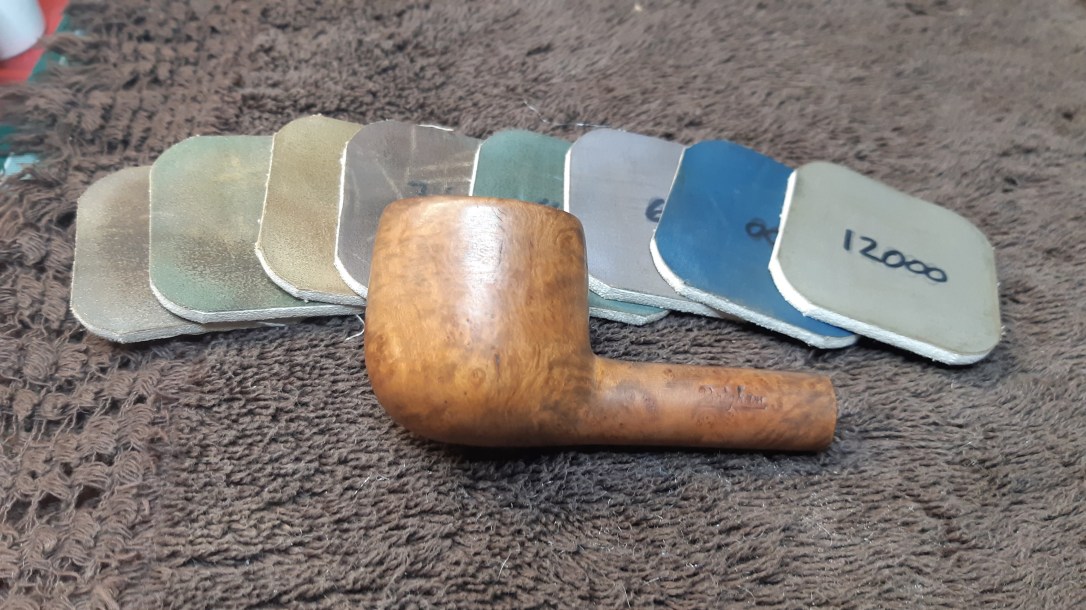
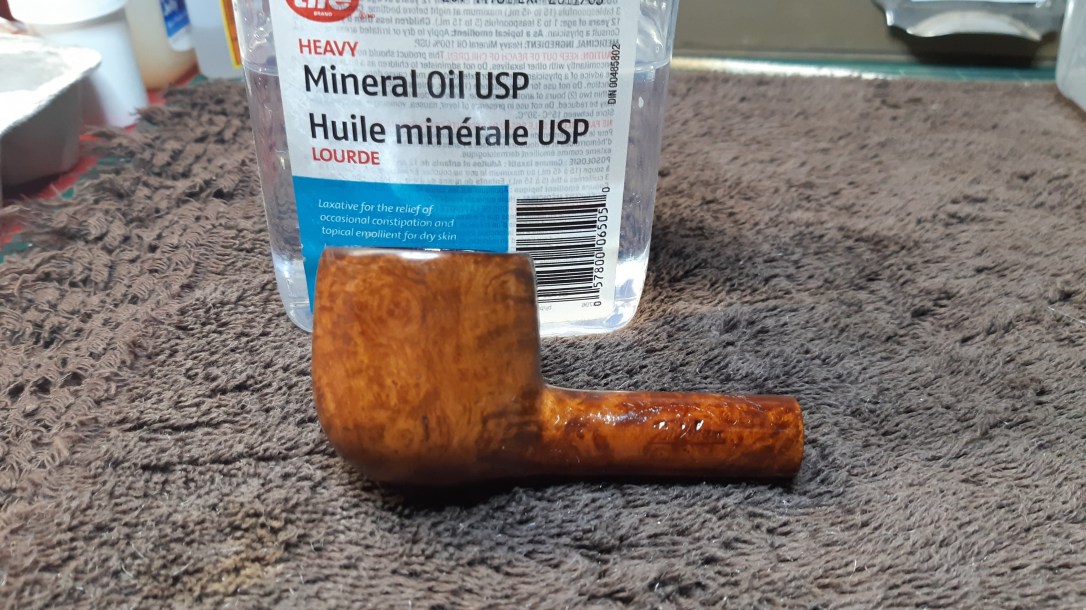
When the fills were fully cured, I filed and sanded the stummel smooth. When I was happy with the results, I smoothed and polished the briar with a full course of Micromesh pads. A light coat of mineral oil refreshed the dry briar and brought out the grain. I let the stummel sit for a few minutes before buffing off the excess oil with an old towel.
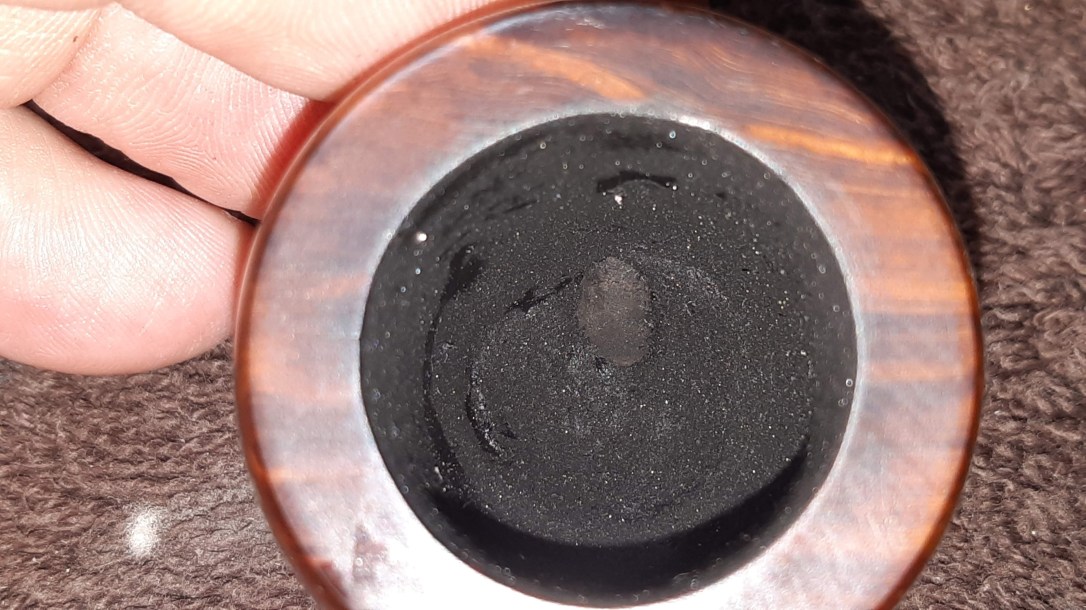
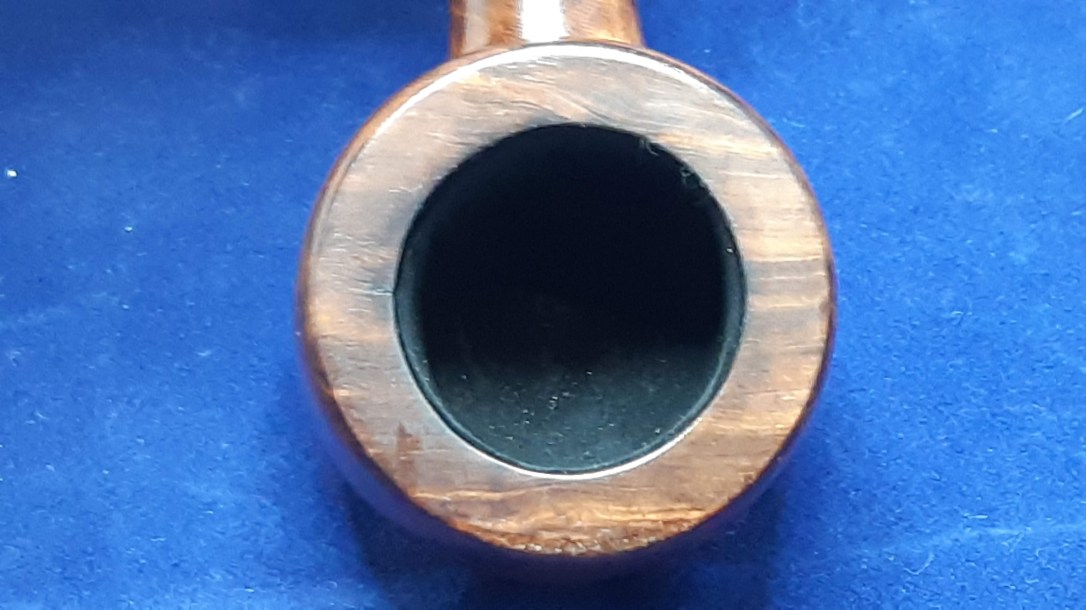
The last task on this rehabilitation project was to address the charred chamber walls. For this repair, I mixed up a bit of JB Weld two-part epoxy and pressed it into the damaged area with a gloved finger. I let the patch cure before sanding away the excess, leaving the epoxy only in the burned out spots. A quick bowl coating of maple syrup and charcoal powder prettied up the chamber and will make it easier to establish a new cake layer in the future. The second pic below shows the bowl coating right after application – the darker areas are where syrup has saturated the charcoal. These areas will dry over the enxt few days and create a uniform coating.
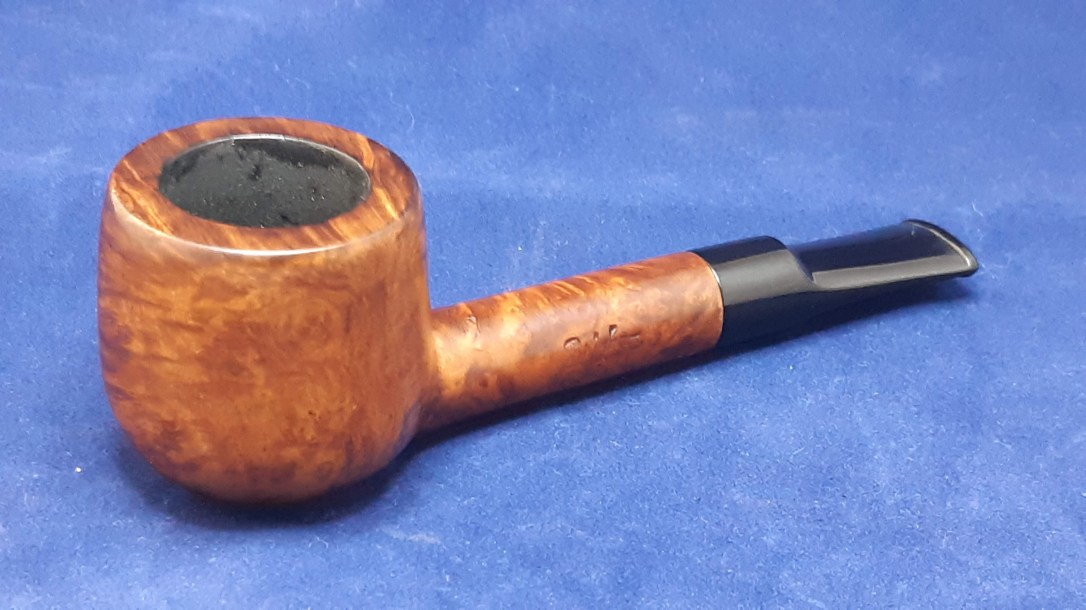
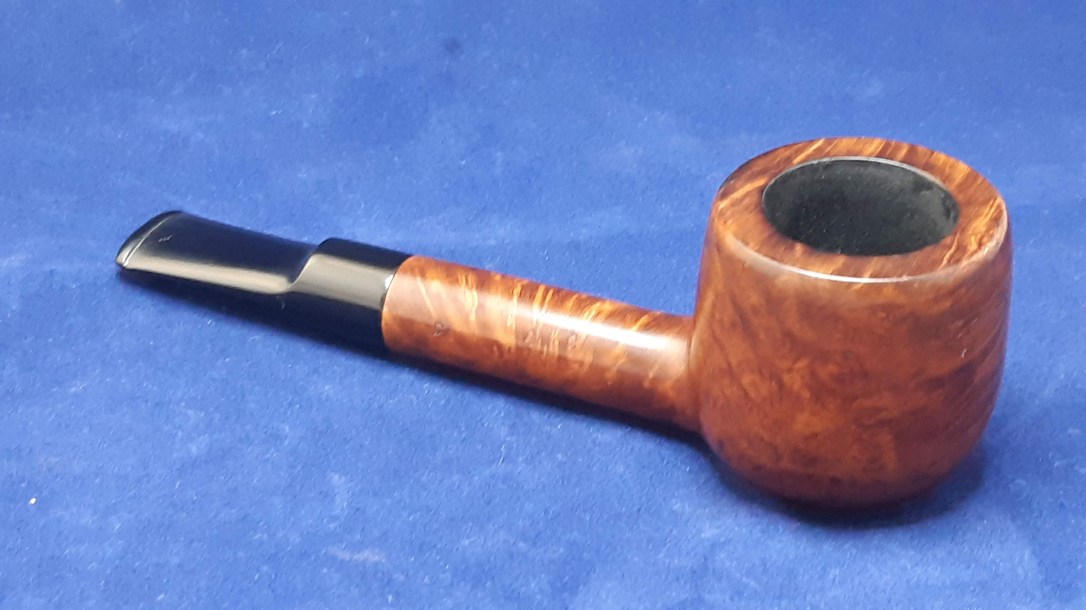
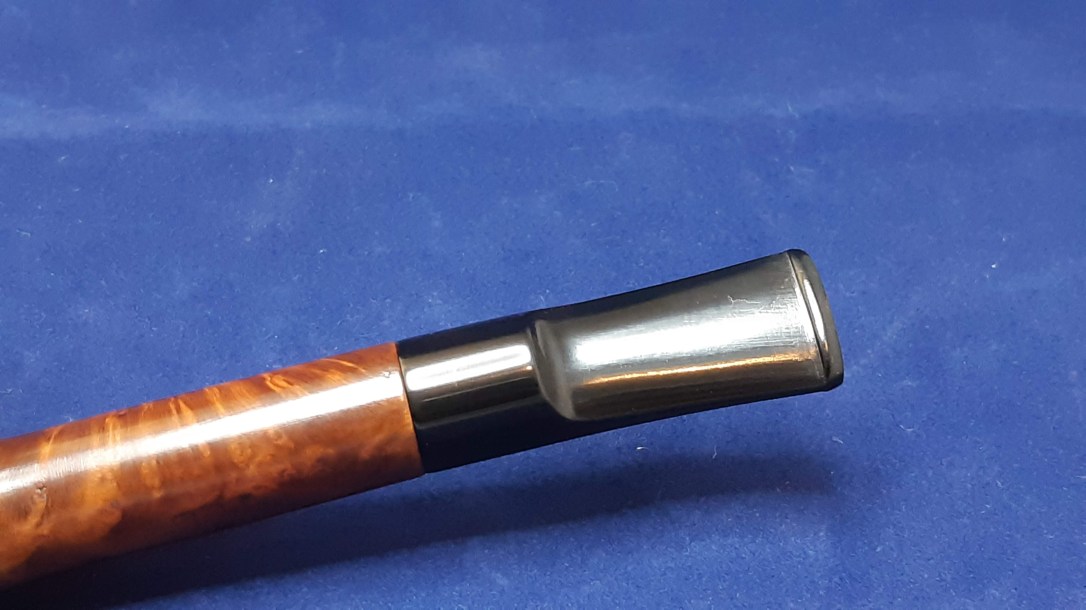
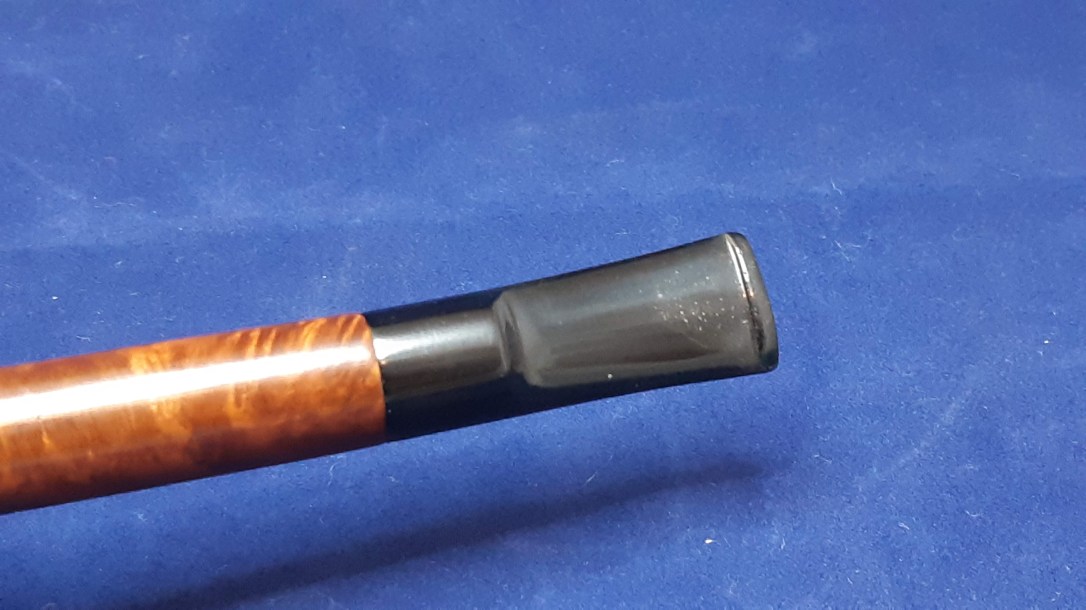
With repairs complete, I reunited stem and stummel and took the complete pipe to the buffer for a run of White Diamond compound and a few light coats of Carnauba wax.
This old Brigham Canuck prototype is looking much better after its time on the bench. It’s not perfect, but as a demonstration model for in-house proof-of-concept planning purposes, I doubt it was ever perfect. It will take its place in my own pipe collection, ready to enjoy should I feel the urge.
Thanks for joining me for this restoration. This Canuck Pot prototype is a great little piece of Canadian pipe history. I hope you enjoyed the trip!
Until next time, Happy Piping. Here’s the finished pipe.


You always make it look so easy. Thanks for sharing your posts.
LikeLiked by 1 person
That’s very kind of you, Sean. Glad you like the post!
LikeLike
Reblogged this on rebornpipes and commented:
Here is the second installment of Charles restoration of these historic Brigham pipes… one more to go! Great job Charles.
LikeLiked by 1 person