
This restoration was fairly simple – just what I was looking for after tackling a run of trickier repairs.
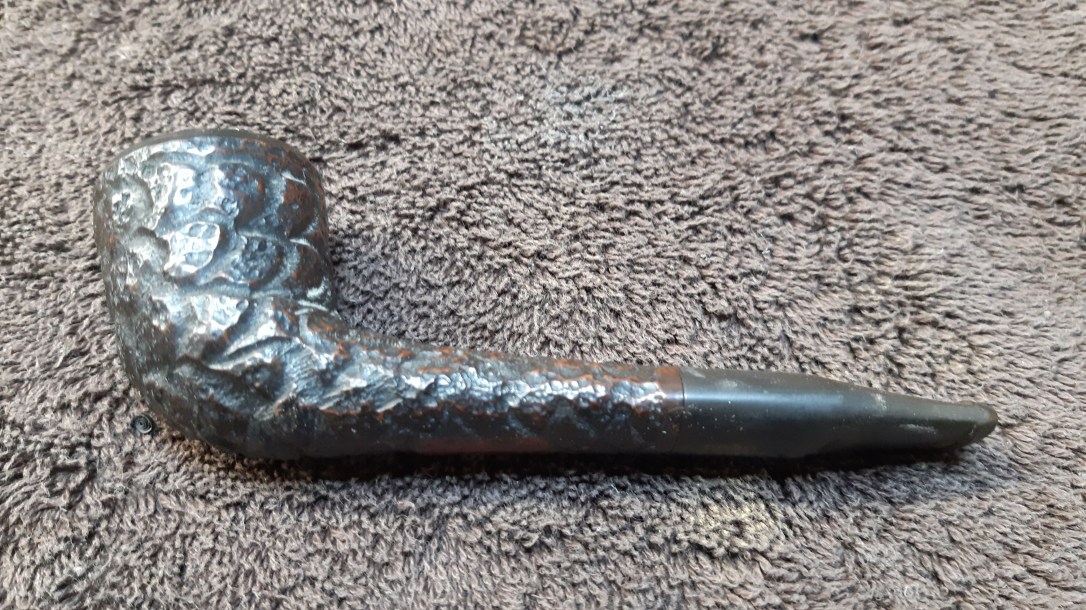
This Trypis pipe hit the worktable in fairly good estate condition. The rim was hidden under a coat of lava but looked to be in decent shape otherwise. The stem was a bit oxidized and the alligator-skin rustication was dirty and packed up with old wax, grease and other goodies.


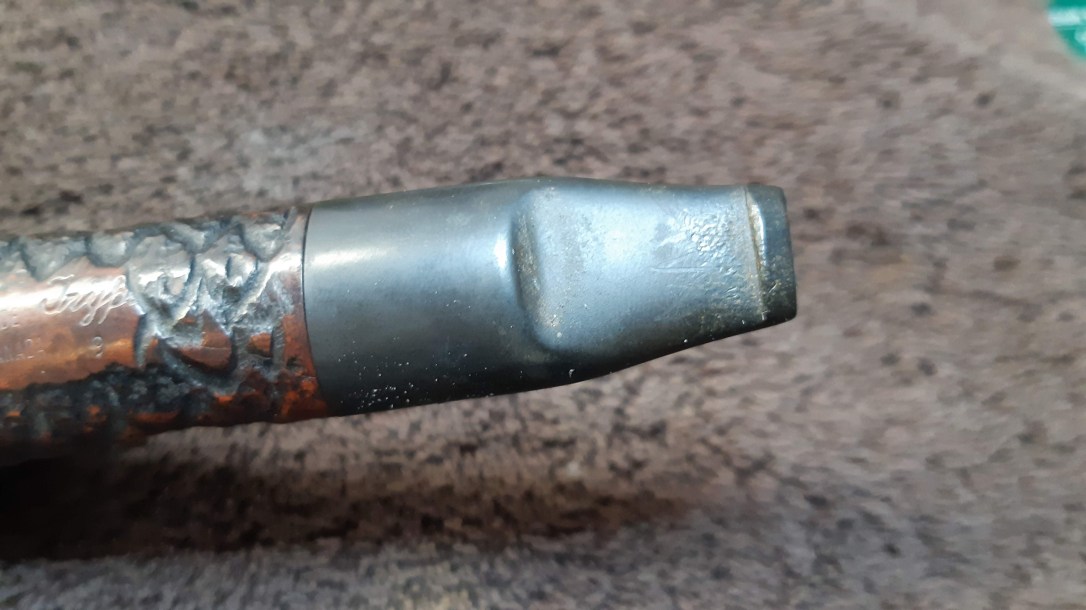


When I twisted off the stem for the above pic, I found a crack in the top of the shank – actually two small parallel cracks. This sort of spiral stress fracture is usually caused by putting too much torque on a stuck stem while trying to remove it – one good reason to keep your pipes clean.


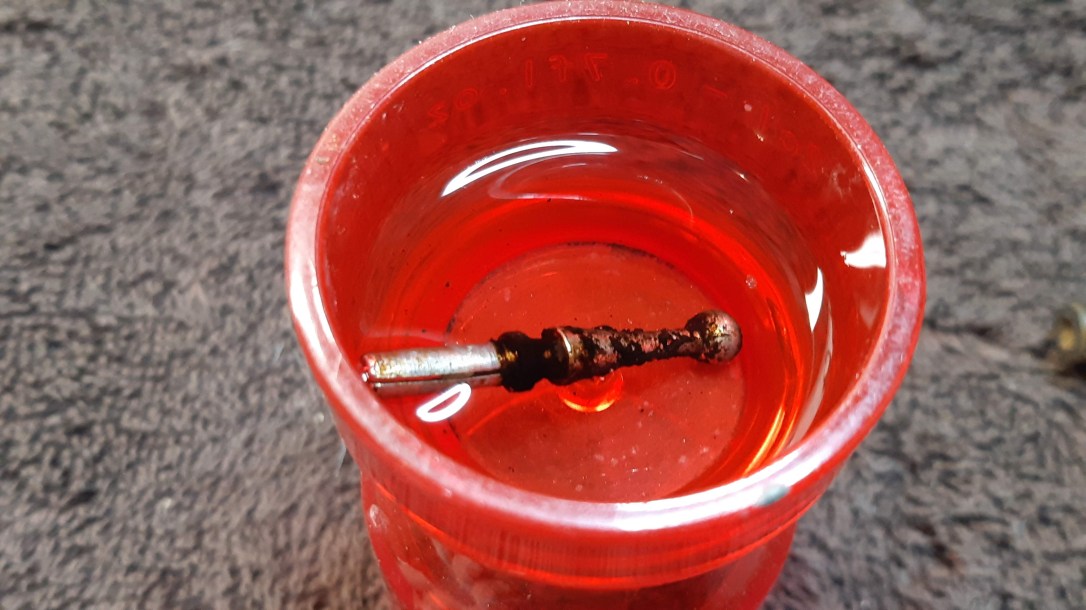
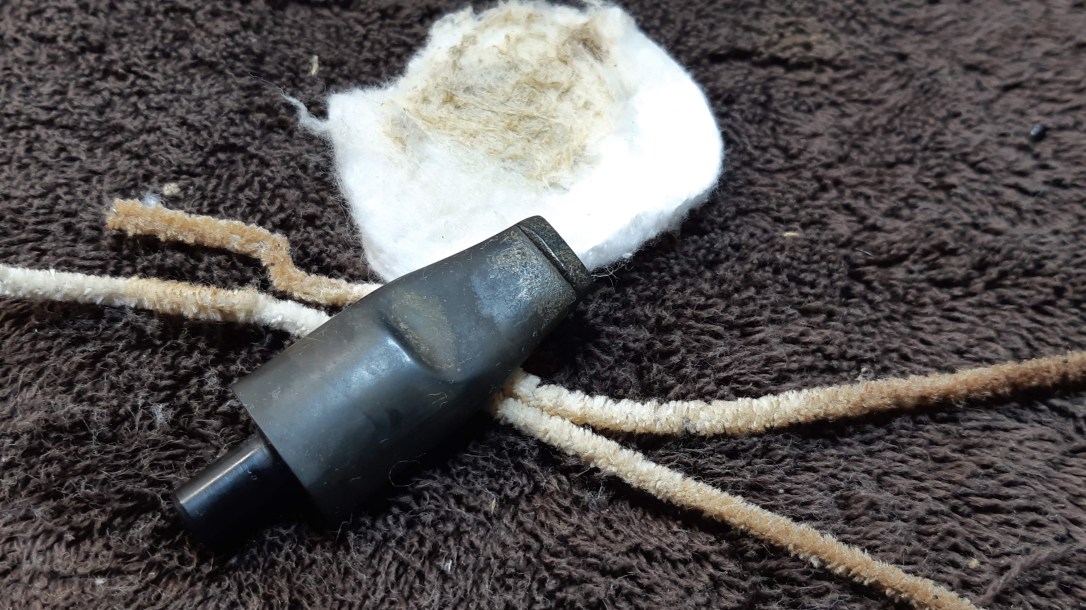
While I was deciding what to do about the crack, I removed the very dirty stinger from the stem and dropped in into a cup of alcohol to start the cleanup process there, I also ran a few alcohol-dipped pipe cleaners through the stem’s airway and wipe the exterior down with alcohol on a cotton pad. As you can see, there was some dirt there.
I used more pipe cleaners, cotton swabs and alcohol to clean the stummel’s mortise and airway. There was a fair bit of tar buildup inside the pipe, especially in the condensation chamber where the stinger sits during use.

My Castleford reamer made short work of removing the old cake from the chamber. Inside, the briar was in excellent shape.
I topped the bowl lightly on 600-grit paper to remove the lava and tidy up the lines of the rim. A swipe of stain pen colour-matched the rim to the smooth stamping patch on the underside of the shank.


Here is where things went sideways on me. While cleaning the stummel, I had been considering my options for the shank repair – add a shank band or splint the break internally with a section of metal tubing?
My decision was made for me when I went to glue the crack, a necessary first step for either repair. I used a needle file to put a slight amount of pressure on the crack to open it up so I could drip in some glue. Usually, this is no problem; this time, the prying pressure found a second weak spot in the mortise, and a large, triangular chunk of briar popped off the end of the shank. Argh!

Thankfully, the break was clean and gluing the chunk back in place was quick and seamless with just a bit of CA glue applied to the edges of the piece. My idea to splint the shank internally, however, went out the window. In my experience, any attempt to drill out the mortise to accept a piece of tubing would simply pop the broken chunk right off again and possibly take more briar with it. A shank band it is, then!
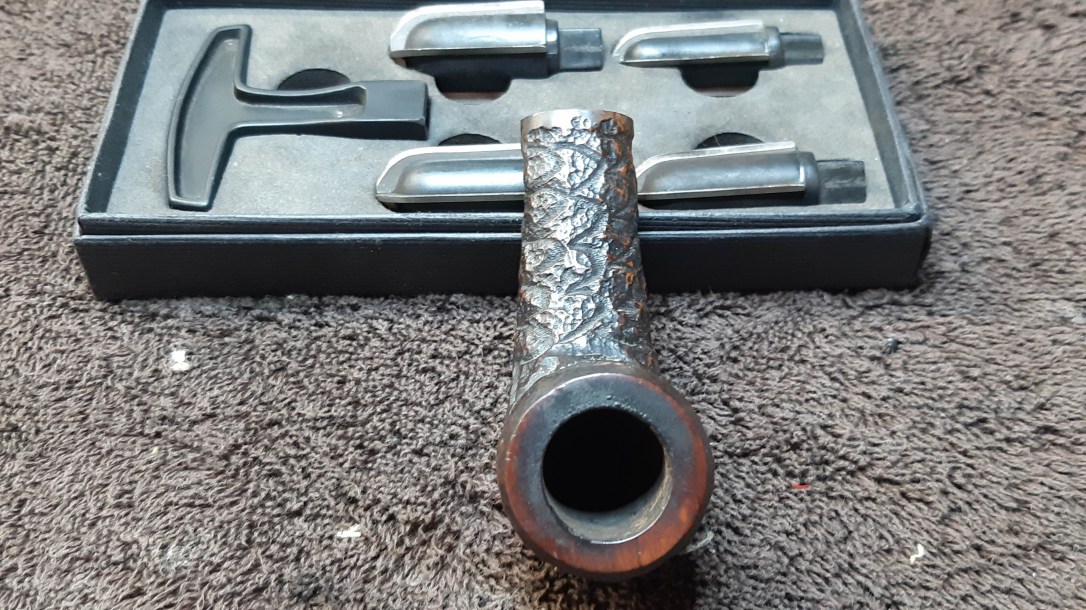
I dug around in my supplies and found a 16.5mm nickel shank band that would work. It was round, of course, so I’d have to shape it to fit the oval contours of the pipe shank. This pic shows the band before I started the work.

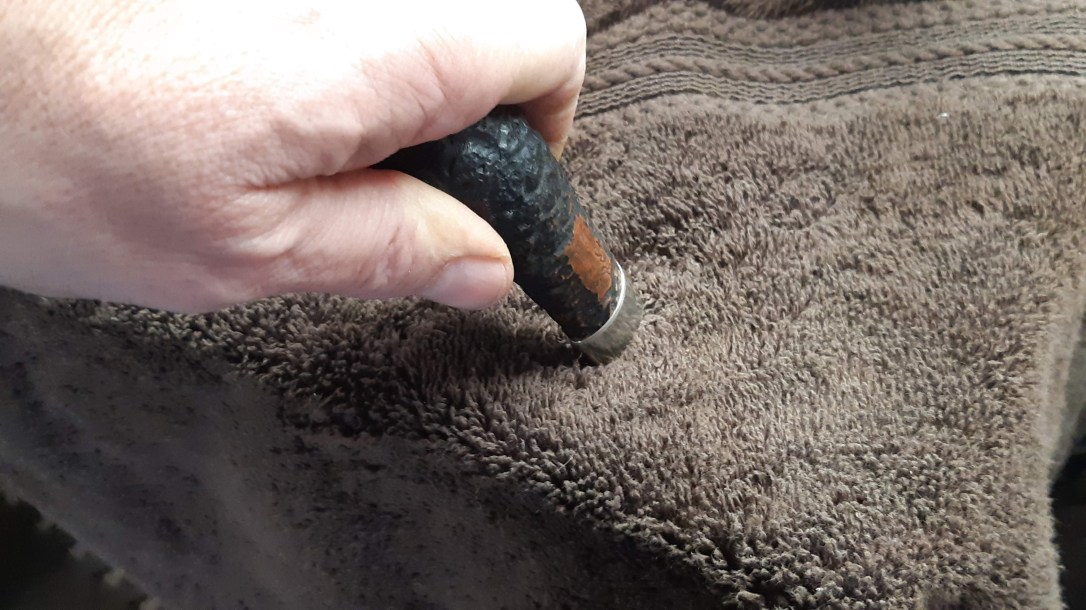
The shank was slightly too bulky to simply slide the reshaped band into place. I needed to sand the last centimeter of the shank lightly to give me the extra wiggle room I needed. Once the band could slip on about 1/3 of the way, I turned on the heat gun and warmed the band to expand the metal. When the band was hot, I inverted the pipe shank onto a bit of towel on the worktable and pushed it further onto the shank.
It took a few cycles of heating and pushing to get the band positioned properly. These pics show the process. The last pic was taken when the band was sitting just slightly proud of the end of the shank, but I ended up giving it one more go to get it flush to the briar.


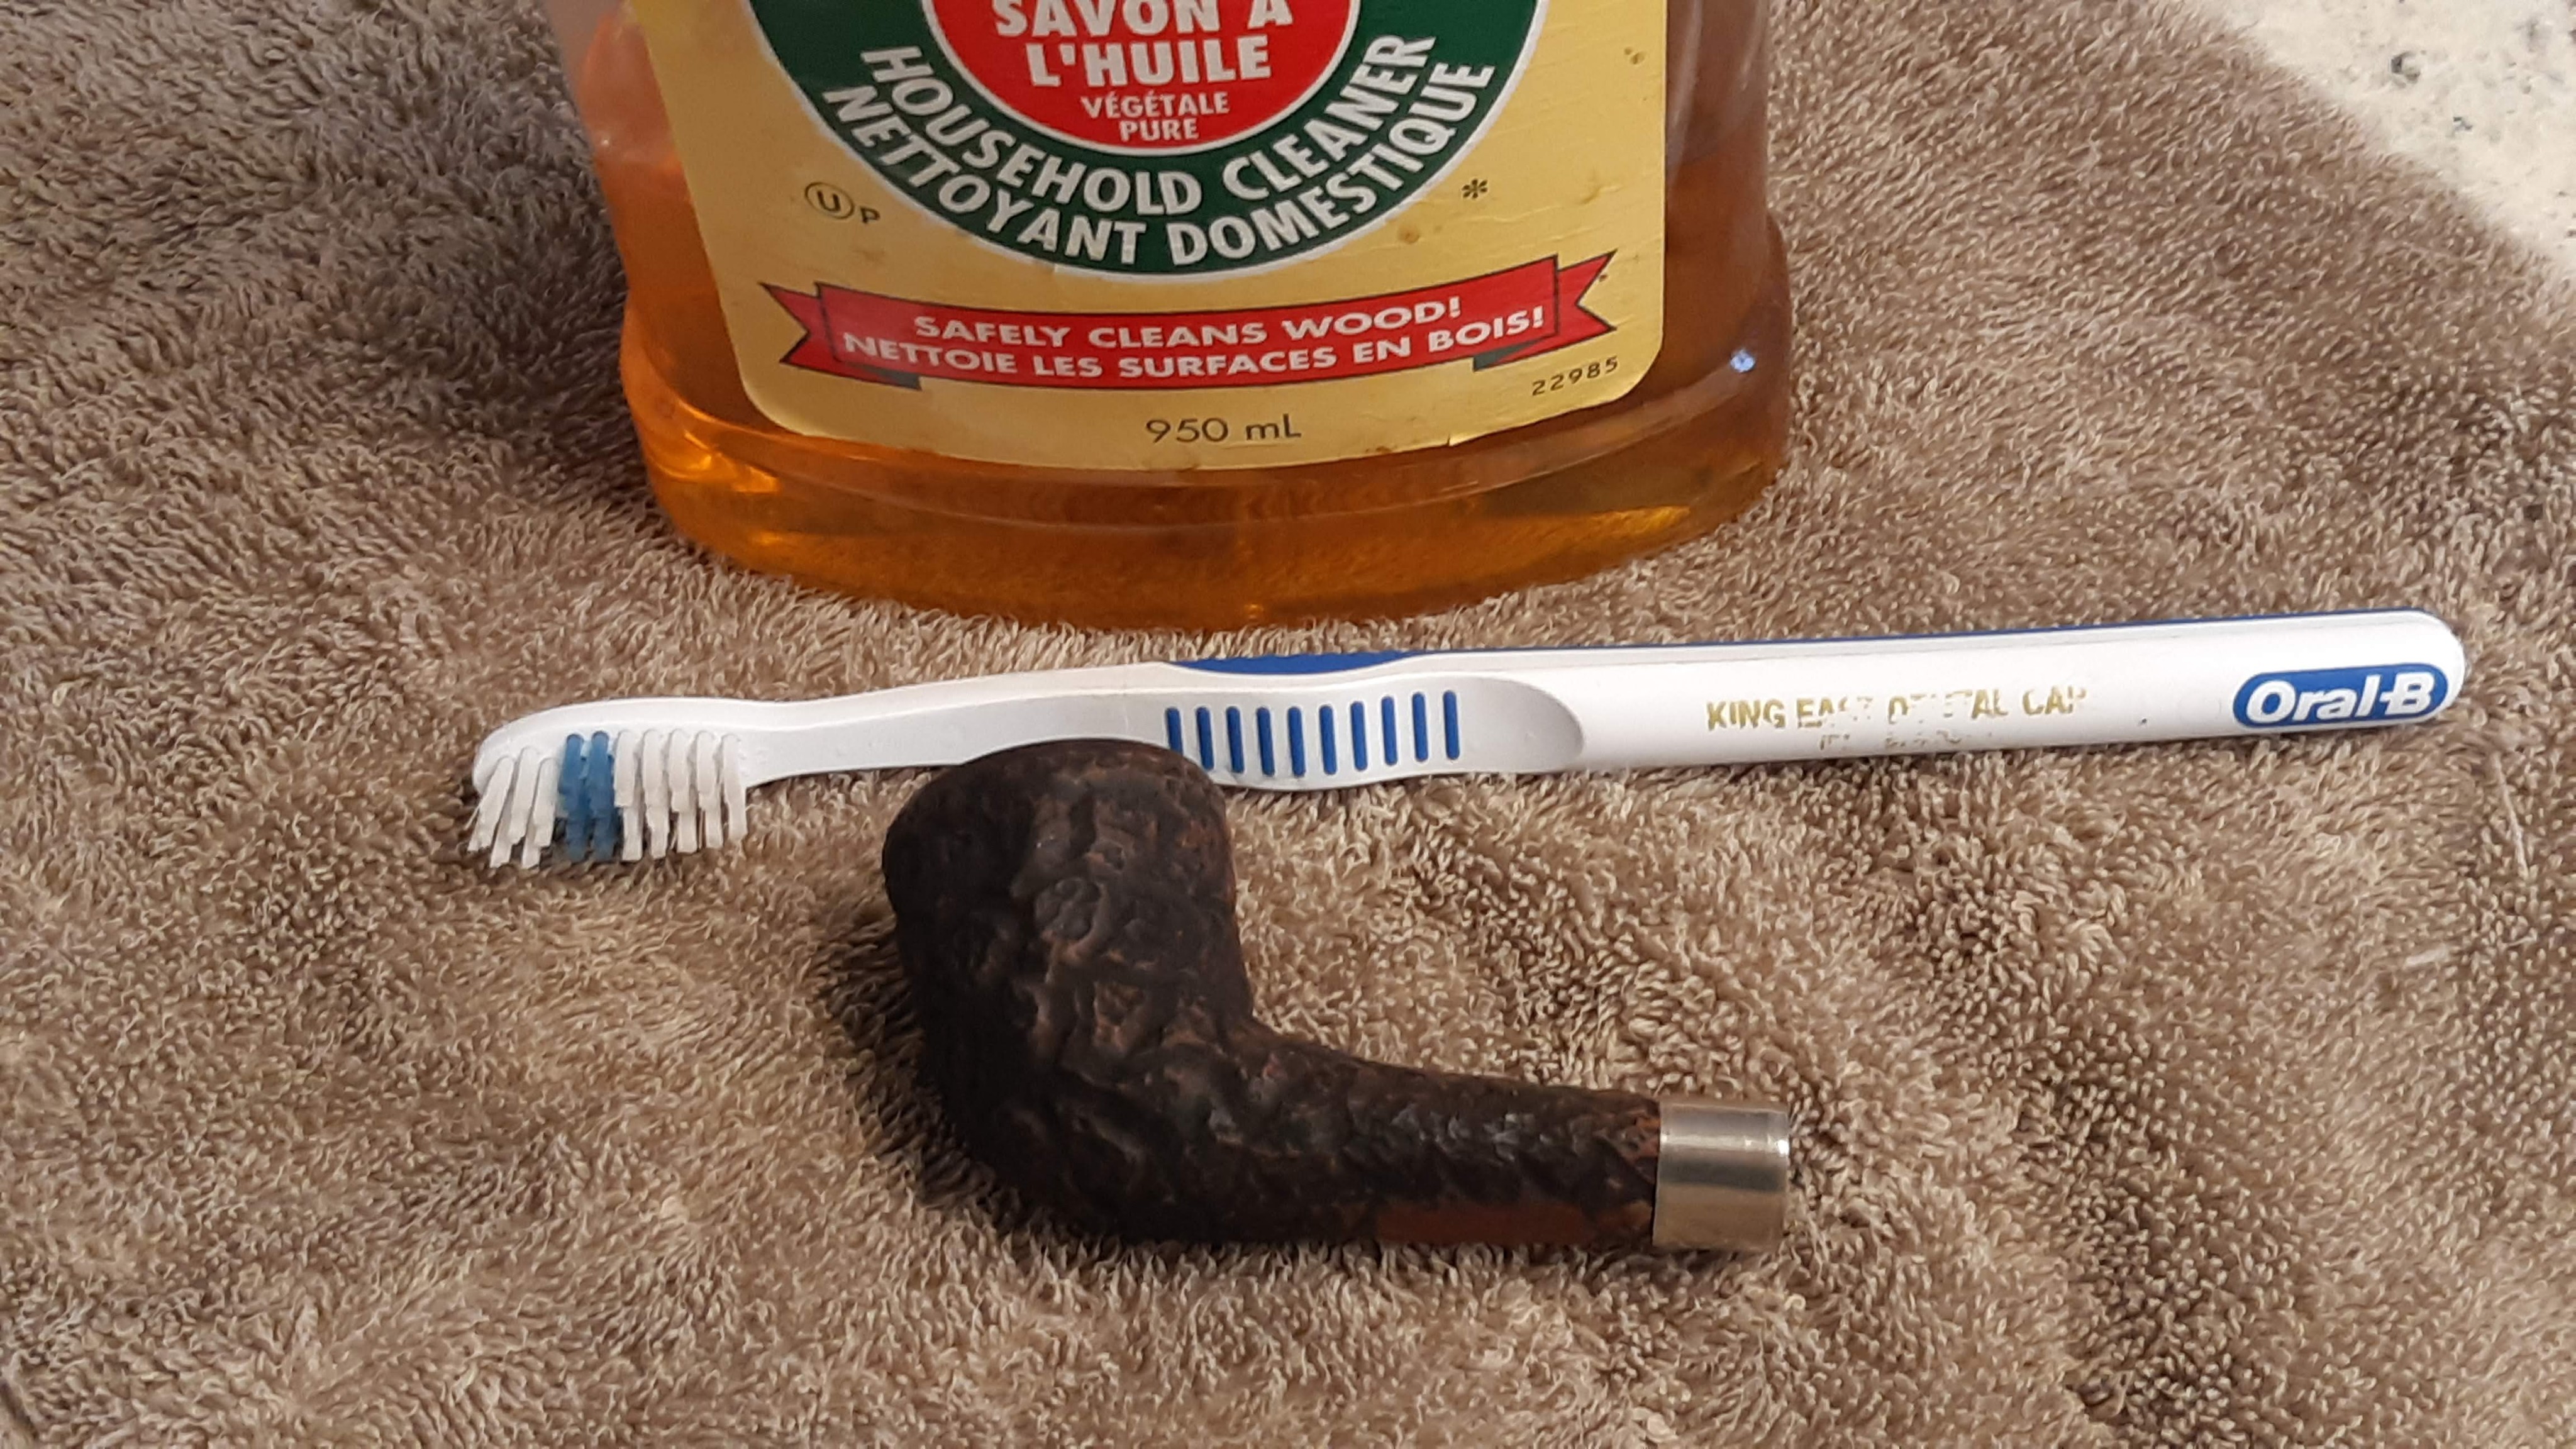
With the structural repair complete, I finished cleaning the outside of the stummel by scrubbing the briar with Murphy’s Oil Soap and an old toothbrush.
While I worked on the stummel, the stem had been soaking in an Oxyclean bath. I pulled the stem from its soak now and scrubbed away the softened oxidation with 0000 steel wool and Magic Eraser. Underneath, the vulcanite was in very good shape, with just a hint of tooth chatter that sanded out easily.
Adding the shank band had compressed the briar at the mortise, making the stem fit too tight. A few minutes with sandpaper resized the stem tenon for a nice snug fit.


After wet-sanding the stem to 2000-grit, I refreshed the entire pipe with a wipe of mineral oil. I let the oil sit on the pipe for a few minutes before buffing away the excess with a towel.

I set the pipe aside for a few hours before taking it to the buffer to ensure that the oil was fully absorbed by the briar. Trying to wax an oily pipe is an exercise in frustration.
When the pipe had rested sufficiently, I buffed stem and stummel with White Diamond compound, lightly on the rustication and heavier on the smooth areas and stem to bring up the shine which I then locked in with several light coats of Carnauba wax, again being careful to avoid packing wax into the rustication.
This little Trypis Canted Dublin is refreshed and ready to find a new home with a new piper. If you’d like to add it to your own rack, or perhaps to someone else’s, it is available on the Pipe Inventory page now.
Thanks for joining me for another estate pipe restoration. Until next time, Happy Piping!
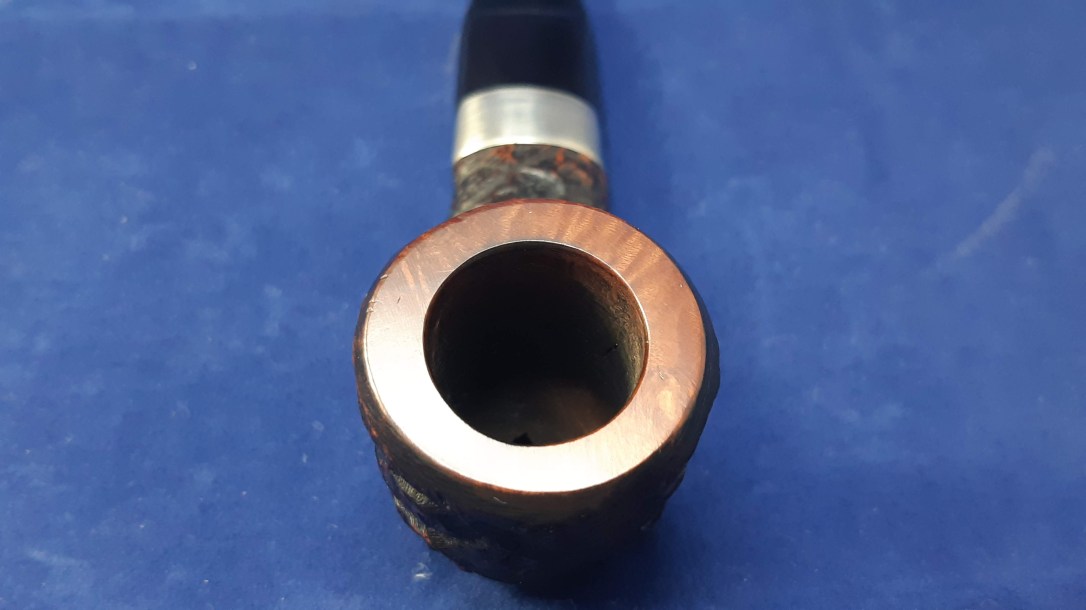
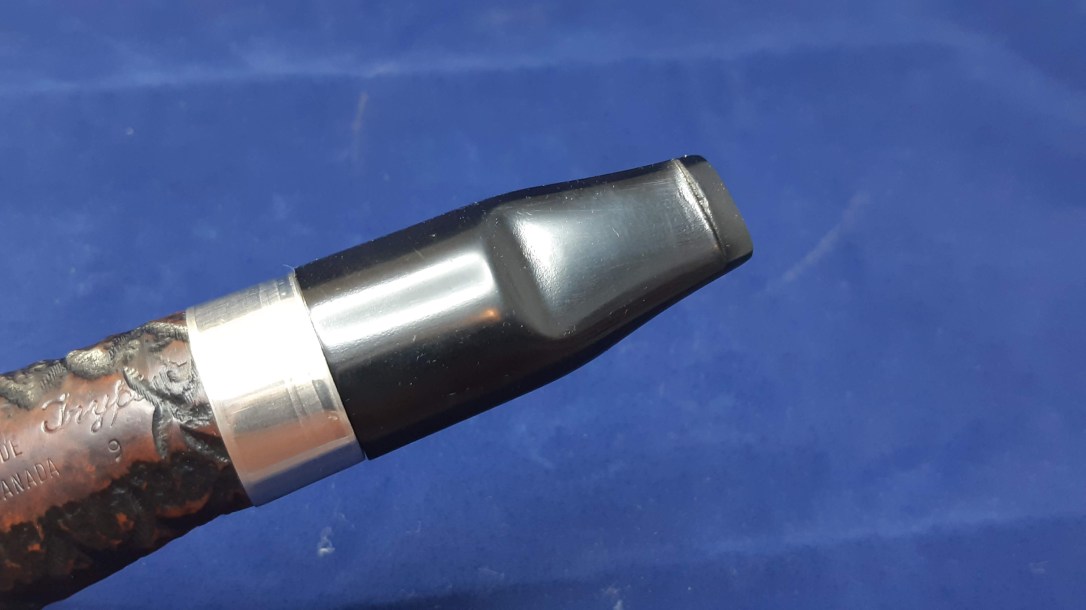
Here’s the finished pipe.


Good job on that Charles… good justification for the use of the external repair band… Would that outer beveled edge of the rim look good polished the same way as the rim top? Not necessary but just a question.
LikeLiked by 1 person
Thanks Steve. That’s a good idea – maybe I’ll give it a second look. 😁
LikeLike
Reblogged this on rebornpipes and commented:
Charles gives a great rationale for using and external shank repair on this one. He does a great job also showing the process of band. Well done.
LikeLiked by 1 person
Charles. Where do you get those stain pens ?
Thank you
Bob
LikeLike
Hi Bob. I have found them in the paint section of hardware stores, and even Walmart. They can be a bit hard to spot on the wall, so if you’re not finding them, chase down a staffer to assist. 😁👍
LikeLike