
Welcome to Part II of the DadsPipes Shedquarters build! In this instalment, I get the building foundation piers in, build a couple of beams and then sit back while the team from Old Hickory Buildings constructs the new shed on site.
After a week and a half of rain, our capricious Ontario Spring finally provided a brief window of opportunity between storms to get the holes drilled for the shed foundation piers. I was lucky enough to tack my post holes onto my neighbour’s fence project, as I couldn’t find a contractor willing to come out to drill just four holes. A Bobcat-mounted post hole auger made short work of 48″ deep holes and saved me a lot of effort!
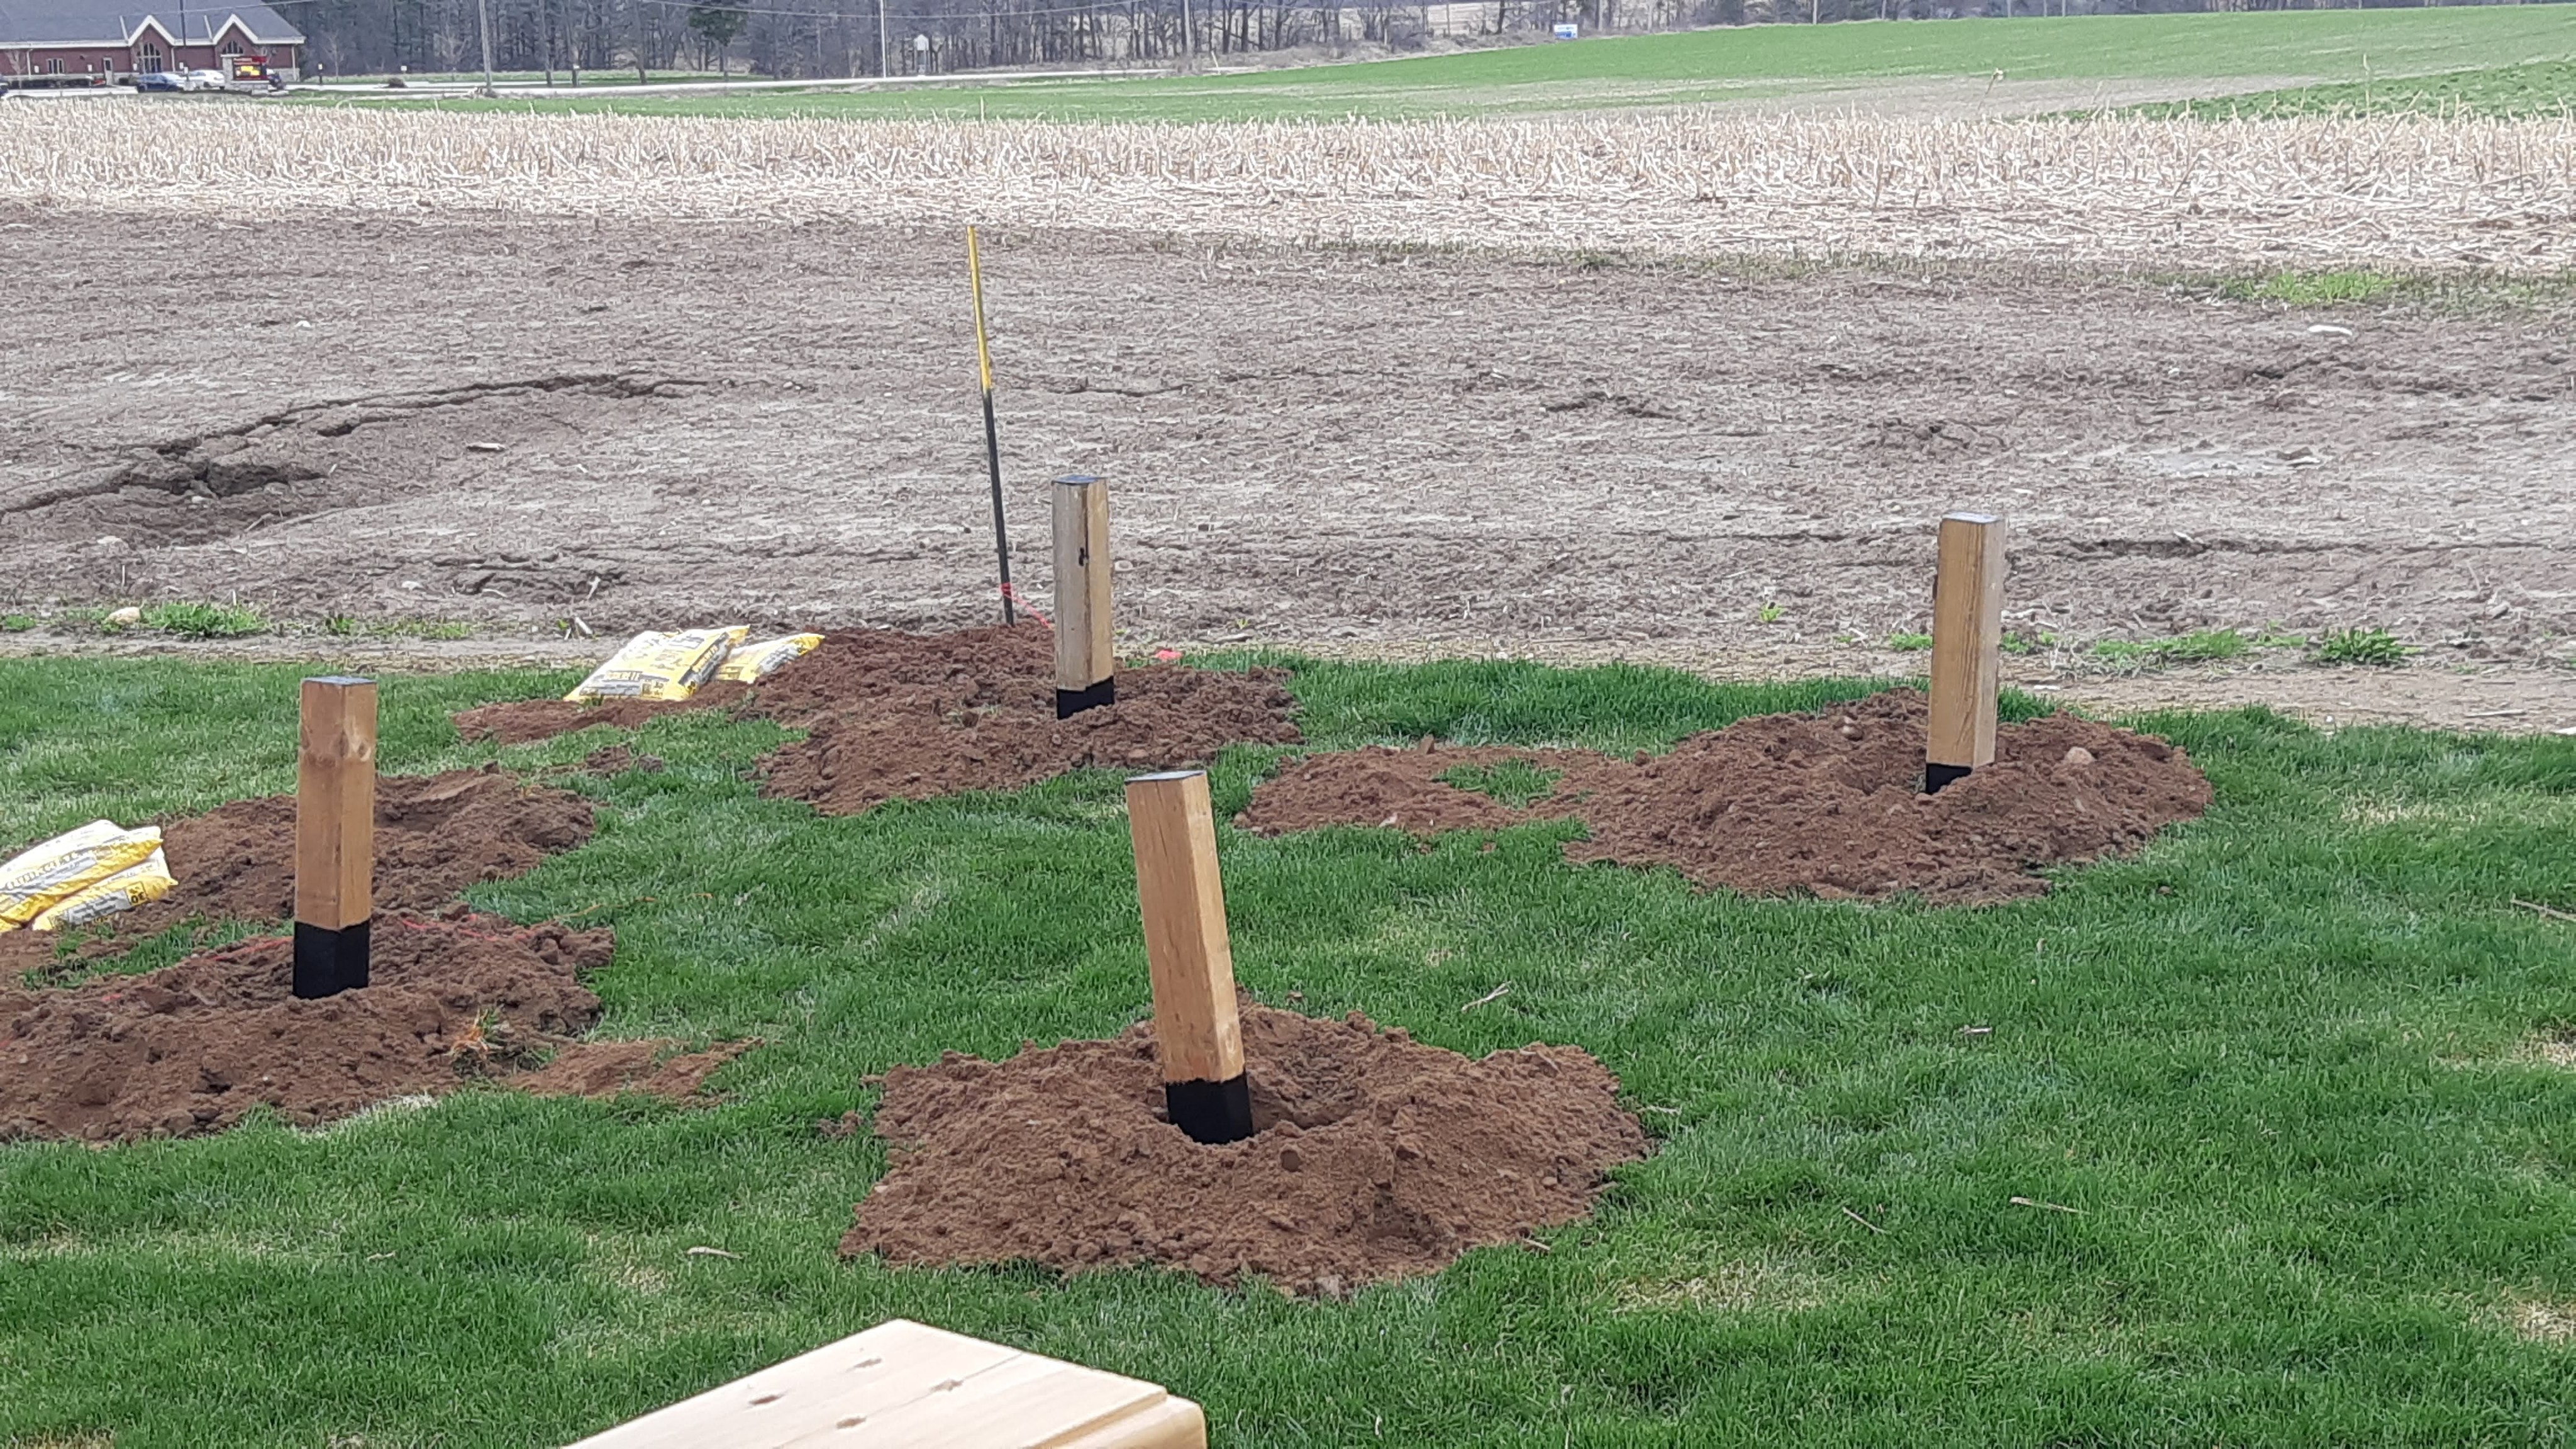
About 80 percent of the work in building piers is the digging, so I didn’t mind setting the posts myself (especially after watching the “professionals” set the neighbour’s fence posts!). This gave me a chance to make sure I maintained proper clearance from the lots lines and a few other details fence installers don’t usually worry about.
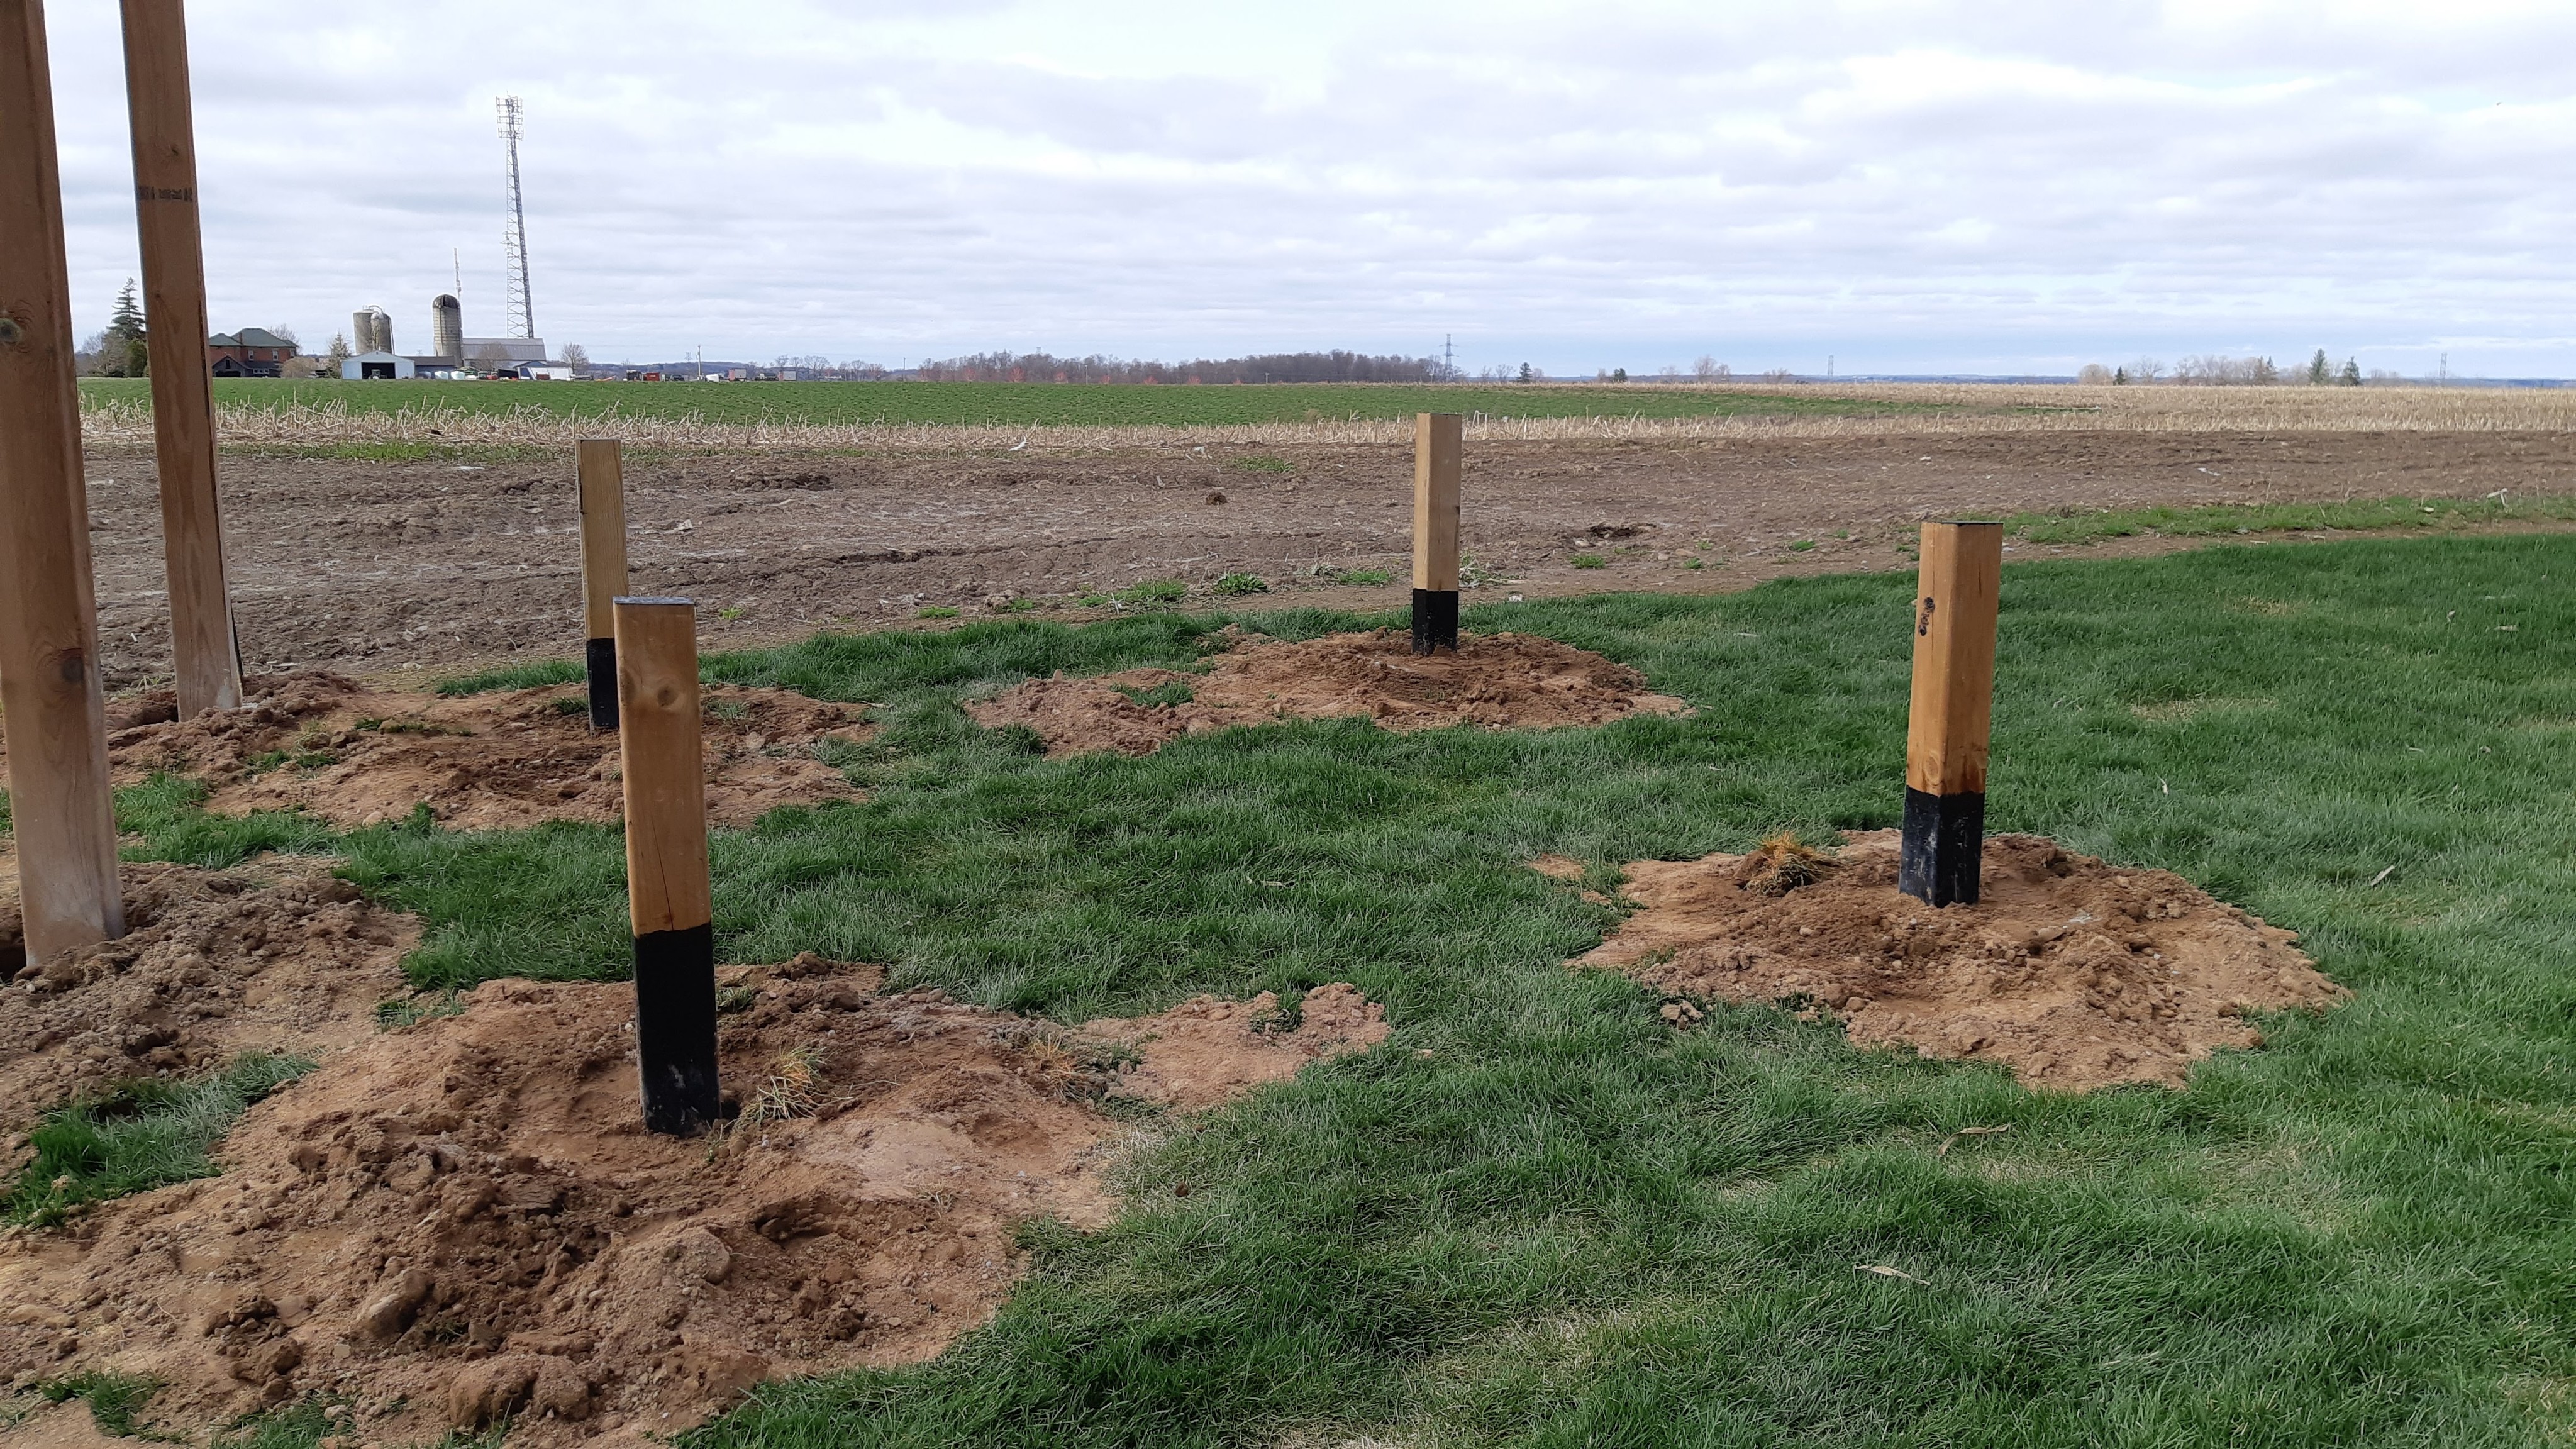
As you can see from the pic above, I coated the bottom 52″ of each post with an asphalt-based foundation sealer. It’s not really necessary with pressure treated posts, but mine had been sitting around for a while and were a bit dried out. I figured a bit of added insurance against premature rot couldn’t hurt. I found these posts at my local Habitat for Humanity ReStore, by the way. I paid a whopping $30CAD for two 12 foot long 6×6 posts – a huge cost savings! I cut them in half in the parking lot and brought them home in the back of the SUV. I highly recommend checking out your local ReStore when you’ve got a project underway. I found several other parts for this build when I bought the posts.
With my wife and younger daughter doing most of the heavy lifting (hurrah for gym memberships!), we got the posts set and squared up just before dinnertime.
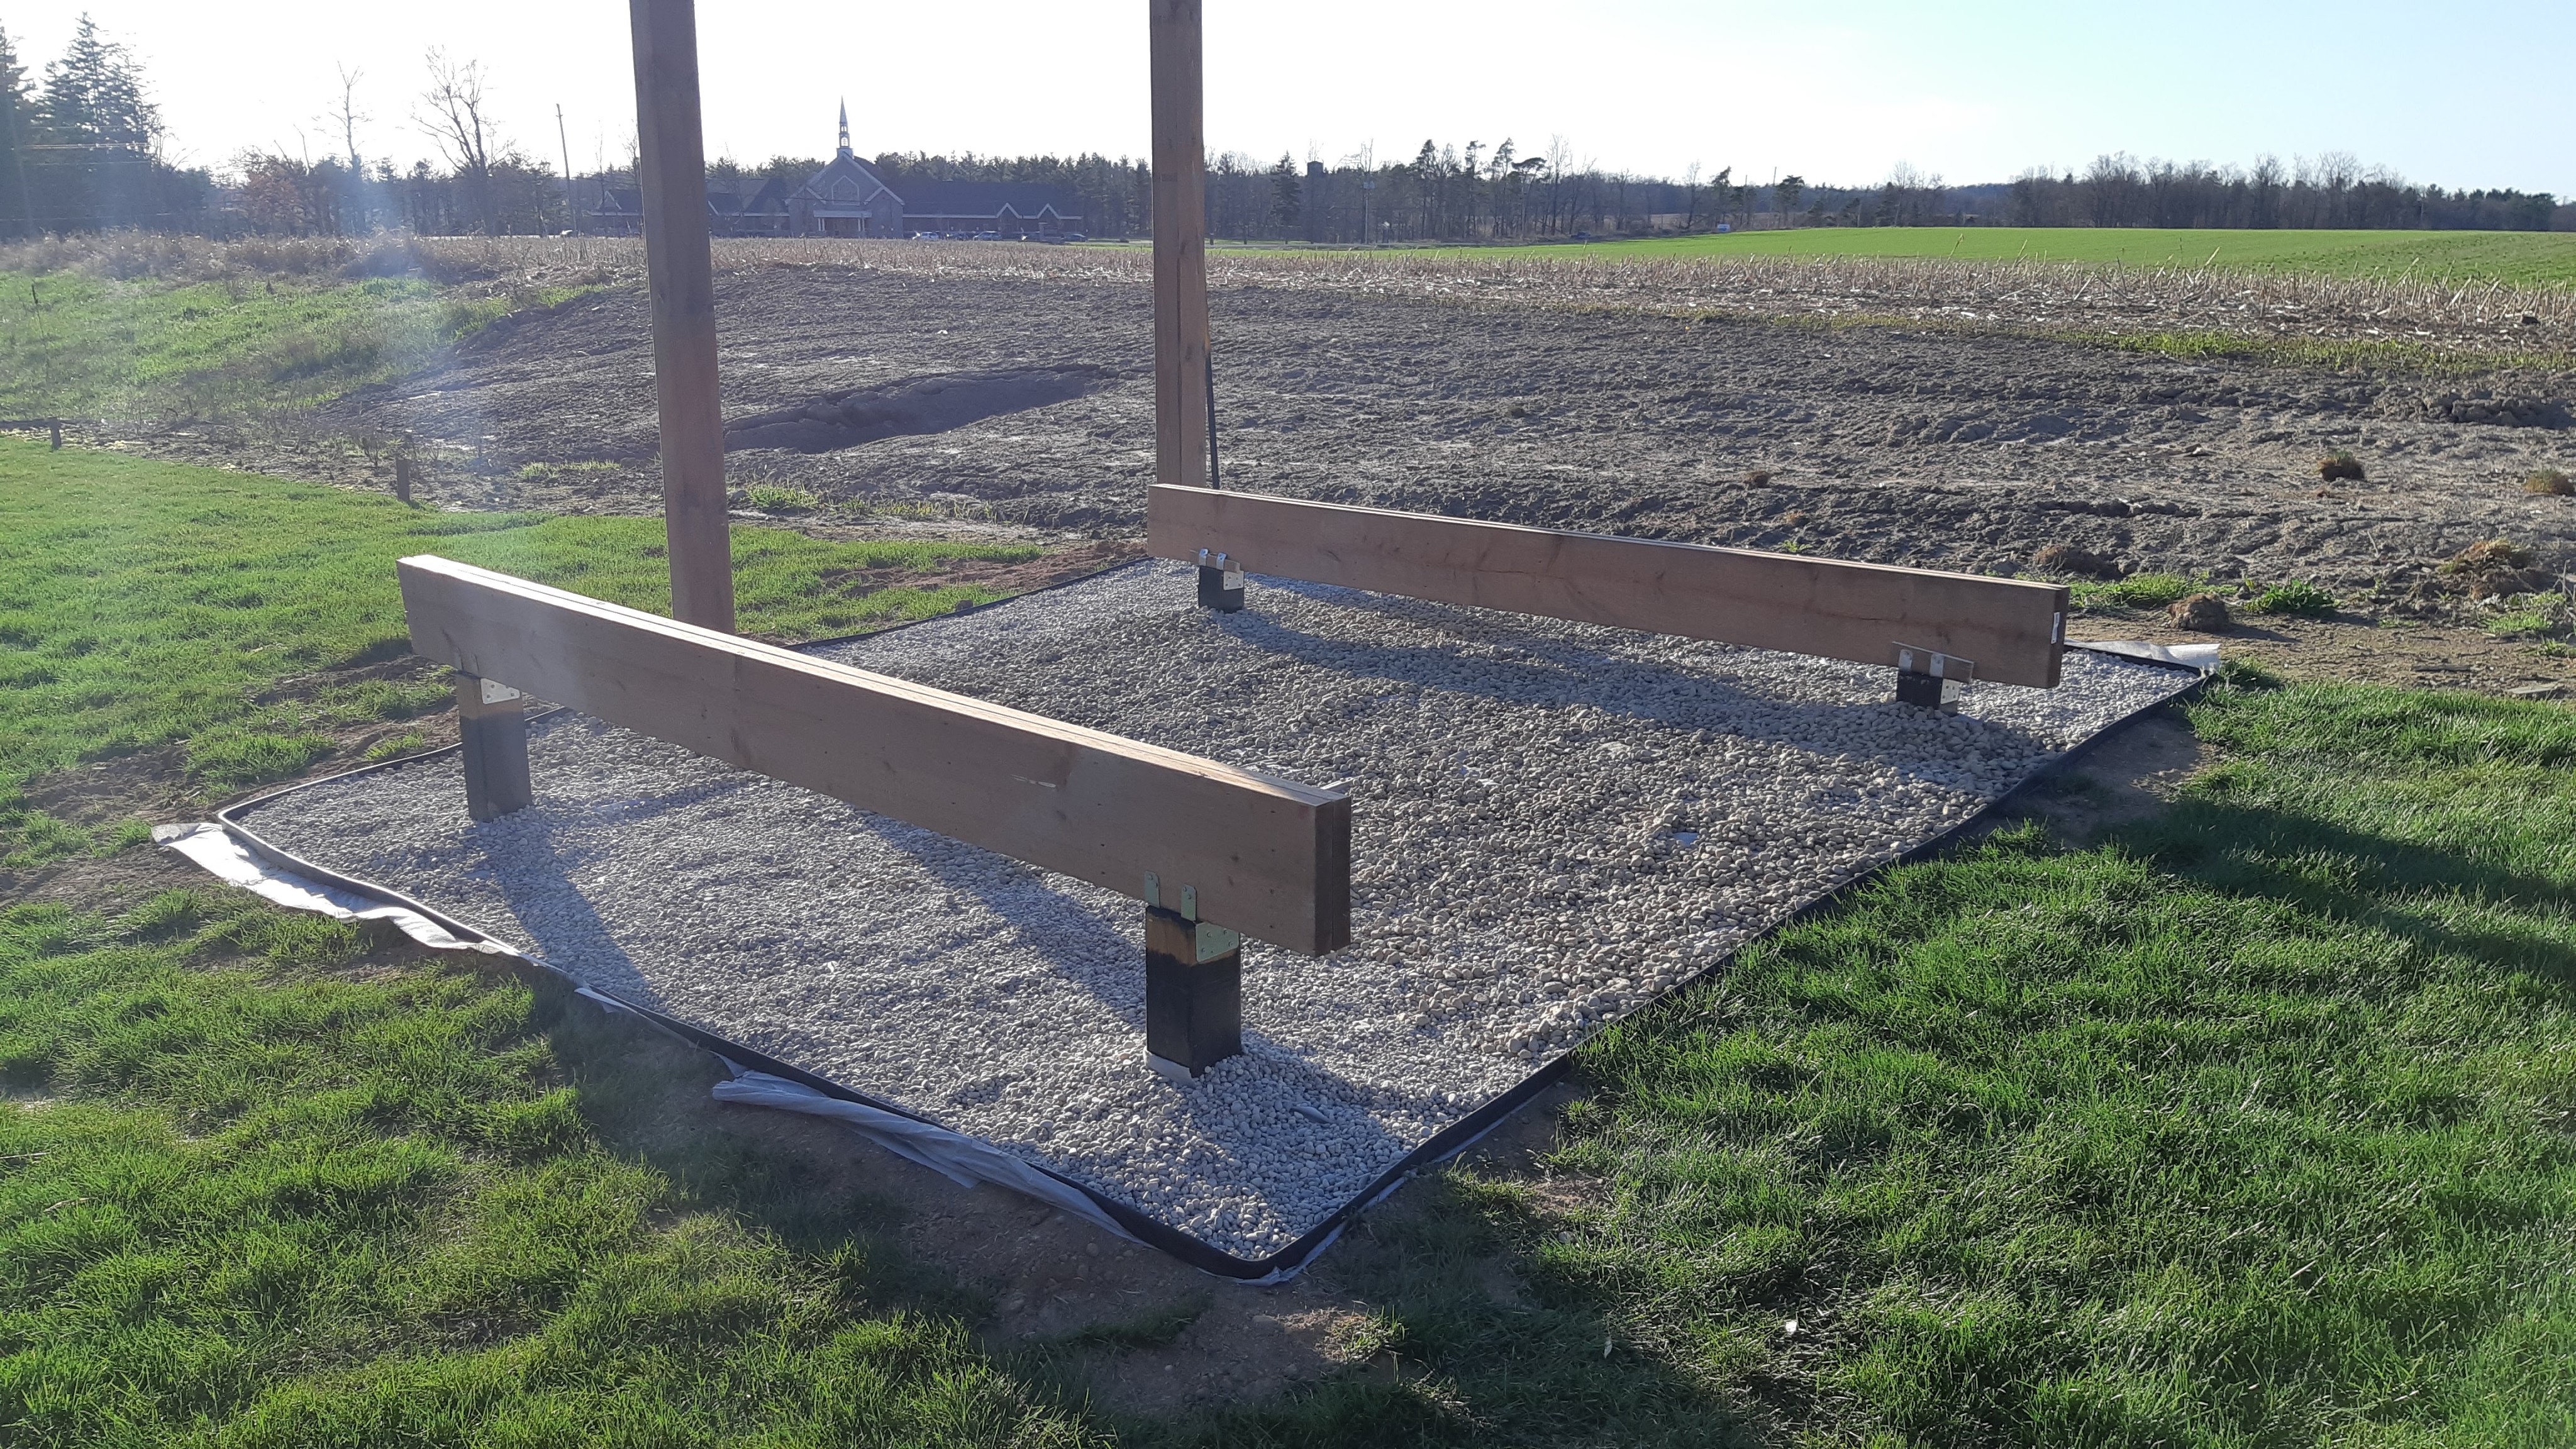
The following day we cut the posts to height and attached the beams that would support the workshop. For the technically-minded, those are double-2×10 beams set eight feet apart. Floor joists for the workshop are 2×6, set 12″ on centre. I would have preferred 2×8 joists, but 2×6 is the largest the shed company provides.
This pic shows why I went with a post and beam foundation for the workshop – the grading in that corner of the yard is a wacky. The shortest post is just 4 inches above grade, while the tallest is almost 16 inches above grade. Pouring a concrete pad here would have been a real trial!
While waiting for the shed builders to get started, we also took the opportunity to further prep the site by laying down landscape fabric, some garden edging and finally a layer of gravel. This will help keep the underside of the structure dry over the long haul and provide easy drainage for rain water. I need to get back out there with a knife and trim away the excess landscape fabric poking out around the edges.
With the foundation ready, I passed off the heavy work to the shed build team, who came in and had the structure up in no time, with only a 36 hour rain delay in the middle of the build (thanks, Mother Nature!). I didn’t take pics during the build but here’s the end result.
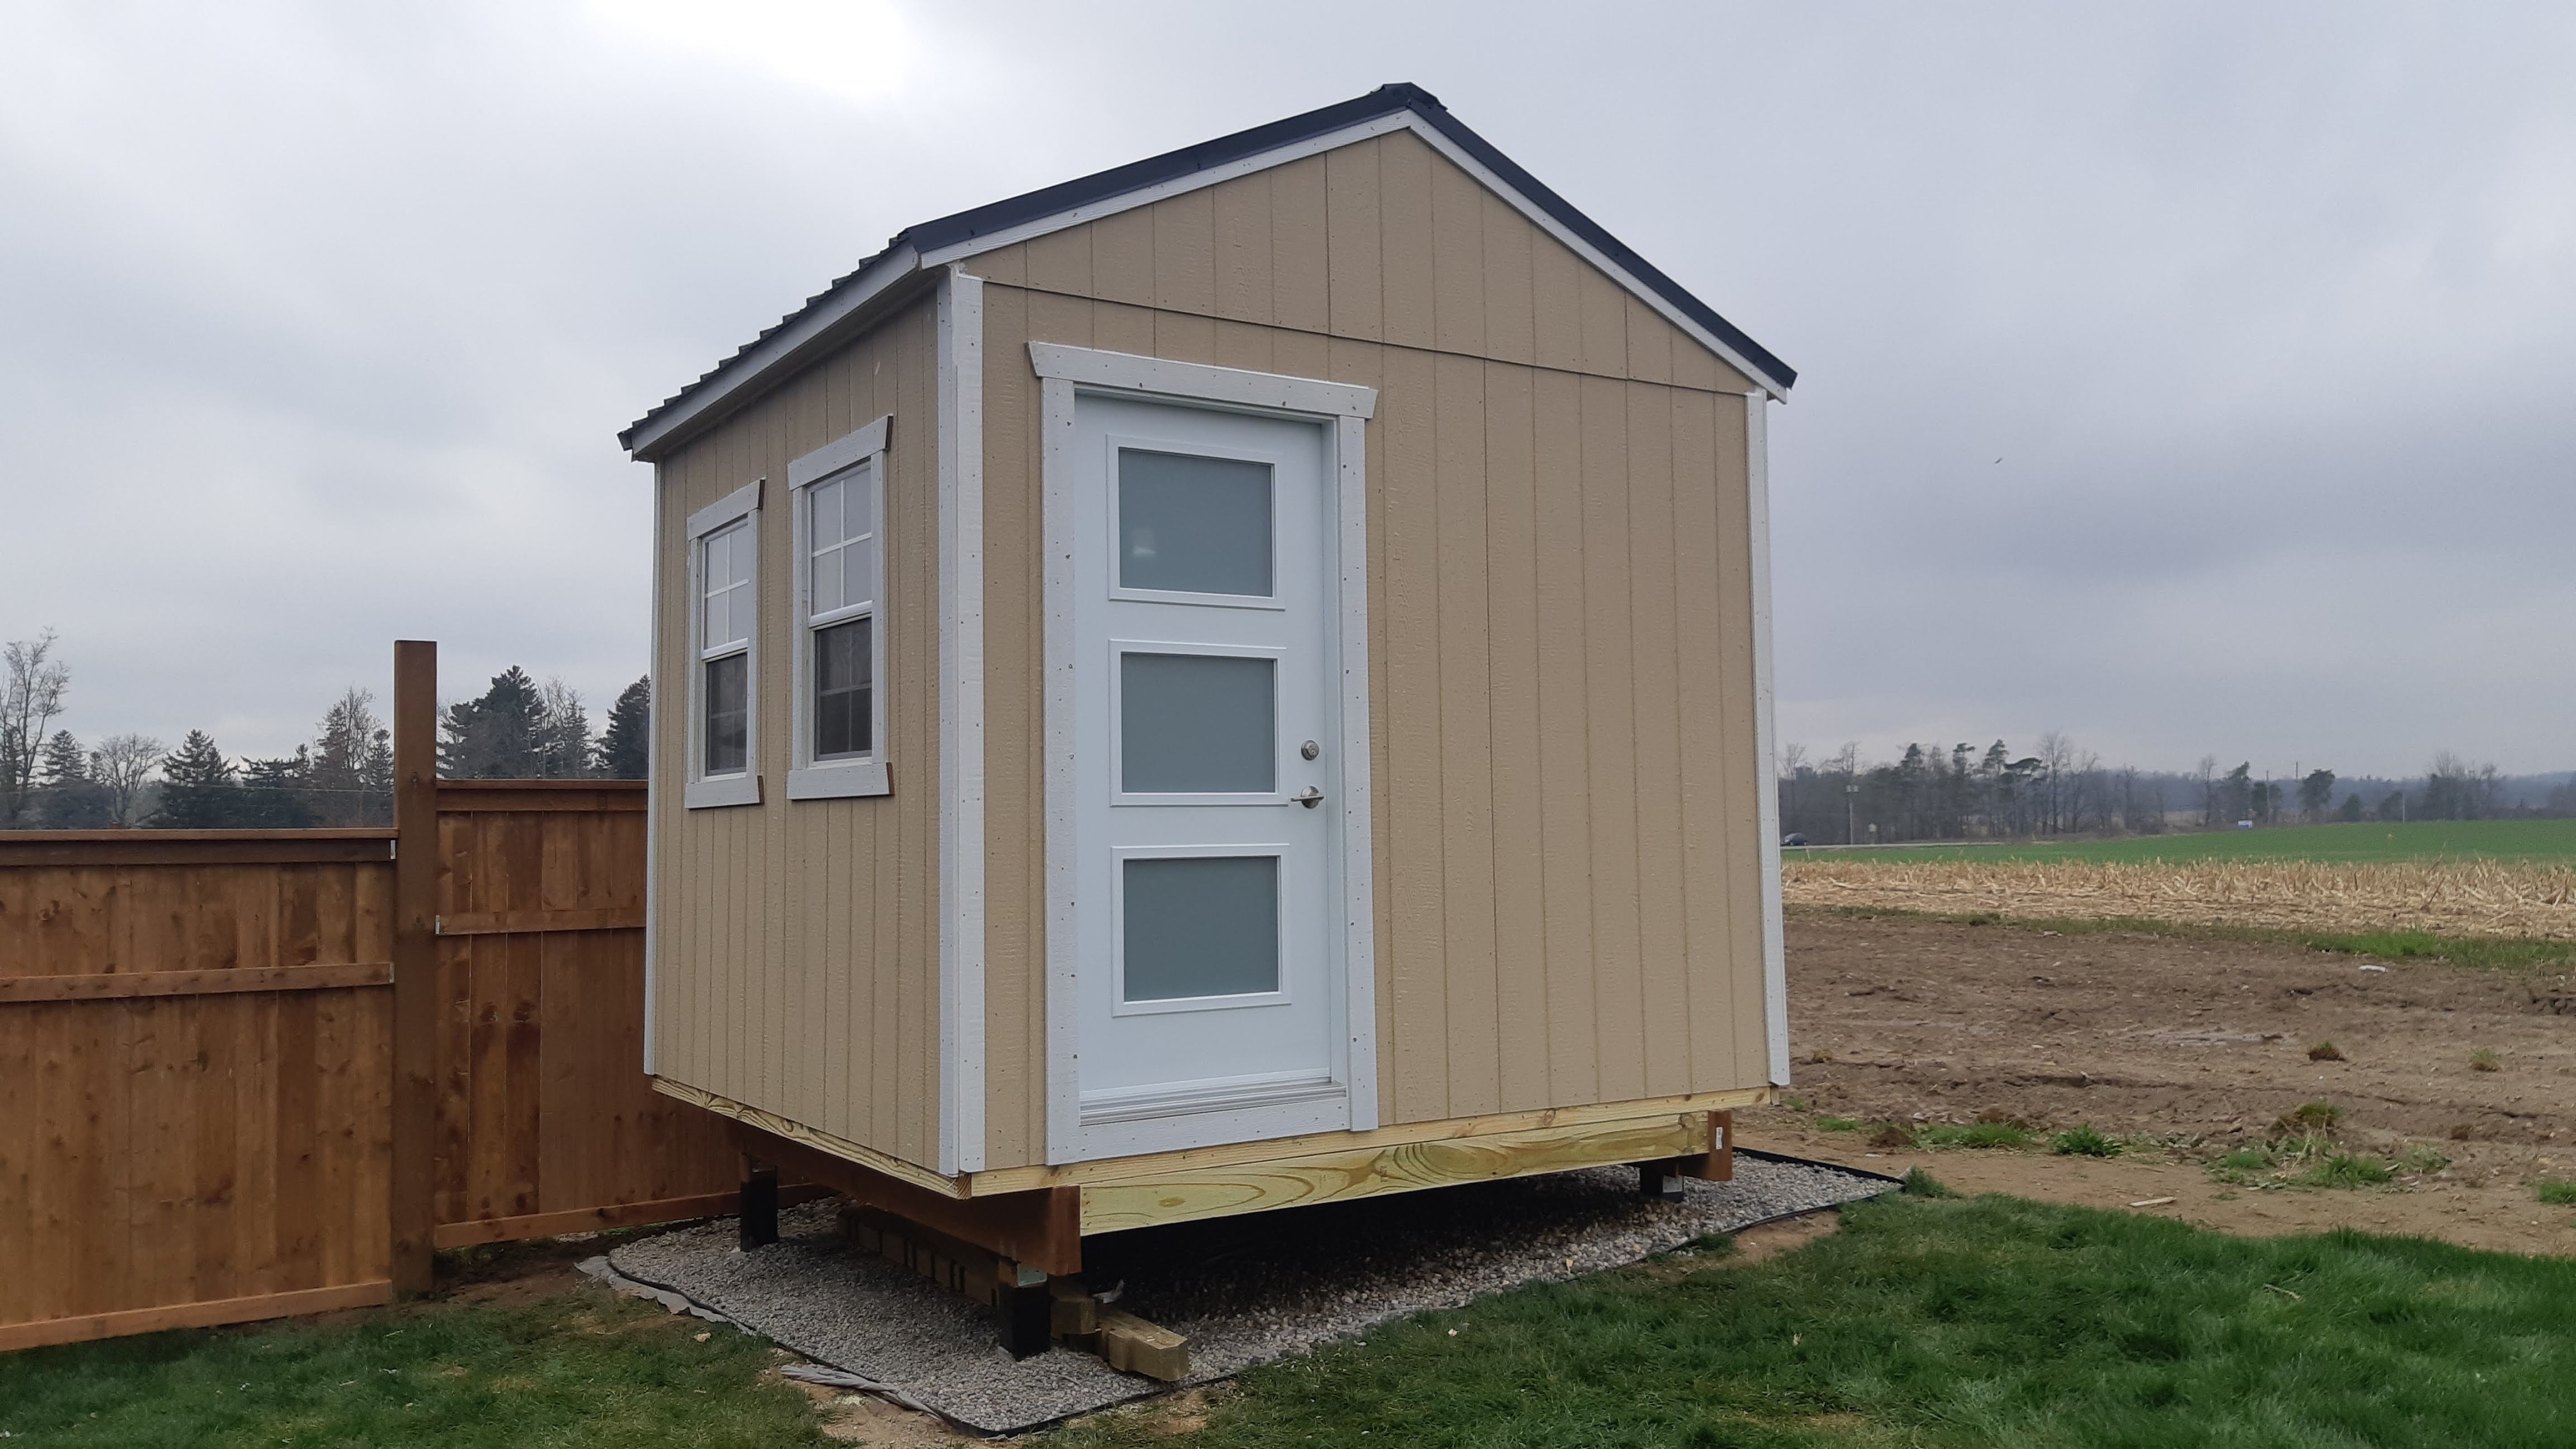
The siding and trim is factory-primed, so it’s weather resistant, but not weather proof. We’ll be painting the exterior in the next few weeks as weather permits, with colours chosen to match the main house for a unified look. We’ll also eventually tackle the landscaping – as a new build, the yard is a blank canvas, but it’s also, well, a blank canvas.
Thanks for joining me for Part II of the Shedquarters build. Next time, we’ll start fitting out the inside the workshop, starting with electrical service and insulation. Stay tuned!

Congratulations Charles.
LikeLiked by 1 person
Thanks Todd. Now the real work begins – installing wiring, workbenches, storage, etc then moving the pipes in! Looking forward to settling into some good restorations once the new digs are finished.
LikeLike
That looks great Charles! It gives me a good idea for a “queen grafting’ shed for my queen honey bee breeding operation – thank you very much.
I hope you also have a good plan for security on that shed!!
LikeLiked by 1 person
Sounds great, Marlowe!
LikeLike