Every now and again I come across a pipe about which I can find no information. This Earl’s Court Prince is one such mystery. All of my searching has turned up exactly zilch, zip, zero – rather frustrating, especially as it is a well-made pipe with some years on it.
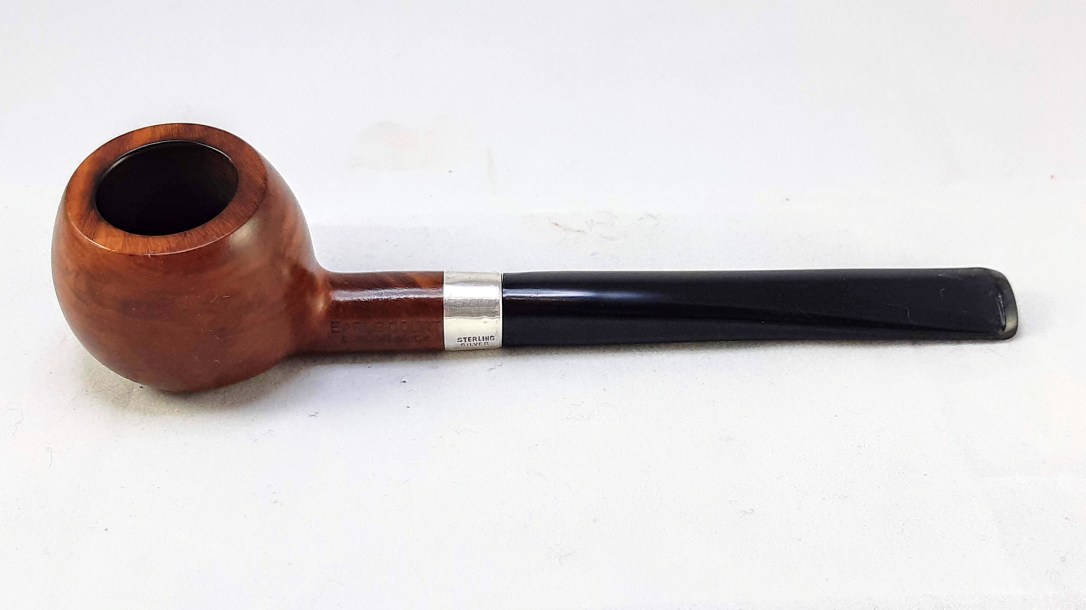
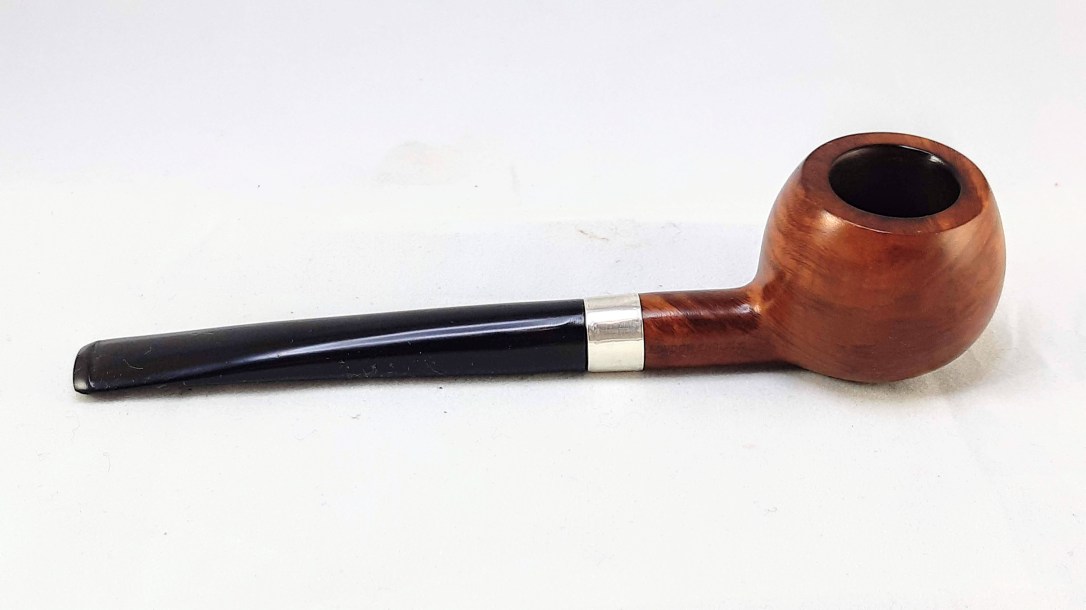
This series of pcitures show the pipe as it looked when I first brought it to the worktable. It was in decent but not great estate condition. The chamber was almost packed full of old cake, leaving only the tiniest room for air to flow through to the stem. The rim was crusted with lava, the briar crisscrossed with scratches and dents, and the vulcanite stem was discoloured and was missing chunks from both upper and lower buttons.

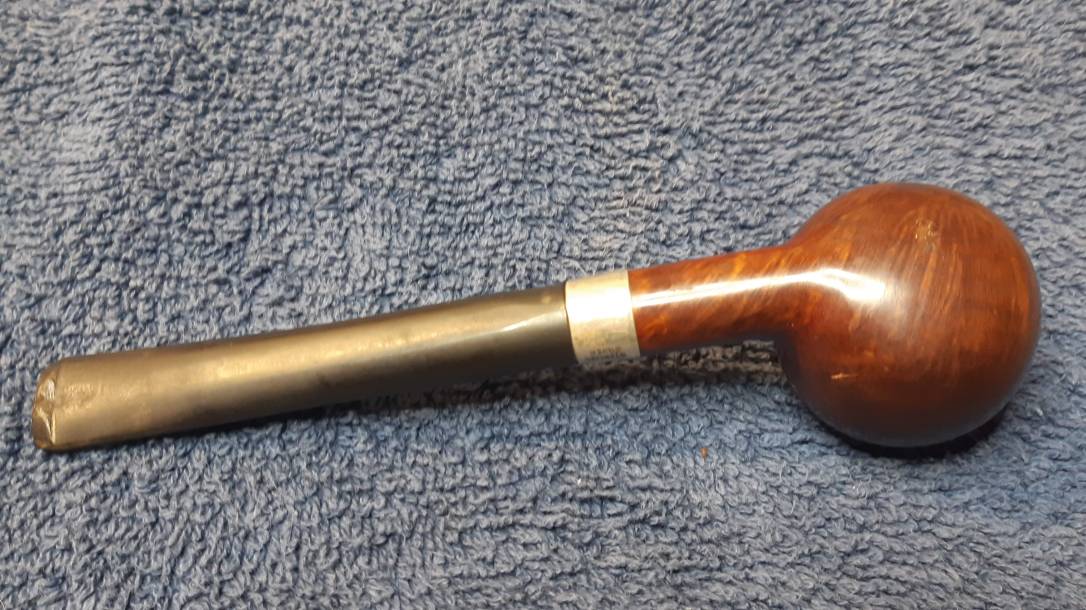


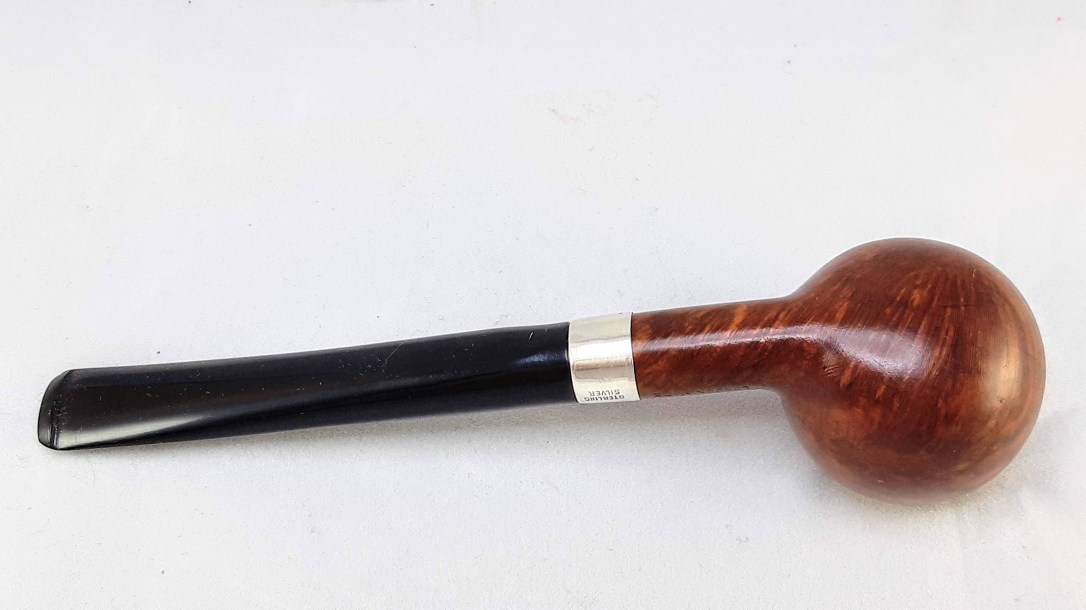
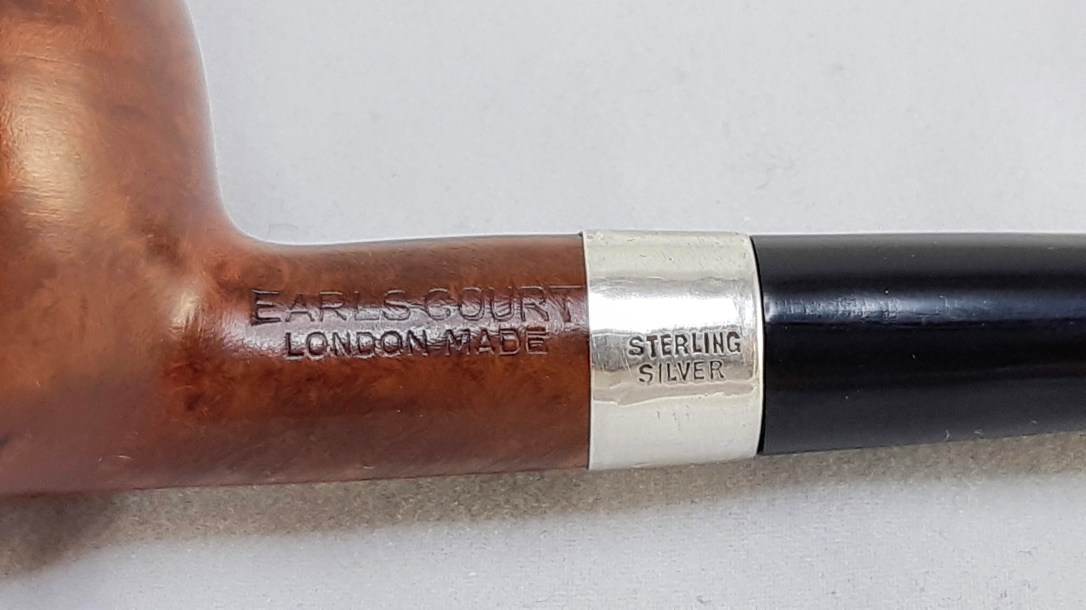
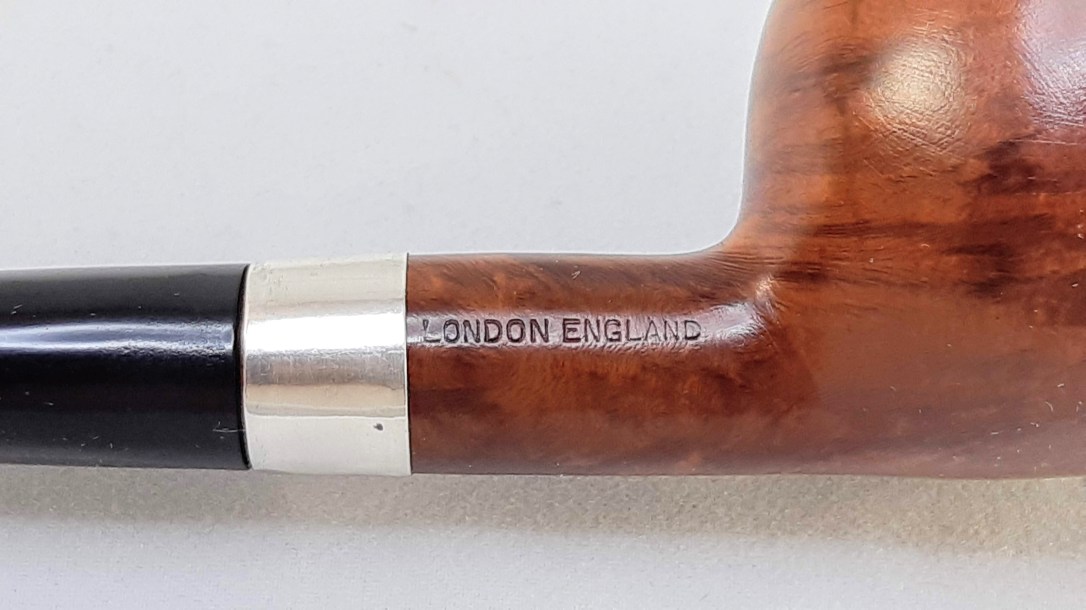
The pipe is stamped “EARLS COURT” over “LONDON MADE” in block letters on the left shank and “LONDON ENGLAND” on the right shank. The shank band is stamped “STERLING SILVER”. There is no shape number stamp.


I attempted to pass a pipe cleaner through the stem before dropping it into an Oxyclean bath, but the bit end of the airway had been pinched closed. I heated the vulcanite over a lighter flame to soften the rubber and then pushed a pipe cleaner through. I let the stem cool with the pipe cleaner in place to ensure that the airway remained open.

A few twists with 0000 steel wool cleaned most of the grease, dirt and tarnish from the silver band. Sadly there were no identifying marks hiding underneath, but the band certainly looked instantly better.

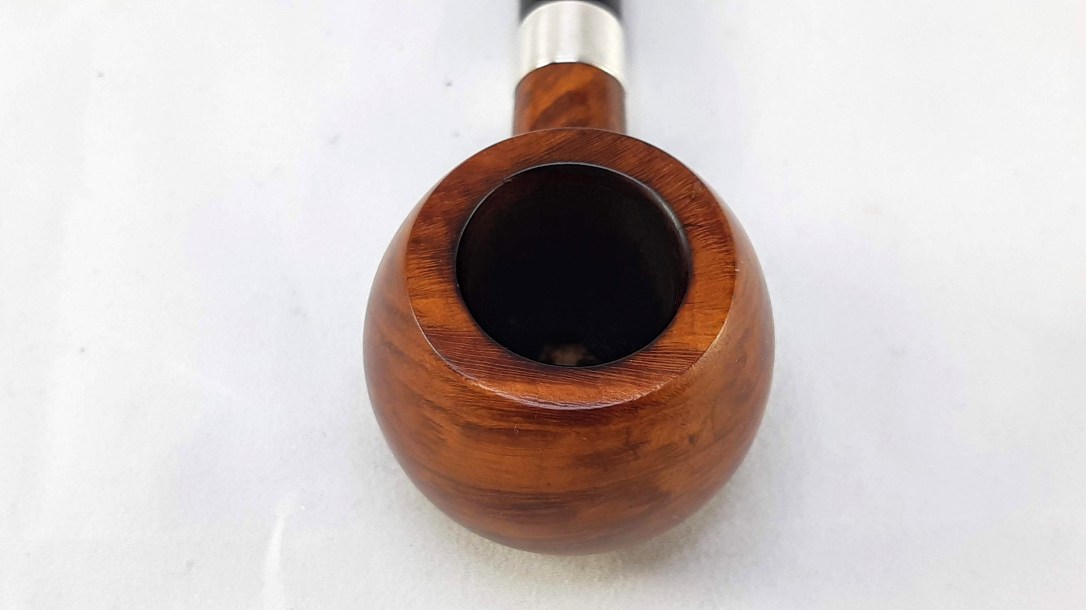
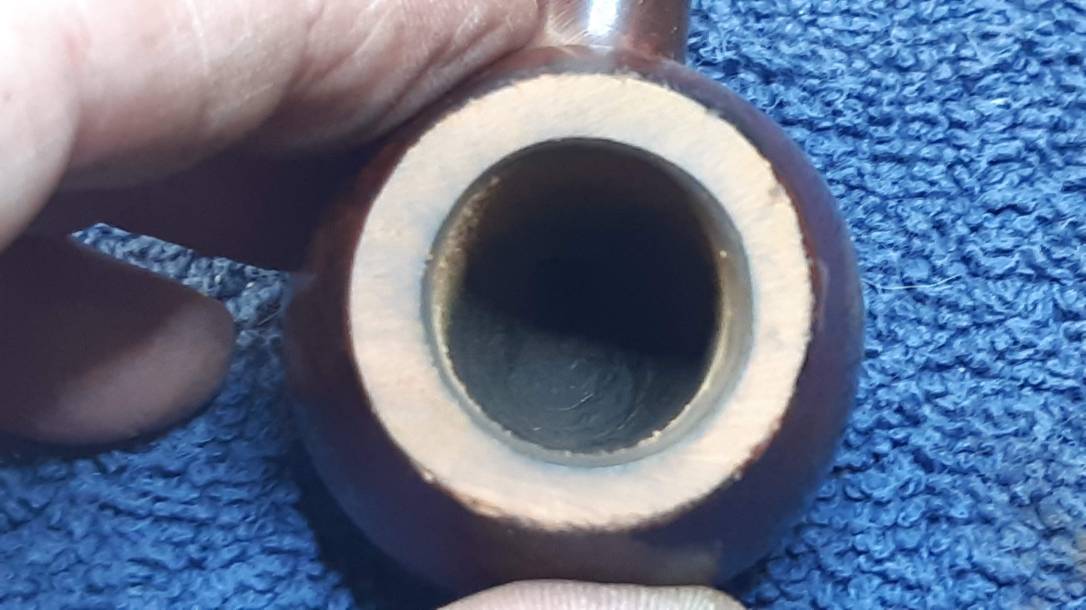
I used both reamer and sandpaper to clear the old, hard cake from the chamber. Apart from a few old knife gouges in the chamber floor, the briar was in good shape under it all.


To clear away the rim lava and smooth out some of the dents and dings I topped the bowl gently on some 320-grit sandpaper. A scrub with Murphy’s Oil Soap removed the old wax finish and several decades of dirt and grease from the exterior of the briar.
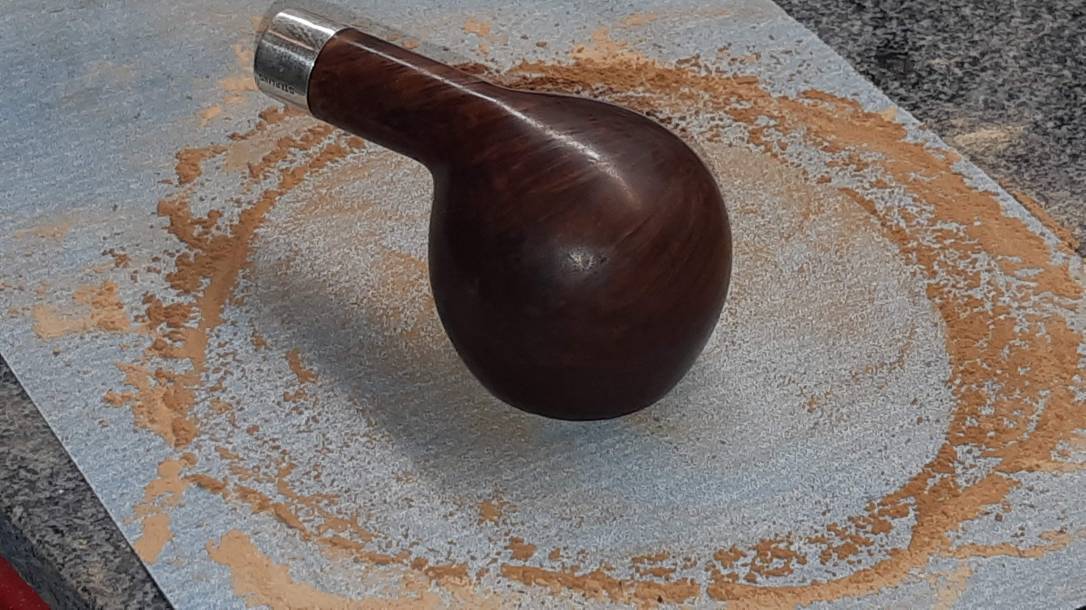

Continuing with the stummel work, I gave the briar a light overall sanding to remove the many handling marks and surface scratches. In the process, I discovered a few pinhead sized pits in the briar that I drop-filled with CA glue and sanded smooth.


I wet-sanded the briar to 2000 grit, then applied a wash coat of diluted Fiebing’s Saddle Tan leather dye to refresh the finish. When the dye dried, I hand-buffed the excess dye away before applying a light coat of mineral oil to enliven the briar.


At this point, I set the stummel aside to rest while I dealt with the stem. Pulling it from the Oxyclean soak, I scrubbed the stem with 0000 steel wool and Magic Eraser to remove the now-softened oxidation and other contaminants. A few pipe cleaners dipped in alcohol sorted out the airway,


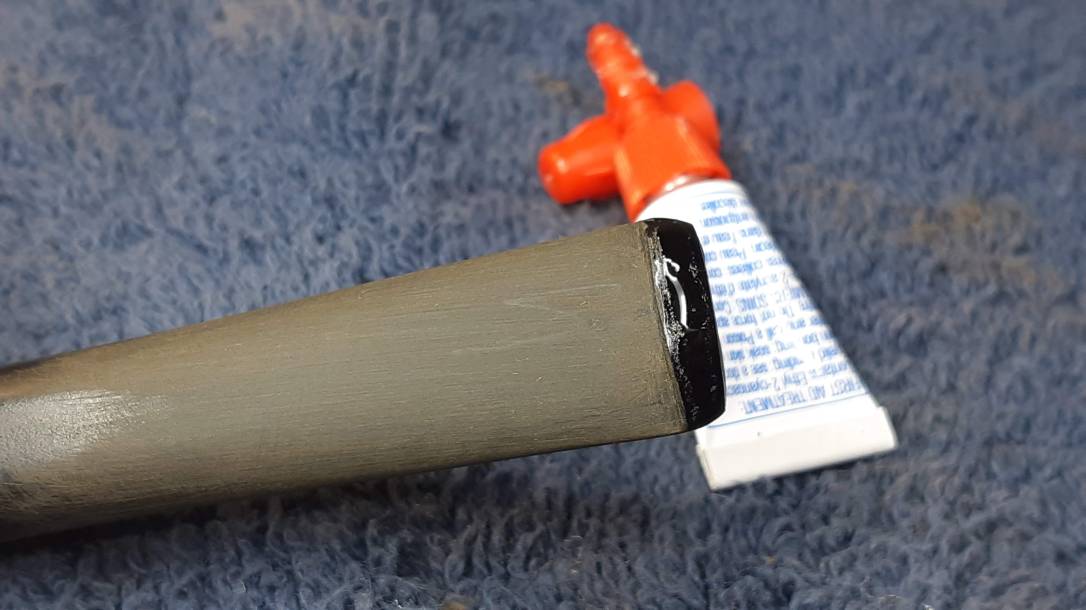
There were a few cracks running laterally across the button from the tooth damage. I stabilized these “fault lines” with clear CA glue before fitting a tape-covered cardboard wedge into the slot and applying a CA and charcoal powder patch to fill the dents and provide material from which to carve a new button.


After the patch had cured, I removed the wedge and used files and sandpaper to rough out the new button on both sides of the stem.

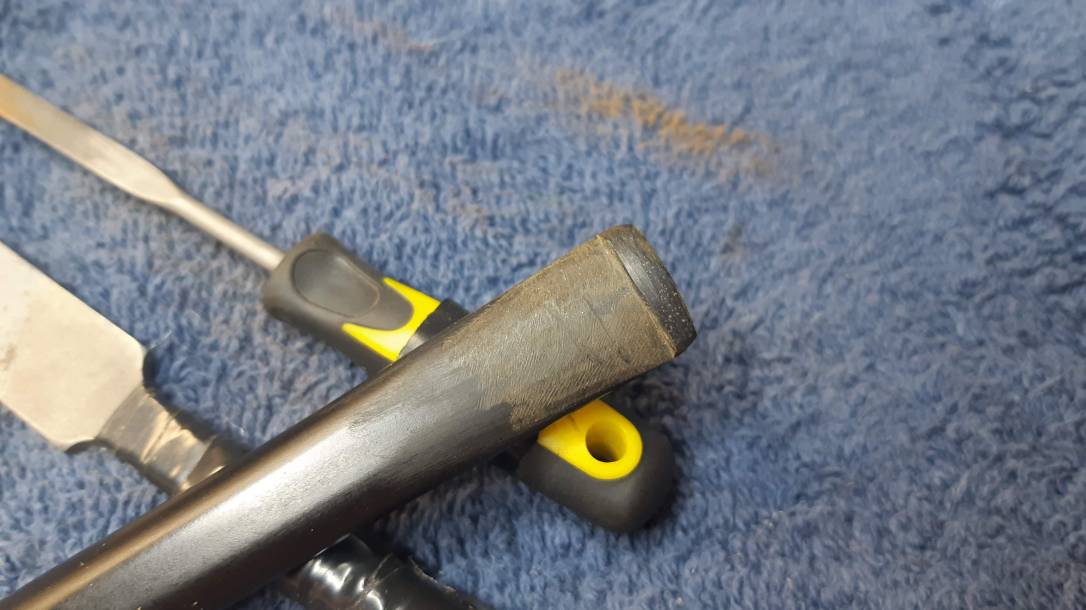
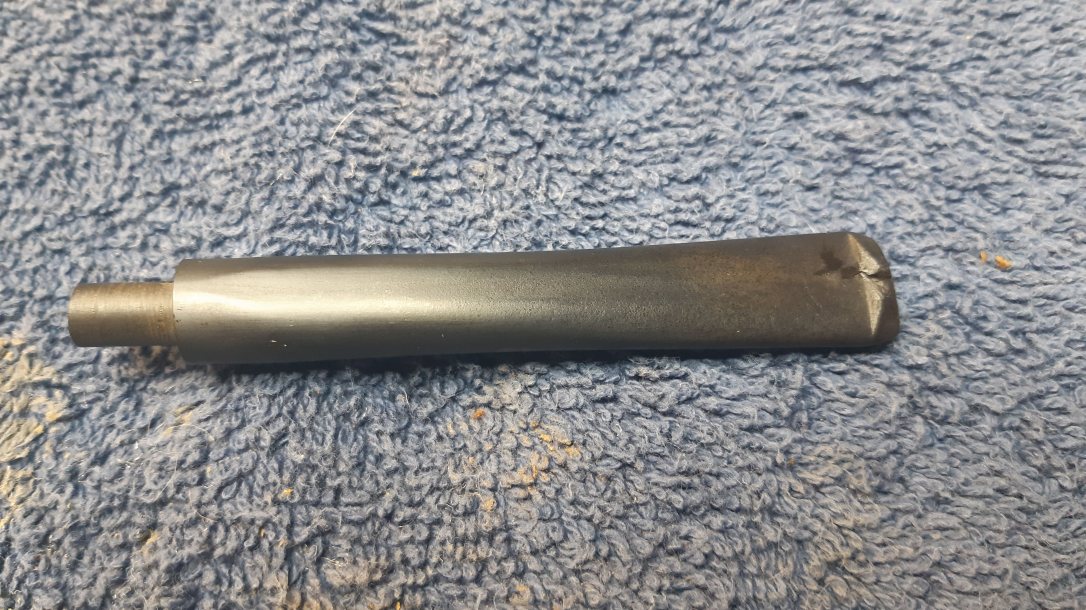
My one gripe about this stem patching method is the tendency for bubbles to form within the CA glue as it cures. This leaves a honeycomb pattern of small holes in the surface as seen in this pic. The solution is to apply a skim coat of thin CA glue to fill the pits and then sand the stem smooth.

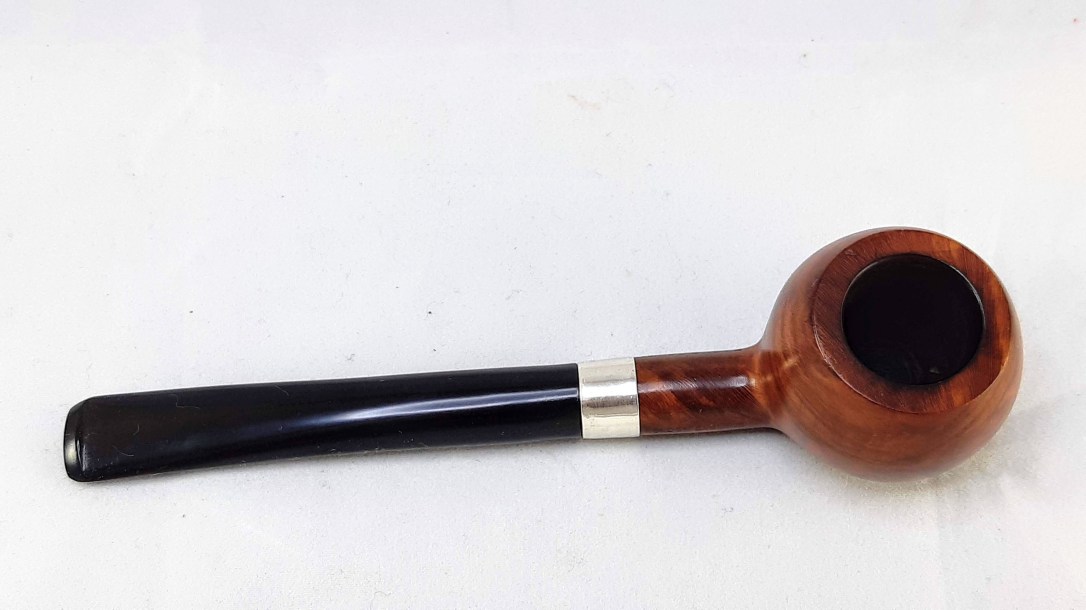
Eventually all the bubbles in the stem got filled and I worked my way through various grits of abrasive to smooth and polish the stem. After wet-sanding to 2000 grit, I reunited stem and stummel and took the pipe to the buffer where runs on the Tripoli and White Diamond wheels erased the last of the fine sanding marks and brought up the shine. A few light coats of Carnauba wax put the finishing touches to this revived Earl’s Court Prince.
If anyone out there can provide any information on the Earl’s Court brand, please add a comment below. It’s somewhat mystifying that I have been unable to turn up anything about the pipemaker. The quality of the pipe is evident in its careful shaping and drilling (spot-on centre), the stamps are clear and crisp and the briar is free of any putty fills that usually indicate a lower-grade pipe. The factory Sterling band also indicates a first-quality pipe.
For now, the mystery of who made this Earl’s Court silver-mounted Prince will remain unsolved. On the up-side, here is an opportunity to add a well-made, classic English pipe to your rack and rotation at a reasonable price. You can find this Earl’s Court Prince on the Pipe Inventory page now.
Thanks for joining me for another pipe restoration. Until next time, Happy Piping!
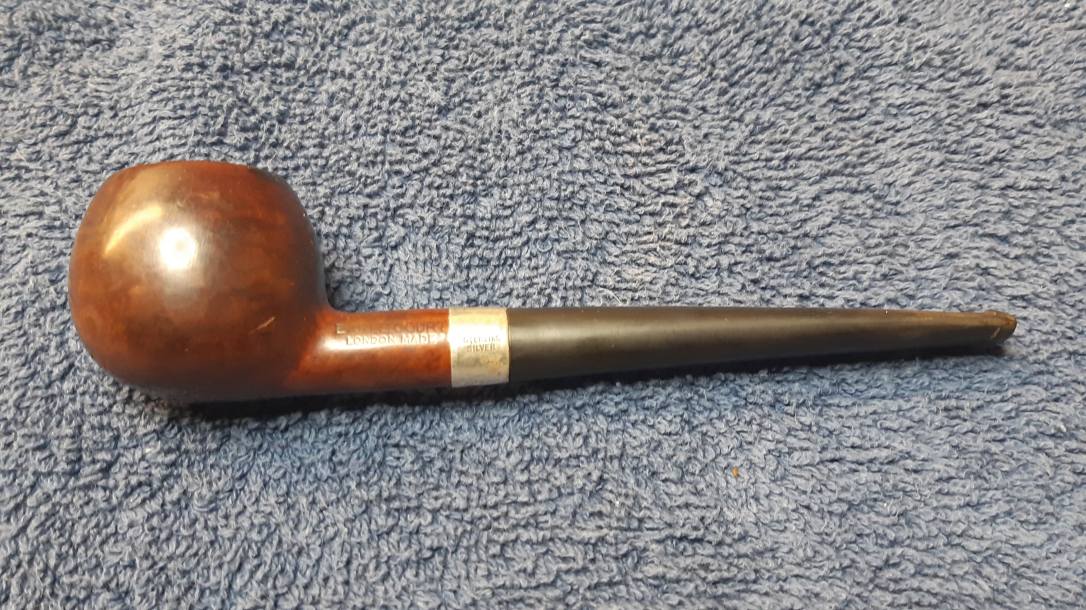
Here’s the finished pipe.