After working on a few pipes for friends, I decided to pull one of my own out of the refurb box!
This 5-Dot Brigham bent brandy is an unusual piece for several reasons. It’s the first example of a Shape 36 I have come across, which is always exciting for me, and the shape itself is somewhat unique in the vintage Brigham lineup. Unlike many other Brigham pipes, which tend toward slender silhouettes, this 536 features a rather chunky shank matched with an equally chunky taper stem. This pipe also features a very gentle bend – more akin to Brigham’s Shape 29 Author than it’s more common Bent Brandy shape, the 84.
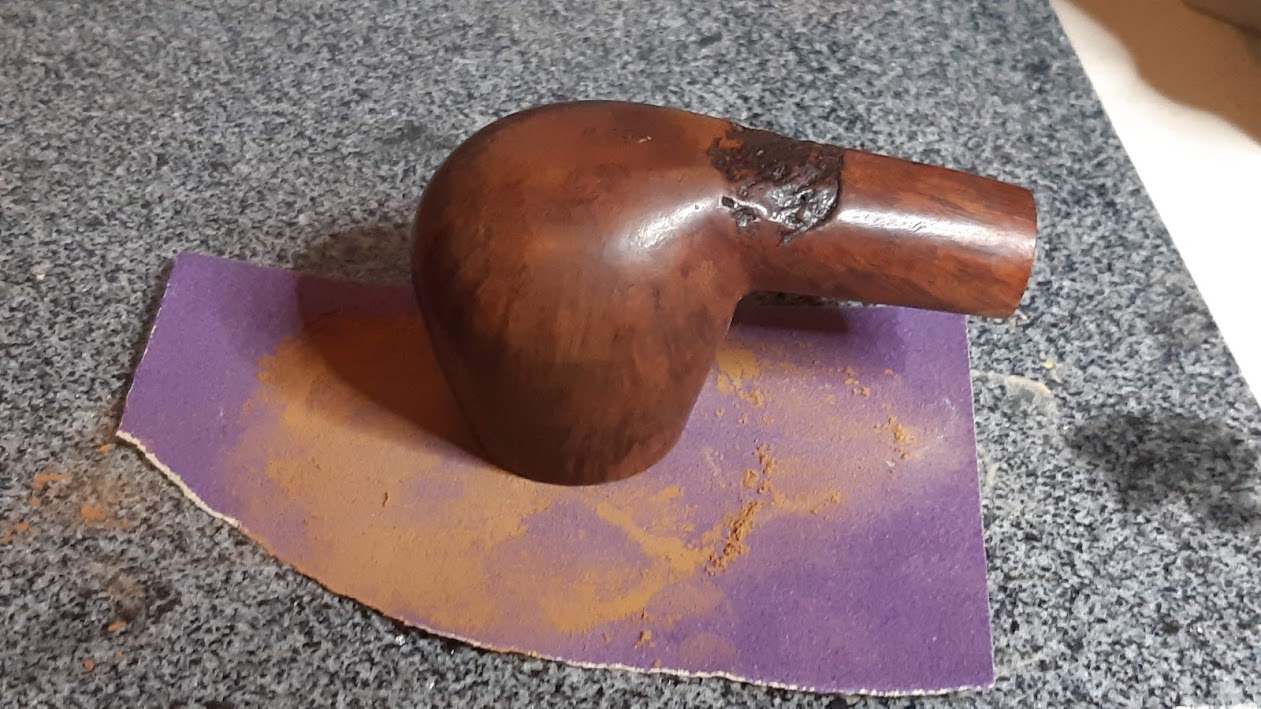
Here is the pipe as it looked when I brought it to the worktable.
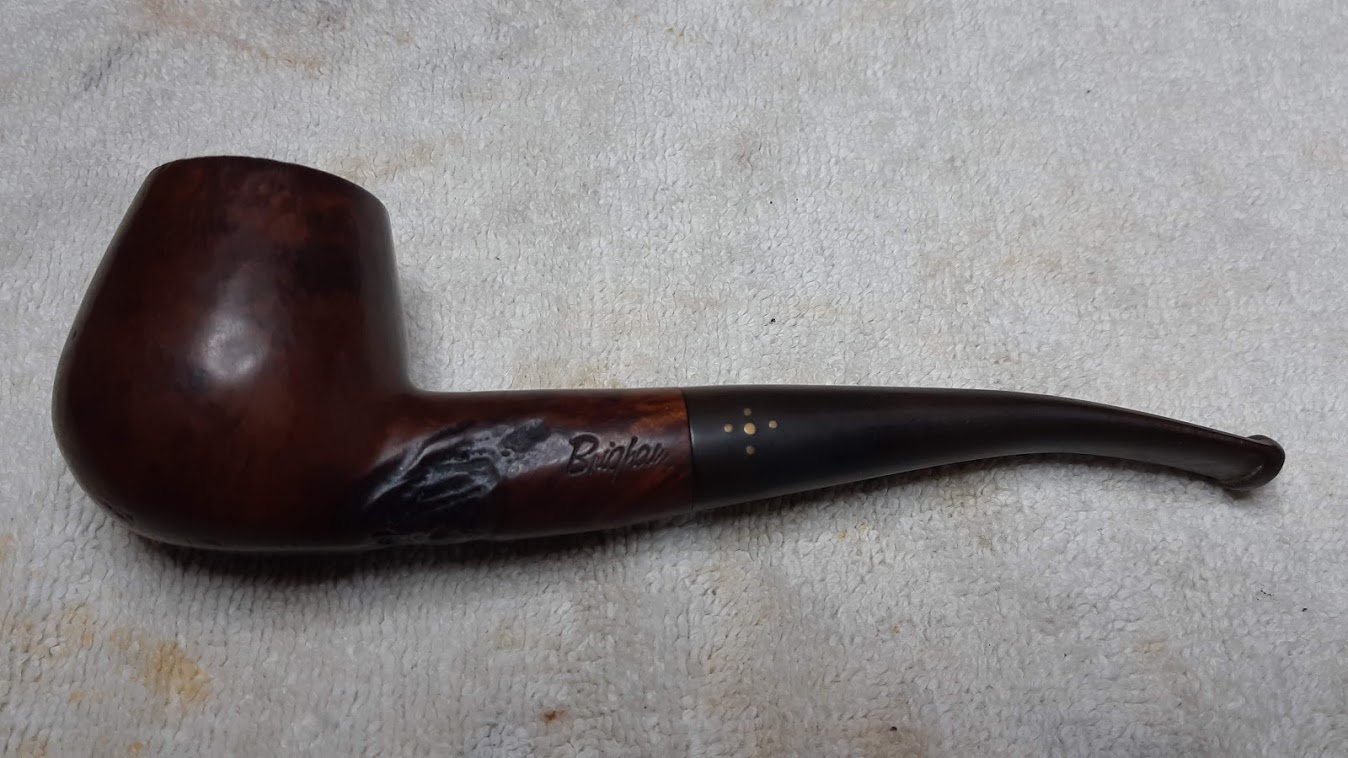
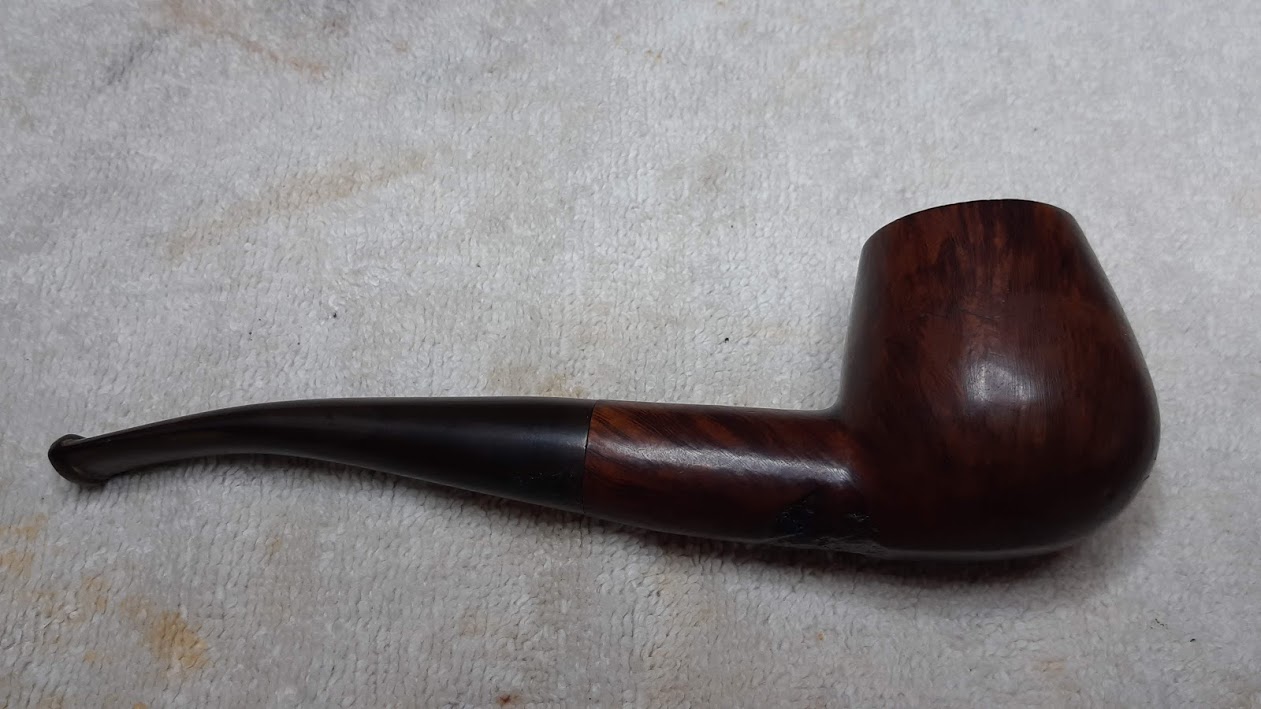


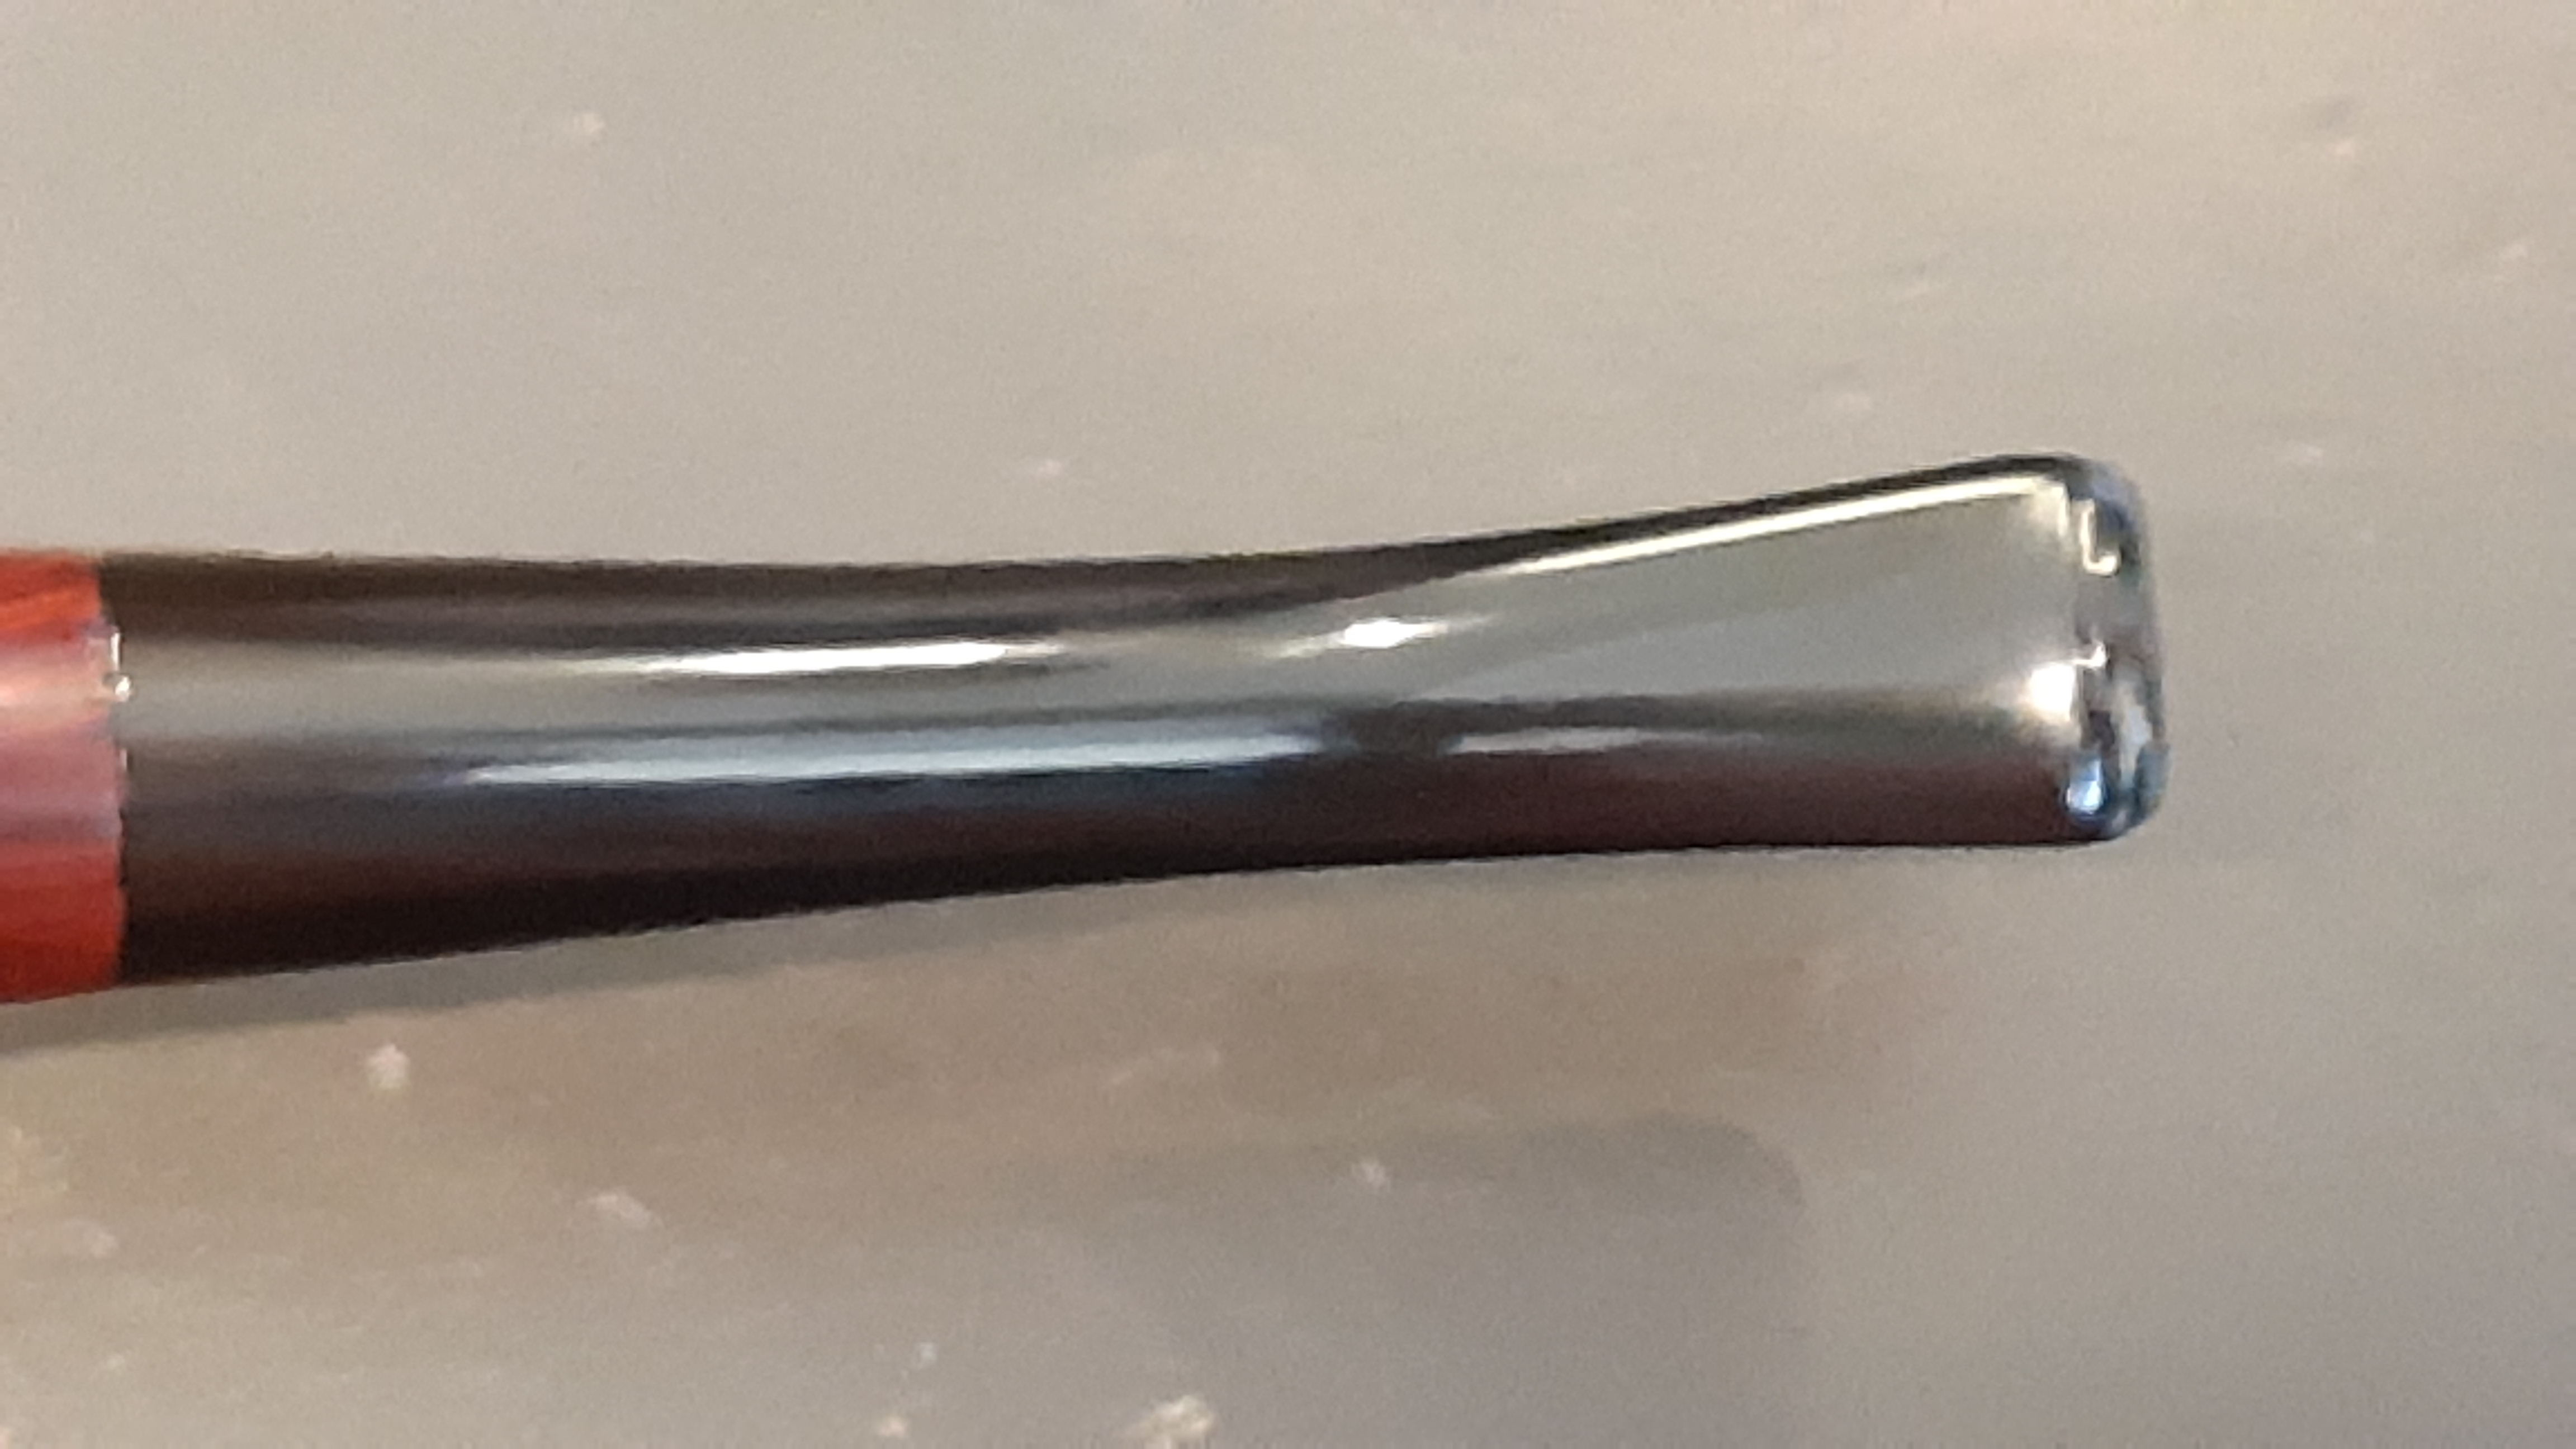
As you can see, the finish on the pipe was very dark and dirty, with lava on the rim of the bowl. The stem was grimy and lightly oxidized, but free of serious tooth dents or other damage.
The pipe is stamped “Brigham” on the left flank, and “P536” on the flat underside of the bowl. The first stamp tells me that this piece was produced sometime in the 1990’s. The shape number stamp is a bit more intriguing – the “536” indicates a 5-Dot pipe in Shape 36, but I don’t have any reference for the significance of the “P” prefix.
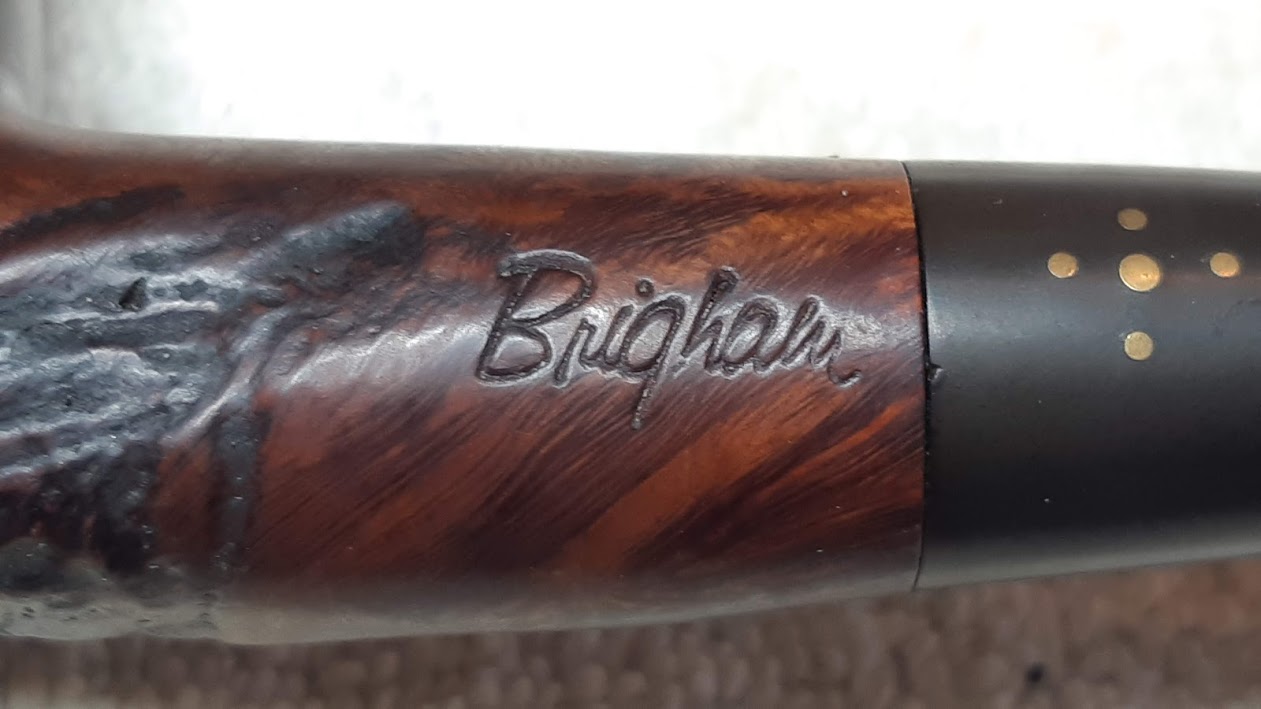

I have previously seen late-1970’s 5-Dot Brigham pipes marked with an “A” before the shape number, which indicates a pipe of higher than average 5-Dot grade (for reference, see my post here). I’ve got an inquiry in to Brigham to see if they can shed any light on the P stamping. I’ll update this post if I get a definitive answer.
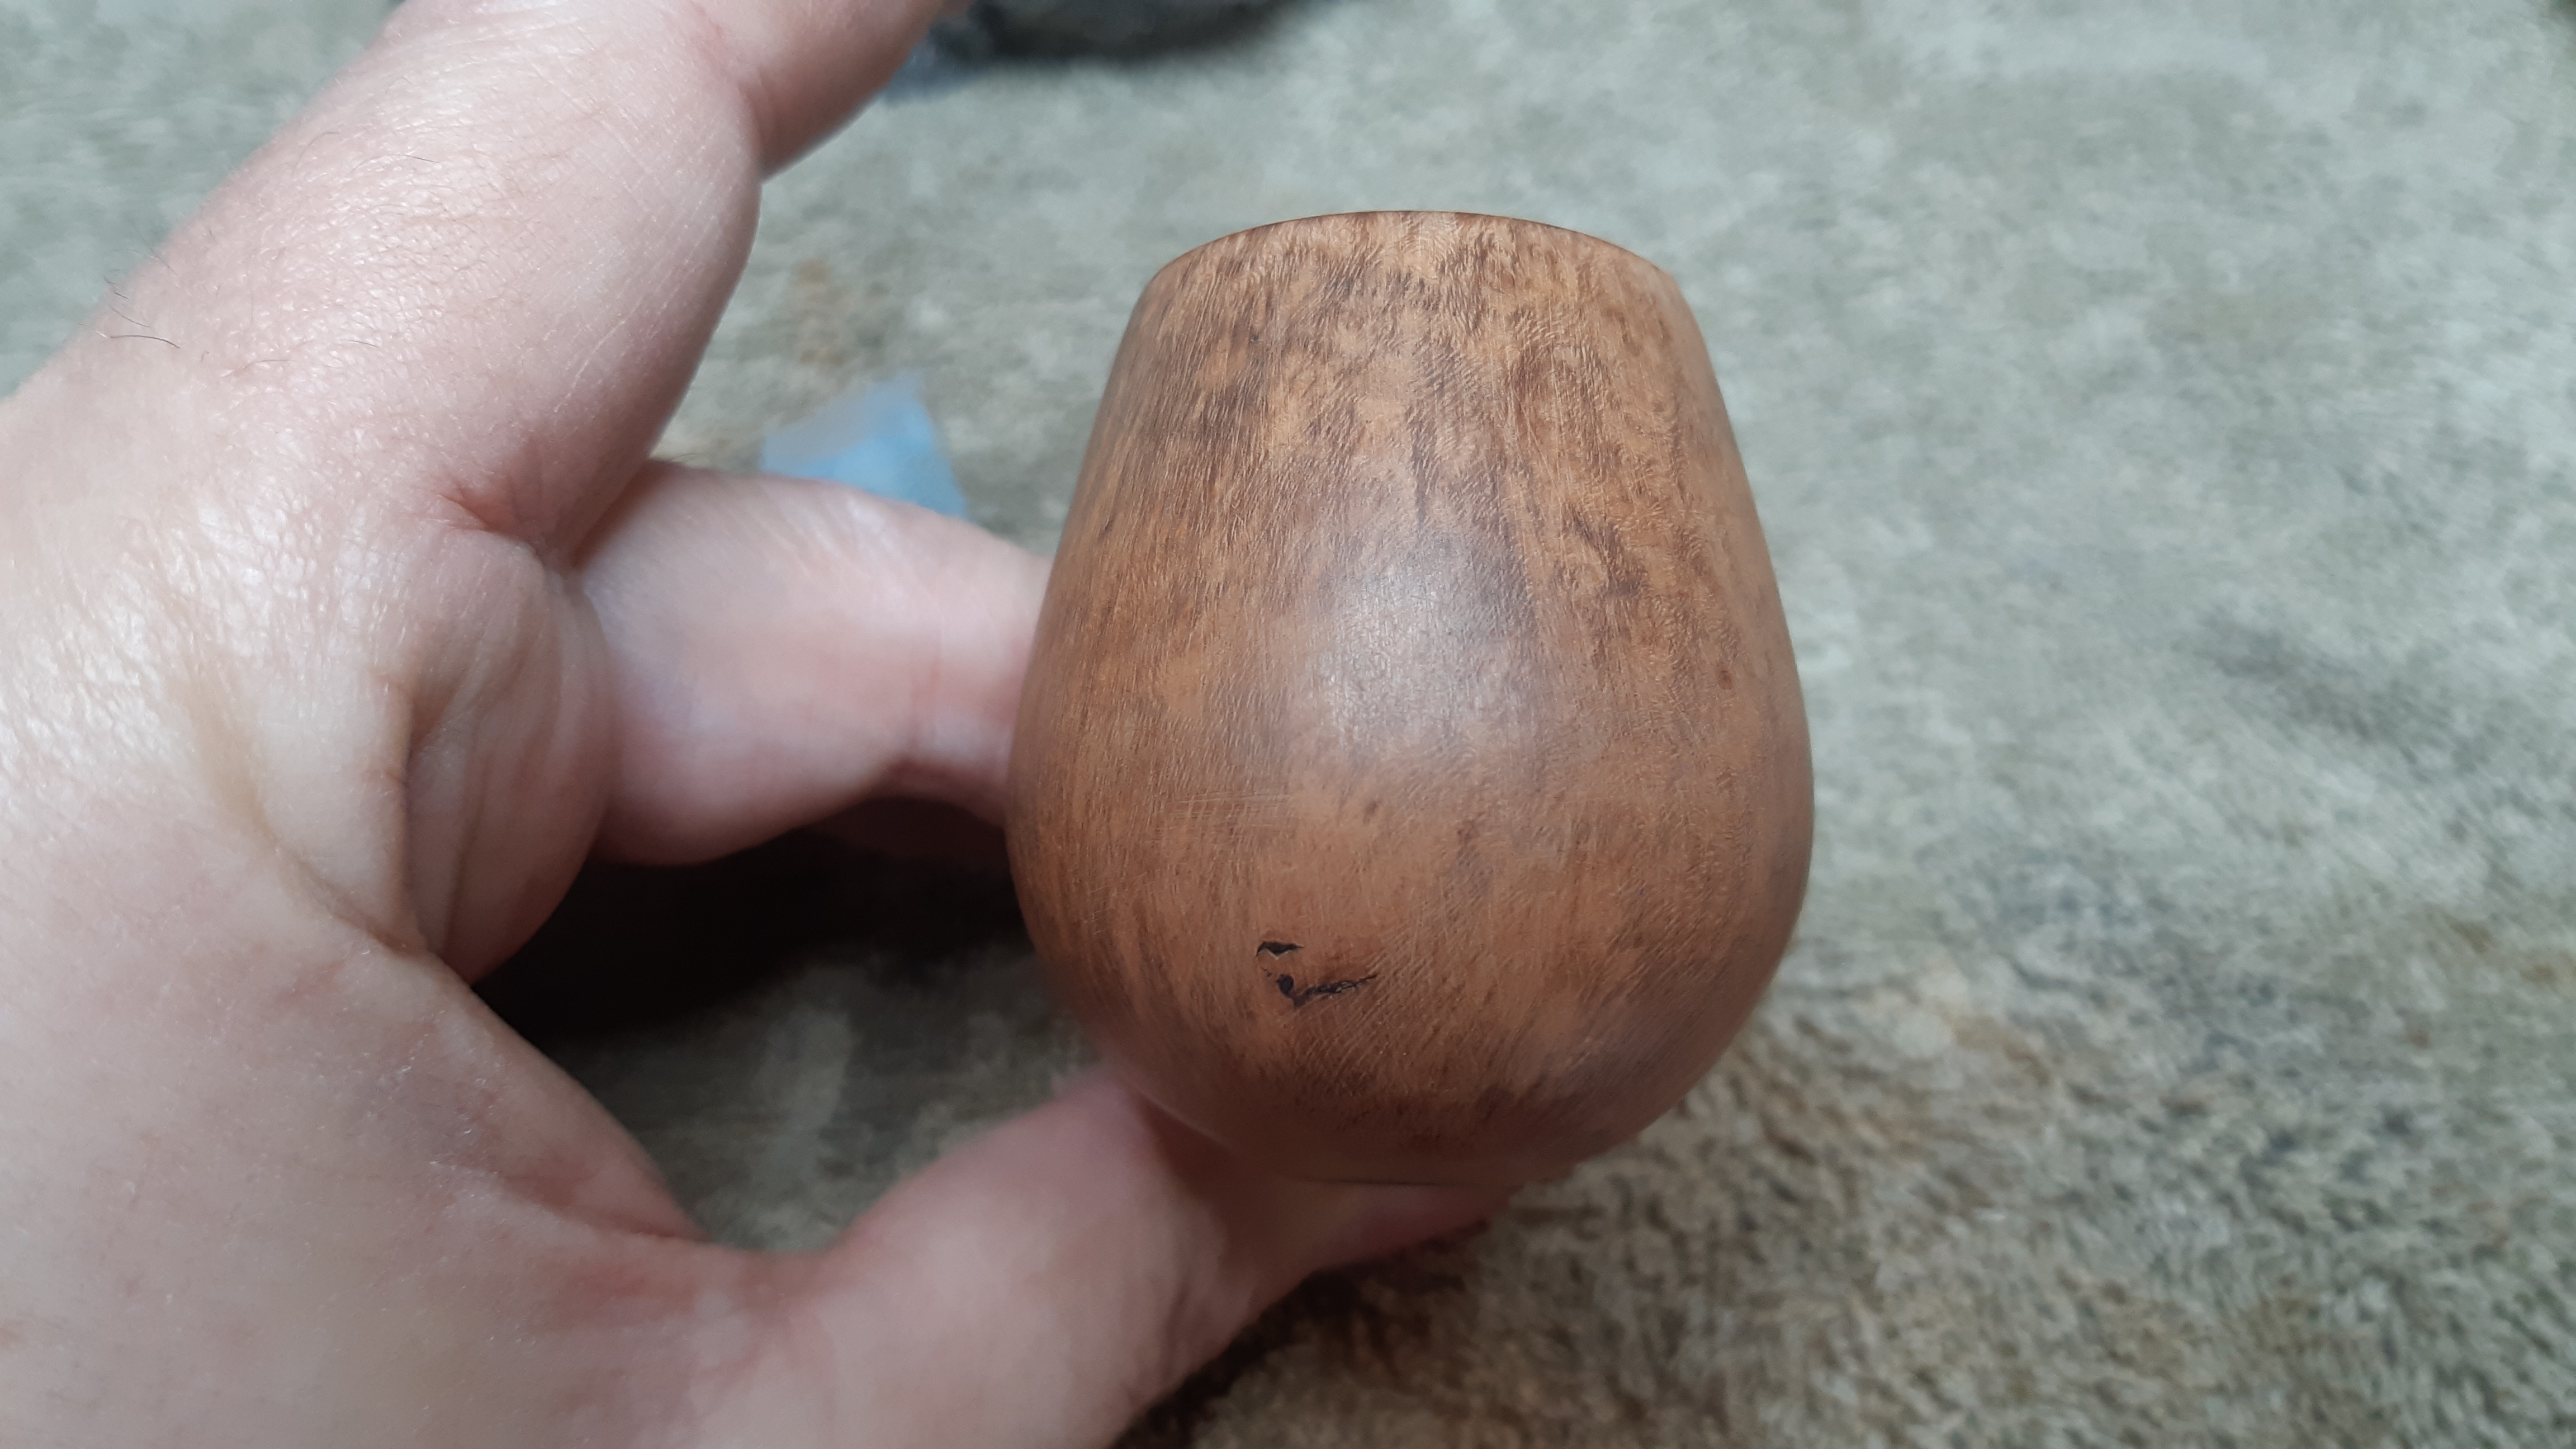
Getting in close to examine the stamps brought to light a constellation of small dents and dings across the bottom and lower front quadrants of the stummel. I’d have to sort these out.


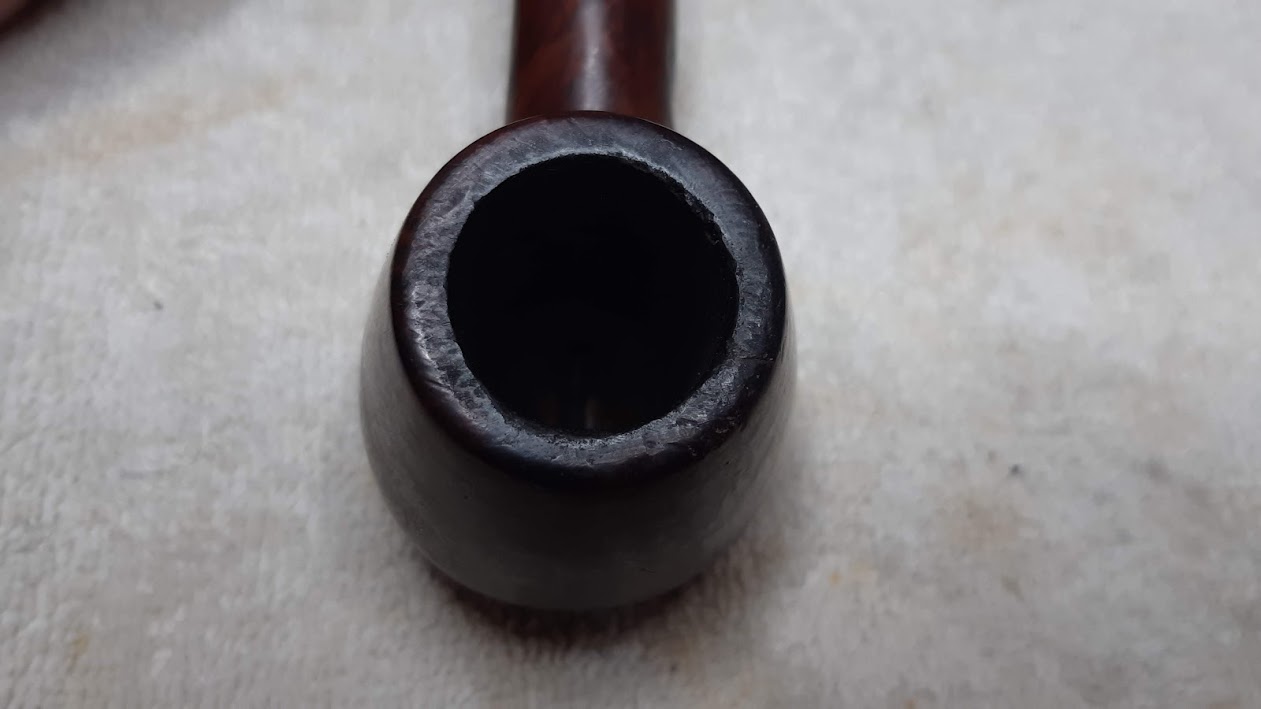
I started my rehabilitation of this pipe by reaming the chamber back to briar. There wasn’t too much cake in there, so this went quickly. The chamber walls and floor were in good shape underneath it all.
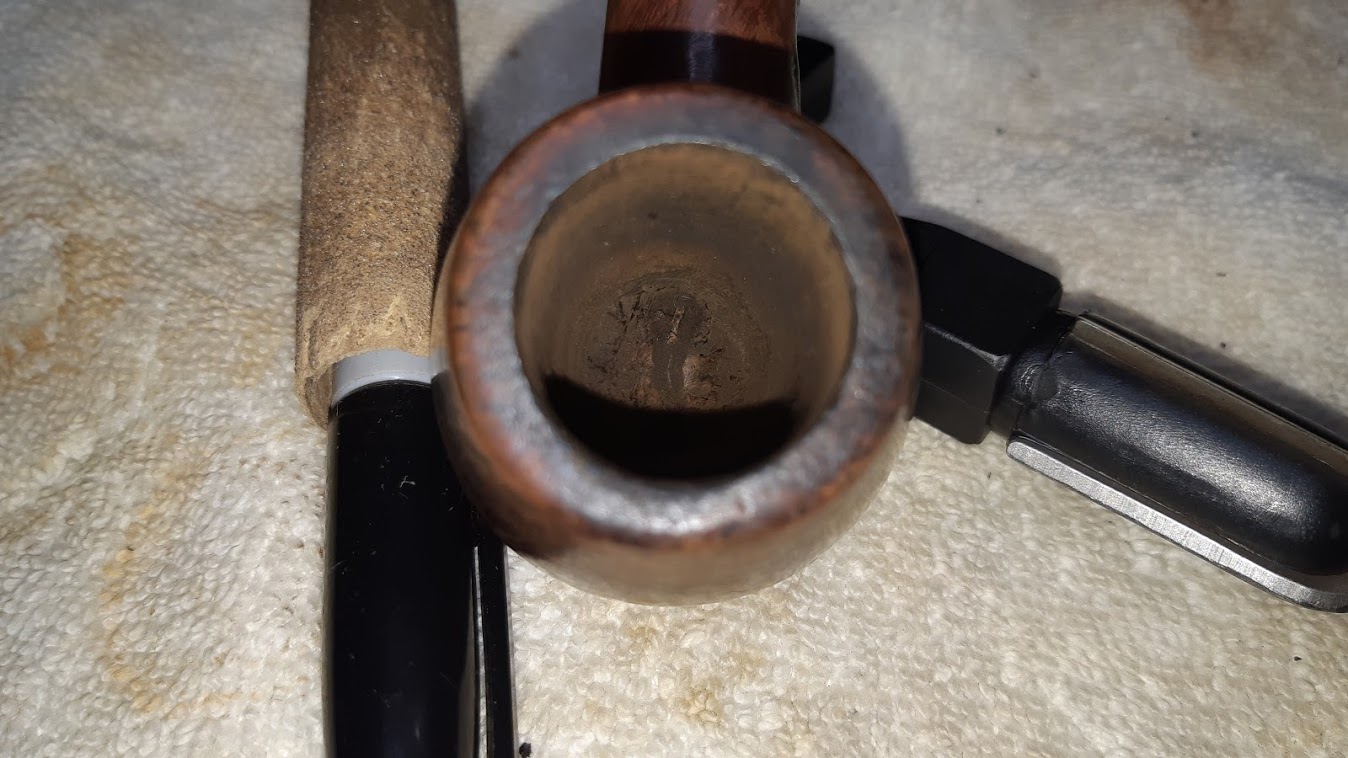
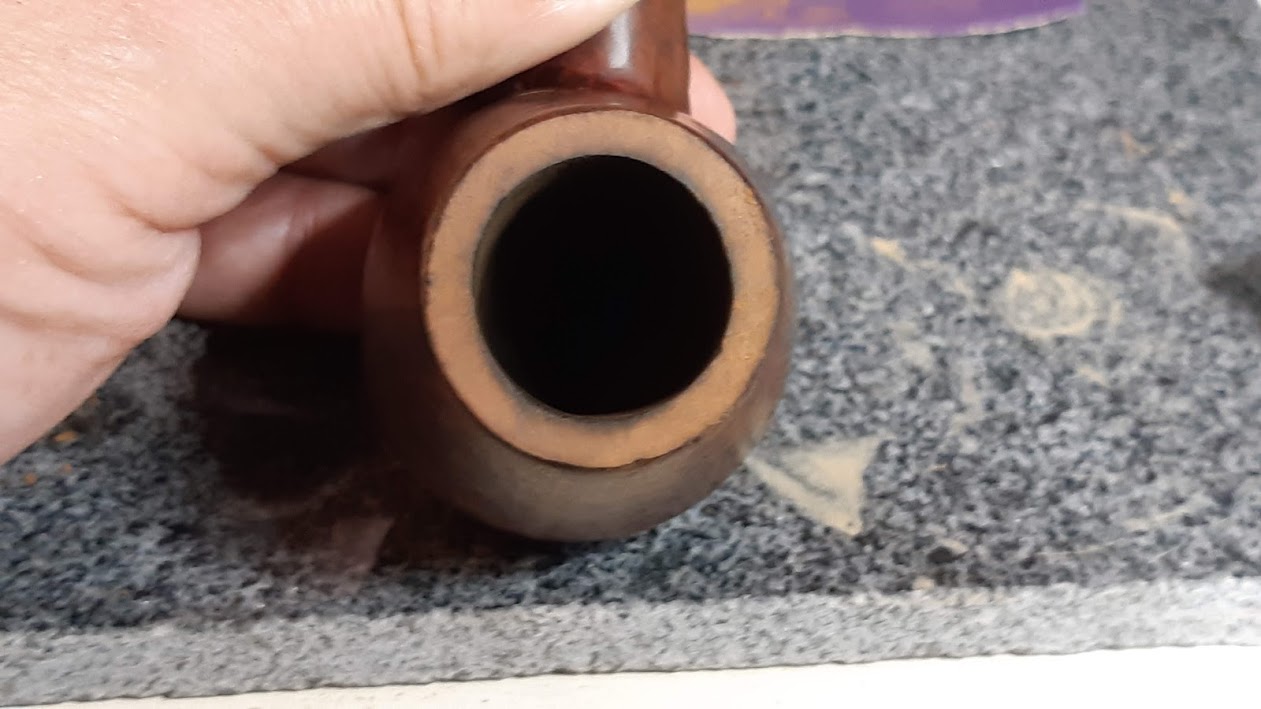
The pic above shows some of the small dents and dings under the lava crusting the rim of the bowl as well as around the inner rim edge. I topped the bowl very lightly to clean these up without significantly altering the bowl dimensions.
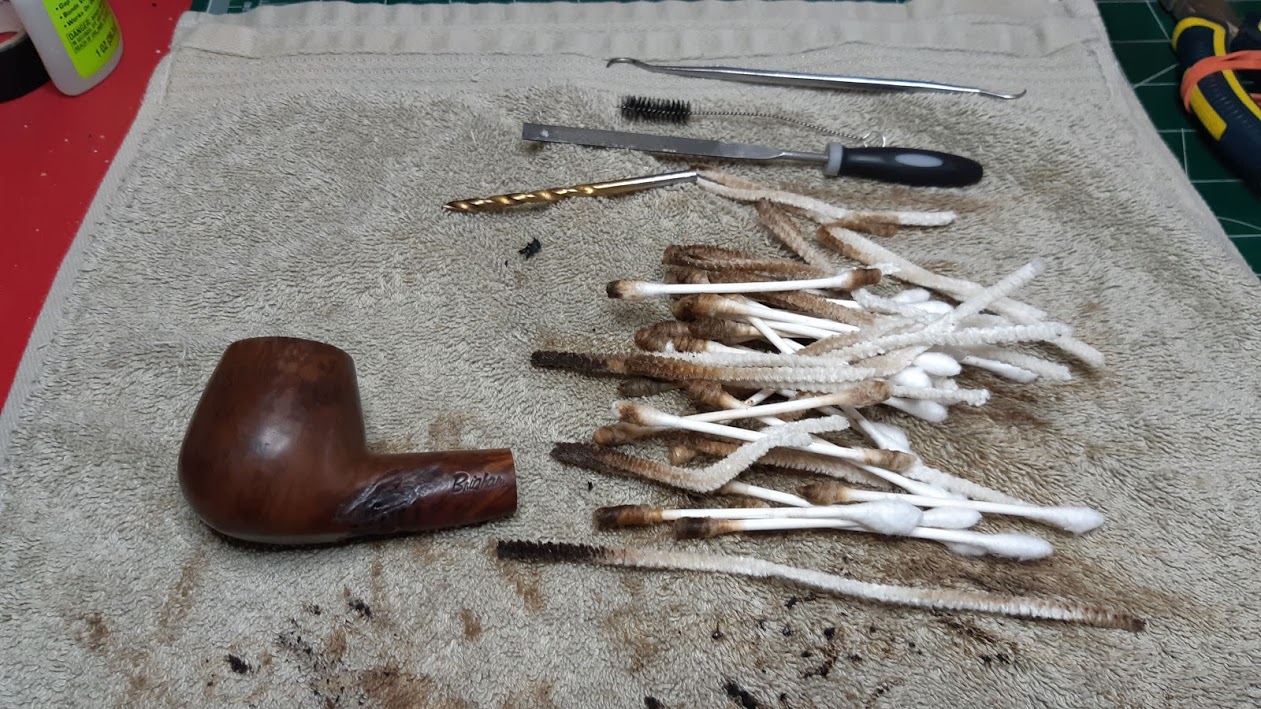
So far, things had gone smoothly. When I started cleaning the pipe’s internals, however, things got a bit stickier – literally. My first attempt at cleaning out the stem’s airway left me with a pile of rather rank pipe cleaners and the realization that this pipe was DIRTY.
This series of pictures shows that first abortive cleaning, followed by a soak in alcohol and then a second cleaning. I used more than one pipe’s fair share of pipe cleaners and alcohol on this one.


The stummel’s internals proved equally difficult. I pulled out all the stops here, using drill bits, my flat needle file, a shank brush and lots more cotton swabs, pipe cleaners and alcohol to rid the briar of years of old, smelly, sticky tars and other goodies. I could have used my retort here, but it’s currently shelved as I wait for replacement tubing to arrive.
Finally satisfied that the pipe was clean inside and out, I started working on smoothing out the myriad small dents and other marks on the exterior of the stummel. Some 220-grit sandpaper made short work of the majority of these minor imperfections, though the deeper marks would need some extra attention.


I worked on the stummel until I had eliminated all but two blemishes. These were deeper marks that, on closer inspection, proved to have broken the wood grain instead of simply denting it inwards. As they were very small, I decided to drop-fill these marks with clear CA glue and sand them smooth. The second image below show the stummel after sanding with 220 and 320-grit papers and 0000 steel wool.

With the repairs complete, I gave both stem and stummel a full course of micromesh sanding pads to remove the sanding scratches and prep the surfaces for final polishing. I dry-sanded the briar while applying a bit of mineral oil to the stem between sets of three pads.


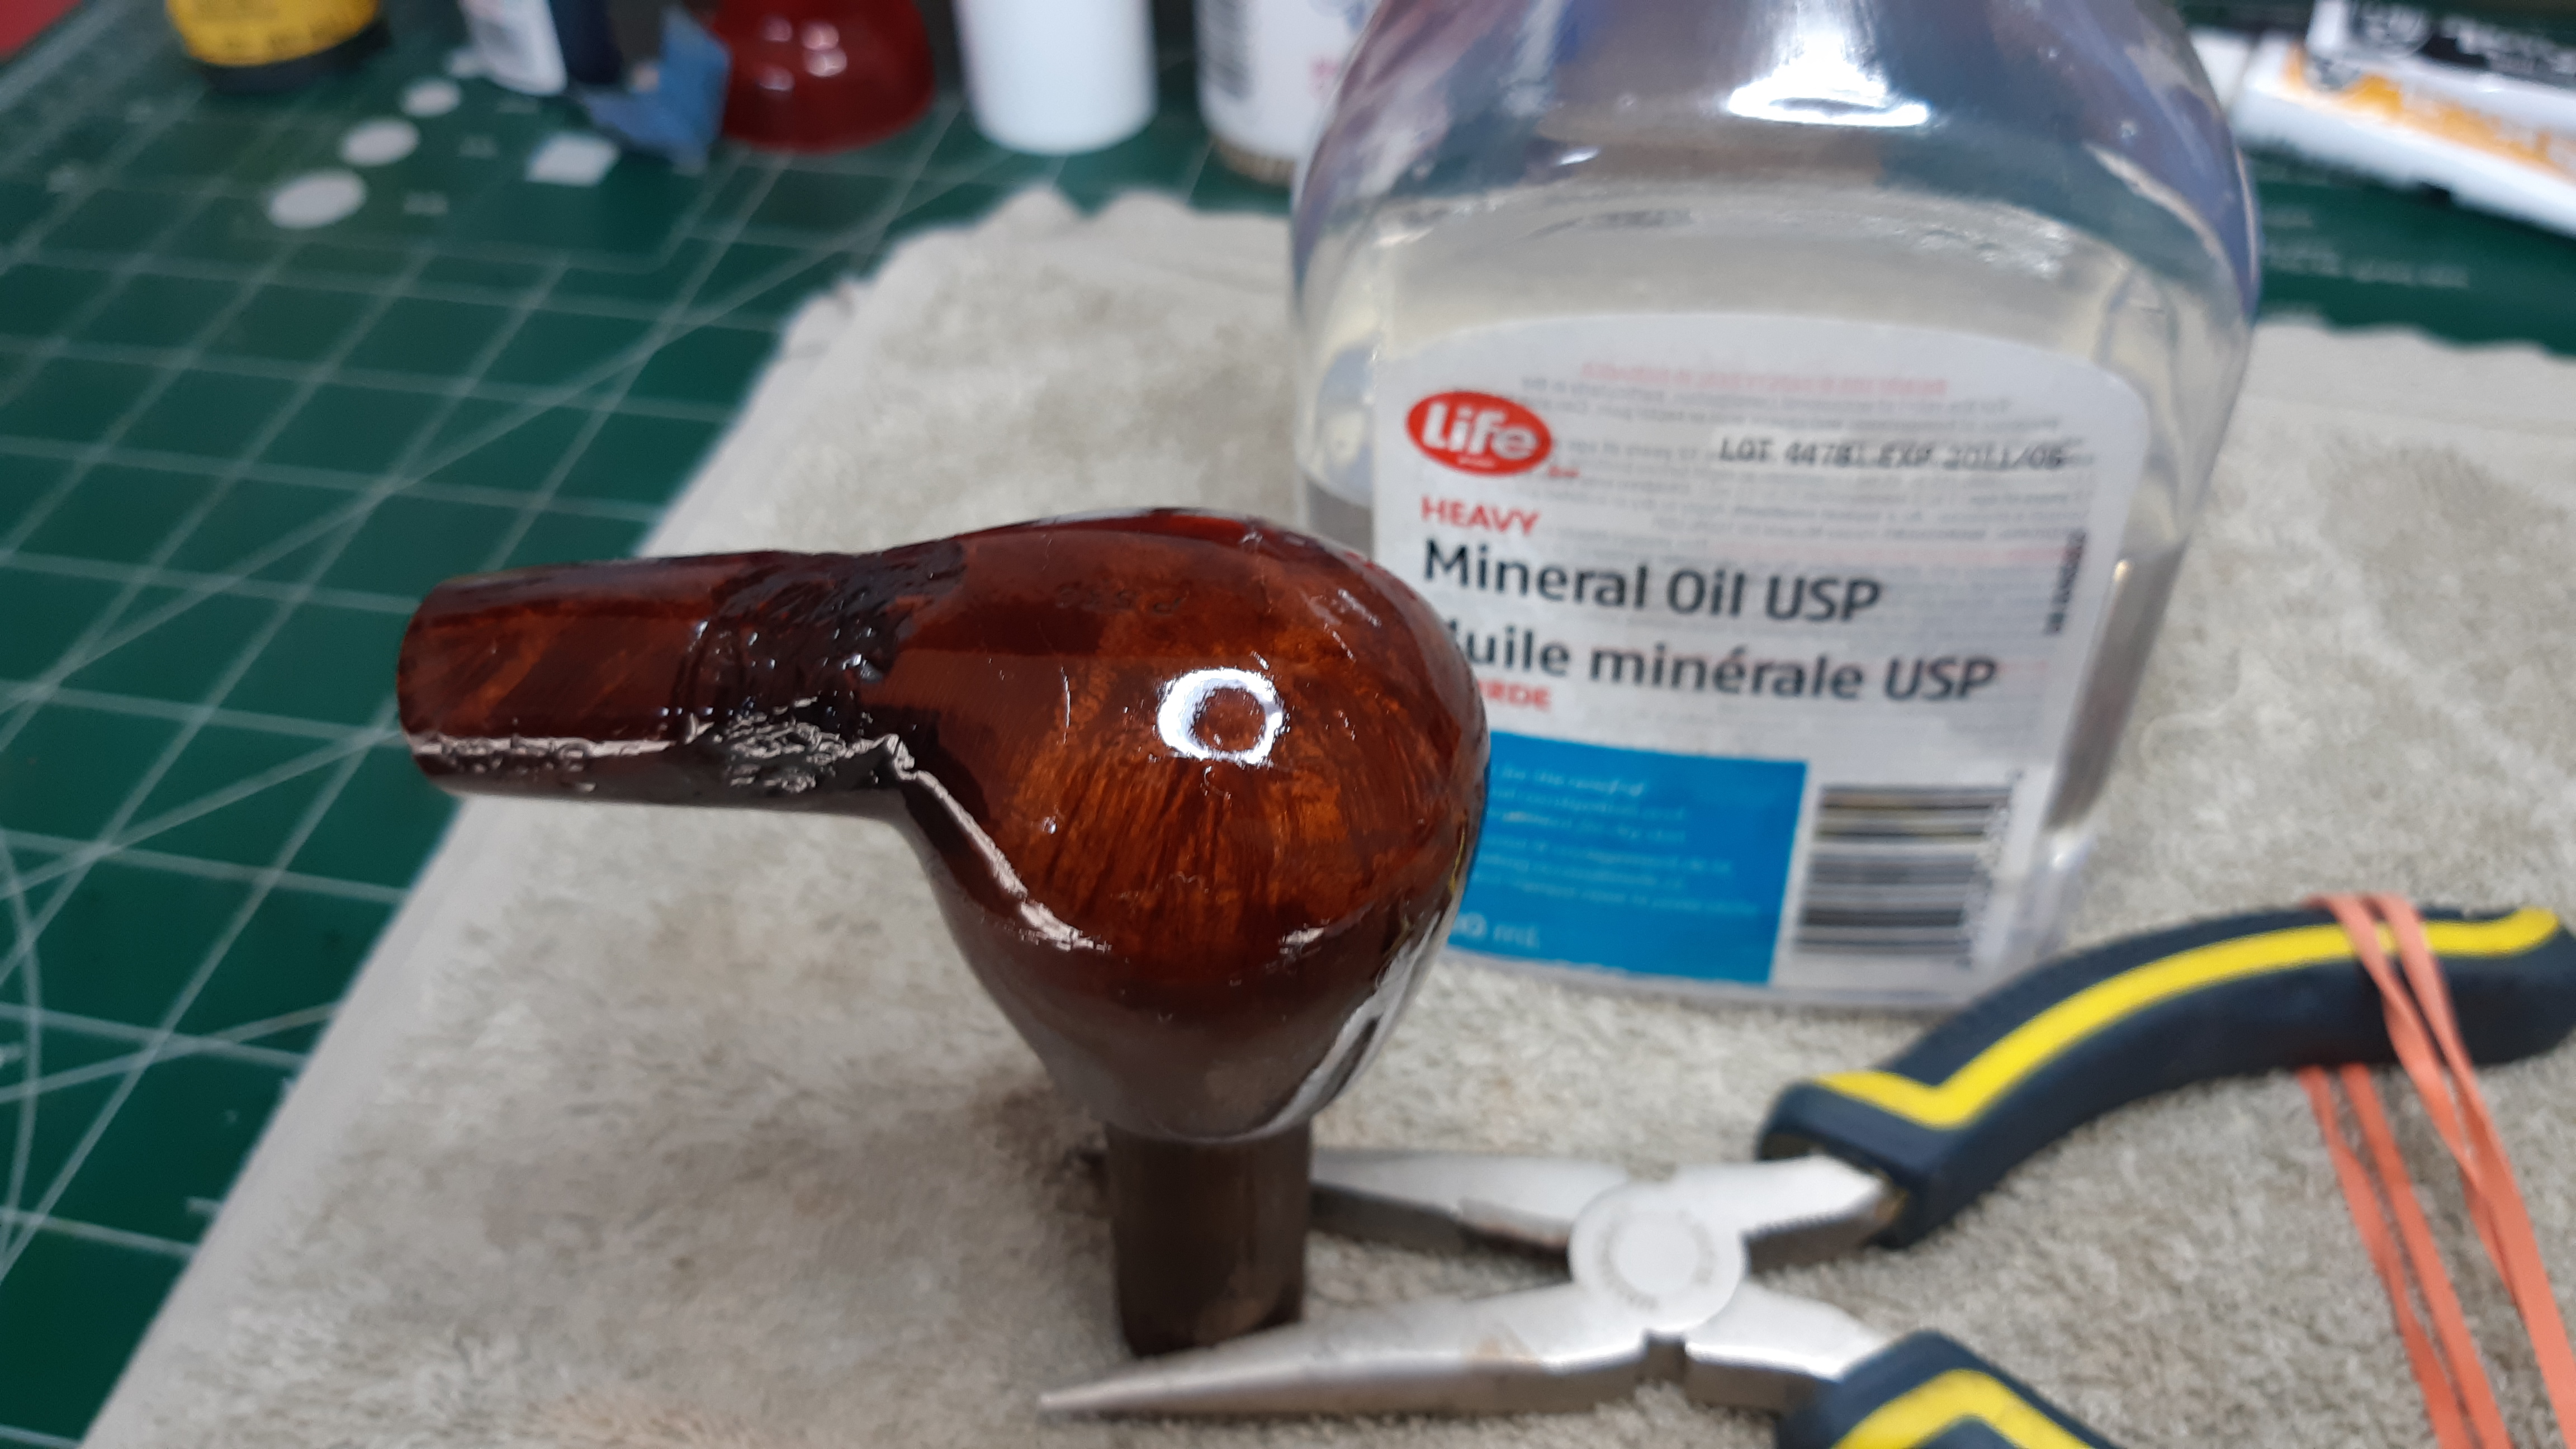
I evened out the finish by applying a few coats of Fiebing’s Dark Brown leather dye to the briar. When it was dry, I rubbed away the excess colour with a bit of old towel and applied a light coat of mineral oil to rehydrate the briar and give the finish depth.
In the pic below, the oil coat looks rather heavy, but it’s just freshly applied. After only 30-60 seconds sitting time I rubbed away the excess oil and let the stummel rest for a bit.

The final step in this restoration was to bring stem and stummel to the wheel for a buffing with White Diamond compound and several coats of Carnauba wax to shine and protect the new finish.
This nearly 30-year-old pipe looks almost new after its rehabilitation, and better yet, it smells like new now that decades of tarry crud have been removed. The finish, minus decades of dirt and matched to the original dark stain, allows the 5-Dot rated grain to shine through, and without the small galaxy of dents and scratches, the stummel once again looks like the high-grade smoking companion it is. The vulcanite stem glows with a deep black gloss, contrasting nicely with the starburst of five brass pins embedded in its flank.
I’m looking forward to adding this 1990’s era Brigham 536 to my collection and rotation. I will also be adding the Shape 36 specs to the Brigham Shape Chart as part of its next update!
Thanks for following along with me on another estate pipe restoration. I haven’t undertaken such a complete overhaul in some time; I hope you enjoyed the journey.
Here’s the finished pipe. Until next time, Happy Piping!