
This was an interesting project for me, requested by the same piper that brought me the Brigham Sportsman Freehand I wrote about last time. He had been wanting a Churchwarden pipe for some time and brought me a handful of pipes he thought might make good candidates for a conversion.
In the end, we selected a 1980’s vintage Brigham 1-Dot Author to play with. The brief was relatively simple – fit an acrylic churchwarden stem to the stummel, while preserving the original stem to allow the owner to switch between the two.
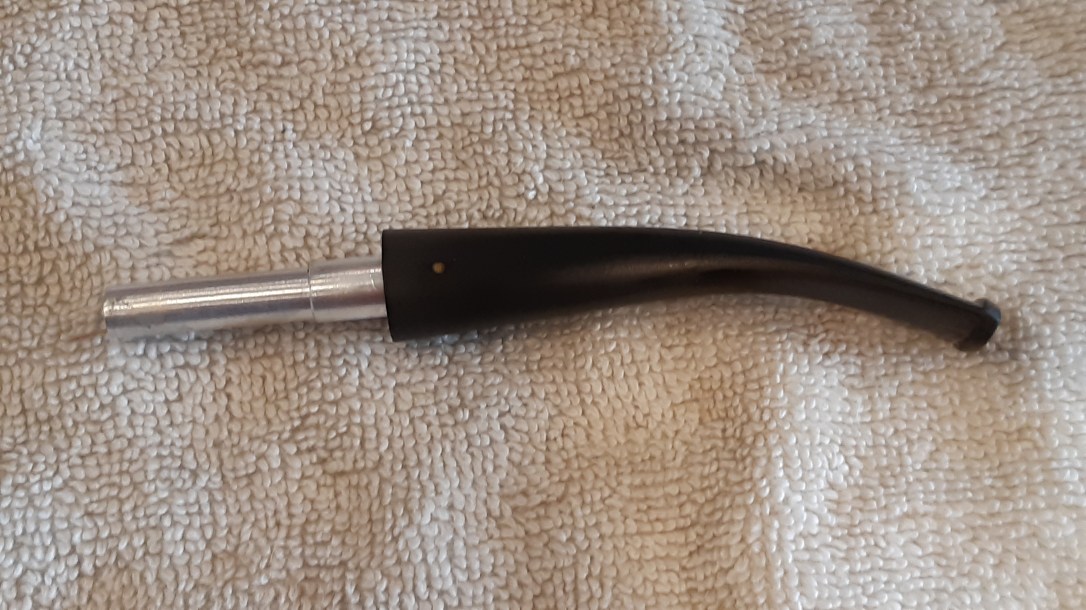
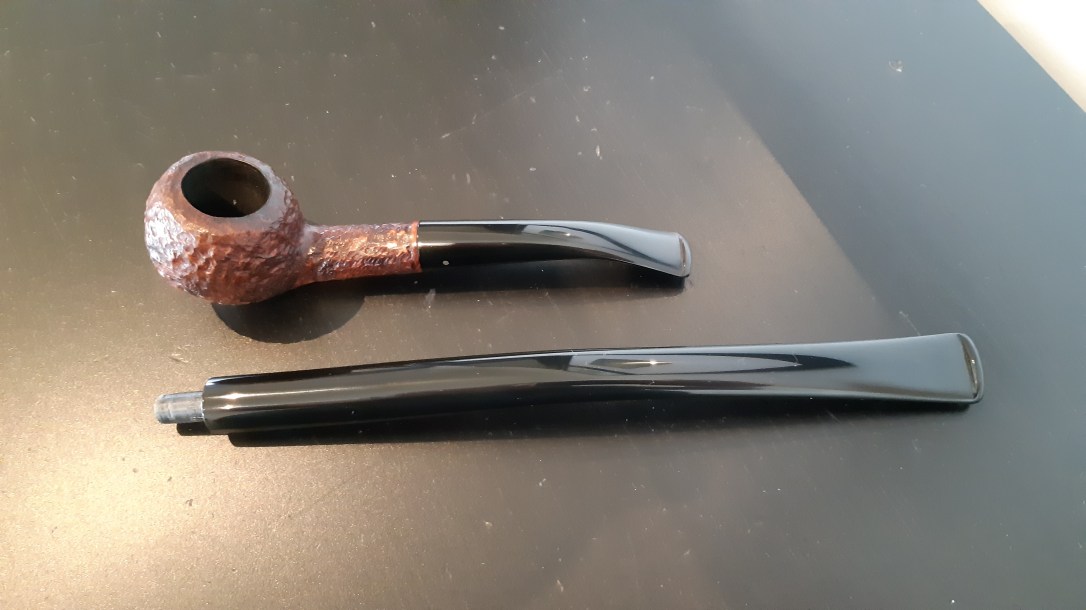
Here is the pipe as it looked when it hit the worktable. The pipe, despite its 30+ years, was in quite good condition, though in need of a general cleanup. The briar was in great shape, without any of the normal knocks, gouges or dings common to entry-level pipes of this age. There was a light layer of cake in the chamber, but the pipe had obviously been cared for.

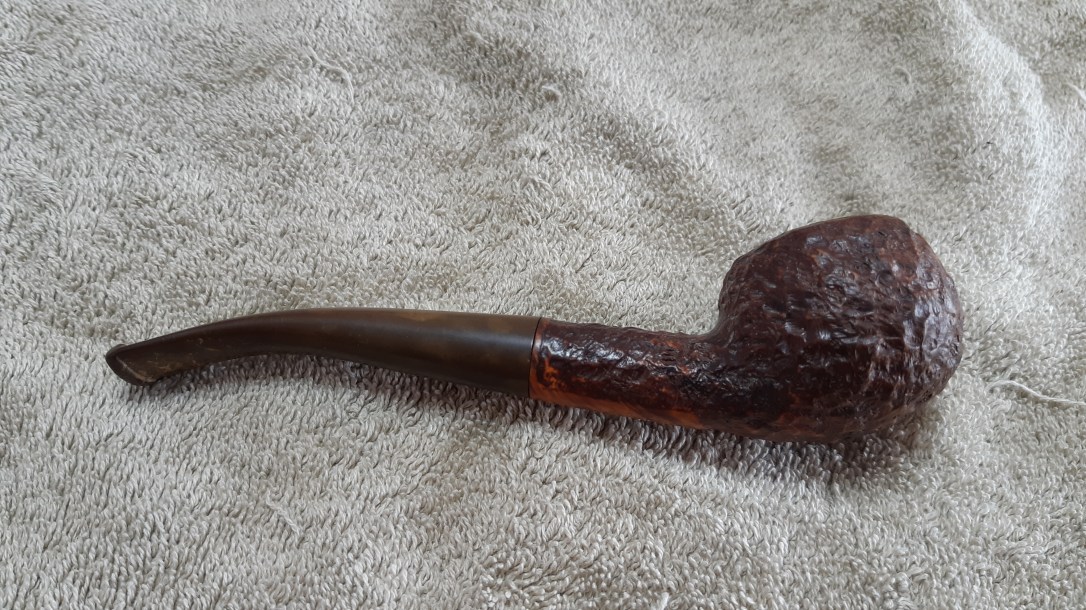


The stem was oxidized to the point of obscuring the brass Dot on the left flank near the stem face. A bit of tooth chatter and a few light tooth marks marred the bite area and upper button.


The pipe is stamped “129”, indicating a 100-Series (1-Dot) pipe in Shape 29, which in this case is an Author shape. Beside the shape number, the shank is also stamped “Brigham” over “Canada”, which dates this pipe to the 1980’s.

I had a few Vulcanite churchwarden stems in my stem box, but the owner prefers acrylic stems. I looked through the catalogs of my usual parts suppliers and eventually found an acrylic churchwarden stem at Vermont Freehand.
Unfortunately, the smallest stem diameter they had available was 11/16”, significantly larger than the diameter of the pipe shank. I’d have a lot of sanding and shaping to do to get this stem to look right on the stummel. These pics show the raw stem blank next to the stummel.


Before I got sidetracked with stem shaping I needed to focus on cleaning the stummel. There’s nothing worse than fitting a tenon only to discover that the shank’s mortise diameter was thrown off by a buildup of tars! I started work on the stummel by removing the old cake from the chamber using a bit of sandpaper wrappd around a Sharpie marker.
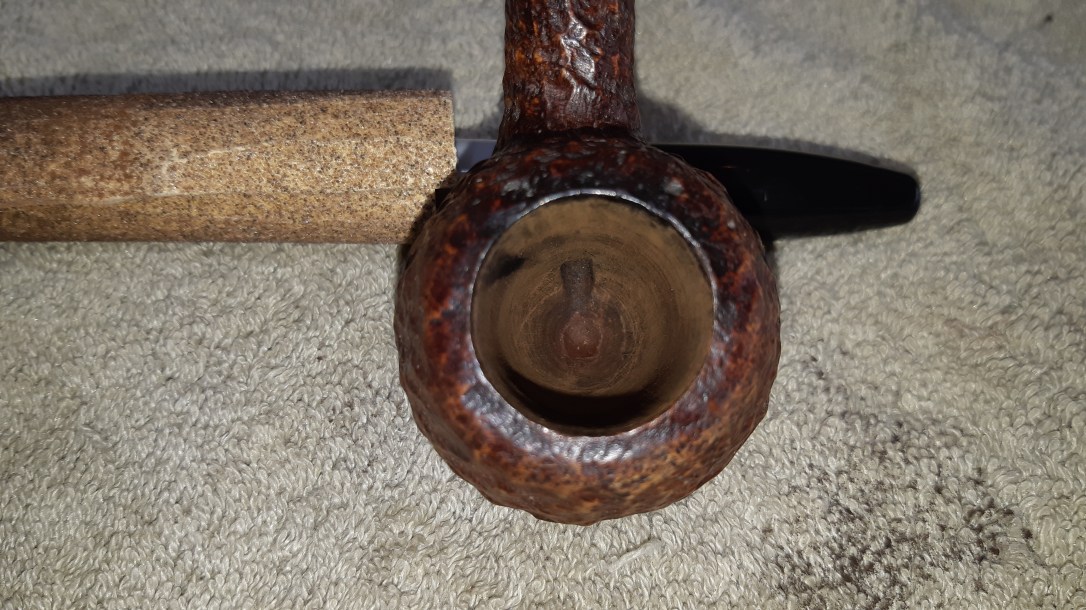
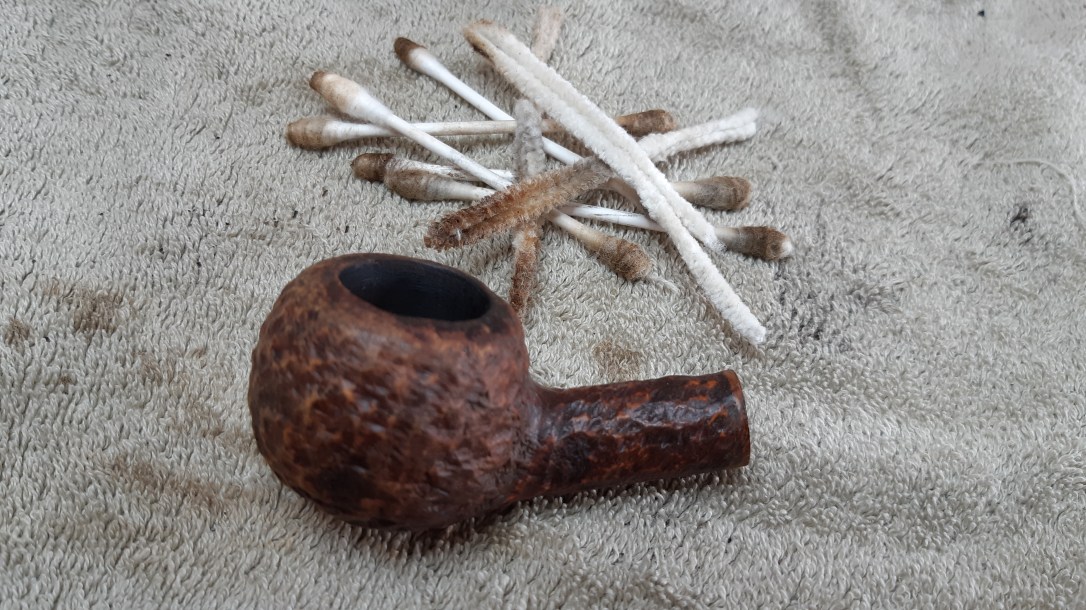
The rest of the internals came clean with a bit of elbow grease, assisted by pipe cleaners and cotton swabs dipped in alcohol. The mortise and airway were reasonably clean, so this didn’t take too long.
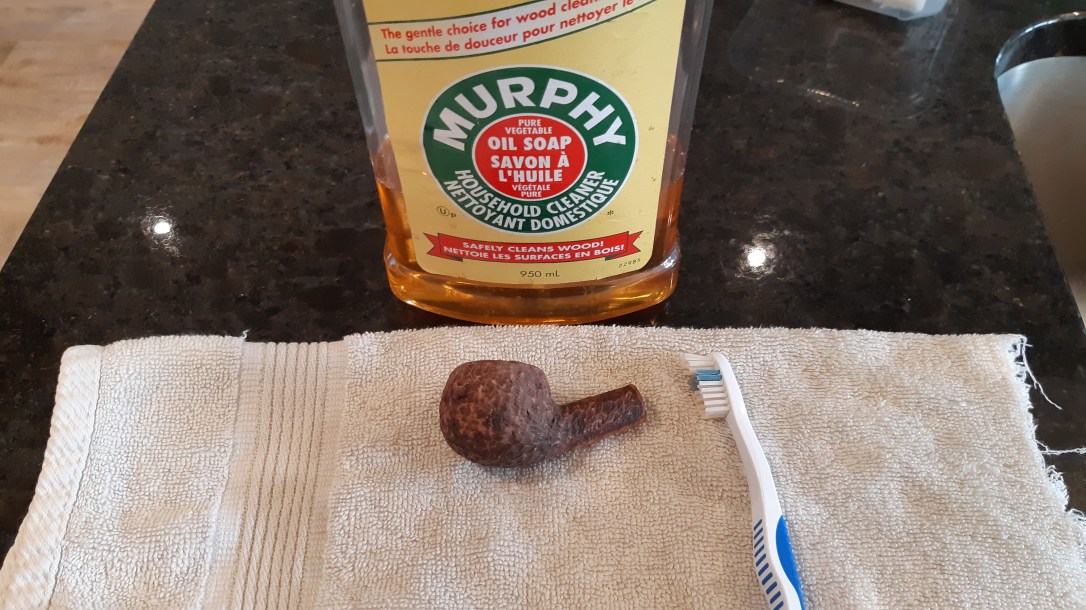
A scrub with Murphy’s Oil Soap and a toothbrush lifted the dirt, grease and oils from the briar and left me with a nice clean stummel with which to work.
I also cleaned up the original stem. After a few hours soaking in Oxyclean and warm water, the stem got scrubbed down with 0000 steel wool and Magic Eraser to clean away the oxidation and renew the stem’s black colour. Hey look! A Dot!
I smoothed out the tooth chatter and other small marks with 320, 800 and 2000-grit sandpapers and then set the stem aside while I worked on the conversion.
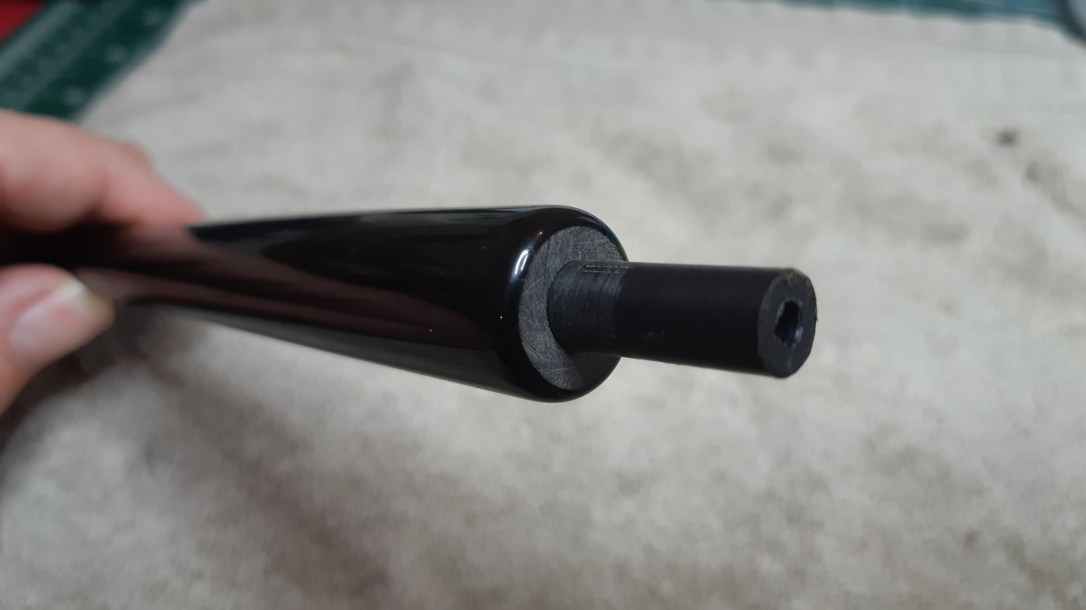
The acrylic stem blank came without a tenon, so I cut a 1-1/4” length of 3/8” diameter Delrin rod to create a tenon for the new CW stem. The Delrin rod is slightly larger than the diameter of the mortise. I’ll be able to slim it down for a snug fit after fitting it to the stem, but first it needs an airway. I drilled a 5/64” shaft through the length of the rod to make the new tenon.

As you might have noticed in the above pics, the stem face on the acrylic CW blank came with rounded shoulders. To ensure a nice tight fit to the shank face, I took the stem to the topping board and carefully faced the tenon end to create a flat surface. Then I worked my way though a series of drill bits to enlarge the airway to accommodate the Delrin tenon. This is not a job to be rushed – acrylic is more prone to chipping than vulcanite, so it’s important to step up the drill bit sizes gradually to avoid placing undue strain on the stem.
These pics show the new stem, first faced and drilled and then with the new Delrin tenon test-fitted.

A little bit of work with some 320-grit sandpaper brought the tenon diameter down to fit snugly in the shank mortise. You can see in the first pic that the tenon was a bit too long, a situation easily remedied. The second shot shows the new churchwarden stem fitting tightly against the end of the shank. It also highlights just how much material needs to be removed to achieve a smooth transition from shank to stem.


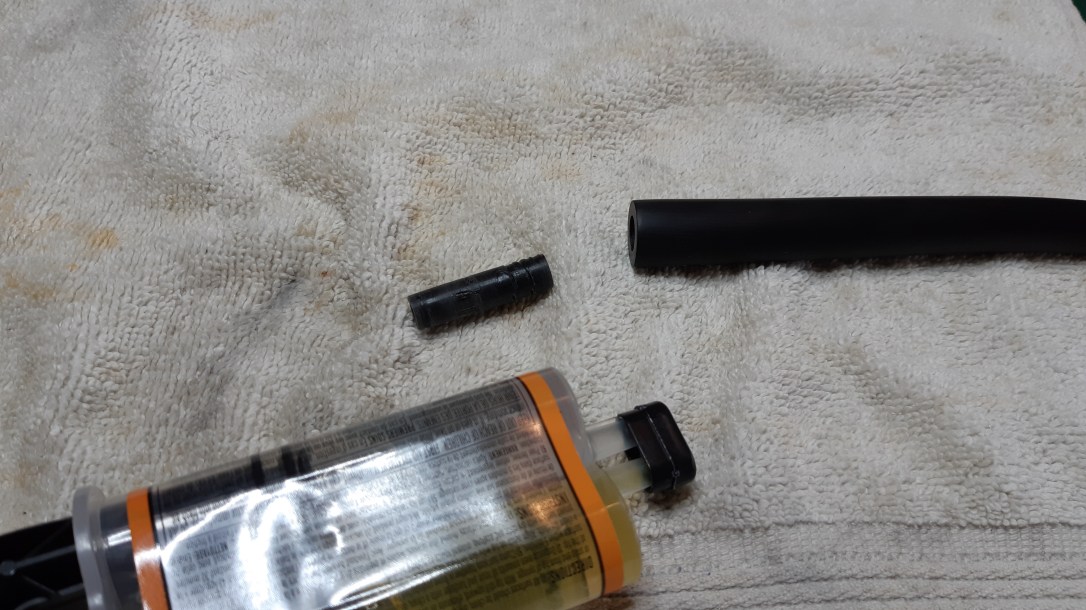
When I was happy with the fit of the new tenon, I filed a few lines across the Delrin to give the epoxy a bit more grip, then glued the tenon into the stem and let it sit until the epoxy cured.
This was where the fun really started! Lacking a belt sander, I find the easiest way to shave down an oversized stem blank is to mount a sanding drum onto my rotary tool. Before I started sanding, I wrapped the shank of the pipe in several layers of electrical tape to protect it from accidental touches of the sanding drum.
I used the rotary tool to remove the bulk of the excess acrylic, which created a LOT of dust that you don’t really want to breathe. I heartily recommend using a mask and safety goggles for this particular job! When the stem diameter was close to that of the tape-wrapped shank, I removed the tape and finished sizing the stem by hand using a series of files and 220-grit sandpaper.

I didn’t take pictures to show all the sanding, filing, inspecting and more sanding I did to take the stem from rough-shaped to ready to polish, so you’ll have to take it for granted that there was a fair amount of tedious hand-work involved. A dremel is a very useful tool but isn’t necessarily known for its gentleness or precision. Used freehand, the sanding drum left multiple small divots, bumps and other marks that all had to be carefully sanded out in the process of shaping and smoothing the stem.
When I was happy with the overall shape, I started working with successively finer grades of abrasives – 320 grit sandpaper, 0000 steel wool, and then 800 and 2000-grit wet sandpaper. Each grit removed the scratches from the grade before, and in the end, I had a reasonably shiny stem ready for the buffer.
Just before final buffing and polishing, I added a gentle bend to the stem. After sliding a pipe cleaner through the stem to hold the airway open, I warmed the acrylic over my heat gun until it became pliable, at which time I added the bend and held the stem in its new shape until it cooled. I could also have held it under running water to set the shape but I was working in my unheated garage, so the relatively cool ambient temperature did the job just fine.

One thing about bending acrylic is that it inevitably creates more sanding work. Unlike vulcanite, acrylic seems to develop a slight orange-peel texture when heated, and if the stem isn’t quite warm enough when the bend is introduced, the acrylic can crack slightly instead of molding smoothly to the new shape. A once-over with 800 and 2000-grit wet papers took care of this surface distortion. I snapped this pic to show the stem so far.

Then it was off to the buffer, where I gave the stem a run on the Tripoli wheel and then on the White Diamond wheel before adding a few coats of Carnauba wax to add even more sparkle to the shine. Acrylic stems love the buffer, achieving a high, glassy finish much more readily than their vulcanite cousins.
The briar also received a light buff of White Diamond and Carnauba to shine and protect the refreshed briar, but not so heavily that either compound or wax got jammed into the crannies of the rusticated finish. While I was at it, I gave the original short Brigham stem a buff and wax too.
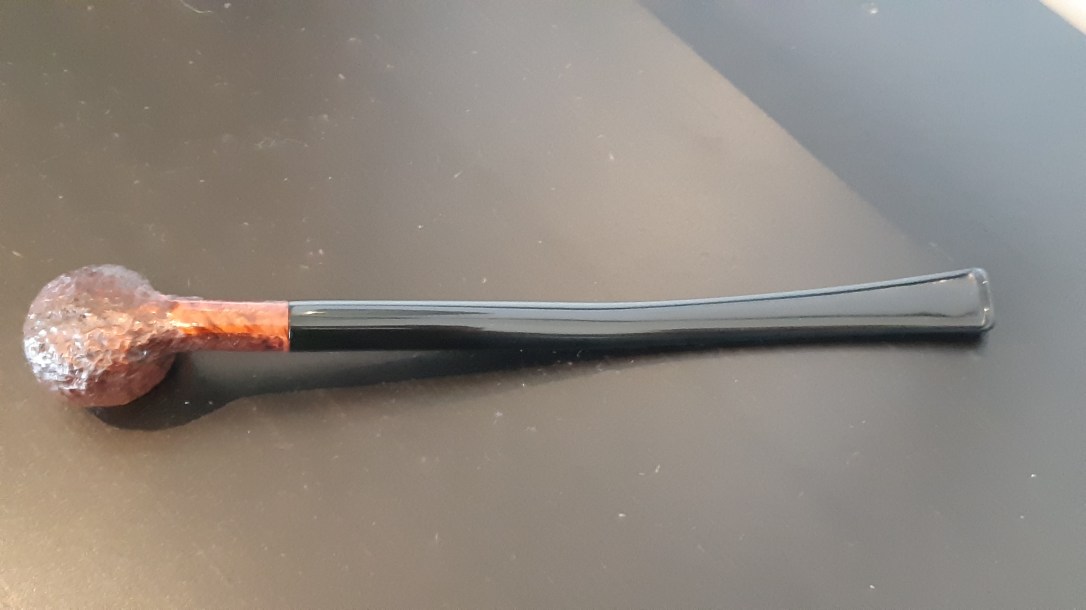
The finished pipe fulfills the original brief very nicely. Though by default heavier than when fitted with the original stem, the newly converted Brigham Churchwarden still finds its balance point just behind the shank/stem junction. When held in the hand, the pipe is very comfortable, with the long stem seeming like a natural extension of the briar.
I think the pipe’s owner will be very pleased with his “new” churchwarden, and when he decides he’d like to take this Author on a jaunt about town, the original stem is at hand to convert the pipe to a convenient clencher.
Thanks for following along on another estate pipe adventure. I enjoyed working on this conversion project. If you’ve got a hankering for a churchwarden pipe but don’t want to splash out for a factory piece, you might consider making up a churchwarden stem for one of the pipes already in your rack!
Here’s the finished pipe. Until next time, Happy Piping!


Charles, great job on cross-purposing a single stummel. The CW looks good – better I think! Thanks for the info on working with acrylic stems.
LikeLiked by 1 person