
Here’s another short tutorial-style post for a bit of quick Summer reading. This time I’m working on a broken Dunhill Shell 3105 Straight Dublin with a broken shank. Instead of a full restoration, this post will focus on splinting the break and making the pipe structurally sound again.
Here is the picture I received from the pipe’s owner when he initially contacted me. Ouch!
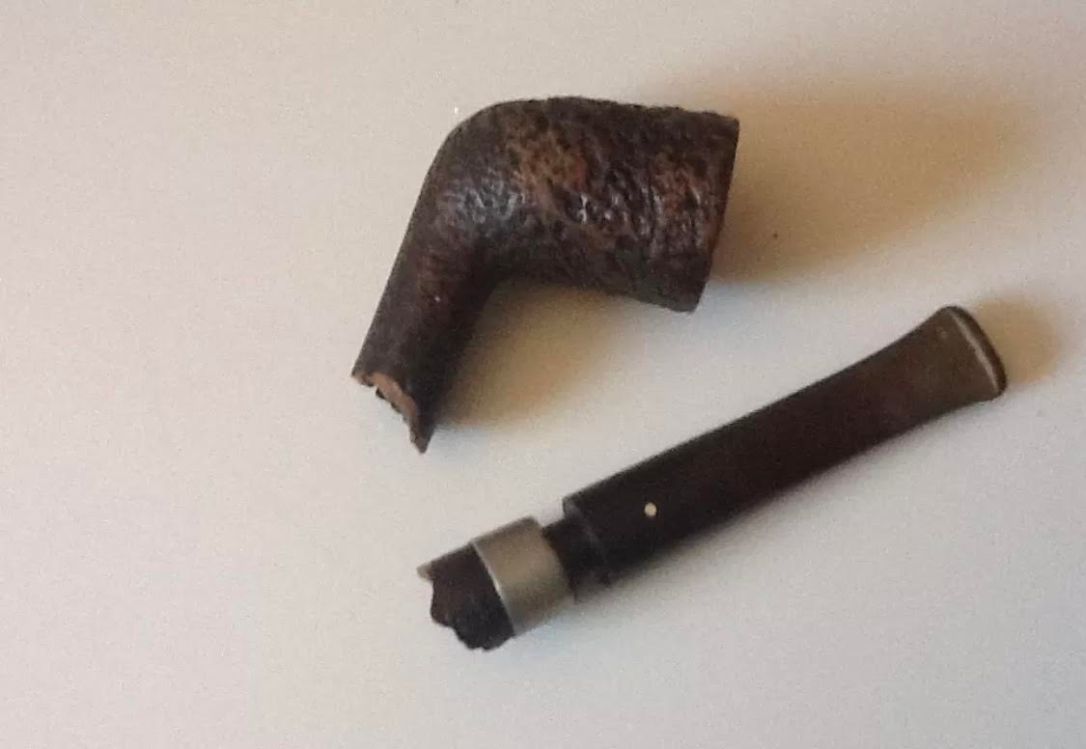
That’s painful to see! The stem obviously seized in the mortise, and the force applied trying to twist the stem out led to the damage you see here. A good reminder for everyone to be gentle with their pipes!
When the pipe arrived, I stood the stem in a shot glass of isopropyl alcohol to loosen up whatever gunk was holding the tenon in place in the broken end of the shank. After a few minute in the alcohol I was able to carefully twist the stem out. These pics show the state of the pipe at this point.

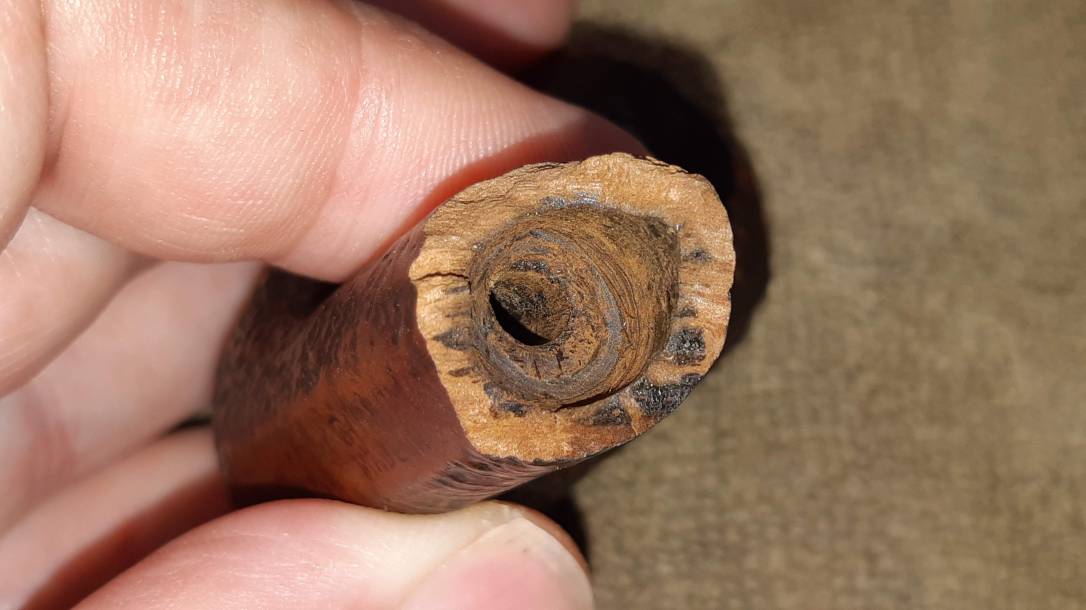
As you can see, the shank cracked off very close to the end of the mortise pocket. Glue alone would not put Humpty Dumpty together again, at least not over the long term. The break would need to be reinforced. I decided to splint it internally with a length of brass tubing.
With a break lower down the shank (one not involving the mortise), my usual repair plan is to select tubing with the same internal diameter as the airway and drill small pockets in the briar on both sides of the break into which the tubing is glued. This approach maintains the original smooth line of the airway. The diagram below illustrates the repair:

I used a version of this repair technique here, adapted to account for the damaged mortise. In effect, I’d be creating a new mortise by first extending the existing mortise then lining the entire length with brass tubing.
To create a guide for the drill bit and keep the mortise straight, I glued the broken briar back onto the end of the shank with CA glue. The pieces lined up fairly well, though there was a gap on the right side of the shank that would need to be filled afterwards.


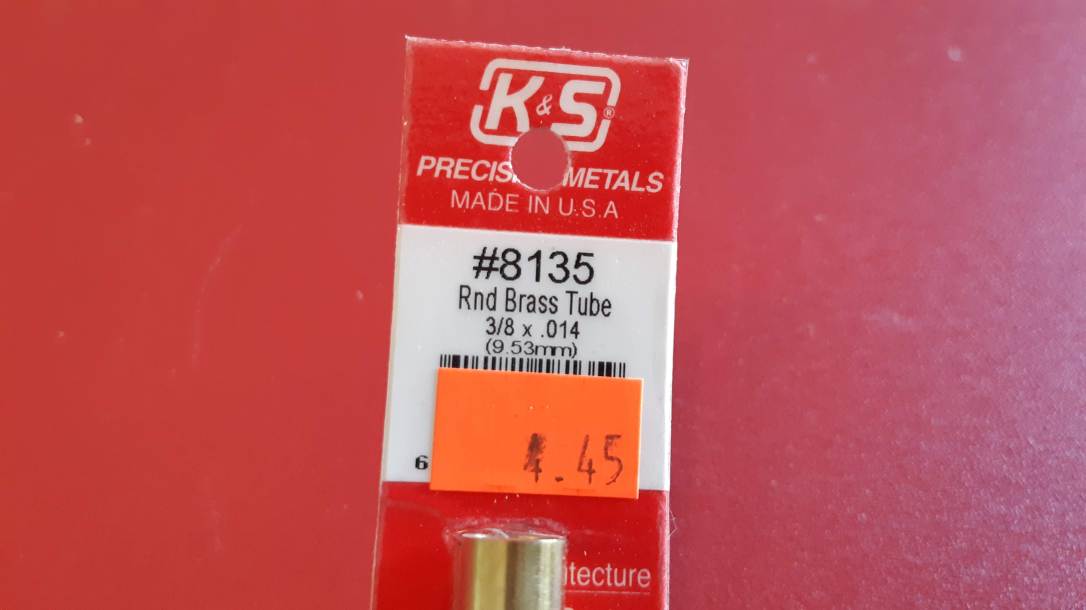
According to my digital caliper, the interior diameter of the mortise was just over 9.5mm. I didn’t have an appropriate size of tubing on hand, but a quick trip to the hobby shop fixed that.
With the proper materials at hand, I set up my cordless drill and removed enough material from the bottom of the mortise to give the brass tubing sufficient purchase on the other side of the crack.

After test fitting, I applied JB Weld to the outside of the tubing and pushed it into place, turning the tubing as I went to spread the JB Weld evenly as the splint slid home. It’s important here to keep the splint tubing square with the shank face. If it goes off kilter, the stem will seat at an angle – a situation best avoided unless you like making more work for yourself!
After the JB Weld set I cut off the excess tubing with a hacksaw.
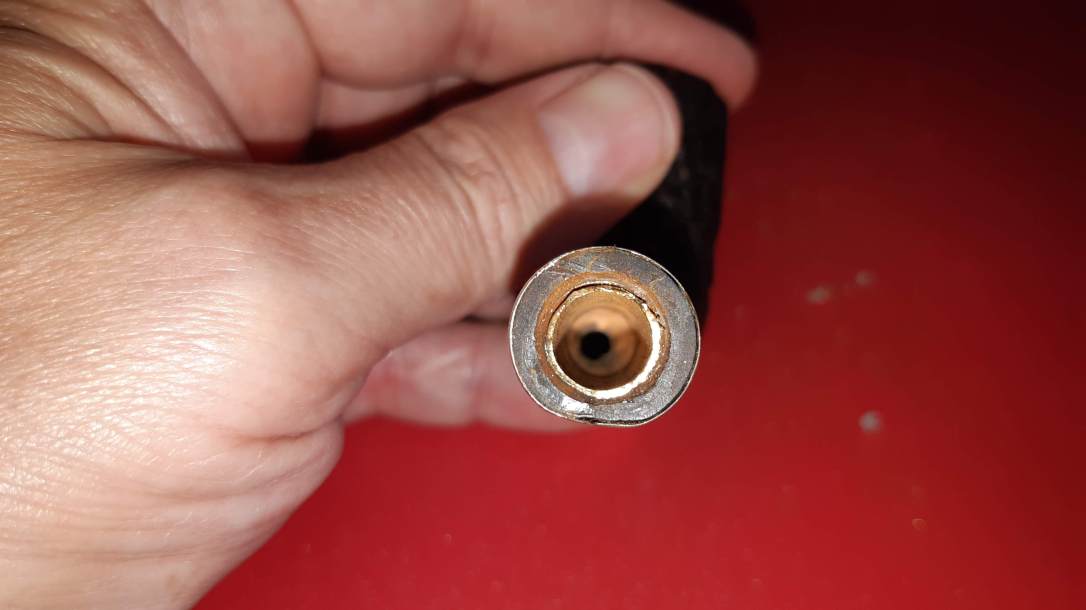
Now that the shank was stable I needed to re-fit the stem to the now smaller mortise. I used needle files and sandpaper to remove a small amount of material from the tenon, checking the fit often to make sure I didn’t take too much off the tenon diameter. It’s important here to get the fit snug as the brass tubing mortise will not contract and expand the same way a briar mortise does.
I also had to take a half-round needle file to the inner rim of the mortise to accommodate the “shoulders” or slight flare of the tenon where it meets the stem face. You can see the result of my file-work here.

After a bit of tweaking, the stem fit nicely in the new mortise.

That finished the structural repair on this Dunhill 3105. From here, the rest of the restoration is straightforward, so I’ll end this post here and let the Search function on the blog lead you to any specific repair information you’d like to find.
I hope this short how-to has given you at least a starting point from which to consider a similar repair. Please feel free to ask any questions by leaving a comment below. As with all repair or restoration work, the keys to success are careful planning and patient execution.
Until next time, Happy Piping!

Charles, had this essay bookmarked in my inbox and finally got to it. Again, this one’s going into the file for later referencing. Thanks!
LikeLiked by 1 person